Poinsettia Christmas Card | Gouache, Watercolor or Acrylic | Holly Tomas Art | Skillshare

Playback Speed


1.0x


  • 0.5x
  • 0.75x
  • 1x (Normal)
  • 1.25x
  • 1.5x
  • 1.75x
  • 2x

Poinsettia Christmas Card | Gouache, Watercolor or Acrylic

teacher avatar Holly Tomas Art, Watercolour | Gouache | Mixed Media | Scotland

Watch this class and thousands more

Get unlimited access to every class
Taught by industry leaders & working professionals
Topics include illustration, design, photography, and more

Watch this class and thousands more

Get unlimited access to every class
Taught by industry leaders & working professionals
Topics include illustration, design, photography, and more

Lessons in This Class

    • 1.

      Welcome!

      1:01

    • 2.

      Painting Our Leaves

      3:03

    • 3.

      Painting Our Petals

      2:00

    • 4.

      Petal Details

      1:55

    • 5.

      Leaf Details

      4:10

    • 6.

      Pencil Details

      2:37

  • --
  • Beginner level
  • Intermediate level
  • Advanced level
  • All levels

Community Generated

The level is determined by a majority opinion of students who have reviewed this class. The teacher's recommendation is shown until at least 5 student responses are collected.

16

Students

4

Projects

About This Class

Welcome, everyone! Make your favourite comforting drink, grab a comfortable seat, and let's paint!

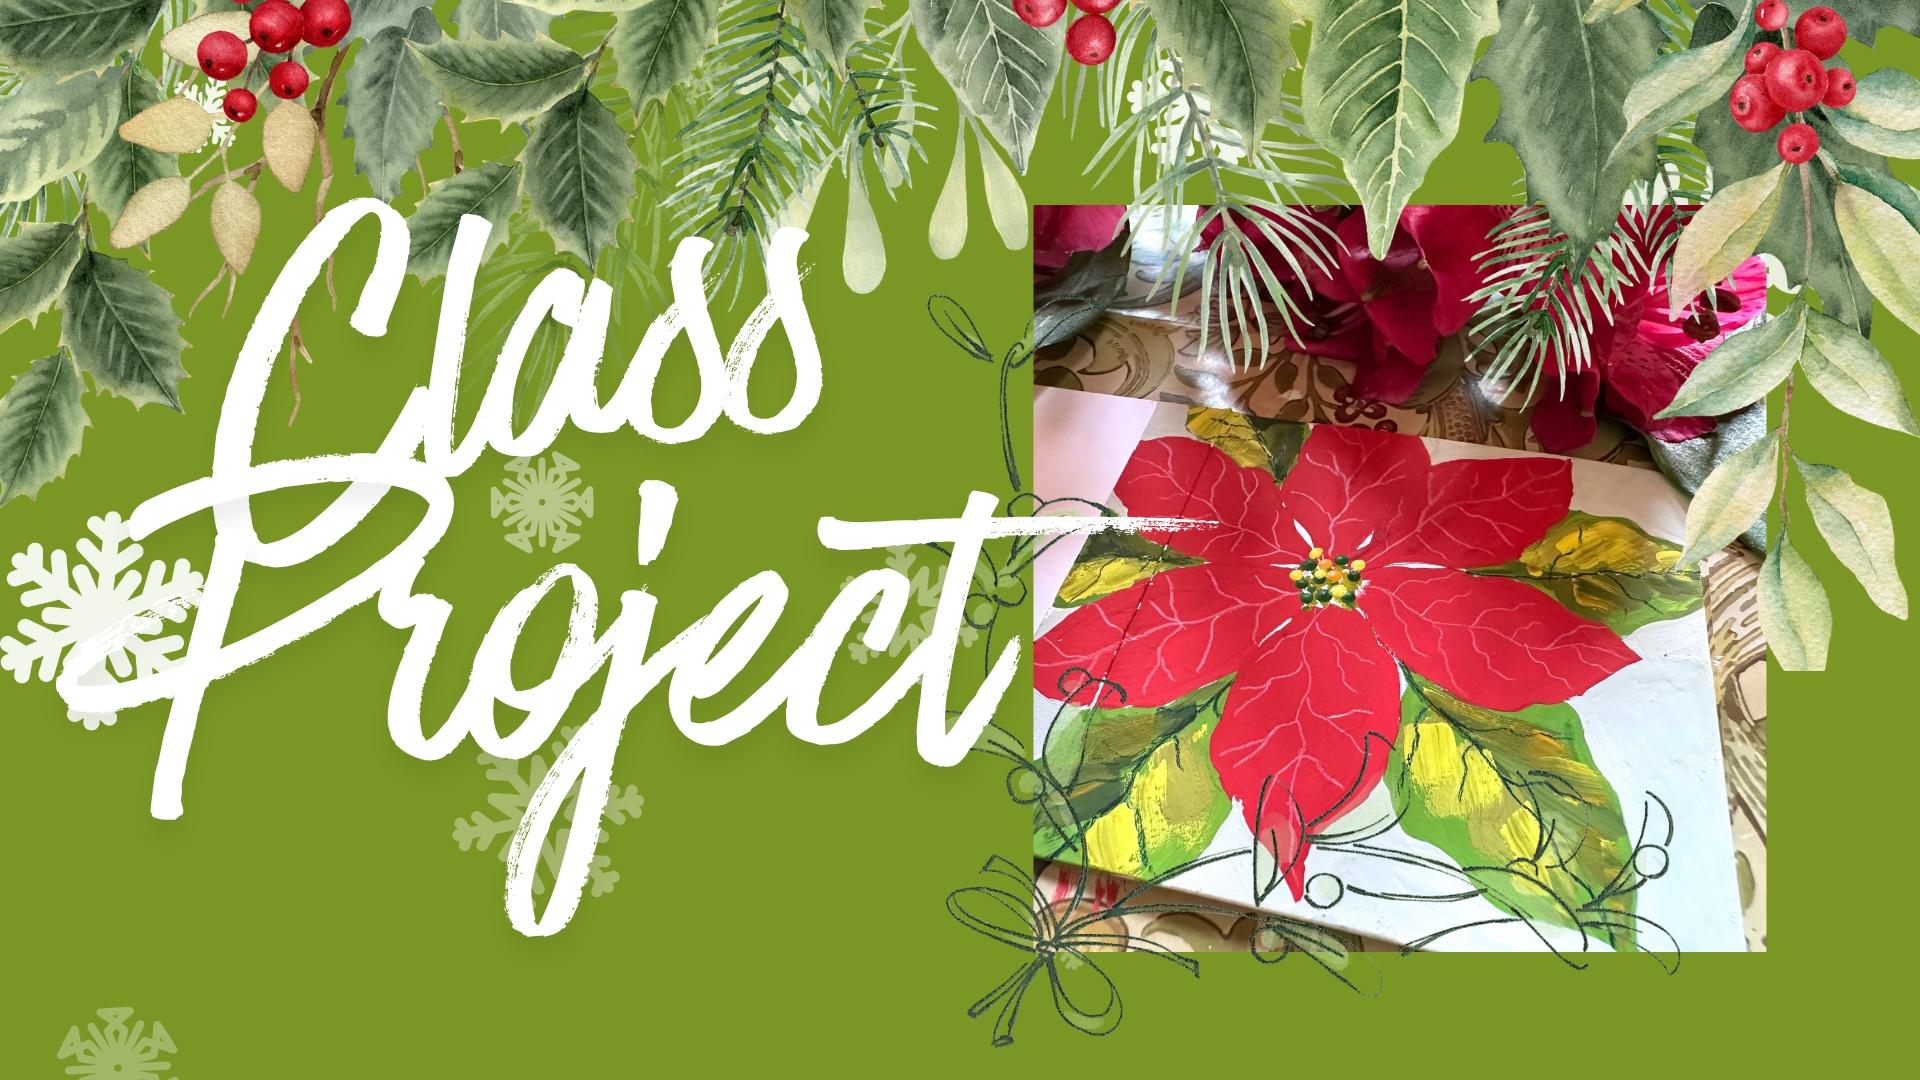
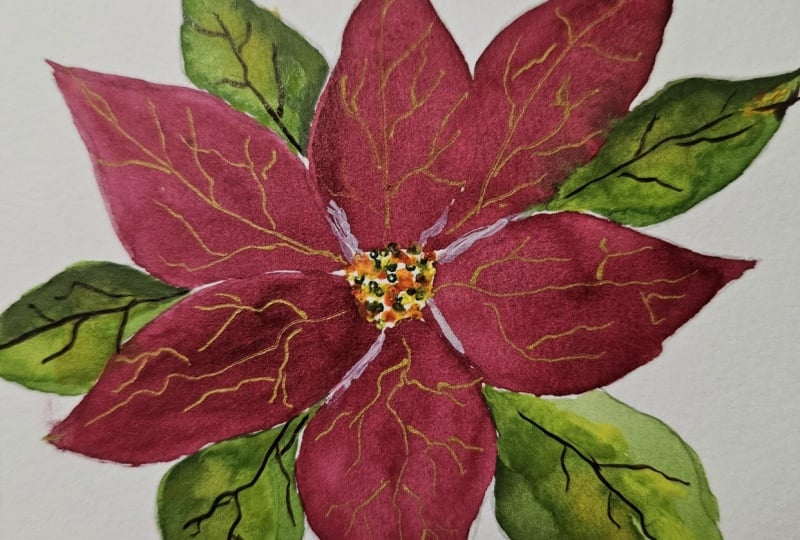
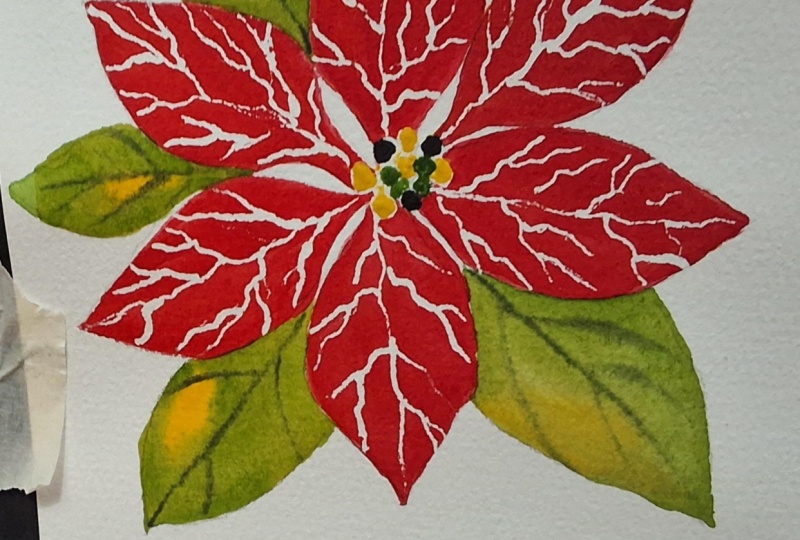
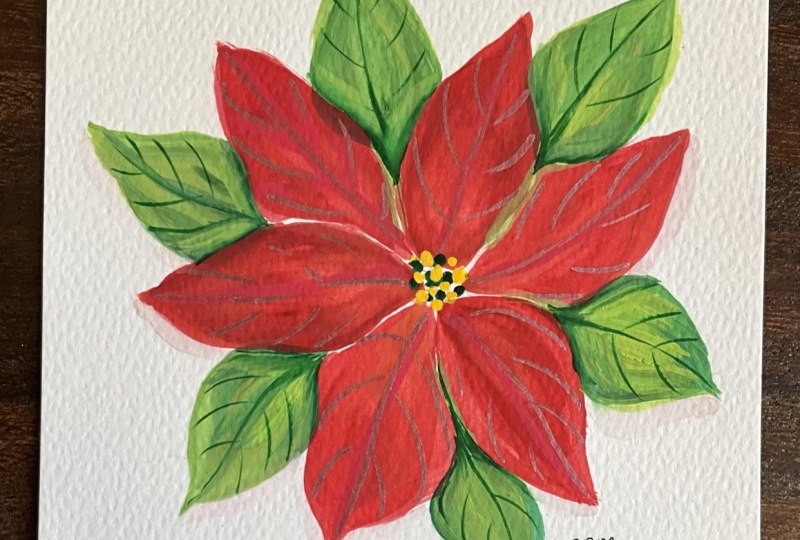
Today, we are going to dive into the festive spirit by painting a classic Poinsettia Christmas card. Whether you are making this for a loved one or keeping it to decorate your own home, there is something incredibly special about a handmade holiday card.

🎨 

  • Skill Level: All levels welcome! No prior painting experience is required. we are going to break this down step-by-step, from from creating Sap Green leaves to adding vibrant, glossy pops of red for the berries.
  • Resources: I've attached a pdf and jpeg outline of our Poinsettia study, so that you can jump straight in.
  • Duration: 15 minutes of guided instruction and hands-on painting time.

🎄 What You'll Learn

  • Brushwork Basics: Master the specific strokes needed to create sketchy, loose Poinsettia leaves and vibrant petals.
  • Colour Mixing: Learn how to blend rich holiday greens, deep crimsons and accent colours. We're mixing mix partially on the brush so that we avoid flat, rigidly blended colours.
  • Creating an easy 3D effect by adding shadow and light to our leaves.
  • Composition & Layout: Discover how to balance your design on card stock, for a slightly quirky textural interpretation of Poinsettia.

 👩‍🎨  Don't forget, if you wish, you can share your project in our Projects & Resources area! Skillshare has a lovely thriving community where students support each other, and share tips. So, don't be afraid to share. And of course, I'm at hand should you have any questions 😊

So... take a deep breath, let go of any pre-holiday stress, and let's do this!
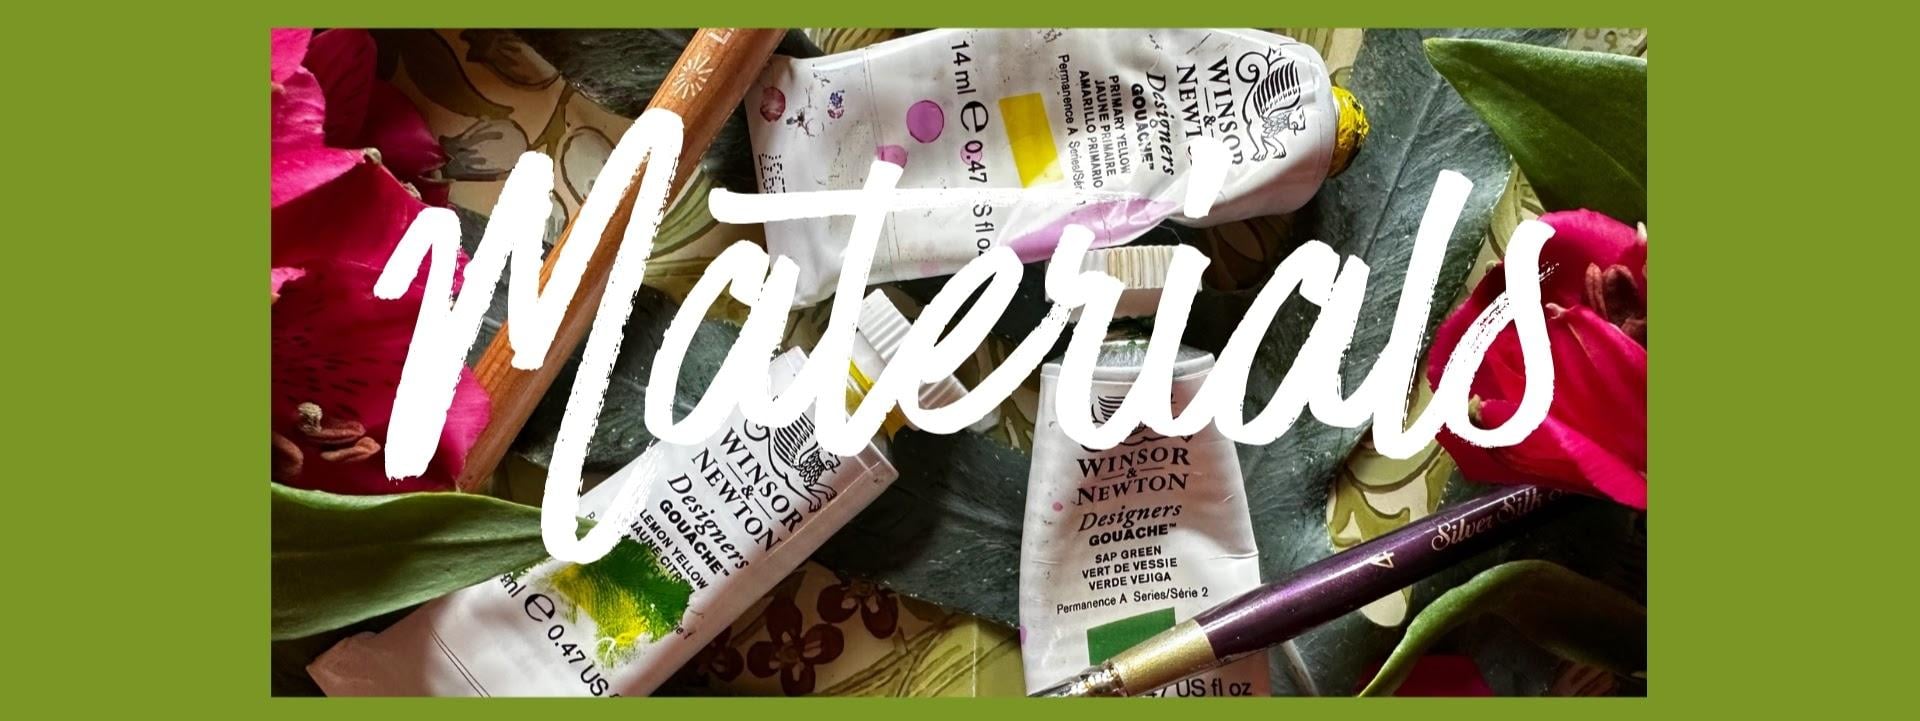
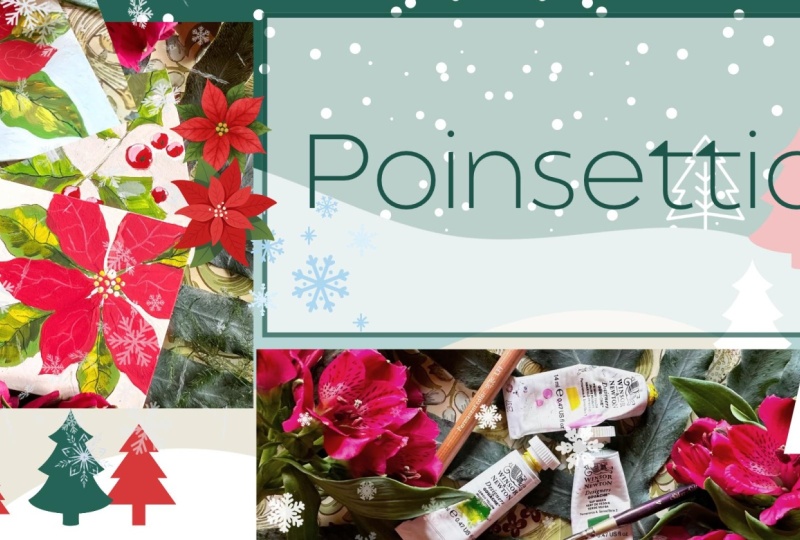
Blank cards (I used 3inch by 3 inch cards) or your favourite art paper. Blank Cards

Sap Green (I used Winsor & Newton throughout)

Spectrum Red

Primary Yellow Deep

Lemon Yellow

Black

White

Size 4 flat brush

Size 2 round brush

Green pencil (I used Caran D'ache Dark Sap Green)

White Pencil (I used Caran D'ache Pink White)

Clay modelling tool (optional)

Meet Your Teacher
Teacher Profile Image

Holly Tomas Art

Watercolour | Gouache | Mixed Media | Scotland

Teacher

Hello, I'm Holly :O) I am so happy to have you here!

I'm a Skillshare Teacher, recently selected for the Skillshare Rising Teacher's Programme. I paint flowers and leaves for the most part, particularly wildflowers, as I am surrounded by so much inspiration, living, as I do, in rural Scotland.

I love exploring new techniques, and I'm very keen on finding brush strokes and media which make painting just that little bit less challenging for us, whilst gently broadening our knowledge.... I always say 'easy but effective' is the way forward! My classes are mostly watercolour and gouache, but I also delve into mixed media & leaf printing.

I have a humble little mission statement :0) .... 3 facets which are really important to me, when I am considering cla... See full profile

Level: All Levels

Class Ratings

Expectations Met?
    Exceeded!
  • 0%
  • Yes
  • 0%
  • Somewhat
  • 0%
  • Not really
  • 0%

Why Join Skillshare?

Take award-winning Skillshare Original Classes

Each class has short lessons, hands-on projects

Your membership supports Skillshare teachers

Learn From Anywhere

Take classes on the go with the Skillshare app. Stream or download to watch on the plane, the subway, or wherever you learn best.

Transcripts

1. Welcome!: Welcome to this winter holiday Christmas card series. Make your favorite comforting drink, grab a comfortable seat, and let's paint. Today, we're going to dive into the festive spirit by painting a classic point set here. Whether you're making this for a loved one or keeping it to decorate your own home, there's something incredibly special about a handmade holiday card. We're going to break this down step by step from creating sap green leaves to adding vibrant red petals and a dotty center. I've attached a PDF and JPEG outline for our point set here study. If you'd like to share your project, you can head over to our projects and resources area, and on the right, you'll see submit project. So take a deep breath, let go of any pre holiday stress, and let's do this. 2. Painting Our Leaves: Get my gloves on, and I'm just ripping up a little bit of my palette paper. Then let's just use a piece of tape here to go beyond the page so that we get a little overlap of the design on the back of the card. I'm just using a carnas luminance pencil to outline our point set here. I previously just did a little trace of it from a mapped out design that I created. I've attached a PDF and a JPEG outline. This is a very simplified version of the flower just to keep things relaxing. And then I put a little there so that I remember that that's a leaf because when I was in class development, I kept painting the leaves in red. One here going off the page, and another up here. Just putting a few little circles in the center because I've got something really special for that. And then let's start with our color. So I've got Sap Green and lemon yellow, and I'm using my size two Princeton round brush. So I'm going to mix those two together to form a really vibrant green. I love lemon yellow as a mixing color. Adding a couple of drops of water. And then as we have this all mapped out, we can really relax into this, and I'm starting just on the edges. And then I want mine a little bit textural, so I purposefully just allowing some of the brush strokes to show. Lovely. I want to leaf number two. And a little bit of texture. I'm moving my card around to make it easier to do these leaves. I don't believe there's anything wrong in moving your artwork around. I love this green. And we're slightly over the page here onto the back of the card. Just finishing off here. Just go to make sure that that crease has some green in it. Oh 3. Painting Our Petals : Then on to our petals. And I've got Spectrum Red and primary yellow deep and white. Now, this is a trick to lighten your red without it turning pink. We've got all the time in the world here, so we can just relax and have fun. I'm leaving a tiny little bit of white space you can see here just because that's the shape of the poinsettia, and I just wanted to be true to that. So a little textural brush drokes again. And on to petal number three. Isn't this gorgeous? This lovely lush red with the green. And and let's keep a little movement and the outlines in our petals, so allowing our brush to ribbon along the edges into the center. I hardly ever sketch out flowers before I paint. And I can see the merits of it now. Hugely satisfying. I'm just going to adjust that little leaf there going off the page and over onto our masking tape. I'm going to give it quick dry. S. 4. Petal Details: Onto our petal details now, and this is primary yellow deep with the mix of green that we've just used. And I'm just kind of dotting around there in the center. This doesn't have to be perfect at all because we're going to add another layer on top. Then I have a caoase pencil. I think this is pink white, but I'll leave all the details in our about section. We're going to pick out the fine veining that point setires have. And then lovely fluid veining. Nice wiggly line in the center. I'm just adding little forks in some of them. I do love luminan pencils for details like this. It's lovely over watercolor, but absolutely gorgeous over gouache. Uber, Uber relaxing. They look so effective. And here we are on petal five, making them all a little bit different from each other. And our final one lovely ribbony lines to the edges of the petals. Okay. 5. Leaf Details: Let's do some painted details on our leaves, and I have a size four flat brush. Let's put down a little bit more yellow, that lovely lemon yellow, or you could use handsy yellow light. And let's mix some red in with our green. This creates a beautiful olive green. And because we're mixing complimentaries there, it's a very subtle, natural color mix. And we can use our brush on the side, and that makes lovely lines. This is why I like working with a flat brush. It's so versatile. And I'm putting some black down with some lemon yellow. As you know, this is one of my favorite green mixes. Being careful with the black there and just adding it in small increments. And a little white, isn't that the most delicious color. And I think I want it a little brighter, so I'm adding a bit more lemon yellow. And now we're just choosing one side of the leaf to add these expressive brushtrokes. One going over our masking tape, and then our final one. Going back to this mid green here that we already mixed and just adding very fine brush strokes to our lemon yellow mix. And then let's mix a deeper green. So I'm bringing over some of the black to mix with our green. And then on the other side of the leaf, we're going to create our shadows. This will allow our Poinsettia to come forward, as well. Super simple. I'm just going in with our prime yellow deep to add a little bit more texture and color. So I'm using a very, very dry brush with neat paint. Gorgeous. It's incredible, really, how just a few brush strokes can suddenly bring those leaves to life and create a three D effect. So last minute details with a little lemon yellow. So let's move on to our next lesson. 6. Pencil Details : And if you have one of these clay modeling tools, all well and good, if not, I'll show you an alternative. And we're creating little mountains of color here. We want them in little pools so that we can use the clay modeling tool to create these little dots. This is one of my favorite techniques. And we're just putting handsome yellow light and some sap green. And then I've just chosen one of my smaller brushes, and I want to show you how we can use the base of the brush to do the very same thing. So both are really effective, but I quite like the bottom of the brush. So I'm going to use that. So let's go in kind of nice and gentle. Like little delicious gems. And I just put some warmer yellow in there and now some lemon yellow. And we can go out just beyond the center into the petals. It's such an easy technique, and I use it all the time. Absolutely love it, and they're great for last minute details as well. So I've got my dark sap green luminins pencil, and I thought it might be nice for us just to create a little bit of veining in the leaves. Now, because we've got a lot going on with the petals, we don't really need to do a lot here, so I'm just putting the odd little line in here and there. And that's our poinsettia class coming to a close. Thanks again so much for sharing your time and energy with me and for all the support that you offer me. Don't forget there are other Christmas card classes in this series. So check those out. Bye for now. H.