Transcripts
1. Intro: Hi everyone. I hope
we're doing well. My name is Alice and
for the last four years I've run a business called
Classic Cakes made vegan, where I've aimed to make plant based homemade goodies
accessible for everyone. Today I'm so excited
to bring you my super simple beginner
friendly skills course in plant based baking. In this course, we're
going to making three delicious
plant based bakes, A classic Victoria sponge, some double chocolate brownies, and some soft chewy
bakery sal cookies. These recipes are
super simple with ingredients you probably
already got in your kitchens. They perfect to make
it with friends, family, and great for kids
to follow along with too. They're also the recipes I use every day in my own kitchen. So they're tried and
tested to perfection. I can't wait to get your baking. And these recipes have
lots of broom maneuver. So for free to get
creative, play about, and send in your own bakes as part of our
class project here on skill share onto our first
class, let's get stuck in.
2. Equipment & Ingredients: So to begin, we're
just going to do a really quick ingredient
and equipment run through. I have a PDF down below
which you'll have a list of all the equipment and all the
ingredients you need. They're all quite simple things, Probably things you've got
in your kitchen already. But just so you can take
that list of you to a local supermarket and buy everything you need
To complete the course, I've put a few
recommendations of what brands to use on
these ingredients. All kind of the same thing
in different packaging. But if you're confused
on what to go for, just go over the ones
I've recommended. Because they're the same
ones I use every day. In terms of things
like baking tins, I recommend buying
from Lakeland. You can get everything you
need online from there. They're all really high quality
things that will last for a long time and see you
through your baking journey.
3. Lesson 1 Victoria Sponge: Hi everyone, welcome
back to the course. So in our first second state, we're going to be making
a victoria sponge cake, so two layers of fluffy
vanilla sponge with American butter cream and
raspberry jam in the middle. This is such a simple recipe, it's literally just
wet ingredients mixed with dried in the oven. Out bury maze. You done? So it's a great one to start
off with. Let's dive in. Okay, so first what
we're going to do is we're going to line our tins, which is going to
take a piece of parchment and then
we're going to grab our eight inch cake tins. We're going to take a pencil and just draw around the
outside of the tin. Lift it off, and then we're going to fold the
parchment over. We've got two circles. Then we're going to cut these out just from a
pair of scissors. We're just going to cut all the way around the outside
of the circle, leaving about a two
centimeter gap. There we go. Now we have two perfect circles ready to do what's
called feathering. Now feathering is just where we fold the circles
over and over again. So we've got a little
quarter circle. Then we're going to
take our scissors and cut into where
the flats are. And then again on
the other side. Then we're going to cut
in towards our line. And this will give us a nice, what's called feathered edge. We have both ready to go. Then we'll get a spare
piece of parchment. We're going to grab
some vegan butter, and all we're going to do
is put on the parchment and then spread it around the
edge of the cake tin, make sure it's nice and even so it's covering the whole area. Then once it's around the side, we'll just do a little bit on the bottom just so the
parchment will stick. Do the same on the other tin. Then we can place
our parchment into the cake tins edge will just
let us easily pop it in. There we go. Our tins are ready for adding
our cake mixture. Now we find our
tins. We're going to start with the actual cake mix. Again, like I said,
really simple. We'll start off with
the dry ingredients first and then add the web. Okay, to begin, we
are going to add 400 grams of self raising flour. Add a little bit too
much, scoop that out, then we will pop
that into our bowl. Please set the scales. The next we will add 333 grams
of white sugar, a pinch of salt, and then two
teaspoons of baking powder. Then we would just gently
combine it with our spatula. If you wanted to make
a chocolate cake here, you could sub out 75 grams of the flour for 75 grams of Coco. We'll make sure that's
awfully incorporated. And then we're going
to make what's called a well in the middle. This is just where
we're going to add our wet ingredients. We're going to add
150 millilitres of sunflower or vegetable oil, whichever will work just fine, and 300 millilitres of water. I know adding water to a
cake sounds pretty odd, but trust me, it
works just fine. We will then add
teaspoon of Illa extract and two teaspoons of
white wine vinegar. Ok, now we've added our wetting. Great. We're just going to
do what's called folding. Folding is really simple. It's just any motion that's not giving it a
really vigorous start. You're just going to go
around the outside of the bowl and then gently
go through the middle. We're just repeating that
motion of going around the outside a couple times and then going
through the middle. We're just going to repeat
this till we've got a nice smooth batter and there's
no pocket of flour left. I'm going to take
two of our tins and we're just going to
add the mixture in. I just do this by eye. You can weigh it out on scales, but it just seems a bit to me. I'll just scoop that in
there in the other one. So we're just going to spread this around the
back and spatula. It's nice and even everywhere. Okay, we're just going to
put these in the oven now. For 25 minutes, at 160 degrees, I do say 25 minutes, it actually ends
up being more like 30 while I cook in the oven. We can start with our
American Butter cream. American Butter cream is
basically just the term for two part icing sugar
to one part of butter. We're using 125 grams
of vegan butter. And 250 grams of icing sugar. So the butter we're
using is from a block, so you'll just find it to kind of foil or plastic packets. It's not the kind that comes
in like a plastic tar, but we'll be using
that later on. The butter in a
block is literally just a lesser water content, so we get to make a stronger, more secure butter
cream to put on cakes. Okay, so here we have 125
grams of vegan butter. I'm using Flora, that's
a really nice quante of butter cream has a nice
rich, buttery flavor. Then we're just
going to give that a whisk with our
electric hand whisk. So once the butter has gone nice and fluffy
and lightened in color, we're ready add our icing sugar. This is 250 grams
of icing sugar. Make sure you sit it
in so you don't get any lumps of icing sugar
in your butter cream. And then we're
just going to push this through the sip of a spoon. This just save you having
to shake the sip about and get icing sugar
everywhere, like I do. Then we add one
teaspoon of vanilla and one teaspoon
of any plant milk. Give that another
whisk and it should all come together and
look nice and creamy. You could also add
melted chocolate for a chocolate butter cream, so they have it as your
American butter cream. Ready to go on your cake. It's me making a big fat. Okay, so after a half an hour, I'm just gonna get
this out in the oven. You'll know these are
done because they are pale golden and
firm to the touch. If you think they need longer, feel free to put them back in for another three or 4 minutes. Just keep checking
them regularly to make sure they
don't over bake. To take these upper tins. We're just going to
run a knife around the edge of the cake,
we'll just loosen up. So when we put it on
the cooling rack, it'll be nice and easy. Place the cooling rack over the top and boiling the oven gloves. We're just going to gently flip the cake over
onto the cooling rack. Take tin off as well as
the parchment paper, and then we'll do the same. The other, just a gentle flip as you can see we've got a nice
even bake all the way through really nice soft, fluffy sponges
ready for cooling. So we're just going to set
them aside and let them cool. Okay, so now that our cake has cooled completely, totally
cold to the touch, we can add our butter cream and our jam. The butter
cream is made early. I'm can take a tiny bit and
place it here on the plate. This will just stop the
cake moving around. As we're spreading the icing, I'm going to place one
of the sponges on there, so, and then we're going to add a nice big dollop of butter
cream there, like that. That's quite a lot, isn't it? I don't know if I really
need it that much. But again, it depends how butter creamy you
like your cakes. We're going for quite a
buttercream. You one. Apparently you can use a palette knife like
I'm using here. All you can do is the back of
a spoon or a butter knife, whatever you've got to hand. Again, as this course is all about taste rather
than decoration, I'm not going to
go too heavy into how to make your
cakes look pretty. This one is just about, so. I'm just going to get that
nice and evenly spread. And there we go. You
can see in this bowl, I've still got a bit of
butter cream left over again. You can use that next time
you make a different cake. Or you can even add a bit
to the top if you want, kind of like a double
buttercream thing going on. But yeah, that'll
be enough for now. Okay, so we're just
going to take our jam. I've just got some plain
raspberry jam here. Again, if you want to make
something slightly different, you can use cherry jam. I find cherry jam mixed
with a little bit of almond extract in the butter
cream. It's really nice. You can put a bit in
the sponge as well and it gives you that cherry
bake, Bl kind of flavor. You can even add
something like Gantlla or biscuit spread, or whatever you fancy.
It'll be delicious. Today, we're sticking
traditional and going with vanilla buttercream
sponge and raspberry jam. I'm just going to place a couple rough tablespoons
of jam on the cake. I don't measure these out. These are just like
what I'm eyeballing. I don't like lots and
lots of jam in my cakes. If you like lots, feel
free to add lots, but that is about right for me. Then we're just going
to spread this over our butter cream towards the
edges, make sure it's nice. And even then, we're just going to pop
our top layer on top, a lovely looking
Victoria sponge. I'm just going to
add a little bit of dusted ice and sugar on here, as is quite traditional, and just give it that
nice pretty look. Again, at this point, I feel
free to anything you like, this could be extra
butter cream, great chocolate, go crazy. Okay. So they have it, your classic Victoria sponge that even Mary Berry
would be proud of. Just don't tell her it's
plant based, though. I don't know what she'd
think about that. I'm sure she'll be
fine. She's nice. I don't know about
Paul Leo though. He'd hate it. But then again, it's so good he wouldn't
know. It's fine.
4. Lesson 2 Brownies: Okay, so our next
recipe is brownies. These are so delicious,
so indulgent, the perfect texture, and
just how brownies should be. These are probably the more complicated of our
three lessons, but again, if you
follow along with me, you'll be absolutely fine. Okay, so the first thing I'm going to do is make
what's called a flax egg. This is, again, just a standard
vegan egg replacement, really simple to make. We're just going to take three
tablespoons of flax seed. We're going to have
a bowl to mix it in. And then we're going to
take ten tablespoons of hot water just from
the kettle or something. So make sure your flax seed, flax seed, you don't
want to be using cold flax seeds in this recipe. We're just going to add
the water like this. We're then going to let this
sit for about 10 minutes till it's nice and glossy and thick. It will
thicken up a lot. Let's see. At the moment
it's just very runny, but the flax seed will absorb the water and become a
proper egg replacement. Next we're going
to line our tin. So we're just going to take our eight inch by ten
inch rectangular tin. Pop some parchment
paper on top like this. Doesn't need to be super neat, just fit in your
hands will be fine, and then that's all ready to go. While that's thickening, we can mix our fat and our
sugar together. We're going to take 131 grounds of vegan butter from a tub, something like
vitals, really good. I recommend that
here 200 grounds of white sugar and 200 grounds
of dark brown sugar. The dark brown sugar just gives
it that really nice deep, sugary, chewy texture
perfect brownies. Add a pinch of salt and a
tablespoon of any plant milk. I'm using almond here, but you can use whatever
you have to hand. And then we're going to combine it with our electric whisk. Once that's all
combined, there's no pockets of butter
left anywhere. We can add our flaxseed. Once our flaxseed has thickened, it should look like this. Nice, and well then add this
to our fat and sugar mix, and give it a whisk to combine the flax egg acts as
a binding ingredient, which is really crucial in
something like brownies. Okay, so now our mix
should look like this. It should have a nice,
shiny look sticks. We'll then add 128 grams of plain flour and 85
grams of cocoa powder, one teaspoon of baking
powder, and a handful, however many you want to
add all those together, we're just going to
do the same motion. We dip the victorious
sponge of folding in. Let's just going
around the outside occasionally through the middle, just to incorporate
it nice and gently. Once you've added flour to anything you don't want to over mix it because it will
become too tough. We'll just bring that
together nice and gently till it's
all fully combined. Then they go, So you should
be left with a nice, shiny, thick, glossy mixture. At this point, you can also
add anything you might like, like crushed oreos,
bisco nuts, berries. Anything you want to add,
make it your favorite. Take our lined tin and we'll
start to add the mixture. It is quite a thick mixture, so just make sure you
spread it around. Well, I'm going to use the back of a
pallet knife that you can just use a spoon or a butter knife or
anything like that. We're just going
to put that in for 30 minutes at 160 degrees. Why not be done after 30? But we're just going to
check it, have a look at the texture and see how
you know it will be ready. Okay, so now our brownies have
been in for half an hour. We're going to take them out in the oven and just give
them a little text. So these look pretty
much done to me. They are nice and
firm to the touch, but not too wobbly or
too hard anywhere. What I like to do to test it
is to shake it like this. And if there's no wobble in the middle, then it's perfect. But you don't want it overdone. You can't tell
when it's overdone because the edges
will go really hard. The secret of these and
of the cookies as well, is making sure you
don't over bake them. And if anything, go for it under bake rather than over
bake for the moment. We're just going to leave them in the tin to cool completely. And then we'll put them in the fridge for a couple
of hours till they're, you know, totally stone cold. And this will create
a really nice texture when we go to cut
it into pieces. It'll be really nice
and neat and you'll get perfect brownies,
no compromising. Okay, so the brownies
are completely cool. I pop them in the fridge
for about 2 hours. This just really helps them firm up and create the
texture you want. So now I'm going to take them up the tin and cut them into slices in order to ensure we have a
really nice, neat cut. We're just going to
use a sharp knife. You can see as
you're cutting them, they've got that really
nice shiny crackly top, just like the
traditional brownies. You'd never know
they've got no Ed. This recipe makes 12. Cut them into whatever
size you like. If we lift this up, look at texture per nice crackly top and nice
and fudgy in the middle. Just how we want our brownies. I'd recommend storing your brownies in the
fridge just so they maintain that really nice
chunky texture perfect. Just like traditional brownies, really indulgent and delicious. Fel free to add
your own flavors. You can drizzle them
with white chocolate. Anything you can
think of, go for it, they'll be absolutely delicious.
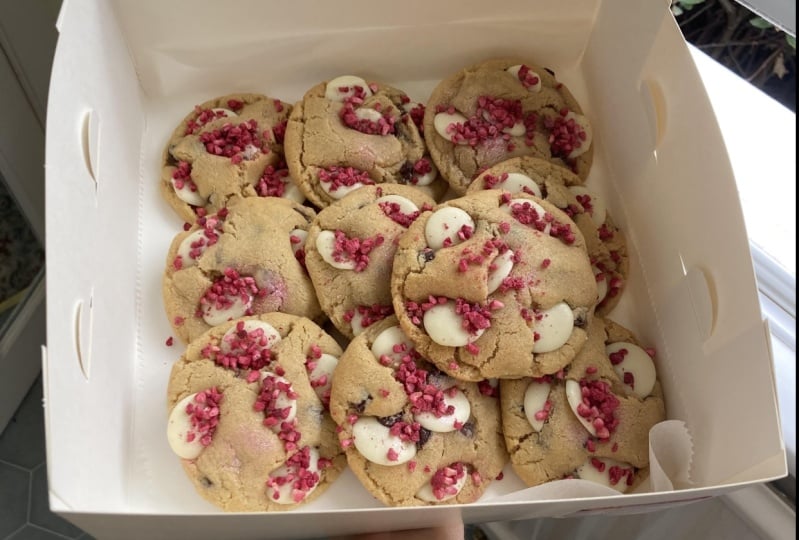
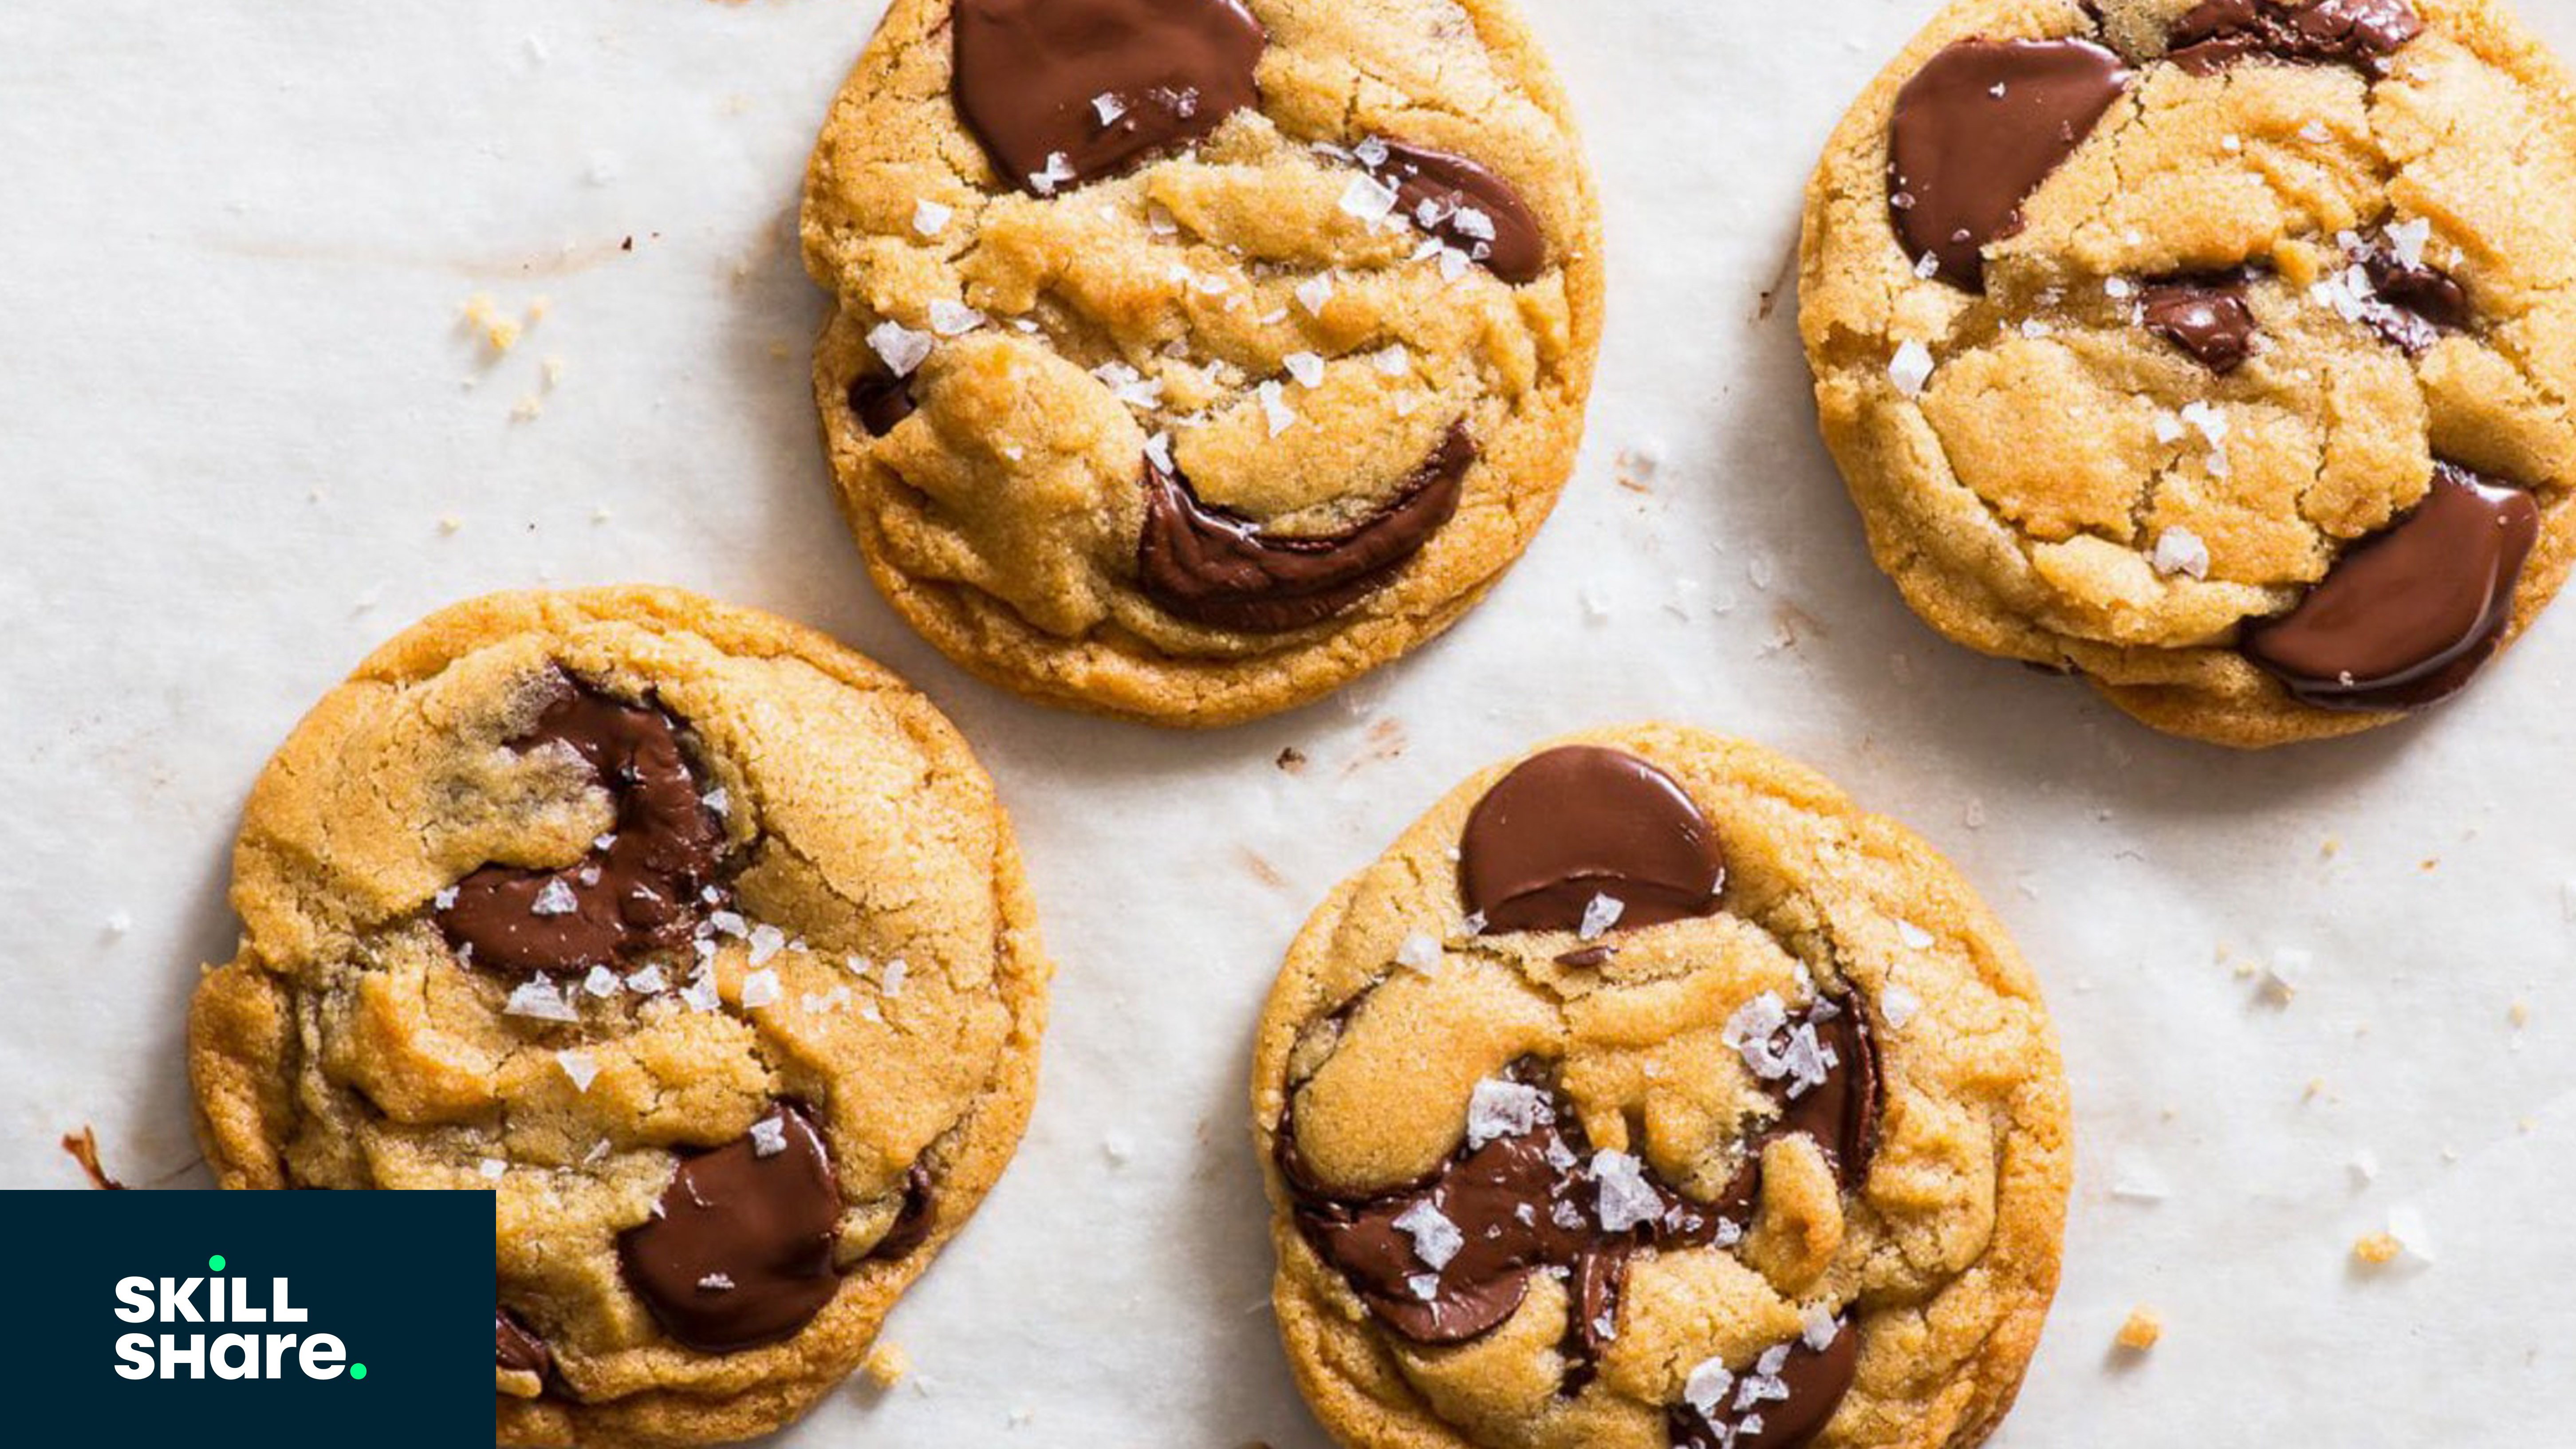
5. Lesson 3 Cookies: Okay, so next up
we're going to make our soft cherry
bakery style cookies. I've put a lot of work
into this recipe. I've made it, you
know, tried and tested because I really
wanted to get it like though pack of five really
nice big soft cherry cookie you bar from the supermarket
or from the bakery section. They were always my
favorite and I really wanted to create a plant
based alternative. I think of this recipe, I've achieved that it's
going to make it. And you can see for yourself, first off, they're going to line
our baking tray. Anything about this style
is cookies on this tray. If you want to split
them into two trays, they're a bit more spread out. Go for it. We'll quickly
line our tray with a square of baking parchment and pop that to one side for later. Okay. So we're going
to start out with our vegan butter from the tub. 113 grams of vegan butter. Again, something like
flora or vitalle is great. 100 grams of white
sugar and then 75 grams of light brown
sugar, pinch of salt. Having two different
kinds of sugar in a bake really adds to
the depth of the flavor. If you just use white sugar, you'd get quite crispy, lots of chewy cookies. Having both of them in
there really helps out. Then we're going to take our
electric whisk and then just combine our vegan butter and
sugar till it's all nice, there's no lumps of
butter left in there. We'll then add a
teaspoon of plant milk. Give that another quick whisk. And then we're going to add
192 grams of plain flour, teaspoon of baking powder on a two teaspoon of baking soda. The combination of
baking powder and baking soda is essential in
cookies because it helps a certain rise and a
certain level of fold get that really nice chewy texture
you want in the middle. Add in a handful of
chocolate chips. At this point, you can also
add in any add ons you want, like crushed Oreos, Biscu. Anything fancy? Really nice
recommendation that I find popular with customers is
white chocolate and raspberry. Feel free to add your own
twist and get creative. Next, we're going to
just very gently combine our mixture with a spoon
to big metal spoon. Fine. Okay, so that's about
the texture you want. It looks a bit crumbly still, but what you're going to do
is you're going to go into your hands and you're
going to make it into cookie dough balls. And as you bring it together, you will see it
sticks really nicely. It's not soggy, it's not
too dry and crumbly. It should just come
together nicely in your hands into a nice
cookie dough ball. This is also the point where
you can just go ahead and eat all of the dough,
not that I ever do that. Next we're going to put the
mold onto our baking tray. Make them as big or small as
you want to find recipe ten. So if you want to met the
big or small you can. You might just have to adjust
the cooking time slightly. As I said, if you
want to use two trays to spread them out a
bit more, feel free. Okay. So as you can see, this is made ten really nice
sized cookie dough balls. Perfect texture, not too
soft, not too crumbly. I'm going to put
these in the oven at 160 degrees for 10 minutes, and that should be plenty
of time to finish them off. We'll go through a little check at the end to make
sure they're perfect. Okay. Now, it's been 10 minutes. We're just going
to get the cookies out the oven, see
how they're doing. Okay. If they go, I say, these need about
1 minute longer. You really don't want
to over bake them. The secret is to under bake, these are just a tiny bit too high, not quite flat enough. So we're going to put them
in for another minute or two and then see
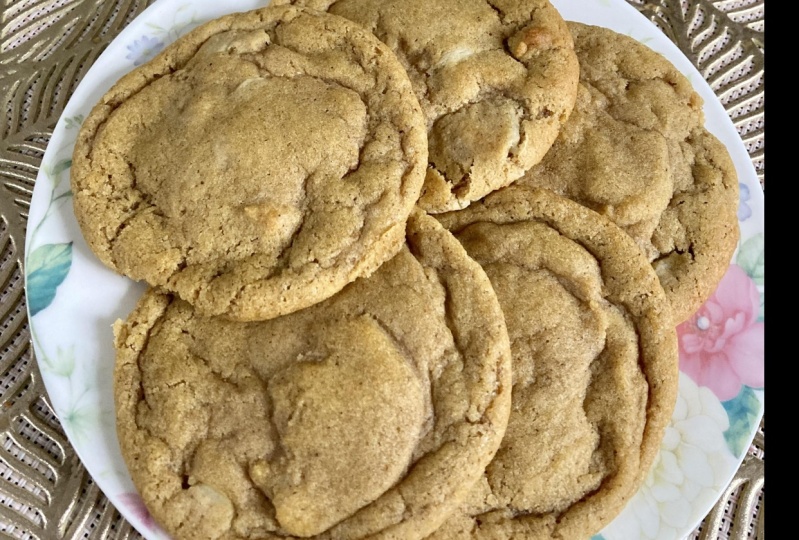
how they're doing. There we go look at
those. They are perfect. We're looking for a
nice pale golden color and a slightly soft touch. You might think they're a
little bit underdone just from the color and
how soft they are. But just like the brownies, they will harden up as
they call and you will get that really nice
chewy doughy center. Make sure you leave
them to call completely as nice as hot cookies are, they will just fall apart
if you try to eat them now. So yeah, wait till
they're completely cool, you can take
them off the tray. They'll call a bit
quicker and yeah. Okay. So that's how
cookies all finished. In terms of flavor, you
can get really creative, add whatever you fancy. These make really lovely gifts. If you want to put them in nice little bags or some ribbon, make really nice Christmas
or birthday presents, They're absolutely
delicious and I could eat all ten in one city.
6. Class Project: Hi everyone. Thanks
so much for joining me as part of our class
project on Skillshare. I'd love for you guys to send in some of your own
bakes you've done. These can be the
same as the recipes we make here in
our lessons today, or they can be your own twist. Feel free to get
creative and add in your own flavors to
make something that you really love and
is personable to you. Send in the photos,
We can have a chat. In the comments,
you can say what went well, what you
could do next time. And we can even share
recipes together.
7. Outro: Okay, so there you have it. That's been our plant
based baking course. I really hope you took something
away from this course, whether you made one
or all three recipes. I hope you found something
that you really love. Maybe even something you
can put your own twist on. I'd love to see what you come up with as part of
our class project, if you like, kick a legal
review for this course. Let me know how you got on
how you found the course. It was easy. Was it difficult?
Are used to baking. Are you a total beginner?
How did you find it? I'd love to hear about
it in my school profile. You can find links to
my classic cakes made, vegan, Instagram and Facebook. I post there all the time kind of like what
I make day to day. My kitchen looks
like day to day. There's lots of
different recipes and flavors on there that you
can check out for yourself. If you want to take inspiration,
that'd be really cool. All in my profile,
you can even just Google plastic
cakes, made vegan. And one of my sites
will come up. Thank you so much
for joining me. I really appreciate it. It's an absolute joy to
be able to teach baking, and I hope that you've been able to take something away and make some yummy plant based
goodies at home for yourself. Thank you so much. I'll see
you later. Happy baking.
 Alice Barnes, Plant Based Baker