Transcripts
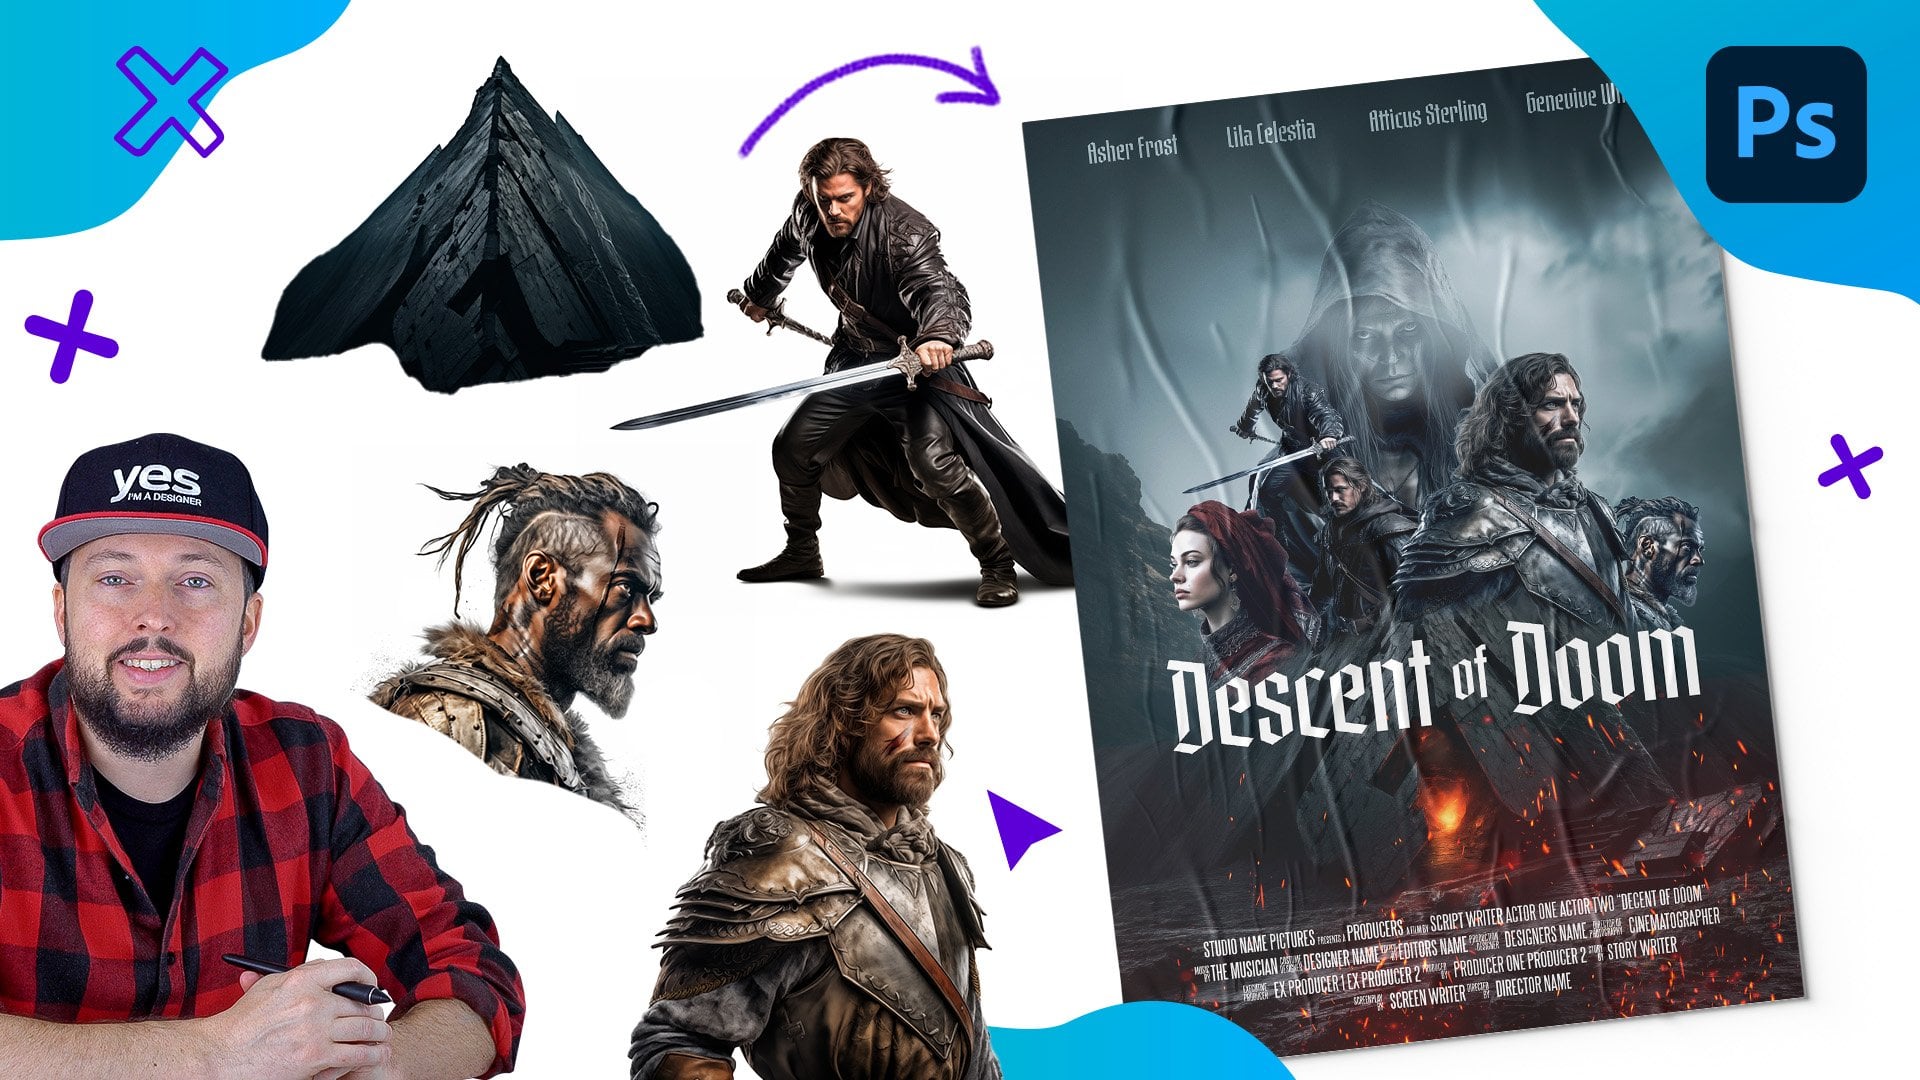
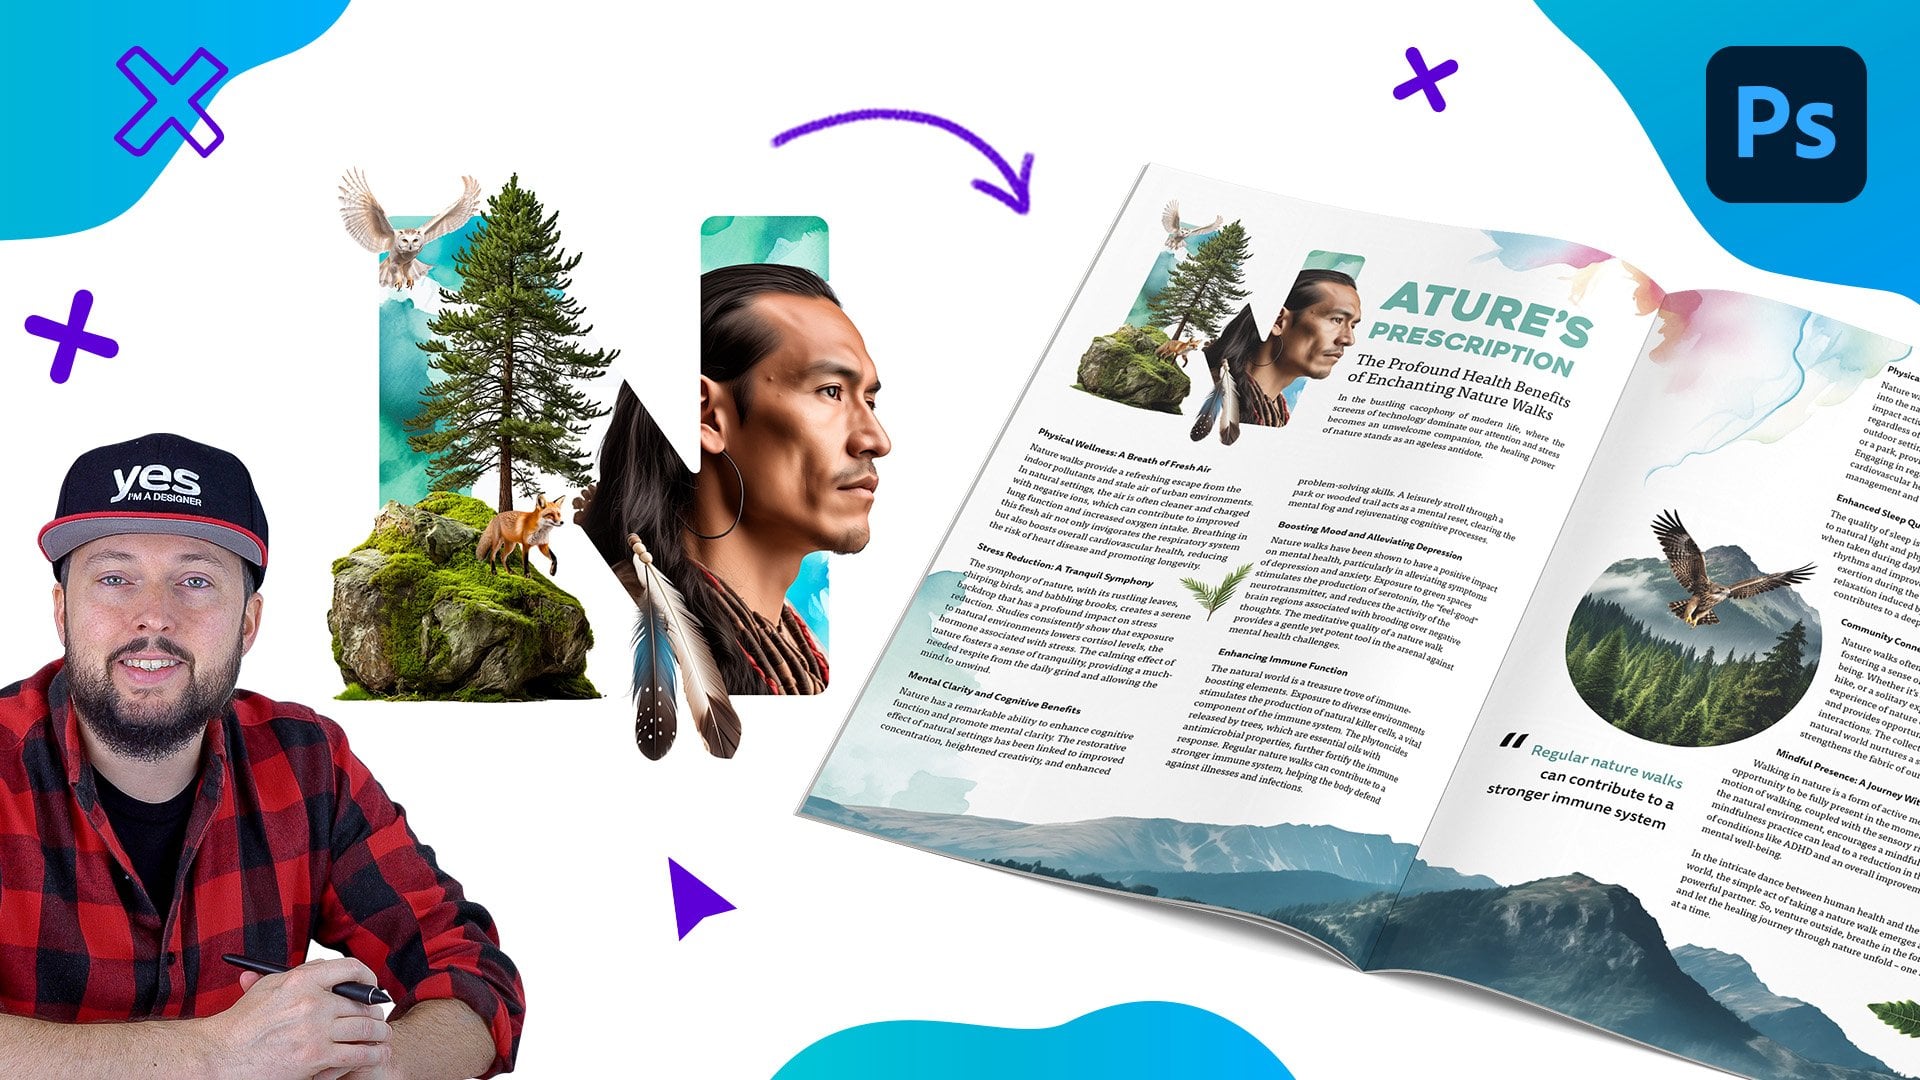
1. Introduction Mixed media: Welcome to the most hands on photoshop course
you've ever seen. This isn't your
typical feature tour. We are diving straight into
exciting creative projects, and you are encouraged to create completely
unique designs. This mix Media project. We will mainly be using
the Photoshop brushes. So I decided to use Photoshop on the iPad this time and
relying on the Apple pencil. However, if you
don't have an iPad, you will be able to
follow along using photoshop on the desktop or
even photoshop on the Vab. You will be able to complete
this project even if you don't have any experience
in drawing or painting, but it's going to be
a great introduction to the amazing world
of digital art. Whether you are an
aspiring graphic designer, photographer, marketer, or simply an individual with a passion for visual
storytelling, mastering photoshop provides you with the tools to bring
your visions to life. This course is perfect for you if you are new to
photoshop or if you are stelf told and ey to get more confident and
effective using it. I am Martin Purina, a certified adobe
expert and instructor with a design background
spanning over two decades. Throughout my career,
I collaborated with renowned clients
such as Disney, Mattel, Cartoon Network,
Nickelodeon, and BBC. Learn to use photoshops
latest features together with the
fundamental building blocks, like layers,
adjustments, selections, transformations, masking, smart objects brushes
and so much more. You can also future proof
your skills by mastering Photoshop's amazing
generative AI features. I am not just
teaching photoshops. I am empowering you
to express yourself, tell your story,
and create designs that resonate with
your unique style. This is your chance to
create work that is truly personal and worthy of your professional
creative portfolio. You can follow along with each project and
replicate my designs, or you can use the workflows
and techniques I show you and create something
completely different and unique. So are you ready to revolutionize the way
you learn photoshop? Your creative adventure with
Photoshop starts right here.
2. Workflow Mixed media: This mixed media project, we will mainly be using
the Photoshop brushes. So I decided to use Photoshop on the iPad this time and
relying on the Apple pencil. However, if you
don't have an iPad, you will be able to
follow along using photoshop on the desktop or
even photoshop on the ab. In case you are following
along on the desktop, you will be able to
work with a Musk. However, once again, it is
recommended to have a stylus like this small vacum intos pen tablet that
I'm working with. Because similarly to
the Apple pencil, these devices allow you to control aspects
of your brush like opacity and size with the pressure that you
apply on the pen nib. Like I said, it's
not a requirement to have any of these to
complete this project. They can just increase
your productivity and make the whole drawing
experience more intuitive. Just to show you what we will
achieve in this project, we will start with
this cool image, and we will keep adding
layers to it until we get to the final composition
that you've seen before. You will be able to complete
this project even if you don't have any experience
in drawing or painting, but it's going to be a
great introduction to the amazing world of digital
art, if you are new to it. So without any further
delay, let's get started.
3. Removing the background: For this project, we will start off with an existing image, so we will open that
up as a new document. To be able to do this, you have to choose the
import and open option here and choose photos. Now, first of all, you
will have to download whichever image you want to
work with onto your iPad. You can use airdrop for this if you are using a Mac computer, or you can just simply
use the links from the course and download them
directly onto your iPad. If you are working on
the desktop, of course, you can just open any of the images directly
into Photoshop. But here, I am going
to pick this image. I feel like this is going to be a really cool pause for the composition that
I would like to create. And the first thing
I am going to do is to separate this from
its original background. For this, I'm going to
use the selection tools. And within here, we will find
the select subject option. Now, you can also choose
the removed background. They pretty much do
the same in this case. And once you do this,
it will take a while, but eventually you
will get a selection, which then you can turn into
a mask with this icon here. So just tap on mask. And then you will see that
we have a fairly good mask. Now, if you double tap on the mask icon here in
the layer spanel, which, by the way, you can hide
if you want with this icon here on the right,
or again, show. And then there's also
the layer properties, which we will be using later,
which you can turn on. But as you can see, we have the mask view here just
like on the desktop, and we can take a closer look at all the details
around the edges, I believe, Apart from
most of the edges, there's some mistakes here. But the easiest way to
see these would be to actually place another
layer underneath this one. So as you can see,
I just tapped on the mask again just to
reveal what we have, and to create a new layer, all we have to do is to just tap on this plus cyc on here, and then choose new layer. So this is just an empty layer, and now we will drag it
underneath the other layer, which has the image, and then use the paint
bucket tool, and a color. I'm just tapping on
the foreground color. And in this case, I'm just
going to use something like a very strong vibrant color like purple or pink and tap
on the background. So this way, I can really
preview my selection. And I noticed that there
are actually quite a lot of issues around the hair as
well, here around the arm. So these definitely
we have to fix. Now, let's select the mask here, the black and white thumbnail, and then use the brush tool. With the brush tool,
make sure that you have the default
brush selected. So tap again on the
brush icon and go up and select the
hard round brush. With this one, we
will be able to paint with black and white. Black hides white
reveals details. And here on the left side, we can control the
size of our brush. I will make it a little
bit smaller like that, and the hardness
should be set to 100%. So now if I draw,
it looks like that. And to quickly switch
between black and white, you can just drag up and
down these two icons here, so that's a quick way
to flip back and forth. Now, to reveal the details
that we lost here, I'm going to paint with white and just paint over
this part here quickly. And until we have all
the details necessary, then switch back
quickly to black, reduce the size of my brush, and then paint over the edges. Now, don't forget
that on the iPad, you can easily rotate your view. And that way, you can have
better access to these angles, So, let's just rotate around. I like always to have a
left to right motion with my brush because
I'm right handed and going up instead
of going down. That's always the
easiest way to create these nice smooth lines that
you can see on my screen. And I feel like that looks
already much better. Now, let's take a look
at the other side. I feel like here we can
also reveal more details. So once again, switch back
to drawing with white, make the brush a little bit
bigger and start painting. I think around the
edges we can go over these parts that
already looks better. Let's paint over some
more details here, and maybe a little bit
more here as well. And this is why I like to use a strong color because it's always easier to
spot the mistakes. I feel like that looks quite
good now around the shoes, I would like to
hide some details, so I set it back to black. And this is actually
the original reflection of the shoes, so we can get rid of that. It's okay if you
lose a little bit of the detail of the original
shoe in some parts. I don't think that matters much. Like even this whole bit
here, we can remove. You can judge whether
you need detail or not. Now, this is shadow
which we can remove. Again, I'm trying to draw
these nice smooth lines. But if you feel
like you would like to have more smoother lines, you can also tap on the additional settings
here for the brush, and you can increase
the smoothing. So when I do that,
While I'm drawing, it automatically creates
a more smoother result. So with that, I can draw
over this part here, and I feel like that
looks already better. I can leave a little bit
of this black detail or I can decide to
remove even more of it. Something like that. Now let's
move on to the other foot. Again, I keep rotating my view, make it always comfortable
to paint over. Again, I'm just going to
paint over this section here, and you can see
how the smoothing really helps to keep
my line smooth. I can paint over this part
a little bit further. And then all of this, I
would like to remove. So I will just reduce the size a bit and then paint
over this part. Like, so and I feel like
that looks quite good. Now on the right side, there's a lot of little details here, which I'm just going
to quickly tidy up. I don't actually need
this in my composition. And by the way, if you are
using an iPad, of course, make sure that you have the pressure
sensitivity turned on. So this togo should be set
to use pressure for size. You can also use it for
opacity, but in this case, most of the time with hard edges when it comes to masking. You don't need the
opacity to be affected by the pin pressure that could work when you have
soft edges like hair, and I'm actually going
to remove all of this. I don't think this is necessary. We will have lots of
interesting details in the composition without this, so we can just get a
nice and even line here. Of course, I want to
keep it more organic, so the creases and
folds in the trouser, I still would like to maintain, which works quite nicely. And then here on the
left side, again, I'm just going to
go over the edge very quickly, take
off this as well. I don't think we need this trap, and I think that looks
already quite good. Now, the hands need
to be tied up a bit. Again, I'm just going to
paint over that quickly. Here. There were some
details here that were unnecessary
like that bit there. We also have a few details here. Let's just make the brush
a little bit smaller. So I can go over this. Okay. Let's get rid
of these white bits. And then here a little bit more. Yeah, I feel like that
works quite nicely. Now, the right hand, which is here on the left side, is the clear indication that this has been
created with AI. Usually, the hands are the most obvious mistakes that
generative AI tools make. So in this case, we will have to hide this somehow or at
least improve it a bit. So I'm going to paint
over the fingers, make it look like it's actually a human and not
just a mess here. So I am going to separate the fingers a
little bit like that. And then actually, we can
remove this finger here. So that's a tell tail
sign of AI whenever you have have more fingers than necessary or more
hands in some cases. So okay, that feels a
little bit better already, something like that.
That's the thumb. And then I'm just going
to switch back to white. Just bring back a little
bit more detail here. And maybe we can hide
this finger completely. And just have a little bit more
detail removed from there. Let's try. Make
this to bit bigger. I feel like from a distance,
this is going to work. Of course, if you have
a little bit more time, you can refine it even more. But what we still need to fix
is the hair for which I'm going to make sure that the most omal is still selected
in the layers panel, and then click on these
additional options here and choose refine edge. Once you select
that, You can change the view mode on black or on
white, whichever you prefer. In this case, I feel like on black would
work quite nicely. And then make sure you have the plus brush selected
here on the left side and start painting over any details that you feel like
need to be improved. So some parts where you still see white the
details of the hair, just paint over that. So that's obviously still parts of the
original background. There's a bit there,
a bit more here, a bit more there, and maybe
a little bit more here. Okay. I feel like
that looks already much better so we
can just press done. And then just using
my brush tool, I'm going to quickly
paint over these parts here closer to the top where we had the
strong highlights. I feel like the hair needs to
be visible all along here. Let's just take a look if I recover that whole
section there. Yeah. I feel like all of
that should be visible. And once it's revealed, I can switch back to black
and just paint over it, and I'm going to
actually simplify this edge a little bit,
something like that. Let's zoom closer, maybe make the brush a little
bit smaller as well, and then try to keep it more
organic here on the top, but still nice and smooth. Okay, that looks
much better already. Now, the rest of
these dreadlocks that we have here could
be improved further. But for this example, I think this is already
good for the selection. And it's time to change the background color
now, so I select that, go back to the
paint bucket tool, and I'm actually going to use a gray color for the background. Something like this. So let's just tap on the background now. That's a good starting
point for us.
4. Painting: From this point on, we will do everything on separate layers. And this is where
the real fun begins, because we are going
to start painting. So I'm going to tap on
the new layer icon, create that layer, and
choose the brush tool again. But this time, we are going
to switch to another brush. So double tap will
reveal the brushes. And I'm going to use only the default brushes available in Photoshop
on the iPad. But of course, if you ever
want to add more brushes, you can just tap on
the plus sign here and choose discover new brushes. There's loads of amazing
brushes that you can import. But like I said, to make things easier, I'm going to stick to
using the default set. And the first brush
that I'm going to use is called 60s background. Just select that. And
I'm going to change my color to something like
a nice vibrant orange. Now let's see how this looks. I quite like the way
this looks already. And with this, we
can start painting. But to make this work better, don't forget to
change the smoothing back to probably
somewhere around 10%. Okay. Now let's draw
some more brush strokes, maybe a little bit bigger brush, something like that,
let's keep drawing. I want to keep drawing these
brush strokes upwards, so create like a
triangular composition already with my brushtokes. Something like that, almost
like a cape for this dancer. Then let's find a nice
complimentary color. So I'm going to click on the foreground color and
maybe get this scan color. Now with this one, we can
draw a few more lines. I'm just going to
make this a little bit darker blue,
something like that. So let's just draw
a few more lines. See how nicely these
two work together. By the way, as you can see, we are drawing
behind the dancer. So the layer I create
is underneath it. That just makes it easier to have this composition
come together. I think that already
looks quite good, so it's time to
choose another brush, and we can actually do
this on a new layer. So I'm going to tap
on plus new layer. And here again, I'm going
to switch to another brush, and this time I'm going to
use the mixed splatter. Now, if I paint with this one, you can see it
creates the slats, but I actually like
to use this in a very large size like this. Let's switch the color to
a darker purple like this. Maybe make it even
darker, and let's try it. Okay? So that looks quite cool. We can add this here
on the corners, and also at the bottom. Okay. So we just add a little
bit of this texture here. We can make it even larger and then just add a few
more blobs on the top. Then let's switch
the color to yellow. I want to use a nice
vibrant yellow. With this one, again, we can paint over the top. You can see I'm just doing very random brush strokes to place these
down on the image. That looks quite nice. Let's
see without this layer. And with, you can
see how much it added already to
the composition. Maybe I'm going to use
the eye dropper and pick one of these blue colors
that we used before. And going back to
the brush stroke, we can paint a little
bit more with that. Be one here at the bottom, one on the corner,
on the top as well. And I feel like that is coming
together really nicely. So now it is time to create yet again another layer
plus new layer. And this one I'm actually
going to put on top, so above the dancer. And I'm going to change
my brush this time to be either natural
edge or brush pan, whichever you prefer or
even the Sumi tilt is good. Let's just see the
difference between them. I will demonstrate this
zooming a little bit closer, maybe make the brush a
little bit smaller as well. So that one is the natural edge. This is the brush pan. It's much cleaner. So it's a nice
calligraphic brush. As you can see, I can vary the intensity But I want something with a
little bit more edge. So I'm going to use
this Sumi tilt, and I feel like that
has that grungy feel to it that I wanted to
achieve in this composition. And with this one, I'm going
to draw a few motion lines. So I'm just going to emphasize the motion almost
like in a cartoon. So have some lines around the shoulder,
something like that. We can just have a few scribbles as well on the composition, which later is going
to come together. There's some lines
here at the bottom, maybe, few additional
lines here. Okay. That's nice. And now let's switch to white. So I'm going to revert
back to white color, make sure that that's
my full ground color. And then once this is selected, we can actually start
painting around the edges, almost like painting the
details of the image, painting over these creases, maybe a few of them. We can also draw
ad the edge here. Just to emphasize these details. Some scribbly lines. Almost make it feel like it's
partially like a drawing. Again, we can have
some details there. Even the hair, we can
have some details coming out just like
extending these dreadlocks. And you can see this
is why it wasn't that important to have a perfect
selection on the hair, because we will be messing
around with it anyway. Yeah, that looks quite nice. We can have some lines around the arm as well, maybe here. Okay. Just don't go over every detail because
then it will be too much over the top. We can have some lines
around the foot. Make it feel like
there's some motion there also around here. Just draw very
loosely and have fun. Nothing has to be
exactly the way I do it. Now it's actually time
to add some texts. This is completely optional. You don't have to do this, but I quite like to have some
text in the composition. So still using the same brush, I'm going to type move up here, then write your below the arm. And then on the right side, I'll just turn my canvas a bit. I right body. Down here between the
arm and the body. I will right and sole. Yeah, something
like that. I feel like that looks quite good. I maybe just draw a few arrows pointing here, pointing there. Again, trying to
emphasize the motion and even some motion
lines leads the text. This bit of perspective as well with these
lines we can achieve. That's nice, and then
let's do the same here. I'm using a very
subtle pressure here. I want to keep these
lines very thin. That looks quite nice. Then maybe we can
add a couple of thicker lines as well
just to have contrast. A couple of thicker lines
on this side as well. In between the thinner lines. Yes, I feel like
that looks good, and then we can just do a couple of additional
little scribbles, like a few Xes here and there, a few little scribbles. Just some random stuff to
make it more interesting. And then last but not least, I would like to add
one additional layer again on top of everything else. And for this, I'm going
to switch back to that other brush we used
before, the mixed splatter. Select the eye dropper
and pick one of these colors maybe this
purple from the background. And then with a large brush, I'm going to paint
over the image. But this time, we will change the bland
mode of this layer. And this is why we need
the layer properties. So this icon, once
you press on it, you can find the
bland mode options. And I will probably use
color dodge for this, which looks really cool. But again, you can experiment with the other options here. Linear dodge is nice, overlay is also good, but I think I will
stick to color dodge. So that really adds a lot
of vibrancy to the image, and we can just paint
over a little bit here. P as well down. And then let's use the
eye dropper again. Pick this orange
color for a bit. With that one as well, we
can paint over some parts, maybe around the hair around the bottom here or even around the edges,
you can use this. Again, use the eye dropper
and pick a nice vibrant blue. And again, just paint over
some parts with that. And maybe another brush
stroke around here. That looks really cool. Whenever
I don't like something, I just use two finger
step on the iPad to undo. Let's just do some here. Yeah. That looks nice. And yeah, I feel
like that is enough. So let's see before and after. This layer, as you can see, just really helps to bring
all the details together. So it creates this more vibrant, high
contrast composition. In case you you can also
use this around the edges, just to add some
interests there. And I feel like we've
done a good job. It's already looking quite strong with all these
layers that we added, we built up all these
effects on separate layers, so it's easy to go back
and make adjustments, changes if we wanted to. But I think we can
stop at this point.
5. How to export your work: In case we want to export
this work from the iPad, we could click here on the top and choose
publish and export. But don't forget
that since this is automatically saved
into a cloud document, the next time you open up the desktop version
of Photoshop, you will be able to pick it up exactly where you left off. So you will have all
layers, the mask, and you can just add some additional changes or adjustments using your
desktop computer. That's the great thing
about cloud documents that you can jump back and forth between different devices and even in different locations, wherever you are logged in to your Adobe Creative
Cloud account.
6. Conclusion: Well done for
finishing this course. I hope you had just as much fun going through it as
I had recording it. And of course, don't forget
about the class project. Because remember,
practice makes perfect. I can't wait to see your work, so make sure to submit it. And in case you
like this course, and you would like to
learn more from me, then there's plenty of other courses that
you can find here. Go ahead check them out now. I can't wait to meet
you in the next one.
 Martin Perhiniak, Graphic Designer, Illustrator & Educator