Transcripts
1. Intro: In this course,
we're gonna go over the DSLR camera basics and how to use a camera with an interchangeable
lens more efficiently. And the three settings needed
to make a better photo. By the end of this
course, you're going to be more knowledgeable about your camera and how
to take better photos. So without making
any way any longer, Let's learn about the
DSLR camera basics.
2. Class Project Overview: Welcome to Photography and more specifically the
DSLR camera basics. Before we get started, I want to talk about
the class project, and this is going to be
available for you to download. And you're gonna be
able to work on it while you watch this course. Or you can work on it after
you're done watching this. It is a quiz and
it will show you what you've learned
throughout this course. And I encourage you to
upload it. Once you're done. If you have any questions, please feel free to message me. I would love to help you if
you're struggling or if you need any help when it
comes to this project.
3. 3 Fundamentals: Let's talk about the
three fundamentals of taking pictures
with our DSLR. The first is shutter speed. Shutter speed is how
fast we take a photo. And typically you'll see
numbers like 1/60, 41/200. When it comes to shutter speed, 1/60 is slower than
1/200 aperture. Now, this is how blurry we want our background besides the
subject that's in-focus. So if we want a
blurry background will have a lower aperture. And if we want a less
blurry background or a more focused background, we're going to have
a higher aperture. So e.g. an F18, referring to the aperture
that is the lower number. When it's an F18 aperture, we're going to have
a blurry background. When our aperture is F117, our background is going
to be more in-focus. It will be less blurry. The last fundamental we're
talking about is ISO. So this is artificial light
that we add to our photo. So numbers, you'll see our
numbers like 100 and e.g. 800. And ISO of 100 is a lower number and provides less
light than ISO of 800. Again, ISO is artificial light. We want to have a lowest
number of this as possible. Now questions to ask
when taking your photo. Is the subject moving? If your subject is moving, that is going to deal
with your shutter speed. That's how fast we're taking our photo when it comes
to how is the lighting. This is going to
deal with our ISO. How much light do we need
to add to this image? If any? Remember, we want our ISO
to be as low as possible. What do I want in-focus? Do we want our image to have a background that's blurry or a more in-focus
background that we can see the trees or how
the mountains are. Where do we just want our person that we're taking a photo of to be in focus and
the rest is very blurry.
4. Types of Photography: When it comes to taking
portrait photography, the types of conditions
that I'm usually in is the person is standing
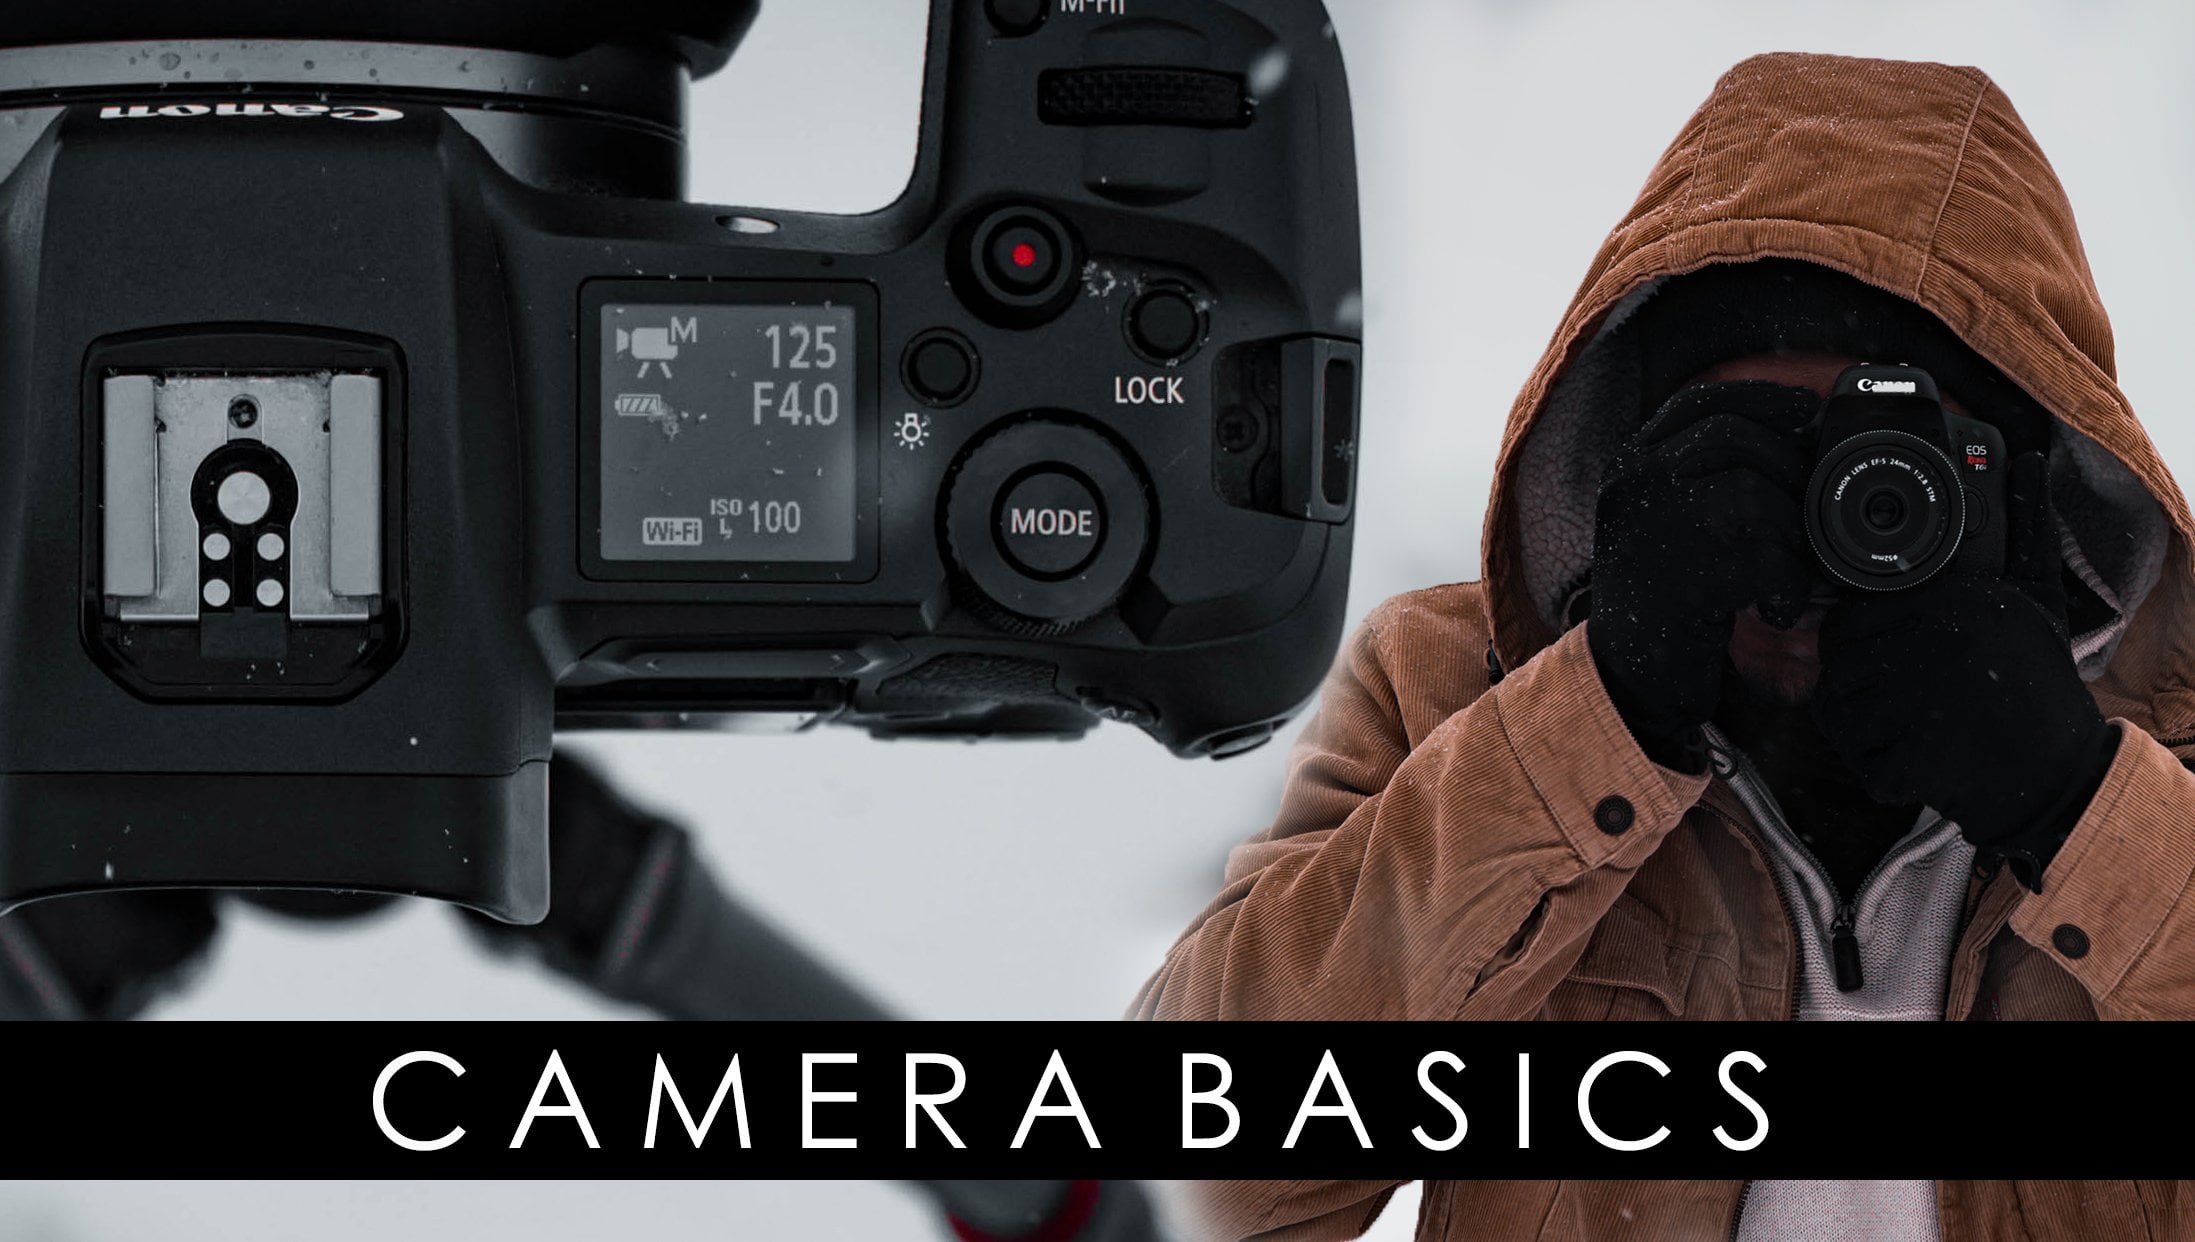
still there posing, and it's a really sunny day. My typical settings for portrait photography is probably going to be a shutter
speed of 1/400, an aperture of 1.8, and an ISO of 100. Now let's talk about why I
have these types of numbers. Starting from ISO
101 is a sunny day. I keep the ISO as
low as possible, which are for my camera
is an ISO of 100. When it comes to aperture, I prefer my portraits to
have a blurry background. So an F1 0.8 is going
to be perfect for that, the shutter speed is
going to be 1/400, which is a very high number
when taking a photo, it's going to be very quick. What's great about this type of portrait photography is that all I have to do is set my ISO
and my aperture one time, and the rest is up
to shutter speed. This will determine
how much light we're letting in our camera. We let in less light the
higher our shutter speed is. So 1/400 does not let
in a lot of light. It's a very quick photo
while aperture is an F18, this lets a lot of
light in our camera is wide-open and
receives a lot of light. Iso of 100 has an artificial
light that it's adding, but it's very, very small. Let's move on to
family photography. The more people, more people
will be in this picture. So we're probably going to
need a higher aperture. I typically use a
three-point five aperture to be safe with this
type of photography. The reason why is because
it will still provide a pretty blurry background with some of the background in-focus, but mostly just the people. This is because I
don't want any of them to be out-of-focus
because you will be able to tell shutter
speed is going to vary because All portrait photography and family for top photography, they could be moving
in this image. If they are, the shutter
speed is going to be higher, such as 1/200 if they're moving or 1/60 if they're
staying still. And our conditions will always
make this depend as well. As I mentioned with
portrait photography, with my shutter
speed being 1/400, that's the last thing I'm
adjusting during my photos. So again, shutter speed varies because it's the last
thing I'm adjusting. And shutter speed is how fast
we're taking our photos. We want the ISO to be
as low as possible, especially on a sunny day, the sun is providing the
light that we already need. So ISO is not needed
in this scenario. If it was a cloudy day or
getting dark at this time, we probably want
to add some ISO. And I really don't recommend any more than 800 if possible. Let's talk about weddings. The shutter speed
is going to vary the whole day as well
as aperture and ISO. Now you may be thinking, well, this isn't very helpful. And I understand
why you'd say that. Because your settings are
going to change throughout the whole day with the bride
walking down the aisle, we probably want our shutter
speed to be 1/200 or higher, just in case we
don't want her to be blurry during this time. We want her to be in focus. This is one of the
more important shots of the whole event. Of the whole event. If we want just the
bright to be unfocused, I recommend an aperture of 1.8. If we wanted the
people in the audience or the people looking
at her in focus, I recommend a higher aperture, such as 3.5 or higher,
maybe even 5.0. As always, you want the ISO
to be as low as possible. This can be tricky though, because some couples have their weddings in
low-light settings, e.g. they want a dimly lit building that makes it harder
for photographers, because that means we're
going to have to sacrifice somewhere in our
three fundamentals. If we want our bride
to be walking down the aisle and we want to capture her and
her not be blurry. We want our shutter speed to be a pretty decent
number, so 1/200. But the higher our
aperture, e.g. 1/200, That means we're
sacrificing less light to enter the camera
when it comes to aperture at a one-point eight, that means we're allowing
more light to enter the camera because
it's a lower number, a higher aperture, while it
has more things in focus, will allow less light
to enter the camera. And then of course with ISO, I really don't recommend
anything over 800 because you notice things are going to start to
get more grainy. And that will sacrifice
our images quality.
5. More or Less Light: Let's talk about more or
less light. Shutter speed. When it comes to shutter speed, 1/60 is allowing more
light to enter the camera. Because we're taking a slower
photo rather than 1/400, we allow more light to enter
the camera when we're taking a photo and it's 1/400
for our shutter speed, we're taking a
really fast photo. So that makes it harder
for light to enter in because it is even
quicker than 1/60, so less light will enter
and hit the camera. Let's talk about aperture. Aperture is how much
light we lead in through the ring with
an aperture of f 1.8. We allow more light because
the ring is going to be as open as it can
be, or even more. There are cameras
that even go to F12 that's even more
light than f 1.8. When it comes to F11, we're allowing less light
to enter the camera. And this will have a more
in-focus background rather than F18 because we're going to have a blurry background and we
have more light entering ISO. Iso is artificial light. And we don't want
too much of this because whenever we
have an ISO of 800, we're having more
light for our image. When we have an ISO of 100, we have less light
entering the camera. But remember ISOs,
artificial light. We don't want too much
of this because you'll start to notice our image
becomes more grainy.
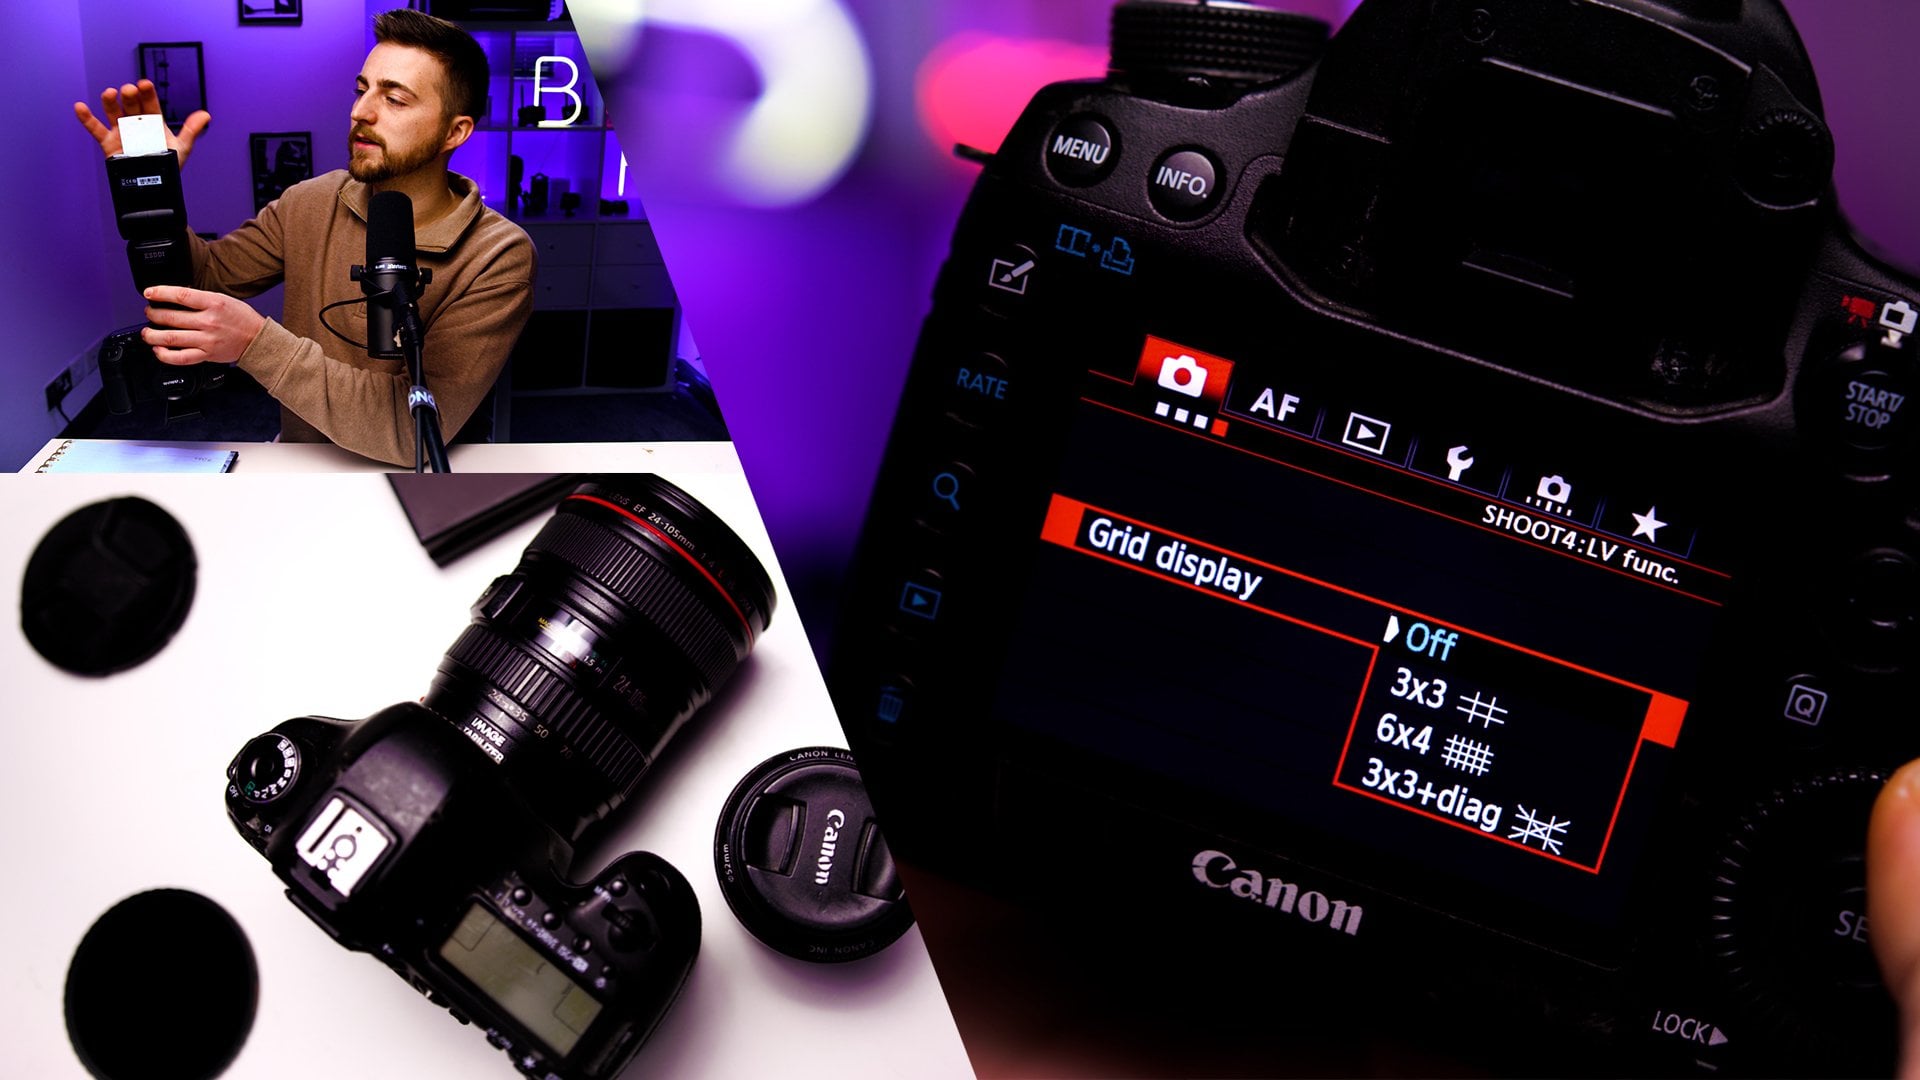
6. Getting a Visual: Let's get more of a visual on shutter speed as we see
right here with this image, the faster we're
taking our picture, the more sharp our
subject is going to be, the slower we're
taking our photo, e.g. 1/50, 1/2, or even 1 s long, our subject is going to become more blurry
if it's moving. But something also to look at. The more blurry our subject, the more light you let
him sharper our subject, the less light we're letting in because the faster
we're taking the photo, but less light that we're
allowing to enter the camera, the slower our photo. So even 1/50 years allowing
more light rather than 1/1000 when it comes to
the size of the aperture, the lower the aperture, e.g. F2, 0.8 is going to let more light in
compared to F6 team, as you can tell, the lower
the number of our aperture, the larger amount of
light we're letting in. But we also have to remember
the more light you let in, the more blurry our
background is going to be, the higher our f-stop or the
higher our aperture number, the less light we're letting
in when it comes to ISO, the lower our ISO, the less greening our
photo is going to be. Because remember, ISO is artificial light that we're
adding to our camera. So the higher the number, the more artificial light
we're adding to our photo. So if we were to max out
our camera to 25,600 ISO, it's going to have a lot
of light added to it. But the issue is the amount
of grain that we're adding, It's not going to look
like a great photo.
7. Thank You: Thank you all so much for
watching this course. Don't forget to upload your
class project to the Projects and Resources tab in the
description area below. That's where you can
find your class project where you can edit
the photo I have submitted there
and show what you have learned throughout
this course. You can always start
a discussion in the discussion tab
with other students, talk about what you've learned and what you'd like to learn. And if you have any questions, please feel free to message me. I love to answer any
questions you may have.
 Triple Mango Threat, Photo & Video Editor