Transcripts
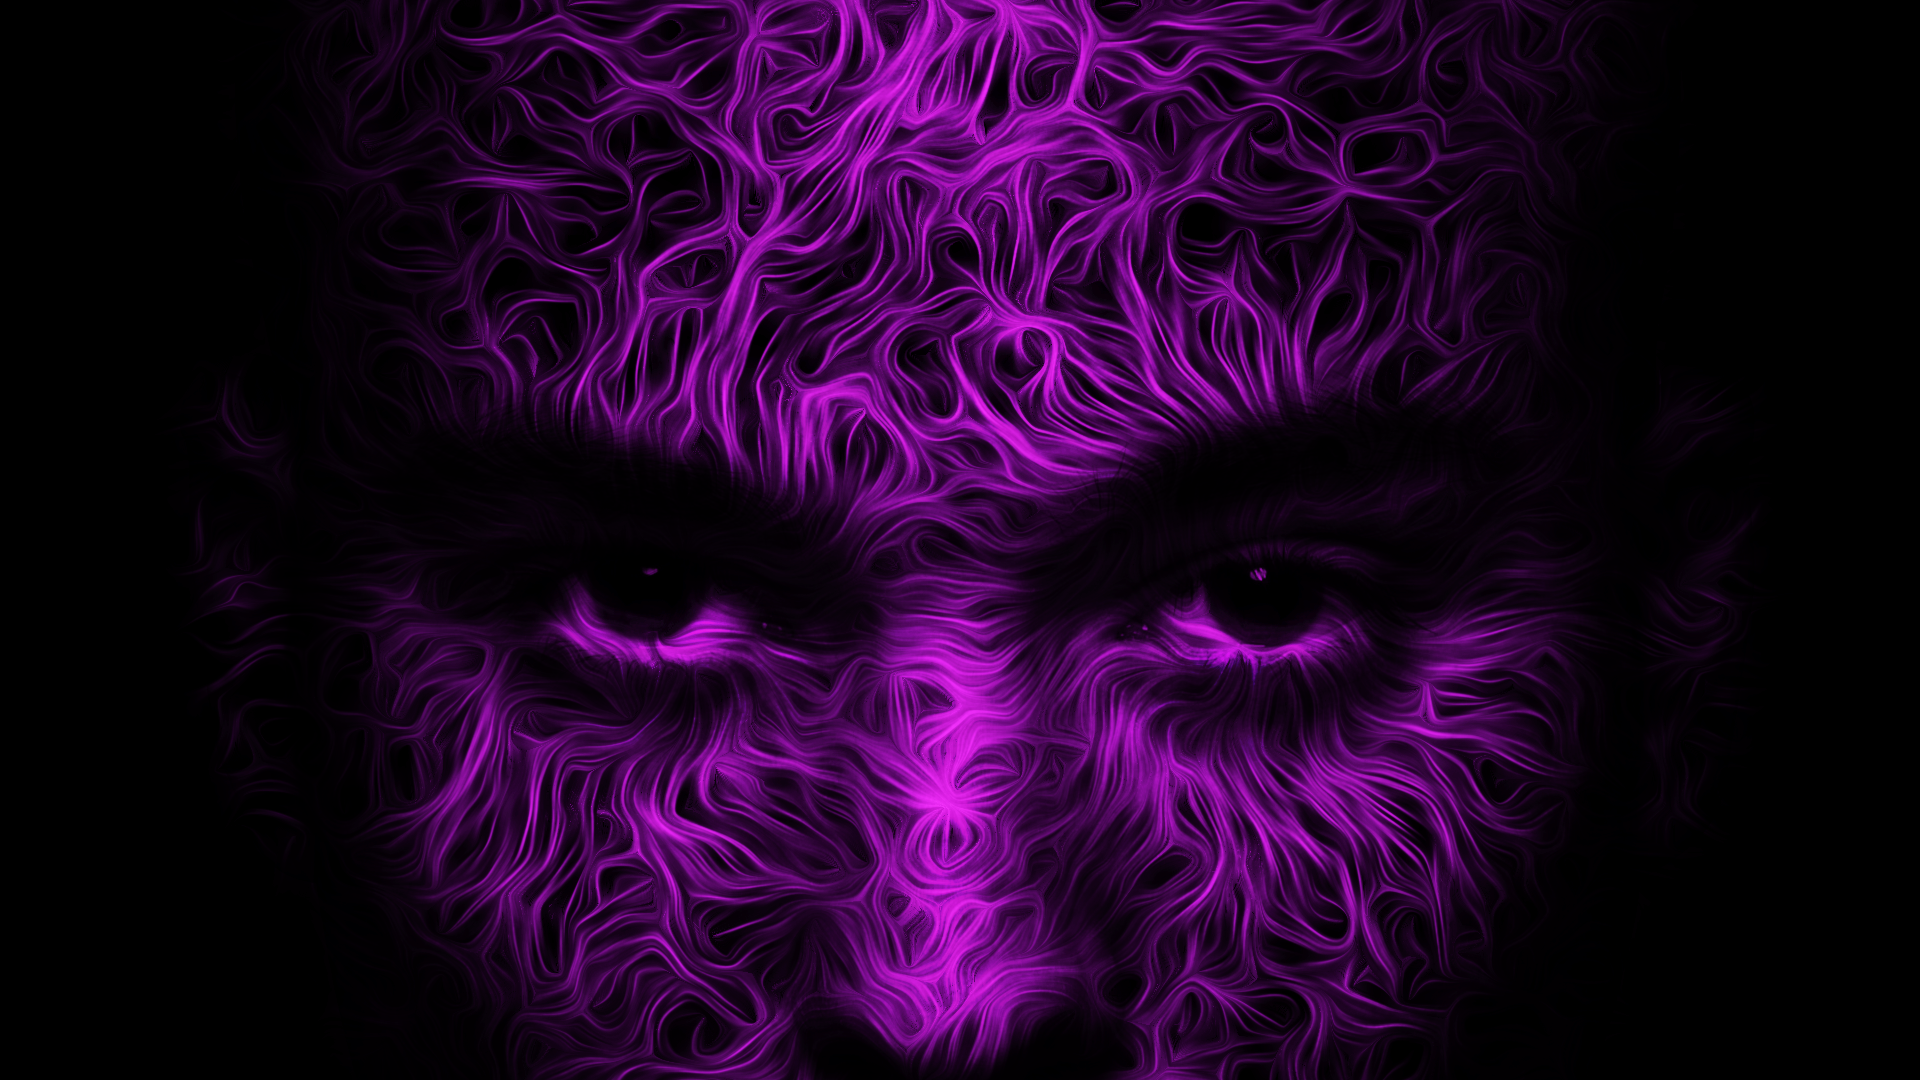
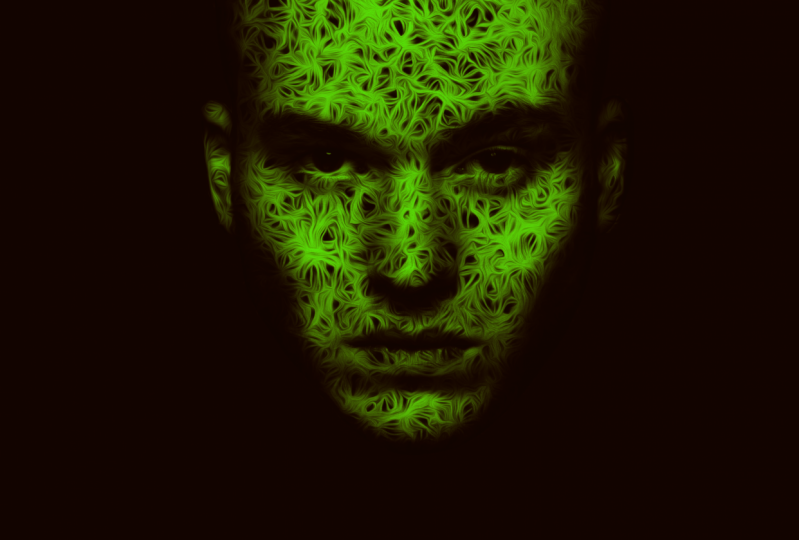
1. Intro About: This is Adobe Photoshop, the most advanced photo editing software into war. And this is what we are going to create this Skillshare class. Hi, I'm, I'm a graphic designer based in Belgium. And if you're a complete beginner in Adobe Photoshop, or maybe you just never opened the software before. Then this class is for you. Even though this looks really complicated for a beginner, trust me, it's not. If you follow each step, then at the end of this class, you will be able to create something like this. First, we will isolate the subject from the background, then we will create a custom brush. And for the last part, we will apply this effect using a Photoshop filter. Now I'm Jamie in this class and let's have fun together.
2. Introduction: Welcome and thank you so much for joining this class. I'm using the latest version of Adobe Photoshop, but you can use older versions as well. Now in order to have the best experience, I've recommended to use at least at 22. If you want to see which version of Photoshop you are on, then open the Creative Cloud app. Click on All apps and find Photoshop. Click on More Actions and choose ordered versions. Here you can see a list of different Photoshop versions which are available for you to download. I wanted to follow along with me. So that's why in the project section you can find the link to the image from this class. I will also love to see what you have created. You can share your image into project section and get feedback from me and from other students as well.
3. Isolate the subject from the background: It is Photoshop home dashboard. The first thing we want to do is to import the image into the workspace. Click on Open or press Control plus or select the image you want to import and press Enter or again, click on Open. Great job. You just completed the first step. Now let me give you a quick introduction to the tools we are going to use in this lesson. Let's start with the zoom tool. With the help of this tool, you can zoom in and out. To select the zoom tool you need to present, or you can find it in the toolbar. To zoom in, click ones or more on the canvas. And to zoom out, press and hold Alt on Windows and Option key on Mac, and then click on the canvas once or more times. And thus it to next tool is the hand tool. This one works only if you have zoomed in. It helps to navigate through the Canvas. And its shortcut key is, if you want to work faster than present hold space bar, and at the same time, click and move your mouse. The next tool is one of the most hated pools by beginners. There isn't. It's hard to master. Its name is the Pentel. Unfortunately, in this class, we are not going to focus too much on this tool. But I will show you some basic steps that will allow you to follow and finish this project by pressing the letter C on your keyboard, evil select the crop tool. This tool will help us in this lesson, make the canvas smaller. Or next step in this class is to create a selection around his head. This selection will help us create a mask. And to do that, we will use the Pen tool, which is in this case, the best tool to create a selection. Press the letter P on your keyboard to select the Pen tool and then click and add an anchor point and then drag to the left. At the same time. Use the hand tool to move the canvas to the left as well. So try to duplicate what I'm doing right now. It's a selection does not have to be perfect. If you did a mistake, you can go back anytime by pressing Control plus Z. To undo. Well, to complete the selection, you need to unite your first anchor point with your last one. To zoom out like I did press Control plus 0 and now press Control Enter to create a selection. If you see this dashed lines, it means you have an active selection. If we have an active selection, then click on this mask icon to create a layer mask. Now I think the canvas is too big. So let's select the crop tool, which will help us make it smaller. Click on this line right here and move your mouse up exactly like I do. There is one more step to do in this lesson, and thus to create a background. Click on this circle right here and choose Solid Color. For now, pick the white color. Click Okay, and go to the layer panel. Click on the color, fill one and drag it behind the layer 0. Congrats for completing the first lesson. If you are a beginner, I strongly recommended to exercise with the Pentel. I know it's not easy, but only by exercise. You can master it. See you in the next lesson.
4. Create a Custom Brush: In this lesson, we will create a custom brush, Veneto brush to draw like this. And the best news is that in Photoshop, creating a brush is very easy. And most of the time, you don't need any external resources to do that. So create a new empty layer. Hide the layer 0, and now select a brush tool and go over here and click this arrow. Make the size of the brush one pixel. And now let's try to draw something and see how it looks. And now try to draw some abstract lines like I do. If you want to scale up the lines, then press Control plus T to transform the layer and take a coordinate and move your mouse up to the right. Next, we need to select these lines and go to the layer one. Press and hold Control, and click on this transparent rectangle. Now, go to Edit and choose Define Brush Preset. Here we can name our brush. Congratulations, you've just created a custom brush in Adobe Photoshop. Now press Control plus D to deselect the active selection. Great. Now let's test our brush. Well, it looks okay to me. So let's remove the layer one. You can press, Delete or click and drag it to this trash can icon. Create a new empty layer and bring it on top of the other two layers. Activates the middle layer and then reduce the opacity to around 50%. And select the first layer. But our custom brush needs some changes. Click on this folder brush, which will open the brush settings panel. There are many things going on here. But for this particular brush, we don't need to change too much. So click on brush tip shape and change the spacing to 100%. The reason we do that is because if you don't need a classic brush, but if you need a stamp brush, classic brush looks like this. You click and you move your mouse around, which looks actually like a real live brush, a stamp brush. Instead, you need to click once or more times to draft something, which allows us to have more control on what we do. Okay, now click on Shape Dynamics and change the jitter to 100%. What this does is every time you click on Canvas, It's going to create a different angle for our brush. That's it for now. See you in the next lesson.
5. Paint On The Subject: In this lesson, we will start painting on the subject. But first, let's adjust the brush size, type in 500 and press Enter. Now remember what I told you previously that it says 10 brush, which means you have to click one or more times. So click a few times on the same spot and then move on. Also, don't exceed the shape of the head too much and paint until the head is full covered. Now, change the brush size to 300 pixels and start painting on the darkest area of the head. After we are done with the painting, go to the layer panel and click and drag the layer one between the layer 0 and the color field one. Select Layer 0 and bring up the opacity to 100%. Great. Now let's create a clipping mask. Press Alt on Windows or Option key on a Mac, and click in between the layer 0 and layer 1. And that's what we have been done before. It doesn't look that great, right? Well, does because our background color is white. Let's change the color to something darker, maybe black. Click on this white square icon and change the color to black. Now, it looks a little bit better, but still not good enough. Okay, Select Layer 1, go to the brush settings and change the size to 700. Paint on his forehead, eyes, nose, and mouth. Gentle brush settings again, this time to 400 pixels after some area that needs some more contrast. That's it for now. See you in the next lesson.
6. Finish the project: In this lesson, we will finish the project, go to the layer panel and select the layers. To do that, click on layer 0 and press and hold Shift, and then click on Color field line. After we selected them, press Control plus G to group them together. Now press Control plus J to duplicate the group. Hide group one, and right-click and convert a copy of the group one to a smart object. Now it's time for a one of the most important effects from this class. It's a filter and its name is oil paint. Click on Filter, then Stylize, and then oil paint. This panel will pop up and then have to focus on the first two fields, stylization and clean line. This one of them should have the maximum number. We just then click Okay, and there we go. A complete different piece of art then a few seconds before, but we still didn't finish it. Activate group 1, open the group and directly on top of the older layers. Go to the blending modes and try different blending. As first, I will try multiply. Here is the before and after. Then multiply blending mode helped us bring more contrast to the subject. Now let's try a different blending. I think overlay has the best impact, so I will go with overlay. Click on the first layer, then press Shift and click on the second layer. After press Control G to group them together, go to the Adjustments layer and click on Gradient Map. Click here, and then double-click on this small square icon, and this rectangle will appear. Click on it and select the black color. Now I'll do the same with the right square icon, but this time, instead of black, select a different color, maybe blue or a yellow. It's up to you. After click. Okay. Now let's add one more adjustment layer. This time we need the curves which will brighten up the lighter areas of the subject. Click once on this stroke, and it will add an anchor point, then move up this anchor point. Unlike able, the last step is to export the image. Go to File Export, and then choose the easiest one. Quick Export as PNG. Give it a name and click on save. Well, you just finished the class. Congratulations, I hope you enjoyed it and if you want to help me understand what I can improve on in my future classes, then please leave a review. Thank you so much.
 Kosta Motresku, Graphic Design & Digital Marketing