Transcripts
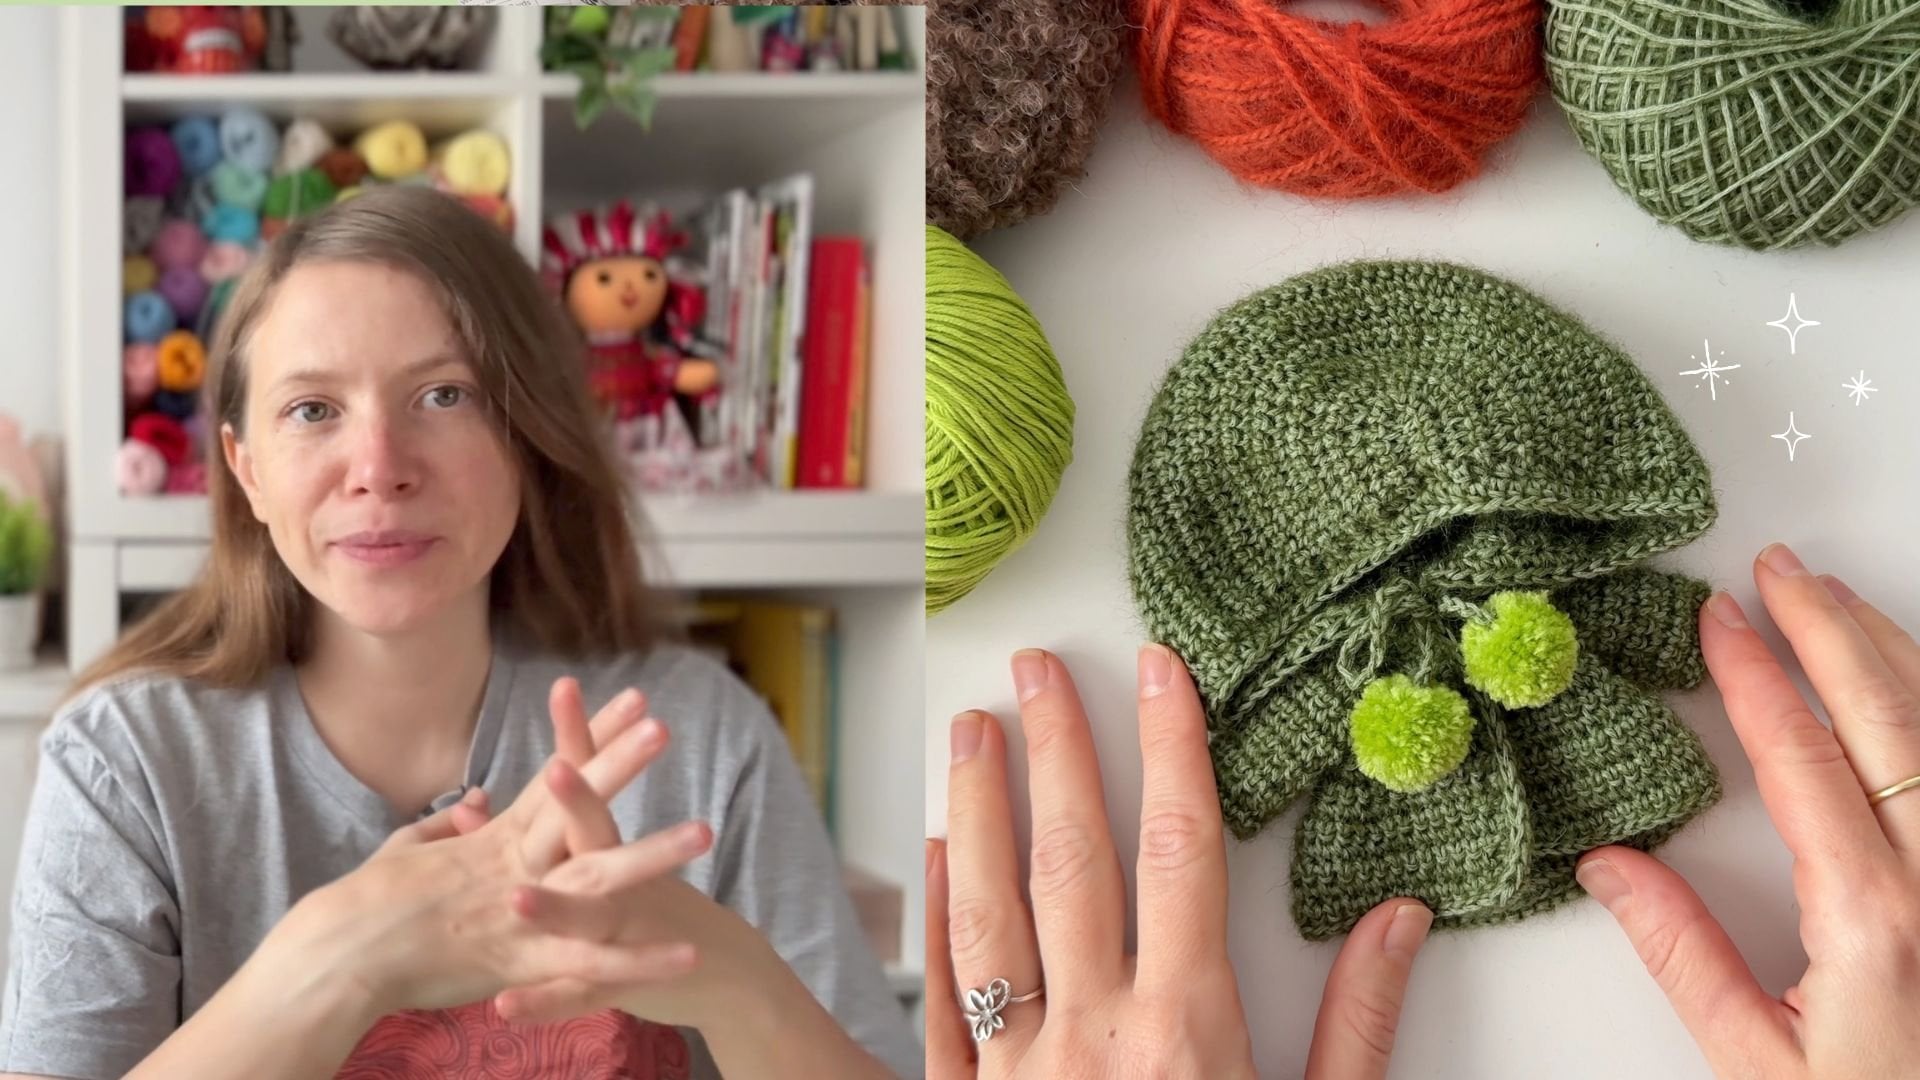
1. Introduction to the Class: Hi, I'm ger, the creator
behind gamy Groomi. I'm a crochet designer, pardon creator and
passionate instructor with over eight
years of experience. I specialize in crafting unique. Had made crochet dolls
and accessories, and I love sharing my passion
with this art with others. My work has been featured
on platforms like Etsy, and I teach crochet
courses on skill share to inspire others to bring their creativity to
life through Yarn. I'm excited to have you
join me in this class. Throughout this class,
starting with the basic dress, I'll guide you through different design options
from playing with colors to incorporating
extra details like raffles and embroidery. This class is perfect
for beginner crushers, who want to expand their skills and add a creative touch
to their approach. No prior experience in
designing is necessary, just basic crush skills and
a passion for crafting. That you're looking to
create unique gifts, sell your designs, or simply
enjoin a new creative hobby. This class is for you. If you'd like a more
personalized experience, don't forget to check out my one and one sessions
on Skillshare. In these 30 minute sessions, we can dive deeper
into topics like cht toolmaking, and emigmy. I'd love to connect
with one on one and help you take your crochet
skills to the next level. This project isn't just
about following a pardon. It's about expressing
your creativity and making something
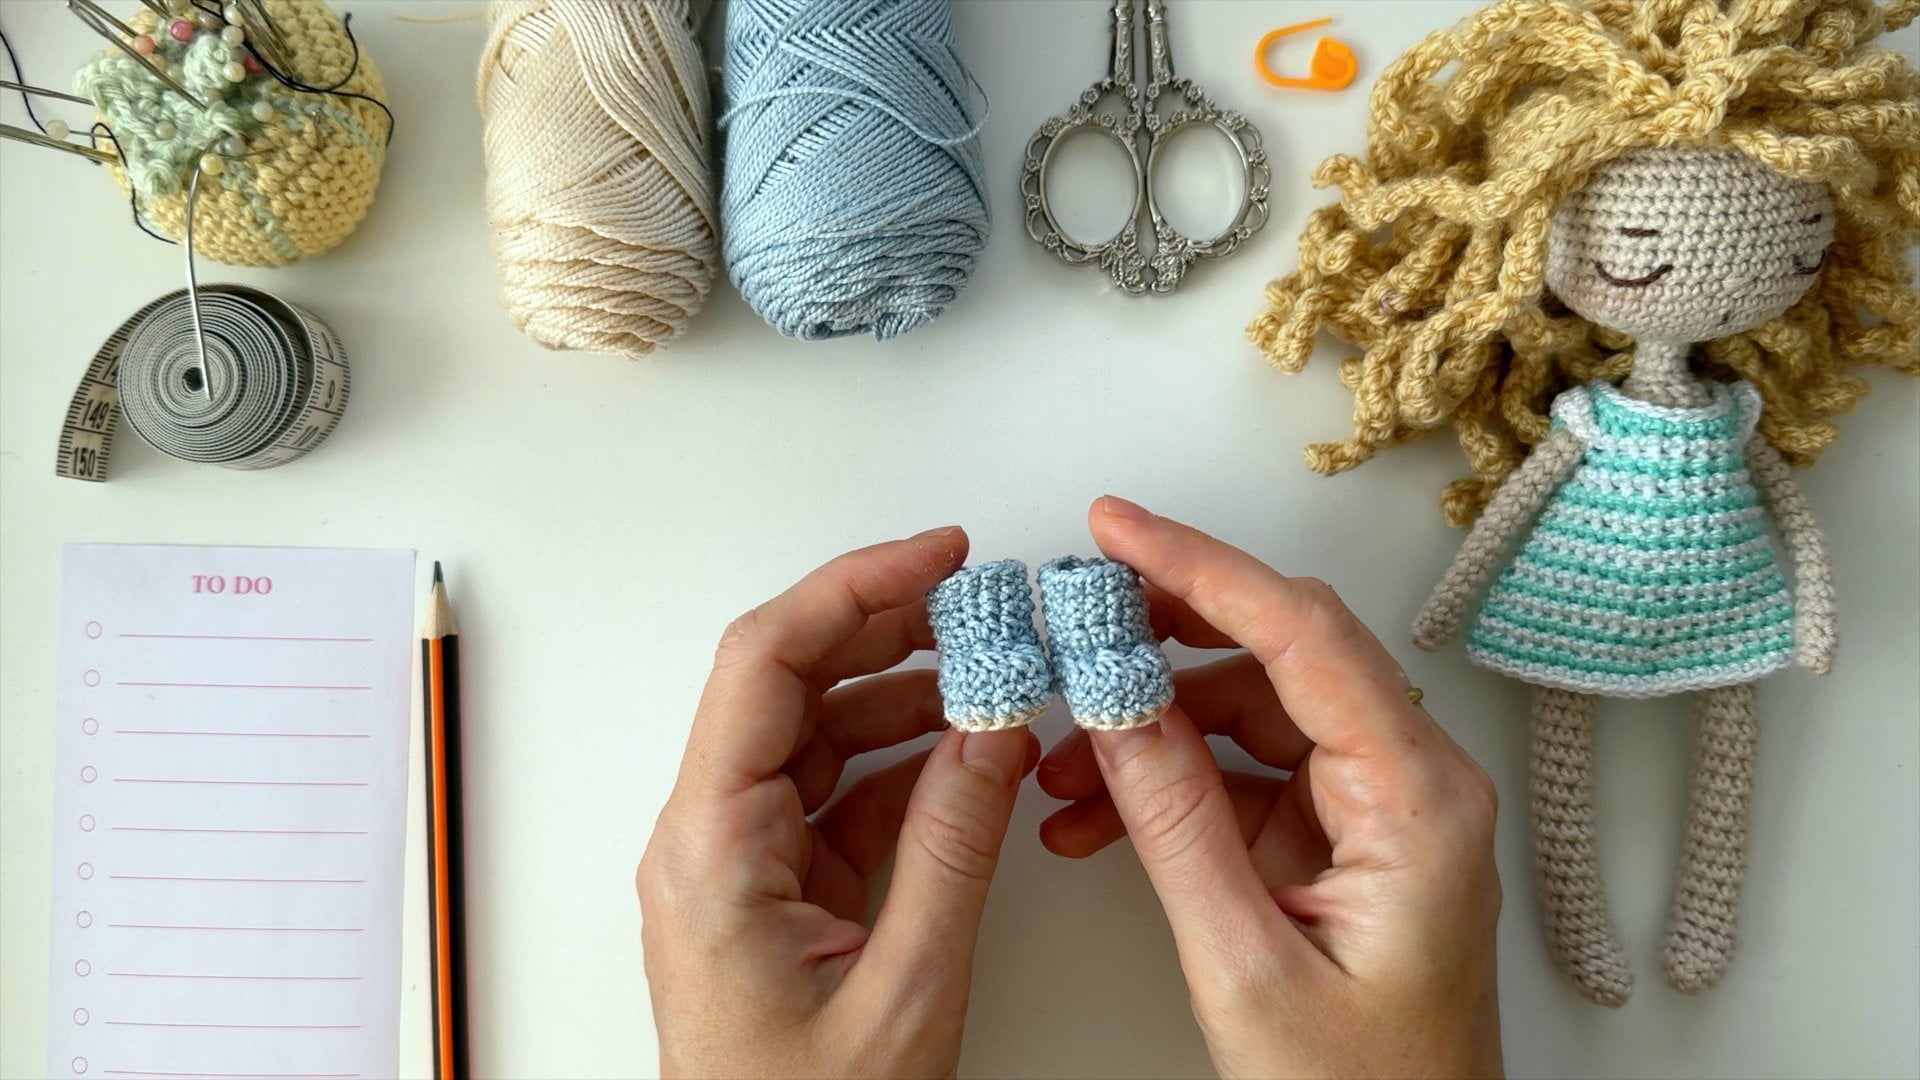
that's truly yours. All you'll need for
this project are small amounts of yarn
in two or more colors, emerging crochet
hook, stitch markers, a yarn needle for hiding
ends and adding embroidery, and a pair of scissors. If you are a beginner,
don't worry. I'll show you how to
crochet the basic dress. Join me on this creative
journey and start designing cute custom crochet toll dresses that are as unique as you are.
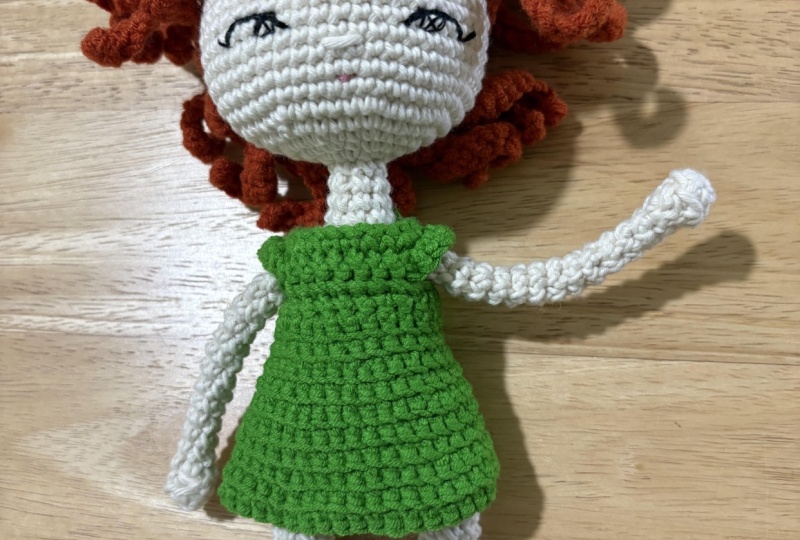
2. Class Project Overview: In this project, you
will learn how to crochet a simple doll
dress and transform it into a custom
creation by applying the design variations we
explore throughout the class. We'll learn how to
crochet the basic dress. Sketch your design ideas, and then add final details to make it truly one of a kind. You will need yarn
in two colors. I recommend using yarn of the same thickness as the yarn you used
for the doll's body, or even slightly thinner, yarn to give the dress
a more delicate look. We will begin by
crocheting a basic dress using the provided crochet
pattern as you guide all of the instructions
in the pattern and my video to create the
dress step by step. You have the option to download the written
instructions provided. Access them, you'll
need a password which is displayed on
the screen right now. If you are comfortable with
just the video instructions, feel free to follow
along that way. Next, download and print the basic dress
tem plate and use it to sketch out
your design ideas. Alternatively, you can draw
the dress on your own. Use the template as
your base and add different elements such as
raffles, pockets, or buttons. This is where you can truly
let your creativity flow. Select one or more design
variations from the class, all come up with your
own unique ideas. Think about the different design options we've covered and decide which elements you want to incorporate into
your crochet dress. You have a plan, crochet
your personalized dress, experimenting with different
color combinations, and adding details that make
your dress truly stand out. Don't forget to share
your final project in the project gallery. Seeing the variety
of design from other students will
not only be inspiring, but will also help you feel connected to the wider
crochet community. In the next lesson, we will start crocheting
the basic dress. I especially recommend watching
it if you are a beginner, but it could be helpful
for any skill level.
3. Crocheting the Basic Doll Dress: Part 1 - Starting the Dress: Let's get started. Begin with 20 change teachers. And then add one more chain
as a chain up. Round one. I prefer to work
the thirst round by inserting the hook below
two loops of the chain, leaving the third loop unworked, skip the chain and make three
single crochet stitches. Then make and increase two single crochet stitches
into the same stitch. Next, make two single
crochet stitches. Followed by another increase. Then make three single
crochet stitches. Repeat the following sequence three single crochet teaches. N increase. Two single crosset stitches. N increase and three single
crosses stitches. Make a turning chain and
turn the work. Round two. Walking the back loops only. Avoiding the front loops. Make four single
crochet stitches. Then in the next four
stitches make increases. One increase Two increases. The increases, and four increases. Finish with or single
crochet stitches. Repeat the sequence to complete the round or
single crochet stitches. Followed by foes. And end with four single
crochet stitches. Make a turn and chain
and turn the work. In the next lesson, we will form the sleeves, all the dress and
complete the top bite.
4. Crocheting the Basic Doll Dress: Part 2 - Finishing the Top: In this round, we will
form the sleeves. Work this round using only the front loops
of the stitches. Make three single
crochet stitches. Allowed by an increase. Skip eight stitches to create
an opening for the arm, then make an increase
in the ninth stitch. Continue with three
single crochet teachers. Repeat this sequence
to complete the round. Make three single
crochet stitches. An increase. Keep
eight stitchers, make increase in the stitch and then three single
crochet stitches. Make a chain up
and turn the work. Round four, work in
the back loops only. This round is quite simple. Make four single
crochet teachers. Then make two increases. One increase and one more, followed by four
single gross stitches. L et's repeat, make four
single crochet stitches. Two increases, one increase and one and four single
crossht stitches. Now, we'll add a clean finish to the borders and neck
line on the top. First, mark the first
and last stitches with stitch markers. We'll work around the
border of the round, adding a button hole and
then around the neck line and the other border to make
this part neat and accurate. Set the hook into the
left marked stitch, joining the left
and right borders. Make a single crosst stitch into the border of each
of the three rounds. To avoid leaving gaps, try to catch ads rather than inserting the hook
directly into the holes. Then make two chain stitches
and skip this round. This will be the button hole. And proceed to work, s, stitches around
the neck line. M 20 single crush stitches
around the neck line. Next, make a and work crochet stitches around
the right border. And Coming back to
the joining point. And make the last
stitch into the stitch. Gently turn the work, clockwise, so the sleeves and the neck
line are at the bottom. Make a chain up, leave the
stitch markers in place. In the next lesson, we will create the skirt part of the dress and complete it.
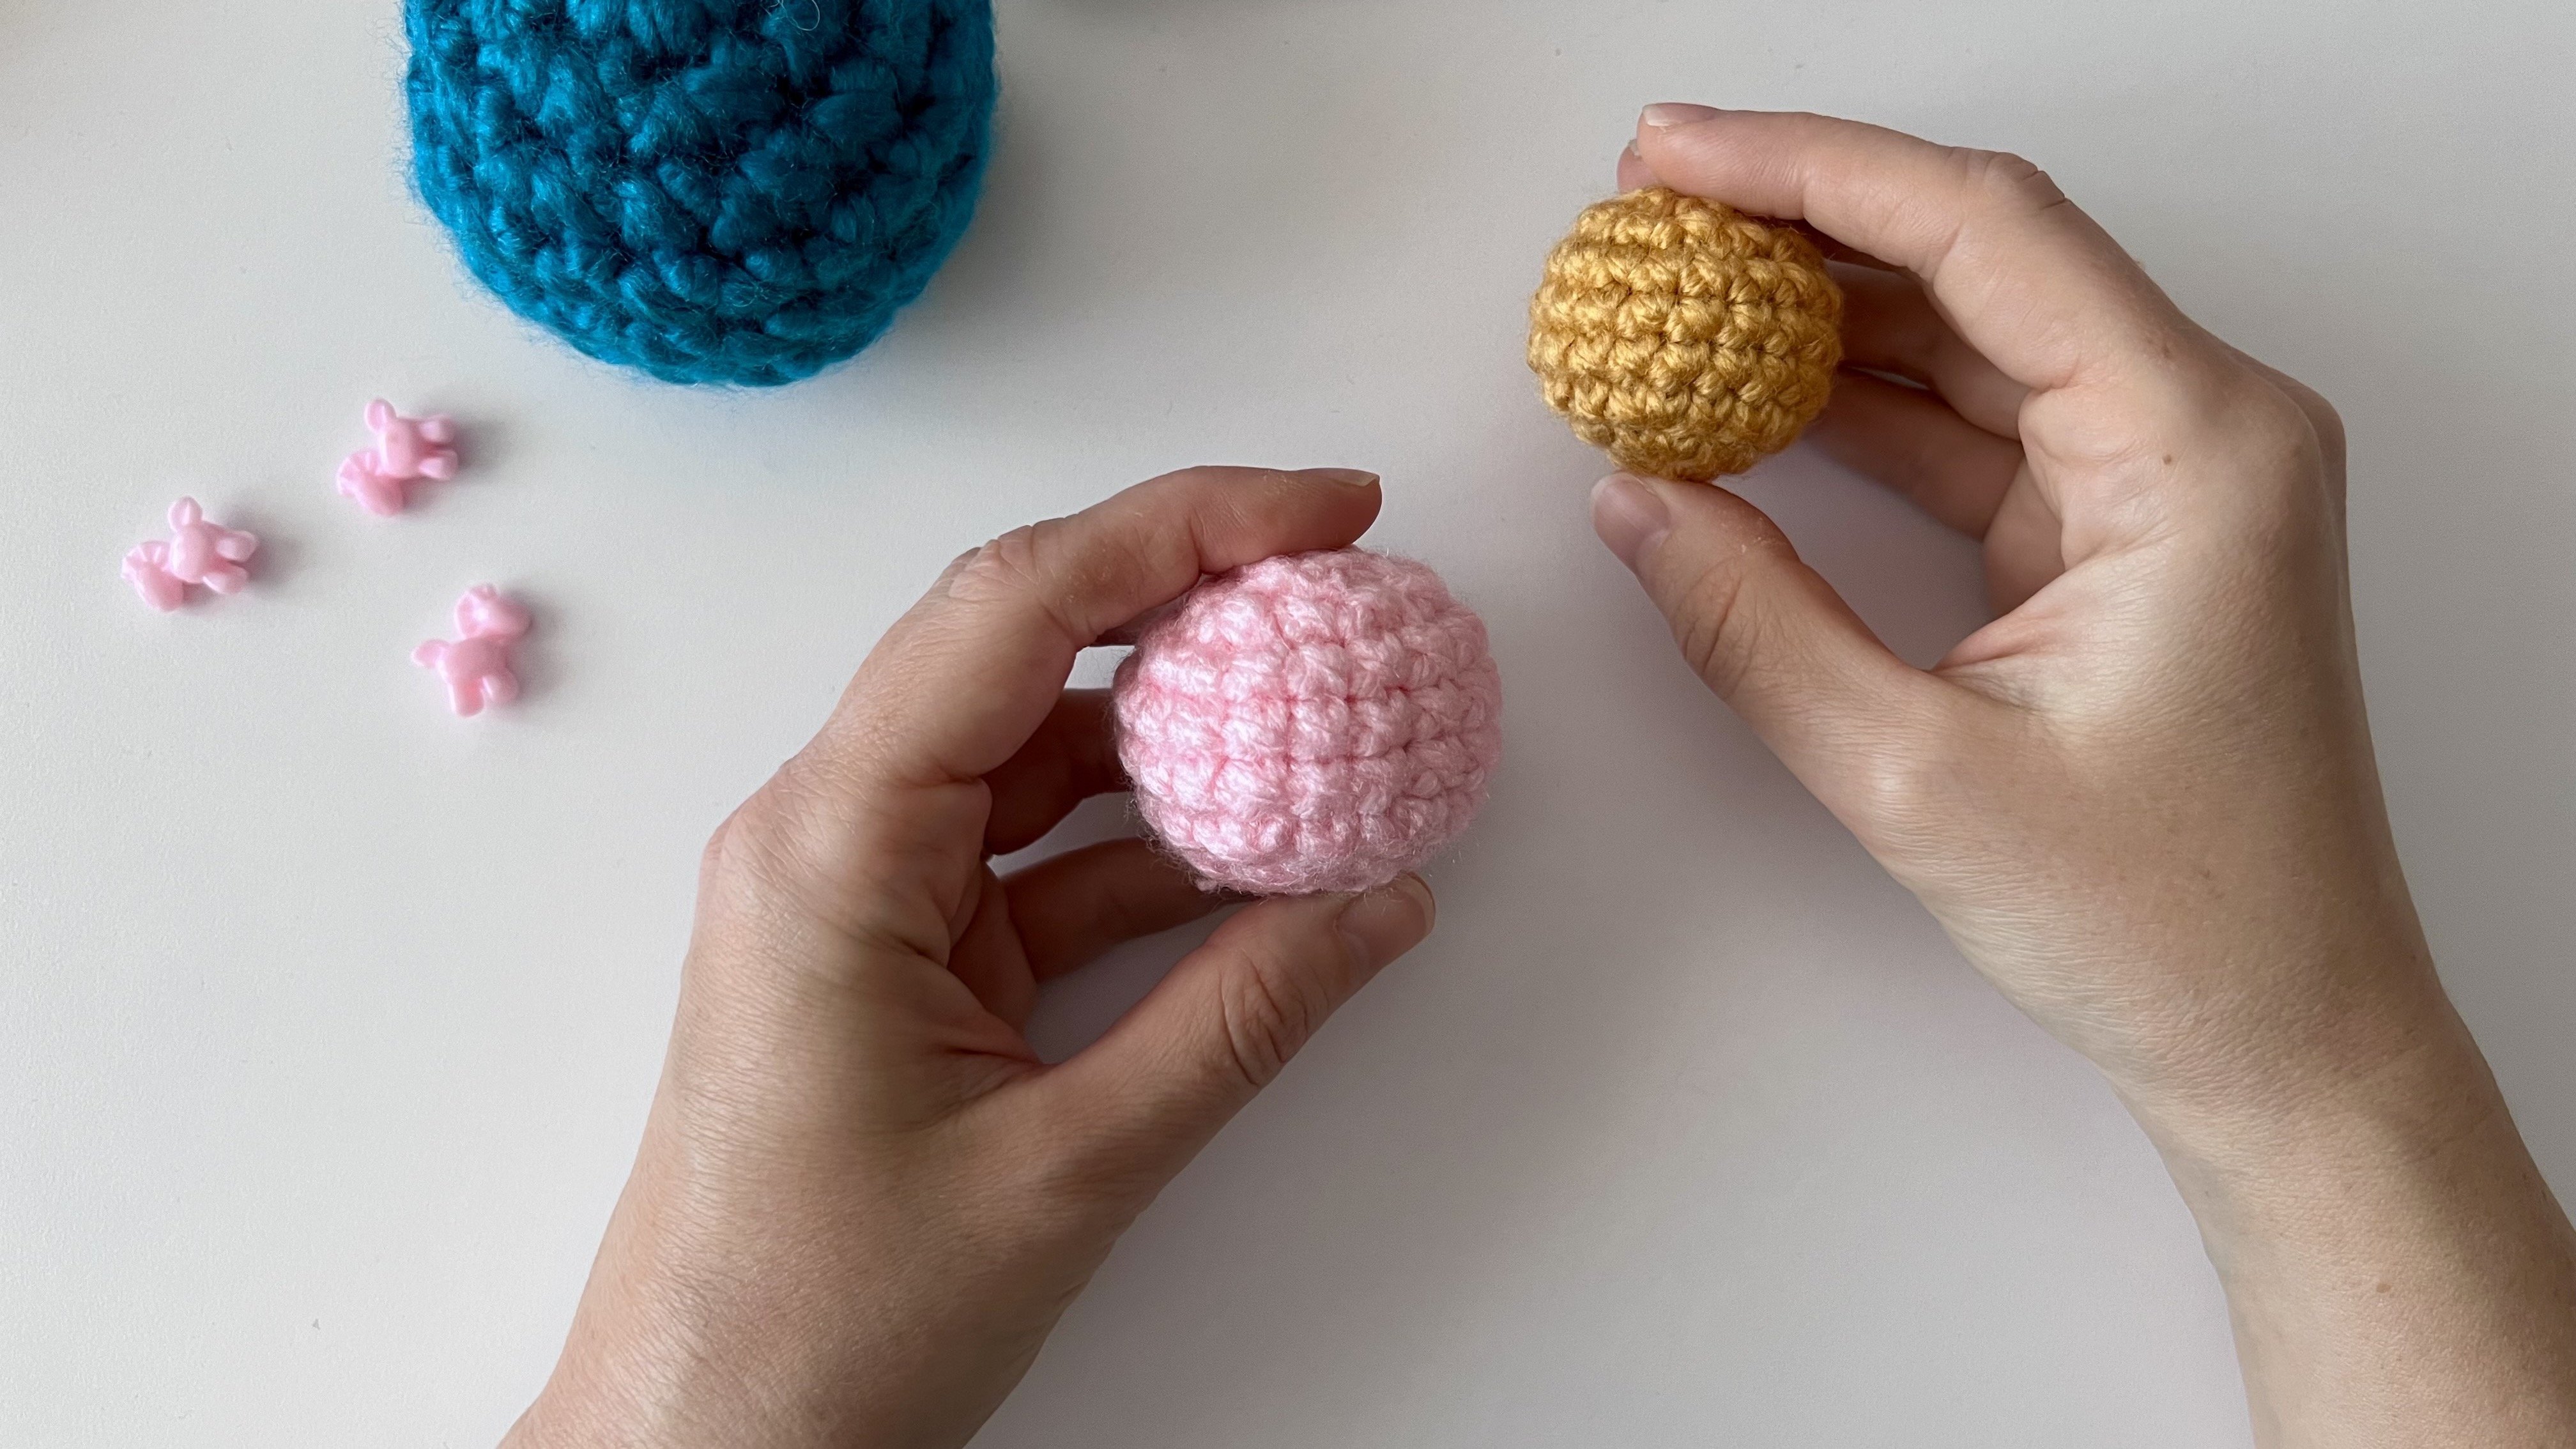
5. Crocheting the Basic Doll Dress: Part 3 - Making the Skirt: I start by working on
the marked stitch. The skirt is quite
simple to make. I begin with a round of increases followed by
two straight rounds. In this round, I work five single crochet
stitches, then an increase. Repeat this part until
the end of the round. Five single crochet
teachers and increase. And finish with five
single crochet stitches. And increase at
the marked stitch. To complete the round, make a
slip stitch into the chain. To start the next
round, make a chain up. Now it should look like this. Next, make two rounds
without any increases, single crochet stitches
until the end of the round. With 28 stitches, I'll work two rounds of 28
single crochet ses. Feel free to customize
the basic dress pattern. Replace the simple
crochet stitches with different stitches like halve double crochet
or double crochet. You can also combine various crochet teaches to
add texture to the dress. For example, a current
to be or narrower, longer or by changing the number of and the number of
rounds between ine. Make more or fewer total
rounds to the length. Here it is. In the following
round, make four increases. Work, six single crocs stitches, then and increase repeated this parting until
the end of the round. This will give you a
total of 32 stitches. Follow this with two straight
rounds of 32 stitches each. You should see the round with increases and the next
two rounds clearly. Continue with the pardon by
making a round with increases seven single crochet
stitches and an increase repeating until
the end of the round. You'll have 36 teachers. In total, follow this with two straight rounds
of 36 stitches. Each. O the final sequence, work around with increases, eight single crochet
stitches and an increase repeating until
the end of the round. This will give you 40
stitches in total. Finish with two straight
rounds of 40 stitches each. The dress is now complete. At the yarn and
secure the thread. I'll show you how
to hide the ends. Turn the dress to
the round side. Insert the needle into the
stitches on the wrong side, and pass the thread
through them. Go back in the
opposite direction. Ensuring the needle
doesn't pierce the. And And Once you are satisfied
with the result, cut the excess thread. At the other end, since we
have a tiny button hole here, thread the yarn
into the stitches of the first round of the dress. We can pass the thread in different directions if
needed for extra security. At the end. Finally, see
a little button here. The basic dress is. Isn't it? In the next lesson,
we will sketch and explore different options
for simple customization.
6. Sketching Design Options for Crochet Dresses: O You can download the file with a basic dress template to sketch your own designs from the
project and resources section. Alternatively, you can sketch your own basic dress design
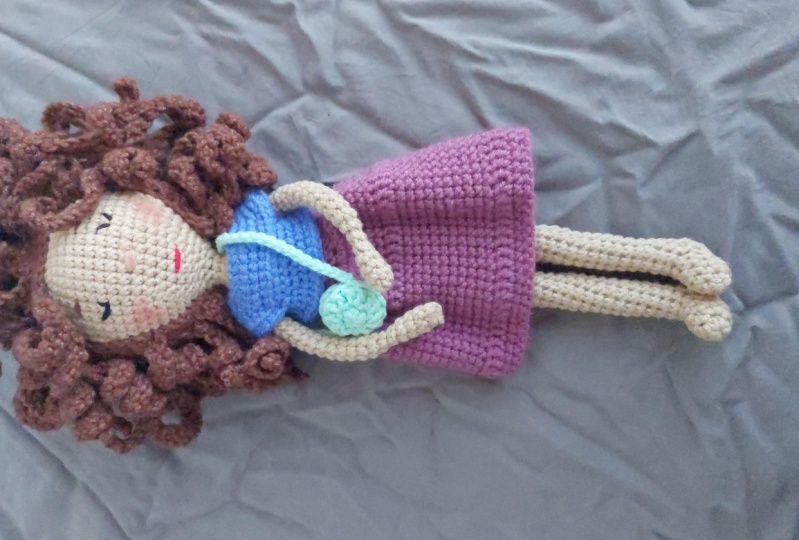
using any medium you prefer, whether on a tablet or on paper. It's entirely up to you. Here is a basic dress. To customize it, consider incorporating different
colors or several colors. For example, you
could make the top of the dress one color
and the skirt another. You can also create stripes
by alternating colors, every round, every two or
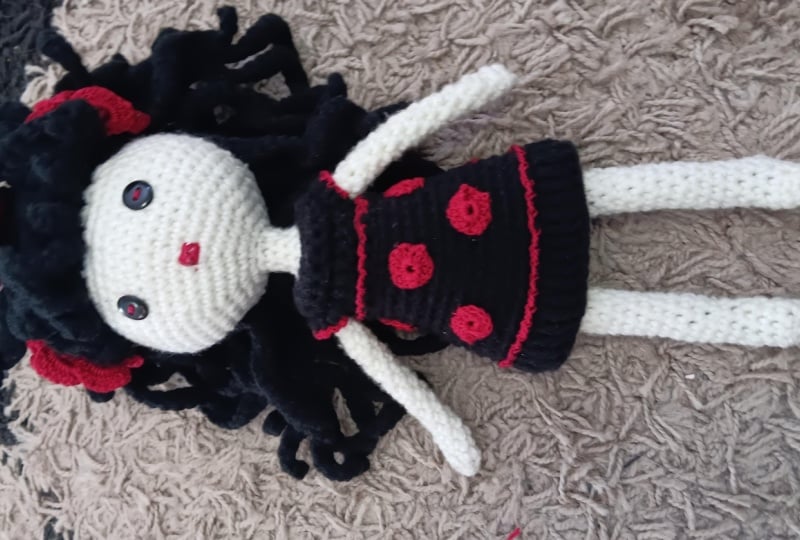
three rounds, and so on. Another option is to use a
second color for embroidery, such as tiny notes, to add texture to the dress
or specific parts of it. Since the dress is small, keep the embroidery
simple and easy to apply. You might embroider
simple flowers or combine flowers with knots. You can also add extra details
like truffles, or pockets. Feel free to combine
these elements, but be sure to maintain
balance and avoid overloading the dress with
too many different details. Consider adding sleeves to the dress in various
styles, short, medium, long,
straight, widening, poof or bell sleeves. More complex customizations can be done on larger dresses. In the next lesson, I'll
show you how to create a striped dress using two colors while keeping
the stitches uniform.
7. How to Crochet a Striped Doll Dress: In this lesson, I'll focus on the top part of the dress as the bottom part is worked the same way as shown
in lesson five. Feel free to rewatch
Lesson five if needed. I'm using two colors
for this project, but you can also experiment with three or more colors
using the same technique. Start with the first color, make 20 chain
stitches and a chain. Work the first row
according to the pattern. T single crochet stitches and increase two single
crosset stitches, and increase and three
single crosscht stitches. Repeat this sequence once more. Finish with a chain for a detailed tutorial on
this row referred to. Let's examine the stitches for
the top part of the dress. Since we turn the
work, the stitches on even and will look different. To make the dress look
more polished and uniform, I'll use a technique to give
the stitches consistent. First, cut the yarn, tighten the chain
to secure the end. And join the second color at the start of the previous rows, specifically in
the first stitch. Make a chain up and work the
second round as follows. Make the first stitch into the same stitch where
the yarn was joined. Work only in the front loops of the stitches for this round. The sequence is single
crush stitches, I. For increases, one, two, three, four, and four single
crochet teachers. Repeat the sequence
to complete the role. After finishing the
round, cut the yarn, make a chain stitch, and tighten it to
secure the end. Cut the yarn, and by
passing it through the stitches on the wrong side of the dress, using a needle. Repeat this one or
two more times. And then cut the excess thread. Join the first color again in the first tach of
the previous row. Continue with the
following two rows, cutting the yarn at
the end of each row, and join in the next
color at the start. Follow the general
instructions for the rows, including forming the sleeves
and finishing the top part. After completing the fourth row, ma and let stitches
with stitch markers. With a hook on the left border. First, walk around
the left border with three single
crosset stitches, then two chain stitches
for the button hole. Next, make two slip stitches
around the neck line and finish with four single
crosset stitches on the right border, ending with a last stitch
into the marked stitch. And and and and and Here's the top
part of the dress. To start working on the skirt, join the borders, to join them, make a slip stitch into the marked stitch on
the other border. If you are making a
solid color skirt, use the same color. If you are continuing
with stripes, join the first color. Insert the hook into the
marked stitch to make a slip stitch and finish the slip stitch
with the new color. From this point, continue following the same
instructions as for the basic dress with the only difference
being the color changes. In the next lesson, I'll demonstrate
how to embroider a very simple flower. Oh.
8. Simple Embroidered Flower on Crochet: In this lesson, I'll
show you one of my favorite simple
embroidery techniques for adding details
to tiny tresses. Let's make a basic flower. Here's how to make the flower. Thread your needle with
the same color yarn used for the top of the dress. There's no need to make notes
at the end of the yarn, will secure it later. Use the gaps between the
crochet teachers as your guide. Insert the needle where you want the center or
the flower to be. Stitch outward from the
center to form the petals. You can use one stitch per petal or two stitches
as shown here. I typically create
these with four petals, but you can experiment with three or five petals
depending on your preference. Just the size, number of petals and colors to your design. Oh. Once the flower is complete, cut the yarn, make several
notes with both ends, and then hide them on the side by weeding
them into the stitches. You can choose to embroider just one flower or fill the
dress with multiple flowers. In the next lesson, we will learn how to make
simple French notes.
9. How to Make French Knots on Crochet: French knot is another one of my favorite tiny
embroidery techniques. It's quite simple to make, but requires careful
attention to detail to the wrong side of your
work clean and tidy. Here how to create
a French knot. Insert the needle into
the body of the stitch, not for the hole
between stitches. This prevents the thread from slipping through the
hole too easily. Pull the needle out
close to the fabric. At the thread around
the needle three times. Insert the needle back through the fabric very close to
where it originally merged. Pull it through to the
wrong side of the fabric. You'll now have a small
knot gently tighten it. Cut the thread, make several
knots to secure the ends. And hide them by we them into
the stitches on the side. F. You can combine french
notes with flowers or use them to create a
pon on your dress. In the next lesson, I'll demonstrate how to
a touch raffles.
10. How to Attach Ruffles to a Crochet Dress: To add ruffles to your dress, you'll need to use
the front loops or the stitches from the round where you want to attach them. By doing this, you
can join the into those front loops and walk directly into them after
finishing the dress. For example, I worked into the back loops on
round with increases, starting from round eight
then round 11 and round 114, and I touch the final
ruffle on the on the dress. We can use the same color
for the ruffles or choose a different that complements
the base color of your dress. Here's a simple part
to create raffles. Touch the yarn in the
first front loop, make a chain up and work and increase
into the same stitch. Make a change stitch. Then work another increase
into the next friendly. Repeat this process until you
reach the end of the round. For this dress, I created
ruffles by working an increase into each
stitch all the round. Feel free to experiment with different stitch combinations to develop your own ruffle pattern. Don't be afraid to
try new things. You can always and redo until you achieve
the look you want.
11. Conclusion and Next Steps: Congratulations on
completing this class. We started by learning how
to crochet a basic dress. We sketched out our designs to plan unique
crochet or dresses. We explored creating
beautiful color stripes to make our dresses stand out. We practiced simple
embroidery techniques to add personal to
to our creations. Finally, we learned how
to a touch Raffles, to add texture, and Now it's time to put these
skills into practice. I encourage you to share your projects in the
class project gallery. Whether it's your first attempt or a fully customized design, we'd love to see your
creativity at work. Sharing your project is
a great way to inspire others and receive feedback from our supportive community. Remember, this class
is just the beginning. The techniques you've
learned can be applied in various
ways from customizing doll clothes to adding creative touch to any crochet
projects you undertake. So let your
imagination run wild. I'm excited to see how you make these techniques your own. Thank you for joining me
this creative journey. Don't forget to follow me for more crochet classes and tips. If you enjoy this class, please leave a review and
share your experience. It helps others find this class and join our wonderful
crochet community. Thank you for
crocheting with me. See you in the next
skill share classes.
 Olga Bortniak, Crochet designer, dollmaker Olgamigurumi