Transcripts
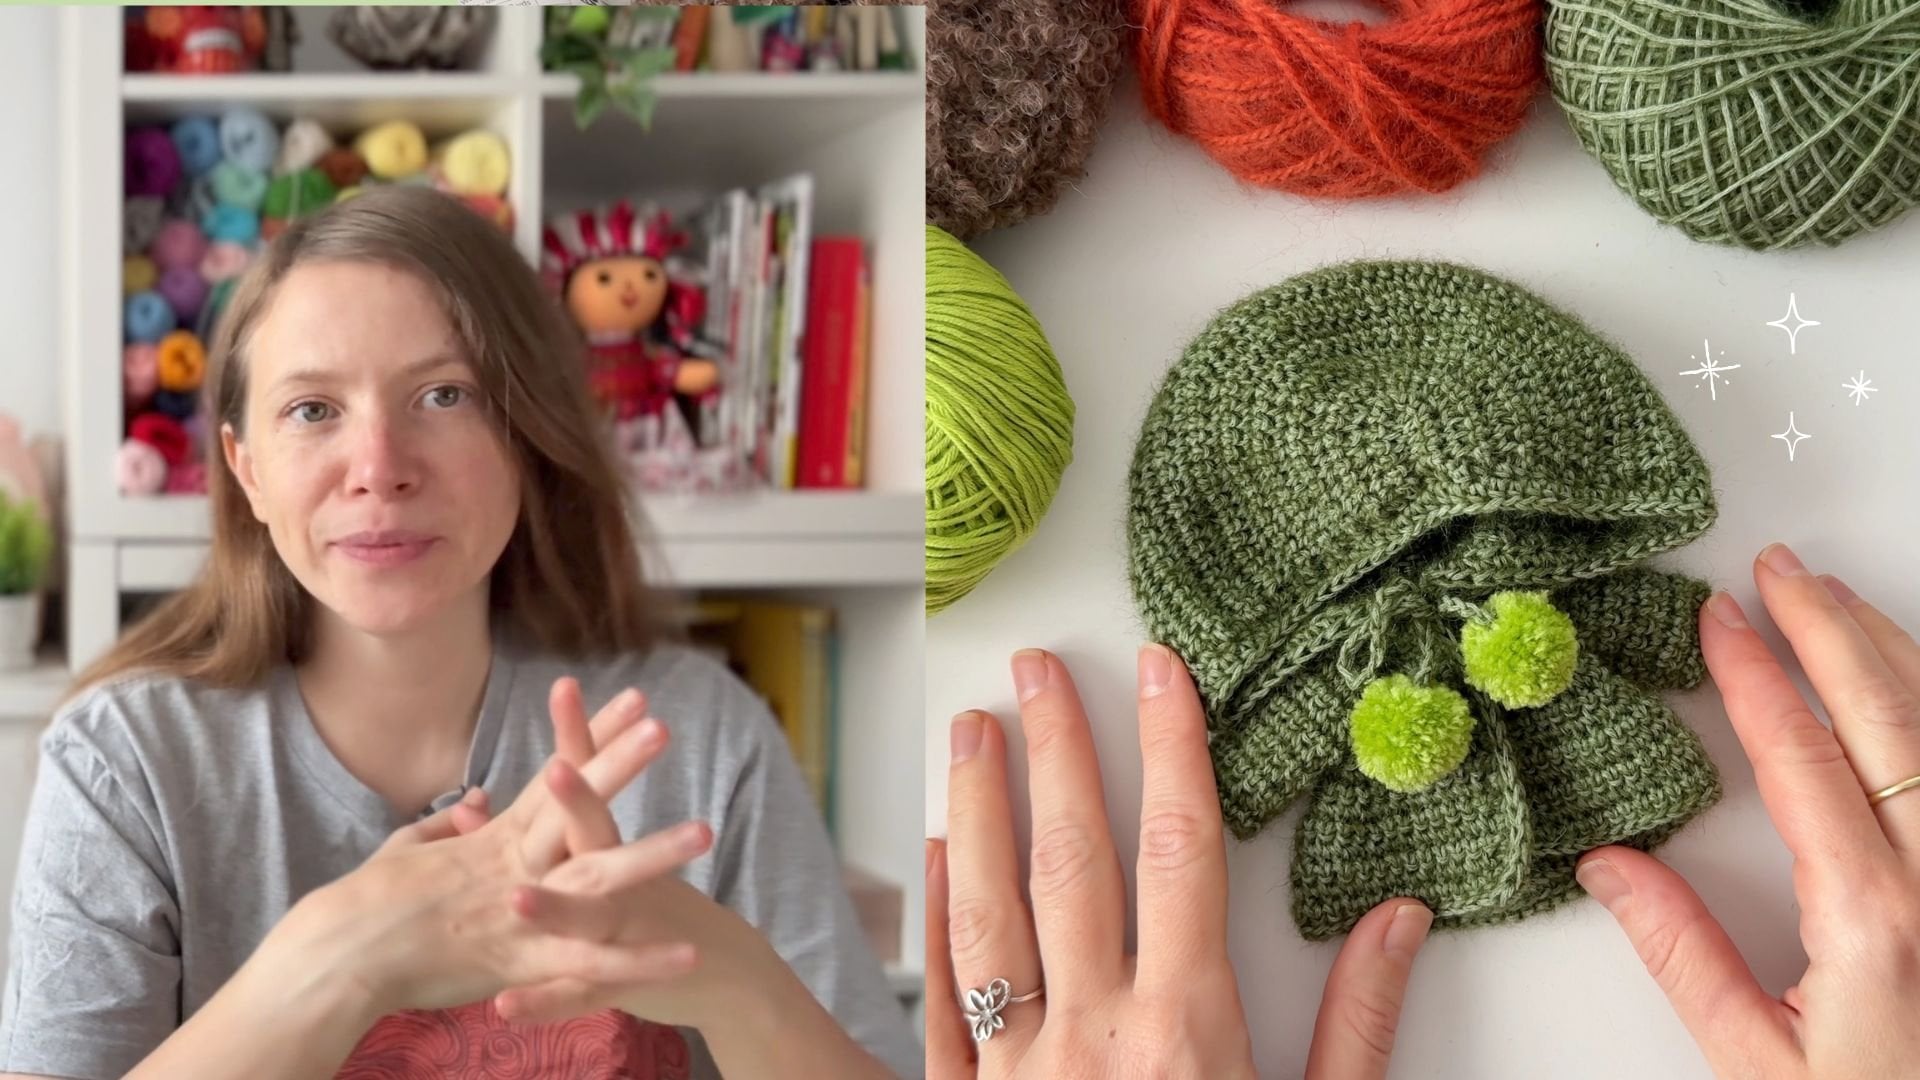
1. Welcome to the Class!: Hi. I'm Olga, Emi grooming
designer and crochet teacher. I've been creating and selling crochet dolls and patterns
for over seven years. I'm sharing my knowledge as a teacher and
Skillshare and YouTube. Today, I'm going to teach you. How to crochet mini boots
for your Emi groomi dolls. Throughout this class,
you'll learn how to take measurements
for your doll's feet, crochet the perfect sole, build the boot shape, and add unique details to
make them truly yours. I will make a pair of boots for my Emi groom basic doll's body. You can watch that class
and make it with me first. But you can apply
these techniques to any do even dolls
like Barb lika. This class is perfect
for beginners to intermediate
crochets who already knows the basic
crochet stitches. These techniques can
be used to create not only boots but also shoes, slippers, or any other type
of footwear for your dolls. By the end of this class, you'll have the skills to design endless shoe
variations. Let's get started.
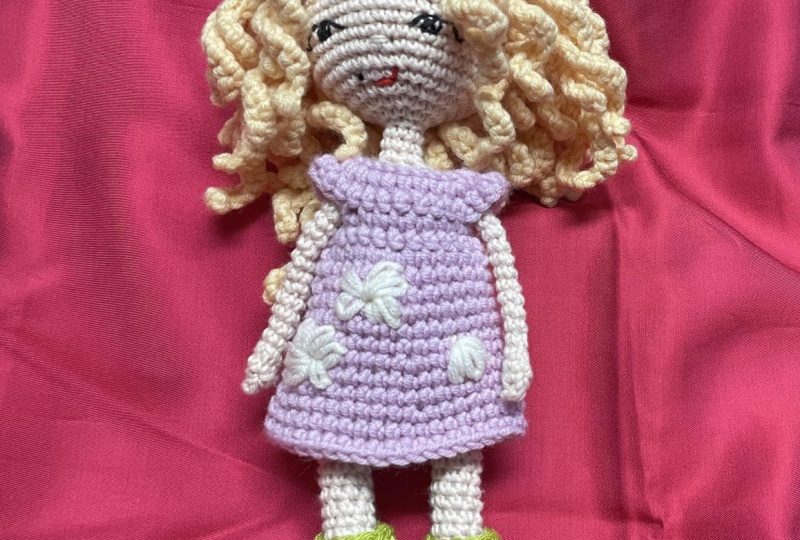
2. Let’s Talk About the Project: Our project for this
class will be a pair of mini boots designed
to fit your Emi groom. I chose this project
because it's quick to make, fun to customize, and you can apply it to dolls of different sizes. Here
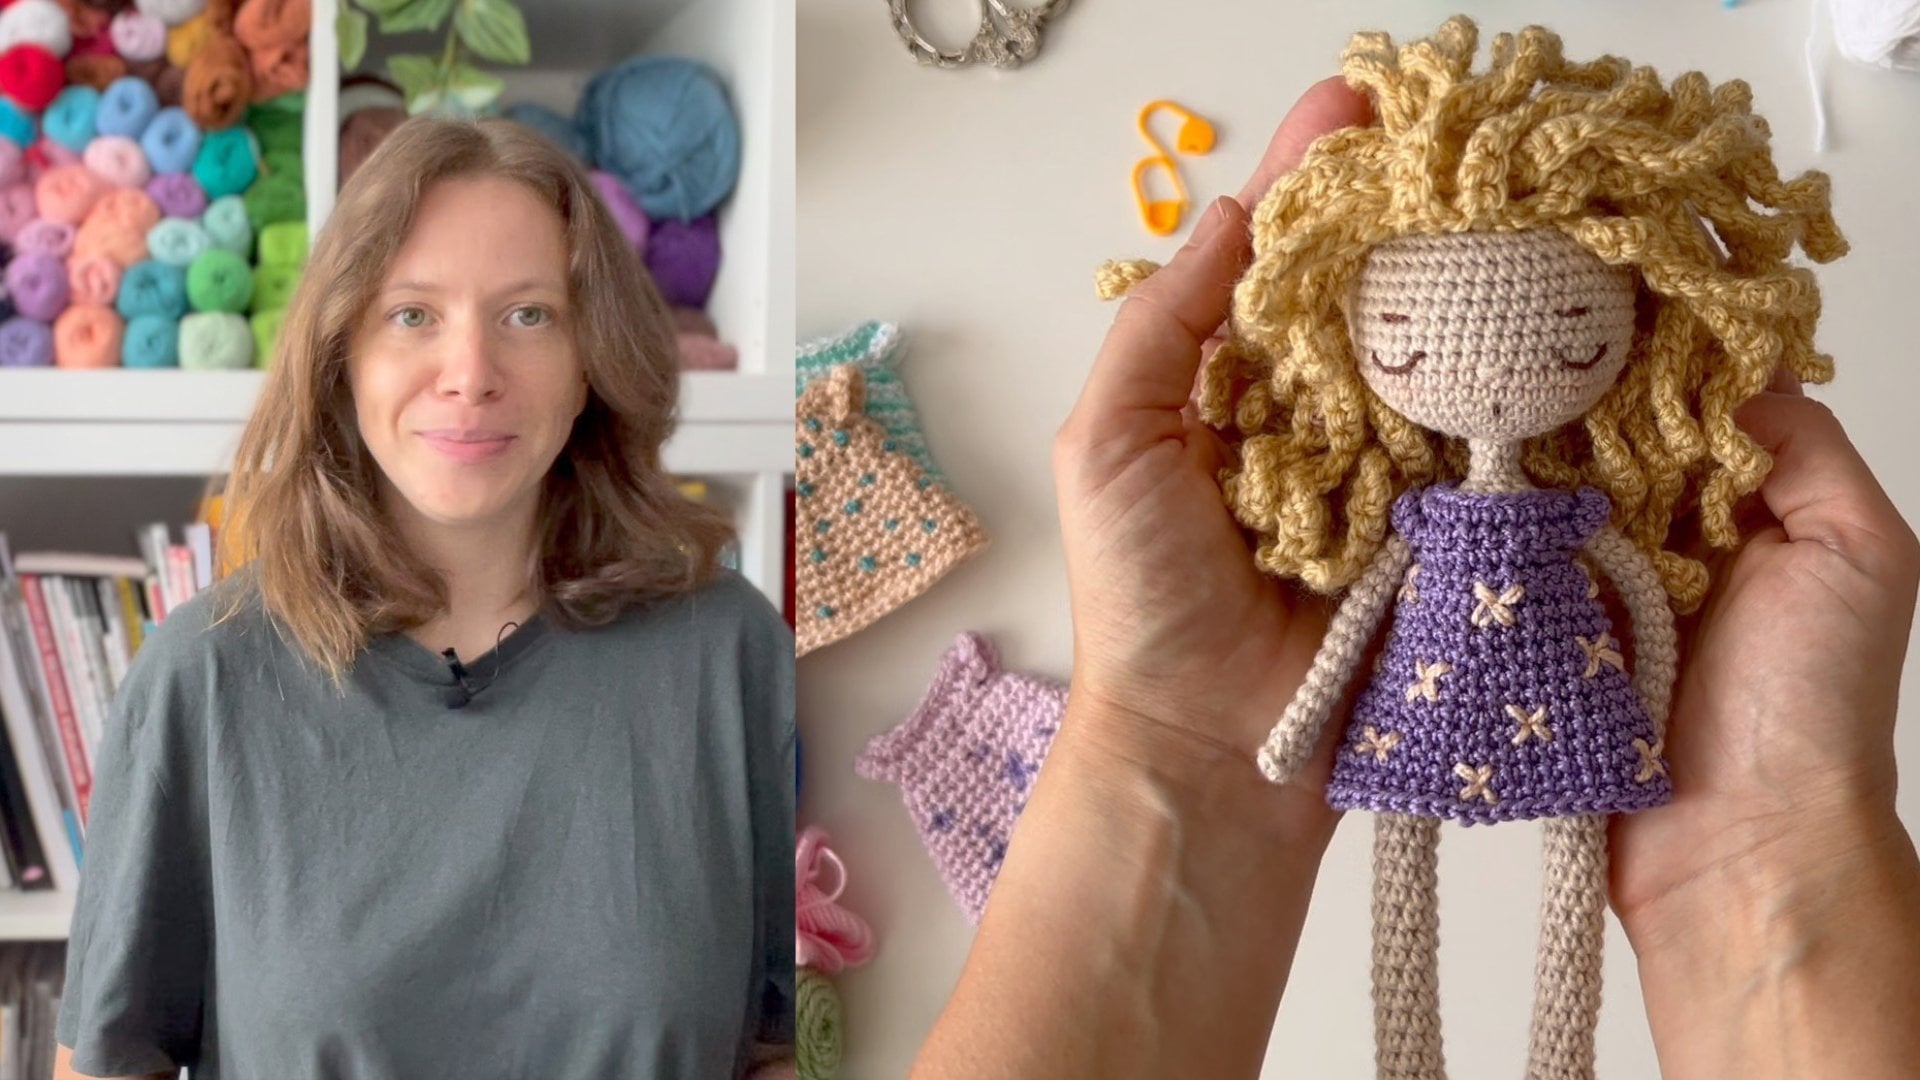
is what you'll need. An Emmy roomy doll, I'll be using this
Emgroomi doll from one of my previous classes as my model you can find the link to that
class in the description. You can, of course, use
your own Emi groomi doll, and I'll also give
you some tips to adapt the boots for
popular plastic dolls. But if you don't have any doll at the moment, don't worry. You can still follow along with the instructions and
make the boots as a cute little kitchen or even as a fun decoration for your
bookshelf or workspace. They look adorable
on their own, too. For materials, you'll need yarn. You can choose two colors, one for the sole and another for the upper
part of the boot. But you can also
use just one color if you don't have more. For Em gurumi dolls, I recommend using yarn
that is slightly thinner or about the same thickness as the yarn used for
the doll's body. Plastic dolls, the thickness
depends on the size. For example,
miniature dolls will need thinner yarn to keep
the propulsions right. With a bit of practice, you'll learn to pick
the perfect yarn for your specific doll. You'll also need a crochet hook that matches your yarn size, scissors, a yarn needle, and stitch markers if
you like to use them. And of course, you can bring in some optional
decorations like beads, buckles or embroidery thread to give your boots that
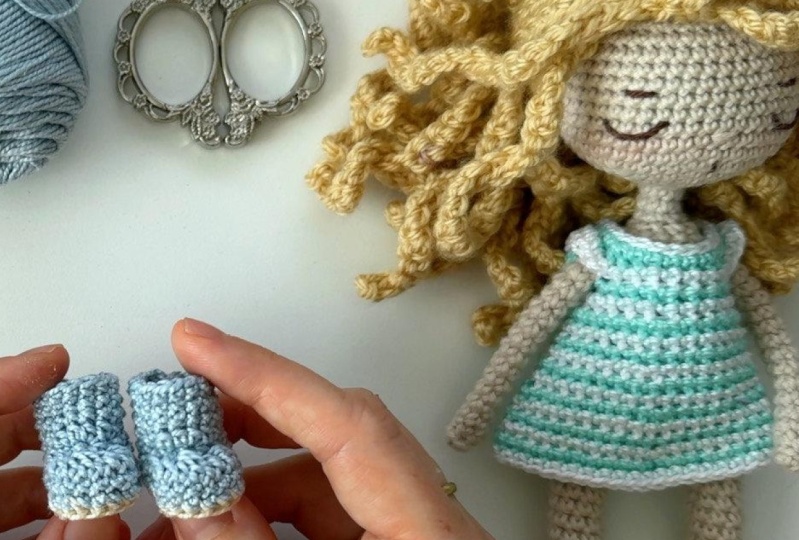
extra personality. Your final project will be to create your own
pair of mini boots, photograph them your Emmy
roomy or simply as they are, and share them in
the project gallery. I can't wait to see
the colors, details, and little touches you add
to make them truly yours. Remember, you can also share
your progress along the way, not just the finished project. So gather your materials, grab your hook, and
let's get started.
3. Measuring and Planning: Let's start by measuring
your E groom's foot. You can measure the
length from the toe to the heel and the width
at the widest point, write down these measurements, and then use them as a
guide while you crochet. But I prefer to measure as I go. I make some change and compare them with the
foot of the doll. I add more chains
if necessary to cover the length of the doll's foot
without stretching it. I write down the number
of chain stitches or just remember it to use
for the second boot later. This way, we know exactly
how many stitches we need to start the soul. In general, I
recommend writing down all your stitch counts and notes whenever you don't follow
a written button exactly. This is especially
helpful for projects that have two matching parts like
shoes, boots or sleeves. You can even keep
a small notebook just for your crochet notes. If you are following my
written pattern exactly, you don't need to do this, but it's a good
habit to get into. You can also plan the height
of your boots at this step, thinking about how tall
you want them to be. You can even sketch some ideas for how you might
decorate them later. In the next lesson,
we'll work around these chains to form
the sole of the boot.
4. Crocheting the Sole: We'll begin with a chain that matches the length
of your do's foot. Well crochet around
it in a novel, increasing at the
ends to keep it flat. I skip one chain, make a single crochet in each
chain until the last chain. In the last chain, I make
three single crochet stitches. Then continue to
the starting point, making a single
proche in each chain. In the last stitch,
I make an increase. Now we have three stitches
at each end of the chain. I make a slip stitch in the skip chain and the chain up to start
the second round. You can try the
sole on your doll. If your doll's foot is very narrow like a plastic doll foot. This one row might
be enough with. You can also make three half double crochet
stitches instead of single crochet to make it a
bit wider in the toy area. But for Emi groomi dolls, especially soft
dolls without wire, the sole should be
wider so you can put boots or shoes on the
doll without a fort. So we'll add one more
round to make the sole wider and coffee for
your Emi groomi doll. I add an increase in
the first stitch. Then make a single crochet in each stitch until reaching
the increase of three. In each of these three stitches, I make an increase of three
half double crochet stitches. So three half double crochet. R here. And three here. Then I work single crochet
until the last increase. Where I make an increase
in both stitches. You can see the shape
of the sole now. It's wider at the front. I finish the round by
making a slip stitch, joining the color of
the boot if you are using a second color
and making a chain up. Now, cut the yarn of the sole, leaving a tail to
weaving it later. Let's try the saw on the dough. It's wide enough to
easily put the boot on. You can also compare the sole with the measurements
you made at the start. When you have more experience, you can make both soles first, then build the boot bodies. This helps keep the tension consistent between
the two boots. In the next lesson, we'll
start to build the boot body.
5. Building the Upper Foot Part of the Boot: Once the sole is ready, we'll work the next round
in the back loop only. This creates a nice edge where the sole meets the
upper part of the boot. I work single
crochet stitches in the back loop all the
way around the sole. If you are working on half
double crochet stitches, take the second loop
instead of the third. Don't forget to make a chain at the start of each round and a slip stitch into the chain
at the end of each round. If your doll's food isn't
flat like this one, I prefer to add one
more even round, so this part sits a bit higher and accommodates
the food better. For plastic dolls, usually
one round is enough, but you can always
play with the height. In the next lesson, we'll shape
the toe with the greases.
6. Decreasing for the Toe: Next, we'll start shaping
the toe by decreasing. The back part of the
boot will stay straight without any changes while
the front part will narrow. First, I calculate
the decreases. In my case, I have 19
stitches in total. Do you remember the
three increases of three half double
crochet stitches we edit when making the sole. That's nine stitches at the toe. I take away three stitches
for the toe itself, then three stitches on the left and three on the right
for soft decreases. That leaves me with ten stitches for the straight part
divided by two sides. That's five stitches per side. So here's the plan
straight part, soft decrease, toe decrease, sob decrease, and then
the straight part again. If you are making boots or
shoes for plastic dolls, you'll likely have added
fewer increases on the sole. That means you'll also
need fewer decreases on the upper toe part to keep
the shape proportional. Let's try it in practice. I make five single
crochet stitches for the straight side. Then I make what I
call a sub decrease. It's not an official term. I use it to describe
a gentle line. Here's how. In the first ditch, I make a half double crochet
without finishing it. Three loops on the hook. In the next stitch, a double
crochet without finish it. Four loops on the hook. Then I close them altogether. Okay. Make sure you
look isn't too loose. In the third stitch, I make one complete
double crochet. That's one sub decrease. Next, I decrease three
stitches at once, a double crochet
without finishing. Two loops, another double
crochet without finishing. The loops, and the less double
crochet without finishing. Four loops. Close
them all together. Again, keep you look
nice and tight. Now, we mirror the subdcree. I start with one double crochet. Then in the next two stitches, a double crochet
without finishing and a half double crochet
without finishing. I close them together, and that's the subdcree
on the other side. Finally, I crochet five
stitches for the straight part. Slip stitch into the starting
chain and make a chain up. Try the boot on your doll. It should be
comfortable to put on. If your doll's leg is thin, you might need one more
round of decreases at the upper foot part while keeping the straight
part unchanged. For example, if I keep five
stitches on each side, I can decrease a bit more
here by making a decrease. One single crochet stitch. And another decrease. You can adjust the
position of the decreases, however you like, just make
sure they are symmetrical, so the boot looks accurate. In the next lesson, we'll move on to building the boot leg.
7. Building the Boot Leg: Here we have the upper top part of the boot finished
Triton your doll noo. If it feels too tight, I recommend removing
the last round. Otherwise, it might be
uncomfortable to put on. Another little trick is to twist the boot slightly
while putting it on. If it slides on comfortably, then your boot is fine. At this step, you could stop. You already have a simple boot, which you can decorate
with embroidery, beads or even add little
cords to make laces. But let's further and
build a boot leg. You can simply crochet
several rounds of stitches around the boot to
reach the height you like. But I prefer to add
a little more shape and width to the leg. Let me show you how. I keep
the straight part as it is. You can squish the boot a
bit to work comfortably. And in the three
central stitches, I work one half double crochet. Then an increase of half
double crochet stitches. And then one more
half double crochet. After that, I finish the
rest of the round as usual. From this point, I just
crochet straight rounds of single crochet stitches there you can choose any
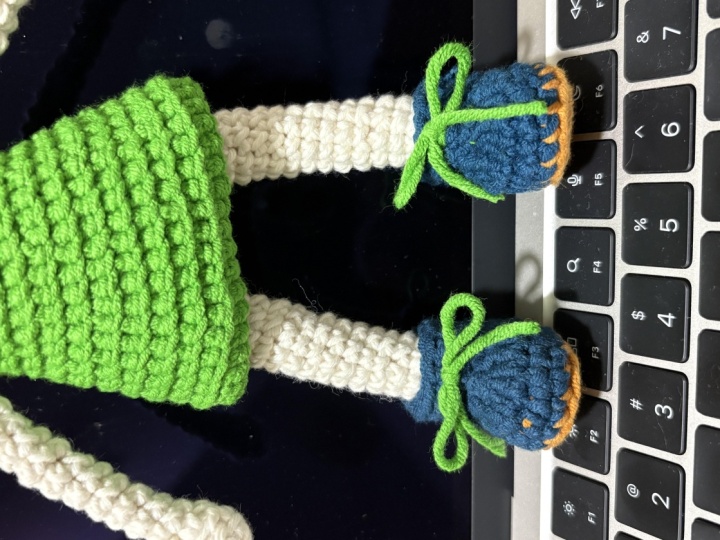
stitch you like. Until I reach the height, I want for the bootleg. For this doll, I'm making
three straight rounds. O. Then I cut the yarn end within the end. And that's it, the
boot is reading. Write on your dog
and then repeat the same steps for
the second boot. If you are making boots
for a different dog, remember to write down your measurements
and stitch count. That way you can replicate
the design consistently. In the next lesson, I'll
share some ideas to customize your boots and
make them truly unique.
8. Customizing and Adding Details: Here's where your
creativity comes in. Think about your Emmy
groom's personality. Are they sporty,
elegant, or playful? Let the boots reflect that. For example, adding
a contrasting yarn around the top edge
creates a clean border. You can also use
color changes to add fan stripes to the bootleg. This is a great way to
recycle leftover yarn scraps. Small details like
beads, buttons, bows, or even a pump boom can make your boots
truly unique. You can also play
with a bootleg height to make ankle boots, mid calf boots, or
even tall boots. Try experimenting with
different types of yarn. Fluffy yarn works great
for cozy winter boots, and bright colors are perfect if you want
to mimic rain boots. You can even add little
extras like embroidery, laces or playful touches like bunnies or at ears
on the boot top. Feel free to explore
these ideas. I'll come up with your own. I've also included a PDF in the proto and resources section with some inspiration
to get you started. In the next lesson, we'll
wrap things up and review everything we've learned. Okay.
9. Wrapping Things Up: Thank you so much for
joining me in this class. Let's quickly go over
what we've learned. We measured the doll's foot to make sure the
boots fit perfectly. We crochet the sole and
build the basic boot shape. And I share different
ideas to customize your boots so they match
your dolls personality. Now you have everything you need to create your
own unique version. I'd love to see
what you've made. Please share your project in
the class project section. It doesn't have to be perfect. Even progress photos can inspire others with
your creativity. If you enjoy this class, leaving a review would
mean a lot to me. Reviews help most
students discolor the class and keep our
creative community growing. I'd really love
to hear from you. Tell me in the
discussion section, what you are working on or what project you'd
like to see next, thank you again for learning with me and happy crocheting.
 Olga Bortniak, Crochet designer, dollmaker Olgamigurumi