Transcripts
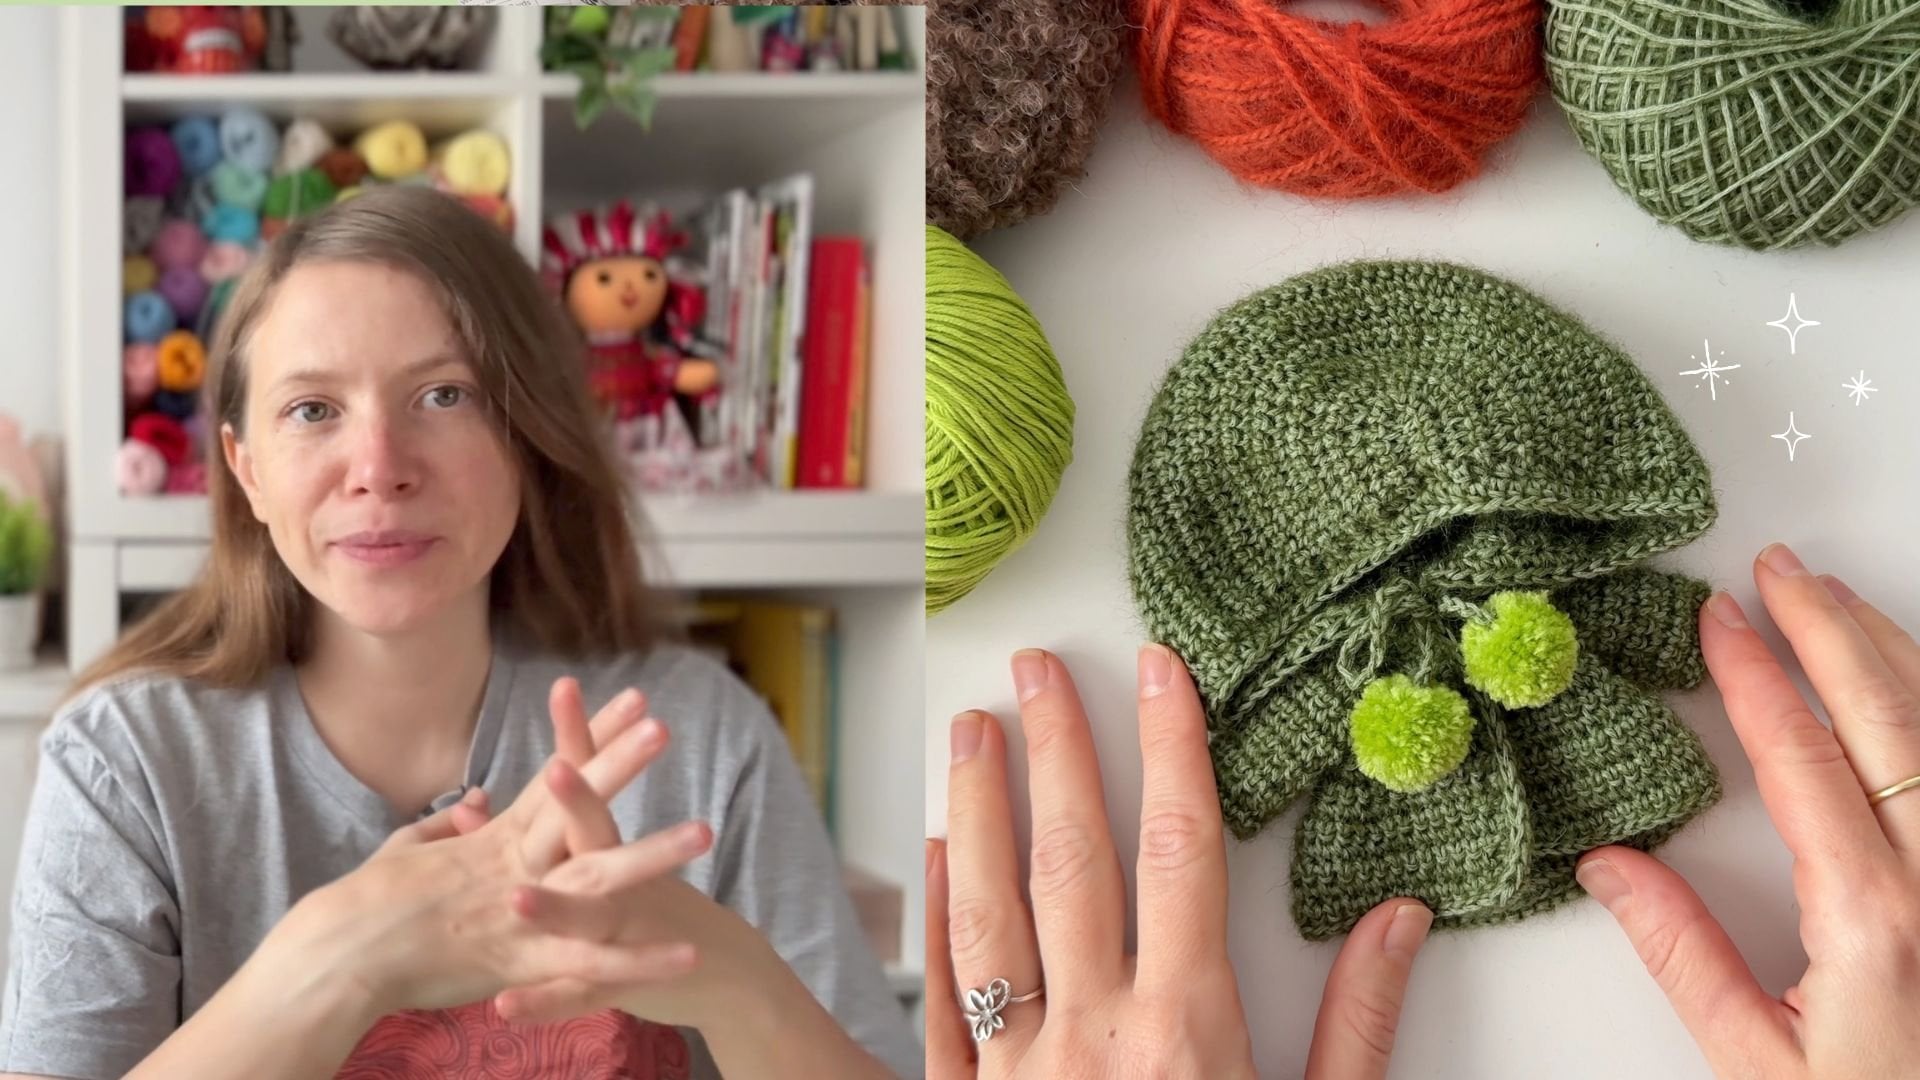
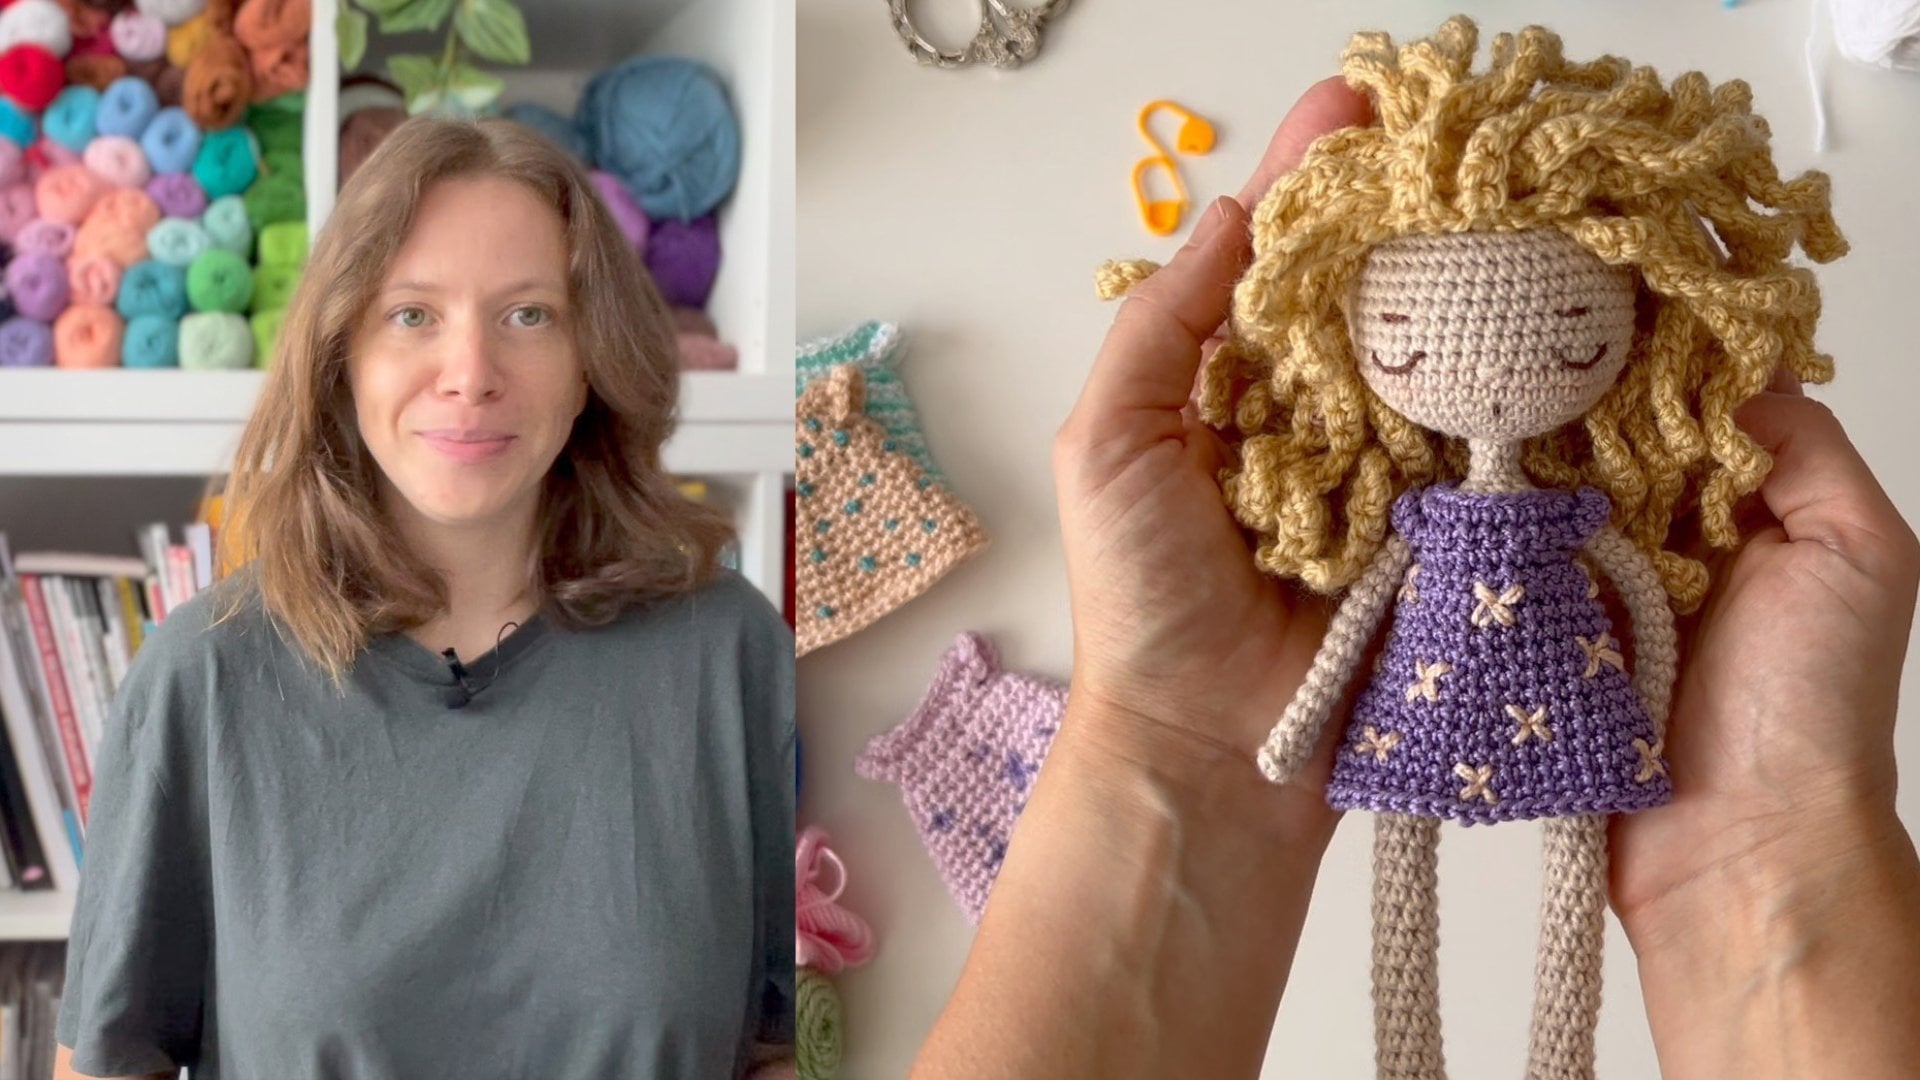
1. Welcome! Let’s Crochet Together: Hi, I'm Olga from Olgamiromi. I'm a crochet designer
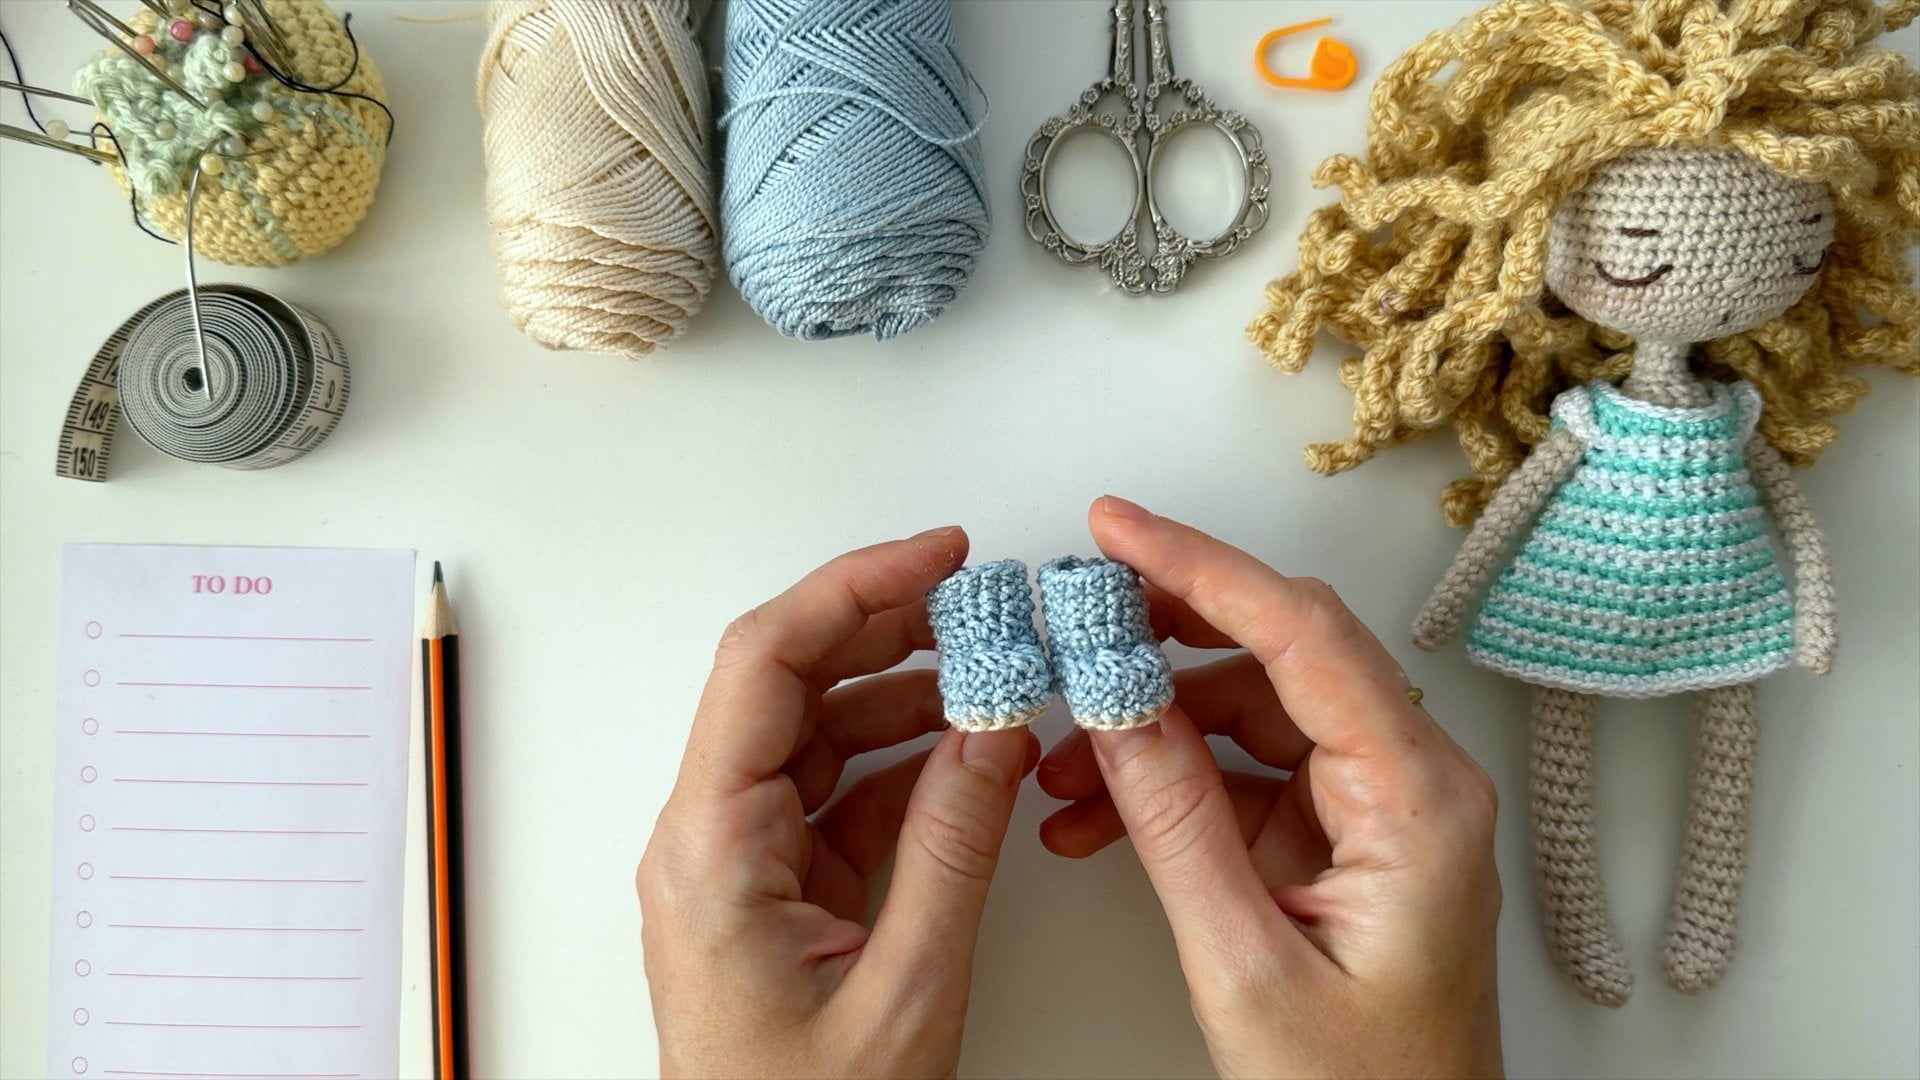
and doll maker, and I've been creating
little yarn dolls and outfits for them
for over seven years. Welcome to this beginner
friendly class where will crochet is something super
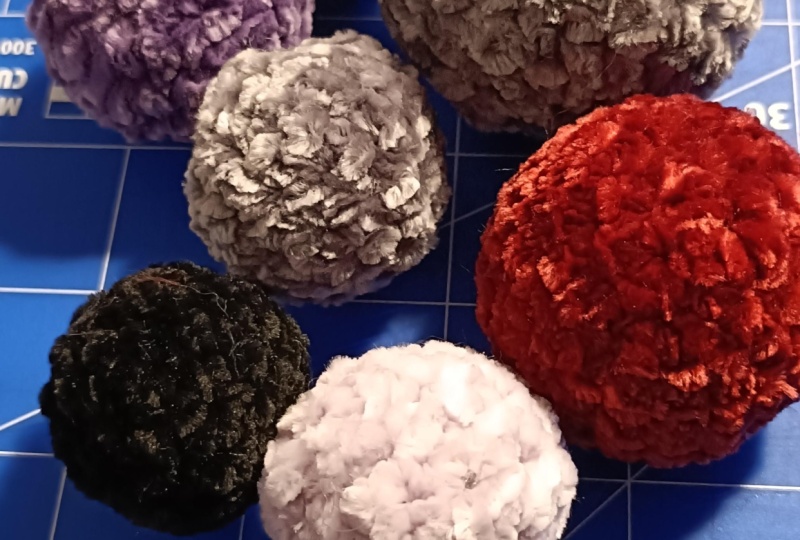
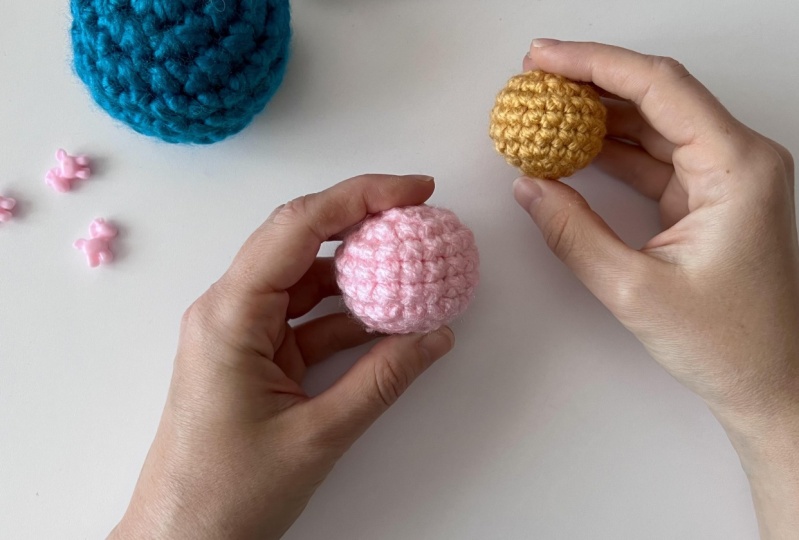
simple and super cute. A soft little Emirmi ball
is the perfect first step. To the world of Emi grooming. And I promise it's much
easier than it looks. This class is perfect if
you are just starting out, but it's also great
if you already know the basics and want to impove
the way your stitches look, making them more even,
tidy and beautiful. We'll go step by step together. You can pause, rewind, and follow along at your
own pace. No stress at all. We'll begin with the
basics like how to make a major green and your
very first stitches. Then we'll shape the bowl, learn a few helpful crochet
tricks along the way. Finish it off with stuffing
and a neat little clothes. You'll see clear close up shots
of my hands as I crochet, and I'll share the
little tips that really helped me when I
was just getting started. So grab a simple yarn and a crochet hook any size close to what your
yarn recommends, and let's get started.
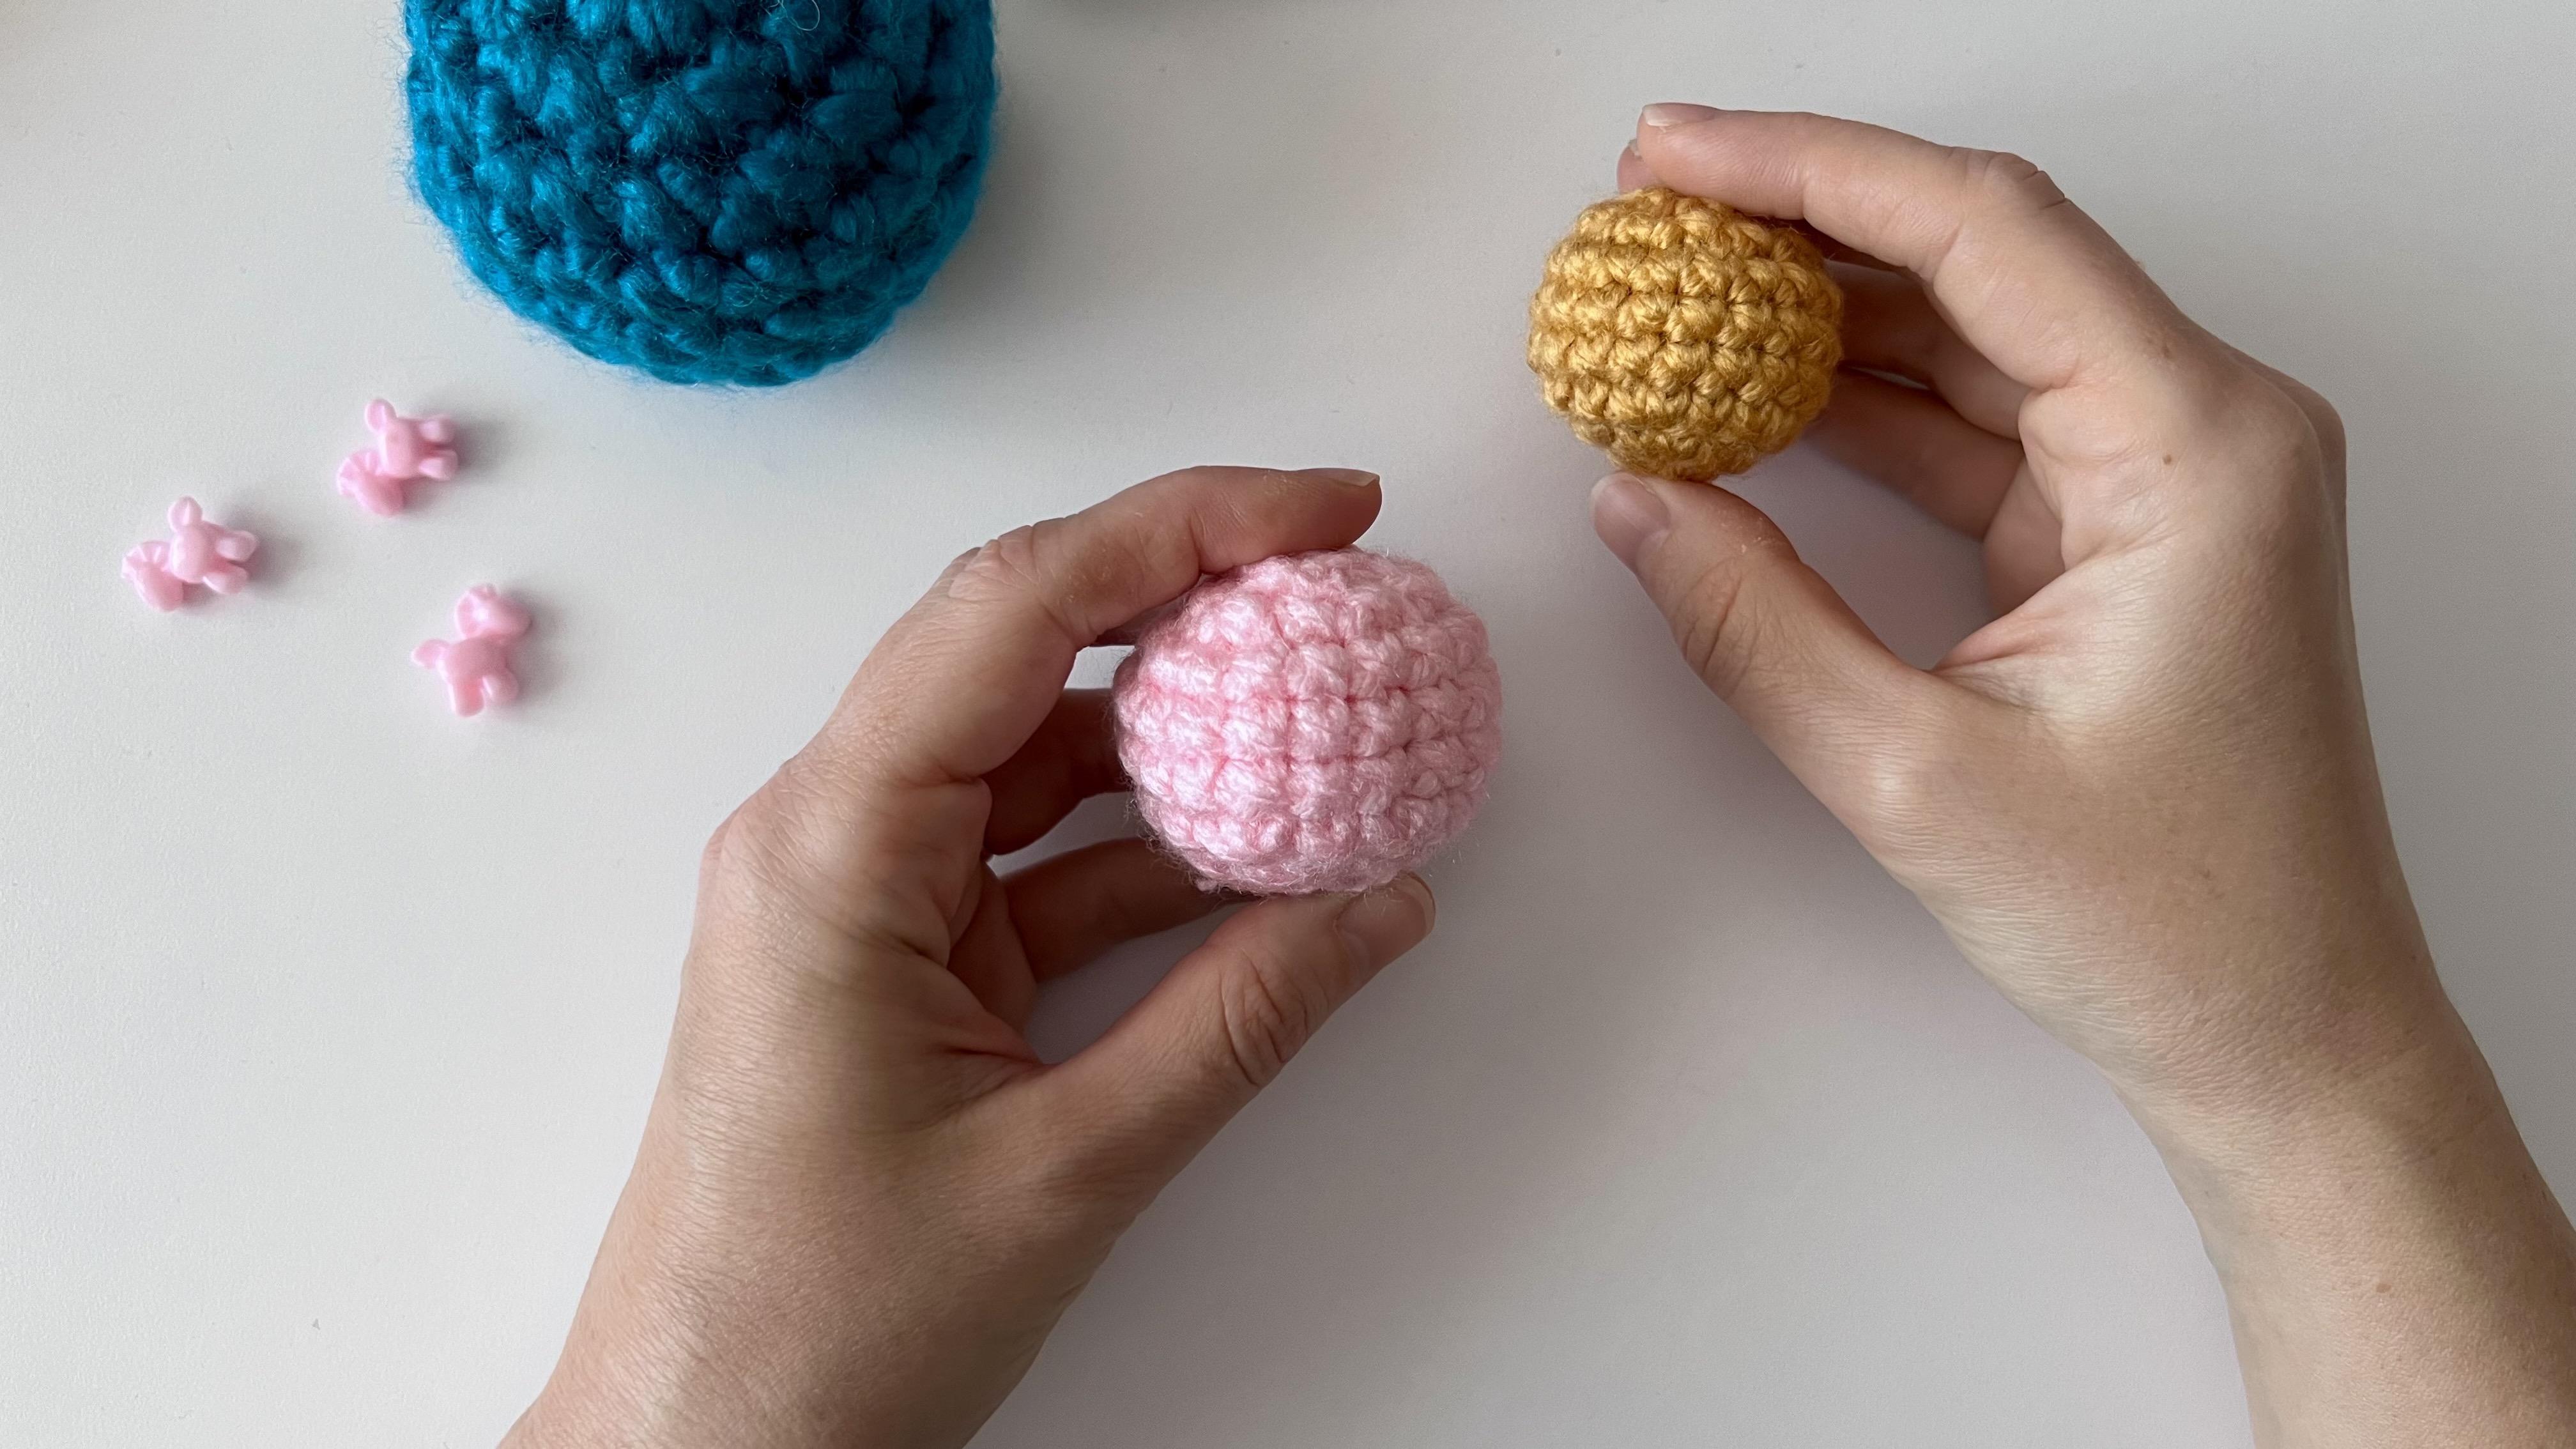
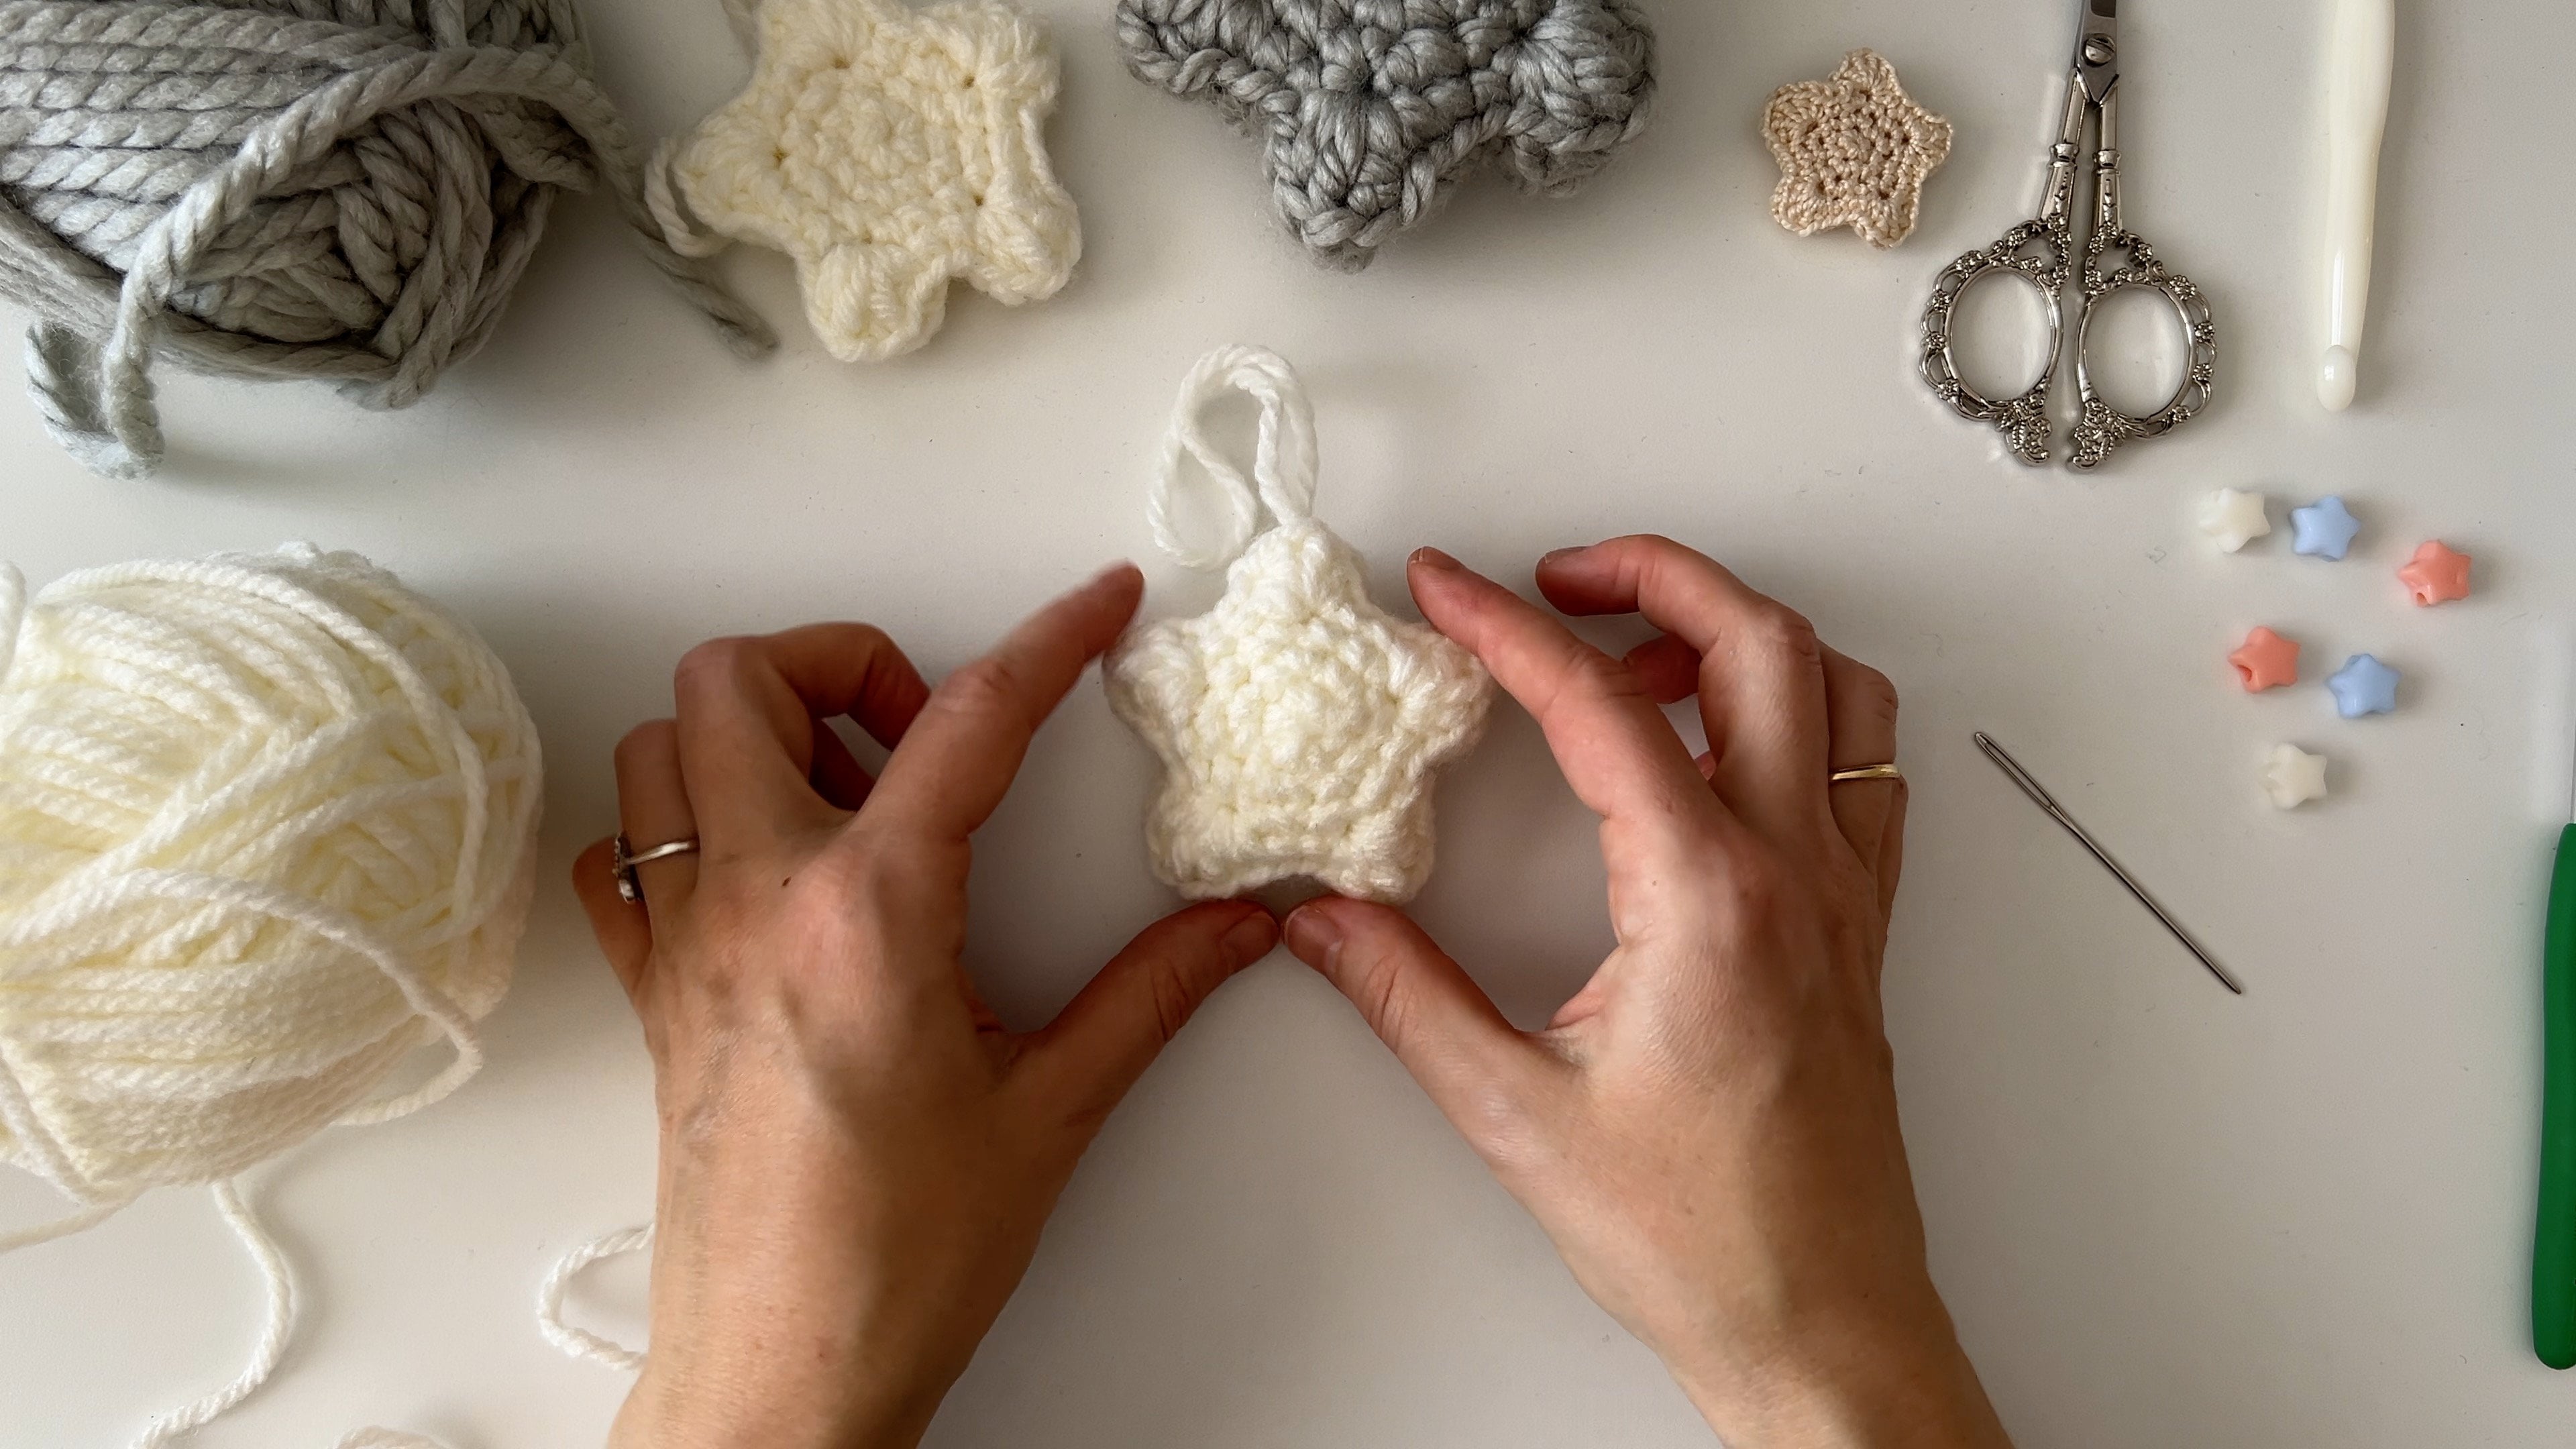
2. About the Project: In this exercise, we will make a small em groom bowl and learn how to
create a major green. I shapes stitches,
increases, decreases, and how to finish the project by closing the stitches
and hiding the ends. I will be using this thick
yarn and will choose a slightly smaller hook than the one recommended
on the yarn label. Here, I have a 5.5
millimeters crochet hook, but I will use a 5
millimeters hook. This will help me
make the stitches tighter with no extra effort. As a stitch marker, I will
use a piece of thinner urn so I can see it clearly and
remove it easily when needed. I'll also need an
appropriate needle for this yarn to close the
project and hide the end. Have a pair of scissors
on hand to cut the yarn and a bit of
stuffing to fill the ball. Let's start with a major cream.
3. Let’s Start! The Magic Ring: Here I had the end of the yarn and there
is the yarn ball. To make the loop,
do it this way. Make sure that the end is on the left and the working
yarn is on the right side. Insert the hook into the loop and grab the yarn pulling
it into the loop. Now I have this little
loop on my hook. Now, move the
working yarn a bit. So I can yarn over and pull it through
the loop on the hook. Here we have a knot and
our majo crene is ready. You can tighten the knot a bit and adjust the loop on the hook. It shouldn't be too
loose or too tight. Now, you can move
the yarn ball to the left side if that feels
more comfortable for you. You can check if your
majo crene works well. If you pull the end of the yarn, the ring should close. To open it, you can pull the part near the
nod to the right, holding the nod
with your fingers. If it works well, you can
move on to the next step. Otherwise, please
practice once more. Now I adjust it a bit to make it smaller and I'll
start stitching.
4. X-shaped Single Crochet Stitch: At the beginning, I
will work without a stitch parker just
counting the stitches. I will refer to
each stitch simply as stitch to make it
easier to follow, meaning a single
crochet stitch using US terms or a double crochet
stitch using UK terms. For the first round, I'll make
six stitches into the ring at this it can feel a bit uncomfortable to
work into the ring, but it will get
easier with practice. If you place the
hook about the yarn, you'll get X shaped stitches, which are tighter and
preferable for hemi grooming. Insert the hook into the
ring and grab the yarn, pulling it through the ring. Now you have two
loops on the hook. Grab the yarn again and pull through both
loops on the hook. That's the first stitch. The second stitch, insert
the hook into the ring, grab the yarn, pull
it through the ring, and you have two
loops on the hook. Grab the yarn again and pull through both
loops on the hook. For the third stitch,
work the same way. Insert the hook into the ring. Grab the yarn, pull
it through the ring. You have two loops
on the hook and pull through both
loops on the hook. Pay attention to the loop on your hook before making
the next stitch. If it's too loose, the next
stitch will be loose, too. So control the size of this
loop before each stitch, tightening or loosening
the working yard. It should have a bit of three space under the
hook, but not too much. Now, you can clearly
see and count your stitches. One, two, three. Let's make three most stitches
to finish this round. Take your time and practice. Now, I have six stitches. I carefully close the ring. You can do this slowly so the
stitches don't get twisted. And If the hole in the
center is too loose, you can tighten the ring
by pulling the three end. Here I have six stitches and
I can see and count them. This loop is the slip node
we made for the major green, but we won't use it. For the second round,
I'll start into the first stitch on
the previous round, and I will work taking
both loops of the stitch.
5. Increasing to Shape the Ball: From this moment, I'll use this piece of yarn
as a stitch marker. Let's see how it works. Before I start the round, I place this thin yarn
like this on the work. The center part should be just
near the hook with one end going to the wrong side and the other end to the
right side of the work. Now that I've marked the start, I can continue working
on the stitches. In this round, I will
make six increases, which means I will make two stitches in each stitch
from the previous round. Make sure you are using the working yard and
not the starting end. It can be confusing if
the end is slightly long. You might notice
something is wrong if you can't adjust
the loop on your hook. Now, I'm sure I had
the correct yarn. I insert the hook,
taking both loops. I put the working yarn
and finished the stitch. Now I make another stitch
into the same point. It might be a little harder to insert the hook because it
already has one stitch made, but I make another stitch
to finish the increase. There it is. And I repeat this in the rest of the stitches until
the end of the round. You can count how many
stitches you've made and see where the end is because
of the stitch marker. Now I'm making the
third increase. Now, I'm making the
fourth increase. Try to control the loop. It should only have a bit
of space under the hook. Here, I can see
that I need to make two more increases
to finish the round. Now I've made four increases
or eight stitches already. I reach the starting point. Before starting the next round, I move the wrong side, end of my stitch marker
to the right side. So both ends are now on the
right side of the work. The third round works like this. One stitch and an increase, then repeat until the
end of the round. I start by making the
first stitch of the round. I also check and adjust
the stitch marker thread. In the next stitch,
I work an increase. That means I work two stitches
into the same stitch. Then I repeat this part one
stitch and an increase. A stitch, then an increase. Take your time and don't rush. If you need to practice
making increases, you can go back and rewatch
the previous video. One stitch and an increase. A stitch. Then an increase. I make the last increase on the round reaching
the stitch marker. At this point, you
can try moving the stitch marker thread to check that it moves easily
within the stitches. It's important to be able to remove it at the
end of the work. Before starting the next round, I move the marker
to the wrong side, so I'll alternate the position
of this end every round, and the thread goes through the body of the first
stitch of every round.
6. Working Even Rounds: The next three rounds are
very easy and relaxing. We will work one stitch into each stitch of the round
without increasing. I take both loops of
the stitch and put the yarn under the hook to
pull it through the stitch. You can see how the shape
starts to take volume. It will go from a simple circle to a spare. Let's keep working. I make a stitch in each stitch until the
end of the round. I take both loops of the stitch and put the
yarn under the hook to pull it through
the stitch and then through the
loops on the hook. I can see that time coming
to the end of the round. Two more stitches. I move the marker to
the right side and make one more straight round without increasing
or decreasing. Check the stitch marker to
see if it moves easily. If not, it may mean you accidentally grab this thread
with the working yard. You'll need to undo some
stitches to find that point. Work this round by making one stitch in each stitch
of the previous round. Okay. This way of marking the start of the rounds is perfect
for making lawns, straight shapes
with several rounds all with the same
number of stitches. That way you can easily
see how many rounds you've completed without having to write them down on paper. Also, is great for beginners because if you need
to undo any work, you've already
marked every round. You won't have to place a
plastic marker on each round, which I think is
very uncomfortable. Can count the rounds easily. Just count the points
where the thread goes from the wrong side to the right side and from the
right side to the wrong side. Since I didn't use this thread
in the very first round, I'm simply adding one to
the total number of round. Move the thread to
the wrong side. By the way, you can put it under or above the working yard. It doesn't matter. Just make sure it doesn't mix
with the working yard. I make sure that the marking
thread moves easily, and I start the next straight
round without increasing or decreasing one stitch per
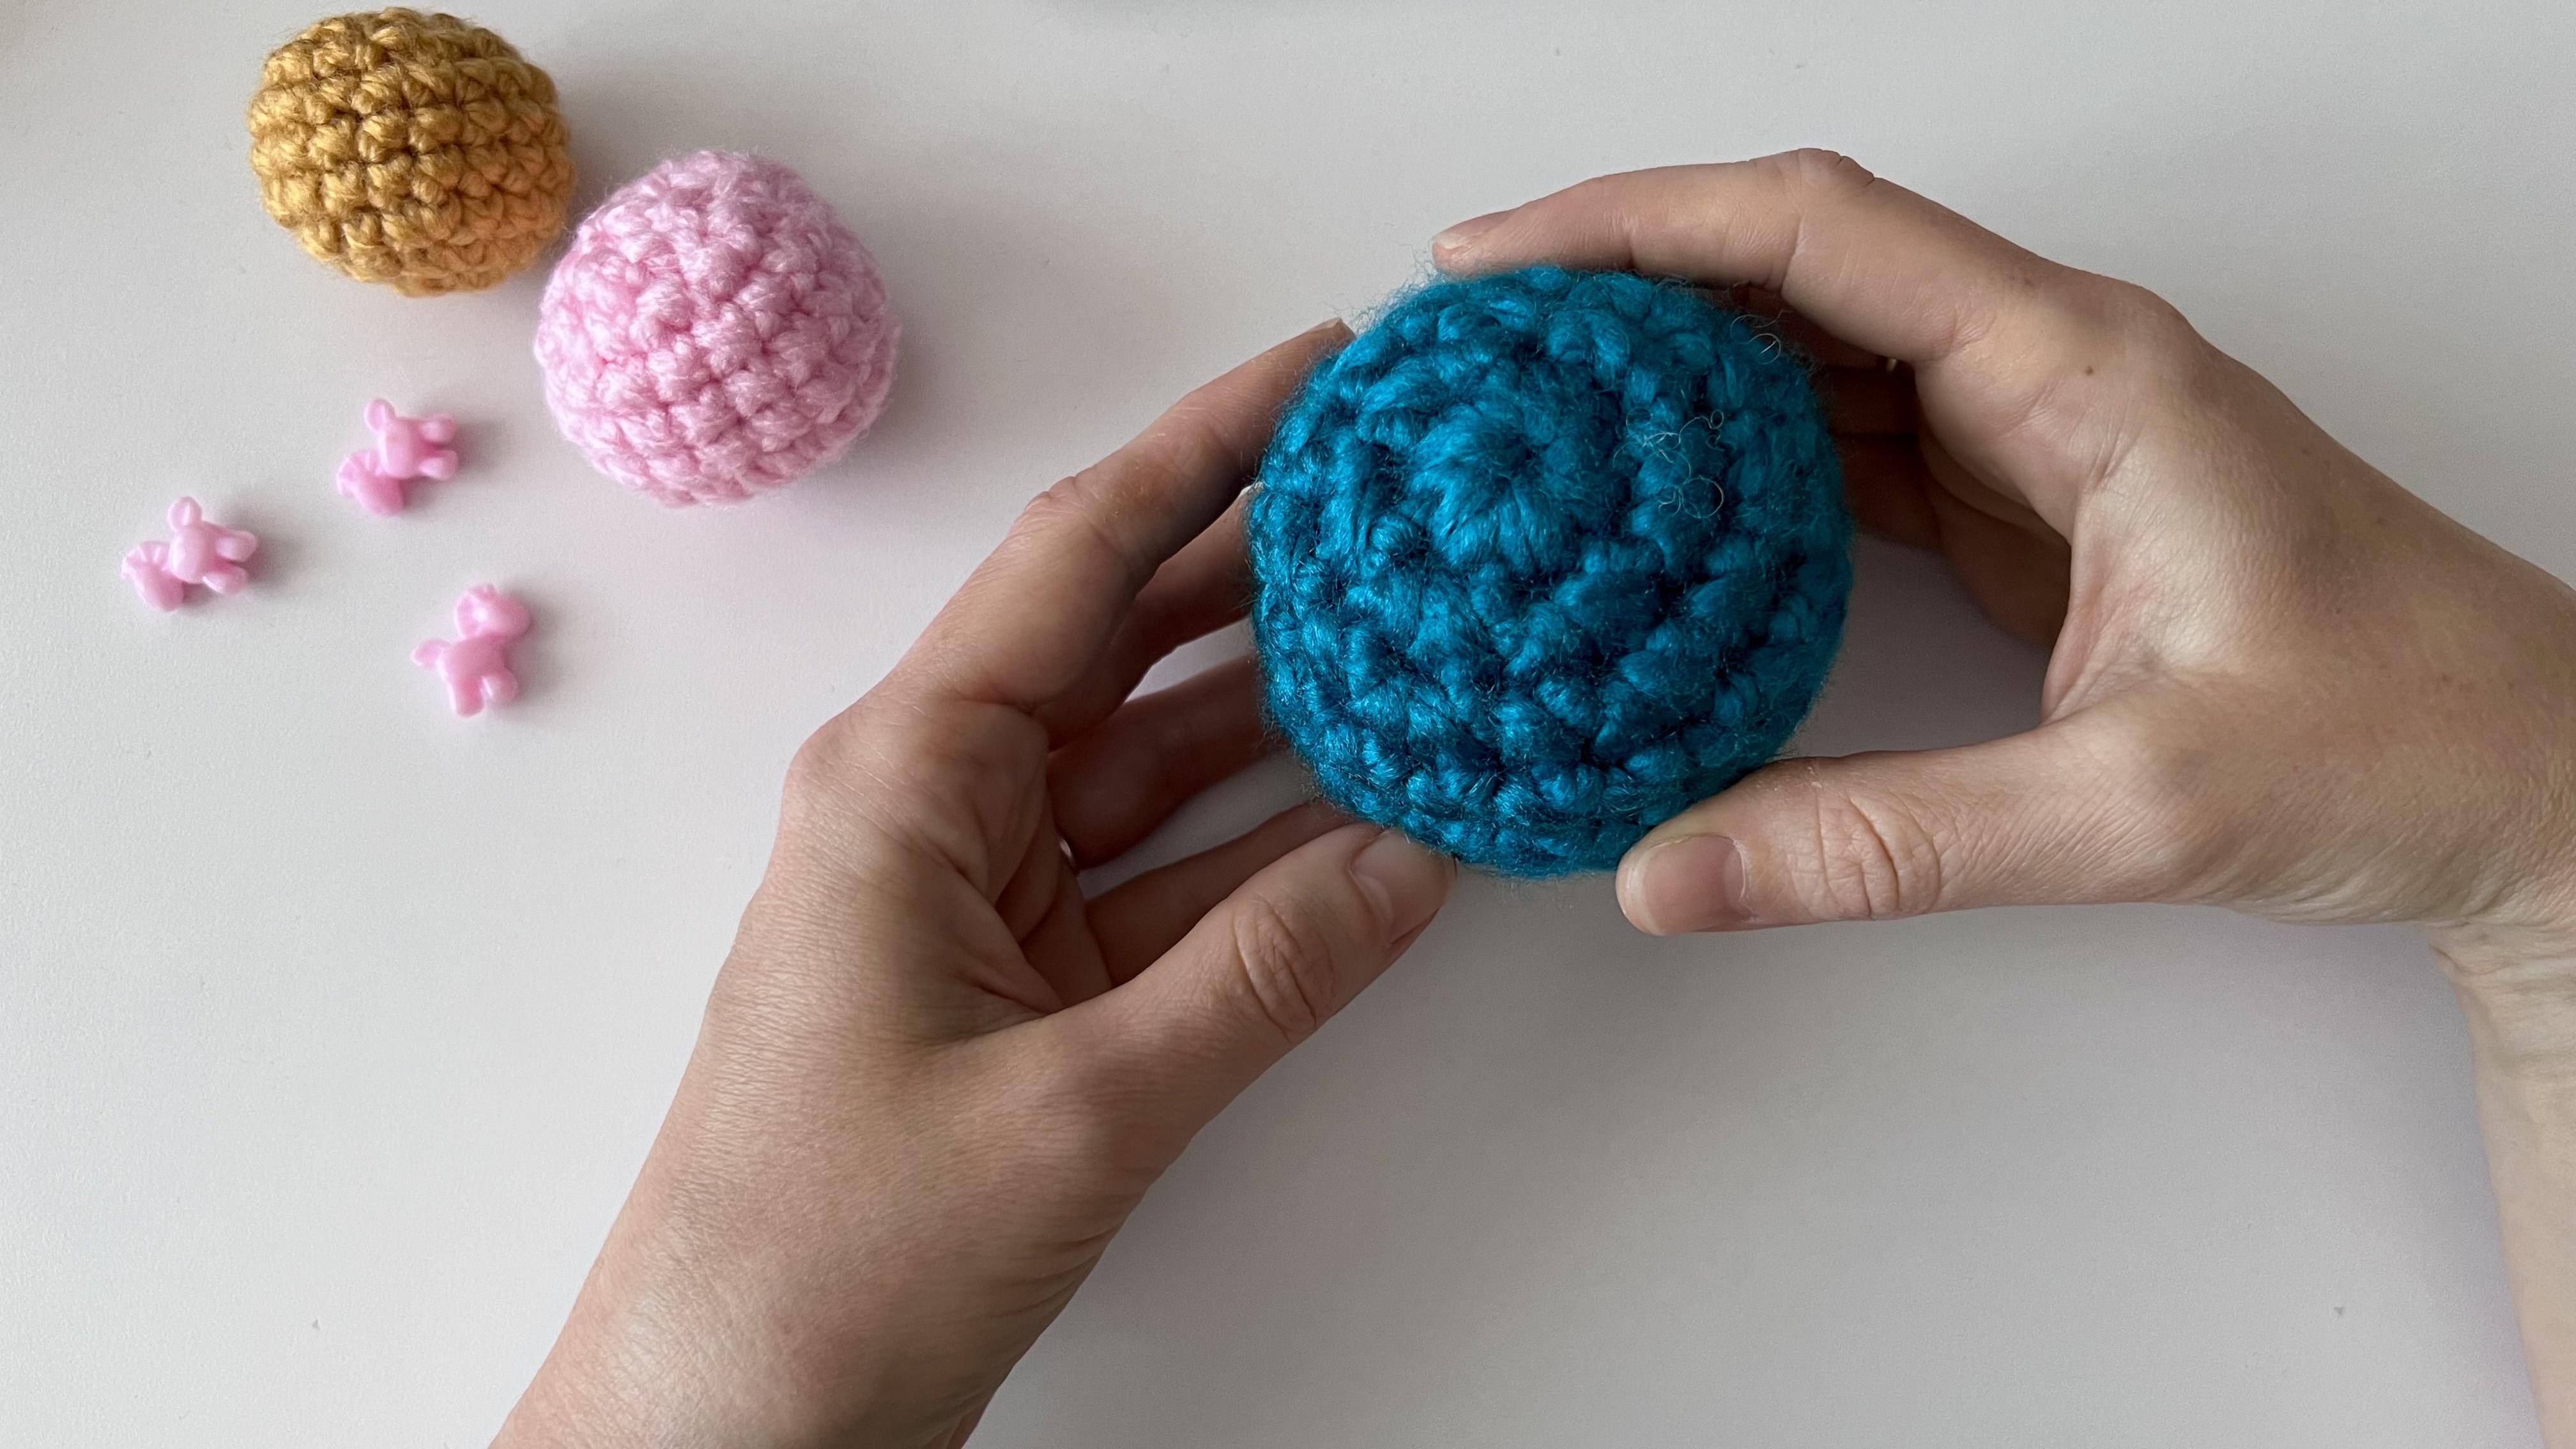
stitch of the previous round. M. This is the last straight round, and you can see how
your shape looks now. I make the last stitch and move the marker to the
right side of the work. The next round will
be more interesting because we will learn how to
make invisible decreases.
7. Decreasing to Close the Ball: First, I make a stitch. You can hide this end
inside the shape now, so it will be easier to work. Make sure the loop on the
hook isn't too loose. You can make an
ordinary decrease, insert the hook into the stitch, taking both loops
and pull the yard. Then insert the hook into the next stitch
and pull the yard. You will have three
loops on the hook. Now, yarn over or yarn under the hook and pull it through
all the loops on the hook. It looks like this, but there's another way
to make a decrease, which I think looks
more accurate. It does require a
bit more practice. I take only the front
loop of the stitch. Then carefully turn
and move the hook a bit and take the front
loop of the next stitch. Now, I grab the yarn and pull it through
both front loops. I have two loops on the hook. Then I finish by pulling the yarn through both
loops on the hook. You can see the difference. I repeat this until
the end of the round. I make a stitch. And in the next two stitches, I make an invisible decrease. I take only the front
loop of the stitch, then carefully turn and
move the hook a bit this way and take the front
loop of the next stitch. I have both of them together. Now, I grab the yarn and pull it through the two front loops. I have two loops on the hook. And I finish by pulling the yarn through both
loops on the hook. Look, I didn't grab
the yarn correctly. I only took one thread of it, so I want to undo it
and make it again. I take only the front
loop of the stitch. Then carefully turn
and move the hook a bit and take the front
loop of the next stitch. I have both of them together. Now I rub the yarn and pull it through the
two front loops. I have two loops on the hook, and I finish by pulling the yarn through both
loops on the hook. Now I'm happy with
this decrease. In the next stitch,
I make a stitch. And in the two next stitches, I make an invisible decrease. So I keep working in the same way until
the end all around. The less decrease, I take
only the front loop of the stage and take the front
loop of the next stage, and I finish by pulling the yard through both
loops on the hook.
8. Stuffing & Last Round: At this step, you
can stuff the fare. I prefer to stuff my
Emigrmi quite firmly. You can also use a wooden stick to push the stuffing
into the bowl. Make sure your stitch
marker still moves easily. I move the marker
to the wrong side. This is the last round, and we will make six
invisible decreases. Let's practice this. It can be a bit
uncomfortable to work this round because there
are fewer stitches. It's not very easy to
keep it in your hand. You can insert a finger into
it and use it as a support, or you can stuff it a
bit more if it feels too soft and doesn't
hold its shape. You can even press it a bit. You can always form it
later with your hands. I take only the front
loop of the stitch, then carefully turn and move the hook a bit and take the front loop of
the next stitch. I have both of them together. I grab the yarn and pull it
through the two front loops, and I finish the decrease, pulling the yarn through
both loops on the hook. I can see that I have
four stitches left, so I make two more decreases. And the last one. Now the bowl looks like this.
9. Finishing the Ball: I cut the yarn,
leaving a long tail. I remove the stitch marker. Look how easy it is. I insert the end
into the needle. Let's close the hole
and hide the end. To close the hole, I take the front loops of the
stitches from the last round. One two, three, four, five. Here, I noticed I
only took one thread, so I corrected. Oh. And the last one. Now, I tighten the
yarn to close the gap. Then I insert the
needle into the center of the hole and take
it out through one of the little gaps between the stitches at a distance from where I
inserted the needle. I pull it carefully. Then for the ball with my head. When I'm happy with the shape, I make a knot close to
the sufrace of the bow. Next, I insert the needle into the same point where
I took it out. Take it out and carefully hide the
knot inside the bol. You can adjust this little hole caused by the knot
with a needle. Cut the yarn near the surface of the bowl and hide the rest of
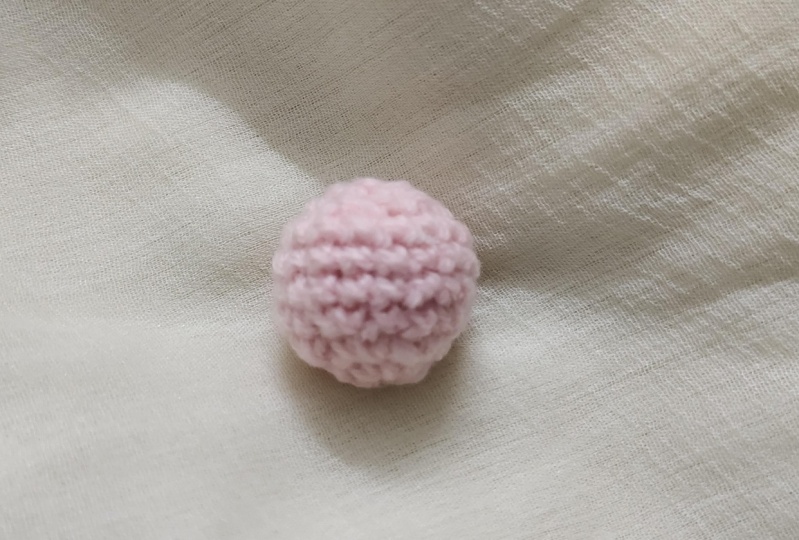
the yarn inside the shape, gently pressing and
shaping it with your hand. Here it is. I hope this tutorial helps you
practice your technique.
10. Final Thoughts: Hi, again, and congratulations. You've just completed your first Emi groomi
project. How exciting. Let's take a moment to recap the key points you've
learned in this class. The magic crime we started
with the very basics, learning how to make
the magic crime the foundation of most
Emi groomi pieces. We learned how to crochet
in a continuous round, which is key for shaping your projects, increases
and decreases. These techniques help you shape your piece and create the
bowl shape we worked on. Finishing, finally, we stuffed our bowl and neatly
close it off, making sure it's
smooth and tidy. By completing this project, you've gained all the
essential skills to start crocheting more
complex and groomy pieces. And remember, the
more you practice, the smoother and more even
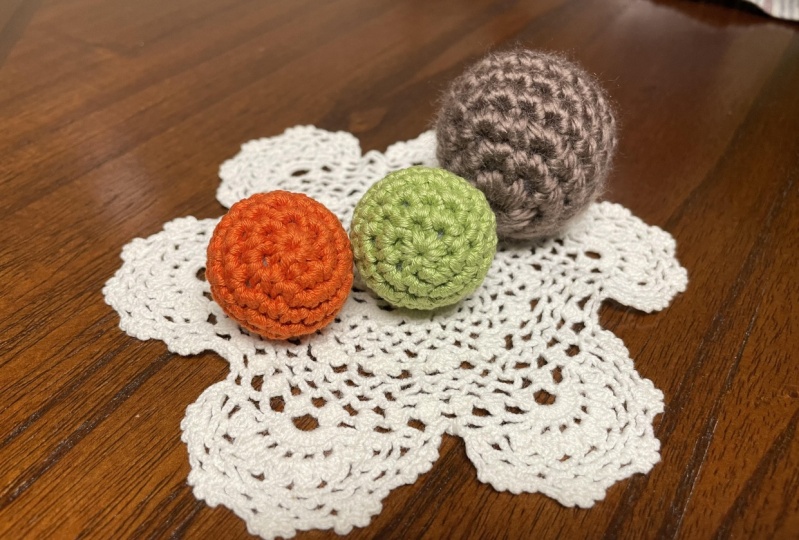
your stitches will become. Now, your next step is to share your finished bowl in
the project gallery. I'd love to see creations, whether it's your first try or a fun variation you've added. It's always inspiring to see how you've made the
project you own, and don't forget this
soft little bowl can become the start of
so many fun projects. You could turn it into
a little character by adding ice or use it as
a stress ball or a toy. The possibilities are endless. I hope this class
has inspired you to dive deeper into the
world of Emmy grooming. Don't hesitate to revisit the lessons anytime
and keep practicing. With every stitch, you
are getting better. Thank you so much for
crocheting with me. I can't wait to
see your projects.
 Olga Bortniak, Crochet designer, dollmaker Olgamigurumi