Transcripts
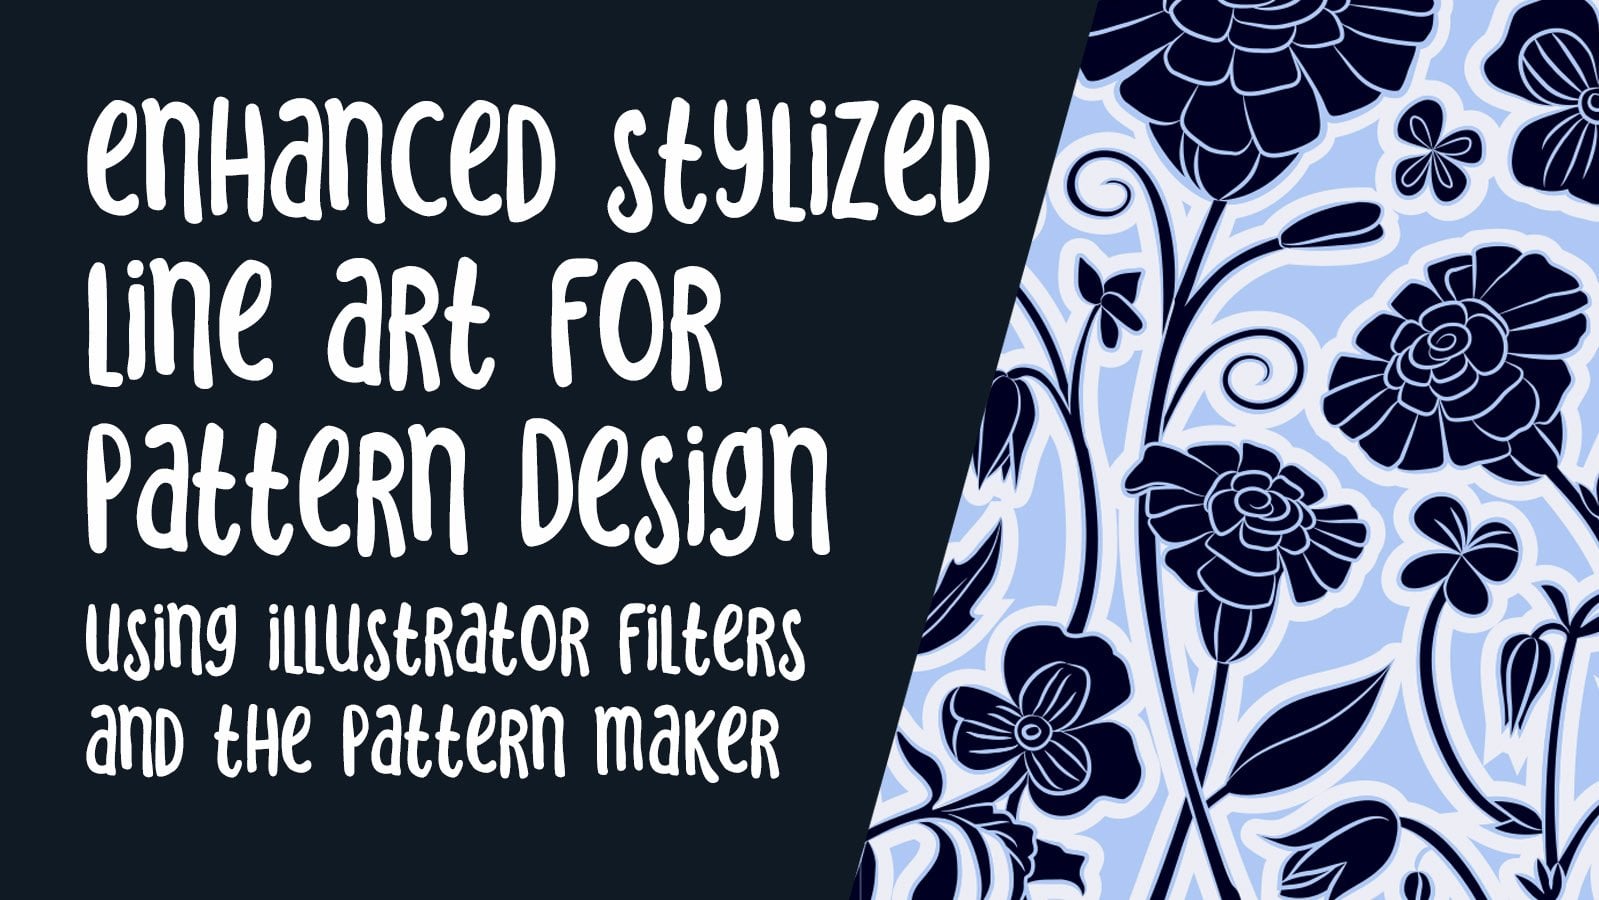
1. Intro to Class: I think everyone has going. My name is Hans. Thanks for being with me. So this'll classes a continuation of the patterns of principle Siri's that I've been doing so in this particular class, I'm gonna be showing you a few different techniques I like to use when creating patterns. So I'm gonna be mostly freestyling. So I'm just explaining what I'm doing as I go along in the class. Now I enjoy free styling because it allows me to just kind of flow and just practice. You know, there's no real set outcome in it. And then, you know, I'm always surprised at what comes out of it, and I encourage you do the same. You know, use as a practical way to practice greeting patterns really is just initially just a few techniques that, like I like to use, So for this class, you know, have to download the working files that's included. Eso is that you can gain access to the grid system that's already made for you as well as a duplication technique. Now, I did this just so you know, you don't have to worry about putting it all together Now if you want to know how to create those, uh, grid system. And to use the duplication technique, you can always go back and reference my first patterns and principles. Class, It's on skill share already. So without further do, let's jump right in and get started.
2. Freestyle part 1: on the eight point pattern layer. I'm going to start my illustration in this area. Make sure you do all your drawings in this area of the heart board for this illustration. I will be using the pen tool and I'll explain as I'm creating, you can also follow along and copy. Or you can just freestyle and use the techniques in your own way. I'm just gonna just this lying to my desired look. It's all about experimentation and figuring out what kind of look you would like. Toa have I think for this I wanted Teoh go for ah, more flowery pattern like flowers. Okay, Now I'm going to create line number two and three And now for lying for and just keep in mind, I will be adjusting all of them as I continue along When freestyling like this I just like to go with my gut feeling at times. I don't like to constrain myself too much because then it'll take all the fun out of it for me. Now you can be more decisive with your strokes and your lines. It's all up to you. So far, I have five lines. Notice that every movement and position creates a totally new look and feel. That's the real magic to using this technique because there is no limit to the different kinds of pattern designs you can make so easily. - Now I'm going to use the line with tool and manipulate the thickness of each line. I think it helps make the pattern a bit more dynamic in its look and feel. I'm just doing some more adjusting to the lines. All right, I'm gonna add some more elements to the party. 300? Yeah. Okay. So now I'm satisfied with what I have. It's time to go to the next part. Make sure you copy this layer and turn off the original so you can maintain the duplication technique that was already done for you. Now I'm going to change the color of all the elements from black to something else. Doesn't matter what color it is, as long as it isn't black, and I'll explain why I do this soon. So after you change the color, select all of the objects on the layer that you created and go toe object, expand appearance. Now go to Pathfinder and select emerged function. Notice this funky line appears out of nowhere. I don't know why this happens, but this is the reason why I change colors before I do this part. So let's get rid of this by double clicking and isolating it and use the select similar objects function to select only the black line and hitting delete. Make sure to get rid of the residual that's left behind as well. Okay, so now with the direct select tool, select one of the lines and use the select similar objects to select the rest of the elements of the same color. Just copy the entire pattern and hit command. Plus why? To make sure there aren't any residual lines that are there. Once that's done, just paste the illustration back on the layer. And I think we're just gonna end his video here for now, so stay tuned.
3. Freestyle part 2: Okay, so now let's move on to the next part. After I copy and paste the pattern I made, I'm going to change the color back to black. Now, you don't have to do this if you don't want to, then I'm going to shrink it and fit it in this box. Now I'm going to duplicate the entire illustration like so and then I'm going to do it again. Now I'm going to select all three and duplicate them together on, and I'm going to do it once more. Now I made another pattern out of the 1st 1 by using a test elation technique. It's a very common technique used to create patterns. I discussed this method in my first patterns of principle class. Okay, so now I'm going to go back to my original layer and delete the first pattern I created and start on a new one again. I'm going to use the pencil and start at this point and make a random line with different points. After that one is done, I'm going to make a second line and now third line and the fourth line. If you notice the lines, feel like waves, then I freestyle. I like to just let things flow and see where it takes me. - So after the fifth line, I'm going to create a mid piece that feels more like a flower. So now I feel like making one more outer line just for the fun of it. Okay, so once that's done now let's use the line with tool again and add some character to our lines. Let's make them more dynamic like last time. This tool really transform how you can use lines. - Now I'm going to duplicate this one. And since I'm not a big fan of the box corners that select the line, go to the stroke panel and change the cap and corner to round it points. I'm just going to add a couple more elements and I'll be done Beautiful. Okay, so next video, I'll show you how I'm going to use this pattern with the other one I did earlier
4. Freestyle part 3: Hey, welcome back. Okay, so let's get started. Now. I'm going to take the recent pattern illustration I made and combine it with my other pattern. Okay, First things first. Let's select all the elements on this layer and change the color. Now we're going to copy this layer once again and turn off the original layer with the copy layers selected. Go to object, expand the parents. Now go to Pathfinder and select emerged function. This funky line appears again. We're going to do the same thing we did last time to get rid of them. After that, I'm going to use the direct select tool and select the part of the design. Then I'm going to click on the Select Similar Objects Function and Press Command plus X to cut the design. Now I'm going to press command. Plus why? To see if I left any extra lines on the layer. Notice how parts of the design are still there, even though you can't see it in the regular view. Thes lines were like ghost lines. Lisa Sly quote. I'm not sure why this happens, but it does. And when you're trying to add color to an object illustrator. These lines can become a nuisance. However, they also given opportunity to create another design from the one that we cut out. Just now. Select the excess lines and Phil done with the color notice how this designs a little bit different than the other one. It's like getting to pattern elements out of one. For now, I'm going to just set it aside and save it. I'll probably use it for another design later on. Now I'm gonna pace the pattern that I cut out earlier. Back on the airport, I'm gonna change the color to black, and I'm going to cut and paste it to another layer. Now I'm going to make a copy of the overall pattern I have so far. I'm going to select the copy and use the paint bucket to fill one of the empty spaces in the copy. While the design is selected, I'll click the expand button and then select the area I've filled with the color cut and paste it to make it separate from other design elements. I'm going to delete that copy because I don't need any more. Now I'm going to turn off the other layer now and center my pattern design. Okay, so now I'm going to use this new object and place it on top of my pattern design and center it on our board. Then I'm going to increase the size of the object, select both of them together and hit command plus seven to create a clipping mask and voila . Now, this pattern takes the shape of a negative space in the other pattern design. Now I'm gonna add it to the other pattern and copy it to fill the negative spaces. - After that, I'm going to make a copy of one of the pattern elements I first created. Then I'm going to do the same process. I just did before and create another clipping mass for the secondary pattern. - Now that's done. I'm going to fit it into place and just duplicated into other areas. Now I'm just gonna check to see where everything is. Okay, so now what I want to do is to select the inside pattern I just made. Go to Pathfinder and use the crop tool. This is going to get rid of the clipping mass and crop away all the other parts of the design elements. You can't see, So just keep this in mind. I could have done this part earlier, before I made all the copies and it would have say some time, but I forgot to do so. My bad. - Now , once that is done, I'm going to use the directs electoral and select one of the elements. It doesn't matter which one. Now. I'm going to click, select similar objects and use the Hockey Command plus X to cut out the whole pattern. Now I did this to see if there are any residual lines, because if I had left those lines in with pattern design, they would have become a nuisance. When I try and change the colors of pattern like an discussed earlier, I'm going to select them and add a fill to these residual elements. So let's now create another layer and paste our pattern design on it. If you wanted, you can actually keep thes and create another pattern out of them. Kind of like a two for one deal. It's always cool when you stumble across something unexpected, so I'm going to make sure to group all of these together and just the check that everything is aligned properly. You should try and get the lines to be as accurate as possible. It will help make the tiling process easier. I'm going to create a square so I can make a clipping mass for the entire pattern. Make sure the squares centered in exactly the same size as our port. This will be our first tile. Now I'm going to begin duplicating entirely. Just make sure everything lines up properly. - We can do the same thing with the extra pattern variation that we have. First, let's make sure everything is a line after that. Let's make the square and create the clipping mass and begin the tiling process. And there you have it, the two variations of the same pattern design. Now I need to use the Pathfinder tool and crop out the clipping mass like earlier. I could have done this before the tiling process, but sometimes I get carried away in the moment. I forget to do it. It's OK. Once again, I'm going to select similar objects and cut the pattern to get rid of the residual lines. Now I can change the color with no issues. That's pretty much it. There are many ways you can use these techniques to help create really nice patterns. I hope you guys enjoy this lesson, and I really hope you took away a lot from this.
5. Outro: So we're at the end of class. I just want to say thank you for taking your time to take this class that I made. I enjoy creating it for you. So, uh, like I said, help was beneficial in some way. Please look out for the next class in the Siris. On Once again. I just want to say thanks and take care.
 Hans Fleurimont, Author, Educator & Graphic Artist