Papermaking: Embossing Textures
 May Babcock, Papermaker, Artist, Teacher
Watch this class and thousands more
Watch this class and thousands more
Lessons in This Class
-
-
1.
Intro
1:26
-
2.
Materials
1:26
-
3.
Flat Textures
4:26
-
4.
Low Relief Objects
5:53
-
5.
Drying
1:22
-
6.
Final Thoughts & Class Project
1:17
-
-
- --
- Beginner level
- Intermediate level
- Advanced level
- All levels
Community Generated
The level is determined by a majority opinion of students who have reviewed this class. The teacher's recommendation is shown until at least 5 student responses are collected.
817
Students
2
Projects
About This Class
---
BECOME A BRILLIANT PAPERMAKING ARTIST
Want to make better quality paper? Want to transform natural pulp into pulp paintings, sculptures, and more Looking to transform your creative work with more advanced papermaking techniques?
Sign-up for PAPERSLURRY WEEKLY, an email series that helps you level up your artistic papermaking game. It's 100% free—you'll get paper-y inspiration every week.
---
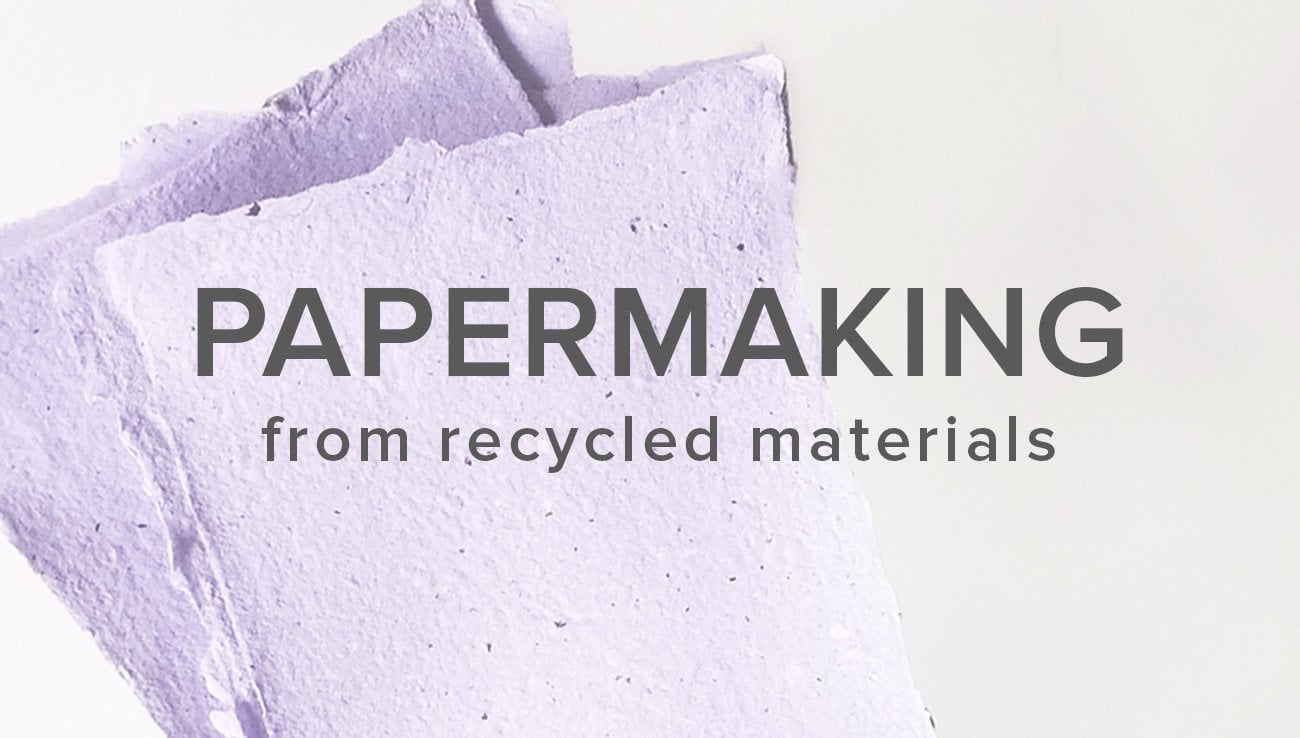
Hand papermaking is not only a way to reuse paper scrap—it’s also a creative process that lets you make unique and artistic handmade papers, some that can even stand alone as artwork.
Working with paper pulp, you can create deep embossments of a range of textures. You’ll need to have taken the Basic Papermaking from Recycled Materials class first (see far below), so that you’re setup with the tools and materials you need to make handmade paper at home, and to fully understand this intermediate class.
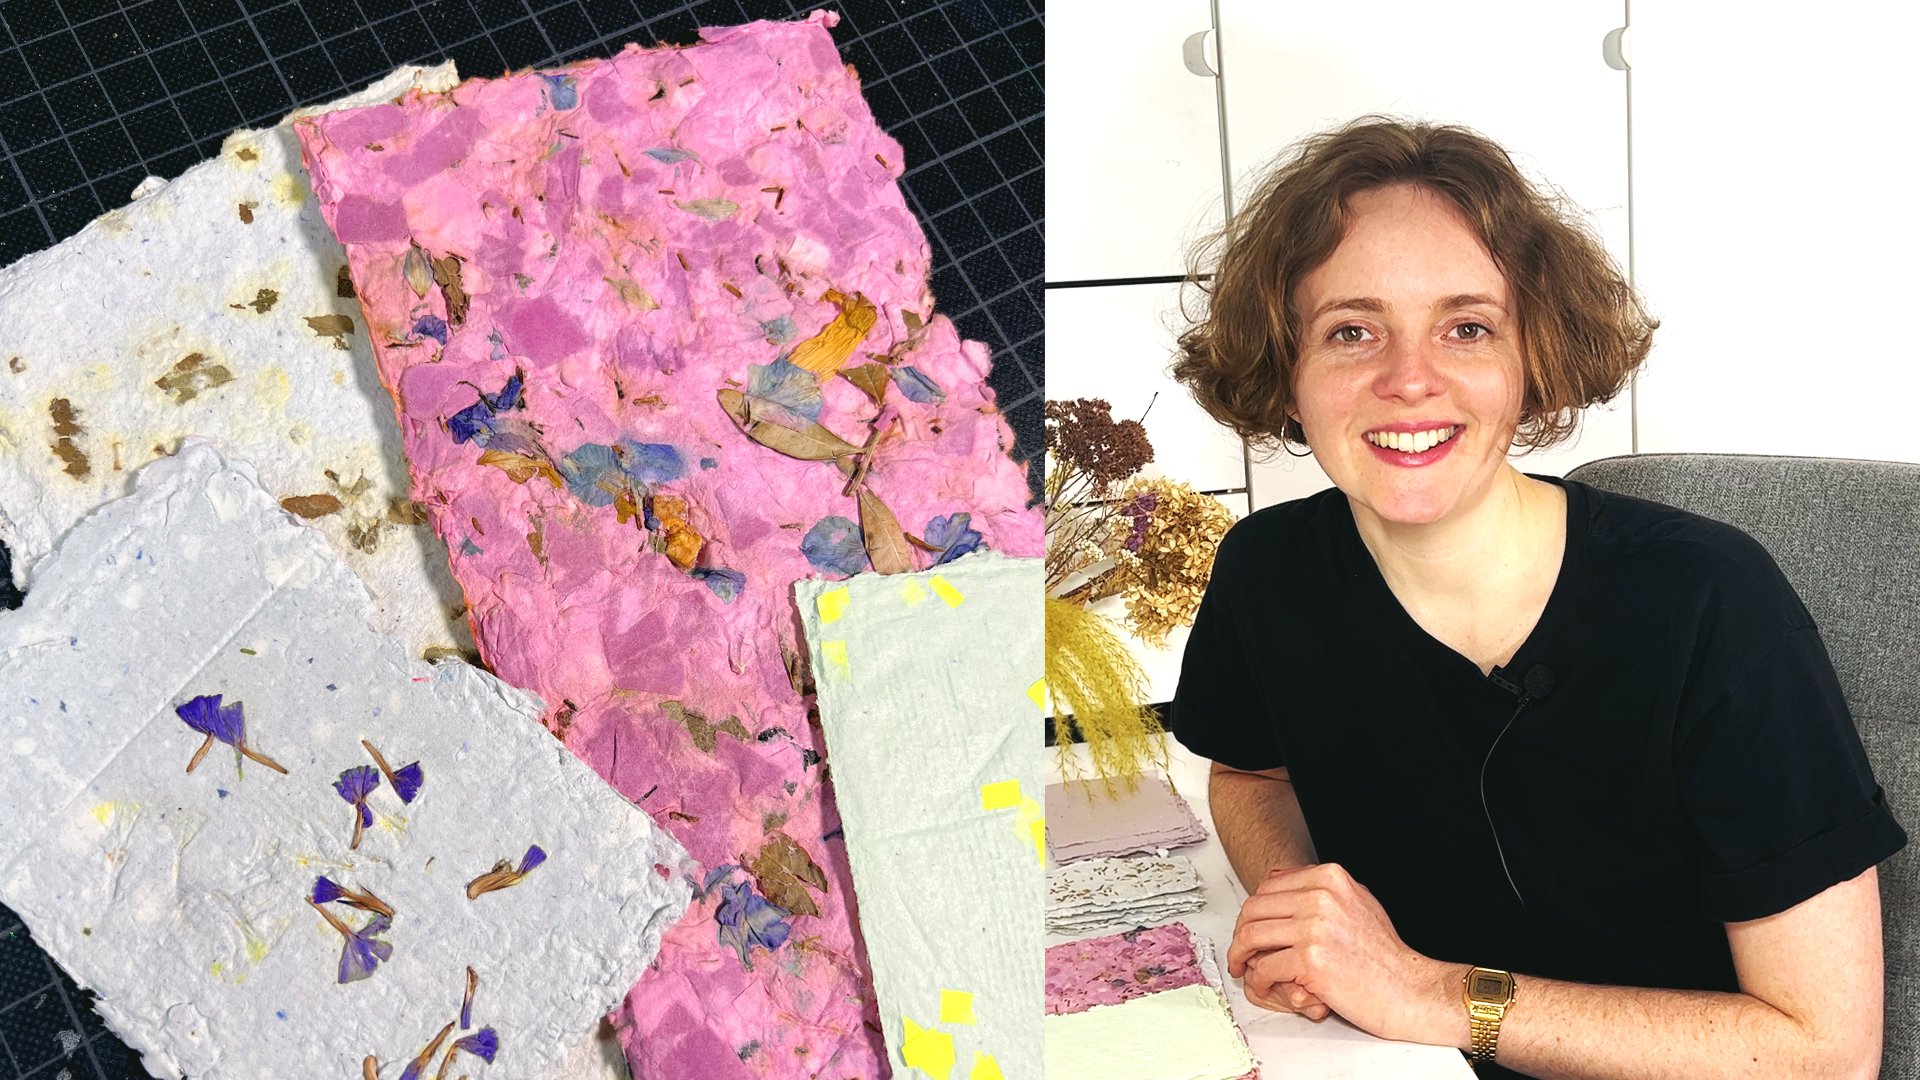
May Babcock, papermaking artist and founder of Paperslurry.com will teach you how to:
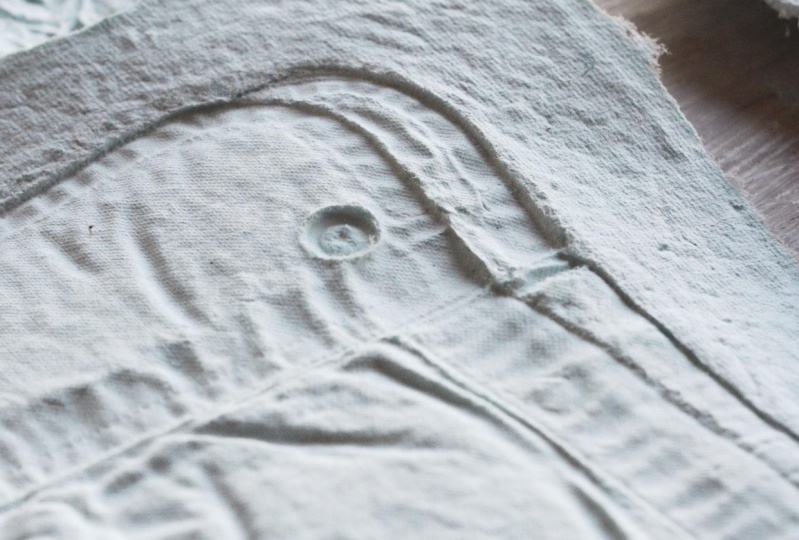
- Create textured papers from flat, flexible materials such as burlap and lace
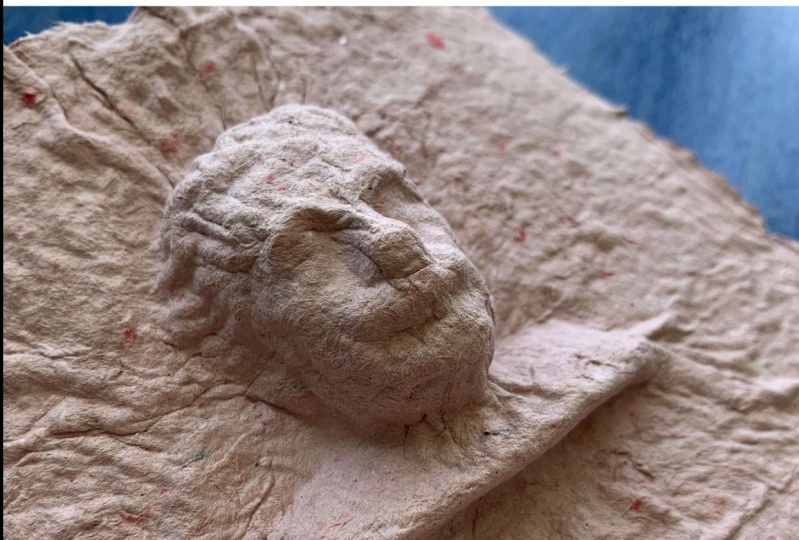
- Make deep embossments of harder, low-relief objects using 2 different methods
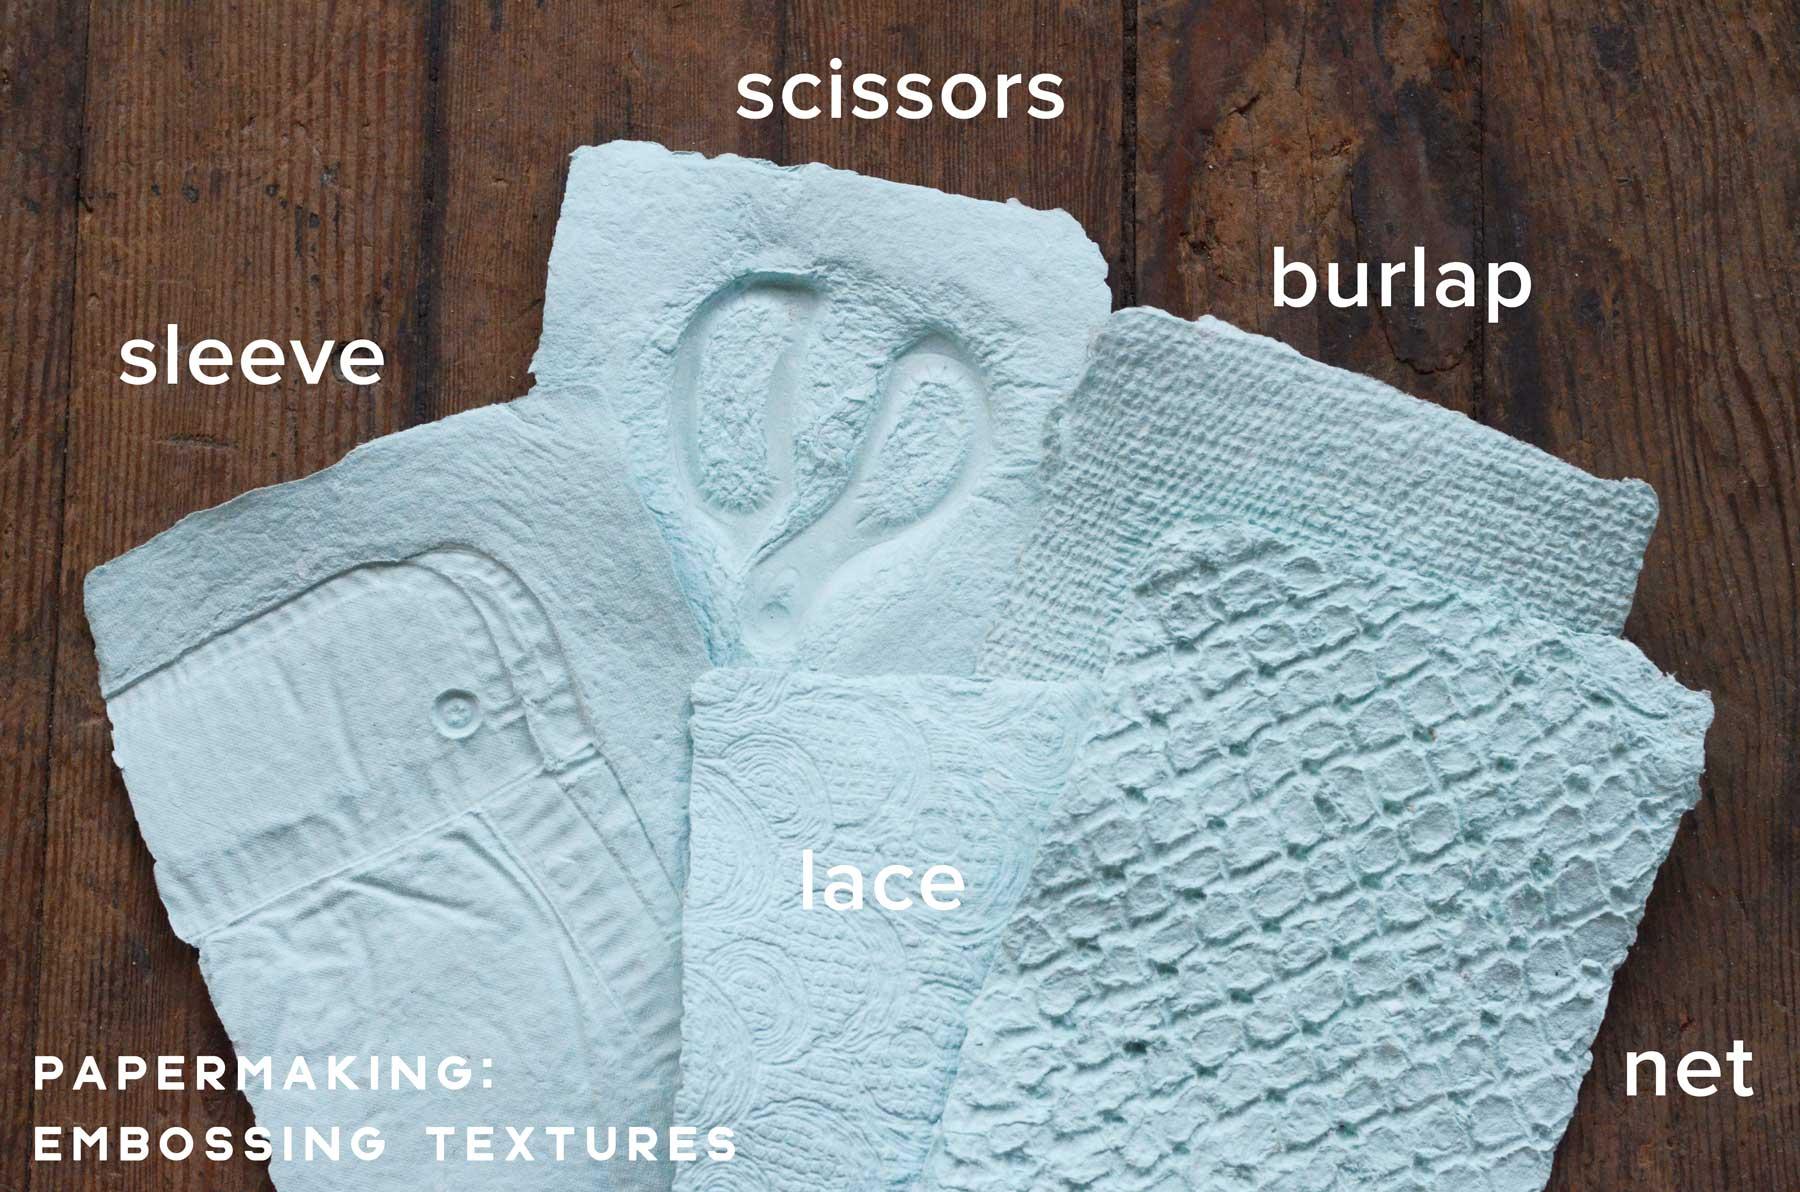
Embossing Materials List
- Basic paper making setup (take the Papermaking from Recycled Materials class, see below)
- Flat, flexible textured materials such as lace, burlap, clothing, etc.
- Low relief, hard objects that are no more than ½” in depth
Download the class notes PDF >
********
Meet Your Teacher

Want to make better quality paper? Want to transform natural pulp into pulp paintings, sculptures, and more? Looking to transform your creative work with more advanced papermaking techniques?
Sign-up for PAPERSLURRY WEEKLY, an email series that helps you level up your artistic papermaking game. It's 100% free--you'll get paper-y inspiration every week.
---
See full profileHands-on Class Project
For this class project, make a textured handmade paper using one of the techniques demonstrated.
- Collect the texture or low-relief object you want to capture
- Watch the class to learn how to emboss your texture with paper pulp
- Share a photo of your finished, dry handmade paper!
Class Ratings
Why Join Skillshare?
Take award-winning Skillshare Original Classes
Each class has short lessons, hands-on projects
Your membership supports Skillshare teachers
Learn From Anywhere
Take classes on the go with the Skillshare app. Stream or download to watch on the plane, the subway, or wherever you learn best.