Transcripts
1. Introduction and Art Supplies: Isn't paper the first craft supply that comes to your
mind when crafting? Paper is so easily available
at home and school. And there are endless
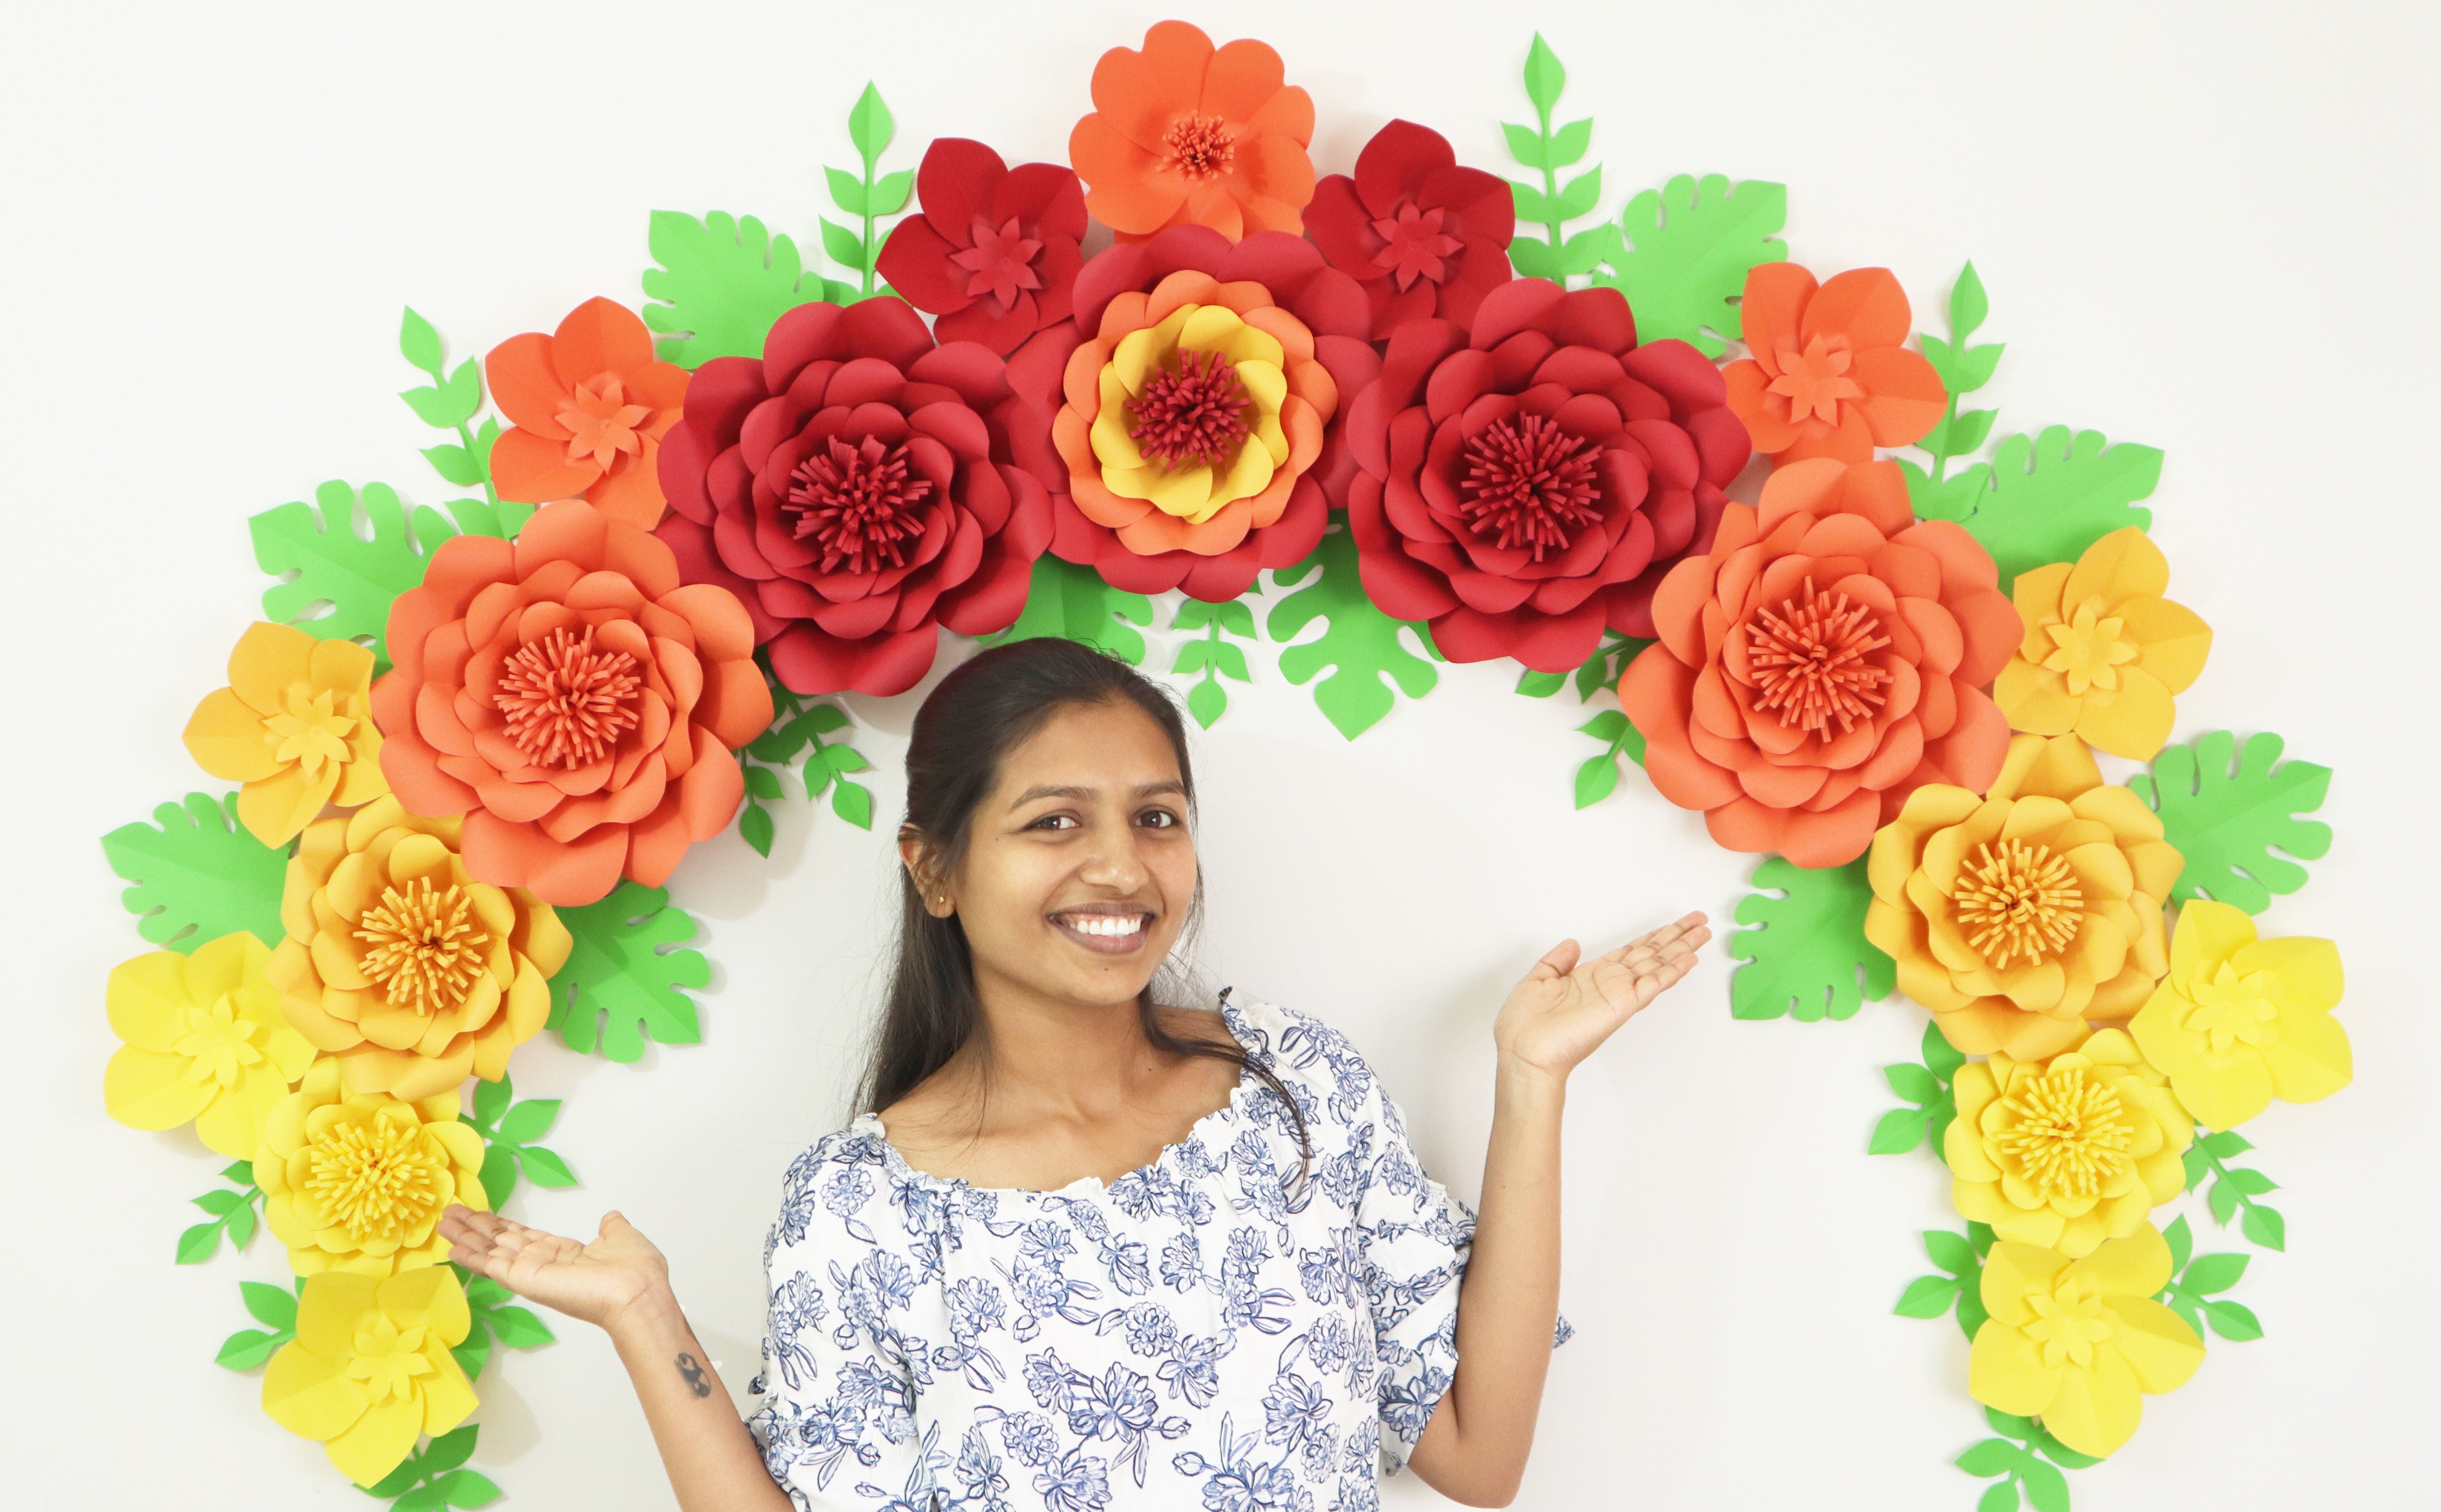
possibilities with it for kids. My name is Mayuri I'm a craft YouTuber
and mandala artist Paper always held a special
fascination for me. I tried many different methods
and techniques of working with it until I found the
way that has turned out to be the for me, I only use
three simple materials and simple technique that
involves the folding and careful cutting to
make paper works. I think everyone loves
animals, all of them. But as I can't have
all of them at home. I Do the next best thing I can. Create Tiny animal figures or
crafts to deck up my home. You must try making this awesome easy paper
animal crafts for kids In this course, I will
teach you how to make simple and easy
paper animal crafts like fish, peacock
caterpillar, etc.. And I'm here to share
all my tips and tricks for making
this paper crafts. You will need very basic art
supplies for this. Scissor, pencil Glue, scale. The last important
thing, color craft papers. The most amazing part about
paper is that it is easily available and even easier to work with it in
different forms. for kids It is the perfect start
in the world of crafts. Taking inspiration from nature and making something
creative out of it. paper crafting is a
great way to show others what you find
aesthetically pleasing. It provides you with wealth of opportunities to
play with colors, shapes, and texture
that you enjoy. There are often directions
and rules in paper crafting. But the artistic
side of this hobby encourages you to break
those rules sometimes. And that can be an incredible
freeing thing to do. I wish my paper craft tutorials will bring you smile
and happiness, and you will understand each
and every step properly. Let's start making some
fun graft together.
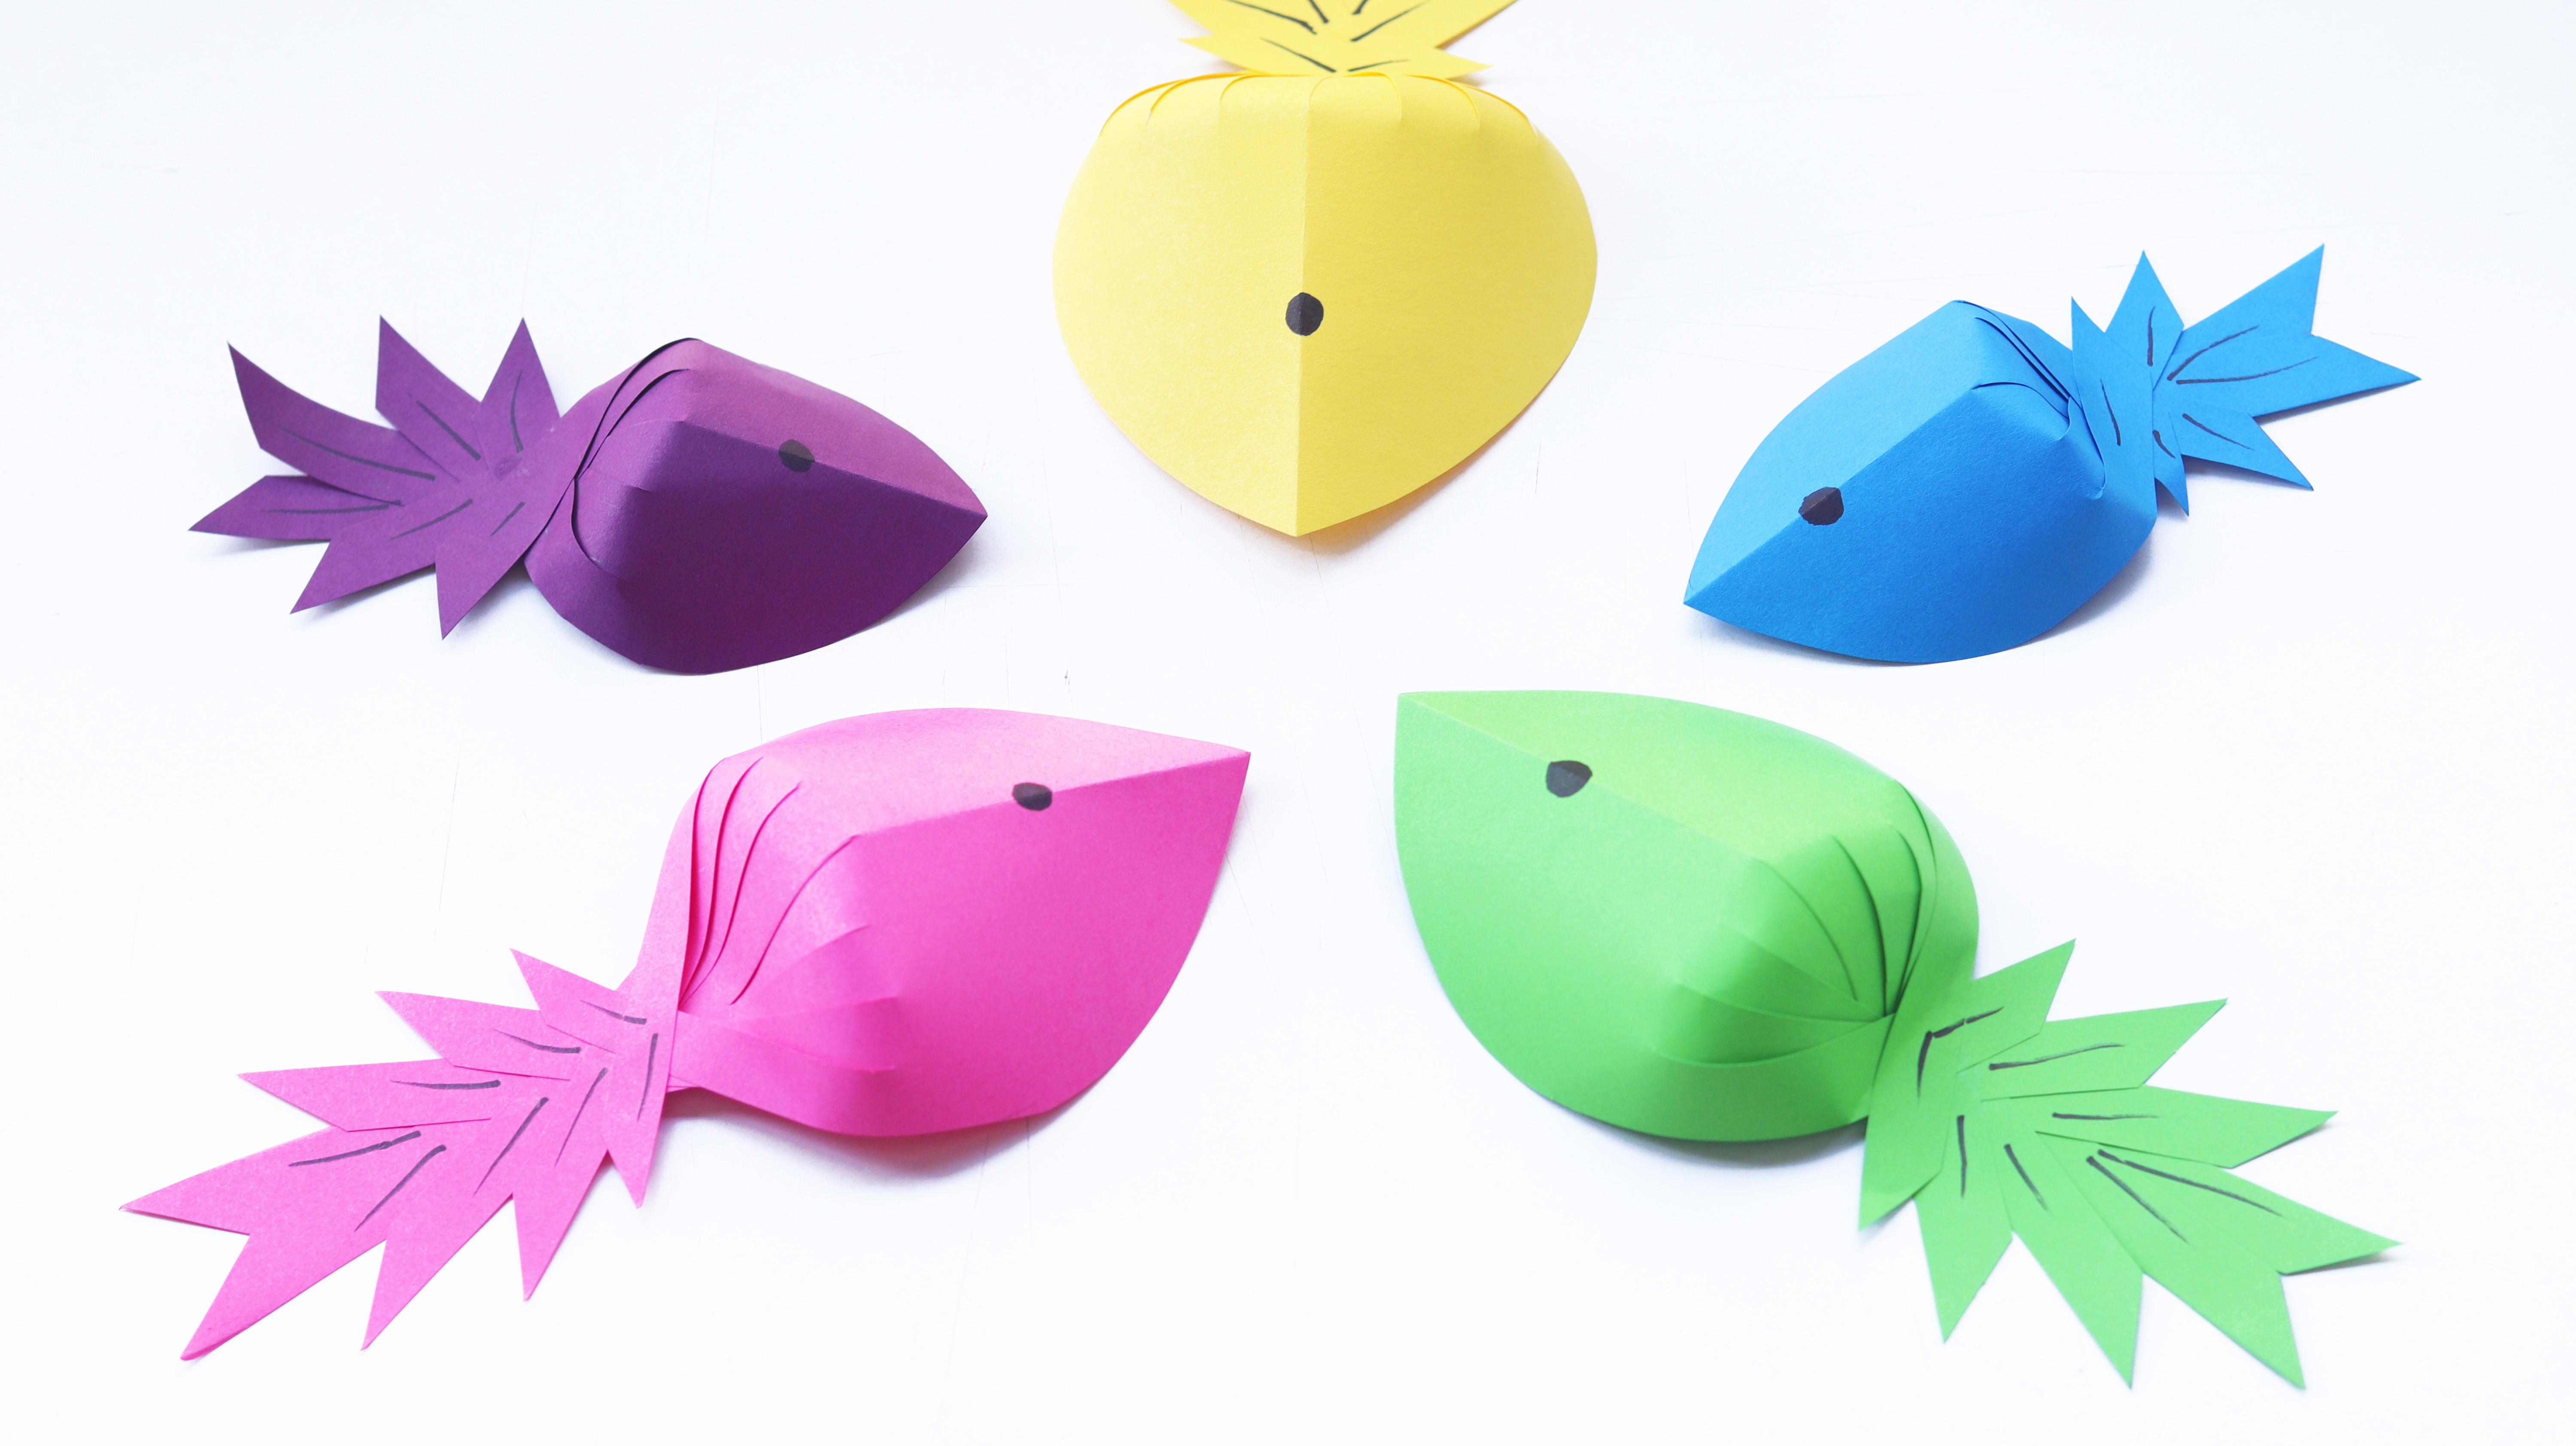
2. Paper Fish Craft: The first one on our
list of paper animals is the fish, one that does not swim. And no, you can't
eat this either. Let's start making 20*10cm color paper and fold it in half width rise. Now on the one side of it, draw a straight line using
scale at a certain angle. On the other side. Simple curve, which will be
different face of our fish. now cut The paper from both the sides following this
pencil guidelines. From the bottom cut four equally spaced
scripts leaving about four centimeter
gap from top. You can make pencil
guidelines first, instead of using
scissor directly. Now open it and cut the
middle big strip in half glue this adjacent strips
on each other to make the long fin
tail and the end. Similarly glue The remaining adjacent strips
alternatively on each other, creating a beautiful fin. pattern at the back, this project makes a fun
summer craft for kids and it can also be an addition to your ocean animals study for eyes take any black marker and Draw a simple black circle. At the center of face and some black lines on the fins Here our first easy paper
craft project is ready.
3. Mouse with Whiskers : This fun paper mice or paper rat if you prefer,
stands upright. Which is so cute, they can be made in
any color you like, and have adorable whiskers and
long tails that can be curled take 2 round papers of
radius 5 cm, cut a slit in one circle and glue
on the other side to make a cone shape Take other circle, fold it in half draw and cut an arc to make ears for our rat hold the ear part so it will stand on the cone at an certain angle Now glue the whole
face part over the cone. Take 2 small faint
blue semi-circles and glue them on the ears. For eyes take 2 small white circles and draw rounds on it
with black marker. To create whiskers for our rat, take 3 small black strips and glue them one by one on
small black round piece Glue the whole part on the rat face. Lash part is to create
a curly tail, take faint blue paper strip and curl them at the
end using scissor. Paper mice are also great
for anyone learning about shapes as they're made from
paper cones and colors. Experiment with any colors
and sizes you like.
4. Moving Butterfly Craft: Seeing a butterfly flying
through the air, flapping its colorful wings and
sitting on flowers, has to be one of the sights that humanity
is grateful to witness. Nothing can be more enchanting
then observing butterflies, there are different types, patterns and their behaviors. Fraction of that joy can be replicated a little bit when we try to create butterfly of our own keeping the thought in mind. Take 2 pink circles of radius 5 and 3 cm Glue the faint pink
circle over dark pink. Now we will use same technique
that we used for paper rosette fold the circle in half to
create a semicircle. And then again in half twice. Make accordion folds. Continue flipping the
paper from side to side as you fold along the
entire length of the paper. Think of this motion as
similar to making a fan. Now fold the whole
thing again in half, which will create
wings of our butterfly. glue two sides together. Create one more. similar wing now glue the hind wings together which is the bottom
wing of our butterfly keep the forewing or upper wing open when you are finished, use your butterflies
for decoration or give them to friends
and family as gifts. Take 2 small paper strips and
make it curl from one side to create antennas
for our butterfly. Glue them on forewings. Paper butterflies
are not only dainty, they are also fun to make. Try your hand at origami
to create one or If you are more of a crafting beginner, fold a
simpler version with pretty pleats. When this craft butterfly flaps
its wings, we cant help but adore it.
5. Jellyfish with Long Stingers : Aren't jellyfish some of the coolest ocean
animals around, granted we don't want
to be stung by any, but they're almost magical. If you are searching for
an easy jellyfish craft for kids to make at home
or in the classroom. This one is perfect. Take 20*14cm blue paper sheet and using compass draw a semicircle on it to create face of jellyfish Now draw simple waves at the bottom
of semi circle, cut it using the pencil guidelines take faint blue paper sheet and draw some
small waves on it. Glue the dark sheet over the faint sheet For eyes take white round paper of radius 2.5cm Using compass draw
a small circle on it and two small balls inside that circle Fill the remaining
circle with black color, Color the edges of the eye using marker. Create one more and glue it on dark blue part of the face Draw a simple curve as a smile. Now Finally we will start working on the stingers of the jellyfish Take paper strips of size 10*1cm take dark blue strip and
glute it to form a circle. next take light blue strip and make the circle inside the dark circle continue these process to make long stingers Make 3 small using 6 strips and 2 large using 8 strips. Now attach the stingers alternatively on the back side of the jellyfish Don’t you think these jellyfish are so cute? There are endless
color combinations you can make with this easy project.
6. 3D Moving Caterpillar : Caterpillars are a great theme for kindergarten and preschool. as they go well with some of kids all time favorite books. This adorable 3D paper caterpillar craft is a cute and wiggly project to make with your kids. Take 25*14 cm green paper mark the points on both sides at 4cm Draw straight lines passing
through those points. Now from that line to bottom of the paper, draw draw several small lines with the gap of around
0.5 cm. Fold the paper from bottom, at around 1cm Using scissor start cutting these lines to create strips. As there is quiet lot of cutting involved, this craft makes for a fine motor
skill practice for kids. This is also a great project
for older generations. Once all the strips are cut, fold them Make a crease and unfold all It's time to make the loops. You can start on
either of the sides. And glue strip by
strip making the loop. When the loop is ready, it's time to make the head
of the caterpillar take 8*8cm orange square sheet and draw a semicircle use compass instead of drawing it freehand then using scale two small lines at the bottom. Cut the head shape out of orange paper Make another similar shape. for eyes draw small circles on one paper
and 2 small balls in it. and for a cute smile draw curve and small lines on both the ends color rest of the part with black marker. Cut antennae out of scrap green paper. Glue the head shapes on both sides of the “looped tunnel” and the green antennae in between two head shapes. Glue them together on the top. Your adorable little caterpillar craft is ready to wiggle on it’s way
7. Paper Peacock with Plated Feathers: Origami peacock is a
great animal to make because it helps you gain
more folding practice, enabling you to take on more
complex origami in future. Take 10cm square sheet of paper. fold the two corners of paper in half to create a triangle. Do the same for remaining small
triangle at the bottom, Now fold the bottom side halfway on the back side and fold the whole structure in half again. Now to create peacock neck
and the beak ,fold the neck part backward till till the line, unfold and place it in between body part. create a small
beak at the end of the neck. Now for the feathers of peacock, we will use the same method
we use for paper fan Take dark pink paper sheets. Make a fold of around
one cm turn the paper over to the other side, and make another fold n the same way. You can make the folds as thick or as thin as you'd like Keep all the folds of same thickness no matter
what size you choose. Continue turning
the paper over and making folds until you
reach the end of the paper. You should have an accordion like pleat of folds Fold the paper in
half along the width. Now you can either use these plates as it is for feathers or else we can cut simple patterns on it. Draw these or any other pattern on the folded paper sheet and cut it open. Make sure your scissors are sharp so they don’t tear or crinkle the paper. If you have trouble cutting , hold your scissors against a straight edge, like a ruler, while you cut. Now glue the origami peacock face in between the two sides of plated feather. The origami peacock
craft requires concentration and
attention to detail, which are great
skills to have and can help you when engaging
in other activities too Here our final paper craft animal is complete, hope you've understood the whole process and will be able to make variety of different craft ideas like this.
 Mayuri Dhanad, Mandala and Craft Artist