Transcripts
1. Intro: Are you tired of spending countless hours
trying to mass of uranium tracks only to be left without the result
that you really wanted. Well, get ready to take your
tracks to the next level. Because in this course I'm
going to tissue muscle, an idiom truck
using only awesome. You don't believe me? Well, in this course we made it
possible to make a truck, but sounds like this
isn't meant to ferret. So she was always have
the cleaning dishes, everything to stat and
then create machine. Once you put it on
head tones, listen. In every words him
still be bowed. Every line gets
closer to the bar. She tries that the
sharps or flats into this isn't meant to ferret. So she was always have
the cleaning dishes, everything to start
and create machine. Once a slave, listen. In every words him
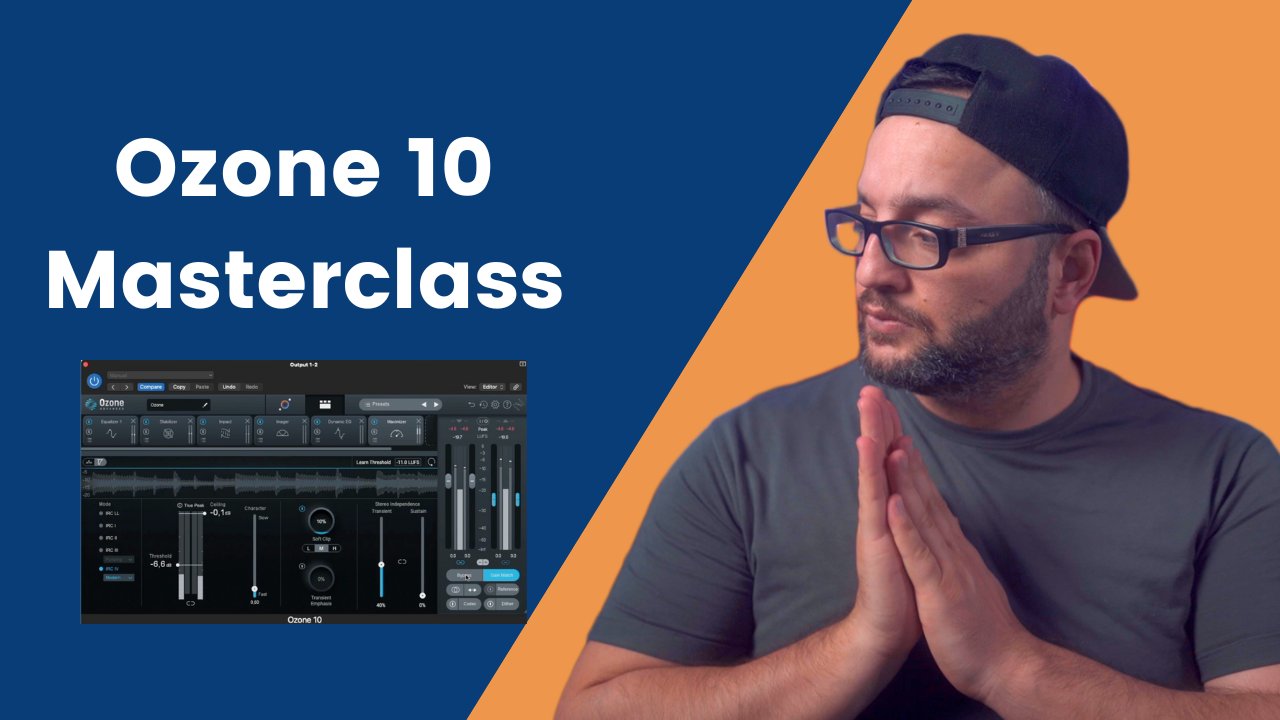
still be bird. Gets closer to the CEJ steps. That only with ozone ten years, I can say that mass has never been easier
with other tenant. You can achieve a
greater result in number 1 h. And in this course, we are going to learn
how to recognize what attract mates sound better and fix some mistakes
that you might hear. How to use the tools
from the ozone ten on your mastering chain and many more that you are
going to discover. We're also going
to use two ways of mastering the manual chain
where I will show you how I mustered my track
without the help from the mixing assistant and
with a mixer system. In addition, I will
share with you my insider tips and tricks. So you can utilize
awesome tense, powerful tools to achieve the perfect sound for the track, whether you are a beginner
or an experienced producer. I guarantee you that this course will give
you valuable information about perfecting your
truck and giving this final touch that it
might have been missing. So if you're ready to create professional sounding
Indian masters, join me in this course and let's master together your next song.
2. 1. Listen & Analyze: Now let's go and start
with our first step. We're going to let
the truck play. And then we're going
to recognize if we find here some mistakes and
what we can do to fix them. She was always happy
cleaning dishes every day to start
and create machine. Once a slave. Codes listen. Every
word seems to be Byrd who every line gets
closer to the bar. She tries that. Gets closer. Okay, so now that
we hear the track, what can focus here on the
chorus to hear exactly, because the chorus is the
loudest part of the track. If we concentrate there and
we got our mixed good there, it will sound also like 90 per cent good. Oliver the track. So let's go and listen
carefully right now. Only the four 8 bar, the first 8 bar, and decide what
needs to be fixed. Okay, I can hear
right away that this class here that we got on, this ones here are a bit
louder than the rest. You can see also here from the pigs that it's a bit louder. So we can go and fix this thing. And also can hear
that the vocals are a little bit louder in comparison with the rest of the track.
3. 2. Rebalance: So how are we going to start? Let's go here aren't known. Awesome. And our first step is going to use the
master rebalance. As I already mentioned, the awesome ten has some
artificial density inside that can recognize where the gaps are and we can go and take
them down a little bit. So let's start. My opinion, the watercolor wash little bit, two large yard. And you can see that right now. After again outlet
minus for the base. And let's go on bypass
it to here what it does. It's truck one. So Jones, listen. Every words him still be
Byrd who gets closer. It's really like how
it sounds right now. It sounds like more glute
in my opinion because the vocals don't come out
as loud as it already was.
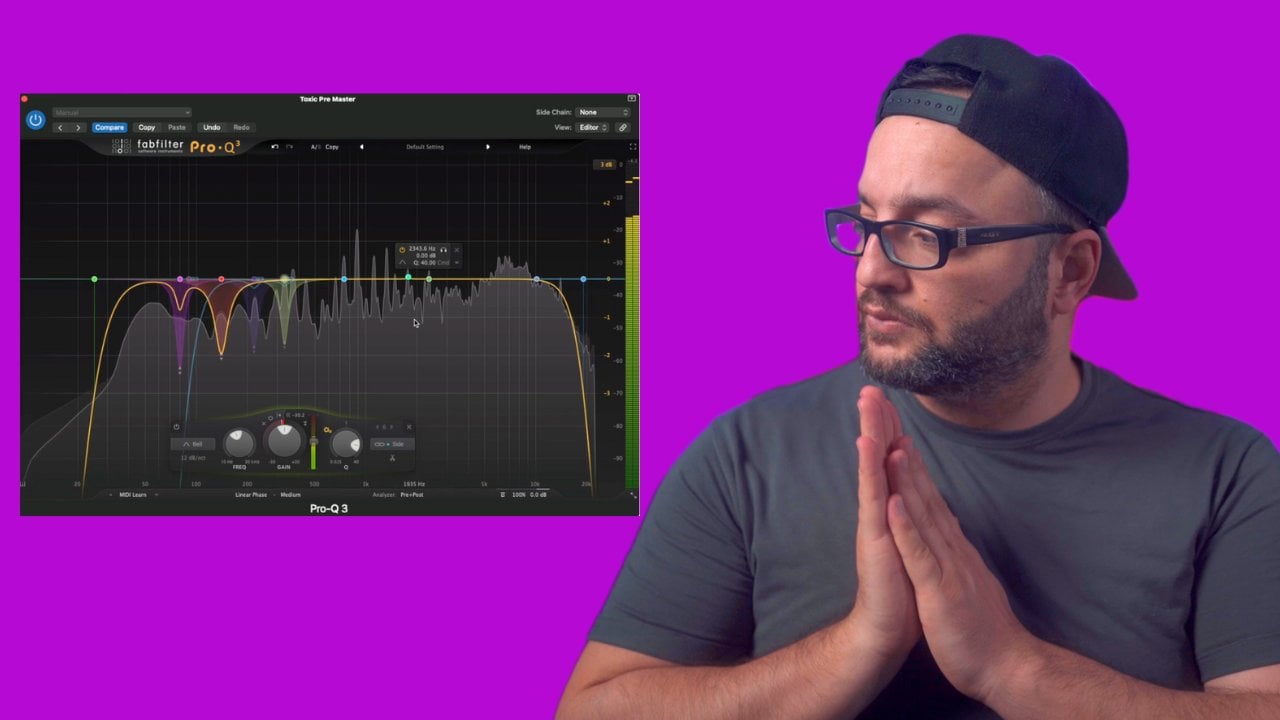
4. 3. EQ: Now that we have
the vocals fixed, Let's go on our next step, which is going to be doing, we're going to use the
equalizer here and we're going to take
this dirtiness that we already mentioned. Let's go and find it. Let's go again on the course. Okay, I find the first part
is somewhere that they're on 221 hz and let's take
it out a little bit. Let's go on our next part. I find this one a
little bit irritating. These frequencies
here near 582 hz. Let's make the queue
also a bit wider. And let's take this out. I can also hear some
here on the highs on 6768 somewhere there. It's going to send, well, it was here on 535000, 300 hz. So let's go and
take it down again. Well, we're not always
taken down so much. We're just going
like minus one -1.6. We don't want to
change so much a track that as it is right now,
if you remember earlier, I mentioned that if you change
from analog to digital, you're not going to
introduce any facing. So this is also really important to choose
the digital right now. And let's try to find
some other frequencies. I can also use some
frequencies here on ten K and here are not so well.
Take them down. It's also made, make
the QL bit wider. And let's have a listen now
how it is with our new EQ. It seems to be Byrd who
gets closer to the bar. I can hear right away now, that's sounds much cleaner. But for some people
that don't have so much experience with
might be a bit difficult.
5. 4. Dynamics: Let's go on our next step. We are going to choose
here the dynamics, and we're going to use the compressor to take
out a bit this big peak that regard here on our track
that happens from our club. So if you go here and let play, you can hear that
this peak here, this big peaks happen only
with the club carbon. And we can do that. We can attenuate these pig little bit with
our compressor. We are not going to use a
multiband compressor here. We're just going to compress jars little bit the
truck to glue it. Let's go and choose it a
quick attack because we want to compress this transits
that we already mentioned. The ratio here is
going to be low. We don't want such a big compressor compression
to happen here. And we can go and
choose the owner again. How will support this with such a big difference? And you can go and not so much, we can go and our poll cares to draw like minus
two, minus three. Here right away that right now the club is not so loud as
the other instruments here. Seltzer, more glute right now.
6. 5. Impact: Now that we've fixed some issues that are working
here right away, we can go and use the AI
tools that awesome then has. We're going to start
first with the impact. Here. We're going to
leave it on multi-band. Let's go and let it play
and press to learn. Now let's go and
compress the lows. So in this case I think
that the lowest needle bit more expanding and not so much compression because
right now I have this feeling that
our truck lacks a little bit of the lows. Calvinism, what we did here. I can feel it right
now that the truck has more body in it. Let's go here on our next band. We definitely want
to compress it. Lets one find the sweet spot. I think we can go
into this further. It's also enabled
the outer gain. Now let's go into it. In this band. Would definitely want to compress also this band. Now let's go on to
the final band. Don't want to read so much. I'll just leave it like this. But now, let's go and
have a look on how it is with an a without our
impact that we wait here. You can hear right
away what's going on. Let's start from the beginning. And I'm going to
bypass here the ozone. And I will let you hear from yourself what we
have done until now. She was always have the cleaning dishes every
detail starting with she brought on
listen every words. I'm still be Byrd who gets
closer to the search bar. I really like how it
sounds right now. For me, it sounds much
more professional because the truck right now
is more blue than screener.
7. 6. Dynamic EQ: But I can still hear some
things on our frequencies. And I think I'm going to
use now the dynamic EQ. And I'm going to attenuate
again some frequencies that I think they can be fixed. I find these frequencies
here on 177 hz are a bit dirty because of the
baseline that we got here. Let's go and swallow.
And here also, I can hear right away that there are some
frequencies from the kick. Every time the kid comes down. Right now we're using some
dynamic EQ to fix this issue. I would suggest to
you also not to go. I've seen a lot of
people going like really crazy here on the cure. I would highly recommend not
to do that because right now it might sound that
is a filter there. So if you widen
the securely bit, it will sound much more natural. Now let's go and find the
other spot that we think. I can hear something here. So let's go and put down. Let's go and find
our next point. I think I can get some air. Right now. It doesn't
seem something like is so much irritating. Maybe he'll, we can take out
just some small frequency. Some go here and let's go
like -0.5 or some like this. Now let's go and listen
how it is width and without the dynamic EQ, I am pretty sure that
the difference will not be so easy to hear. But for me, I can hear right away from my experience
that now we have much, much, much cleaner sound.
8. 7. Imager: Now our next step is to
go and choose the imager. And we do the same thing
again, four bonds. Okay, Now we have here, our low band here. And I want, I, I tend to make my trucks on the low frequencies,
a lot of mono. So for that reason, I'm not going to leave it
like it is right now on 100. I'm going to push it
back here on 120. And we're going to make it a little bit
more monarch here. But not so much we can do. We can go here and we
can recover sides. Now we can go into this
frequency spectrum. You can make an
adjustment. Well either because we want also to help this wide baseline a little bit here from this
higher frequencies. And we can also boost a little bit more on this
frequency spectrum. In general is the EDM music has a lot of white frequencies. So that means we can go
also if you are making also this spectrum here,
it'd be the wider. Let's have a listen
now heightened width and without the imager. Here also the ones who
brought on Jones, listen. What we have done up to now. Every line gets closer to the j, the chunks of friends,
it's really big. You can also by yourself. So let's go now
on our next step.
9. 8. Match EQ: Next step is going to
include the Match EQ. And if you go here
you have two options. You have the option to capture
a photo reference track, but you have an
option here if you go and choose the pink noise, this is going to be the capture. And then you can apply this
pink noise on your track. It depends also what
you really want. But if you don't know what
pink noise mixing is, you can go and search
it and then you will understand a little bit
better what it really does. Okay, so now we have
this suggestion here. We have a small boost here on this frequencies
above, below 50 hz. Somewhere there. We
have a little bit deep here on 60 hz and 100 hz. Then we got here, also a little bit boasting
from this frequencies. And then while a lot of
boosting the higher frequency. So that means right
now our mix was really good and we are not applying
so much queuing here. You can go and boasted
if you want a bit more, we can here and let's decide what we're
going to apply here. Let's have a listen. Hold is
width and without much coup. She was always have
cleaning dishes every day to start and
then create machines. Once a slave.
10. 9. Maximizer: Now our next step is going
to be to use the maximizer. As we already mentioned, we
have a lot of options here, but I tend to go with the
IRC three and I tend to use, sorry, I tend to go
here and I tend to use the modern one because I
liked the sound of it. It'll be better. But
remember the IRC four requires a lot of
power from your computer. So if you cannot go here, you can go and choose
the other one. So let's go and say
to the maximizer, we want the threshold
to be at -14, which is the standard
for Spotify. And then we can hit
Learn threshold. And let's go here and choose
only the chorus because we want the loudest part to be
triggered from a maximizer. Okay, So right now we have this HDFS in case
you don't see that, you can click here and you can choose short-term and stereo. I always go here into
the earlier phase, the short elegant fast because I know that this is the most
accurate in my opinion. And then we can go, we are seeing that
the limiter works, but we're not changing
so much here the track, because we're done here. If I go and I can see right away that we
have a big dip in here. So let's put it
back on my screen. Okay, so this is the
suggestion from the maximizer. And always don't forget that the Spotify needs a
minus one dB ceiling. There's also a trick
here that you want to use if you want
the soft goods, as we already mentioned right
now we're hitting that -15. That's going to be right now it's much larger than -12. Right now we're hitting the -14. I felt books written
by your panelists here also the whole track
from the beginning. And let's decide if it
needs any more changes. To favorites. She
was always have the cleaning dishes every
day to create machine. Once brought on. Listen every words. I'm still be bowed her every
line gets closer to the bar. Okay, So also if you want, you can go and hit the minus
eight and put it on -0.1. Let's go and test it. How
the sound is going to be. What's odd? It's going to be
a little bit loud right now. Let's also here
from the beginning. She was always have
the cleaning dishes, everything to start and
then create machines. Cones, listen. Every
word seems to be bowed. Her. Every line
gets closer to it. Hi. I can hear just a
little bit of distortion. So you can go and you can pull this off clip rarely
bit down your leg, e.g. on -20. And now we have a really, really, really loud track. You can go and push
it a bit further, but I wouldn't suggest that.
11. 10. Before & After Manual Mastering: Let's go and listen now what
we really change here on the track and click
the gain much so that we are not judging the traffic only from
the, from the loudness. Let's have a listen how
it is with and without. She was always have the
cleaning dishes every day. She was sad and she knows
she wants to throw it on. Listening. In every
words I'm stupid, but who gets closer to the, well, the difference
is really big in my opinion and you're going
to hear it right away. When we use the
Ozone on our truck, the truck becomes much more
glute and much more coherent.
12. 11. Master Assistant & Comparison: We must have been charged
with the manual way. Let's go and make a small
experiment and try to master the track on the
master assistance. So we're going to
duplicate the track. Here again, take it out, delete everything, and
choose again the chorus. And let's see what the
master assistance suggest. Just press will
learn and it played. Okay. So right now,
the Master System found that the truck
is in EDM track. And if I go here we
have a lot of things. Let's go and compare
the settings from the master assistant,
my manual chain. Let's go one by one. Here we got the equalizer. The first thing that happens
here is the equalizer. Then it's going to compare
it with our equalizer. Here we have a big
difference, in my opinion. E.g. we have a small dip
here and these frequencies. And if you go and
check the track here, there is a small dip here
in these frequencies and a little bit both
here in this frequencies. It also boosters the
higher frequencies here. The master assistant
that's going to compare. Our next is going to be
the dynamics in my chain. Let's see. Okay, here we
don't have any dynamics. Let's go and compare the impact. The impact is here is a little
bit the same. I can say. The frequencies here we
had 120 on the assistant. Here we got on 199.
We've got three. For k. Here, we got to, here we got ten, and
here we've got 12. So the difference is there
on those frequency spectrum. Here. The difference
also is from the sink. And here we have an
envelope on 100 MS. The boosted, we
have a little bit bushier on the low frequencies. And here, again the same. Here we got almost the
same like months 34 here, my 34, -23 and -32. Here we've got the
minus ten -22. So our mixing here, our tool, the settings, what we get here on the impact, we're almost identical to the settings that we got
from the Master System. Let's go and compare
our next one. This is the dynamic EQ. We got bigger dips here. Here we got on 444 hz, we got on 5,356 hz. And also a little bit more deep here on the
high frequencies. And in comparison with our dynamic accuse,
it's much different. Let's go now and
compare the imager. Here. The imager here
it comes through with earlier in comparison
with my chain. Here we got such a
really big difference. Here we got, I don't know why. A lot of times the ozone
tends to put the stereo, the low frequencies in
this leg, so much terror. And to say the truth, I don't agree with it
with this one at fault. Because here we've
got the baseline and we get also the cake. We don't want it to be
somewhat sorts sterile. So if I were you and I
saw this thing coming up, I wouldn't leave it like it
is, I would just go here, put on zero because it might be a small bugger. I don't know. For me, it doesn't
make any sense. Let's go here on our next one
here we've got our Might. My setting was on 13.
Here we've got 38. Also here we got 120. 120 also for me to k, 3.4, we've got 12 k. Here, we've got ten K. And here we see a big boost younger sterile fields for
this frequency spectrum. Here we see almost the same
for this frequency spectrum. And here we have the
assistance suggests that it should be a little bit wider here on this
frequency spectrum. We've got also almost
the same recover sites. I want to 0.8 and
here it is on free. And let's go here on our next. Next is the much skew. We don't have any magic
you right now, here. And the stabilizer, Let's see. I don't have any stabilizer,
okay, as it seems, I didn't use any stabilizer
in this mixing session. But let's say if I use this one, I will go here and choose
the stabilizer and put it almost here after the
small changes that I did. Well as the dynamics, I
will just put it here. And let's say that I
didn't use these tools. Put them back again for
the maximizer again. For the game much back again. And let's have a listen how
I would use it in this case. I can see that
works here, liquid. But because the mixing
was already really close, we don't have such a
big difference here. Going to put here, tomorrow. Starts moving much quicker. Also mediums. I'm going to insert the same payment of
transient tool of a listen. Right now it becomes a bit
brighter in my opinion, when you would have
someone who liked so much for this together. Once again, if I were you, I would just use it not so much
infrastructure because this truck was really good. So if I were you,
I would use this on the track right now. But I would not apply such big amount because
the truck is already lag. Okay. It has some flows, but it makes sounds
much better right now. So if e.g. let's say I didn't know how
to do this muscle balance, the equalizer and the dynamics. I would put this one
at the beginning. And then you will see, right now it will go, the movement will
be much bigger. Let's take it out
because two signatures, I wouldn't use this one
on my mixing right now. Let's put back everything again. Again, the maximizer. And I'm just going to
do a small experiment. I'm going to compare
my truck with the muscular system and you can decide which
one sounds better. Both of them are going to hit on the -14 and the minus
one here ceiling. So let's go and choose this one. Change the name, Let's manual. And so it's also easier for you. Which one worked like? Oh, here we are
hitting on my PC. Let's go. The struggle right now also hits the -14. And let's go and
bounce both of them. Balance in place. My neural muster. Let's go and do the same
thing again for this one. It's going to bounce in place. And let's name this
one assistant. Nice. So let's make it a
bit easier for you to see. This is the assistant, this is the manual, but one of them down here. Okay. Let's have a look also here to see if we can already
see any big differences. So in my opinion, the difference is not
so big right now. Our mastering chain and our assistant chain has
almost the identical sound. Okay, here in the beginning, I can see that the I
system is a bit different. We've got the pixel
bit more here. At the beginning. Here we
got also a bigger peak here. Again, here on our truck, we get a big peak here and
also a little bit here. But in comparison,
you can see also from the waveforms that are master chain is not so far away for or the muscle
from the muscular system. The question is right now, would you rather
spend so much time on the manual mastering or you just put the muscular system and you can see by yourself If
it is okay for you or not. So in my opinion, I would try both
to say the truth. Not always, but I will try both. And at the end of the day, it's just a matter
of taste here, e.g. I. Can see right away that the brake the first year is much louder in comparison
with our first solo. This one. Put the solar here. Soon. She was always have the cleaning dishes
every machine. Once a slave gets closer to the bar. That's going listen again. She was always have the
cleaning dishes every day. You're going to hear
also by yourself that if I go and un-solo this one, the assistant here,
it's a bit bigger. Kansas waveform because the
vocal is a little bit louder, because the system didn't suggest the vocalist bit louder. Now, let's put down with
a matter of balance. This is a manual
adjustment that I did. So in this case, I find to say the
truth might mix much better because I can hear that. It's not so personal, so loud. She was always have
the cleaning dishes, everything was sad and
then create machine. Once. Brought on. Jones, listen. In every words.
I'm still be bowed her every line gets
closer to the bar. So guys, in my
opinion, in this case, I would choose my
manual muster in comparison with the
assistant because for me, the final Master is more
the final sound that we want to hear on
Spotify or on clubs.
13. Outro: Congratulation guys. Now you have learned
how to master anything Amtrak using only awesome ten. I hope that this video
has been informative and helpful in the problem,
your modern skills. But remember guys, always
trust your ears and experiment with
different settings to achieve the perfect
sound for check. And if you want to improve
your mastery skills, keep practicing and
never stop learning. Thank you for
watching and I look forward to seeing you
in the next course.
 Beats By Dj Legion, Everything About Music!