Transcripts
1. Oil Painting Basics Introduction: How long my name is Shelly. Welcome toe oil painting by six. In this class, I'm hoping to start you on your journey oil painting by sharing some of the knowledge I've gained through my journeys, your art school and as a professional painter using oils. They're fabulous medium, but they can be a bit overwhelming for vicuna. And there's lots of tricks and tips that I've used to actually make the use of old paints much, much easier. So let's get started and start learning that boils.
2. Paint: So let's discuss oil paint. There's such a variety of tops and brands and prices available in the hostels and online. And it's how does it begin to understand why you would pay $40 for two pain when you could pay five? Because the first differences with an artist quality paint, which is where you're paying the higher price? What you're actually paying for is a higher percentage of pigment within that paint. So that means that when you squeeze the pain out of that shoe, it's richer and denser. There's much more color within that paint. This means that you're painting that that Trimble last longer. It will go further and will provide a much greater depth of color on your painting. Student quality oil paints you find generally running up because I have less pigment in them. Um, Addis quality paints. If you get a really hot quality one that could be quite dry because they're quiet packed in with that pigments. Student quality paints alot of really fabulous for anyone starting out because you don't need the highest quality paint when you're starting your only learning, you just need something to practise the techniques and get a sense of the medium and to build up your confidence. So there there's a place for all of the paints, and it's just not which one is appropriate to you. Perhaps if you have the money, I would start in the middle range. So not the cheapest, but not know any of the more expensive on that major getting a reasonable quality in terms of the pigment in the paint quality. But you're not actually paying for the highest end paint. And if you just want to live in and have a quick play, why, I said it really shape student paints and that'll be great. And if then you find you're not happy with them by one she but more expensive one and see what the difference is that would What is? Well, I would recommend for you to begin exploring oil paints
3. Colour: So let's talk about color. You use oil painting and you need to go out of Boston materials. You'll be wondering what colors door cheers Because there are so many. Some artists work by buying a particular color in a tube that they need, and working with that, others like myself. We actually have a limited palace and generally makes what we made from the colors we have . So if I was recommending colors for you to purchase, I would start with what I use a titanium white and I've found it's useful to have a larger tube because you do, you use quite a lot off what in mixing various colors. And then I would move through the primaries of red, yellow and blue, and I would have a warm and cool off h of days. So for myself to the yellows, I have a cadmium yellow for the warm and some sort of lemon yellow. For the cool. I have an Eliza in crimson full of red and I cadmium, cadmium red for the warm bread and the blues. I have oppression blue and ultra marine blue, and as well is that I like to have a small range of earth colors because they're incredibly useful. Full, not only using sometimes is an under pain. Just to get rid of the white is a starting point, but also to add two colors because they turned them back really beautifully. So I always have on hand a yellow argo, a raw amber, and have been sienna, and that gives you enough of a range. So with the colors, I would have a yellow Erica, a bird sienna, end of roll amba, which gives you a really good range. The only other color you could consider is a black. But even when I'm painting and trying to get a black trying except myself, so that is your starting point to go and buy some colors. And the alternative is buying one of those beginning sets that have small troops of lots of colors that will give you some variety Teoh experiment with try out
4. Brushes: Okay, so now we've got some paint and a pellet. You need some brushes to actually paint with. So with oil painting one of the common brush types is Holtz head Bristle brush. Now these come in a variety off prices and quality, ranging from really shape a couple of dollars for a brush right up Teoh, $50 for a brush. Now, the difference between a low quality and high quality is that the low quality brushes tend Teoh, then lose the hairs. So when you're painting you my finder's of hair in the paint that's come out of the brush, they also don't hold their shape. So instead of maintaining whatever shape, the way the bristles are forming, they tend to kind of spread out baby who she and not very accurate on that's fine. It depends on the type of painting that you're doing. So if you're doing very, very particular precise painting, you'll probably want better quality brushes. But if you're really scrubby kind of abstract ticks, chins of painting, then you probably don't need the highest quality brushes. Andi certainly is a beginner, just by a couple of shape of brushes. If you have money to spend many by one nice one, and then you can experience the difference and what you get for your money. But certainly just a couple of change brushes. Start out is your name. When you're looking at brushes to buy, you'll find there are three main styles. There's the round brush, which is a cylindrical shaped brush this flat where there is a straight edge across the top . And then this feel bit, which is like a flat brush about the engines would be taping around, so it's a self storage. I love working. We feel the brushes because they give a beautiful I know a softer or gentler mark. But there is certainly a place full shapes, and really, it's good to have some of age because depending on what you're painting that have different uses for creating different marks, the other consideration is the size of brush that you buy, and this tends to be in proportion with the size canvas that you're working on. So consider if you're working on an a four size painting, the brushes you need anything this being because that would cover almost 1/3 of the painting so your brushes would be quite small. But if you're working on a huge mere Blackpool mural, then your brushes with native quite big, because if you're working with a tiny little brush, you would never finish. So I think about the size of your brush in relation to the size of a canvas that you're working on. The other time, I would recommend a larger brush with general youth is for Jess owing and putting on the undercoat onto a canvas or board that you're working on and having a reasonable size brush that is quite useful. Otherwise, you would achieve a busy kind of effective. It would take a long time to cover that surface, so definitely a larger brush suggests something is very handy.
5. Palette: So now that you've got paints, the other thing you will need is a pallet to mix your paint on. There, a number of options. You can buy disposable paper type pellets, but that's not something I've really really used. I myself used a wooden sort of Vinnie would have a palate, and that's quite nice because the oil paint Liza trace on the wood pellet. So when you finish for the day, you can scrape up your paint. But it leaves a lovely history of the colors you've been using. So I would recommend that some are just like to use a glass palette, which allows them to put a colored a color like a piece of paper underneath the glass to control what they're mixing on. So they may prefer two weeks on what? Well, they may prefer the mix on gray, which helps them to actually see the true color more easily. So for starting out, just one of the basic wooden pallets would be the best choice, so I could recommend
6. Using a Palette: So how you liking the colors out on your palate is definitely a consideration. And it's something where you want to have a little bit of order, because otherwise, when you're mixing, you know where to find certain colors and things may get a bit messy and money. So I like to put my white in quite a central location toward one of the corners off the pallet. If you've got a square rectangular shape palace, I would put the earth colors Teoh left. So my rule on my been sienna and to the right I would then be starting with my dealers and moving into my rids and then my blues. Now you can create whatever whatever order color suits you depends how you work and how you think about color and how you mix, but certainly taking a little bit of time to think about how you would like to arrange a colors on your palate leads to a much better painting practice and gives you a solid foundation for having good outcomes for your work.
7. Painting Surfaces: So now I have the question of what do I paint on? Everyone is aware the artists often paint on canvas, and it's not the only option. There are pads of oil painting paper, which is good, Teoh miss. Around on, and it's fantastic for a beginner. It's not something I use myself, but it does exist. Chemise is I usually stretched over a wooden frame. Now there are differences in the depth of the frame, so you can get some deep set canvases. And really, the difference is that you're thinking about how that object off the campus will sit on the wall and have a look. Some people prefer date edge canvas, and some prefer the standard slim line campus. So that's a consideration. Like everything you could buy a cheaper or more expensive brands. And with a cheap canvas, you're getting cheap wood for the frame. You're getting Athena quality canvas, and you're getting, I guess fewer cards will low quality Jess Oh, prime in layers. So when you step up in quality, you're getting a better made frame. You hopefully getting a think of canvas Maury Bust Campus, which will have more longevity because it's stronger and it also might have been a kind of responsiveness, says you paint on it. There's a sort of communication between the brush pushing on the Candace surface as you press and release and the canvas response to that so a better quality canvas is likely to have a better response to the actual painting action. You can improve your canvases, though, by adding additional layers of Jesse James by tubs of Jesse on brush that on to help achieve the painting surface that you want. If you're heading toward the top of the quality level in terms of painting surfaces, you would be looking at linen canvas. Now linen come head to a cotton canvas is much stronger. It's a stronger fiber, and it is a final as well. So you'll find that although it does come into various textures, so it will offer an artist much more are hardly sound painting surface. But it is very expensive, so you really wouldn't be looking at that until you have really spilled into your painting practice and really understood the type of work that you're making and why would be spending that much money on your canvas is another popular option for painting services is a rigid board, so this could be Masonite has been found to be quite stable as a painting surface, so you can buy Masonite and cut it into whatever size boards that you want and then put my eyes just are standing between Moeller just standing to create the surface that you want to paint on. I quite like Masonite as a painting surface. You can also buy a plywood and would pedals painting. And they're incredibly sound because they're rigid. So the problem with canvases campuses a flexible surface, and when paint dries, it becomes more rigid. It does have some flexibility, but there is a risk off the canvas moving more than the paint contol aerating that could cause cracks. So Origen painting surface can help alleviate that kind of issue. Um, how have paint can still crack on boards for different reasons?
8. Mediums: When you squeeze pain out of a tube, it's really going to be the consistency that you want so fast. Use mediums to mix them into the paint to achieve the consistency they desire. Now you confide millions with your premixed and labelled for the various stages of painting , or you can actually makes your harm, which is something that I really enjoy doing myself. Then you have a bit more control over what you're using, and you can tailor it to what you need. So when you're painting, there is actually a theory as to or process as to how you build up the layers of paint to avoid cracks. So the theory is lean to fat lane mains, less oil. Fresh means more oil, and the oil in this context is Lindsay. So we're talking about a lean layer for the lower layers, which means there's more turbine time and less oil and those Athena washing layers. And as she build up layers of your painting, the idea is to progressively increase the oil content and right up until possibly the very last final touches off. Paint on your painting could be purely from the tube. If you're doing highlights or something. Now the idea is that Imagine if you put a really orderly lie a dabbler. I don't know about that input. A tipsy feel liar once settled, dried and time has passed. Paintings react to the environment that they're in, and an oily layer is more likely. Teoh. Move or expand. Where is the Terps? See Layer is thinner and has less oil for that movement. So if you have that oily layer here and a thin light here it moves. This one's likely to crack because it's on top. So the idea is to actually grow lane and then build up the oil. Well, the fact content progressively. That's the safest way to protect your paintings from cracking in the future. It's a really fossil pot off oil painting practice.
9. Make Oil Painting Medium: so I'm really excited to share with you the recipe that I use for oil painting. Medium. It's really simple. It just requires three ingredients and you just need a glass bottle or a glass job and on the side of that job with a permanent marker. Measure eight equal points along that, and we're going to use that to actually help us measure ingredients. So the ingredients we made a dem a vanish in the liquid form. We need gum Turpin time, not just the regular Turpin time. You could buy that from out stores, and we need stand oil, which is different to linseed oil. It's actually being boiled longer, and it has been it becomes thicker tibia. So to make the medium get the dama vanish and poured into the job up to the first mark. Damar vanish effects have fast oil painting drive, and once you're familiar with the medium, you can put more or less of it to change how it impacts the paint. Now grab the standard oil and at standard oil up into the second mark, and then we want to add gum turbine time up to the final mark on the job. Make sure they dio stir the ingredients together well, and now you have your medium
10. Class Project: So for your class project, I recommend that you bossom oil paints and brushes and a palette and a painting surface of some kind, whether it be a canvas or an oil painting pad or board. And really, the first thing you want to do is practiced laying out the paints, just tiny mouths onto your palace. Then you can get your your brush Now. You could either have made a medium or by medium and have that in a medium pot with your palate. And then once you laid out your palate, you can just practice putting your brush into paint, adding a bit of medium and seeing how that behaves on the canvas. So do that. Until you started to gain a bit of familiarity with the with the medium and just dying, Teoh feel a bit more comfortable. Then you can take to the next stage and try something a little more complex, which is mixing colors So a good place to begin is to try and makes a great. So take a small amount of yellow and a tiny tiny bit of blue and add that to the yellow and you'll play around with different shades of grain that you achieve from that. You can also then add a dash of color to turn it back and create more than a live grain. On this sort of mixing process can be repeated between red and yellows to create oranges, rent blues to create moves and purples. So just play around with mixing and applying paint onto the surface. And this will be the best introduction for you oil painting. And when you're feeling confident like you want to actually make a painting, you have the basics and the understanding of what to do to start doing your work. I'd love to see what you do with the project, and I really hope that the classes helped. So please share some photos of what you do on the project page. And if you have questions or want fade back, just don't get in touch through the class page, and I'd be happy to help
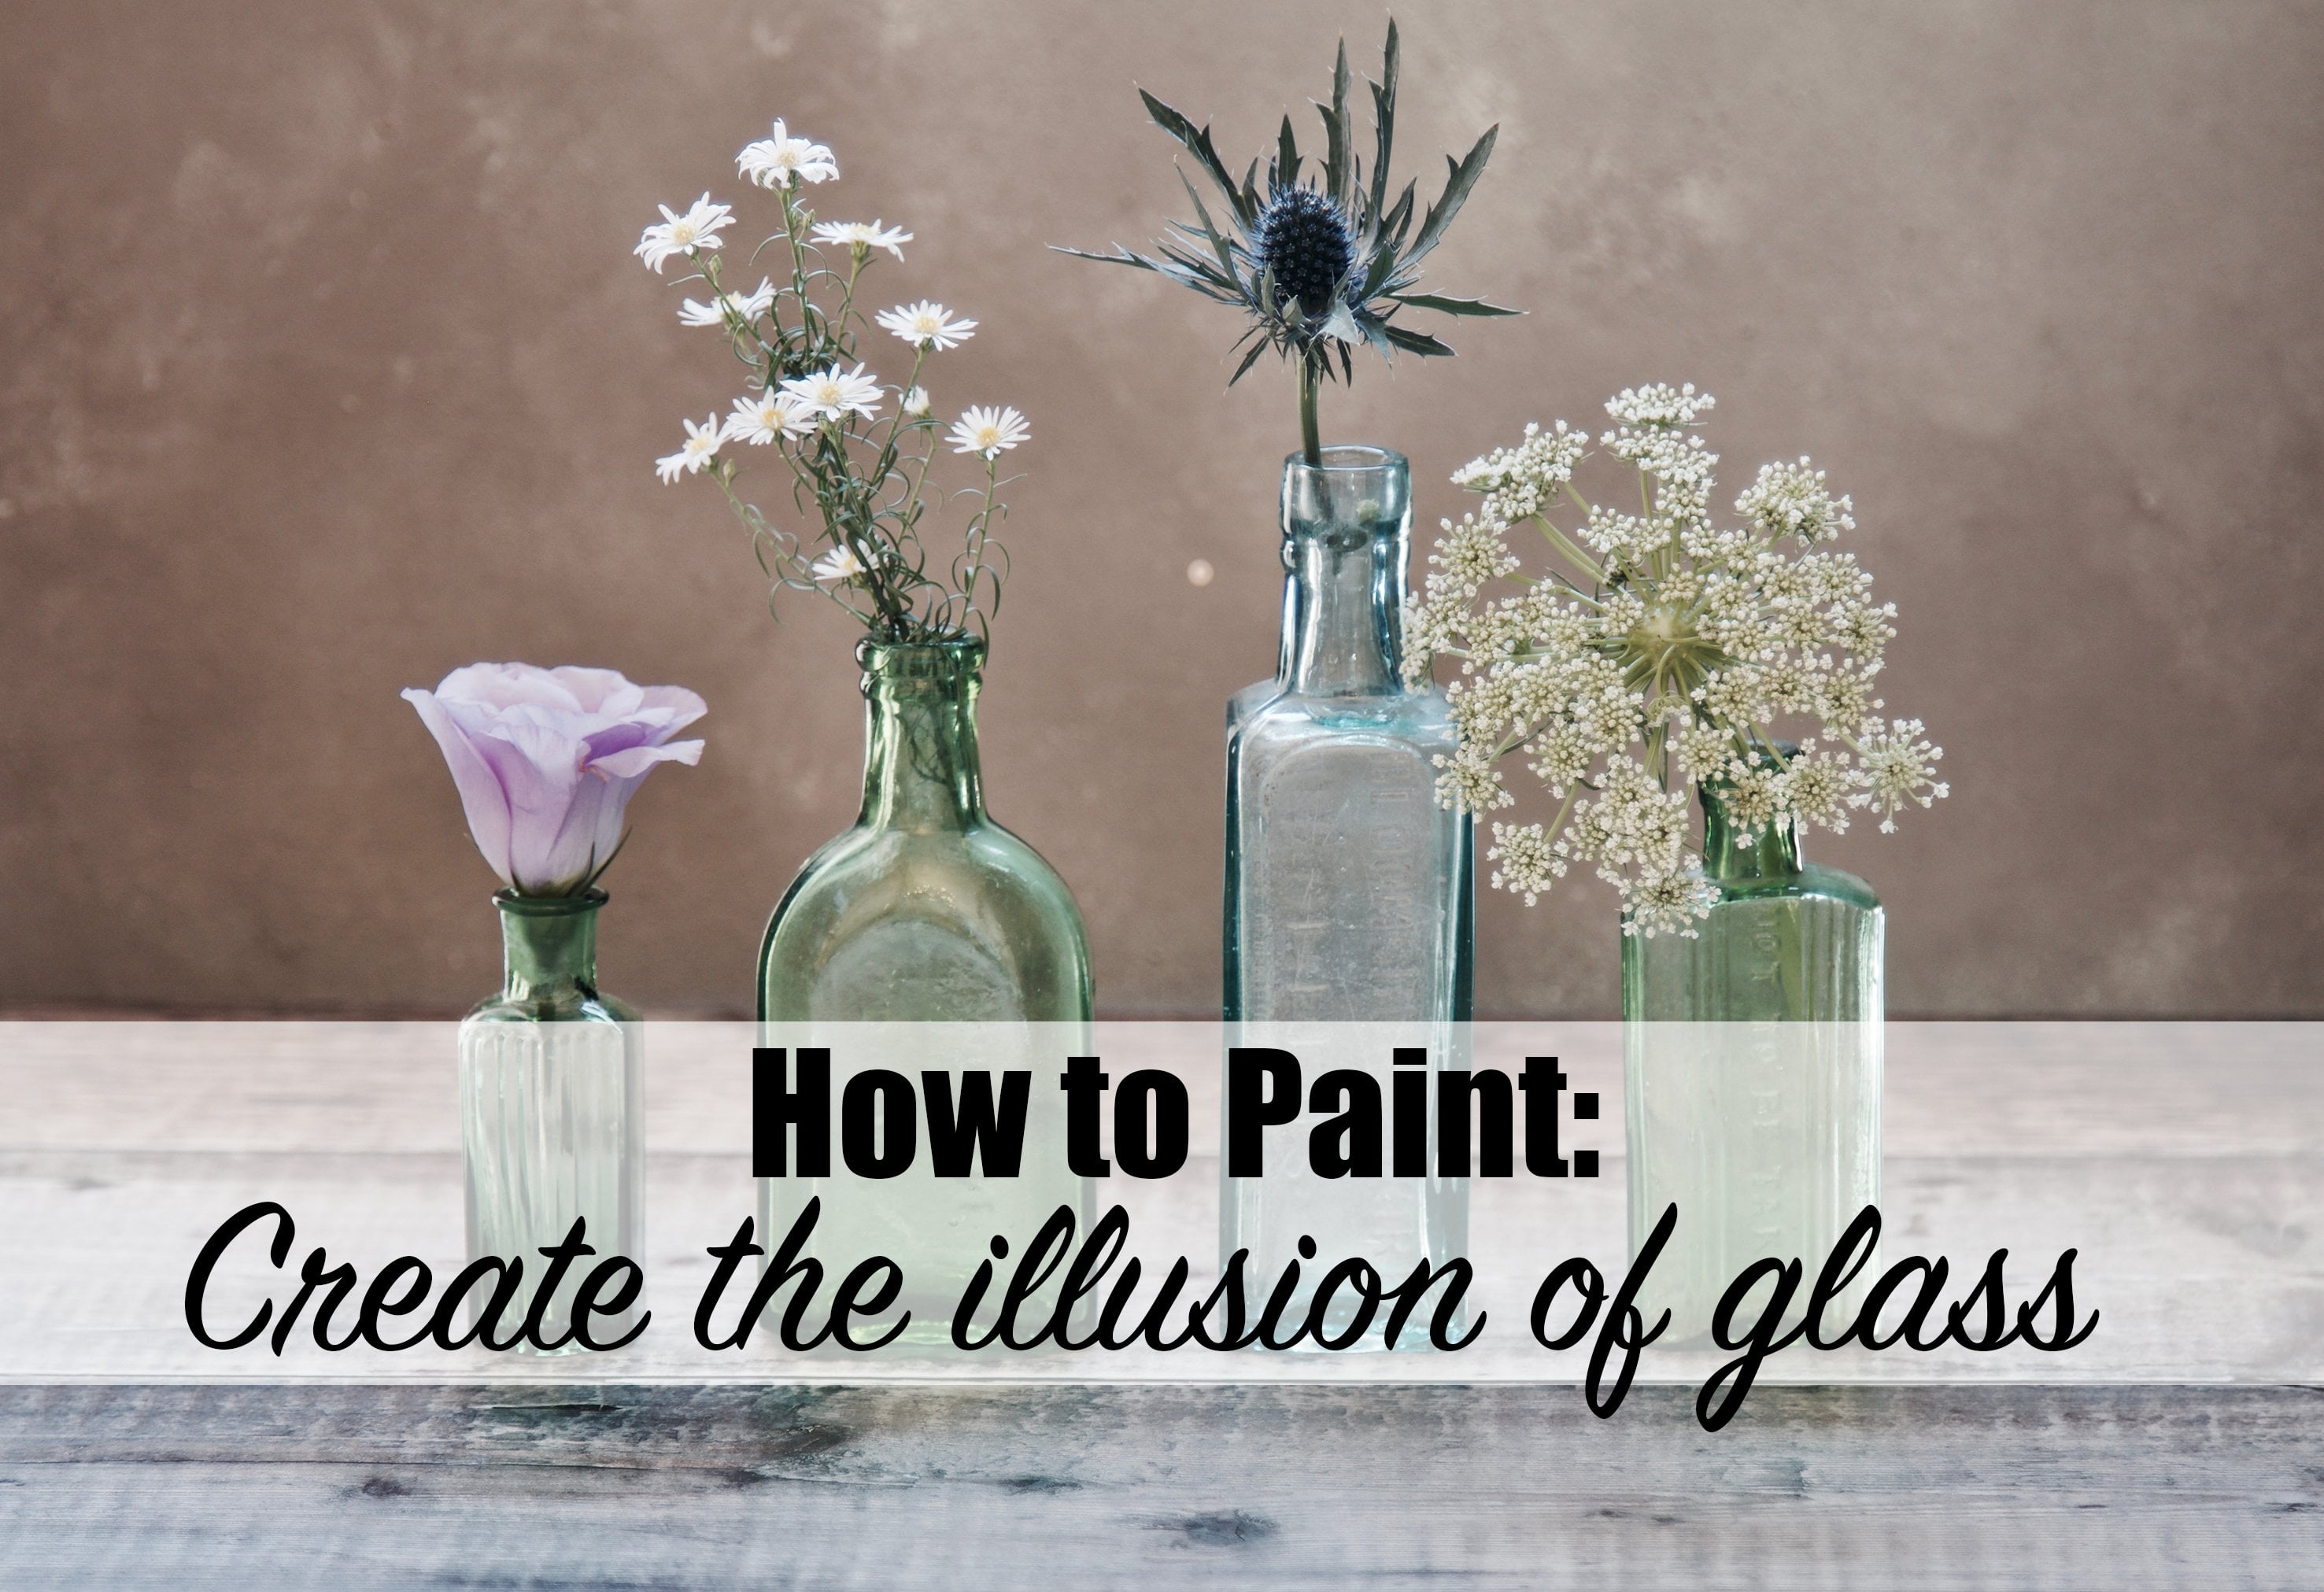
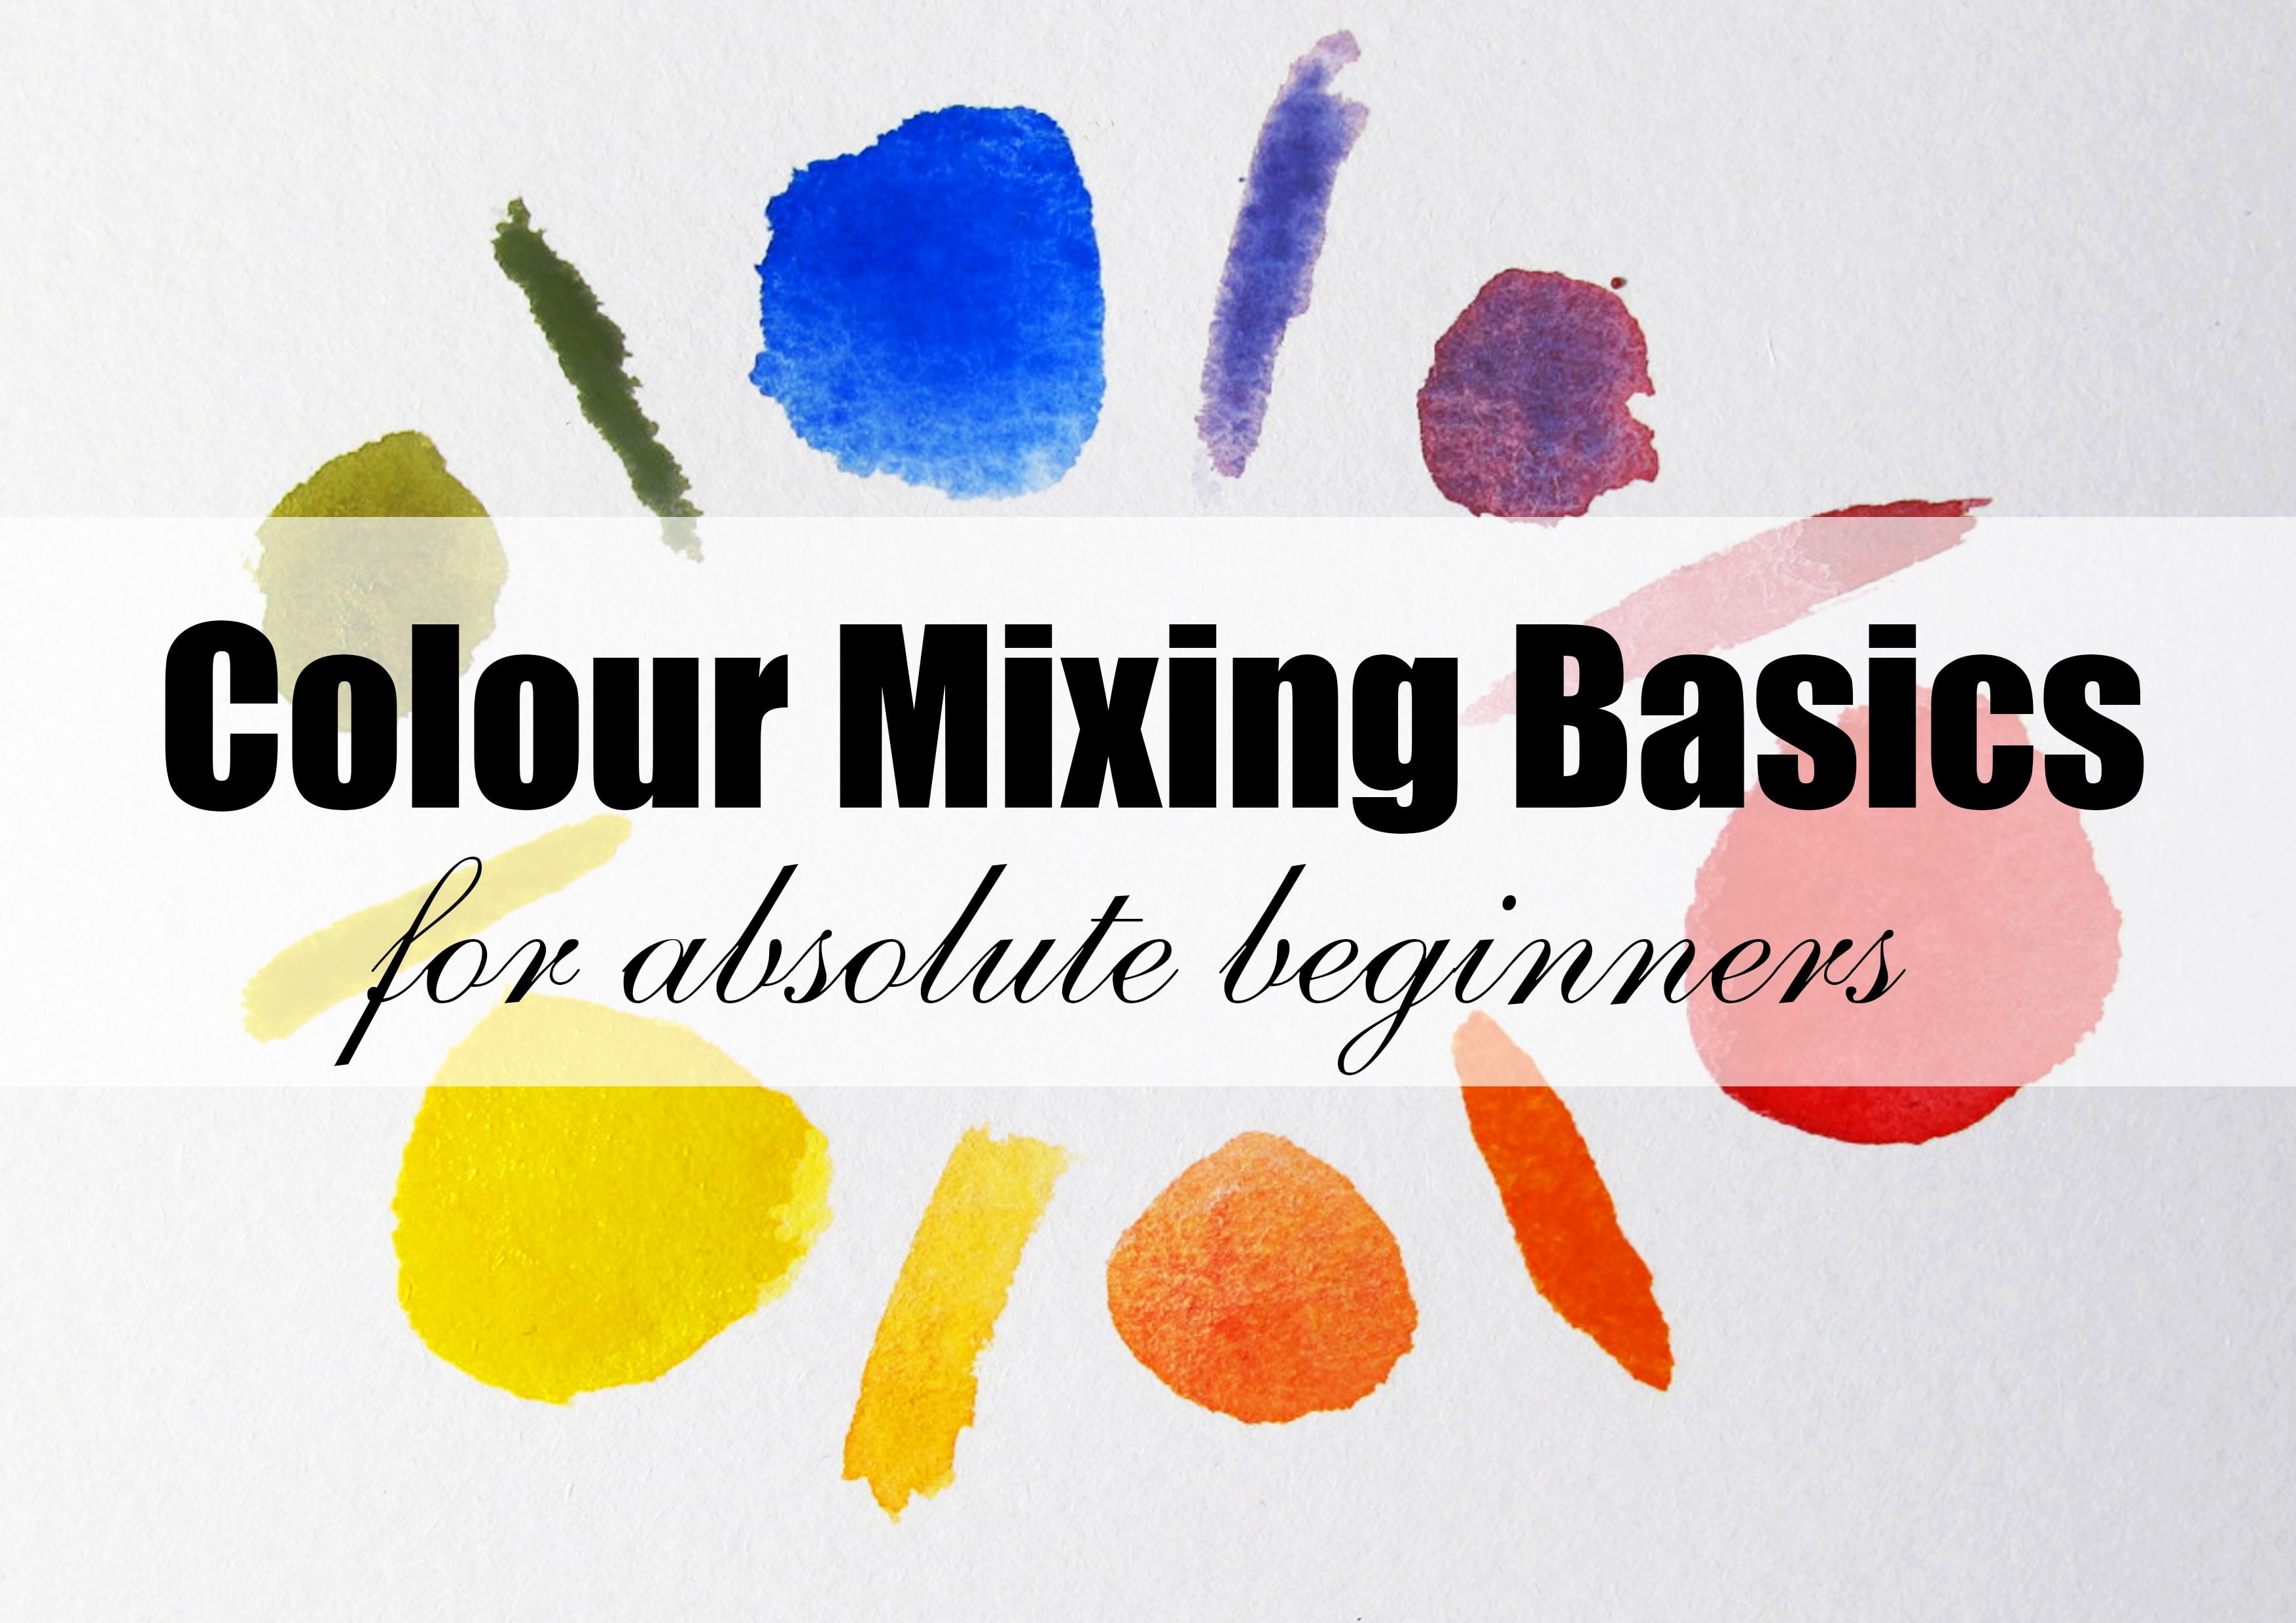
11. Thanks Oil Painting Basics: thank you for joining me on this oil painting basics class. I hope it has helped give you some starting points for buying materials. Ah, hope it helps you understand how the process works. And I have this dispelled some few might have had around oil painting. Please share your projects. Please get in touch with any questions that you might have. I'm really excited to see what my students are doing, and I'm really happy to support you in anywhere can. So get in touch, share what you're doing, and I'll see you for the next class. Bye. I've made lots of classes on painting and drawing and water colors, color theory, endless classes feed to take, and you find that each one you do your skills will develop and grow. So let's have a look at how to follow me on school Share. Here is the full I button. Click on this on, and if you hover your mouse over this part here, it'll take you through to my profile as well. Under my profile, you'll see all of the classes I've created, and you'll be able to see the range of classes you could take. So here are highlight a couple of my classes color mixing basics for absolute beginners. Copying the masters with Shelly Learn to paint. Watch me work. Embrace fear in the creative process. Begin is charcoal drawing How to paint gloss and beginners. Figure drawing gesture. I'm creating new outclasses all the time on. I'm really looking forward to the opportunity to support you as you develop your own creative skills and make your way on your own creative journey. So let's start making stuff.
12. Brief Teacher Introduction: so from a creativity is central to what I do. It really feeds. May I think creativity is vital to our well being and is worth pursuing and is worth investing time in. My name is Shelly. I'm a Sydney based artist, Andi. I work across many mediums. I studied oil painting at the National at School in Sydney. It was a beautiful sandstone jail with a very traditional Italian based structure, so we learned drawing every stage of education. By taking these classes step by step, you'll build your skills, your knowledge and also you experience and confidence. And that's the thing that's worth pursuing, because in the end, you're an artistic practice could really sustain you and sustain your life. So I really hope that these classes help you on your creative journey. And they make doing these creative activities less scary and give you some confidence to move forward in your in practice. Thanks for stopping by. I really hurt my classes of helpful for you. You might even say my to studio assistants Ali and Millie in some of the classes
 Shellie Cleaver, Visual Arts/Writing/Creating Calm Interior Spaces