Transcripts
1. Introduction to Class: Hello everyone. I'm back with another
amazing class. This last topic
is different from all my other classes that I have made on
Skillshare till now. However, I'm planning
to make a series for this topic to make you more
confident with this video. Hi, I'm debugger while, and this is my 10th class
here on Skillshare. I'm sure you're
enjoying my classes and your support makes my journey
as beautiful as yours. Now, talking about
today's class and this class we will be
working on MS Paint. Firstly be explaining the MSP. And then in the
following lessons, I'll show you how you can
use basic shapes that are provided in the MS Paint
to draw a simple heart. You can draw radius
things, scenarios, animals, humans, and a
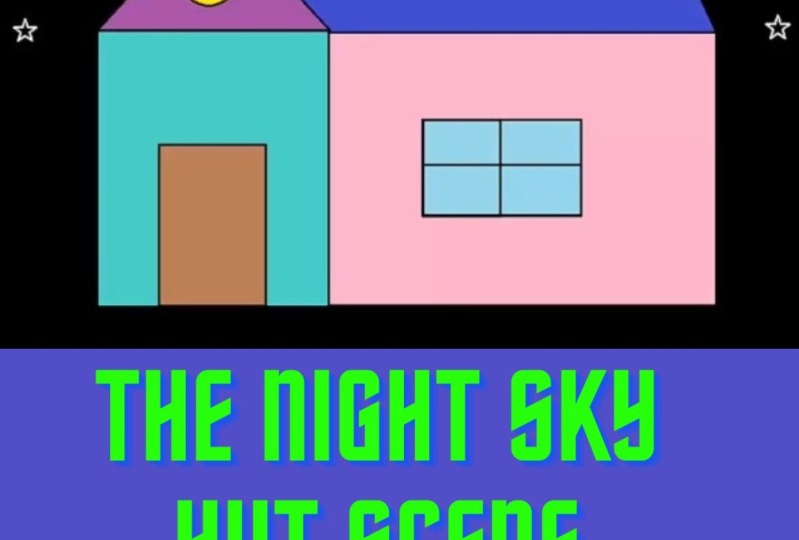
lot more using a mistake. But as we are just beginning, we will start with what we do enough as our first masterpiece. A house or a hot. After drawing will
add colors to it. We'll add a beautiful night
sky in the background. And as a bonus, I'll show you how you can
save your creations as an image in your computer without taking any further time. In introduction, Let's talk about the project
work for this class. I have shared your project work in the next lesson itself, so that you can complete your project work within
the class duration itself. So let's jump to the next
lesson to see what it is.
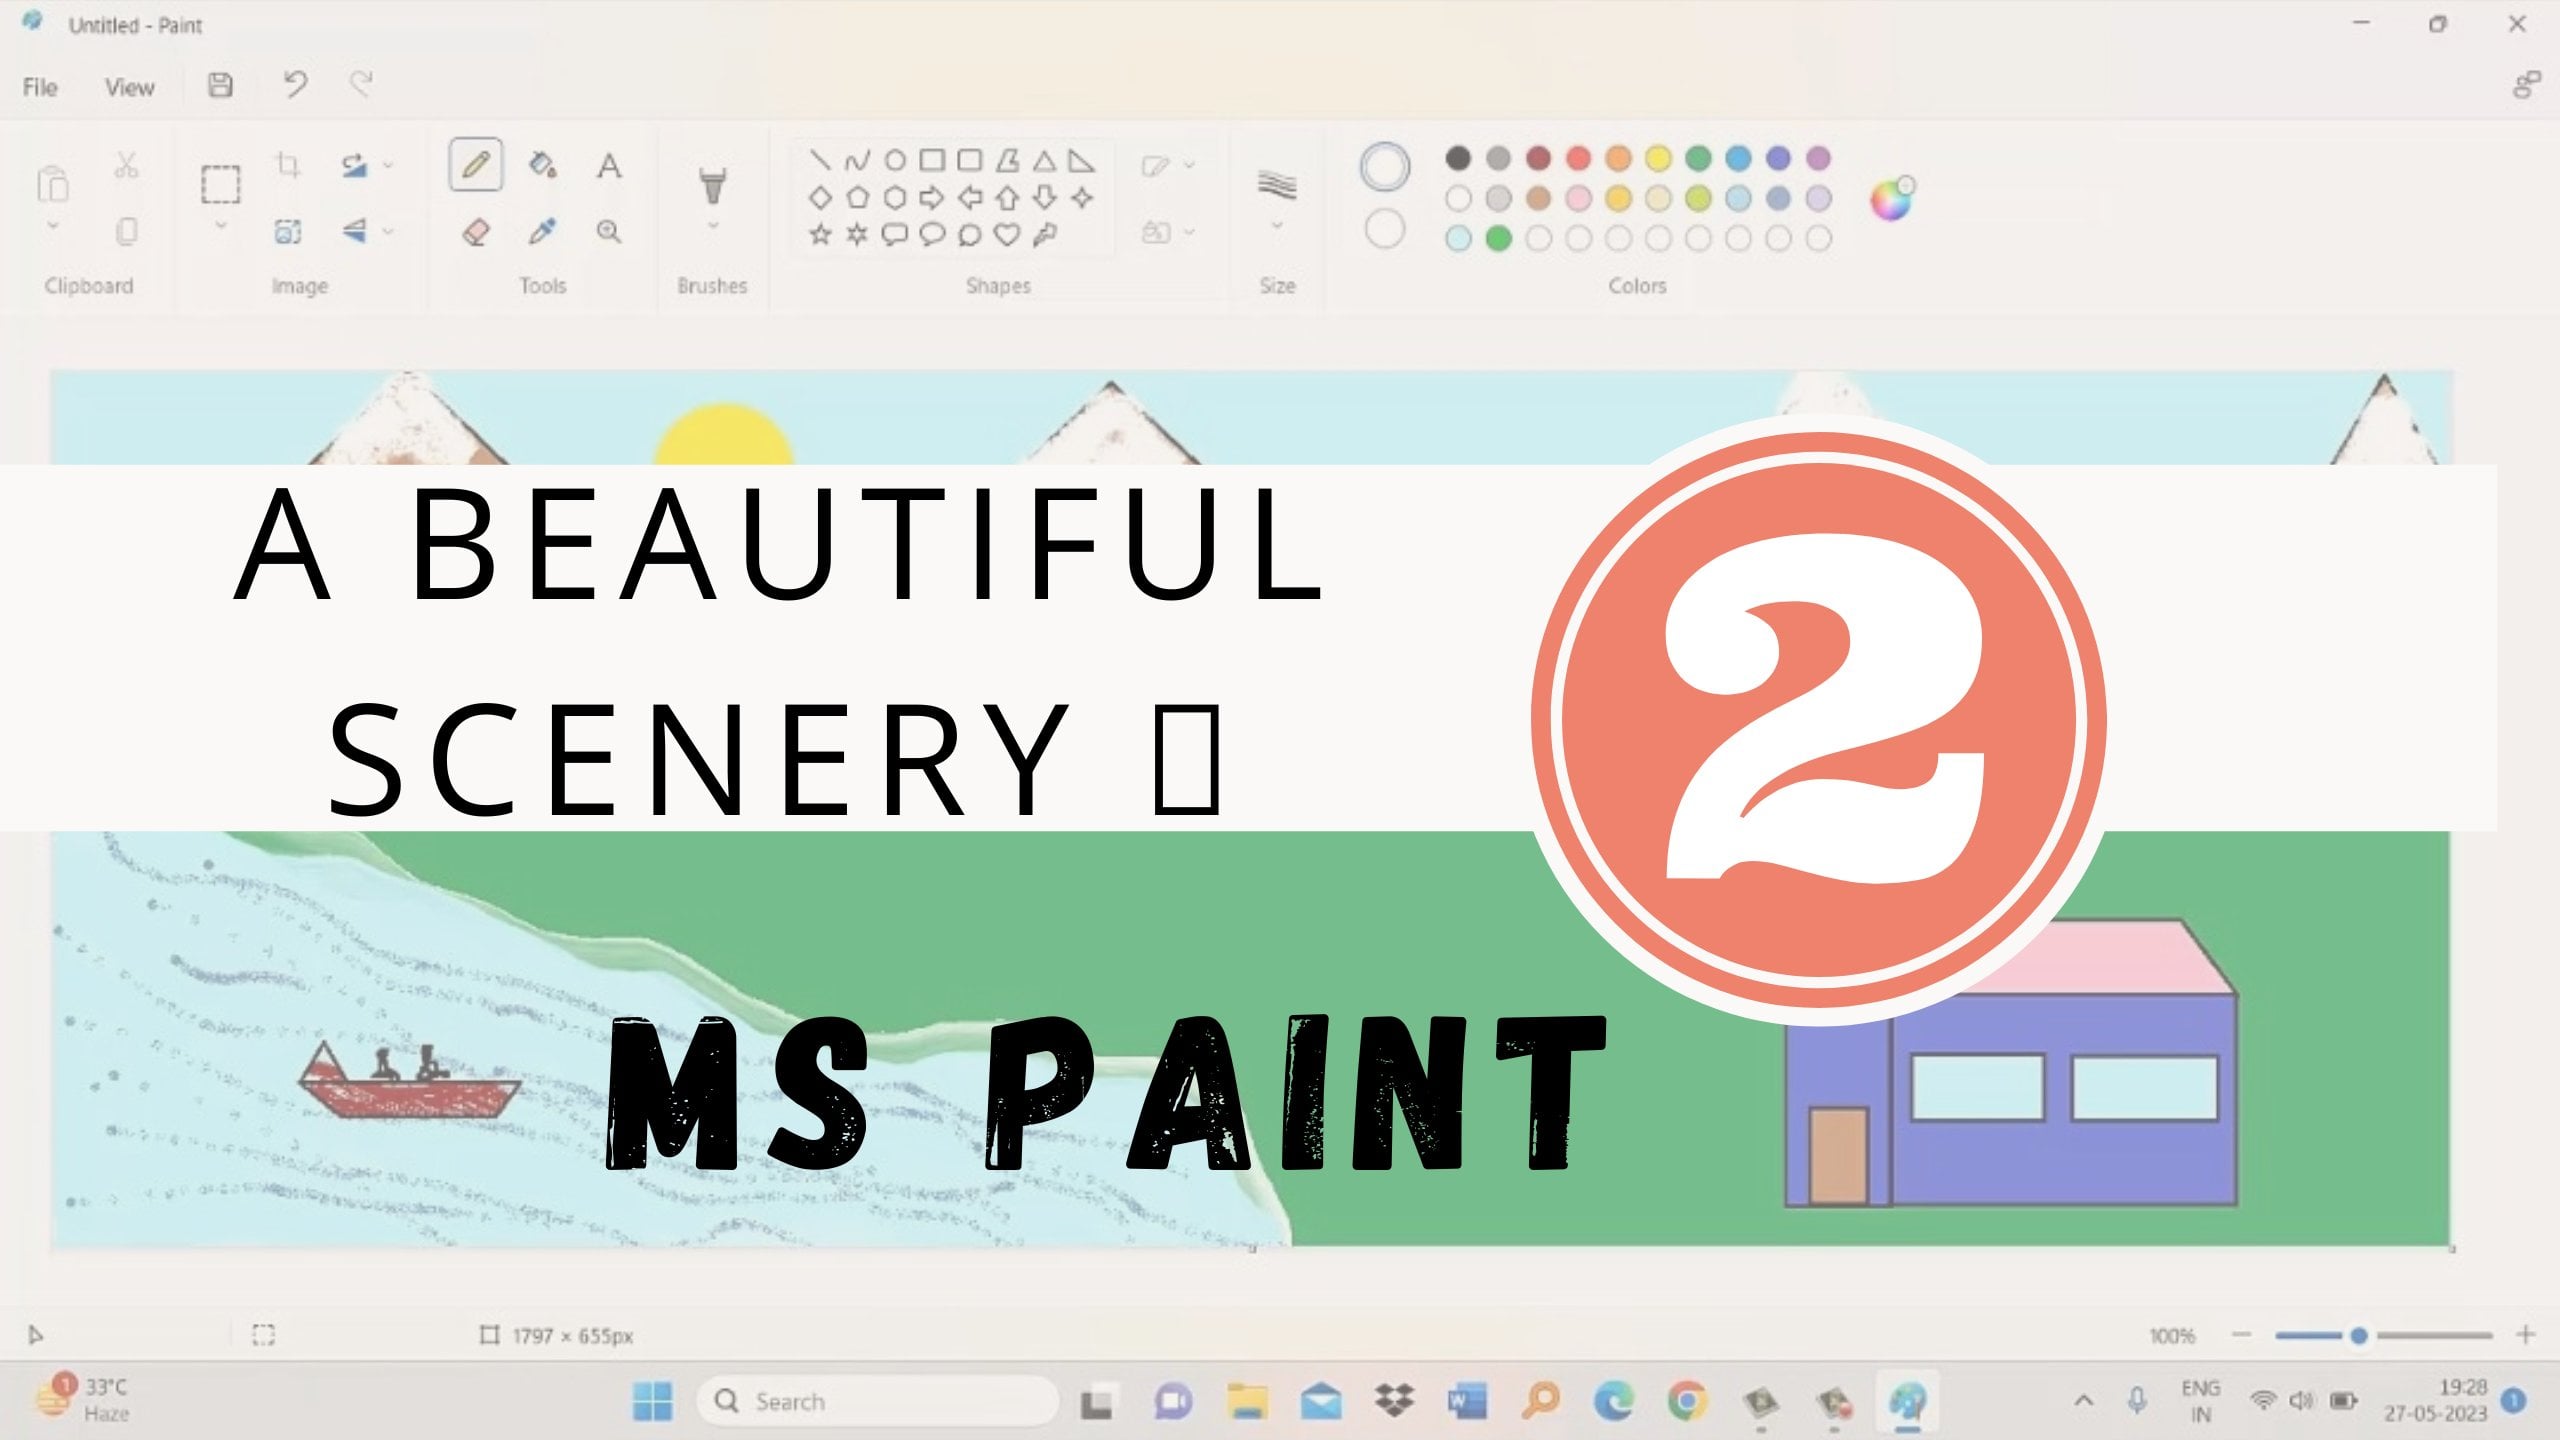
2. Poject Work: Welcome back. This lesson will tell you
the project. For this class. Your project work is to use MS Paint to draw a heart seen. It may be a day
or a night scene. Your ideas and creativity
is what I'm reading. I would love to see what all different
things you can think of. To make this simple scene a beautiful and eye-catching one, you can submit your
creations by simply clicking on the project
and resources section of this class and then click on
Upload project and surely go through your project and religion my feed
back over there. Now, let's jump to
the next lesson to start your
introduction with MS. Paint. See you in the next lesson.
3. Introduction to Paint: Hi, welcome back.
In this lesson, I'll explain about
them in Spain and its radius component and various tools that you will
be using in today's class. Let's pick. So this is how it looks when we open them is
paint on our system. This is the false green
that will appeal. Talking about various
tools and components. This one is the select tool. This is Pencil tool. We use pencil tool to draw
freehand lines and curves. This one is the Eraser
tool for erasing. This is the filled
with color tool. We use this color to fill
colors in our drawings and basically closed figures. This is the color picker tool, is this takes two to write text. And this is magnified. This is brush tool
and how we get a whole lot of options
for various brush types. We'll learn more about
each of these things in my upcoming classes of
this series in detail. Now is the shape group. The first hill is line. Then curve over rectangle, rounded rectangle, polygon, triangle,
right triangle. Full points. Stop. Down arrow, up arrow, left
arrow, right arrow. Hexagon, Pentagon,
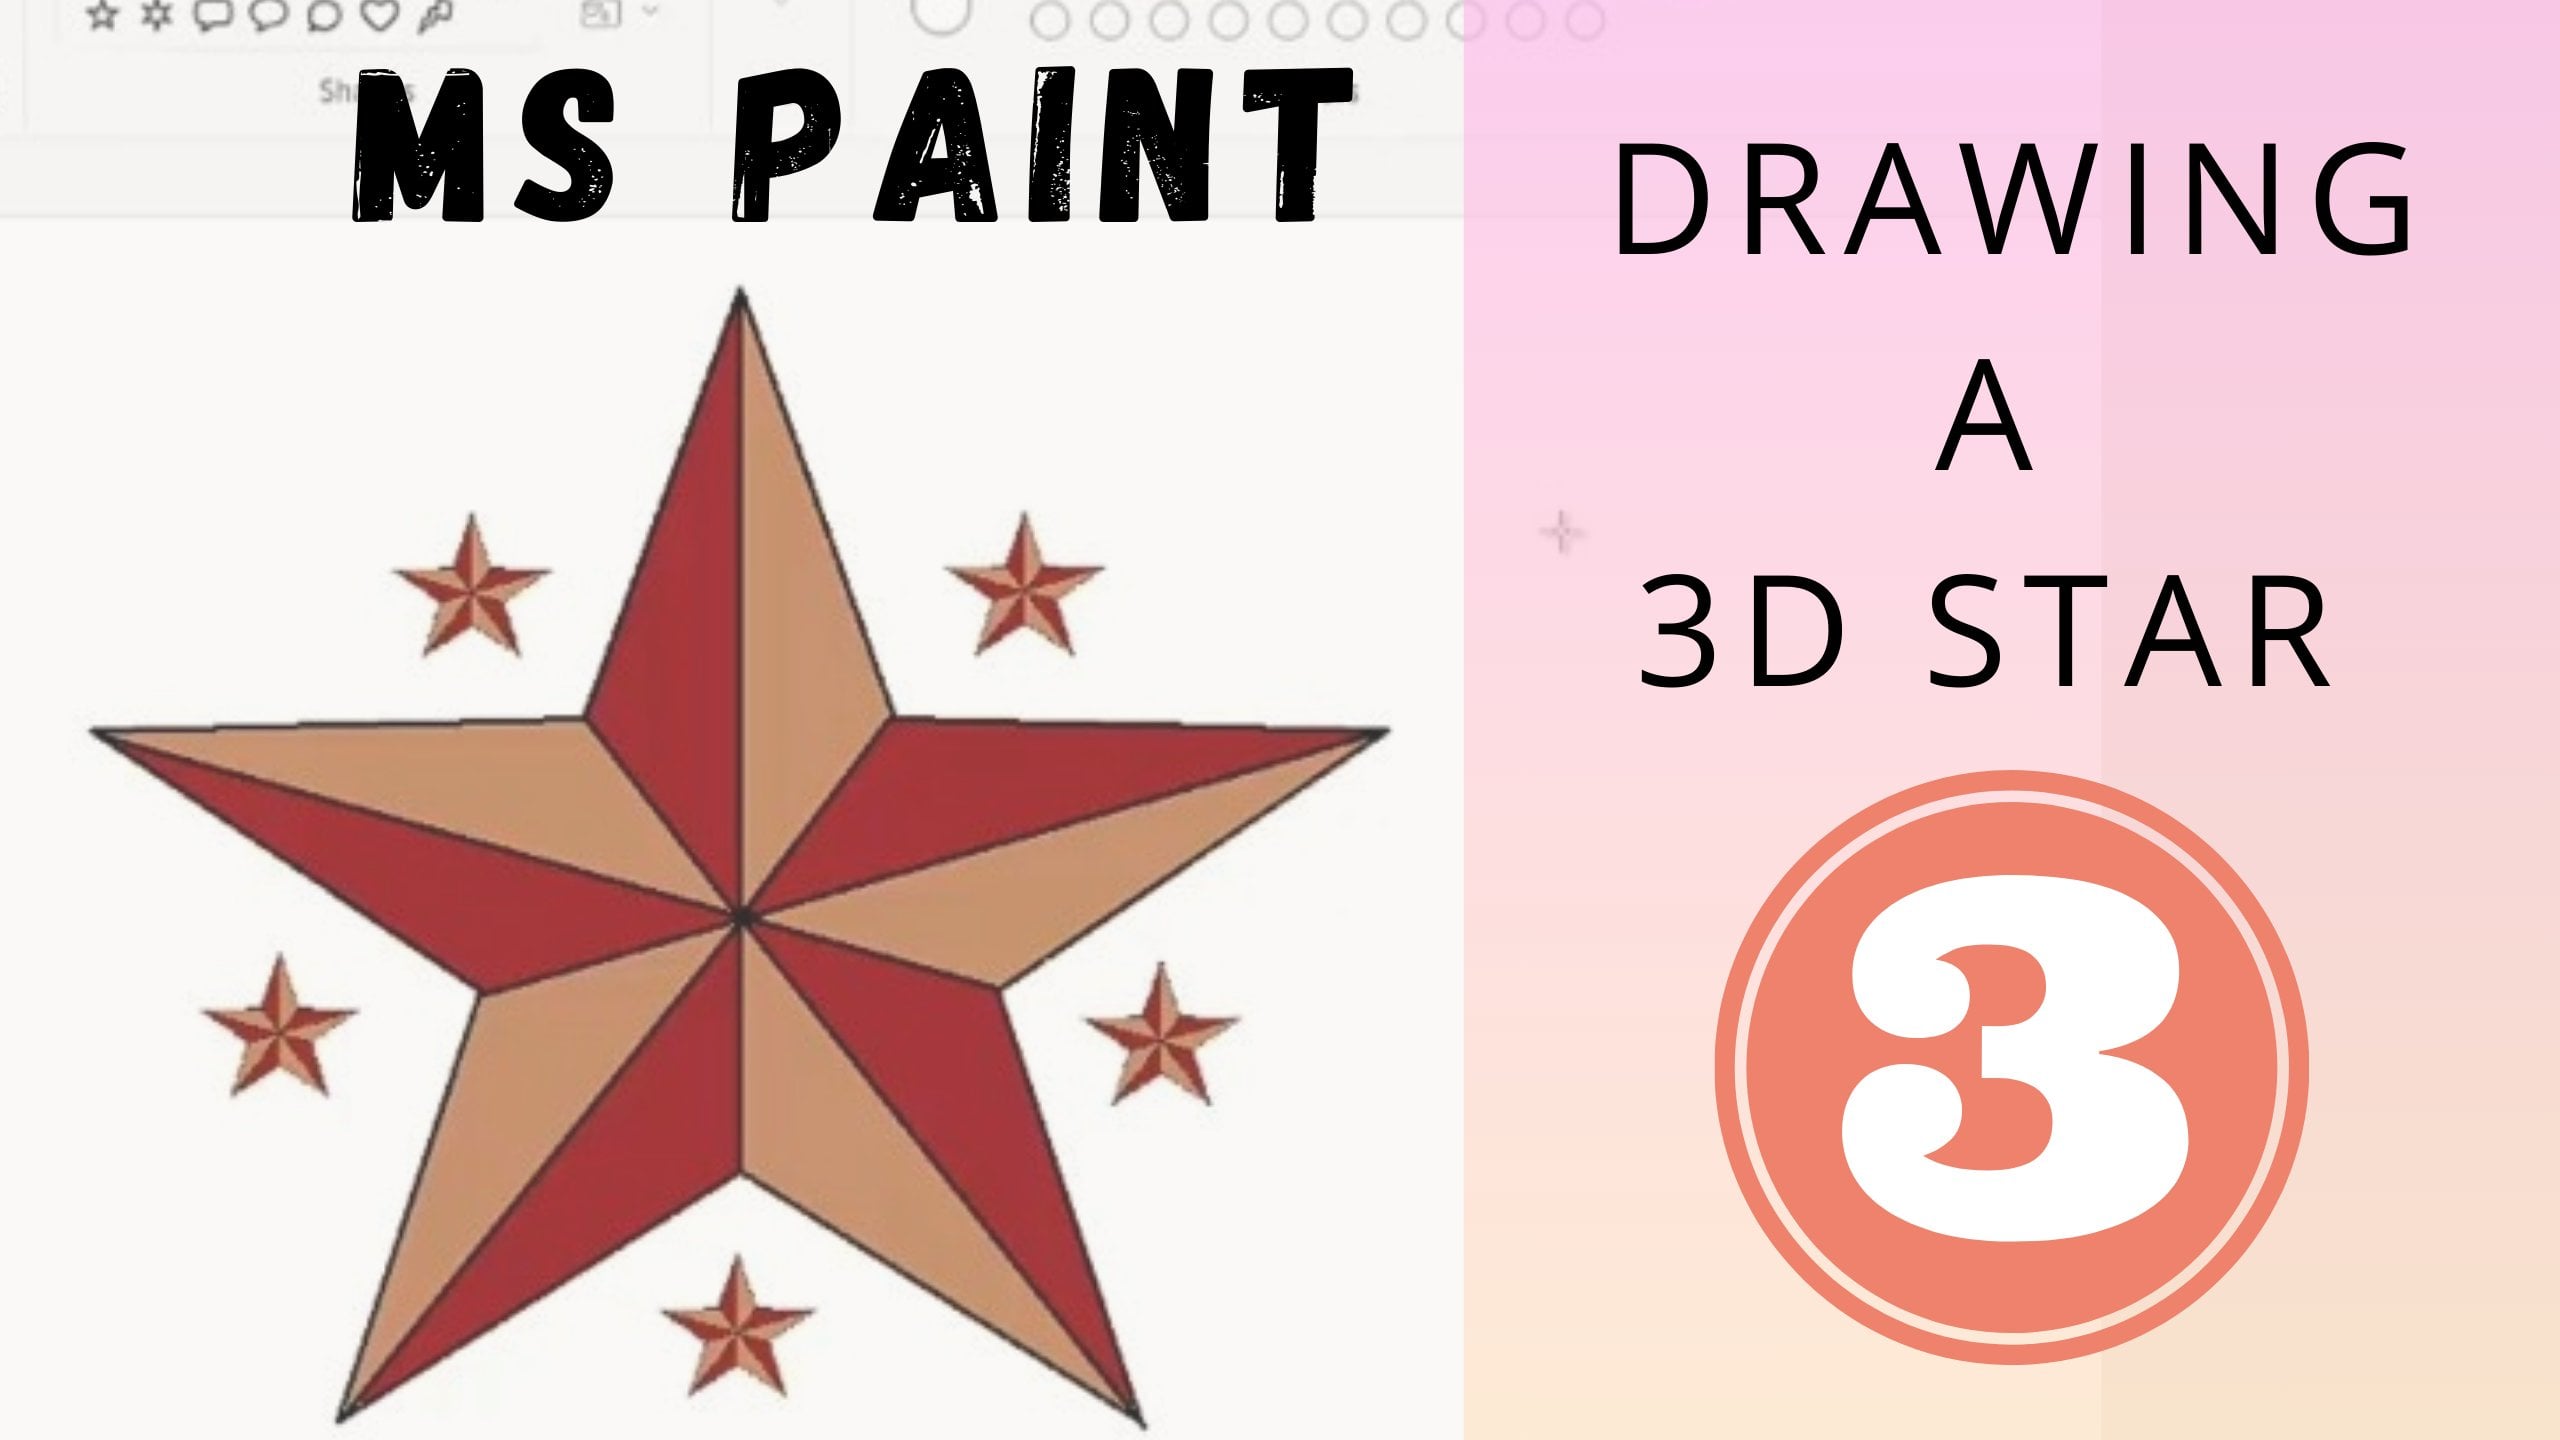
diamond, five-point star, fixed point style, rounded,
rectangular callout. We'll call out, cloud call out. Hurt. Enlightening. All the shapes will help us a lot in drawing our masterpieces. Now, this is Outline option and hit our radius
outline options. And this is fill option for
shapes to refer to end drawn. Now size tool. This helps us to control
the thickness of lines that we are going to draw
on that triangle area. This is the color area. We use colors to
pick from and paint. In this Edit Colors options, we can simply added the colors from my color
palette according to this blank white area is the drawing area where
we draw and color. One thing to remember
is that this lesson is just a brief introduction to
all tools and components. Really learn more about them and we will learn to use them in the upcoming lessons and
upcoming classes of this series. So keep creating and keep
learning while doing. Let's jump to the next
lesson and see how to paint a hat using basic
shapes. See you then.
4. Drawing the Hut: Let's draw the hut. Finally, we are here and the
drawing part of our class, the most early morning folks. Let's go. Finally, let's
select a triangle. Then click on Size tool to select the thickness
of the shape. After this, make sure to pick the color you
want to draw with. I'm picking the
color one black 11. Thing to keep in mind is that if you choose
a white color, then it won't be visible as
a background is also white. So choose wisely. Now, draw the shape
in the drawing area. Now select the rectangle and draw exactly blow the triangle. Make another rectangle sideways of the already drawn rectangle. Now, using the same shape, simply draw a dog just
the way I'm drawing. You can draw this using
the line tool also. But if you are using
the rectangle tool, then make sure to get the line overlapped at the
bottom of the door, just the way I'm drawing you. Now. Time to draw window. Use same shape to draw window. Now to draw the lines inside this window box, I'm using rectangular
shape, only. Keeping a few of lines and sides overlap to make it look
more neat and clean. Now, time to draw the roof. For this. Pick the line tool. And from the tip of the
triangle is simply draw a straight line and then join this end to the
corner of the rectangle. Just the random. Now, draw this stuff
good for light. And now the basic
drawing is complete. If you want, you can
add some design or any elements in this head to
make it look more beautiful. Color it. Let's jump
to the next lesson.
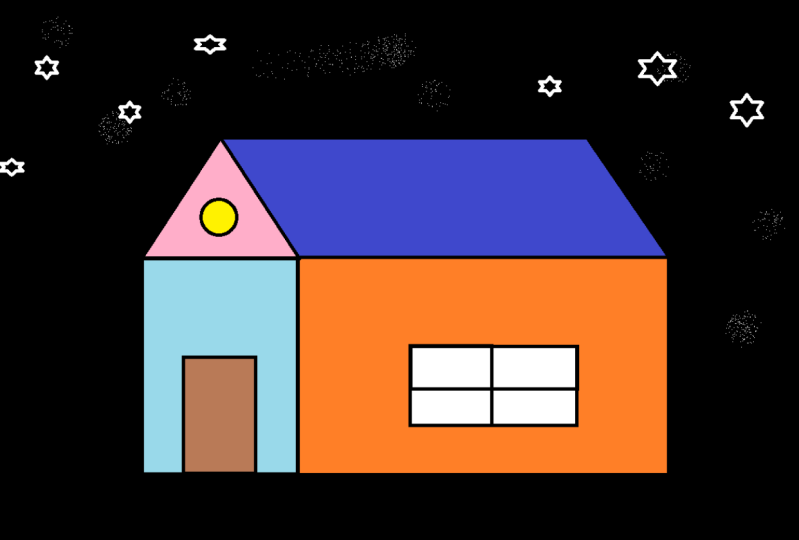
5. Colour It !: Welcome back. In this lesson, we will color the hut we made in
our last lesson. For coloring may simply have
to select the fill with color function and then
the color we want to fit. I'm choosing yellow to fill in this circle to indicate light
coming out of this hole. Now, the blue color for the window to show that
it's made of glass. After this, for the dough
and selecting brown color. And for the rest of the drawing, I'll try different colors to find out what
looks good here. To change the color that we
already filled in any area, we simply have to select the new color and then
click onto that area. It will show the new color. You can fill colors as per
your choice anteriors. Now, if I need to add or edit
any color into our palette, we simply have to click
here on this option. Pop-up will allow us
to select any color or simply change the shade
of the selected color. The new color selected
will appear in the empty circles of
the color palette. Select that color to fill
just like other colors. Now, coloring of hat is done. Time to add background
of the night sky. Night scene means
black background. Fathers simply select the
black color and fill it and the empty region of our
drying time to add stars, a lot of stars and a lot more. For this, one thing
to keep in mind is that we have to select
the white color. Now as instead of black, as our background color is
not white now it is black. So be careful for stars. Select star shape from the shapes group and start
drawing them overwork. You can draw stars in
space as per your choice. I'm filling it all over. Now, time for your bonus. Let's save our drawing
in the form of an image. For this, simply click on
File option and then click on Save As select JPEG picture
format from these options. And this pop-up will show up. Select the path where
you want to save the image and saving it
in the pictures folder, making a new folder named paint, and simply writing the
file name as one hat. Click on the scene
and it will restate. You can see the
file name here on the top left corner
of the paint window. So this was all for this lesson. Let's move to the
next lesson for more.
6. A Word with You: So guys, we have now
learned about them in Spain and made a hot seen V2. I hope you all made something
in your paint windows. So it's time to share
your project works with our own creations and
learnings from this class. So go to the projects
and resources section of this class
and upload your project, waiting to see what
all you created and excited to know what's seen
you selected day or night. So guys don't
forget to share it. And project section
of this class. Also, I encourage you
to review this class so that I can make my future classes based
upon those reviews. Also, you can share
your views and ask your questions in the discussion
section of this class, I'll surely engage
and will share my knowledge and views on
your project works too. So this was all from my
side for this class. I hope to see you in the next
class of the series soon. Keep learning, keep
creating, bye.
 Deepa A.