Transcripts
1. Class Trailer: Are you a motion designer
or animator looking for a portfolio piece or an artist looking to improve the animation
and illustration skills. Well, then this is the
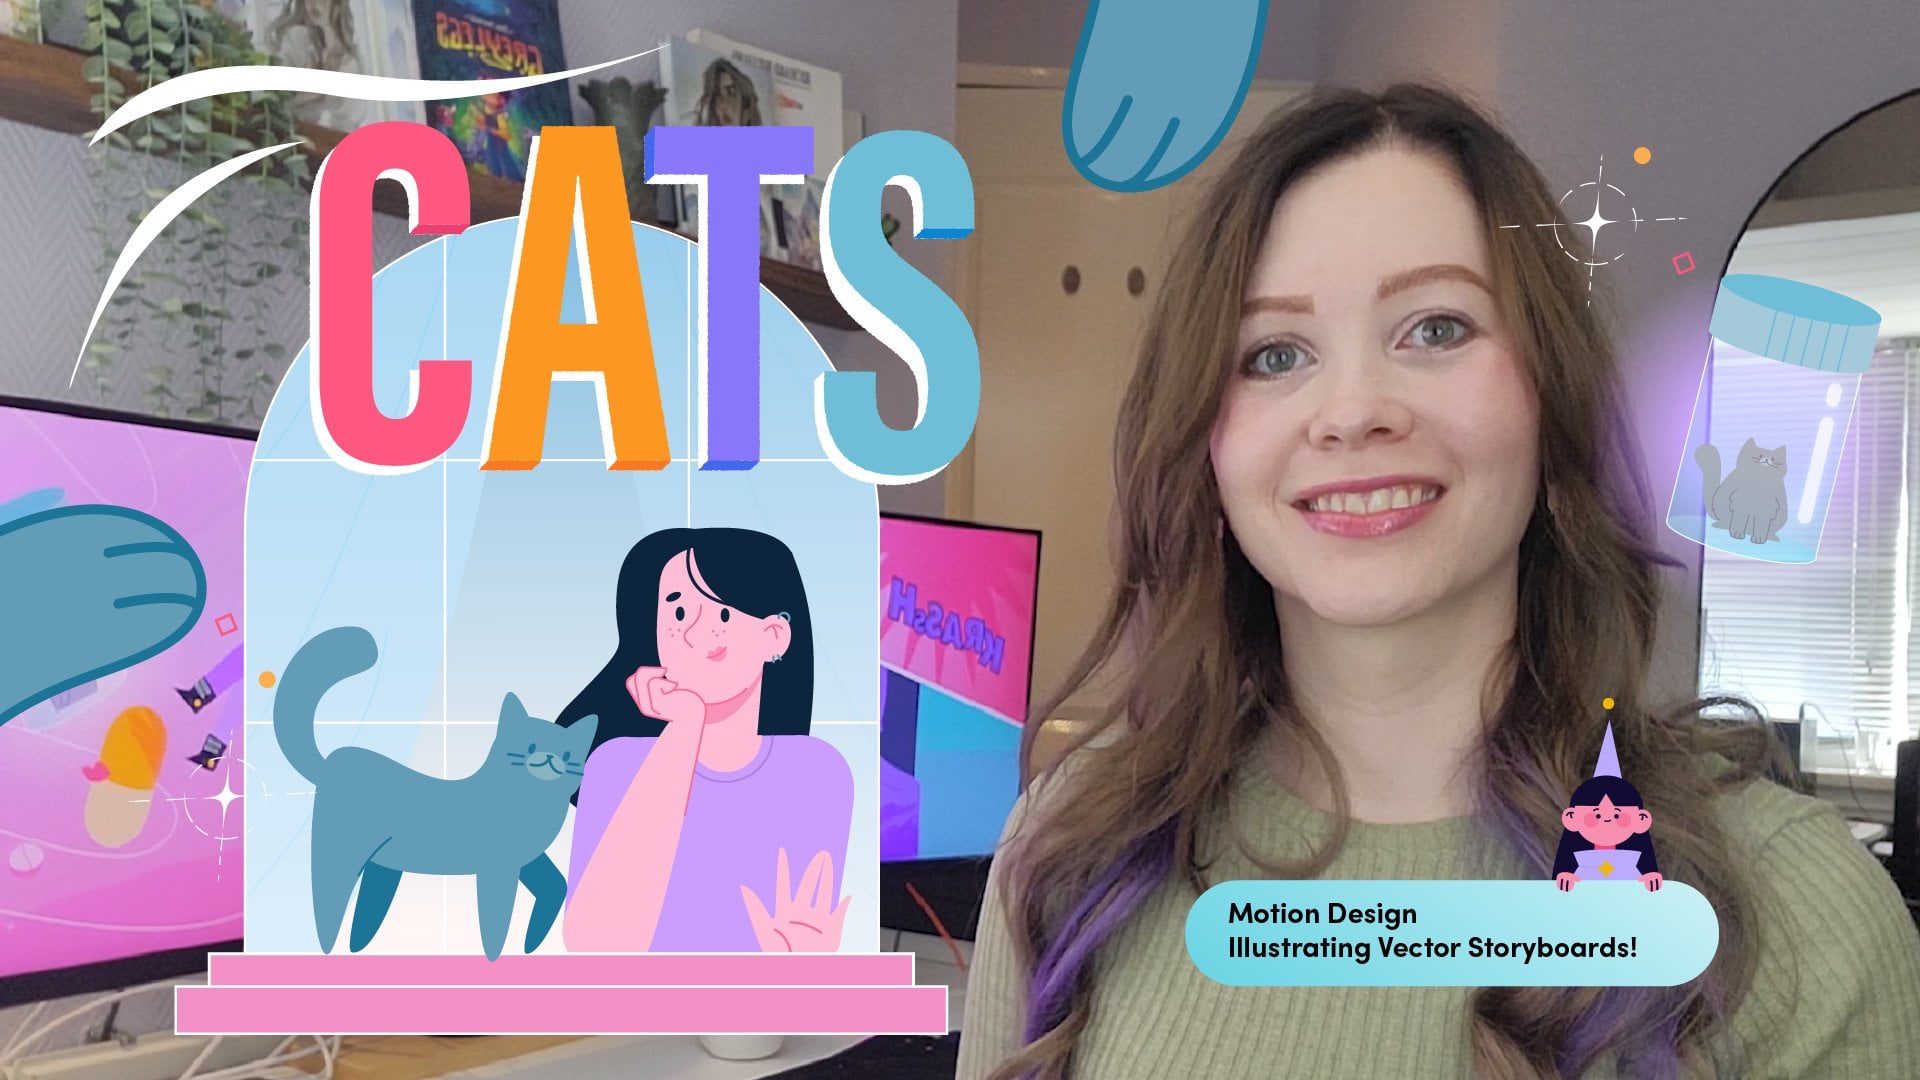
short-course for you. My name is among that. I'm a professional
motion designer. In this class, I'm going
to show you how to animate a hand scrolling
on a mobile phone. It's almost in every
explainer video you'll see there's definitely a show
worthy of your portfolio. I'm going to show
you my workflow between Adobe Illustrator and after-effects will
take a look at how to organize layers
and import file. So after Effects loves, I'm going to introduce some of my most used techniques when animating this glass is without any plugins
so anyone can join. So let's get started and I hope to see you in
the next lesson.
2. Class Project: For this class project, you will be creating
your own animated hand scrolling on social media. I'm really excited to see
what you come up with. So make sure to share your
class project with us.
3. Illustration for Motion: Welcome to Lesson one,
illustration for motion. I'll start with
sketching in Procreate, and then import the sketch
to Adobe Illustrator. I'll show you how I
start illustrating and explain what joins are
and why you need them. I think it's very
hard to start in Illustrator without having
something to go off on. That's why I like to
start with a sketch. With animation. It's important to draw the parts that you cannot see, e.g. the hand behind the phone. If you move the thumb away, you should still see part
of the hand behind it. Always be prepared
for changes and look for more possibilities
to animate something. You never know if you need to use something when animating. As you can see, I
imported my sketch to illustrate there
with 30% opacity. Now I can start
with the outlines. Before we start,
make sure to go to View and have smart
guides selected this way, and cuboids will
snap to each other. I start with outlines so I can really see how
joints will work. Joints are essential for animating body parts
in after effects. The more joints, the easier and smoother it is to rotate parts. Joints are circles
connected to other circles. This way parts can rotate from the center smoothly
without any bumps. Creating joins is a lot of
work and not always easy. I tried to test out a lot
of things in Illustrator by rotating parts to
see if they work. To create the little marker on my joints with the
shortcut Command Y. I get this wireframe look and can place it exactly in the
middle of my circle. When you're finished
with your illustration, you should be left
with two outputs, one for the hand and one for content that's on social media. Illustrate the social media. Bart, I made a duplicate of the mobile phone and place
it on another art board. As you can see, it's
really fun to test out how it moves in Illustrator.
4. Prepping your Artwork: Welcome to lesson two,
prepping your artwork. In this lesson, I'll focus
on organizing all of my layers before importing
it into After Effects. It's not the most fun job, especially without any
plugins like overlord, but it will save you a lot
of time when animating. So let's jump in. Step one, have each sentence
in a separate file. When you import a file
to After Effects, it doesn't detect
multiple art boards, so you need to import
them separately. Step to separate
all your layers. If you have a group,
you can do this by using Button Release to Layers, Sequence and place all your
layers above the first layer. Step three, name
all your layers. And that really overwhelming
with the amount of layers, the more you separate
a name here, the less work in
After Effects itself. Step four, we
remove all effects. A lot of things don't work well been important to After Effects. J to remove clipping, mask, stroke effects, brushes, anything before importing,
even opacity won't transfer. And yes, this step takes
a lot of patients.
5. Importing your Artwork: Welcome to lesson three,
importing your artwork. In this lesson,
I'll go over how I start a new project
and stay organized. I'll also go over how
to fix important issues and prepare layers for
animating width, e.g. parenting. When I open a new
project in After Effects, I immediately get this
project file structure. You can find the same
template in the resources as emotionally sign or you might need to share your
files with others. That's why it's important to
keep everything organized. You can also find things
way easier yourself. You can install the
template by going to Preferences new project, choose your project template. You can also make a template
completely off your own. Right-click your mouse in the red square and
import your files. Make sure to have Retain
Layer Sizes selected. This will keep your
layers intact. As you can see, you
now have two files, a preComp of all the layers and then illustrate
those layers map. I placed a map in the right
asset folder and start organizing and fixing
everything in Cerner one, I like to turn all my
layers into shape layers. This way I can
adjust paths and see different groups the
shape is made of. It basically turns
them back into shape layers like
in Illustrator. Make sure to delete all
the illustrator layers after you've created
shape layers. Now we can start organizing
and fixing some issues. Joints aren't
something that should be visible when exporting. That's why I turned this
into a guide layer. I also start fixing my clipping
masks in After Effects. I recently added future
is now that you can fix clipping masks as
easily as parenting. You can toggle this on
and off with this button. When I need to mask something, then don't have
layered prepared. I copy the frame layer. I want the mosque on. Edit, Fill and
delete the stroke. No need to go back
to Illustrator. I want the mask to
move with the phone. So I do this by parenting
layers to each other. You can see me struggle a bit to find the right layers to parent. Makes sure to test that you're
burning structure before animating My important layers of different color and
block masks and hide them. So I don't accidentally
move them when animating layers is also a great way to keep your composition organized. The parent joins correctly, press Y, this is
your anchor point. The point from where you
want things to rotate from. You can turn on
snapping to make it easier to parent
the exact center. The next center
things are going to get a bit more complicated. We changed the layers
to shape layers, and I left with so many layers, you can't even see them all. You can always change
your workspace if needed. I start color-coding
different images and make become of each of them. Working with pre-comps can
really simplify things. If you're interested, you can
always find this exact file in the resources and see how
I've selected everything. You can precomp layers. By selecting the layer
you want to pre-compose, right-click and
select pre-compose. As you can see, I leave out all the elements
around the image, since all the images have the same elements
surrounding them, I only want to animate them once and copy it
to the other ones. Having them in different
programs would be too much of a hustle
going back and forth. So I leave them in the same. It seems really
complicated at first, but it's all about making
it easier to animate. Instead of giving all your
layers a position keyframe, you can get this comp
keyframe and move it around. And by adding a clipping mask, you remove anything you
don't want to be seen. I want the social media images to look back to the first image, but I don t want to
animate it twice. I do this by copying
the layers in the center and placing
them under the last image. Since my composition
wasn't big enough, I made it bigger and also
added more white background. Anything I move in this preComp will also
move in the other one. If you want a conversation
that isn't linked, you need to duplicate
it. In here. You can physically see a new composition and
then add a number to it. You can change the
name and it won't be linked to the other
competition anymore. She can see the gradients
also didn't import well. You can change this by selecting the layer that's
now grayed out and click on the fill instead of the color on the text and
change it to gradient. You can now see it's
an orange gradient. I'm going to go back
to Illustrator to get my color codes and then copying and pasting
them in the boxes. I'll do this for
all three of them. Now we're finally
done importing and organizing all of our
artwork in After Effects. Let's get started on animation.
6. Animating Key Points: Welcome to lesson four,
animating key points. In this lesson, I'll
focus on building an animation and where to start. I'll talk about which
animation principles are always in my mind. And I'll give you a short introduction to the speed graph. You can animate something
1 million ways so you don't really have to follow
my keyframes in detail. I'm really excited about, but you are going to come
up with an animating. I never start at the beginning, but preferably one to 5 s
from the starting point. This way you can always
add some extra keyframes. At the beginning, I started
with the main movement, the scrolling or swiping
on social media. This way, I can time the social media accordingly and then start moving the hand. But animating, I always refer back to the animation
principles. When things move,
they usually have a slow in and slow out movement. Recreate this movement by
using the easiest button. And when you're doing
more advanced animation, you can even change
these certain speeds. The second principle
I really follow, follow through and
overlapping action. If you move your head, your
hair will follow up later. That's why I like to add an
offset to all my keyframes. Instead, In all my keyframes
at the same point, it put them either a few frames to the left or to the right. As you can see, all the
work we did before. Another prepping and decomposing make animating a lot easier. I now only have to focus on a few layers instead of animating
a lot at the same time. An animation can go to
many different stages. This is my first boss. When it comes to animating, the more time you spend
on it, the bedroom, it's kinda look adjusting keyframes and moving them around this part of the process. I also copy and paste
a lot of keyframes. Sometimes I adjust
them a little bit, but most of the time, like the thumb, it's
the same movement swiping back and forth. So I tried to copy and
paste as much as I can. I felt that the first pass of my animation was
a bit too static. So I added a bit more advanced
movement to the hand. I want the hand to pop
on the screen and out. Instead of using the
regularly Easy Ease, I edited the movement
in the Speed Graph. I wanted it to pop up
quickly and slow down. When editing discrete graph, it's important to note
that a straight line is very fast and the growth
line is slowing down. I think it's really
fun trying to get the movement
you're looking for. I add another keyframe
since I want to show the hand bouncing
back down a bit. This relates again to the
principal follow through. As you can see, the anchor
point makes this weird curve since the previous keyframes
have an ease on them. To delete this curve, click on the convert vertex tool and
on the specific anchor point. Now I can adjust the
speed graph again. I also add a rotation keyframe, since organic movement
so that I can hand usually don't move in
a very straight line, but more of a curve. This is my second pass. As you can see, my second boss looks a lot different
than the first one.
7. Animating Elements: Welcome to lesson five,
animating the elements. In this lesson,
I'll show you how I animated certain things
like the sparkle, the heart, the
window, the messages. And I'll go over
which effects and presets I've used on some
techniques that I use a lot. As you can see, I've hidden
the other layers to show you better what I animated
and how the window, I decided to let it pop in the screen at the same
time with the hand. I always try to keep
in mind the fewer and especially the
direction of their eyes. I don't want them to be
confused about where to look. So I tried to keep the focus on where it should be oriented. I decided to let the
window slide to the right. This is a great way to introduce new scene on the left or
pen up with the camera. You can also try to follow
the window out of the frame. Here you can see
all the keyframes. I have a position keyframe and a scale keyframe with
a slight offset. It goes bigger and
then smaller again. I also adjusted the speed
of the keyframes a bit. The window at the
end move slowly and then quickly moves
out of the frame. I adjust the keyframes by
using the speed graph. You can also see the bars
animated and comes out slowly and shows a bit of
weight by changing the scale. I also must this shape
within the debt. Otherwise the shape
will go out of the window as you can see here. I also animated the
elements within the window slightly with
trim paths and skill. You shouldn't animate
these details too much. They don't need to ask
for a lot of attention. When I'm done. I love all
my layers and hide them. I find it easier to work
like this than having all the layers within my
fishing. But that's up to you. Let's talk about other
elements within the window. As you can see, I organize the elements within the
window with the yellow label. You can always
reorganize your labels. I often change things
when animating, since it's never
a linear process. But mostly going back-and-forth, I've heard that some elements and some have a mask since I want the elements
within the window to move and not
out of the window. I animated the envelopes for the simple position keyframe. If you can't see the
paths or the motion path, click on this button. Sometimes it turns
off by accident, then you cannot see the
motion path anymore. I really like
adjusting this path into curves so it
moves more natural. Don't forget to check the box
out to orientate to path, since the shape will then
follow the curve naturally. But the other
envelope, I adjusted the scale since things
are usually bigger. And I added a blur to
offer out-of-focus. You can find these effects on the day Effects and
Presets window. If you don't see it
within your workspace, go to Window and add
effects and presets. I usually add effects like
a blur, Gaussian blur, or sometimes even a
wiggle, wiggle position. As you can see, I also adjusted the speed of the keyframes
in the speed graph. Again, the more you work with adjusting speeds,
the easier it gets. Starch. I wanted to animate
the pucker and bloat effect. So I had to recreate the
starch and After Effects, I create a new shape layer, change the fill and the stroke, and then I add the
pucker and bloat effect. It's the same effect
as an illustrator. If you click on
pucker and bloat, you can see that you
can animate the amount. I also add a scale animation going from zero to hundred
to zero back again. I add an easy ease and I checked my animation and see that I forgot to use the
anchor point tool. That's why it scales from the
middle of my composition. So I change the anchor point
to the middle of my star. And now it's scales correctly. Since the movement is
a little bit boring. Now I adjust the speed
and the speed graph. So accelerate the
movement a little bit. We're animating the lines
are really made use of the fact that they are shaped
layers with shape layers. Every shape is made
into a different group. And every group can be
animated separately. Adjust the anchor point, shortcut Y of each
of them to the left, since I want scale from that side by unchecking
the scale linked button, I can now animate the
scale separately. I copied the scale keyframes
to the other groups, added a position
to make it float. And the transparency,
since I want it to disappear before
the window moves out. As you can see, I did burn this layer person
previous animation test, but decided to go with
an opacity at the end. So now I can remove it. Lastly, I copied the same layer and change the fill
color right here. The heart, I wanted this to pop out with little dots around it. We're going to create the
same effect over here. You see the heart layer
imported from illustrator. I add the circle somewhere
around the middle of the heart at the repeater. And as eight circles, one of the eight copies
in the form of ownership go and change the
position as a little bit. So I wanted to pop
away from the circle, then go to transform properties, change the position to zero. So it's on top of
the first year to get all the dogs
moving around in a circle with the
exact same spacing. I divide 260 the size
of the circle by eight. Because I have eight copies. So you have all the
dots in a nice circle. You can animate it by using the position keyframe
and going 0-100. After that, I add
other keyframes and the opacity of the heart. And then I think the girls, as you can see, the lines
are made out of shapes. Adding the effect trim paths
to animate them in and out. It won't work properly and
show these really weird film. Instead of going
back to Illustrator, you could also recreate the
path and After Effects, I add a new shape layer. And with the pen tool, I go over the lines. When I now add trim paths, the effect works properly. I add the start
and end offsets so the line comes in but
also moves back out. You can see me using disinfect
a lot in this animation. To save myself some time. I copy the first line and rotate it a little bit
around to fit at the bottom. The images within
the mobile phone, I need to time them right? I click on the point where
I think it should start. And then when I go to the
specific composition, it should still be
on the same time I place a marker and you
can even add text to it. Sometimes I add
at start and end, and sometimes I just
leave it at 1.2. I make sure that all
my keyframes are placed within that time-frame. As for animating this smoke, I add a new shape layer and create a stroke with the curve. Within the stroke, you
can add a taper effect. I changed the start
lengthening and length to 25% and then change the
stroke width to 15. Then I came back and change the end and starting a
little bit with an offset. I also add a blur to create
this soft smoke effect. Simple, but I think it
looks very realistic. After animating all the
elements of the first scene, I decided I wanted to have more focus on the
images on social media. So I animated the hand, scaling up a bit and
moving down again. I think this really
make the animation a lot more fun to watch.
8. Exporting your Files: Lesson six, exporting
your files. Exporting, I add my
scene to the main comp. Now I only have one scene, but sometimes have
multiple scenes, especially in an
explainer video, you can end up with many scenes. The main comp is basically a place to put all
your shins together. Sometimes I even add sound
effects and music in here. Sadly, I can share my
sound effects with you since I got them from the
Epidemic Sound Library. And go have a nice bonus
if you're interested, from March 20 to 31, you can get a 60 day free
trial to my referral name. Plus you'll also be
supporting me since I get a one month free subscription
to every new subscriber, you can find more details
in the resources. When I'm done with the project, I'll also be composed the music rendering you
need to keep in mind that anything we're doing
these bars will be rendered random my files by going to composition and Media Encoder and use
my standard settings. You can change them here. If you want to render
a different file size, I cannot just export this
with different sizes because then the animation will be cropped and it
won't look as good. I create a new column, e.g. Instagram, thousand
80,080 pixels. I then duplicate
the first scene, since I want to
change it and bring the elements closer
and delete the window. I placed this new
edited center in the Instagram come
with sound effects. And now I can render that calm. That's basically
it for rendering.
9. Bonus: Improving your Workflow: Welcome to lesson seven,
improving your workflow. In this lesson, we'll focus on a few different ways to
speeding up and improving your workflow over workspace settings and
different plugins. Keep in mind that the longer
you are in the industry, the more experience
you will get in speeding up and
improving your workflow. Step one, start each project
with a new project template. This way you won't have to
create folders all the time. Step to adjusting your
workspace to your needs. This can change depending
on the project. You can save your new
workspace by going to Window Workspace,
safest, new workspace. And this way you
can create multiple workspaces for
different projects. Step three, plugins. You can also improve
your workflow by installing influence. It's basically extra software
to make After Effects work better or improve
the workflow between other software and aftereffects. As you can see, I have a few
examples in my workspace. Motion tools is a
free tool you can download from the motion
design school websites. Paper is a plug-in
where you can create your own buttons to
speed up your workflow. E.g. if you want to
create a new composition, you can just add a
button to do that. Or if you want to create
a looping animation, you can create a button
with an expression. My favorite and most use plugin has to be overlord overload. You can import your layers with just one button
to After Effects. Let me show you how much
of a difference it is with manually importing files
and with overlord. I don't have to put my
scenes in different files. They can all just be
next to each other. And this is how I layered them. I can just select first scene and transform them
to After Effects. As you can see, it's
really fast and imports all the
layers currently, they are immediately turned into shape layers and most
effects are important to me. Did I have a nice bonus for everyone that's interested
in this plugin. But the discount code
among the emotion, you can get 10%
off your purchase. You can find more information about this in the resources.
10. That's it! : And we're done. We'll say that the work, I'm going to paste
all the layers, imported files to After Effects and animated every element. I hope you enjoyed this course and have a great new portfolio. Please let me know if you have any comments or questions in the discussion tab and feel free to leave a review on this class.
 Amanda Motion, Motion Designer