Transcripts
1. Welcome to Class!: Hi. I'm Molly Super thorp. I've been a professional
Calgrapher and type designer since 2009, creating custom lettering for brands and individuals around the world and designing digital
assets for other artists. I've also written a number
of books for people who want to learn modern
pointed pen Calgraphy. Today I'll be
demonstrating how to draw an intricately flourished
script Calgraphy layout from start to finish in
Procreate, right on the iPad. You will learn how
to combine lines of pointed pen calligraphy
into a cohesive, wildly flourished
composition that you'll then be able to print, apply to products,
share online, et. I'm going to share my design process every step of the way, including how to set
up my guidelines, make a pencil sketch, plot out my flourishes, ink the calligraphy using a
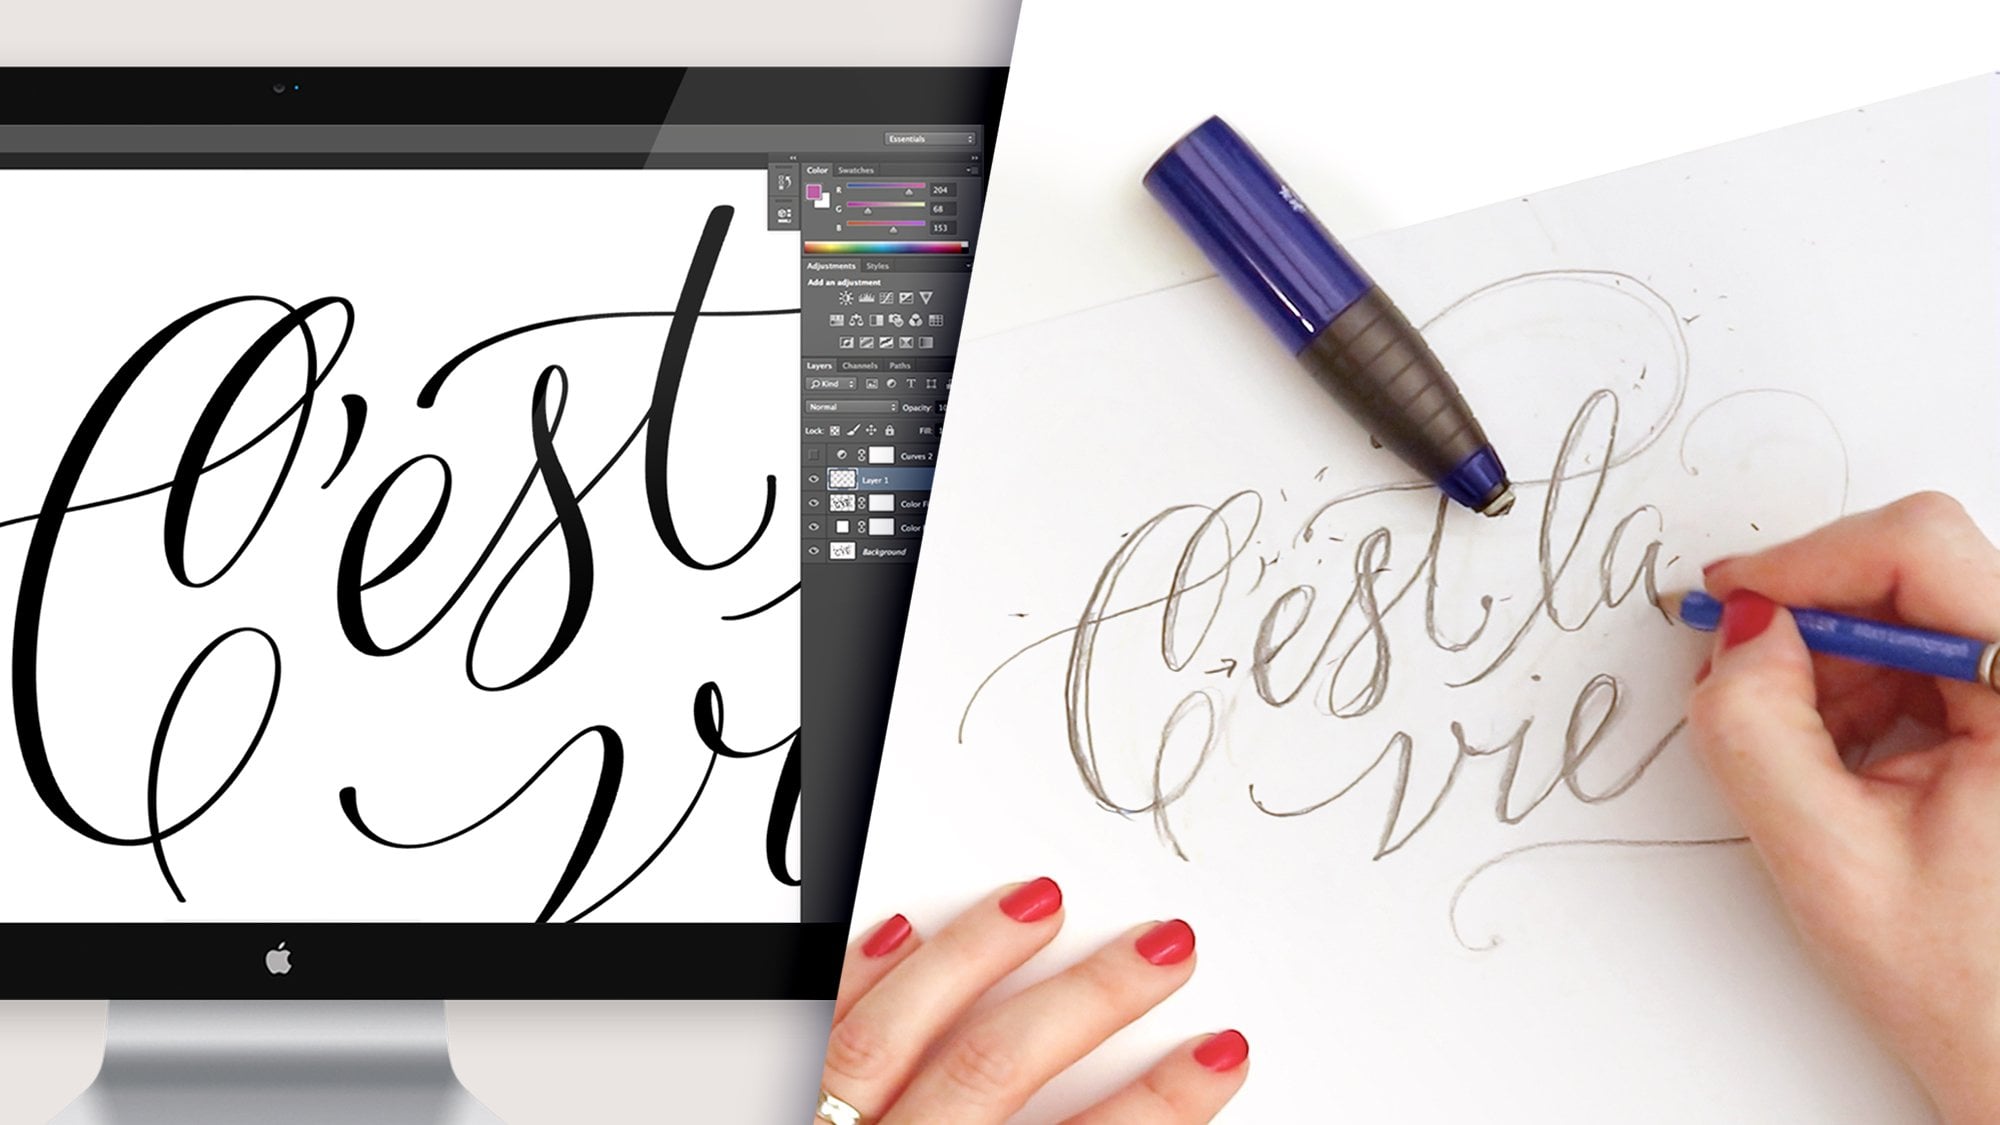
procreate pointed pen brush, polish the final design, and then even recolor it. Even though this demonstration
is done digitally, many if not most of the design principles
I'm sharing today, such as drawing
interlocking flourishes or balancing negative space, apply to script
calligraphy in any medium. In other words, when it comes to the key core considerations for creating a successful
flourished layout, the same basic principles
can be applied, whether you're designing
on a screen or on paper. While I will be demonstrating on my iPad using the Procreate app, you can follow along with paper, pencil, and pen if you prefer. If you are using
Procreate like I am, be sure to download the free
Procreate Calgraphy brush I've included as
a class freebie. It's the same one that I'll
be using to demonstrate, and whatever medium
you're using, I've also provided a free
downloadable guide sheet in case you want to use the same guideline layout that I do. You can either import
it as an image to procreate or print
it out at home. Thank you so much
for being here. I am excited for
us to get started.
2. Download Your Free Tools: I personally love using my iPad to relax
with calligraphy, especially because it's so portable and doesn't
require any setup. Plus, I treat my iPad more as an art tool
than a computer, basically, as if
it's digital paper. I don't have any
notifications setup on it or anything else that
might disrupt my workflow. So if you're using an
iPad for this exercise, I suggest simply turning off the WiFi and data temporarily, so it becomes merely a screen rather than a device
connecting you to the outside world. I
3. Set Up Your Canvas: The first step is, of course, to set up our canvas and to add the calligraphy guidelines that we're going to be using. Today, I'm going to create
an 8.5 by 11 inch canvas. Now, I recommend using
a very high resolution, maybe the highest you can get
away with on your iPad or at least 300 DPI,
but probably higher. I like to go with
something like 500 or 600. I'll do 500 in this case. This higher resolution
means that not only will I be able to print this artwork
at even larger size later, should I want to,
but that as I work, I'll be able to zoom
in and really look at my fine details
without pixelation. So the benefits of working at a high DPI aren't just
limited to print factors. It really has a lot to do
with how much you can zoom and how much detail you can see in the digital work as well. Now, with a blank
canvas in front of us, we'll need to add
some guidelines before diving into the
calligraphy itself. To add these guides,
you can either import the guideline JPEG that I've
included with the class, and that works
with any software, or if you're familiar
with drawing your own or importing your own and you have a guide setup
that you prefer, that will work just fine
for this exercise too. But I'm going to import
my own guide sheet. So I'm coming over here to
actions, Insert a photo. If you have yours
saved to the cloud, then you'll just do
insert a file instead. And now the guide
sheet has placed, and I will just enlarge it to fit my 8.5 by 11
canvas perfectly. And then I'll add
a new blank layer on top of my guidelines layer.
4. Start A Rough Sketch: This is going to be
the layer now where I sketch out my
initial composition. I make sure that the number of words that I need fit on
the appropriate lines. I figure out where line
breaks need to go. I do some basic centering,
and just overall, see how much text I can fit for my manuscript on
the single page. If you're struggling to find
a text that inspires you, consider a song or
poem that you love, a page from your favorite book, or even an excerpt
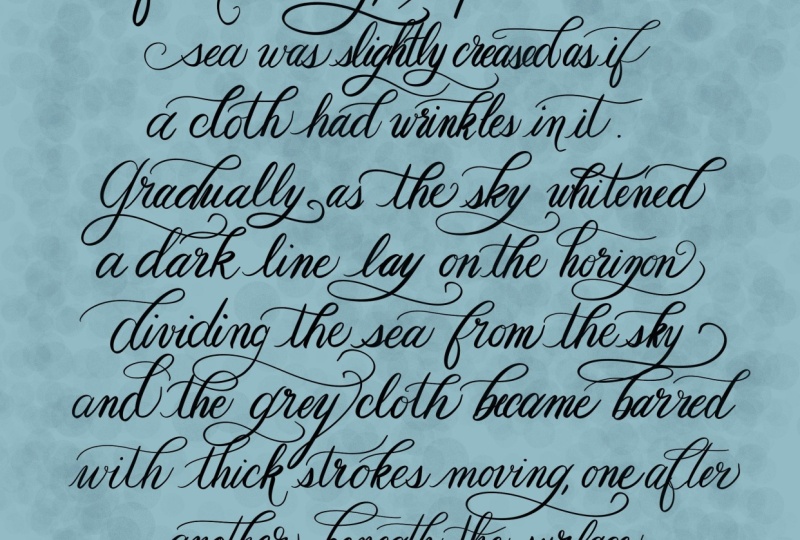
from your own journal. Today, I've chosen a
passage from my all time favorite author and one of my
favorites of all her books, the waves by Virginia Wolf. So now, I have my text here. And I've already roughly looked at where I think I want
the line brakes to go. But I'm going to see if
that's going to work out now when I actually sketch it
onto the paper or the screen. So let's get out a
pencil brush to do that. You can use any pencil brush
that comes with procreate. I'm using one that I design myself called Molly's favorite
letter sketching pencil, and it's one that I like
specifically for this purpose. Oh, and I'm using a
contrasting color. I'm not using black yet. I like, for some reason to
sketch in a contrasting color. It makes it feel less permanent. It's also a little bit more fun. And then when I go over
it later with black ink, it has a really
nice cool effect. Now, I'm just doing
a rough sketch here. I'm not going to worry too
much about flourishes, about the acenders, the
decenders none of that, but I want to get the
space that the words take up set down on the canvas. So a lot will look
very unfinished. And in fact, for my ascenders and the ends of my decenders, I'm going to leave them
completely raw like this. Not going to put any
loops whatsoever. No flourishes, nothing. I'll just space out my words and leave the ascenders hanging. Crossbar of this t, I'm
not even going to add it because I know I'm going
to flourish that later, and it doesn't really
relate at all to the horizontal space
taken up on the line. So here is the first
line that I drew. And first of all, already, I know that I'm going
to want to reduce the spacing right here a little bit and increase it over here. So I'm using my selection
tool to just sort of nudge some of these things because I know that I
will do this later. So I'll save myself
some time later on, and when I realize
an issue like that, I will immediately fix it. And now I can go about centering
each line as I go here, and I do sometimes
like to do that, especially because then I
can have some sense of where my ascenders and D senders might hit each other
between the lines. So I can just hit
this selection tool, which selects all the
contents of the layer. Once the selection is made, you can come and hit snapping. And if snapping
itself is turned on, not magnetics, but snapping, then you can move this and
a golden line will appear. The blue lines are your
magnetic guidelines, and the gold ones are
your snapping guides. So this gold line now snaps this perfectly into
the center of the page. But as cligraphers,
we know that true mathematical centering often
optically is not centered. So use that only as a very rough way to
center your lines. Don't sort of center
them that way and assume that the naked eye will
perceive it as centered, especially when we put
flourishes and end strokes and exit
strokes onto our lines, the center of
gravity, if you will, of the line can look like it's shifted more to
the left or the right, even if it's
mathematically centered. So anyway, I'm just doing this very
roughly to begin with, but phase two is where all of the finessing
is going to come in. Now, I have a very strict
rule whenever I'm designing any multi line
manuscripton procreate. And that is one line, one layer. Okay? So we had this new
layer for this first line. If I turn that on and off, all of this text goes away. But now for line number two, I'm going to make a new layer. I want to keep every
single line on its own layer so that I can
adjust them separately. So that when I'm creating
flourishes that overlap, I'm not going to have them sort of melded together
on a single layer. I really prefer
to work this way. So new layer, new line. And now I'm just
coming back and I'm repeating the same process
all the way down the page. Here's line number two done, and it's already basically
centered in that it's taken out most of the space of the line or most of the
length of the line. So again, third line
means new layer.
5. Understand Calligraphy Guidelines: Now, you can probably see that the lettering guides that I've chosen to use are quite simple. Let's look at them
here real quick. We have a guideline bar
with the base line here, x height, cap height
or ascender height, and decender line, and
they're all equal in ratio. So all these lengths
equal each other. And I designed it that
way because personally, that's my own personal style, adheres often to this ratio. I tend not to have
extremely large variations in the ratio between
my acenders capitals, decenders and x height. However, I do sometimes and
I like to play with that. But when I'm making an extremely flourished layout like this, one thing that's
important for me is to have a pretty sizable x height. And that's because I don't want the flourishes to
become so full in the composition that
they will overwhelm the actual letters and
make the words ilgible. So I tend to create a style
that if it's unflourished, looks pretty chunky,
to be honest, looks relatively substantial for the lower case letters
and doesn't have huge variations in the
ratio of the height. Here to here or even here to
here to here, pretty equal. And in that sense, I'm able
to have a lot more fun later, adding flourishes and really going crazy with them
without worrying that the legibility of
the letters will be compromised because
even at a small size, these letters are big
enough to pop out and they will remain
really legible. We're not talking about
an extremely small script here or a scrawl.
6. Complete Your Rough Sketch: This line ends a sentence, and so even though I have
some more space here, I'm just going to stop and start the new sentence
on the next line. Okay. Now I have completed my layout
of my initial sketch. Now I have over here
all of the layers for the individual lines, and I'm just going to group them together by selecting
any of them and then swiping right on all the
rest and then tapping group.
7. Start Plotting Flourishes: If your iPad or
the file size that you're using doesn't allow
for a lot of layers. You can actually just
make sure that you've properly centered things here and spaced them how you want, and then you can
merge this group. So flatten it,
tapping it once and hit flatten and now
everything is on one layer. Now I'm making a new blank
layer on top of this, and I'm choosing a darker
contrasting color. Still, I'm not
going to use black. I'll use something
fun, but I want it to really contrast the
turquoise I used originally. I start by looking at
the negative space. This is the area where
flourishing is possible. And I don't always fill it in. I'm just doing this for
demonstration purposes. But usually above your x heights and in between your lines, sometimes on either
side of a line, like, especially a shorter line. You have a lot of opportunities in those regions to flourish. Especially in an area like this, keep your eye out for moments where you're going to encounter an ascender and a decender
that almost intersect. Rather than thinking of this as a problem or trying to
space them out further, we're going to look
at ways that we can interlock the flourishes
or design flourishes that naturally pull the ascender and decender apart visually. So we can deal with these nearly
intersecting strokes without having them look like
points of tension where, you know, they interact because they're just too
squished together. So now I'll get started drawing in some flourish concepts, and I'll just go into all of these flourishable areas or sometimes even the
letter strokes themselves that I
originally drew, and I'll just elongate
them or make them fancier or add some loops or flourishes
within the letter form. If I see letters that aren't shaped very well or don't
adhere well to the guides, I will also go in and
refine them at this stage. Moments like this
S, for example, are a great opportunity
to think about what you can bring down
into this negative space, especially because in this
region on the next line, there aren't any ascenders here, and there aren't any
more decenders here. So we're going to have to get
creative with the way that we flourish when we
get to the next line. But no harm in starting to
fill up that space a bit now. So sometimes I go through and I just re sketch over
the whole thing. Sometimes I just go and I
sketch the flourish areas. So because I want to make
this super wildly flourished, I'm going to actually
try to fill up the majority of the
negative space. But of course, leaving
nice spacing in between my flourishes
because you don't want to have what I would
call points of tension where flourishes just get much
too close together, and it looks like a mistake. The naked eye is
then immediately drawn to the spot,
and it looks like, was that meant to be so close, either they should overlap or they should have
breathing room. So thinking about how we
have three ascenders here. Actually four pretty
close to each other. We're going to want to maybe
play with this a little bit, maybe intersect some of them or create one flourish
for some of them. Yeah, I can do that here,
make the A sender of this D, intersect the t and
use the H flourish. Yes, use the H flourish to
come back into this region. I get out my eraser
quite a lot at this stage because I'll do
a lot of experimenting. Here, I can interlock
flourishes quite nicely. Sometimes when there are two Ts that aren't
next to each other, but they're a bit down the line. You can create really nice a really nice
interlocking moment between the end of one and the beginning of
the next crossbar. At the end of a line,
when you don't have an ascender or a
decender to flourish. You can always bring that final exit stroke of
most letters out out or up. You could bring them down, but we have a lot of
ascenders to work with here for filling all of this
space and this space. So to fill up some
of this space, I'm going to use my exit
stroke and bring it up here. Here I have two a senders, and I still haven't
even gotten to this D sender because I
wanted to wait for that y and t moment
until I got to the T. I'm going to use the D to fill up this space and the t and y somewhere
over here only. Okay. Yeah. Now here,
we have options. We can make these separate
and have them look parallel. We could drop the t
down a little bit, make it maybe more about there, and then give the
y some space here. That feels too close
together to me. I'm thinking of
something like this. Yeah. Right now,
that's what I like. I'm going to take away that drop down stroke and use this
H to fill up this region. Okay.
8. Complete Your Flourish Sketch: I should also say, you
don't have to flourish every ascender or D sender.
Very important point. It's actually sometimes better to leave something unflourished, and then build up bigger
flourishes around it. Too many flourishes,
especially if they're small, are going to make the
composition just too busy. I'm seeing up here
immediately caught my eye that I don't
like how empty that is. I really want to go all the
way with this design today. Yeah, I'm liking that better. Another thing I like to be
sure of is that I don't repeat the exact same flourish design too close together
in the composition. So for example, whereas
here on this K, I could have made the same big outward loop
that I did on the H, but that would start to look for meoic I want to keep this
as organic as possible. So I try to mix
things up and not repeat the same exact
flourish too many times. Flourishing should be fun. It's about decoration.
It's about taste. So I really urge you to let loose and try
a bunch of things, especially on the iPad. You can just undo something that doesn't look good and
give things a try, see how they end up looking. Ultimately, legibility
and whether or not you like it are the two
most important factors. And then if other
people like it too, great, that's a bonus. Now I have finished this sketch. And now what I do
is I just come in. I do one final proof read
because at this point, having a typo, it's
already hard to fix, but it'll be even harder
once we add the ink. And then I also make sure
everything is legible. I look at spacing,
spacing between letters. I make sure that
there aren't strokes. Like, for example,
this flourish here, it might be if it was moved
down just a hair like that. And I basically go
around and I make small adjustments like that
so that when I do ink it, I'm going to be able to
just ink it in one pass and not really think anymore
about the layout itself. But you can see that already, if I turn off the guidelines, already this is looking really
packed with flourishes, except that if you zoom out, you can still read
it really clearly. I mean, the letters
are not so small that they are consumed
by the flourishes.
9. Understand Your Calligraphy Brush: So now it's time for the
actual fun part, the inking. I'm going to come up here to my flourish sketch layer and just turn it down quite a lot. Make sure your
guidelines are turned on and then make a new
blank layer above it. We're going to go back
now to the one line per layer situation because now that we're doing
the final design, it's really going
to be important that where we have
overlapping flourishes, they aren't always
connected into one layer. You'll still be able
to move things around. To get to pure black
and procreate, just double tap in this black region and it
will snap to pure black. And we'll choose the free brush I've given you with the class, which is this
classic pointed pen. Now, zoom in and making sure you're on that
blank layer still. We're going to just make
a few sample strokes to get the right
size of the brush. So I think that this size
will be good for me. If I tap it, this is at 10%, which will change based
on your resolution. However, if you have
500 DPI like I do, then 10% will be the same
size as what I'm using. Now, a couple of
things about drawing in Procreate with
calligraphy brushes. You can't move too
quickly in ink on paper, that will cause pen snags, ink splatters, paper snags, all sorts of other issues, and you won't get
smooth strokes. In procreate, while you
don't have the issue of ink splatters and pen
snags and stuff like that, you do have to
move really slowly because the digital
mechanism whereby this smooth glass screen and this slick plastic pencil tip have to combine to create
really steady strokes. That is best when
you move slowly. So basically, you
achieve the smoothest, most precise strokes, the
slower that you move. And just like a
real pointed pen, this pen that I've designed
is very pressure sensitive. So you get some
really fine strokes. Very thick down strokes. If you want to just play
with it for a little while, I recommend that
just to get that up down thick thin stroke
variation going. But really, you can
have a lot of fun with this just like you
can with a pointed pen, and the benefit
is that there are no ink splatters to
have to worry about.
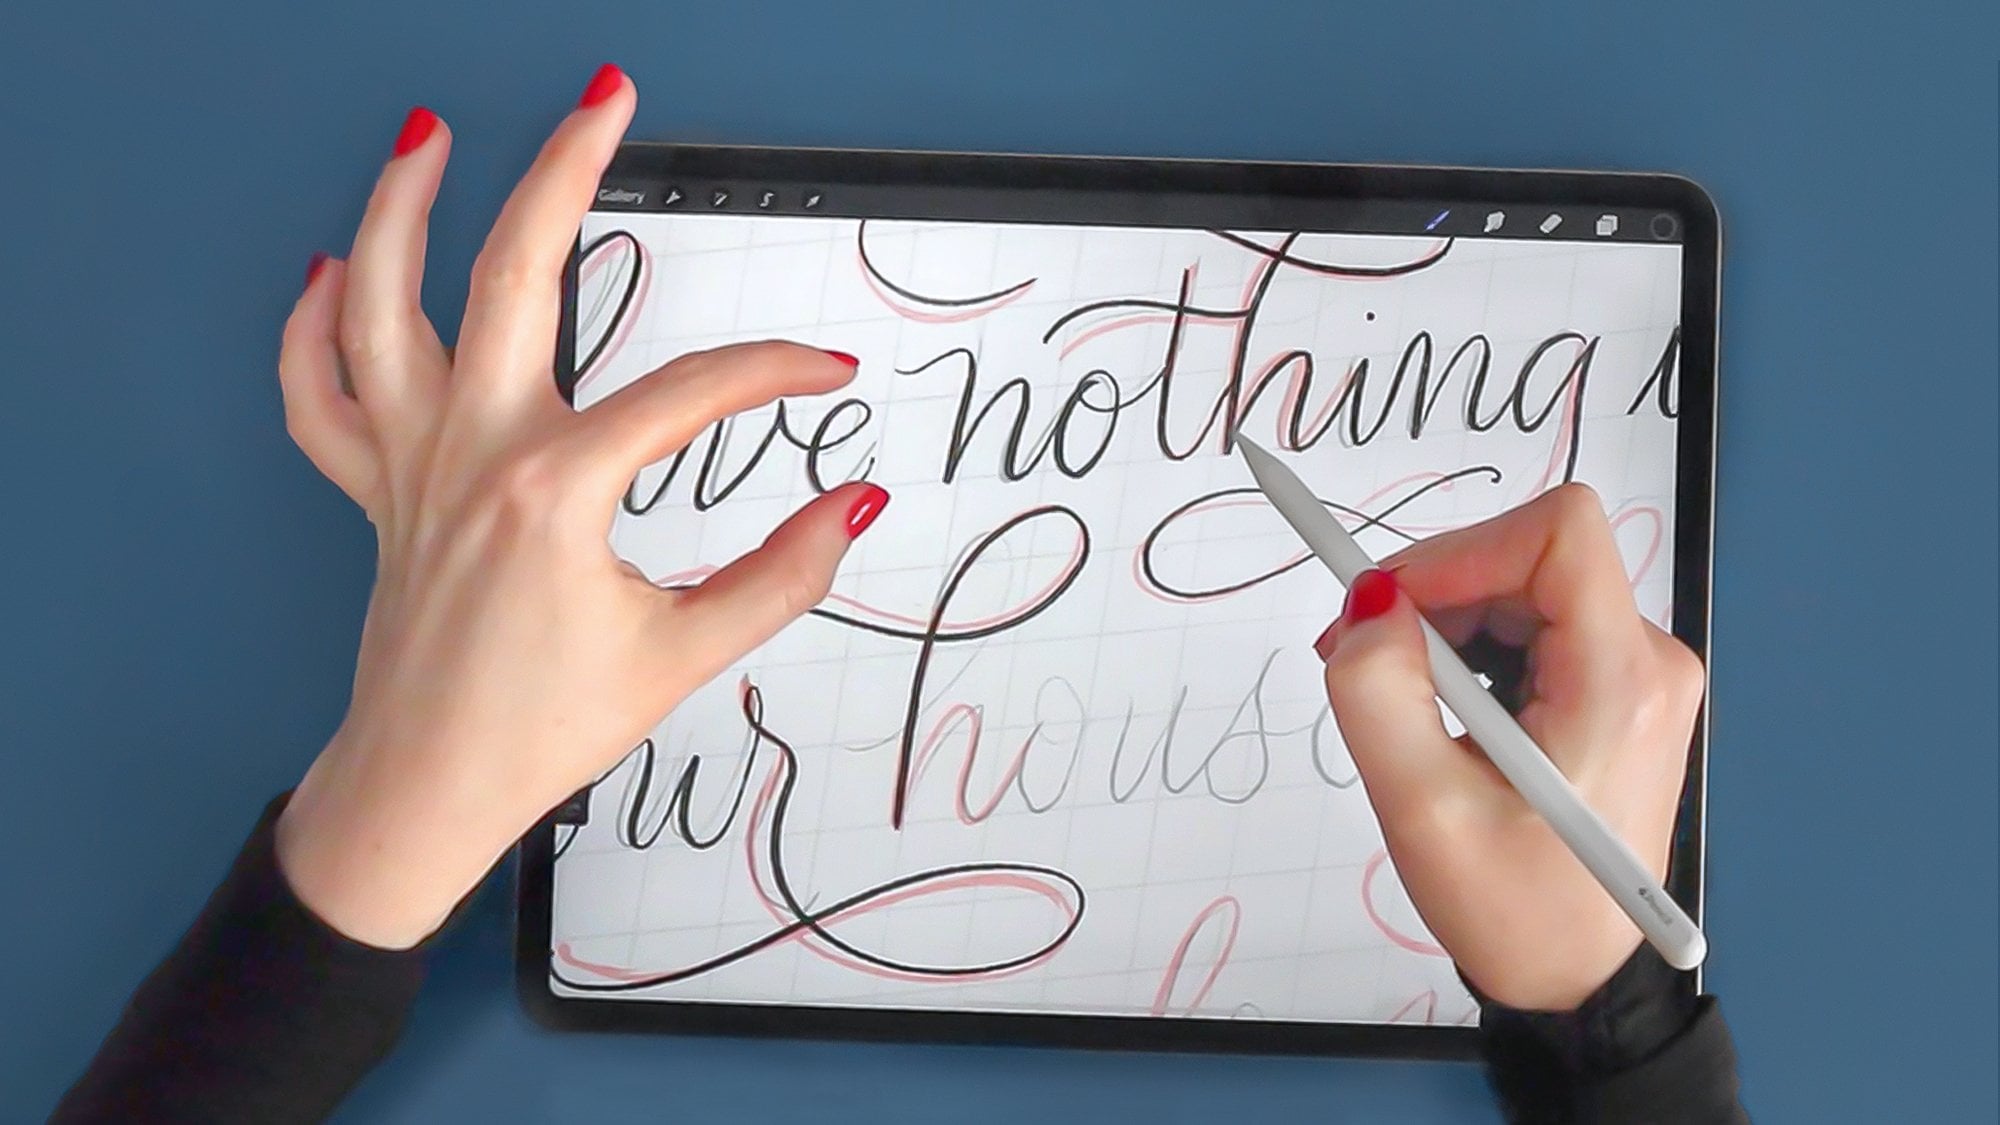
10. Ink Your Manuscript: So I'm just going to
start going over all of this with my brush,
my ink, if you will. And of course,
everything is undoable, but I still like to make it
as perfect as I can as I go along because I don't like to have to go in and adjust later. Tracing can really be
such a wonderful way to zone out and relax while building that
muscle memory that will ultimately improve
your free hand writing. Well, the pencil brush did have some pressure sensitivity. The Caligraphy brush
pen has so much that that's what's now giving
it the calligraphic look. Finally, this script lettering is really looking
like calligraphy. As you write with a well designed procreate
calligraphy pen, you will notice that
there's some pull on it. That's a huge difference from a real pen because this again is a mechanism that kind
of compensates for the tooth of paper
without a paper tooth, even if you have an
iPad screen protector, which I don't use simply
because I don't like. You can't get that exact same
kind of grip on the pen. It's just not possible with a glass screen and a
plastic pencil tip. So for that reason,
there are compensating mechanisms built into the
pen brushes programming. Not all brushes have this. So again, as I say,
you need to have one that's specifically designed for the type of writing that
you're looking for so that it best emulates the
real world tool. So, For a flexible
metal dip pen, you're going to want
something that creates much thicker strokes when you
press down hard and very, very fine hair lines when you
exert no pressure at all. This brush that I've given you does just that
based on pressure. And the way that it grips
the paper is through a setting that gets programmed into it
called stabilization. The more you learn about
procreate brushes, the more you can
customize your own, which is really, really fun. But essentially what I'm telling you right now if
you're a beginner to this is that there is
a learning curve to working with the
stabilized pen, to feeling this very
slight drag as you write. But once you get the hang of it, you'll see that it really
does allow you to create what you can do without the digital element
with a real pen. So I consider it to be
really necessary in the digital pen to compensate for the shortcomings
of the iPad. Now, there are lots of
benefits to the iPad too. I actually am not a person who prefers one over the other, or will demonize digital
tools over traditional ones. I love both, and I see
huge benefits to both. So this is really a matter of personal preference and really understanding what you
can do the same with both and what really has
to be done differently. The skills are
certainly overlapping, but they're not
exactly the same. Let's focus for a moment
now on writing speed. What you're watching now is my actual writing speed in all
the calligraphy that I do, even on the iPad where
mistakes can easily be undone and there's no risk of
ink splatters or pen snags. This speed allows me to look
ahead as my pen approaches directional changes
and to focus on varying my pen pressure
throughout an individual stroke. Just like with writing on paper, and even when I've already
drawn my initial sketch, I pause a lot to consider
where to begin my next stroke, and I'll sometimes even
trace out the shape in the air so that before I put my pen down or
my apple pencil, my arm already kind of has
the movement prepared. When I'm doing flourishing, I try not to do much erasing because I'm in procreate
and I can easily undo. And because flourishes really
benefit from just having one single movement rather than any knit picking afterward, I would rather just completely undo the flourish and draw it again than erase a bit
of it and try to fix it. So that's why you'll see me
drawing a whole flourish. And then if I don't like it, I erase the entire thing. And of course, I do do some refining as I
go at this point. I think that there's only so much refining you
can even do with a pencil. Once you have the ability to get the really thick
and thin strokes, then small details in regard to spacing and just
little finest details, those start to come together. Especially if you're a beginner using this as a form of practice to improve your writing or just starting to get
into flourishing. You're really
training yourself in some new hand eye coordination
here and training those fine motor
skills in your arm to be at once relaxed and precise. All right. So now I've
turned off my sketch, my guidelines, everything, and I just have my ink layer here. Now, I go through and I just
see little things like ops. I forgot to do my eye there. Just go through and do all
of your double checking, and then in a moment we're
going to recolor it. I'll show you how to change the background and the
lettering color if you want.
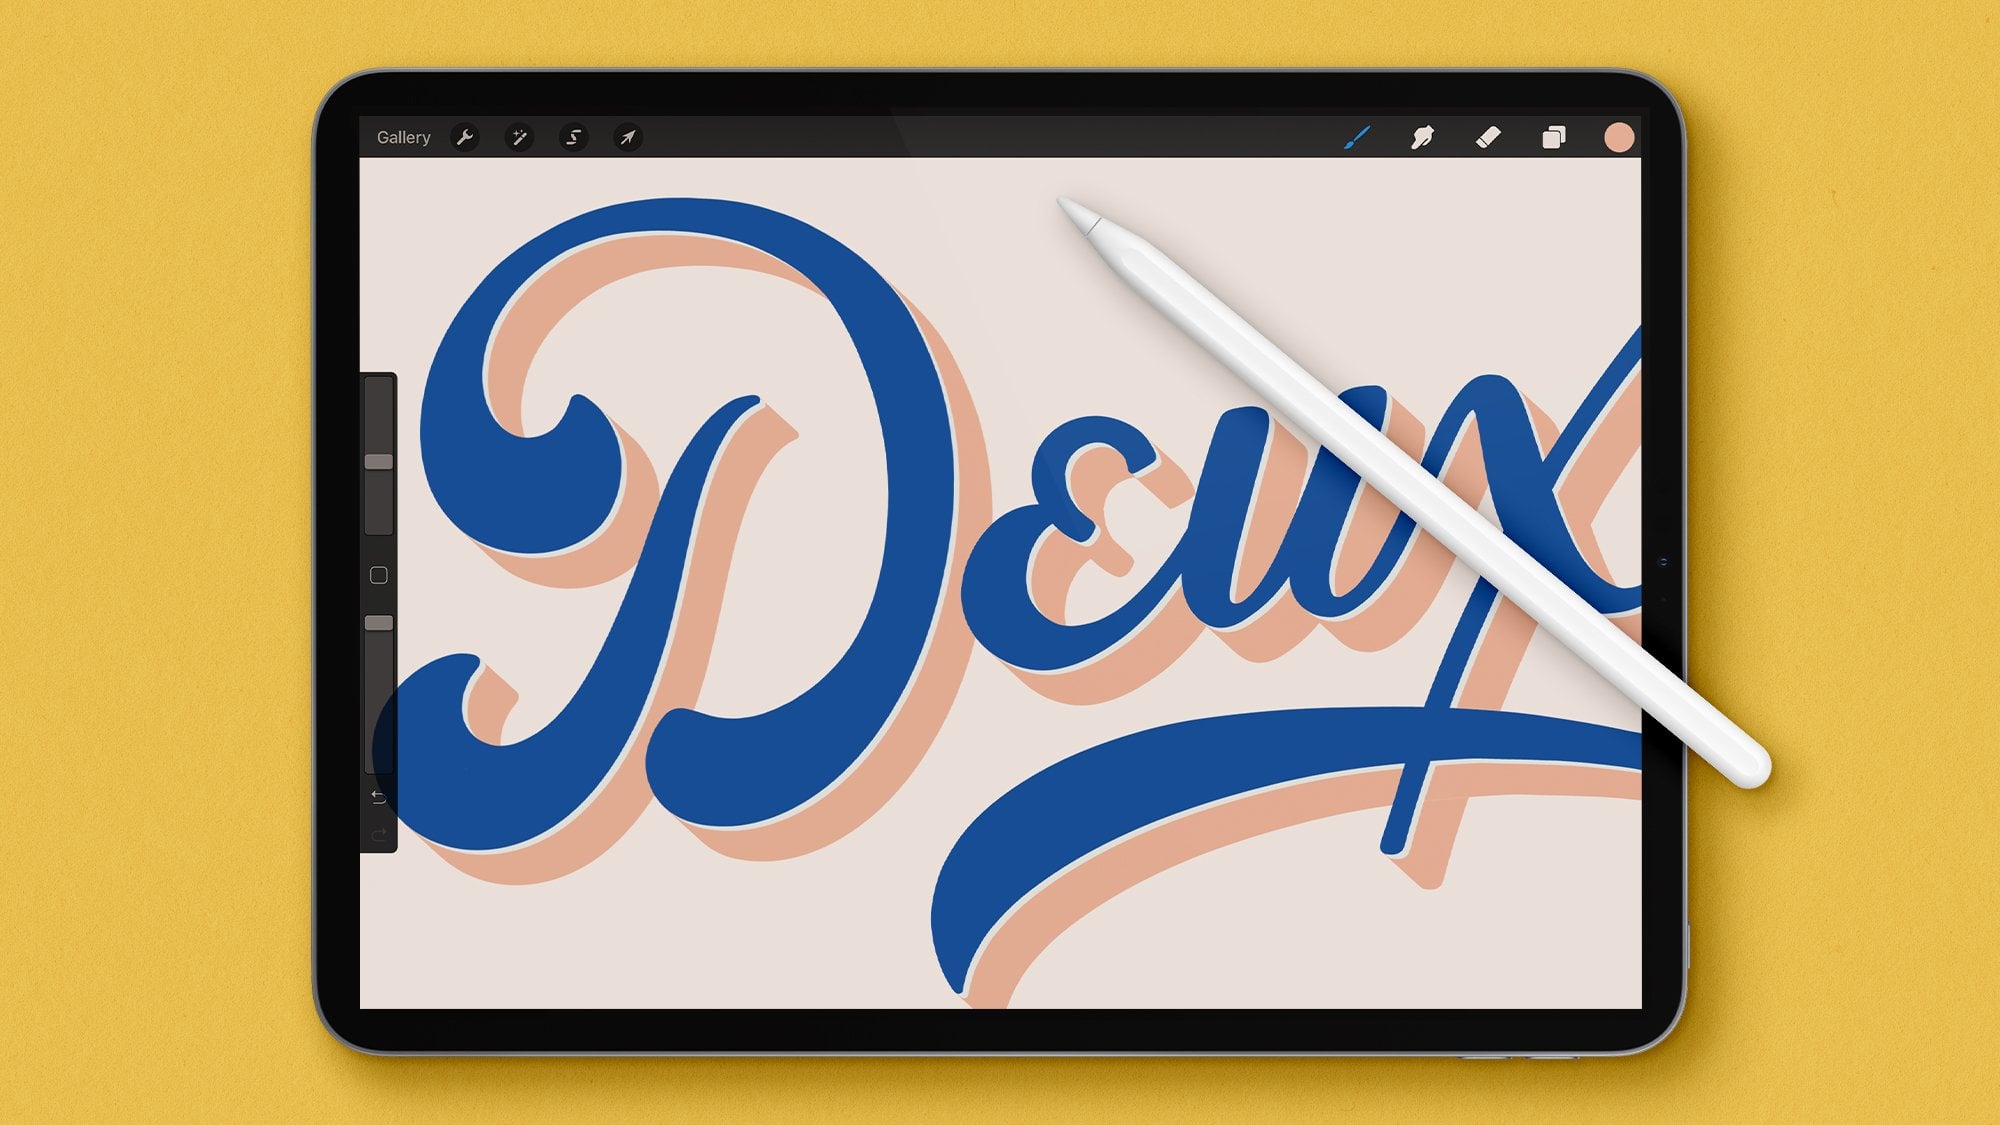
11. Recolor Your Finished Artwork: In order to recolor
the lettering here, it's much easier if all of the lettering is on
one single layer. I'm going to tap this
group now and hit flatten. So now on one layer here, I have all of my lettering. And I'm going to start by making a new blank layer on top
of my lettering layer. I'm just going to
call this lettering so that the layer names
aren't confusing. So this is my new blank layer. And I'm going to tap it once
and click clipping mask. And you should see that it
immediately bumps over to the right and then
there's an arrow pointing down to the layer below it. That just means that
essentially everything I do in this new
blank layer will affect only the contents or the pixels on
the layer below it. So now if we choose a new color, let's choose something
really bold and vibrant. If we pick a new color and I tap this again the
blank layer and I say, fill layer, it will fill
the layer with pink, but the pink is only going to affect the lettering
on the layer below it. So do that again
with another color. Tap fill layer. Now you have easily changed all of the contents of that
layer, all of the lettering. So let's change this to white. Just like with black where
you can double tap over here. If you double tap
in this region, it's going to snap
to pure white. So I'll set it to pure
white and fill the layer. Now it's invisible because
my background is white. If I come over to my background, appropriate to change
your background color, you don't have to do fills. All you have to do is
tap the background, and then you can change
the color right in here. Let's zoom in. Okay. I could bring this to a on, which I have to
admit is probably my favorite color combination of all time especially
for flourished work. Look how nice that is. But you can have a
lot of fun here. You could do something
actually a bit lighter and make a more
ethereal looking design. Maybe a pale blue.
12. Discover More Learning Resources: Thank you so much
for following along. My sincere hope is that this class has
inspired you to get experimental with
your flourishing and even try out procreate
if you haven't already. Remember to check
out the resources guide that I've also
provided as a PDF, which includes links
to other classes, video lessons,
tutorials, blog posts, books, downloadable resources, all sorts of things to keep
you going with flourishing, various modern calligraphy
lettering styles, and even more procreate
learning resources. I invite you to share images of your work by tagging
me on Instagram. I love to see the
many creative ways that my students
interpret my lessons, and I really hope to hear
a little bit more about your experience doing this
particular technique.
 Molly Suber Thorpe, Calligrapher & Designer