Transcripts
1. Intro: As creatives, we often
put a lot of pressure on ourselves to create amazing
work all of the time. There's nothing wrong
with creating good work. Though what I've experienced, those periods of just
producing, producing, producing all of the time, I really missed creating
just for the fun of it. To loosening up, to release
the creative block, or maybe just to learn how to draw something in
a certain style. If this is you today, you have come to
the right class. In this fun and creative
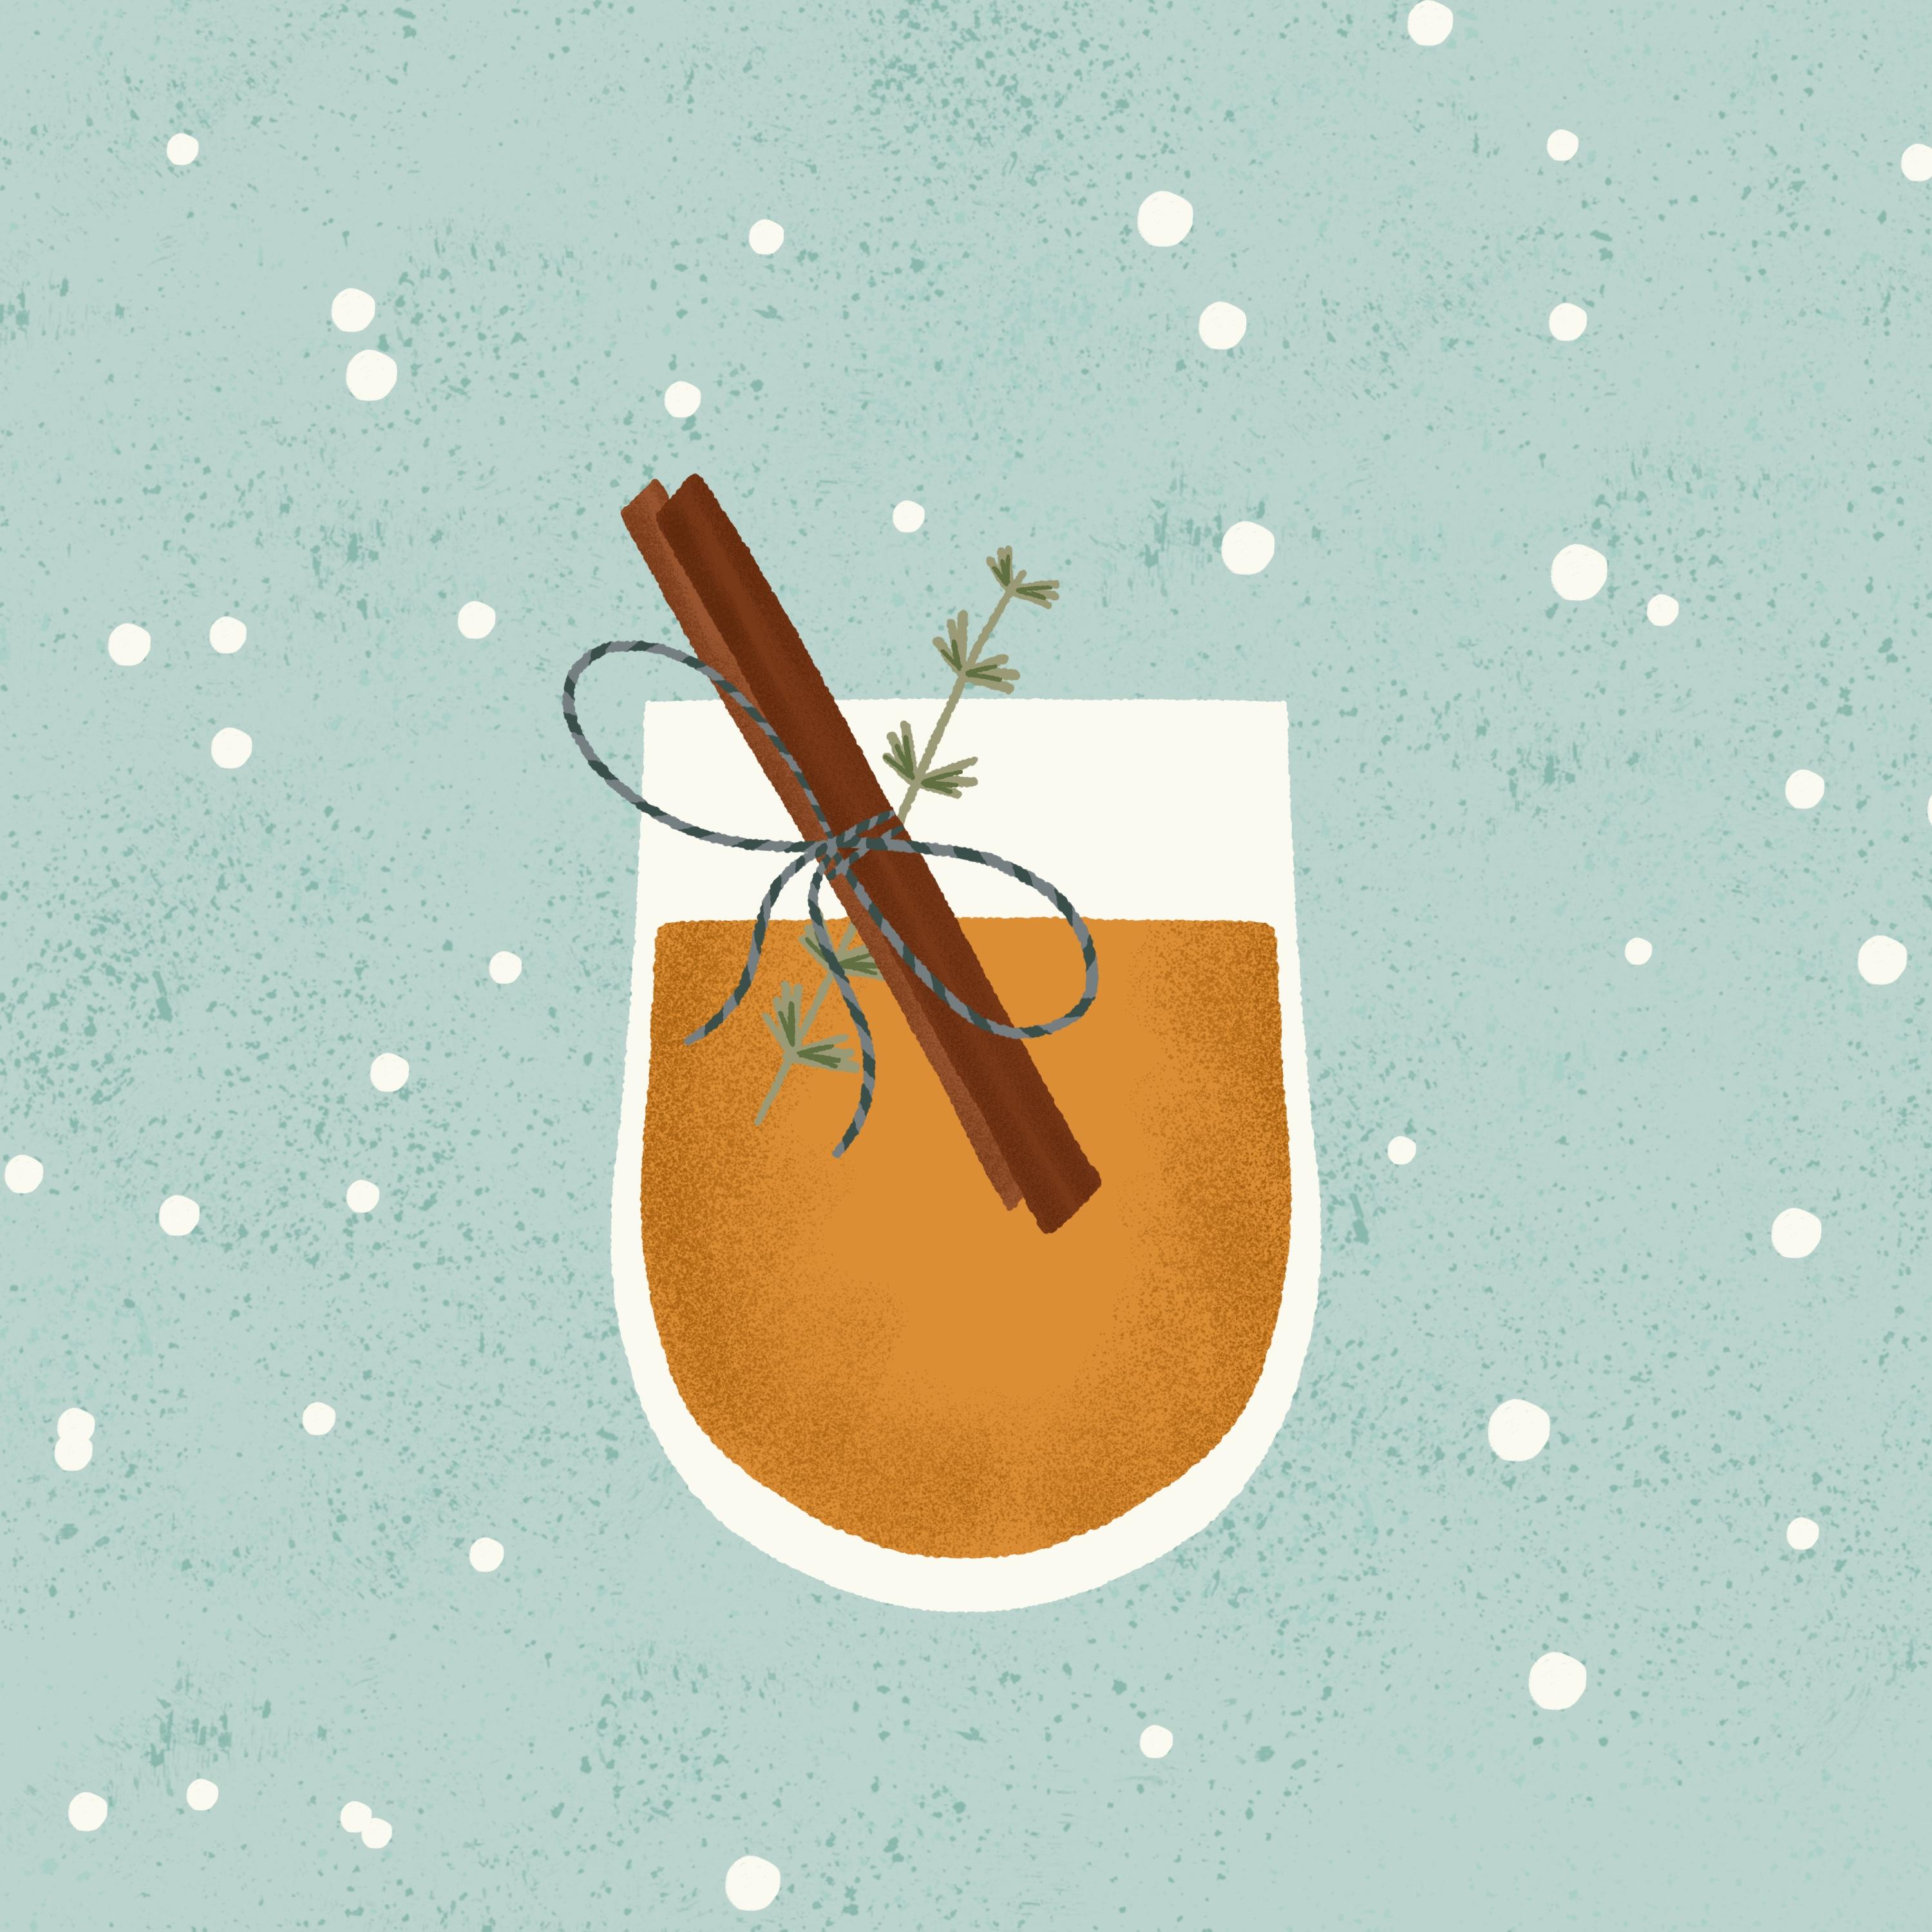
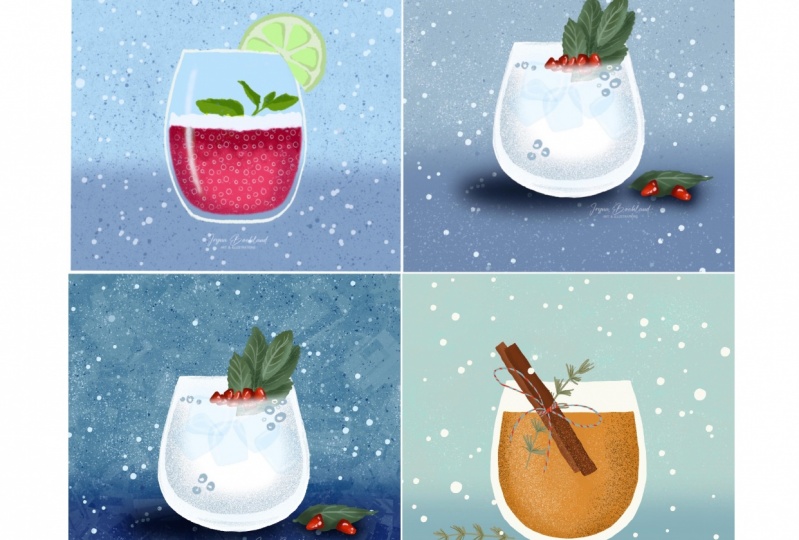
draw along class, I will teach you how to draw a minimalistic cocktail
illustration in Procreate. You'll get a bunch of free downloads in
class so that you can follow along and create the exact same illustration
as me, if you wish. I'm Maya Favorite,
a professional surface pattern designer
and illustrator, and during the years I've
created hundreds or probably even thousands of illustrations and patterns in Procreate. Together with my husband, I create and sell
premium Procreate brushes under our brand
name, Favorite company. In this class, you
will get four of our premium brushes for free, together with a perfect
earthy color palette to be used for our cocktail
illustrations in class. This is a beginner's
friendly class when it comes to the
drawing exercise, but you do however need to have some basic knowledge of Procreate to be able
to follow along.
2. Class Project: Your project in this
class is to create a minimalistic cocktail
illustration in Procreate. I've included free brushes and the color palette you can
download here in class so that you can follow
along and create the exact same illustration
as me if you wish. You can, of course, also
use your own colors and other brushes and draw a completely unique cocktail
illustration as well. It's your choice. Be sure to share your
project here in class, and if you share
it on Instagram, feel free to tag me
with @maja_faber. I would love to see
what you create.
3. Downloads: I've included a bunch of
fun freebies in this class. You will get four free
premium Procreate brushes made by me and my husband within our brand Faber company, and one Procreate color palette. The brushes included
are crunchy, a really nice
textured brush that is created for this class. This is an awesome brush
to add some subtle, but super nice texture
to your illustrations, grain stamp number 3, which is a brush
that is included in our green Procreate brush set available to buy at my
website, majafaber.com/shop. This is an amazing brush to add a little
bit of texture to, for example, background, which I will show you how
to do later on in class. Blubber, which is a
brush that I initially created for another one
on my schedule classes, and this brush has become one of my absolute favorite brushes
to use in Procreate. Last but not least, snowfall, a fun and simple brush that
I created that will give you a random dots pattern
to your illustrations, which is a great way of adding some interests to your
background for example. The color palette included in this class is called
cinnamon cocktail, and it's an earthy and
well-balanced color palette that will look amazing in our
cocktail illustrations. To download these freebies, click on the Project and
Resources tab here in class and download the file
that says Download Freebies, or you can go to the URL
that you see on screen now. If you have downloaded the files that says
Download Freebies, you will get this PDF. You tap here to download, and this will take you to a page where you will
write in your name, and your email address,
and tap Unlock. You will instantly
get directed to a Dropbox folder where you
can download your files, if you tap download up here
you will get a sit file, but if you want to download the files directly to Procreate, you tap the file, tap the little button
and tap Download. Hit "Download" again, and I will back up to download
the brush set as well, tap the little button
that says Download, tap "Download"
again, and download. Now we have downloads in the top right corner
of your browser. I'm using Safari here, so if you use another browser, it might look a little
bit different for you. When you have the
downloads here, you just tap the file, go back to your browser, and tap the second file. That would have brought you the Faber company free
number 5 brush set, at the top of your
brush library, and the color palette, cinnamon cocktail,
then most of the time, we'll end up at the bottom
of your color palettes. So you can just grab
that color palettes, swipe up with your
other hand to bring that pallet to the top
of your color palettes. When you download
these resources, you will automatically be
added to my email list, which is the best
place to be to get the news about my
free resources, tutorials and classes, and you can of course,
unsubscribe at anytime.
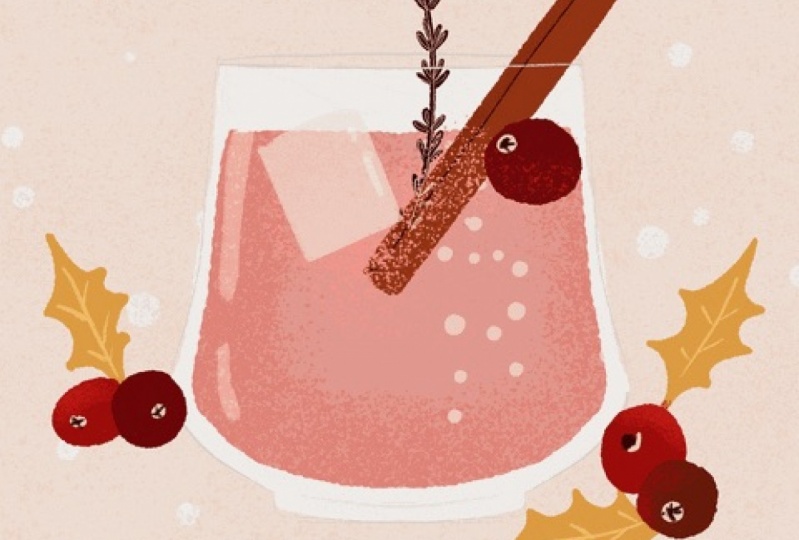
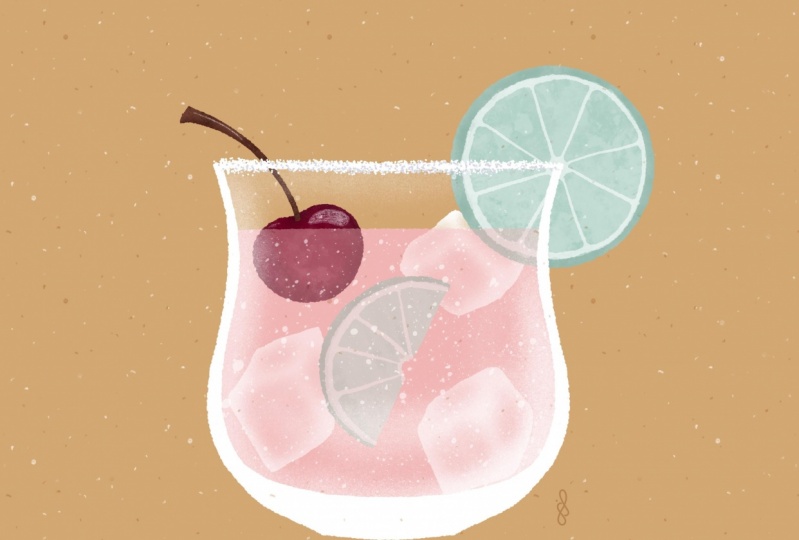
4. Inspiration: So first things first, let's find some inspiration
for our cocktails. In this class, we will use reference image to
draw our cocktails. I have gathered a
bunch of cocktails and drinks in a Pinterest board, that I will link to in the
description of this class. If you want to use any of these images
that I've gathered, I have saved some
images here that have some really nice details in
them because I think that if you want to draw a
drink in a minimal style, it might be nice with some details to add a little
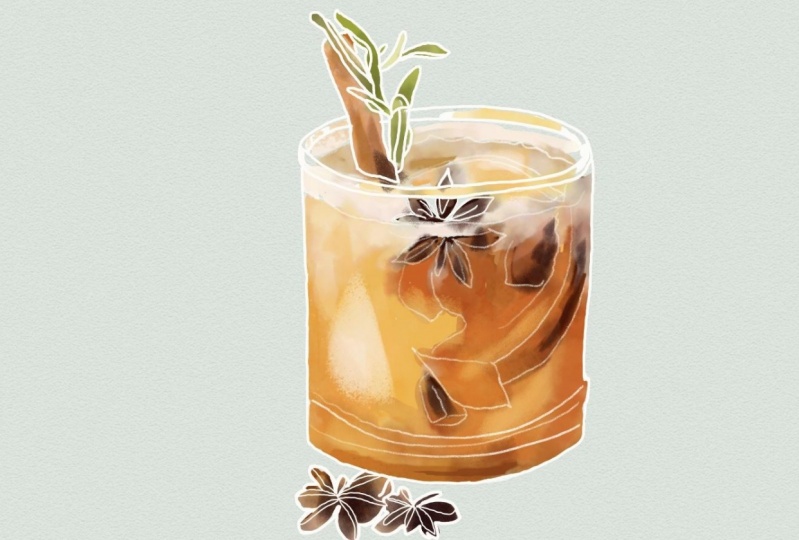
interest to your drawing. I have chosen to
go with this one, a Christmas-inspired
cinnamon drink, which suits me really
well at the moment, as it's closing in on Christmas
as I record this class. So if you want to use
the same image as me, you look this up in my cocktail and drinks
board on Pinterest, tap the three little dots
and tap "Download image". That will download the image to your image folder on your iPad.
5. Sketching: The first thing that we will do is to create a new
canvas in Procreate. Tap the plus sign in
the top right corner and the little folder symbol
that says New Canvas. I will go for a
3,000-pixel square here. That is for me a good
standard size with a 300 DPI. Hit "Create", and here
you have your canvas. The first thing that
we will do is to sketch up our cocktail. We will start by adding the photo with the
cinnamon cocktails. Tap Actions panel, "Add", and "Insert a Photo", and I will select the
cinnamon cocktail. I will just increase
the size a bit and tap the arrow to
place the image. Then I will tap
the Layers panel, the little N symbol,
and drag down the opacity a bit so that
I can still see the image, but at the same time be able
to sketch on top of it. Then I will tap the plus sign in the Layers
panel to add a new layer. I usually like to
sketch in black, so I will just tap "Classic", drag down the color to black, and I use the sketch brush 6B pencil for most of my
sketching in Procreate. Then I will just
start to sketch up this cocktail and I will try to simplify it as much as possible. The first thing that
we will do is to just draw the base shape of the drink with the rounded
corner of the glass, I like that part, and we'll keep
that bottom round. But I don't want to do these
three-dimensional things. I will just drag a line here to do a more of
a flat-style drawing. I think it will look
nice if the glass would go out a little
bit more at the bottom, so something like this will make it a little
bit more interesting. Let's try to simplify
this cinnamon thing here. I will just zoom in so you
can see that here we have some one shape of the cinnamon, so simplifying that
quite a lot is like a roll of a cinnamon stick. Then I will simplify the other part of the
cinnamon stick as well, that goes beneath the first one. Something like that. To not get confused, I will just erase the parts of my sketch that is at the
background, something like that. I definitely want to
have this little detail of the little, probably herb thing here. Maybe I want it a little bit more straight,
something like that, and just adding
some greens here. As you can see, I'm simplifying
the shapes quite a lot. That is the style that
we're after here. We want to do a
minimalistic drawing. That looks pretty good to me. I definitely want to add this cute little
lace with the bow. I will just try to add the bow. Something like that maybe, and a little thing
that goes down. I want it to look like it is around the cinnamon
sticks somehow, so maybe something like that. That looks pretty good to me. Let's have a look at our image and turn off the visibility
of our sketch layer. I think to simplify this, I don't want to add this
apple or the fruit here. For me, it's enough with these
tiny details here to make the minimalistic
style interesting but still really simple. Let's see if there is something else that
we want to sketch up. I think that we might
want to sketch where the drink is in the glass, so maybe somewhere around here, it's a pretty filled glass. We will add the shape of the fluid in this
glass like this, and we will draw this
with color later on. That is the sketch of where we will place the
fluid in the glass. That looks pretty good to me. Turn off the visibility
of the image layer. That looks pretty cool. As you can see, we have sketched up our cocktail from
a reference photo, but it still is a lot more
simplified than the photo. We have removed a bunch
of details to keep it as minimalistic as possible but still keep some interest
in the illustration.
6. Color Palette: Before we start with
coloring our illustration, I wanted to show you how the color palette that
is included in class, cinnamon cocktail is made. This color palette is
inspired by this image. It's inspired by Earthly, pumpkin spice colors and something that looks a
little bit Christmasy. So you have these
really soft browns and the earthy, beige colors, and you have the greens here, like the forest green and
a darker forest green. So I have just fetched
different colors from this image to include as a color palette
that we will use. That way, the sketch, the objects that we draw are inspired by the
image and also the feeling in the color and the mood of the image
with the colors. So this is exactly how I have created the cinnamon
cocktail color palette. You can use the exact same
color palette as me in class.
7. Draw it Flat: Now the fun begins. We will start to add colors
to this illustration. First things first. Let's just remove that
color with the color blobs, and now just untap the
layer of the image and tap the layer of my sketch so
that I can see my sketch. The first thing that
we will do when we add color to this
illustration is to add a background color and that is because we want to draw the shape of the glass
in a cream white color, and to be able to see
that white color, we want the background color. We will just tap the Layers
panel, tap the background. I will use this ice blue
color as the background. Later on in class, we will also add some nice texture
to this background. But for now let's
just keep it flat, and as I want to have the winter Christmas feeling
of this illustration, I think it will look good
with this ice blue color to the more pumpkin brown
spice, brownish colors. After we have created
a background, let's tap the Layers panel and tap the plus sign
to add a new layer, and now select the
cream white color and the blubber brush. The first thing that
we will do is to draw this shape with
the symmetry tool, so that's a really good
technique to make it look easy on the eye because
our eyes likes symmetry, and it's also a good way to keep this shape symmetrical,
of course. Let's turn on the symmetry tool by tapping the Actions panel, Drawing Guide, Edit Drawing
guide, and symmetry. Here you can tap
Options and you have the options to use
a vertical guide, horizontal guide, quadrant
guide, or radial guide. But for this purpose, we will use the vertical guide, and I want to keep
it in the middle of my art board so I
will just tap down, and now we can start to
draw our glass shape. With this layer
selected and it should say Assisted on your
layer drawing assist, that means that
the drawing guide is activated on that layer, and with your blubber brush and the cream white from
the color palette, we will use a brush size of somewhere around
six or seven percent, and we will draw the
shape of the glass. You can zoom in and
make sure that you get a good meet up when you
have the symmetry tool. That your lines meet up in
the bottom in a good way. For the top, I will
draw a line and tap and hold to make that
line perfectly straight. Let's see how that looks. It looks pretty good. But I think that I still want to keep it
a little bit higher, so I will just drag up this line and make a new line, tap and hold to make it perfectly straight
and then let go. Then I will just drag in the colors because the blubber
brush is a solid brush, so I can just tap and drag
the colors to the shape, and then let's see how that looks and that
looks pretty good. What I want to do next
is to tap and drag the sketch layer above
the colored layer, and that is just so that
I can see my sketch. You could also drag
down the opacity of the sketch layer so that it's
not in the way too much, so I would just drag it down to about 40 percent by tapping the end symbol and
dragging down the opacity. Here you can see
that your sketch is a little bit off when you
use the symmetry tool, or at least for me it is, so I will just tap my sketch
layer, tap the arrow, and use free form to adjust
the sketch so that it has the same shape as my
colored cream white object. Next, let's add a new layer on top of the cream
white glass layer, and I also want this layer
to be assisted so you can just use the same drawing
assist by tapping the layer, tap ''Drawing Assist,''
and this layer will be assisted as well
with the symmetry tool. For this layer, I want
to add the beverage, the cinnamon cocktail
in the glass, and I want to use this kind of pumpkin orange color and also the blubber
brush, and let's see. Let's start with
the straight line. Tap and drag to make
that line straight, and I want to make sure that
I keep a part of the white outside of my line so that it
looks like it's the glass, and I will just fill it in by tapping and
dragging the color. Turn off the sketch layer
to see how that looks. That looks pretty good to me. Maybe we have something
strange going on down here, so I will just tap
the layer with the white and if I tap and
hold the razor tool, that means that I
will erase with the same brush as I draw
with the blubber brush, so I can just fix this little top shape in
the bottom of my glass. Great. Now we have the glass and the beverage
inside of the glass. Let's continue with
the next flat object and now I think I can turn off the Drawing
Guide because I don't want the symmetry tool
to be activated anymore, and I can actually turn off the assisted drawing on those
two layers as well. Next step, turn on
the sketch layer. Again, tap the plus
sign to add a new layer and let's add the
cinnamon stick, so we will go for
the medium brown and the blubber brush and
I will use that for the bottom part of
the cinnamon stick. This part and I will
just drag in that shape. Now, I don't want it to be perfectly symmetrical anymore, and it doesn't need to
be straight either, so I would just draw freehand here and tap and drag
to add the color. I think I would just
drag down the opacity on my sketch a bit because it is a little bit
on the [inaudible]. Tap that layer, tap the N symbol and drag
down the opacity, and now I have my cinnamon. Half of my cinnamon stick on one layer and the other half of my cinnamon stick I want to have in a darker brown color, so tap the plus sign to
add a new layer on top. Make sure you have the
blubber brush selected and add the other part
of your cinnamon stick. Something like that
and then tap and drag, so that looks pretty cool. If we turn off the sketch layer, maybe it was little bit
too straight over here, so I'll just add a
little bit there. Great. Next step, we will add the little branch or
whatever we call it, the herb at the bottom
of the cinnamon stick, so tap to add a new
layer and make sure it's at the bottom of
your cinnamon sticks. For this one, I will also use the blubber brush and the light green color
in the color palette, and let's see if
we can use this. Maybe we will drag down
the size a little bit, to four percent and draw in this little herb. I would just add
these little swashes here to simplify this
little branch of herb, if that is how you
say it, like that. Turn off the sketch layer and there you have
that little piece. Great. Now let's add the
last thing, the bow. Tap to add a new
layer and for this, let's use the light blue color with the blubber brush and I
will just draw in this bow, with the little lace
going down there, and I want it to look like this is going around the
cinnamon sticks, so I want to add some lines here so that it looks like
it's wrapped around. How does this look? Turn off the sketch
layer and let's have a look at our flat drawing. Now, we actually
have added all of the pieces of our drawing, but they are flat, so we will add a little bit
more interest to this in the next lesson by adding
some details and texture.
8. Texture and Details: Next up is to add some texture and details to this
illustration to make this minimalistic type of illustration a bit
more interesting. We will do that with
our amazing brushes. Let's start by adding
some details to this small cinnamon
stick and the branch and odor herb and the
bow and all of that. Let's start with the
little herb thing. Tap to add a new layer on top of that layer and we don't need a clipping mask
or anything for this, we will just select the darker for the screen color and use the blower
brush for this as well and drag down
the size a bit maybe just two
percent and we will just add some details here with a darker green and
the blower brush to add a little bit of
depth to this herb. Now let's go on and
select the cinnamon. Tap to add a new
layer on top of this. Here, I want to use a clipping
mask to make sure that I don't draw outside
of that layer. Let me show you the difference. If I select that one
and I will just go a little bit darker
with the color that I have on the cinnamon
stick and if I would use the crunch brush and add some texture and not
have the clipping mask, I will add it outside
of this object. But as soon as I
tap Clipping Mask, you won't see anything that I have drawn outside
of the object. That looks pretty cool actually. Let's keep it like
that and I will just use the crunchy brush here is an amazing brush to add
some texture and also shadow. Oops. Add the
clipping mask again, I accidentally undo the thing on that layer and I will just
add some texture here, so something like that. Then I will tap to
add a new layer on top of the other
part of the cinnamon, add clipping mask and
fit that brown color. Drag down so that I will get a little bit of
a darker color here. I use the crunch brush again to just add a little bit
of shading but at the same time just really settle texture to this cinnamon stick. Make it look a little bit
more three-dimensional but at the same time not like advanced shading just adding
a little bit of texture. That looks pretty cool. Now we will continue with
the liaise with the bow, so tap Add New Layer
on top of this, tap Clipping Mask, and I will go for the
darker blue-greenish color, the dust blue color and I
will use the blower brush here to make it look
like it's striped lace. I will just drag up
the size on that a bit to where am I? Five percent. Add a little bit of lines here
so that it looks stripped. I think you know
how a striped lace look so that is the look
that I'm after here. It doesn't need to be that
really detailed work you can just add a little bit
of stripe here and there and not think
about it too much. This will look amazing
when we zoom out. I'm just adding a
little bit of stripes. There you have it. It looks really cool like that I think. Let's add the last
piece of texture on the glass and the
cocktail in itself. Tap the layer with the beverage, the orange layer, tap to add
a new layer on top of it. Here I will also add a
clipping mask and I will tap to select that color and
go a little bit darker. Use the crunch brush
again and let's see what size of the crunchy
brush we want here. I want large crunches or gritty texture on this drink
so I will go for something like 25 or 30 percent and I
will just add a little bit of texture to the
outside of this drink and then I will go
a little bit darker again and just add to the outer parts a
little bit darker. Then you can just go over and choose yourself how much
texture you want to add. I just want a little
bit of texture because that is what I think
will look good. Then you can just
go over and add as much texture as you want
with this crunchy brush. As you can see it gives this dotty gritty
look and I think it's a great brush to use
to add a little bit of texture to your
minimalistic drawings. Personally, I don't like
adding too much texture but a little bit looks
really interesting I think. There we have it, we
have added texture to the whole cocktail. Now we will add some texture to the background so let's head
over to the next lesson.
9. Background: Let's add the last part of this awesome cocktail
illustration and that is the background. To add a little bit of interests to the
background as well, we will add some texture, to do that we will add a layer on top of the
background layer. I'll actually add it on top
of the image layer so tap the plus sign to add a new layer at the bottom of all of
your drink layer. Then I will select the blue
color in the background, tap and hold to select
and I will just drag down the color a little bit darker and a little bit more saturated, so a little bit to
the right and down. For this, we use the grain
stamp number 3, and let's see what will happen if
we use the maximum size. That looks pretty good but I don't think that you
can see that on screen so I will just add a little bit more dark and saturation in the colors so you will
be able to see it on screen and add some texture
with the stamp brush. With just a few taps
with the stamp brush, you will get this
awesome texture in your background and I'm actually satisfied with that
as the grain stamp. Now, we will add a new layer on top of that to try to
add a little bit of snowfall to make it a
little bit more wintery as I'm drawing this kind
of winter cocktail. Tap the color palette and
the cream white the same we used on the glass
and then I will use the snowfall brush and
let's see where we are. Let's try to use it at 20 percent and that's a little bit too
small for my taste, so let's try it at 50 percent, that's a little bit
too big, let's go for somewhere around
35 or 40 percent. This brush is random and
that is what I think is fun with it so if you
just tap and drag, you will get a lot of snowfall and that's
a little bit too much but if you just
tap here and there, you'll get these random dots that I think looks really cool. If you feel that some dots are too misplaced or like this, or maybe too big, you can just go in
and erase that part so I'll just tap
the erase tool and I don't want any of the
dots to be on my object. Here we have a double one, I don't like that
so then I will just tap a little bit more
to add some more. I really like this random look, I think it brings a
lot of interest to this drawing and the
snowfall brush also give this really winter feeling to this cinnamon cocktail and that actually is
all there is to it. Now we have created
our cinnamon cocktail with the texture added
subtle but really nice and we also added the
texture to the background and added some snowfall with
the snowfall brush.
10. Export: That's it. Now we have created
our full illustration. By just adding a few
details with texture, we have gone from
this flat look to this much more interesting
textured illustration, and the background
texture added too. Now, all there is to export this illustration to be able to share it as a project
here in class. To do that, tap the actions
panel "Share" JPEG. You can just select where
you want to save your JPEG. I will just save it as an image. Then you have got it
to your image app. There you have your
finished illustration.
11. Thank You: That's all for this class. I hope that you had a
fun creative exercise drawing this minimal cocktail
illustration with me. Thank you so much for watching. If you liked this class, you can hit the follow
button by my name to make sure that you don't miss
out on my future classes. If you have any questions
at all about this class, please ask them on the
discussions page and feel free to leave a review to let me know if you
enjoyed this class. I would love to
hear your thoughts. Make sure you share your
project here in class. If you post it on Instagram, feel free to tag me
with @maja_faber. Thanks again for watching.
 Maja Faber, Surface Pattern Designer