Transcripts
1. INTRO: Welcome To The Class!: Hi there and welcome to this
Holly shorter, sweet class. I'm gonna start
with a confession. I am terrible when it
comes to concision. I get so excited about
sharing things and creating art relaxation
videos that I forget some terms that all we need is a short little
painting section, especially when we're warming up for exploring new techniques. And it's also more
accessible for those of you who are also dealing with chronic illness or
disease immunity. Now, you know how I love to use materials in a way which is slightly different
from the norm. Well, one evening when I was
an experimental Holly mode, I grabbed my gel
medium and I thought I'd see how it behaved when creating layers like you would
when using masking fluid. Now of course, the
gel medium stays put, whereas masking fluid is lifted. But it's a similar process. But you don't get the messy bits at the
end of the gel medium. So I immediately thought of you could not wait to develop
this week class view. We're going to be doing a very, very simple technique
which as always good to really beautiful,
interesting results. Look this technique
because I have developed this class
as a kind of a taster. Then if you really love it, perhaps we could do a
more detailed class together further down the line.
2. Materials : If we look at what we'll
need for this class, I'm going to start out
with a matte medium, and we definitely need
that for this class. I do try to choose materials
that you already have in. But we definitely need this for this class because it's
such a unique technique. For those of you who aren't
familiar with that medium. It's usually used with acrylic paints and
people use it to prepare services mixed with
our paints or seal paintings. But you can also
use it as a glue. And I've seen a lot
of people using it with decor and collages. Now, paper, this is really important because it's not about the quality for
this class at all. It's about the surface. Now this is actually
one that I did very quickly earlier just to demonstrate that normal
copy paper will work. It gets a little buckles, But I'm quite pleased
with that result. Very surprised. We're looking for
any smooth surface to paper that you have. Now, for the first
part of the class, I used Fabriano hot pressed, which is my favorite. This class will do
really well with any hot press paper
that you have. Also worked really well in
the mole skin sketchbook, which is the watercolor on. I tried it with
cold press paper, with cold press sketchbook,
watercolor paper. It didn't do very well. But I did try it
with Arches cold pressed and it came
up reasonably well, but I would suggest going for the smooth
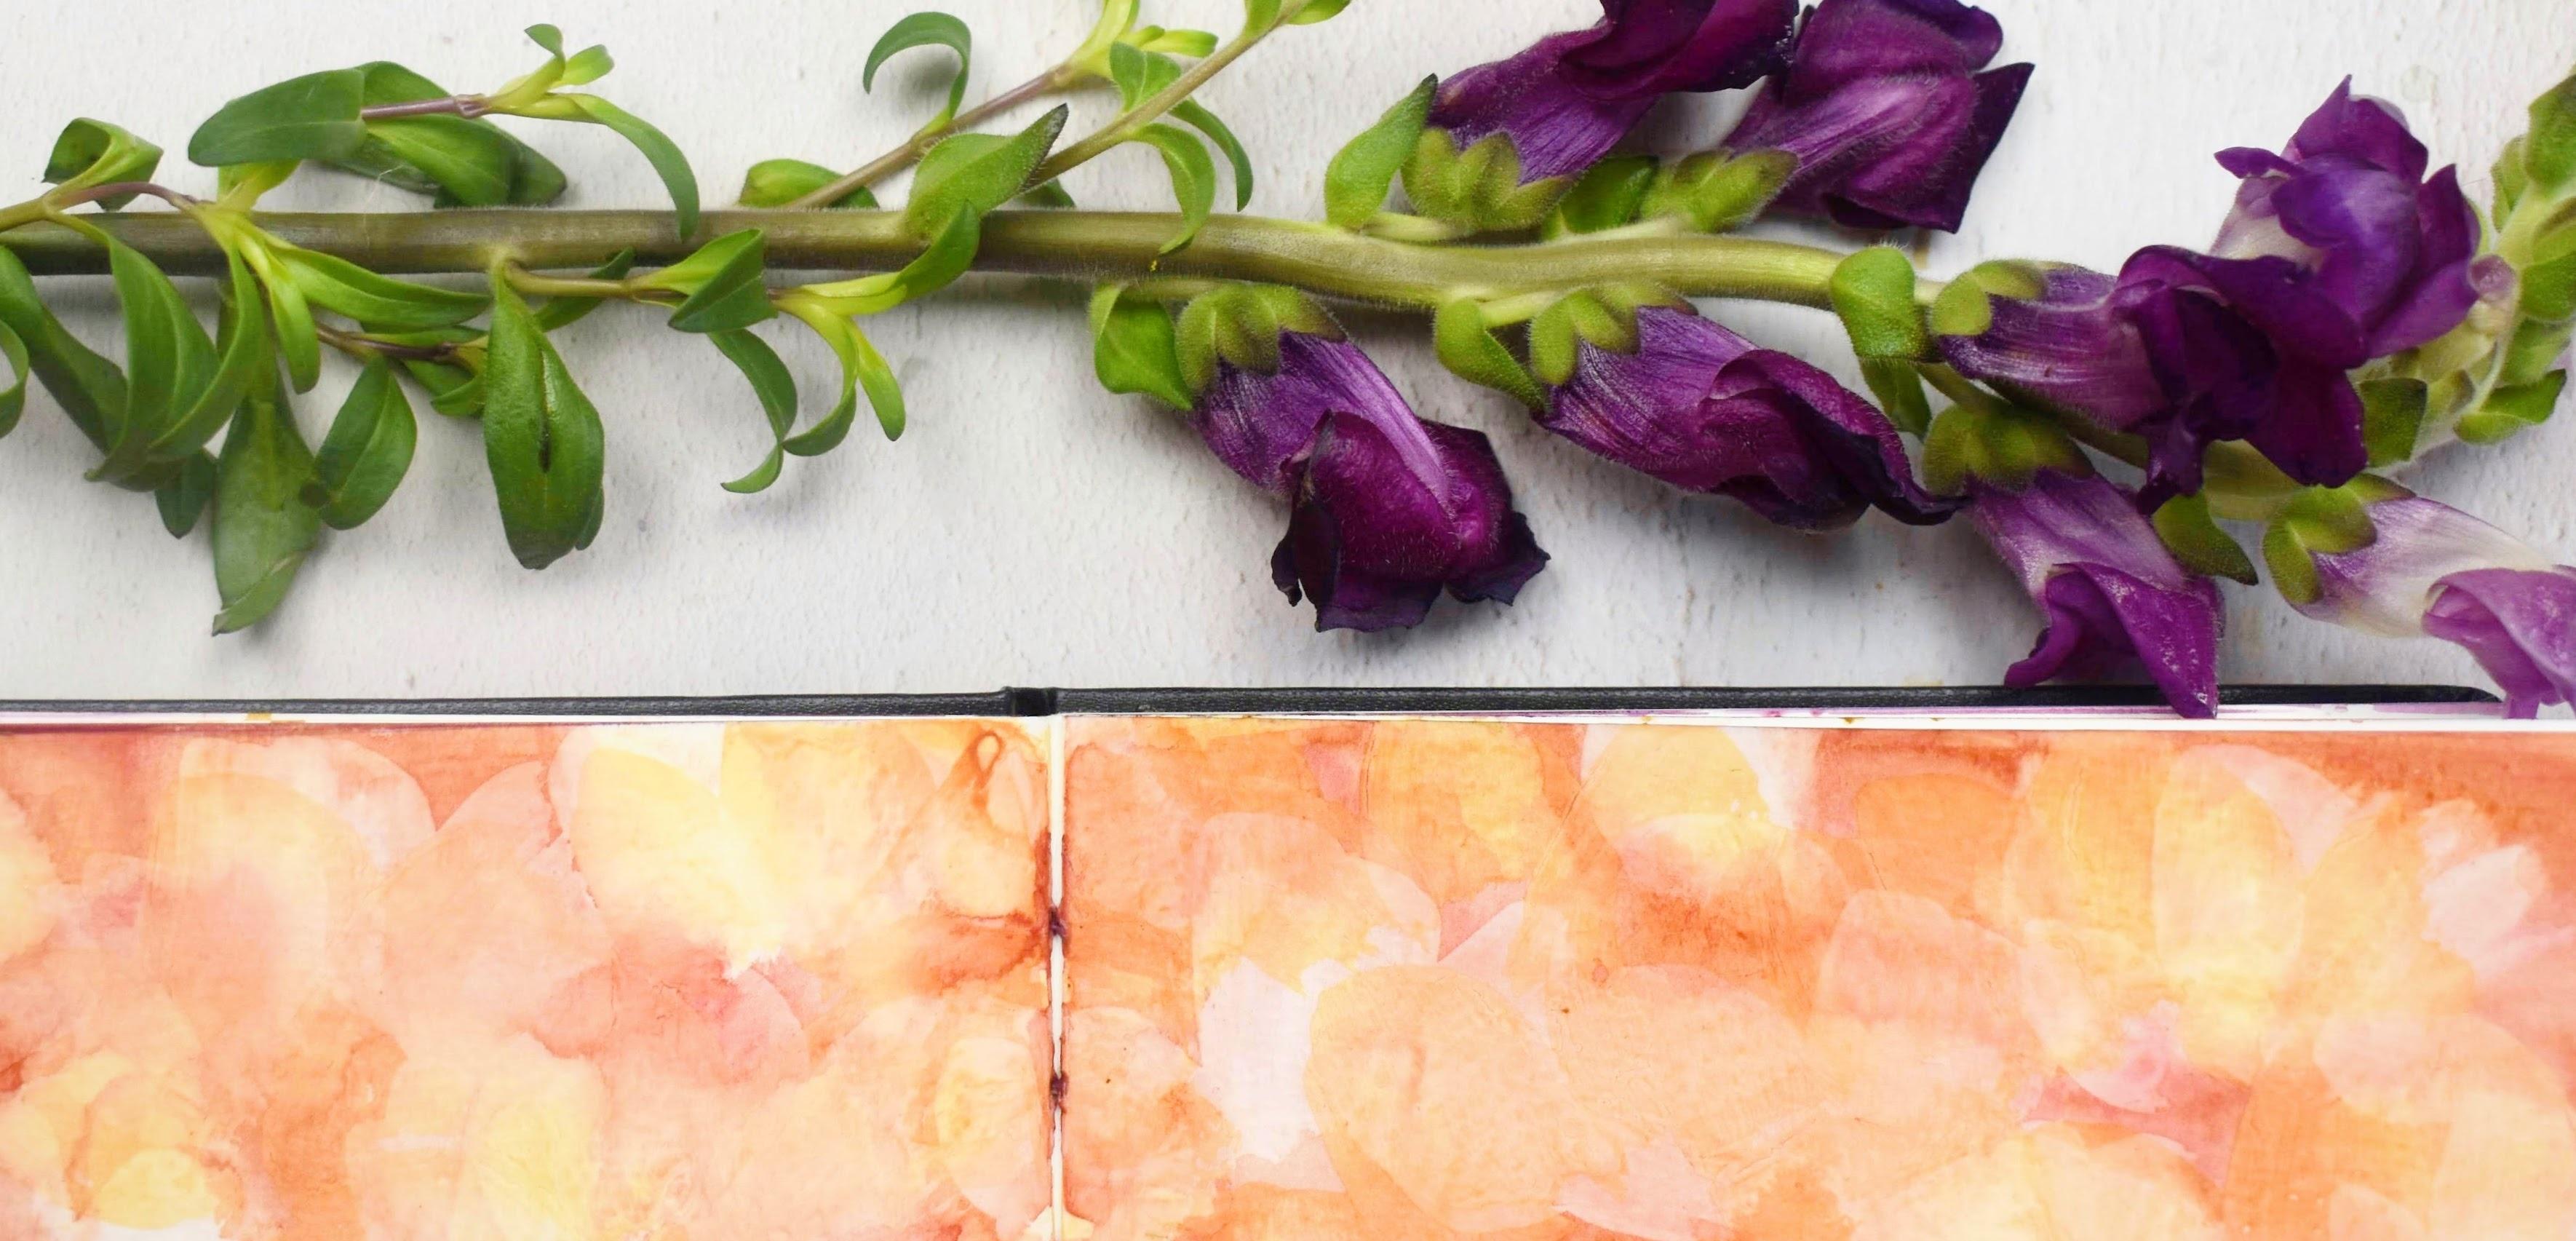
surface if he can. Move on to paints. I've kept the palate
pretty simple. Any pink that you have all read, any purple and then a yellow. And I just use a little bit
of brown burnt umber here, the mixed, but you
don't really need that. I used quinacridone, lilac, dioxazine, purple,
cadmium yellow. But anything that's close to
those colors would be great. To finish with. I just choose. Well, I could have actually
gotten away with one brush, but I use my S gotta size ten, which is around brush for the first part with
a hot press paper. I use this really
inexpensive brush, the Omega size 12
for the sketchbook. The only other brush
I needed really was something to draw the
wash over and that media. And I use this flat brush. Let's move on now to
the first part of this class using the
hot press paper.
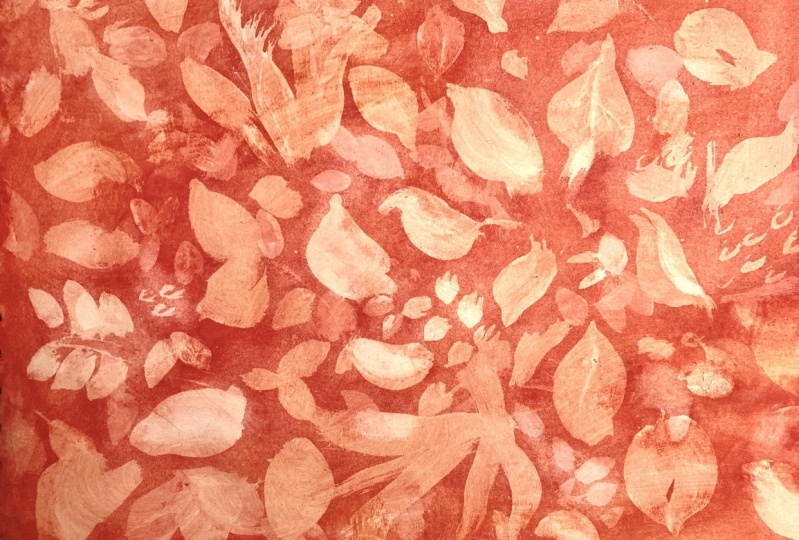
3. Practising Matte Medium Layers & watercolour wash - Hot Pressed Paper: This is the Fabriano
hot pressed block. I'm using the dioxazine purple. Going to put a little bit
about good to mix it. I'm hoping for here. Is the magenta. Going to add a little
bit of purple to the Quinn lie luck to me. More like pink. So I do use it as a pink, quite as much more
than the red side. Just gonna add some water
to them because we're going to want a nice
In wash to start with. And then we'll go in with a
deeper color for the next. I'm just going to get
some off cuts here. Put some within that media are some color to it just
so that you can pick up. When I put this downloads page. And otherwise it's just clear on white and it's
really hard to pick up. I'm going to get some
of them at median. I don't want too much
on my brush just because it creates
too many ridges. It's really hard to dry. It takes a lot longer and
I'm very, very impatient, so I just wanted to have a fairly even application
of the matte medium. I'm just going to do
some, some leaves. Now. That first layer, quitting the first wash. The word sit down with
a dioxazine purple. Just this first
layer on its own is really pretty and you might
want to just stop there. Let's do a second layer so it puts them new map
made him down too, so that it's nice and clear. We're going to do another
layer on top of ethics. They seize them dry. And I'm putting the medium,
the dry watercolor. I'll just same shapes. Some of the maybe picking up areas where the first
layer left room. That little pink key areas. A lift this up to the light. You can see that second
layer of the media will just go on and fill this completely with
that second layer. I also like sprinkler. So droid this thoroughly
now an undercount stressing off because
I've done this so often. Whether little bubbles,
they're not quite dried. I've gone in and done the
option Titan off the top. It's so easily done. So make sure that all of them at medium is
really, really super. Try just going to mix up a tiny bit more paint
because I want this to be quite a thick layer so that
we can see the contrast. This is where the
magic occurs because even as we pull this over, you can start to see the
two layers coming through. This color is as
gorgeous as well as just making sure that
that's completely covered. It. See how the layers come through. You might be quite
happy to stop there, just let that dry. We can go on to do the reveal. This is kind of a gentle one. You can see that often some
darker ones there earlier. Just choosing my petals and wiping gently that
watercolor layer, which is lying on top
it with remote media. Depending on how much
water you have on your cloth and how
much you wipe away. Effects how white or pink
**** wiping it right back. We'll take it back to
the white of the page. But you can also do like a
gentle white PO for a petal, leaving some of the watercolor
still in Situ so that it gets a slightly textured result. What's revealed at this stage, as well as the brushstrokes
that we will put down. Putting these two layers, Dan, I'm just having a look. It's much more needs to be
quite subtle difference. You can take the whole
thing and just wipe thing, but we do risk taking up some of the
watercolor on the page. I want to keep that deep
pink in the background. I think I'm gonna
leave it there. I'm really pleased with that.
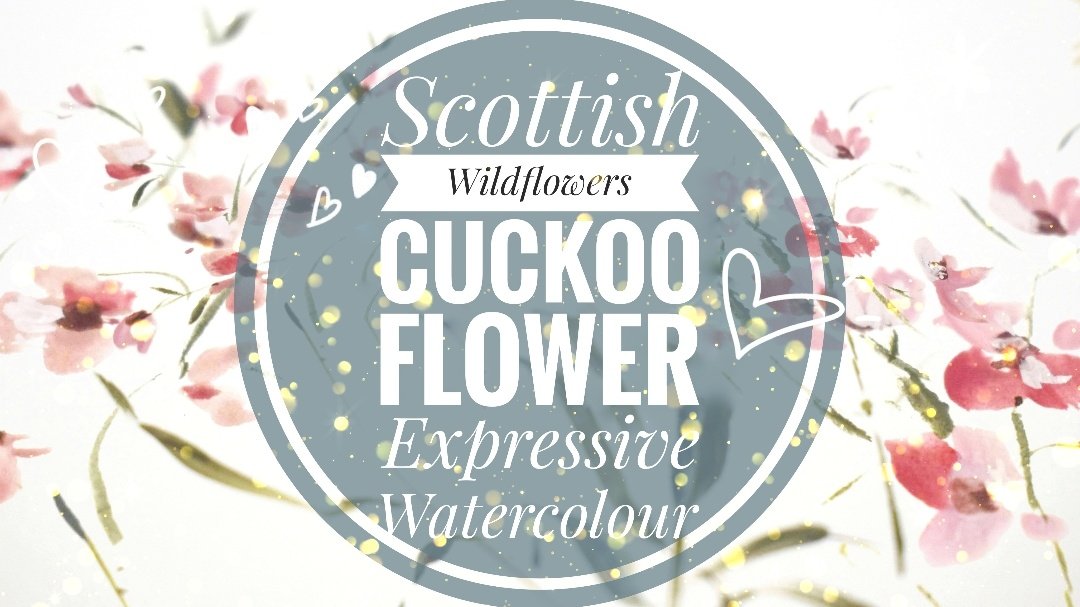
4. Matte Medium Layers & Wash In Our Sketchbooks: Starting out with
some Quinn lilac, which is one of my
favorites at the moment. Any allylic pink, red, whatever you fancy him, I want to mix enough
for the wash. I am also going to put
in some cadmium yellow. I just wanted to mix
a nice deep orange. I'm going to add
a little bit off, but the burnt umber, quite know, tubes watering down. I've done this in a big palette. I've got room to experiment. I'm just going to let these
all flowing together a bit. I feel a bit more Indiana, something like that.
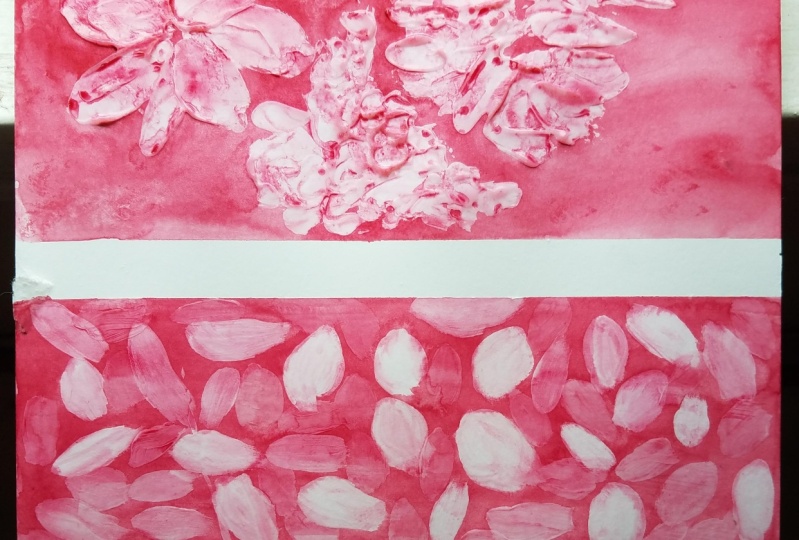
6. Bonus Lesson! :O): So we couldn't start out
by wetting our brush, taking the excess water off. And then we're going to
just scoop up some of this matt medium and use it
as you would masking fluid. But what we're doing is just creating lots of
luscious layers. I don't want too many of
these lines of the medium. I don't want it to
raised from the paper, because from what I've gathered, from my little experimentations, it's easy to just
take the top of that and it exposes the
white paper underneath. We want texture, but we
don't want it too thickly on unless it's something that
you really want to go for. In which case I would
say leave it overnight so that the map medium
is completely dry. But because I'm eager to get on, I fairly impatient sometimes
when I'm trying things out. All right, that's
the first layer. I don't want to have too much of the paper peeking through. I quite like all of the layers
that the medium creates. I'm going to dry that
and then we'll do our first per layer. And that's looking good. I'm going to use some
of that magenta mix and I'm just going to put like a paler wash of
this over the top. You can see already at this
stage how beautiful it is. You can take your time doing this because it's so relaxing. Not too much water in your water color to get
a nice good color there. We don't want it
to overpower it. That's our first pale air layer. Then we're going to dry that and put another layer of
matt medium on top. This is how quick
a process it is. Oh, I'm going over the layer under there. I really want to build up
lots of brush strokes, lots of layers doing it quickly. I'm not worried about whether it looks like a petal
flower or leaf. Just doing shapes. I want them overlapping
quite a lot. You might need to hold it up to the light to see
where you're at. Where a warn again,
is just to take any of those excess bits that look a little bit
like they're pooling because they take ages to dry, there's that risk of just
lifting the top off them. Right? That's my next layer. I'm rinsing off my brush
straight away after I've used them a medium just
to protect my brush, I'm going to dry that layer. Okay, so that's that
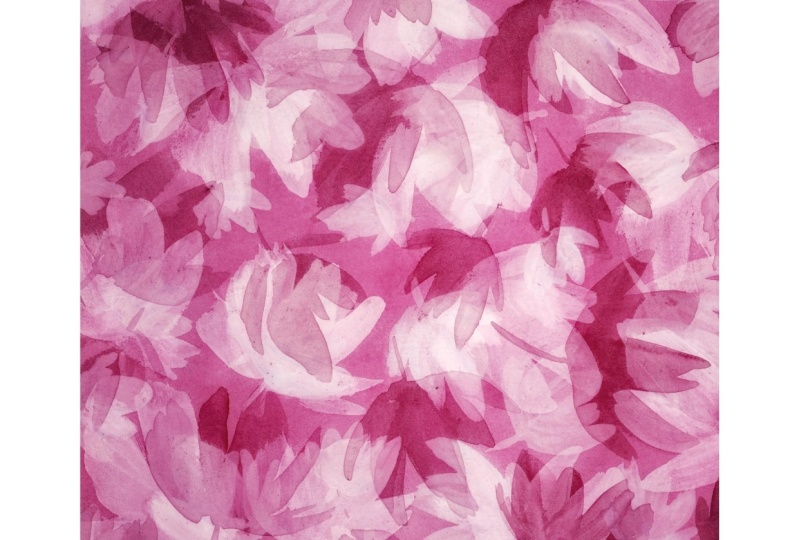
thoroughly dried. We're now going
to just pull over a really rich top layer. This is that mix of Alizarin
crimson and dioxazine purple and we've got that magenta thing going
on there. Gorgeous. And you can take your time over this layer
too, if you like. Because it's so restful to
do things stop to pop out. And you can start to
see all the layers, all the brush strokes
overlapping each other. Just as it is, it is gorgeous. So you might decide that you love this so much that you just want to
stop at this stage. And who would blame you
because it's gorgeous. This photograph so well what's happening there
is the map medium is working like a resist, But it's such an
efficient resist because you can go
over and over and over it and you've only got tiny bits of the original
paper poking through. It means you can go
back in and change things as well if you're
not happy with something. Let me just show you what the further technique
is I absolutely adore, which is starting to lift some of the paint
off these petals. Now the water color
is still wet. But you can let it dry and
come back another day and do this because it still
wipes off because of course, we've still got that
matt medium underneath. Isn't that just like magic, you might not want to
lift all of your petals, but you can see the
outline of the petals. And you can just start to go in and gently lift with the
clean water on a clean cloth. This also is very restful to do. You'll see the two layers
coming out, some are paler. You've got that layer which
is slightly darker that holds on to some of the water
color, for example. This is a background color that's quite nice
just to bring out this one here as well. Right, Let me show you
if you have lifted a petal like this
and you're not happy with it being as pale as that. You can correct it
because we've got this lovely layer of
the medium underneath. You can actually
lay color back on top of there if you want. This is the beauty
of this technique. Dab a little bit
off if you want. Just get that, a little
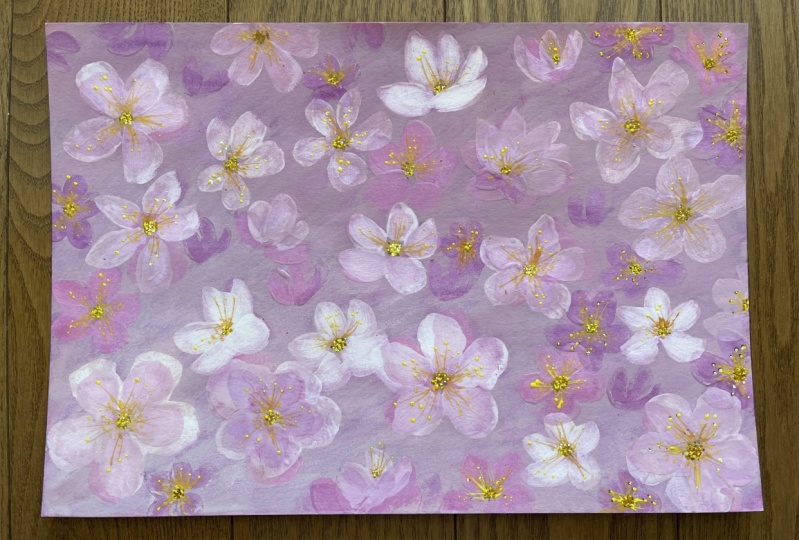
brush technique going. I hope you enjoy this
as much as I've enjoyed developing it
because I can see me doing this add in fan item. I certainly would do it as
a little card for somebody. But I'm going to
be doing this on a larger scale for
designs for industry too. I have not seen this
technique used anywhere else. It was pure luck really, that my brain somehow fired off two synapses and
saw the ma medium, saw some water color, and thought, what if it's those
moments that we live for, isn't it just love the discovery that
can happen with art? I love all of that,
the experimentation. I really hope that this is
as restful as it was for me.
 Holly Tomas Art, Watercolour | Gouache | Mixed Media