Transcripts
1. Intro: Let's come everyone to
this exciting journey. We are diving into the world of trending Social media videos. We learn how to create these captivating
Zoom Out Effect using Midjourney
and After Effects. Are you ready to create eye-catching videos
that is stamped out on every platform
in less than 10 min. Alright, let's get started.
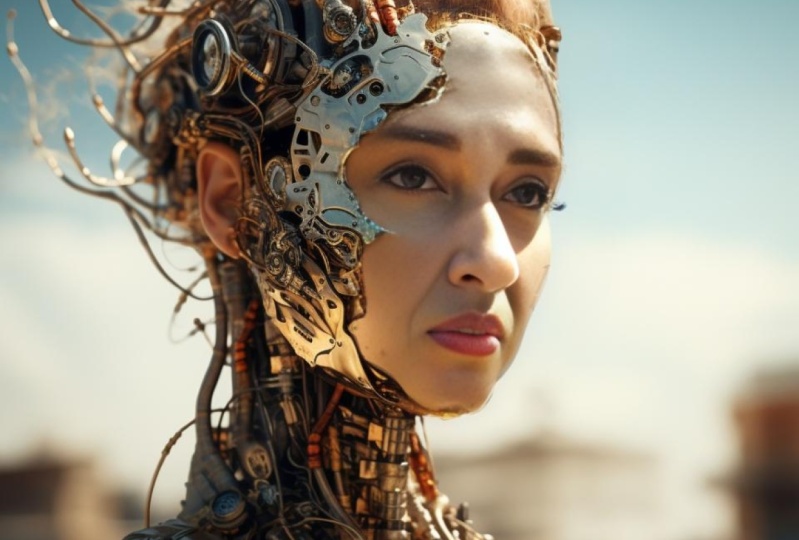
2. Creating Storytelling Zoom Out Photos: Alright, let's create the
Zoom Out Effect Animation with Midjourney
and After Effects. The first thing is,
I'm gonna go to meet your name and slash setting. If I press slash forward and go to settings
and press enter, I'm just going to
something like this. Now, I'm just going to
use the latest version, which right now is five-prime to stylize high public mode, remix, not high variation
mode and fast mode. So make sure you're
on the same page. Alright, The first problem
is beautiful girl with head, face, extreme close-up dash, dash eight or nine by 16, which is gonna be their size at the reals or shorts in
YouTube and Instagram. I'm just going to show you here. So this is what I
did, beautiful. And it's simple. You just want to
dislodge forward into and paste it and inter, and you're gonna get
something like this. So I like number three and
I'm just going to upscale it. If you obstacle, it will
get something like this. So if I press U3, which is this one, I'm
gonna go to this page. If I click on Custom Zoom,
I will get a pop-up. Beautiful girl with the hat, the same thing now
before beautiful girl, I'm just going to
add train station. Then I'm just going
to click on Soviet. I will get forward ideation. And I like number two. I'm just going to upscale it. After upscaling that any kind of customer Zoom again,
the same prompt. I'm just going to
click Submit again. I'm getting for variation. I like number two again. And I'm just going to
get something like this. Click on Custom Zoom. We'll get this popup. Now. Remove everything you
have here and just add long railway station. That's it because we
already have this image. Now I'm just going to Zoom Out. But but I'm zooming out. I'm telling Midjourney
what I want. I want this girl to be
on long railway station. Now. I'm getting something like this. I like number three. I'm just going to scale that up. Customer Zoom again and just submit I like number one, u1. And again, custom
Zoom the same prompt. They don't change
anything, submits. So we get some gel-like this. I'm just going to scale that
up again and customer Zoom. But right now, before
long railway station, I'm just going to photo frame in the room and then
submit for variation. I'd like number one. Again, custom Zoom. I'm just gonna keep
doing that until I get the same storytelling
that I want it. So photo frame in the room. I didn't change anything. Somebody. For variation, I
like number three. And this time when I
click on Custom Zoom, I'm just going to remove
everything before dash. Dash is 250, and I'm just
going to add palace indoor. Let's see what it gets. The frame is going
inside the palace. I like number one up there. I'm getting for variation. You want upscaled number
one. This is perfect. Customer Zoom and just submit again for variation.
I like number three. Now, this time, if you click on Custom Zoom remote palace indoor and just add
mirror, just submit. We get for number one
is perfect for us. And that's it. Now, this time before a mirror, I'm just going to Add
old lady sitting on a chair next to a mirror at, I'm just going to finish
our Storytelling. I'm just going to submit,
you get for variation. I'm just gonna pick this one. And that's it. Now, let's go to Midjourney to download
all of these images. Alright, now let's go to midjourney.com slash
app and click on. This enables selected modes. And just click on the images that you upscale in Midjourney. So one by one. Until here. Then click on Open downloaded. If you don't see it, Click
on this little arrow here, make sure it's an
open Downloader. And click Open download it and
just going to download it. When you download, you
just going to come here. Make sure to just rename
it from 01 to the end one, which for now it's 12th. Now, let's go ahead and
open the After Effects.
3. After Effects Zoom Out Animation : We are in the After Effects. Make sure to select
all of these images. I'm just going to,
from here to here, I'm just going to
drag and drop it here to the Project panel. You just gonna be ordered
from one to 12th. Now, let's go to Composition and critique
a new composition. For now, I'm just going to
put it on ten at 19:20. Frame 24 and measure the
duration is on 22nd. And press Okay. I'm just going to get here.
Shift select all of them, drag and drop it here. So make sure it's 1-12. And this is what we
are going to do. So the last one
should be this one. I'm just going to
turn on all of these, make sure all of
them are selected. Press S on your keyboard. Can even one of them. And 134, you're just gonna make it
full size and press Enter. Now I'm just going to
be fit in our screen. Now press U on your keyboard. Now, let's turn that all off, except the last one. I'm just going to
select this one. Press S on your keyboard. I have to Zoom Out
on number two, L to get to number 11 to
this one. How to do that? It's simple. On a scale. I'm just
going to get it here. I'm just going to multiply this, Add multiplier to two because we got to Zoom
Out in Midjourney. So here we have to zoom
in in After Effects. Now I'm just gonna
select number element, turn that on to number 12. Double-click to mask
the feather that we have in the edges.
Open the mask. Mask feather 100. And also mask expansion should
be -100 and press Enter. And again, the same
thing before the active, the next image, you have
to multiply the first one. So I'm just going to select
here multiplied by two. Now, I'm just going to
select the next one. Activated. Big VIP to
the next before Image. Mask, 100, mask further -100 mask
expansion. The same thing. Before we go to the next image, we have to multiply this by two, multiply by two inter. Now you are a number 910
that on is the same. I'm just going to
select the pick whip, mask, double-click
Andrew, Tango. Just going to say 100, inter -100, and
dress is the same. Just make sure before
you go to next image, multiply the first one. Alright? Now you have to write
down this number, which is going to be 27, 44. Ready to write down
number, mature. Now, I'm just going to
bring back everything to can select this. 134 was the first that
VS thought at this game. I'm just going to
come back here. Now to animate this, make sure this is 134 and
this is in the beginning. I'm just going to
click on stopwatch and take it to the end. And right down to number 27, 44, 30 to 27, 44 to press Enter. And it's just going
to be zoomed in on the first image, right? So now let's come back here. Alright, now, let's
take a look at it. From the beginning is very fast. This is what we don't want. So I'm just going to
setting the first one, shift, select the last one. I'm just right-click on it. Go to keyframe assistant. And from here,
exponential scale. If you do that, you just
going to create a lot of keyframe to smooth
the animation. Now, let's pray again. Because of rendering and fling at the same time
you get the letter lag. But when you explore it, it's gonna be very, very slow and unique Animation. Perfect. Now I'm just going to press
Control M or can go to File Export and you can put it on Add to
Render Queue for now. Make sure is H.264, which basically is by default. For the output. I'm
just going to save a place to save my file. Here. I'm just going to
create a folder. I'm just going to call it
Animation and Comp One. Just going to change
this to Animation. Let's save it. Now we can press on Render. Now it's finished. That's it.
4. Adding Soundtrack and Final Editing in Premiere Pro: As you see, we don't see the first image margin is
going to start very quickly. So how to fix that? Let's go to Premier Pro. I'm just going to
select my video. I'm just going to select
my main Soundtrack, which in this case is interested
lower bar Hans Zimmer. Now let's Click On Create. I'm just going to zoom in.
Soundtrack is very long. I'm just going to drag
it and select it here. And let's see, hold on Alt and just scroll here in this
area, this area as well. So I'm just going to see
my Soundtrack better. Drag this up, Click on the
corner and drag it until here. Now everything is okay, but this is cool. But we have to just
backward is a video. I'm just going to
right-click on it. I'm just going to click
on speed and reverse speed and press OK. Now
it is gonna be, okay. It's gonna be
something like this. I'm just going to drag
this a bit forward, maybe 2 s. Let's go back
to your Image Gallery. I'm going to drag number
one and number 12. I just put it here. I'm just going dragging
them on here. Number Image. I'm just going to drag it and I'm just going to drop it here. Just take a look. If I select this and it go to
Effect Control. You can connect here and
click you Effect Control. And a scale 134. Press Enter. Now, can
you kind of spacebar? So we see this image a bit longer than it is going
to move to our Animation, which is going to make it very
smooth and very realistic. Alright, it's gonna
be until here. Now I'm just going
to drag the number 12. I'm just going
to put it here. Again. I'm just going
to select this, go to scale 1234. And it's going to be perfect. I'm just gonna make
this a bit longer. I'm just going to
make this here. I'm just going to cut it out. Now, let's zoom in a bit. I'm just going to this little
Add, Remove Keyframe here. I'm just gonna go forward. Again. I'm just going to,
again, contract is down. And this is what
I'm going to do. Alright? Which can zoom in here. Add a keyframe here. I'm just going to go
back up at the keyframe, just going to drag this down. And I'm just going to
hold Shift. Go here. Press C on your keyboard users. I'm just going to cut
this out and removed. And let's go back and
watch this again. So here I'm just going
to zoom in a bit. Maybe I'm just going to
make this a bit smoother. Right? Let's go back. Crash. They say, alright, now press Control M. Or you can go to fine
and sports media, which is same as controlled M. Animation. Final, it change, the name. Source, changes again. Final. And save. Make sure the format is
edge 264 and that's it. Exported. Alright, let's
see the final results.
5. Your Final Project: For your final project, you have to create
the same result, but with different storytelling and different images, right? I'm very excited to
see a project results
 Soli Art, Content Creator | Digital Artist