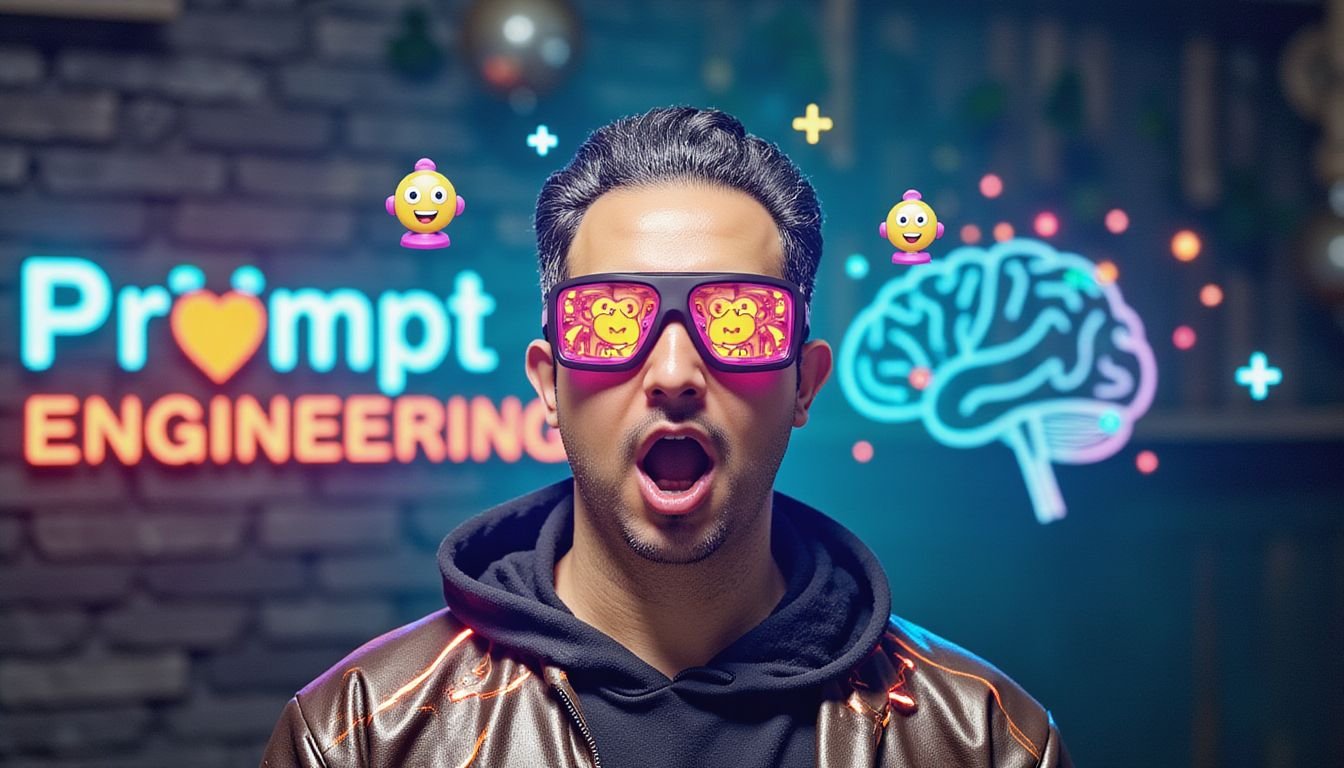
Create AI Talking Avatar - Next-Gen Content Creation in Midjourney and Studio d-id
 Soli Art, Content Creator | Digital Artist
Watch this class and thousands more
Watch this class and thousands more
Lessons in This Class
-
-
1.
Intro to AI-powered talking animated avatars
0:27
-
2.
How to Create Your Own Avatar with Midjourney
2:13
-
3.
How to Animate and Add Voice to Your Avatar with Studio d id
2:01
-
4.
Edit Your Video in Adobe Premier Pro
9:36
-
5.
Your Project
0:37
-
-
- --
- Beginner level
- Intermediate level
- Advanced level
- All levels
Community Generated
The level is determined by a majority opinion of students who have reviewed this class. The teacher's recommendation is shown until at least 5 student responses are collected.
397
Students
1
Projects
About This Class
Welcome to the fascinating world of AI-powered talking animated avatars! Are you ready to unlock the potential of cutting-edge technology and bring your virtual creations to life? In this mini and short course, we invite you to embark on an exciting journey that will revolutionize the way you communicate and interact with your audience.
Imagine having the power to create lifelike avatars that not only replicate human expressions flawlessly but also speak with natural, dynamic voices. Gone are the days of feeling camera-shy or spending hours in front of the lens to record videos. With our step-by-step guide, you'll discover how to harness the capabilities of artificial intelligence to craft personalized animated avatars that can convey your message in a captivating and engaging manner.
In just 7 minutes, we will unveil the secrets behind using AI to generate virtual faces and voices that match your desired style and tone. Whether you're a content creator, educator, marketer, or simply someone who wants to elevate their digital presence, this course is designed to empower you with the tools you need to stand out from the crowd.
Moreover, say goodbye to the hassle of shooting, editing, and re-shooting videos. By adopting AI talking avatars, you'll save an incredible amount of time and effort, allowing you to focus on what truly matters - crafting compelling content and connecting with your audience on a whole new level.
I will guide you through every step of the process, making it accessible and enjoyable for both beginners and experienced users alike. You'll be amazed at how quickly you can create stunning animated avatars that communicate your ideas with precision and flair.
So, what are you waiting for? Embrace the future of communication and join us in this transformative journey of creating AI talking animated avatars. Unleash your creativity, save time, and witness the magic of technology at your fingertips. Enroll now and open the door to endless possibilities in the world of virtual storytelling. Your animated avatar adventure awaits!
Meet Your Teacher

Welcome! I'm Soli Art, a skilled AI content creator, UX/UI designer, digital artist, and photographer with a passion for blending traditional artistry with cutting-edge AI tools. Specializing in AI-driven design, I create unique, engaging content across various platforms, including photography, video editing, and AI-generated art.
I offer expertise in:
AI Photography: Enhance your visual storytelling through AI-enhanced photography and design. Video Editing with CapCut: Create professional-level videos quickly and efficiently. AI Fashion Design: Explore the future of fashion through AI innovation.With a focus on educating fellow creatives, I'm dedicated to helping you leverage AI tools to elevate your creative projects--whether it's mastering video editing, refining you... See full profile
Hands-on Class Project
This is How it Works:
What You Have To Do in Order To Complete This Class?
At the end of each lessons there is a task for you to accomplish, after finishing the task and uploading your images for feedback you can watch the next lesson.
How Do I Send My Projects During the Course?
1- Go to Project & Resources Section
2- Click On Create Projects (Green Icon)
3- Click on Upload Image
4- Add Project Title ( For Example: Final Project )
5- Add project Prompt
6- Add more content like your images or Videos of your assignment or your problem if you have
I will check the Projects everyday and I will give you feedback in less than 24 hours
Also want to get in touch? And share your projects with other students to get more feedback?
Go to class's Community section!
I'd love to see your Project.
Class Ratings
Why Join Skillshare?
Take award-winning Skillshare Original Classes
Each class has short lessons, hands-on projects
Your membership supports Skillshare teachers
Learn From Anywhere
Take classes on the go with the Skillshare app. Stream or download to watch on the plane, the subway, or wherever you learn best.