Mastering Multicolor Crochet in Round: Clean and Accurate Wrong Sides | Olga Bortniak | Skillshare

Playback Speed


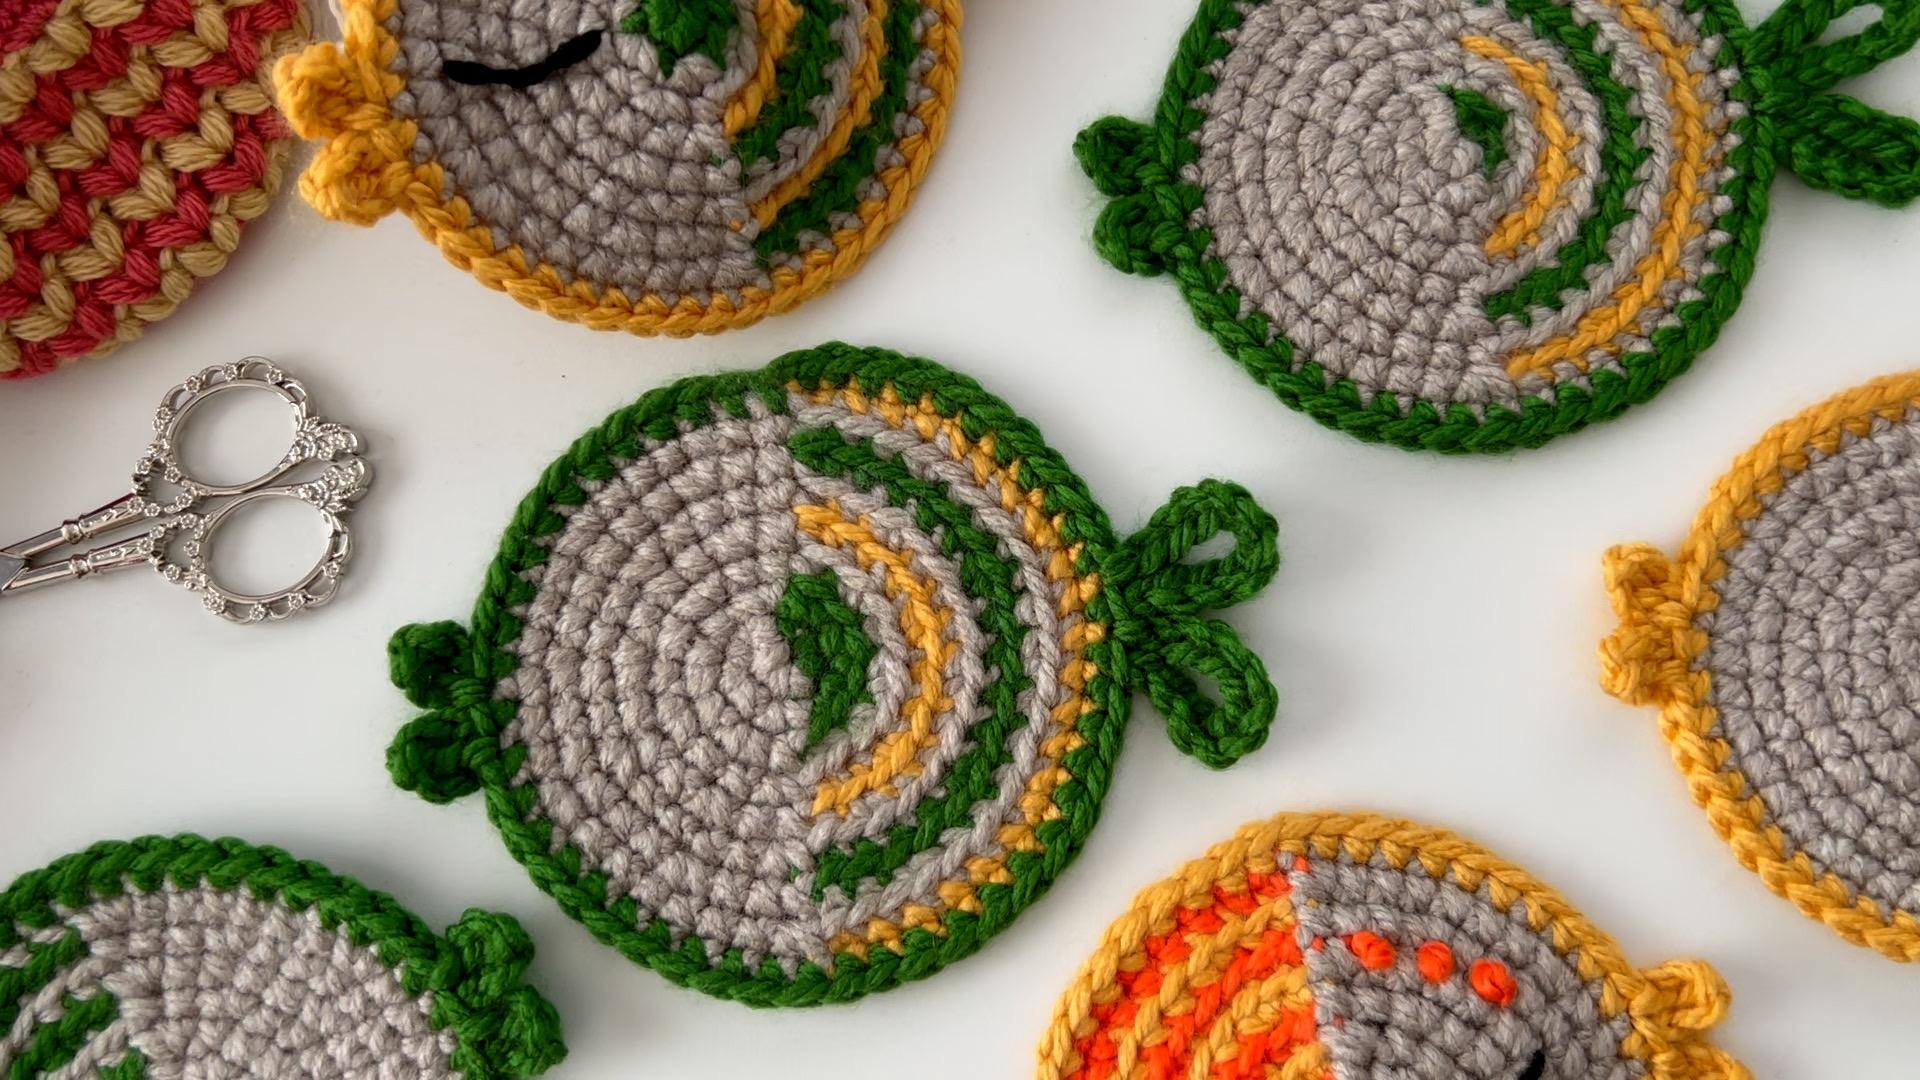
1.0x


  • 0.5x
  • 0.75x
  • 1x (Normal)
  • 1.25x
  • 1.5x
  • 1.75x
  • 2x

Mastering Multicolor Crochet in Round: Clean and Accurate Wrong Sides

teacher avatar Olga Bortniak, Crochet designer, dollmaker Olgamigurumi

Watch this class and thousands more

Get unlimited access to every class
Taught by industry leaders & working professionals
Topics include illustration, design, photography, and more

Watch this class and thousands more

Get unlimited access to every class
Taught by industry leaders & working professionals
Topics include illustration, design, photography, and more

Lessons in This Class

    • 1.

      Introduction

      2:37

    • 2.

      About the Class Project

      2:42

    • 3.

      Starting the Circle UsingTwo Colors

      3:02

    • 4.

      How to Change the Color in the Middle of the Round

      4:44

    • 5.

      Alternating the Textures

      2:51

    • 6.

      Hiding the Ends on the Wrong Side

      2:00

    • 7.

      Introducing the Third Color

      3:35

    • 8.

      Adding Mouth and Tail of the Fish

      4:24

    • 9.

      Your Crochet Journey Continues

      1:12

  • --
  • Beginner level
  • Intermediate level
  • Advanced level
  • All levels

Community Generated

The level is determined by a majority opinion of students who have reviewed this class. The teacher's recommendation is shown until at least 5 student responses are collected.

114

Students

3

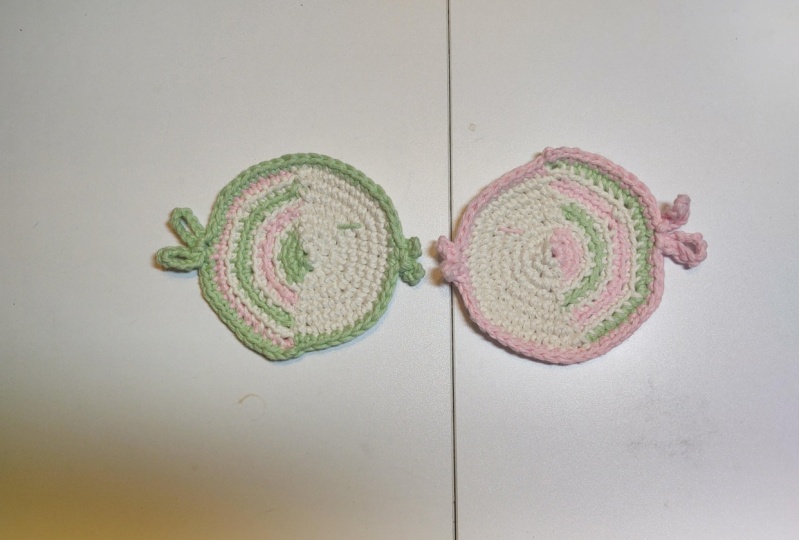
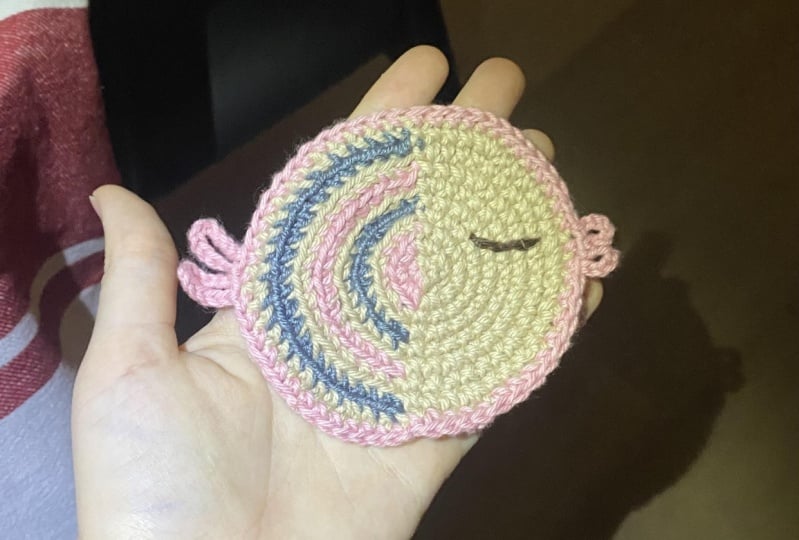
Projects

About This Class

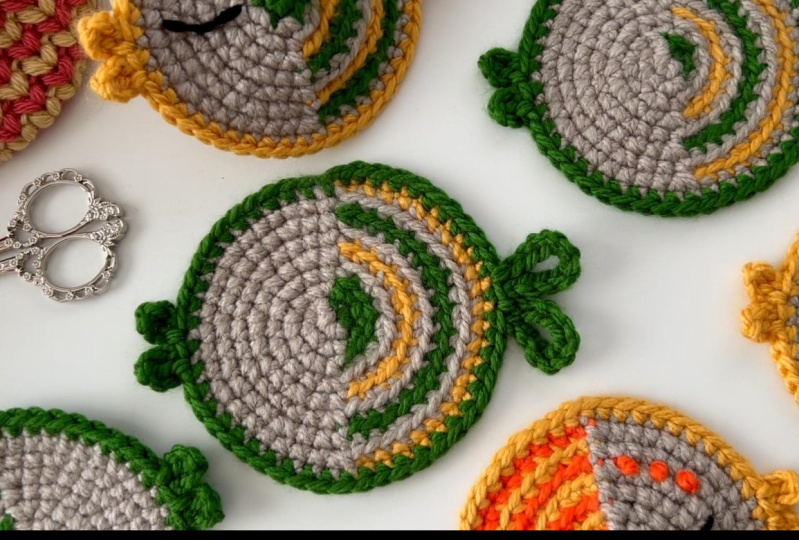
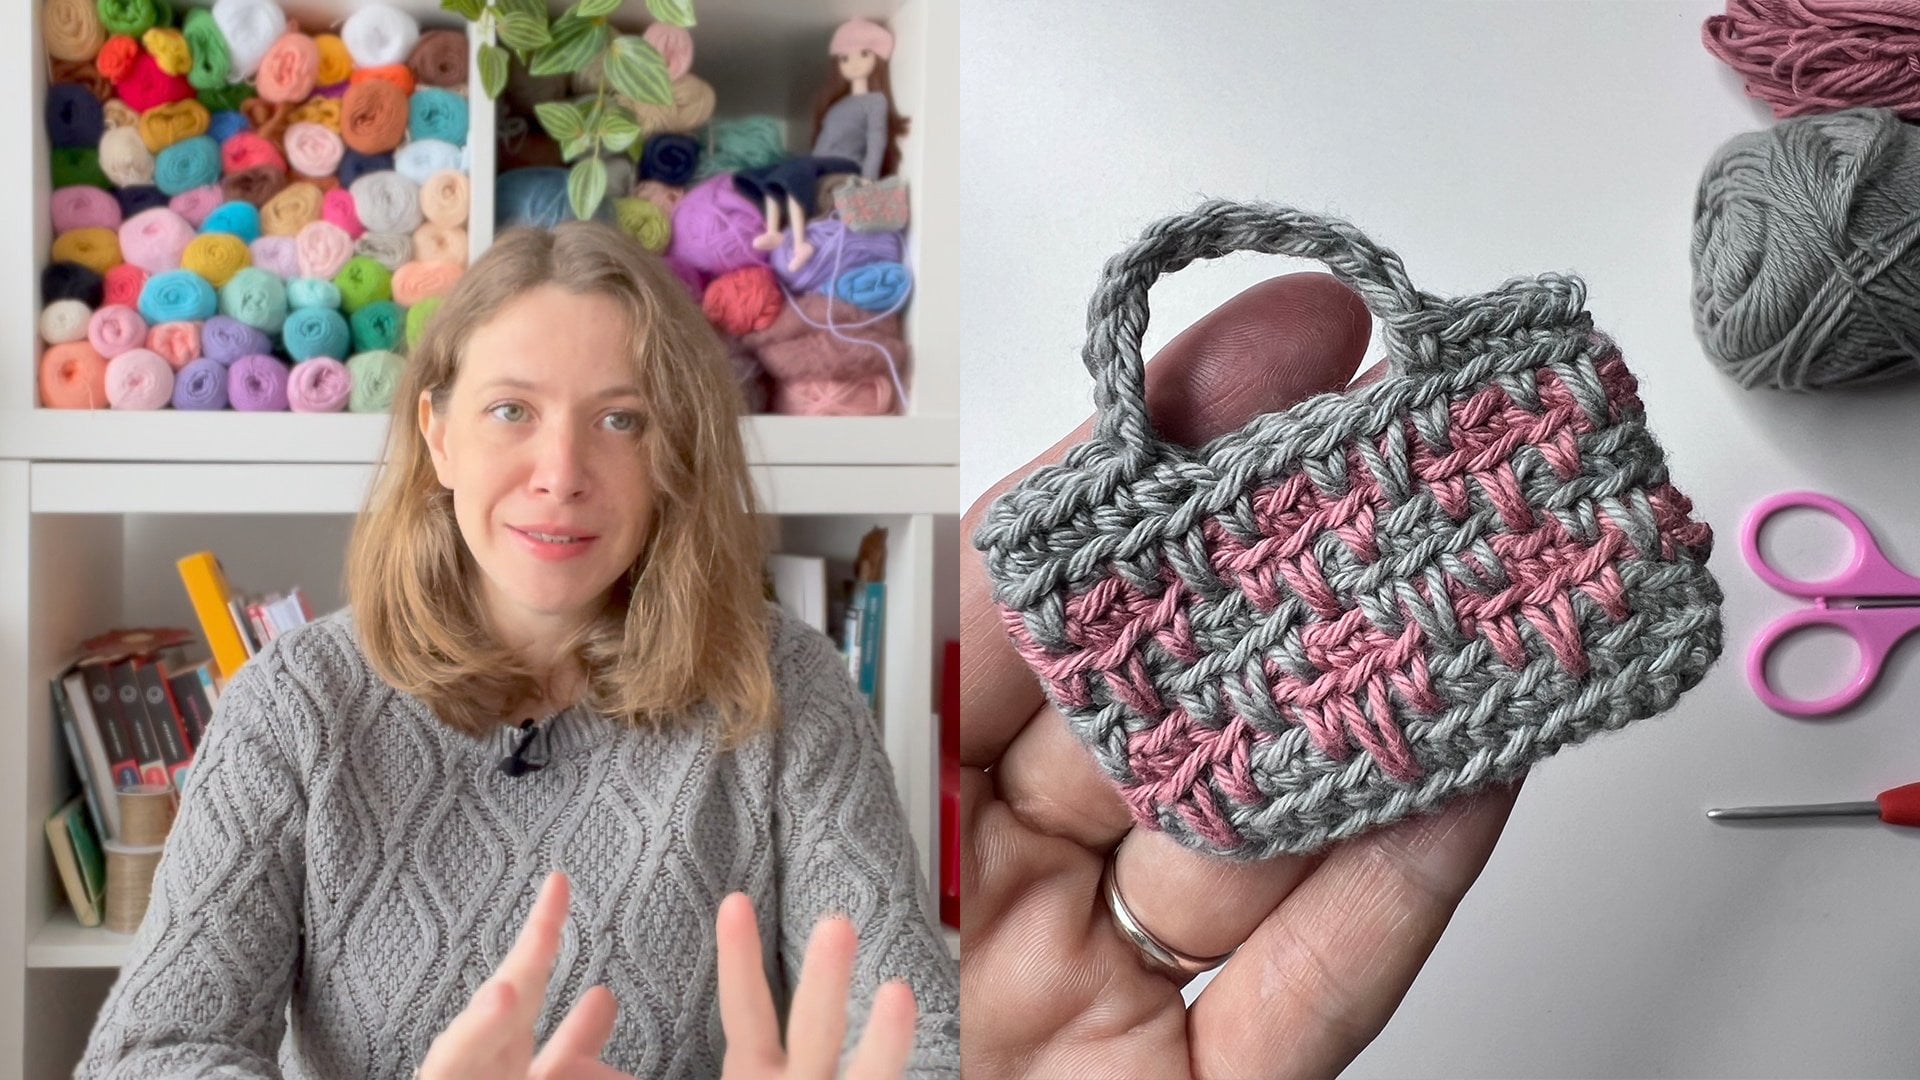
In this class, we will crochet a colorful round coaster featuring a cute fish design using a variety of textures and colors. You'll learn how to seamlessly change colors both at the beginning and in the middle of a round, ensuring that not only the right side but also the wrong side of your project remains clean and flawless. These skills will empower you to enhance the quality of any multicolor crochet project and to create your own vibrant designs.

This class is suitable for anyone interested in creating beautiful handmade items for themselves, their family, or friends. Whether you crochet for relaxation, enjoyment, or to potentially monetize your creations, these techniques will enable you to elevate your work and develop unique color and texture combinations.

If you're familiar with creating a magic ring and working single crochet stitches in the round, you're ready to dive into this class. I will guide you through using yarn in three different colors, demonstrating how to join and change colors seamlessly, while also maintaining a clean and accurate wrong side.

All you'll need for this project are small amounts of yarn in three colors (though you can experiment with two colors as well) and an appropriate crochet hook. Enhancing the quality of handmade items is crucial, whether you're making them as gifts or for sale, so mastering these techniques is invaluable.

By the end of this class, you'll have the skills to craft beautiful handmade accessories for yourself and your loved ones, as well as the confidence to design your own crochet creations and, most importantly, enjoy the creative process.

Meet Your Teacher

Teacher Profile Image

Olga Bortniak

Crochet designer, dollmaker Olgamigurumi

Teacher

Hi! My name is Olga. I'm a crochet designer and a dollmaker.

I make dolls for sale, offer premium and free crochet patterns, share video tutorials on Youtube and Instagram. Also I love to draw and colour!

I can't live without learning and I would like to share my knowledge with you!

You Can Find Me on:

Instagram

My Youtube Channel

My Etsy Shop

My TikTok

My Facebook

See full profile

Level: All Levels

Class Ratings

Expectations Met?
    Exceeded!
  • 0%
  • Yes
  • 0%
  • Somewhat
  • 0%
  • Not really
  • 0%

Why Join Skillshare?

Take award-winning Skillshare Original Classes

Each class has short lessons, hands-on projects

Your membership supports Skillshare teachers

Learn From Anywhere

Take classes on the go with the Skillshare app. Stream or download to watch on the plane, the subway, or wherever you learn best.

Transcripts

1. Introduction: Hello, my name is Olga. I'm a crochet designer, Doll maker and teacher. I specialize in creating Amigurumi dolls and designing their clothes and accessories. Additionally, I publish crochet patterns and share video tutorials on Youtube and Skillshare. Crocheting is not just my work, it's my passion and meditation. It's an excellent way to relax, ease anxiety and bring creative ideas to life. It can also serve as a side hustle or a full time business venture. You don't need much to start crocheting, just a bit of yarn, a crochet hook, and a desire to learn and improve. Throughout this class, I'll teach you how to work with multiple colors in the round while ensuring your work remains clean and accurate on both sides. This class is suitable for anyone interested in creating beautiful handmade items for themselves, the family, or friends. These techniques will help you elevate your work and develop unique color and texture combinations. If you are familiar with creating a magic ring and working single crochet stitches in the round, you are ready to dive into this class. We'll be creating a charming round coaster featuring a simplified fish design using various textures and colors. All you need for this project are small amounts of yarn in three colors. Though you can experiment with two colors as well and an appropriate crochet hook. Enhancing the quality of handmade items is crucial whether there are gifts or for sale. So mastering these techniques is invaluable. By the end of this class, you'll have the skills to craft beautiful handmade accessories for yourself and your loved ones. As well as the confidence to design your own crochet creations. And most importantly, enjoy the creative process. Let's take a closer look at our project. 2. About the Class Project: In this class, we'll create a charming round coaster with a cute fish design, utilizing various textures and colors. If you are already comfortable with forming a magic ring and executing single crochet stitches in the round, you are well prepared to embark on this project. For materials, I'll be using thick, bulky yarn in three distinct colors, along with a six millimeter crochet hook. However, feel free to use your preferred yarn for practice. Additionally, you'll require stitch marker, a suitable needle for weaving in ends, and a pair of scissors for cutting yarn. To optimize your learning experience, I recommend practicing with thick, bulky yarn initially, as mastering these skills will enable you to adapt them to yarns of varying thicknesses and color combinations. We'll begin by creating a magic ring and starting circle using two colors. Subsequently, I'll demonstrate seamless color changes in the middle of the round, ensuring a clean and persists wrong side without pesky hanging threads. Our project will involve crocheting one portion of the circle with a single color. Walking through both loops or the stitches, while alternating colors and working through only the back loops to form the head and body of the fish. Later, we'll introduce a third color into the body to add interest and further enhance our skills. In the project and resources tab, you'll find a PDF file containing written instructions for this project. Please note that access to this tab is available only through the web version of Skillshare. And you'll need to input a password provided in the screen right now. I'll also showcase some additional examples where these techniques can be useful. By the end of the class, you'll not only have crafted a charming coaster to protect your table, but also gained a new skill set that will inspire you to explore further experimenting with different colors and shapes. In the next lesson, we will create a starting circle using two colors. 3. Starting the Circle UsingTwo Colors: Let's start. I will be using this thick acrylic yarn in three colors, along with a 6 millimeters crochet hook. I find this thickness perfect for practicing and completing this project. However, feel free to use any similar yarn you have at home to learn and practice. I'm sure you want to repeat this project to try different color combinations. I'll begin with these two colors and introduce the third color a bit later. Starting with the grey yarn, I'll create a magic ring. I'll then work three single crochets stitches. From now on I'll simply refer to them as stitches. Three single crochet stitches with this color before attaching the second color. And making three more stitches to close the ring. I'll pull the short end of the first color The next round I'll start with the gray yarn again, so I'll finish the last stitch in a way that prepares the first color for use. In the next lesson, I'll demonstrate how to change the color in the middle of the round. 4. How to Change the Color in the Middle of the Round: First, I'll work with the gray color for the first half of this round. To begin, I insert the hook taking both loops and start making the first stitch of the round. Then I'll hide the green thread into this stitch to bring it up to the level of the current round. After completing the first stitch, I place the green yarn to the right as I'll need it later. I chose not to pass the thread through all these gray stitches because its different color might be visible through the stitches. I proceed to make one more stitch at the same point to finish the first increase, followed by two more increases as I don't intend to finish the second stitch of the last increase, I'm ready to change the color with the second color. Ready, I proceed by putting the thread around this side of the circle without tightening it, ensuring it remains loose. To avoid damaging the circle, this thread will be hidden into the stitches of the same color. For the next three increases, I'll follow a similar process, hiding the threads accordingly. In the first stitch, I also hide the gray thread, while for the remaining stitches, I only hide the green thread. Let I make the final stitch incorporating the green thread and changing the color. Moving on to the next round. I notice the remaining green thread. I incorporated it as well to conceal all three threads, two green and 1 gray. I hide them into the first stitch on the third round. It's important to rearrange the yard balls to prevent tangling Carefully moving them during the process is key. In the next lesson, we'll begin alternating textures. 5. Alternating the Textures: I want to keep this round simple, so I will use only one color, but I will create a different texture by working in the back loops, only on the second half of the circle. For this part I will work an increase followed by one stitch repeating it around the circle. We don't need a stitch marker here because we can easily identify the end of the round by the green color. During the first half of the circle, I work by inserting the hook through both loops. of the stitches For the second half, I continue working with the same color, but only through the back loops of the stitches. It now looks like this. Since I start the next round with the same color, I don't need to join another color. I begin the next round by bringing up the green thread and hiding it into the first stitch. From now on, I will use a stitch marker. In the next lesson, I'll demonstrate how to hide the annoying ends that can disturb us during the process. 6. Hiding the Ends on the Wrong Side: I want to hide these starting threads. I use a needle and simply pass it through the stitches of the same color. Then I carefully cut the end. I repeat the same with the second end. In the next lesson, we will introduce a new color. 7. Introducing the Third Color: This round will follow this pattern, two stitches and increase For the first half of the circle. I'll work with the gray color, taking both loops of the stitches. In the second half, I'll join yellow yarn. I'll finish the last gray stitch with the yellow color, this part of the circle. I'll work by taking back loops only. I'll hide the gray yard into the first stitch, leaving this yellow end to be hidden with a needle later. Then I'll continue by repeating two stitches and increase until the end of the round. As I join the gray yard, I am ready to start the next round. In the first stitch of the round, I'll hide both colors, the green and yellow threads. Now I recommend practicing alone following the written pattern. And adjusting the circle to the desired size. I'll work until I have a total of 48 stitches. Here we have it. In the next lesson, we will finish the coster by adding the mouth and tail in the final round. 8. Adding Mouth and Tail of the Fish: I want to keep it simple so I won't be adding a lot of details. I'll create the mouth in the middle of the head part and the tail in the middle of body part. First I work 12 stitches. You can cut the remaining threads, we don't need them anymore. Then I make five chain stitches and the slip stitch in the same stitch. I repeat this part in the next stitch as well. I continue this part until I reach the body part. Next I make 12 stitches followed by ten chain stitches and a slip stitch in the same stitch. Again, I repeat this pattern in the next stitch and I finished the round. And there we have it, cut the yarn and secure the end. And now let's hide the remaining ends. We've just completed the project, but Your Crochet journey is far from over. 9. Your Crochet Journey Continues: We've crafted a cute coaster to protect your table. And you've gained a new skill set that will inspire you to explore further experimenting with different colors and shapes. You can apply these newfound skills to any colorful crochet project where you use more than one color, including making clothes and accessories for dolls, coin purses, and more Share your project in the project section, I would love to see them. Let's fill the project section with lots of multicolor fishes Feel free to leave a review about the Class. I really appreciate your feedback and would like to know what you liked and what I can improve as a teacher. If you need my help or have any doubts or questions, feel free to start a new discussion. And I'll be happy to assist you. Let me know what else you'd like to learn with me. See you in the next Skillshare classes. Thank you for crocheting with me.