Transcripts
1. Trailer: either. My name's Lucy Also known hours clay. Disarray on Dime, a polymer clay artist found illustrator. Today's class is aimed at beginners on. I'll be showing you how to make your very own cartoon play snake character. I'll take you through the whole creative process, which would include getting prepared for your projects. So we'll be looking at researching, sketching out your ideas. And, of course, that's going to itself. I'll also be encouraging you to think about your own creative individual style on. We'll be looking at character design, too, so I hope you enjoy the class.
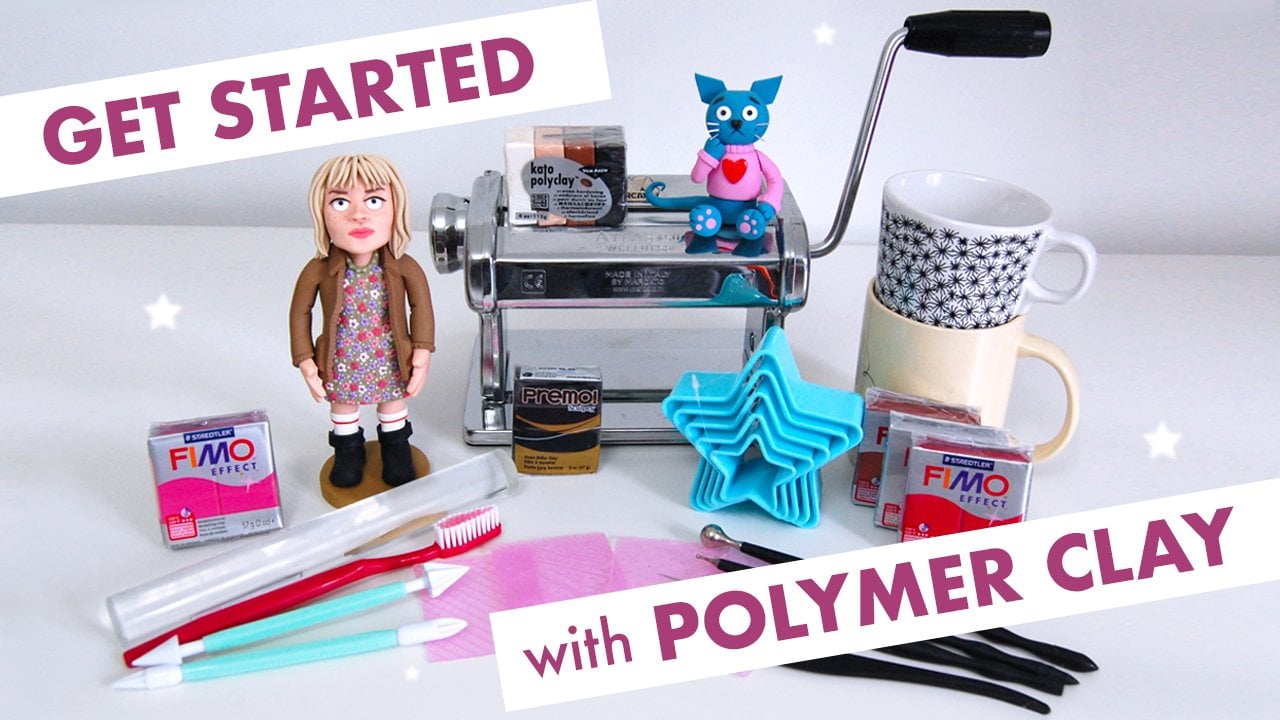
2. What you'll need for this class: So for this tutorial, you'll need two colors of clay for your snake. So I have chosen blue and green on some whites and black clay for his eyes or her eyes, and I'll be used in a medium size bowl toe war for the eyes on. It might also be useful to have your small ball tall around just to help with some possession and and it's up to you. But I'll be using some skull piglet. Here's at the ends, just the highlights of elements, as I think it's quite a nice thing to do. And, of course, good old wet wipes their really important for all project work. So I'll no doubt be going through a few on for baking. I'll be using a bacon sheet that I use specifically for my polymer clay project mark on some grease proof paper and for sketching. I just need a pencil and some paper and, of course, a great surface to work on. I use a glass sheet as you'll see here, but you can use a tile or something like that. Basically, anything with a shiny surface that's non porous so you'll play won't stick to it
3. Preparation: preparation is always the key to success with polymer clay, so it's always worth investing some time into this before he starts. So for this particular class, it might be useful with just to do a quick Google search on snakes. So while I'll be giving you a template to work from today, I'd really like you to be exploring different forms. Perhaps you'd like your snake to be in a different position to mine. Perhaps it would have a different expression. Perhaps you want to add on some limbs to your snake and make it into a lizard. I just think it's really important that as you progressed with polymer clay that you're always thinking about your own unique individual style, too. If you're stuck for ideas on how to develop your own creative style, what and suggest you do is to create a folder and put in all your favorite art pieces from all your favorite artists on just the Have a browse through Andi, see exactly what it is that you like about those art works or art pieces or sculptures, and it might actually be useful to start sketching out your ideas so that you're able to develop your own visual language, which will then translate into character design a little later. And that's essentially what we'll be doing today. Sketching out your ideas and two D is always a useful thing to do before you start thinking about your three D pieces. Although they're very different ways of working, I find that one does inform the other. So it's really useful sometimes just to be able to map out exactly what it is you want to do on paper just so that you can visualize what it is that you want to achieve before you actually start on your three D work. So it's always a useful tool.
4. Making a rough sketch: So I've just got a small piece of paper and a pencil here on. I'm just gonna sketch out my snake nice and rough. You know, it doesn't have to mean eats. It's just really to help me kind of visualize what I want to make. But sometimes it's really difficult to try and imagine from your brain alone what your Ends art piece is gonna look like. So this will allow me to really think about the form of the structure. It will help me determine if the's sculpture will be viable as a structure. It's not always an exact science, but it certainly helps. You might decide that you'd like your snake in a different position, perhaps laying down, which might be a little easier, actually, on through my sketching. It's helped me determine that I won't needs an amateur for this particular model, really, because of its size and also because it tapers out at the end so it would be quite difficult to build in an internal skeleton of any sort. So I think I'm ready to start
5. Sculpting your model: so I'm just gonna start by rolling out a basic snake shape. So it's like a really long, thin triangle almost by clay. Here is really nice and conditions. I've been rolling it around in my hands a lot, so it feels nice employable to ensure that your snake is looking really smooth. I'd recommend that you perhaps go over him with a wet wipe. It's good practice anyway, just to collect any bits of dust or dirt that are hanging around. It happens to all of us, regardless of how clean your working environment. ISS. I'm just at the end here. I'm just gonna fashion out with every loose head shape. Just flatten it slightly, so it looks a lot more like a snake, referring back to my drawer ring. I want my snake to stands kind of up bright, just below his neck area anyway, so I just need to ensure that that supported well, Andi, I'll curve around his tail like so, and now he's ready just to pop on some parchment paper or grease proof paper, as it will make it easier to move the model arounds without. It's sticking to your surface on with my medium size ball tool. I need to make two indentations for the eyes. You don't have to do their city haven't got a ball, told her hands, But I find it useful just to plot by. The eyes are going to go, and I need to make two eyes. So here's the first and again. Wet wipes are really handy here. I don't know what it is about white clay, but it seems to be the main culprits in picking up random bits of dust store airborne fibers. So a wet wipes really useful just for lifting those off. So be sure to have some around while you're making yours. The second one's a bit too big, so I just need to take some play off there and make it of a similar size to the other. And that works a lot better. I just pressed those ever so slightly into the snake's head and to give him some people's. I'm using just very small amounts of black play, and there we go. That's looking rather good, so I need to now work on the contrast in color, so I'm going to just make a series of really tiny green dots of clay in place, those just that ransom over the snake sculpture. So this could be quite a time consuming process. Depending on how detailed you want your model to bay, he might not be used in dots. Of course, you can use stripes or little triangles or diamond shapes. It's always good to experiment. You can even make a few steaks, sculptures in different positions on with different patterns. I'm using a scalpel here just for ease, really, But you don't need one. Just make sure you're just pulling off tiny pieces of clay. Unless, of course, you're making different shapes. Two dots. I really like how the lime green works with the blue. And if you have any difficulties in trying toe, get your dots into any nooks and crannies. I just use a small ball. It'll just a place your element because sometimes your fingers are just too big. Well, certainly minor, so I'm pretty happy with my model so far, but he could certainly use a few more line dots of thing, don't you? So I'm just gonna keep going, I think the doctor quite a useful way as well, to cover up any imperfections in your work. So if you've got a rogue fingerprint that just won't seem to want to lift off for the tiny little indentation that you've not been able to remove with your wet wipe, you can always just papa dots on it. So whichever shape you're working with on yet, I'm a lot more happy with my state character now, so I think he's ready to bake.
6. Baking your model: So now we'll need to bake on state character. So I've got my bacon sheet here that I only use for polymer clay project work. As my steak seems pretty solid, it doesn't actually need to be supported in any way, as larger models often do. So I'm happy for him to go off to be open. I've used to be my professional play here, so I'll be baking in at 110 degrees for around 30 minutes. But of course, you need to refer to your own brands of polymer clays bacon instructions as their off slightly difference.
7. Using gloss: So now my snakes out of the oven on Yep, he's nice and hearts on, he's all cool. I'm ready, Toe handsome of my skull, Pig ladies to some of the elements on his body. So I'm just going to start by audience and glaze to his eyes. I often add glazed eyes because obviously we're always looking out for eyes on creatures and people, though the first things that we generally look cats. So it's nice just to highlight those ons as what lays out. I'm gonna just out a little bit of glaze here and there to some of his screen dots, a way to all of them, because I like to see just a little bit of contrast here in there. And I would recommend that you use two coats of sculpin glaze where possible, because it's really easy to miss sections. So it just really ensures that you've got good coverage going on on diesel Done. Oh, as before, I forgets. Make sure that you clean your brush after use it because theblaze will harden so you don't want to damage your brush
8. Conclusion: Well, I hope you enjoyed today's class on. You've managed to achieve exactly what it is that you set out to do in your early sketch. I'd be really interested to see what you've achieved as a result of this car. So by all means lever an image below and perhaps your thoughts on the class to are very new to school share. So I'm always interested to hear any thoughts or suggestions in relation to my classes. So if you have any questions, by all means, let me know. So thanks very much for watching, and I'll see you again soon.
 Clay Disarray, Artist & illustrator