Transcripts
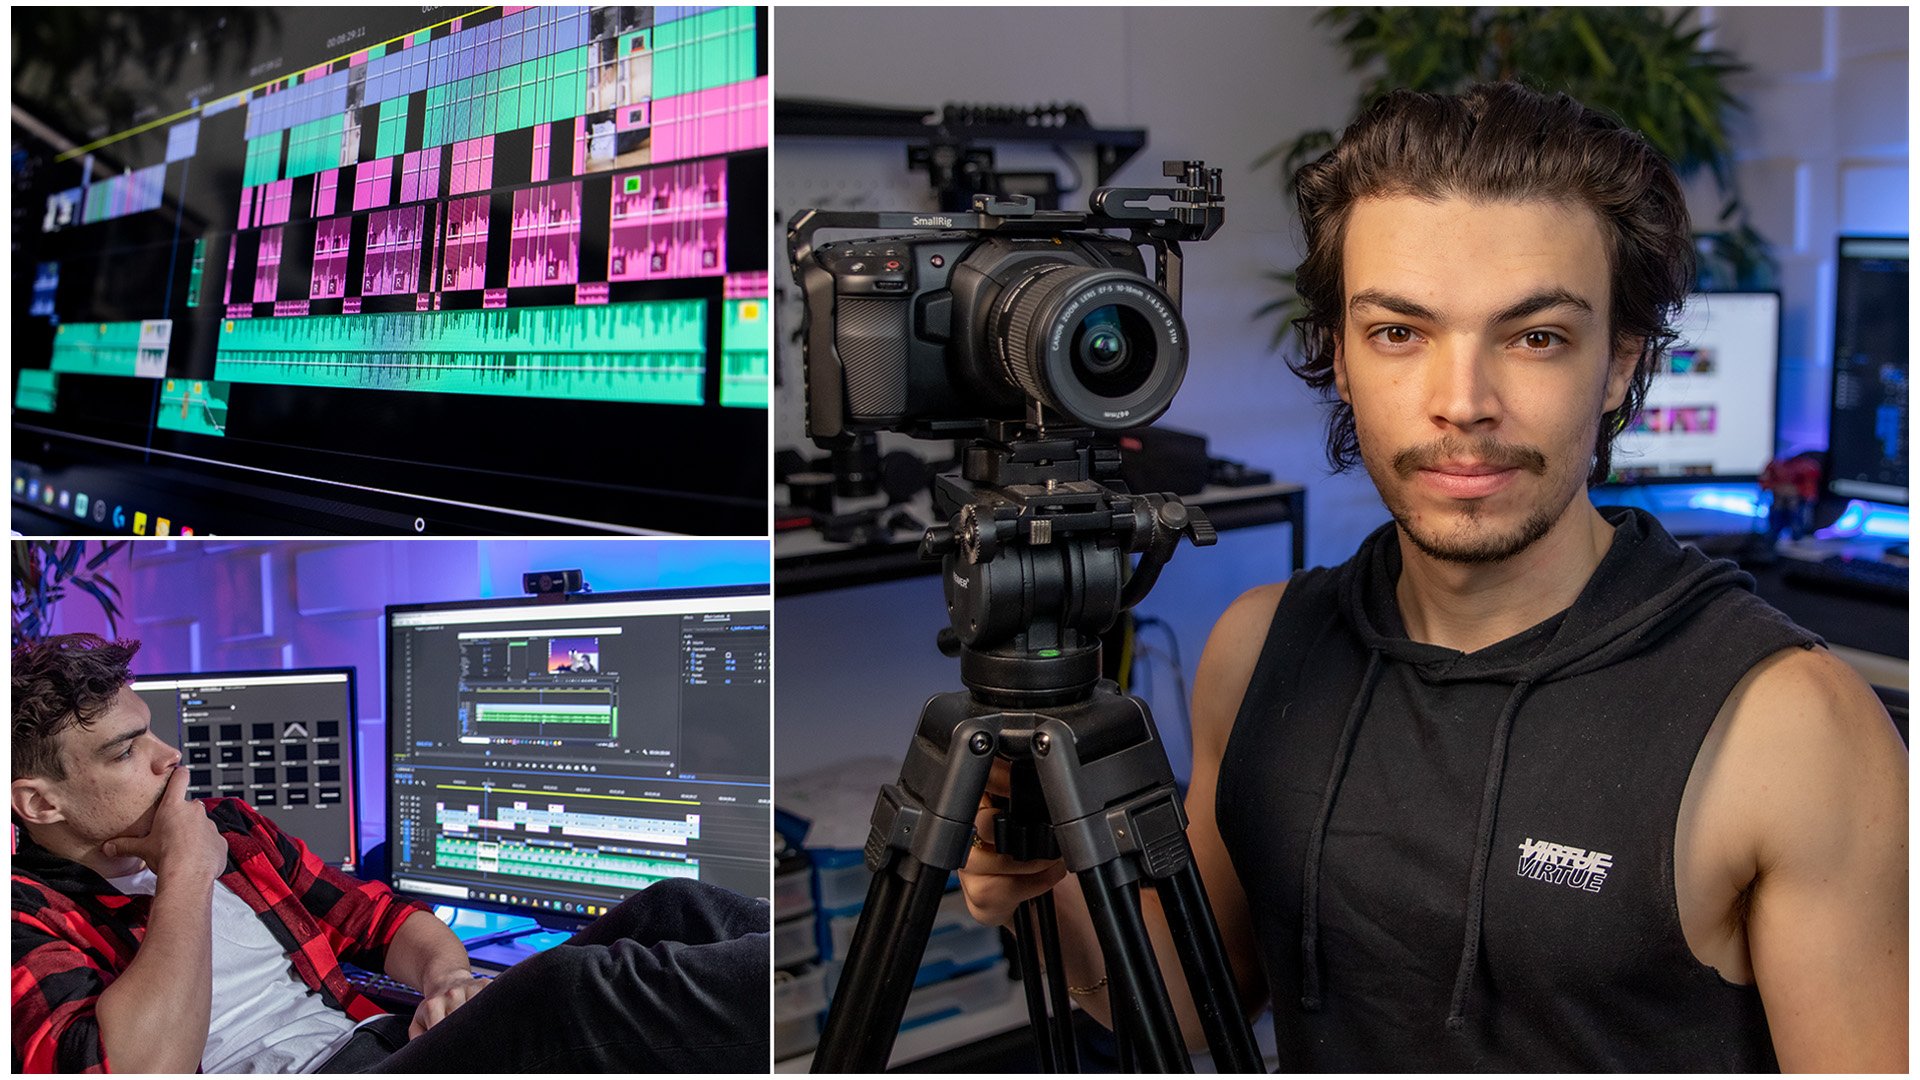
1. Introduction : don't on everybody. My name is Paige. A. May you might recognize me from drawing Jessa. I worked for him for around a year. I was his full time video production assistant. I helped him film and edit. His videos also have my own YouTube channel. Sir, if you want to head over there, give him one videos. A little cheeky peikin. That subscribe button had built all the things I'd appreciate. Now. I remember the very first time I picked off DSLR camera back when I was first getting into making videos, picked up the camera. Had a look at all the Doyle's that switches all the settings, numbers, all the things. I had no idea what I was doing was the most confusing thing I have seen in my life. I would just sit there and mess with everything. Just push buttons, been dials, mess with settings, do all these things until the image looked good until the lighting was decent. And then off I went because I didn't do it. I had no idea what will. The numbers and settings men and I really didn't understand how much they actually affect what the final image would look like in this course, I'm gonna be teaching you pretty much everything you need to know. To get started in the world of video, we're gonna run through things like frame rates, exposure. I'm even going to show you some camera transitions that you can use just at a little bit of it. A little extra, some 70 of videos just to make him a little bit more sexy at the end of the course, only to take everything you've learned. Go and find something. It doesn't have to be crazy. Interesting heart of your day to day life. And I want you to create a 32nd to 1 minute barrel sequence off that subject. So go get your phone. You go pro your big camera, whatever it is, and let's let's jump into it.
2. Frame Rates Explained: when it comes to shooting a most cinematic style of video, there's a few basic principles that you need to understand. The 1st 1 of these that we're going to cover in this course is frame rate. If you think ever video is a Siris of still pitches that's just being played really quickly , Teoh give you the illusion of movement. That's essentially what a frame rate is. Have you ever seen one of those flip books where you like to roll the pitches and then you flip it really fost and it looks like a little stick Figure man is running. That's essentially what a frame, right? When it comes to frame rate, it's how many individual stills make up one second of footage. Typically, if you want your videos to have a more cinematic style feeling to them, then you want to be shooting at 24 frames per second. Think technically, it's 23.98 but just let's just keep it simple. 24 frames per second. Shooting at 24 FPs is going to give you the my cinematic look because that's basically naturally, what are I see anything less than 24 frames and your eyes can start to notice that things just they started. Look a little bit more jittery. Now in my videos, I like to use a load of slow motion Barrel elected that Peter Makin installed barrel sequences where he's a little slow motion stuff. And if I'm only shooting in 24 frames per second, this creates a little bit of a problem. See if I take 24 FPs footage and try to slow it down. Let's just say 50% things start to look really weird really quickly. Start to really notice the jitters. That's because we're taking 24 frames and stretching them to fill up two seconds of footage instead of one. We don't have enough information there, so each frame is just getting stretched. That means it takes longer to get through each individual frame. We start to see the difference. We start to see it look really jittery. So what's the solution to this? Well, we need to be shooting at a high of frame rate so that we have more frames toe work with per second off. Putting the primary camera that I'm shooting on is a canon 80 day now this can only shoot up to 60 frames per second. This is usually enough when it comes to slow motion. The thing is, though, if I slow it any more than 40% then you're gonna start to notice each individual frame. A lot of people like Peter MacKinnon, for example, shoot their barrels 120 frames per second. Because you got more information. Work with you can slow things down way more. It's 60 is usually enough. You don't need to have 1 20 It sort of just a nice to have option all of this footage here . All of this talk to camera footage. This is all being shot at 24 frames per second, cause I don't need to slow it down. All of this slow motion footage that you're seeing right now, This has all been shot at 60 frames per second. Now, you might be wondering, why not just shoot everything at a high frame rate? So you always have the option to slow things down. If you want to. Later on, you can do this. This guy are fully Jesse Driftwood. He shoots everything at 60 frames per second. So he has that option to slow things down. Now there's nothing wrong with doing it this way. But thinking it to keep in mind is any footage like this. It's playing back in real time. If it's been showed at 60 frames per second, you'll condensing 60 frames in every second, down to one second of footage, so it's gonna have a different look. You can do it. But if you want to go for a true cinematic style, look, then you want to stick to shooting at 24 frames per second, then slow motion stuff. That's when you want to introduce higher frame, right? All right, so I think we've covered frame rates pretty well. I think we're ready to move on to the next and probably the most important aspect of this entire course, and that is exposure
3. Exposure Exposed: all right, This get took me a little while to understand. It took me a hot minute to get comfortable with a little these settings. But don't freak out after you've done it a couple of times you'll get used to it. It becomes second nature. You'll be fine, Trust me exposes just referring to the lighting of the image. How much light is hitting that sensor? So if it's over exposed, we've got too much light hitting it. If it's under exposed, we don't have enough. We're trying to look for that sweet meat to get the right exposure. There's three main settings that you need to sort of keep in mind. First is your eyes. So then we've got shutter speed than we have aperture all three of these settings. They're gonna change the way the image looks. So it's really easy when you're starting out just to mess with them randomly. Just until things look just about right. Thing you need to realize is, though each one of these settings is going to affect the actual look of the image in a different way. It'll be tempting in the beginning, because it just seems easier to just spin and dials and cranking numbers just because it's just going to get things done. That's what I used to do. Don't do that, But let's start off simple. Let's start with the Oso. This one is the most simple of all the city, basically, or RSO controls how sensitive your camera's sensor is to the light. So the higher the I s are, the more like that. It's introducing, and the brighter the image is gonna look, this is really useful if you're in a really dark place. If you need more light hitting the camera, you can pump there right here. So it's gonna make things brighter. The problem is, though, too bright, and you're gonna introduce a lot of grain to the food. It's gonna make things look really noisy and just that's gonna mess things up a little bit . The general rule when it comes to Oso is you want to keep it as low as possible. You still want to be able to see everything that you want to say, but you don't wanna go so high that you're introducing well these noise and grain and wrecking things. Now, sometimes if you're in a really dark place you go to do what you gotta do. Just keep in mind you'd rather have your eyes so a little bit too low than a little bit too high cause it's easier to bringing light back into the image and take it away. Now we're gonna move on to probably the more confusing of the three. And this is you show the speed. Don't get too freaked out and break it down for you. You'll be fine. Basically showed a spade effects. How much motion blur There was an image. If you wave your hand in front of face, you'll notice your eyes are picking up the motion. Blur your show. The spade is essentially what controls the amount of motion blood cameras picking up. So if I have a really, really high shutter speed, if that shot is moving really, really quickly, it's kinda lessen the amount of motion blur. The reason if I have a really low shutter speed is gonna be a lot more motion blur. To me, the thing to keep in mind is when I lower my shutter speed because that shutters moving a lot slower, more light is coming in. If it's really quick things going to start to get dark. So the general rule of thumb when it comes to show the spade is you wanna have it set to be double whatever your frame rate is. This is also known as the 1 80 room, for example, of this footage you're seeing right now, I'm shooting 24 frames per second. So my show, this plate needs to be set to double that. Not all cameras gonna let you set the shutter speed to be exactly double your frame rate. So you have to round it up. So I've got mindset to 50. And then if I'm shooting at 60 frames per second for my slow motion footage, then I want my shutter speed set to its close to 1 20 is I could get it. So when this camera, it would be 125. All right, so that's shutter speed. That's everything you need to know. Just keep that 1 80 rule in mind and you sweet. Now we're gonna move on to this. Seems to be everyone's favorite of the moment. Your aperture, also known as your f stop when you're looking at really cinematic stuff? Or did you'll notice there's this nice, blurry backgrounds? Go this really Scheller depth of field that's coming directly from how the aperture is. A pitch is measured in increments. Learn as f stops. Why f I don't know. Should I know? Yeah. I should do up night to get a nice, blurry background. And your emails, you're gonna want to set your aperture really low. Saito 1.8. When you have an apogee stuck to 1.8, you're gonna have your subject, Mycenaean Ferguson and the backgrounds gonna myson blurry. It's nice to have this cause when you get that separation, it makes it clearer to the viewer what they're supposed to be focused on. There's a problem with this, though. If you have, your approach is set really low. Say 1.81 point two. That means you're lenses really wide open. So lots and lots of light is getting thrown in. This is a problem when you're out in a really bright place. So you're shooting in the middle of day. A quick solution to this is to just raise that F stuff all the way up so that it closes the lens and less lucky getting. But doing this means you're gonna lose that background blur, and it's going to take away a little bit from that really nice cinematic look. So if you want to keep that in my shallow depth of field, that might blurry background you don't wanna mess around with your carefully set sexy camera settings. You gotta want what's called an end a field, but these things are pretty much sunglasses for your lens. They stopped the amount of light that can get into the lens, and you don't have to worry about changing your sitting so you can still keep that noise. Shallow depth of field. You don't have to touch any settings because the ND filters control it. Like for you. I like everything I've spoken about in this course already. It's not a hard and fast rule. There's gonna be some situations where you want to raise that F stop so you have the focus ring, so don't be afraid to play around with the settings to get the look that you're after. But just be aware of the rules and the basic principles that people use. That's it for exposure. I know they were just thrown holy of information that you and it's a lot to take in. But once you get out and start shooting your find through repetition, it just becomes easy becomes second nature. If I can understand it, you'll be, you'll be fine.
4. Shooting: all right, So we've ran through everything you need to know about what settings you need to get on my cinematic look to your footage. Now all that's left to do is actually go out and shoot footage. The thing that you need to understand is that, like any up formal, this stuff that I'm talking about this subject of the really great thing about the current state of Internet with social media, YouTube, instagram all of these different platforms is you can go out and make anything, and odds are there is someone out there that's gonna absolutely love it. Even though you don't need to follow a specific set of rules to make it video, it's good to have a solid understanding of at least the basic fundamental so that you have this a nice foundation toe work from in this section of the course. I want to talk about just a couple of principles that you need to think about when you're shooting your video. When it comes to making a video of the most important aspect. Hands down is this story. Think of your videos as a pretty girl off boy. Whatever you're into. I like a pretty lady much as the next guy. But looking good is only gonna get you so far. If there's nice substance, things start to get really boring. That's where personality so important relationships, right? It's the same thing with videos. Think of all of those viral videos you might see on Facebook, instagram, whatever. Most of the time, they're not really that cinematic. Not really pretty. The thing that gets people hooked is the story. It's the emotions that they trigger their on the most cinematic thing in the world. But they get you right in the fields, and that makes you care enough to keep watching. That's what you want to capture in your videos you wanna have in my soul. It's story that gets people thinking or failing a certain way. So get this story down. Patent. Once you have that, then you are ready to stop messing around with things and make things look a little bit more pretty. Now remember, this course is just focused on the payroll sequences that that's what we're focusing on here. And when I'm making my videos, there's two primary types of payroll sequences that I'm using. The first type of barrel sequence that I'm commonly using is one showing progression. This is like a traveling one touch of something like that. Now you've seen these before. That typical scene where you see someone traveling from one place to another. It's using visuals to show the transition from going to point A to point B. Instead of just telling you what's happening, you're just seeing it happen. This concept of show don't tell is really important when it comes to videos, because it's literally the point. You want people to be able to watch and know exactly what's happening without you needing to explain what happened the whole point of a little Barrow sequences to tell a mini story . It's obvious what that story is with the travel montage or during time outs or something like that. Because you're seeing progression. You can see that person going from point A to point B. You concede something being created from nothing, but the story is not always that linear. I'm not always showing progression in my baby, so I'm not always telling a traditional three act story with a beginning middle, and sometimes I want to show off a particular place for a particular thing. The purpose of doing this is less about telling the full story and more helping the viewer get to know the thing that I'm shooting. And I think I'm focused. Take this video I made a while ago, For example. I made this video during my first time visiting home after I'd moved away for work. And basically there's no story here. There's no beginning, middle and end. It's quite a just a bunch of shots or put together. Now this might seem random, but in some cases it's OK to do this. The goal with something like this wasn't to tell a story. It wasn't to share with you. What's exactly happening? It was to make you feel a certain way. It was the trigger, an emotional response. I wanted the viewers to feel the way I felt when I was at home. For the first time since I wait, I made this video sort of look like a memory was as if I was pulling the memory right out of my head and putting it into a physical form to share with my viewers. That's actually one of the reasons I love making videos so much because it's such a powerful thing. You can go out. You can film something you confined to nice music. You can make a nice radio around that you've created something from nothing that didn't exist before. And now it has the power to make people feel a certain way you can make them happy. Can make them said you could make them want to punch someone in the throat. Whatever it is, you could do that. But sometimes it's not even about emotions. It's sometimes way simpler than that. This sequence is just may showing you around my old studio. The whole point of this is to just give you a nice to look at the place, like working rather than just walk around with the camera and just tell you about everything. Remember, show Don't tell. This isn't something that I would use a stent learned video. It's something that I would put into a video to add to what I wanted to make a studio to us . So I made this little secrets to show off everything, and then later on, I would go back and talk about going to more detail about certain points that were the most interest. When doing something like this, it's really good to sort of mix up the type of shots that you're using. In the beginning of the sequence, I like to use wide angle shots to show off everything in context. Then I'll switch over to a tight, close up lens so that you can get a nice little Daito wide angle shots of good because it gives you a feel for the whole space in the details. It's good because it it shows the details. And it's nice to give people as much information as possible in an easy to watch way, because then they feel like they're almost part of the space that they can catch the vibe of the space. And I like that. Really, That's all you need to know to get started and go out and shoot something. But if you want to take it a step further in the next video, I'm gonna teach you about some transitions. You can use that it just kind of add a little extra layer sexiness to your footage.
5. Transitions: before we get into talking too much about the transition is the thing you need to know is sometimes all you need is a hard cut. It counts. You don't always need to go crazy with transitions with some crazy camera technical, some trippy editing trick. You don't need to do that. He's just add to the video. They don't make two types of transitions that you need to be aware off the first of the ones that use in post production, easy across dissolves and cross fades. And all of these kind is there's literally limitless amounts of transitions. You can do it post. Now, we're not talking about editing in this course. So what we're going to focus on today in camera transition now, besides saving you a bit of time in the edit in camera transitions, just add something to the footage that you can't recreate. Impose. 90% of in camera transitions are going to come from these two that we're gonna talk about enemies. The first is the whip pan, and the second is the cover over the lands. Take it off. Reveal something else Transition called whip pens. A pretty simple we're gonna do is film a subject, then when you want to end the short, you whip the camera really quickly in any direction. Then you want to open up the next short with a whip, preferably in the same direction. For the most seamless effect. Here's an example of a shot with just a simple cup between the clips and then again with a whip pan between. Both of these look pretty fine and wiping, and it's just a style thing. You can also add to this in post production, so when that whips happening, you can speed it right up. And then when you want to slow it back down when things were in focus, can have some sound effects in there throwing a nice wish sound. Then they go. You just got this nice, tidy little thing. It's just it's just pleasing what the next transition just involves covering up the lens at the end of one shot and uncovering it at the beginning of the next shot. There's an infinite amount of ways to make this transition working. You don't need any editing skills to be able to do it, so have a play around and just see what you can come up. Remember, it's nice to have a play with these techniques and to mix and match a few different transitions. But keep in mind, they don't make the video they just add to it. Don't go too over the top with them. They have their time in that place. But the thing you need to remember is you want your viewers to enjoy watching your videos, but you don't want them toe necessarily pick up on the little subtle things that you're doing to make the video watchable. Just remember less is more.
6. Project: That's it. Now you've got everything you need to go out and film a nice little cinematic barrel sequence. Leo Project. I want you to go out and pick something just part of everyday today Life. It doesn't have to be super interesting. I actually prefer you to pick something that you think is kind of boring. I want you to go out. It can be the local street in your town. It can be office. Could be a bedroom. Whatever it is, I want you to pick something and make a 32nd to 1 minute barrel sequence out of that. Use a mix of all the things we talked about using. Makes a slow motion and real time. Have a play with the lighting. Have a play with the camera transitions we talked about. Just have fun with it and just see what you can come up with. Remember, there's no pressure to make something amazing, especially if you're just starting out. This is just an excuse to get out there, have a play with the camera, get more comfortable with using it. Once you're filmed and edited your barrel sequence uploaded to YouTube, you can have a public or unlisted. It's up to you include the link down below and I'll be checking all of the Malik can't wait to see. What will you guys do? I'll be watching the more giving you will fade back. I'm excited. So you come up all right, Bill enjoyed this course if you did, and you want to see some more tips and tricks if you just want to say that I'm getting up to be sure to head over to my YouTube channel youtube dot com slash page 8 May I applied to video is awake and I like to live stream quite a bit. Just chill and shot with Will you guys be sure the head of it. Thank you all for watching and ah and yeah. Oh, I'll see you later. Later.
 PJ May