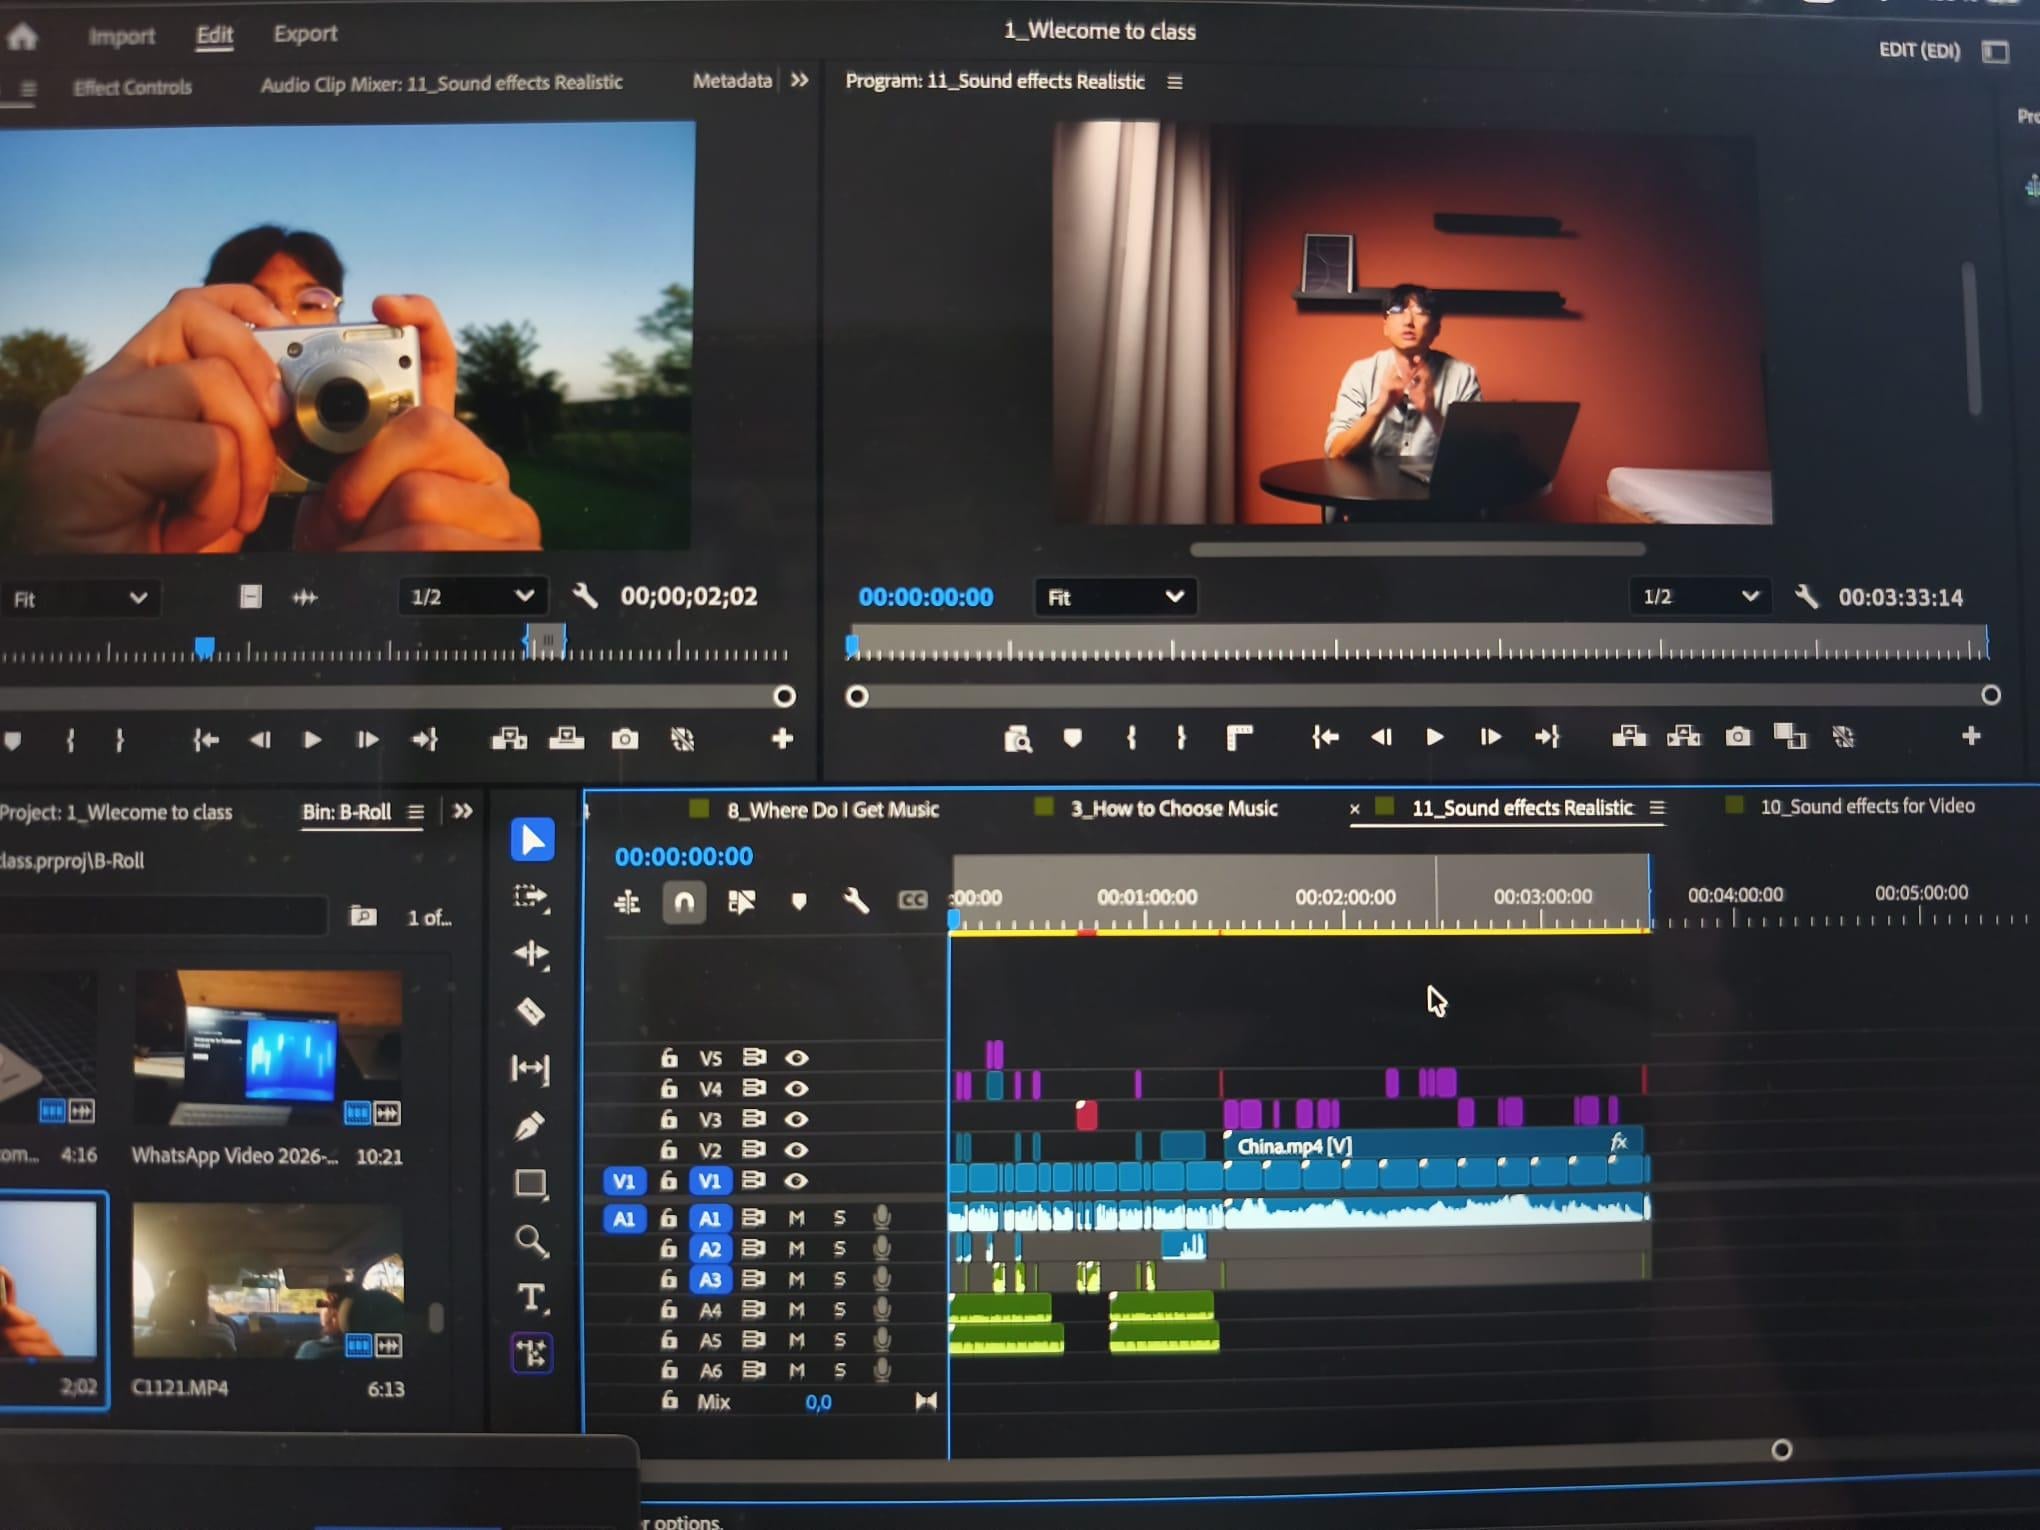
Transcripts
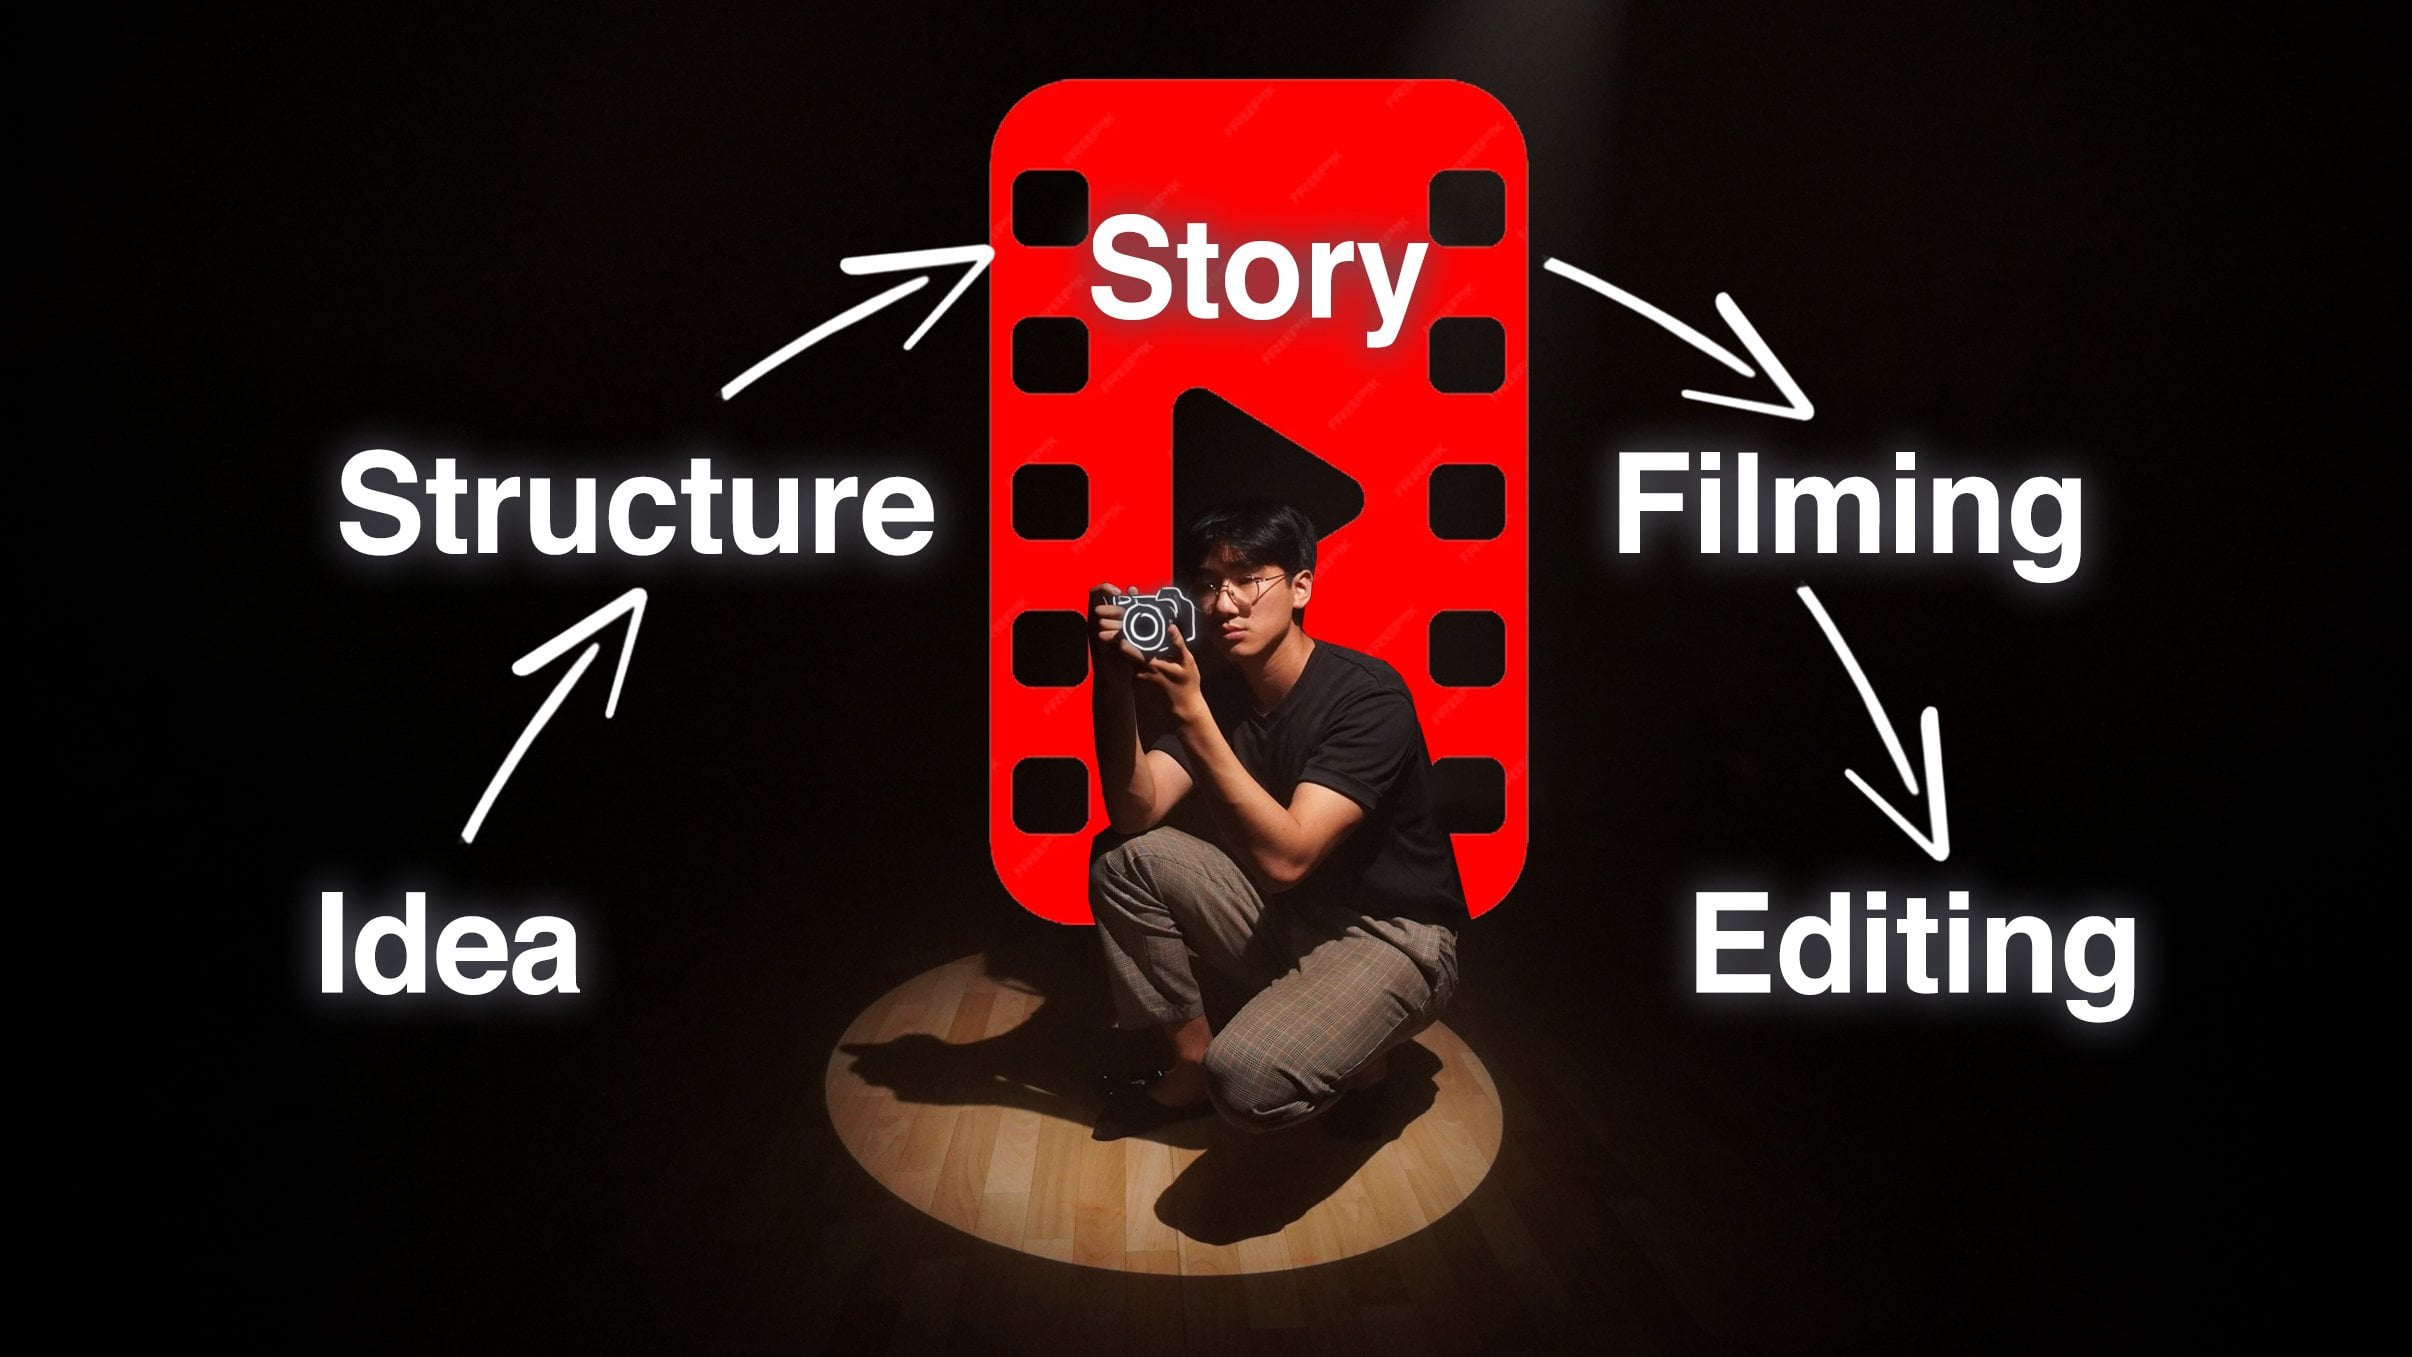
1. Welcome to the Class!: We can tolerate
bad quality video, but we cannot stand
bad quality um. That's why when most
people edit their videos, they dedicate 40 to 60% of
their time alone on audio. I'm talking music
and sound effects. And yes, it is really worth it. This is what takes
a good video to an excellent. Hi, I'm Eddie. I do cinematic YouTube
videos for many years, and I'm currently working for a leading YouTube
agency in Germany. Doesn't it seem a bit
convenient that the music always finishes at
the perfect moment for any great video, and the sounds are always
so crisp and clean. Like, you can almost touch them. No, this is not coincidence. This is not just
downloading a song and putting it below your video
and calling it a day. That screams amateur. This sound design,
master class for video, you learn how to choose
the right music, how to control it, how
you control the music, and how the music controls you. Shape it and manipulate
it so it fits perfectly your story and craft every sound element so
that it hits with impact. By the end of this
course, your audio won't just support your visuals, but it will take it to
the professional level. This course is for anyone
doing any kind of video, long or short form, and you just need any
editing software. For the class project,
you can just share a photo or print screen
of your timeline, directly sharing
what your learned. With that said, we'll start with a really interesting
question on how you control music and how the music controls you. I'll
see you there.
2. When You Control Music and When Music Controls You: Before we pick the perfect
song and start to learn how to manipulate it to fit your story perfectly,
which we'll do later, this first concept is really
important to understand so you know better what song to pick in order to edit
your video with. It's really about this duality, how you control the music,
and then afterwards, how music kind of controls
you on your video. More specifically, when
you're choosing the song, you're choosing the feeling
that the viewer will feel and help elevate those feelings
throughout your story. When you have your
song in the timeline, you'll also learn in future
lessons how to manipulate it, how to best cut, and maybe you can lengthen it or shorten it to best
fit your story. So that's how you
control the music. But the music itself has the
feelings that you chose, but it has a certain beat. It has a certain
rhythm, a tempo. You'll see later that when you insert a song in the timeline, there are things that
the music controls. It controls the
pace of the video because you cannot change
the tempo or the rhythm. And that's how the
music will control you. When the feeling
you chose is set, the song will more or less control how long
that part lasts. Here are a few examples. That's when the fun
actually started. Yeah. Hello so far. Hi, E on. How much can we take? I do have to admit or for
example, to add drama, a classical song has a very distinct piece that
totally controls how I edit. And there are four
crucial course you can sometimes manipulate it to your liking, but
don't worry about it. We'll learn this
in future lessons. Understanding this duality is extremely helpful when
you're picking a song, because having this in
mind ahead of time, it helps you choose maybe
a certain type of beat or a certain type of song that can help you edit
better for your story. I personally think it's quite
an interesting concept. It's kind of like a
dance between you and the music while you're
editing the video. It is so interesting.
And with that said, the first and very crucial step is to choose music wisely. And that's what
the next lesson is going to be about.
I'll see you there.
3. Choosing the Right Music (And Mistakes to Avoid) : Let me tell you a little secret. Sometimes it takes me way
longer than I'm willing to admit searching and finding the perfect song with the
right fit for my video. Because, believe me,
this decision can make or break your video.
Choose the wrong song. The video feels flat
or simply just too distracting that the viewer kind of gives up on your video. But if you choose
the right one, oh, my God, it elevates it. Well, cirio. See? Strang. So in this lesson, I'll
teach you how to find the right song and also how I
personally look out for it. So the first very
important question is, how do you even
find the right one? How do you know
it's the right one? And it comes down to only
one thing, the feeling. The feeling that you want
your viewers to feel. So, for example, if you're in a sentimental part of the video, then your song also has
to match that feeling. This is everything
I celebrate. Snot. I do. Or for an intro, for example, if you want a calm intro, then you use a calm song. One year ago, my life looked
completely different. Or if you want the
Bangor an intro, then you choose a
more energetic song. On the left side, I have the newest new TDS that
was released in 2015. And ten years later, I have here on the
right the AYNThor an emulation device that
is a complete beast, inspired by what you
see here on the left. This is the Thor? It all
comes down to the feeling, matching the feeling
that you want to portray with the song. But of course, finding the right song is
easier said than done. As I told you in the
beginning, my little secret, sometimes it takes
me way too long. I've spent like an hour straight just listening
to song and like, no. And sometimes it just clicks. Sometimes I look for something, and I just kind of find
the piece that I want to. It's hit or miss, and
it's not only for me, but it's for anyone. But to help a little
with the process, I'm going to personally show
you how I look for my songs. So this is how I usually
search for music. I either have a genre I want. For example, here, you have pop, jazz, hip hop. I don't know. I usually use Indie rock
because I like that better. If I go on my live tracks, I usually like classical music. This screams more curiosity, but also something more
like a string ensemble. But then for some
sorts of videos, I prefer to use Indi Rock. Atty. I can take what
I need to get by. It gives this nostalgia vibe, I really like Indi Rock, but that's just personal
preference, of course. You have the genres, but then you can also
have the feelings. Sometimes I write
nostalgia, for example, I write nostalgia,
and the music that appears are supposedly
all nostalgic. I got that initial beat and then like like a reveal moment here. I think this is a really
nice one, for example. If the feeling is certain,
like, slightly sentimental, slightly nostalgic, then this
strong is perfect for it. But, for example, if
I'm doing an intro, a simple intro or simple
background sounds, I'm looking for, like,
let's say, simple drums. Or if you want to add the bass, too, which is not
here, let's see. So personally, I sometimes try and go for the
genre that I want. And if that doesn't
work, then maybe I write something
specific, the feeling, nostalgia or simple drums,
modern, simple beat, something that I'm
specifically looking for, honestly, a bit up to luck, but there's some skill involved. It makes it easier.
If you already have experience and you like
the genres already, then this makes it
much more easy, especially in these
premium platforms. They make it easier
for you compared to the YouTube creative studio. And with that said, you chose your song with the right fit. You don't just put
it in your timeline underneath your video
and call it a day. That's why in the
next few lessons, you learn how to manipulate
it so that your song ends perfectly when your video ends or when a section ends. This is really the
most important, but also the most fun
part because it's so satisfying when it clicks,
and I'll see you there.
4. Music Manipulation Technique 1: Timing: Usually a song is just way too long for the section
that I want to show. That's why you have
to end it somehow. You cannot just end it by simply cutting it anywhere
and then throw it out. It will sound very abrupt. And if it sounds abrupt, it is very distracting. The viewer thinks about it,
like, Where's the song? That's why this is the first of five manipulation tricks on
how to end a part of a song. This first trick is the
easiest to implement because it depends on what's
happening in the video, in the video itself
in the screen. A lot of times during the video, stuff happens naturally, like an object falls or
you open a door. It took me about five
years to understand. And there's some random, distinct sound that happens. And right at that point, that's when you cut the song. So no chance, Close.
That was close. Ana. Right at that
distinct moment, like peak of audio wave. That's when you cut
it. No matter where you are during that song,
you just cut it there. Close. Ana. Because
this external sound, it is quite the
natural transition. It doesn't distract the
viewer, and by cutting it out, it actually shifts more the attention to what's
happening in the video. It creates this dynamic. So let me show you
a few examples. Thanks, right face. You know, you know I will. So the very classic
example is that you have a door opening that
starts or stop the music. But in this case, I actually added a sound effect,
this trigger sound. And because of this
distinct sound, I decided to cut the music here, as you see here, right here, a hard cut to exactly where
the trigger sound happens. So let's hear it all together. It's been three years since I've made the typing fast tutorial. But the problem is, I
stopped practicing. It honestly wasn't
that fun anymore. So the trigger made
a smooth transition, this distinct sound.
It can be anything. As you see here, I added it or something that
happens in the video, and you can also just
cut right there. The more distinct usually,
the better it works. After this break, there's
two things that you can do. You can just resume the
song like nothing happened. And because the feeling
is still the same, this horror type feeling, I decided to continue the song in another part afterwards. So let's see what happens here. It honestly wasn't
that fun anymore. Until now. Guy. Or you can just leave it out. Use this as a kind of a music transition and
pick another song. Clos. That was close. Why not? Yeah, yeah, yeah. I never played
baseball in my life. Oh. You know we sports? We sports. Got baseball. Okay. After all of it, can transactional friendships
turn into real ones? Of course, you
have to go through the extra work of picking
another right fitting song. But that's just how video goes. It mostly depends on the
feelings of the video. If they continue to be the same, then you use the same
song if you want to. But if there's something
that really shifted, then you use another song. So this is the first of
many manipulation tricks. It doesn't mean it's
the best or the worst. It just really depends
on the context. In this case, it only depends on the external on what's
happening during the video. So with that said, I'll
see you in the next one.
5. Music Manipulation Technique 2: Listen: So from the previous lesson, it all depended on what's
externally during the video, if something fell, a door
open, something like that. This trick doesn't
require that at all. It just requires on
the song itself. So if the song you chose has a very simple beat or
very repetitive beat, you can try and listen to certain patterns and simply
end it after the main beat. Let me show you a few examples. So, for example, in this case, I have a very simple beat. Let's hear it. It's just drums. And it continues. But at any point that it
is more favorable, I can count the beats, one, two, three, four, and
maybe I can cut here. And literally, by feeling the song and counting the beats, you can cut at the main
beat and it sounds great. I can cut maybe a
little earlier. Like here, let's hear
it. Sounds great. And just like so, because
you have a simple beat, you can count one, two, three, four, and you
can cut at each one of them, and it will sound good. That's how you can
stop the music, how you can stop the
song at any point. And that's how you
control the music. And let's hear it
at an example here. Being 100% honest with you, having most of the
gear that I want. I want to head on this
key chain camera. And you see, I ended
the beat right here. 100% Addis with you. In theory, I could have ended there and used another beat, but I did it so I could, like, emphasize more on what's
happening on the video. Being 100% Odis with you, having most And then you
continue on the same beat. And you see the timing of the intro was perfect
with the base. That's when the base starts. On this chip camera. That's when we're
picking up the song. That's why I decided
to cut there before so I could time this part
a little bit better. And then by continuing this
with the same technique, I can stop the song
when I start to speak. I got it delivered, and the
box has seen better days. It was a completely natural
transition. You saw how? I got it delivered,
and the box to tattoo. Tune ta ta, and then you stop. While you're stopping,
I'm continuing to speak, and the focus shifts on me. And that was a great transition
by just cutting smartly. I got it delivered, and the
box has seen better days. My favorite are these
too, and they advertise. And you don't need
the background music, always. You can just talk. But by using this
song intelligently, it makes it so
satisfying to watch. Being 100% honest with you, having most of the
gear that I want. I want to hate on this
key chain camera. I got it delivered, and the
box has seen better days. My favorite are these two, and they advertise
seven photo filters. Of course, for this trick, the
music choice is essential. Remember that duality of how you control music or the
music controls you. For this trick, sometimes
I purposely use a simple song with a simple
beat so that at the end, the simple rhythm and
predictable beats, and I can control the music
to end whenever I need it to. So this is a very
powerful technique. So I'll see you in the next one where we'll learn further.
6. Music Manipulation Technique 3: Reverb: So far, we learned two tricks, one where it really depends on the external and
the second one, if the music is a
little simpler. This third technique is
one that I use when the previous one just cutting to the beat to a simple song
really doesn't work. Maybe the song has a lot of instruments or has
a lot of going on, and if you just cut
it to the beat, it will just feel abrupt. It doesn't really work that way. Because the best
editing is actually the one that the viewer
really doesn't notice. In a way, it's kind
of like a goalkeeper. If you save shots
throughout your career, no one really notices. But if you concede a goal, all of a sudden, everyone has the attention on that thing. The same thing applies
for video editing, and in this case,
for audio editing, if you just cut a song abruptly, all of a sudden, the viewer
is like, Whoa, what happened? And it feels weird and
you're already distracted. You're not focused on the
storyline of the video. But you're focusing
on what was that? And the flow is over. That's what you don't
want. That's why we have another technique, and it is called the reverb. This requires a little more
tinkering here and there, but it is so worth the result when no other
technique works. For example, I have this song, which has a lot more components, so it has a lot
more layers to it. And if I was just to cut like the previous simple beat like the drums, it
wouldn't really work. Let's try it. Let's try it here. It sounds abrupt. It doesn't really
sound professional. That's why we use reverb. Reverb basically use the
beat and then extends it. It's like an echoing oh. And of course, this depends
on your editing software. If you're using Adobe Premiere, then you can use
Audio Track Mixer. You go here on the
different audio, and then you come here reverb, studio reverb, make it decay or low frequency
cut a little bit wetter. But of course, this depends from editing software to
editing software. If you use another one, I totally recommend you
just go on YouTube and type how to end the song in the
reverb, this editing software. Just make sure you have reverb. And by having the reverb,
this is how it sounds. You see, the beat
just extends and it makes it so there's a
nice transition. Oh. And then the viewer kind of forgets about it, it
doesn't even notice. But if it didn't
have the reverb, it would just end a
little too abruptly. That's why the reverb
is crucial here. So let's maybe watch
this video here. On the left side,
I have the newest. This is the reverb
here, this part here. That's when I use the reverb. New TDS that was
released in 2015. And ten years later, I have here on the
right the AYNTor an emulation device that
is a complete beast. And just like so, it was such a smooth transition
because the song had so many layers to it,
I couldn't just cut it. I had to use reverb. Maybe
by now you're thinking, Wow, this editing thing for music
is quite a lot of work, quite a lot of active
process and active steps. And yeah, this is completely
true for any great video. You don't notice the
transitions are so smooth, but there was a lot of
thought process behind it. That's why I truly meant in the beginning that
great video editors spend 40 to 60% of their
time just on the sound, not even on the video.
But don't worry. Tinkering with things like
this is actually great fun, especially when the result,
it's so satisfying. That's what I'm all here about. And I'll see you
in the next one.
7. Music Manipulation Technique 4: Count: Next music manipulation
trick is huge. It's actually the
one sometimes I most use because if you have
a song that's too long, you can use this
technique to shorten it, but you can also do the reverse. If you have a song
that's a little bit too short and
the video continues, then you can extend
it a little bit. This is by far the most
powerful technique because basically a musician
when they composes a song, it has a beginning, a
middle, and in the end. And by adjusting it
just the right spot, you'll make it so that the song ends perfectly with your video. And this is by far the
most satisfying one because it just ends right
there when the video ends. It is perfect. This wasn't just
an overnight stay. It was a window into
lives we don't often see, and I won't ever forget it. According to Rio and me, we definitely agree that what starts as a
rental agreement, if it clicks correctly, can grow into a real friendship. And cut. It was good. That was
good. That was good. Because the single thing I see most amateurs do
is the video ends, and basically the
song ends there. It is not satisfying. It is quite like, abrupt,
and we don't want that. So let me show you
exactly what I mean. So in a very common scenario, using the same song, sometimes the song has a drop like here. But sometimes you want this drop at a very specific point. So that's why you can use
you count the beads here. Three, four, one, two, three, four, one,
two, three, four. And when I say four, and this is really
just a feeling just counting the beats of the song. I can cut here, one, two, three, four,
and I cut here. And then one, two, three, four, and
then I cut here. For example, if I want
to shorten it because I cut on beat four here
and beat four here, I can, in theory, just merge them together,
and it will sound like this. If this is still too long, you can still count
one, two, three, four. And then you cut
here, merge together, and then you have a
much shorter intro, and it goes right to the beat when you exactly need it too. By cutting on the same beat, you can merge or if
you want to extend it, you can basically just
copy this several times. All sorts of songs have
a repetitive sequence. And if you use the
simpler parts, for example, if you want the
bass to go a little later. One, two, three, four, one, two, three, four, because
I have this four, I can copy and paste here. And basically, I'm just
extending the song. Two, three, four,
one, two, three, four, one, two, three, four, one, two, three,
and it continues. And I'm just extending
the song a little bit so that the beat comes
later. That's good. And for example, if you
want the song to end at a very specific point,
one, two, three, four, Look here, one, two, four. Four. Okay. So for example, if you have the beat
here, you count also. One, two, three, four. And on one, I cut here because
there I also cut on one. I can theoretically
merge together. And let's listen. Oh,
it wasn't perfect. Let me just cut a
little frames here. And the trick that helps is you transition this so
that it's smoother. It kind of merges
between both of them. Sometimes it's a frame by frame. You cut a little frame, extend a little frame to make sure they merge the
pieces together, and that's how you end the song perfectly
how you want it. That's it. That's the ending. That's a very satisfying ending. This trick is mega powerful. So yeah, you don't need
any musical expertise. You just need to listen
to the music, to feel it, count the beats, and
cut the same one, and then join them together. Or if you want to extend it, you try and find a
repetitive beat part and you copy and paste
around the same beat. This is by far the
technique I use the most because I want to end the
song in a satisfying manner. But remember, there are always the previous
techniques that I use. This one, specifically, I
definitely always use it, especially when the
video is ending. Especially because
the other ones, you kind of cut it or stop it, but it doesn't feel finished. It's more to be used in
the middle of the videos. Before we go to the last
manipulation trick, there's something
very important I would like to speak
about. I'll see you.
8. Where to Find Music for Your Videos : I'm putting this section exactly here because without this, the next manipulation technique
just does not possible. Many people ask, Where
do I get my music from? It's a very common question. And in the beginning, I just use the songs from YouTube
creative studio, the ones that are
copyright free. There are many and
it actually has quite the extensive library by what you see
here on the left. Zahor actually
substitute the new TDS? Is this an upgrade or just
a different experience? In this video, I'll
fully compare it. But then I started on
dwelling on this idea. Maybe I should get premie music. And I dwelled on this idea
for so long, for many months. Actually, I think it
was like half a year. When I actually finally did it, I couldn't understand why
I didn't do it sooner. I honestly should have done
it sooner because there are two major reasons on why you
should get premium music. The first one is the
most obvious one. Everyone knows about it. It's basically you get
higher quality songs. The quality of the
copyright free songs you get on YouTube,
sometimes it's great. It's kind of hit or miss It
is a bit limited in use. You might have to
repeat a few songs. But the quality you get from the premium songs they
elevate your video. As I've told earlier, the audio, the music choice, makes
or breaks the video. And by having a
higher quality audio, it also automatically
elevates your personal video. The second and more
important reason that people don't
really understand why they're so important is that you can download
the songs in stems. For example, a classic band, you have the drums, guitar, bass, and the vocals. And by having these four stamps, you can cut them
out individually. If you want a song
with instrumental, you cut the voice,
and that's it. You basically opened up to a
whole world of flexibility, so you can edit
throughout this video. Now, there are two major premium music
platforms that exist, artless and Epidemic Sound. And I work with both
of them, actually, artless for my job, and epidemic sound personally. So I understand
both of quite well. If I were to
personally recommend, it would always be
epidemic sound. This is mostly because artless is less focused on the songs. It has other features,
AI features, for video. And a lot of the songs, you cannot download the
stems individually. You can, for a lot of
them, but not all of them. However, for epidemic sound, the majority of songs, you can download individual
stamp so you have the max, flexibility, and also quality. That's why I personally always
recommend epidemic sound. If you're personally
interested in subscribing, I've added a referral
link down below. So with that said, I'll see you in the next very
important lesson.
9. Music Manipulation Technique 5: Layering: Any song is generally the combination of
several instruments. In a classic band,
you've got the drums, guitar, bass, and the vocal. And for a choir, you have all the four ranges singing
together, creating a harmony. From the previous lesson, you learn that you can download the songs in individual stems, and this is what
I'm diving into. It opens the world to a enormous
amount of possibilities. So this is what I'll get into. So most songs usually
just have a drum. Let's listen to only
this track here. This is just the drums. And then you can add the bass, too. And then you can add
the other instruments. It's nice. And then, of course, you have the voices. Halloween. So far away. And you see how
important this is because I can edit
out a few lines. Imagine this happens. Far away. And then in the video, it's someone talking about
something else. And then when the person
finishes talking, you can re add the voices. Out. And another way to
end the song is by slowly taking every step
in the perfect place. So, for example, what is it? No more voices from now.
It's just instrumental. And then you can take this, the, the instruments and make it just the
drums and the bass. You take the bass. And remember the second
manipulation trick where you cut because
it's a simple beat. Well, here, you have
all this complexity. You have all these instruments, and by taking bit by bit, you're basically
deconstructing the music into a basic form. And because you only
have here at the end, drums and bass, I can just use the second technique
and cut to the beat. And that's how it
ends. Of course, I can use the other techniques. I can extend it or shorten it. You have so many possibilities. There is no excuse to never end the song
perfectly to your video. That's why with
these techniques, having all the stems, it opens a world of new things. And in the video, this is
how I used a fanny pack. It's not trying to be better
than any other camera. It's just meant to be See? I'm talking in the video, and there's no voice.
There's no vocal. And as soon as it starts, that's when the vocal starts as soon as the
compilation start. A really cool looking piece
to be used spontaneously. That's when the fun
actually started. Yeah. Hello, so far. I. How else can we take? Have to admit. As a key chain, I'm very excited to have a time. And you saw I applied the last technique where
I counted the beats, and then I use the
last part of the song, so it ends perfectly. And in this case, I
didn't want the drums. I wanted a more simple part. So because I'm talking over it, having the drums would be
a bit too distracting. And this case, I
decided to remove them. I do have to admit as a
key, it was a smooth. I'm very excited. Until
the end, basically. Having the stems
just really makes the whole process a bit easier so you have
more flexibility. Having this flexibility
alone makes it so worth it having
premium music, let alone the quality increase. And with that said, we
conclude the music part. The next part, however,
it is equally as important as music
is adding impact, adding feeling,
detail intricacy, and it is sound effects.
I'll see you there.
10. Adding Impact: Sound Effects for Video : Most people sleep
on sound effects. They ignore it because they think it doesn't really
add that much value. When it really does,
they think, Oh, it's so much work when it really doesn't need to be actually,
I'll teach you later. Because when we're
talking about audio, the best audio is when the microphone is
closest to the source. For example, the
camera is right there. If it were to be without the lavalier microphone
I have here, it wouldn't sound as good. Or, for example, if you see
a train in the distance, it will never sound as good
if it was a little closer. Of course, you can
download the sound effects individually on YouTube, but the best ones
and the easiest way to do it is with your
premium platform. For example, on Epidemic Sound, you have a tab on sound effects, and there you can just write
whatever sound you desire. A background sound, a
closing the door sound, really anything you
can possibly think. With that said, there are
two types of sound effects. One is the realistic ones, the nice sounds of the
wave of the beach, the trains, the door closing. And the second type
of sound effects are the dramatic ones. These don't really exist
kind of in real life. You don't hear
them in real life, like a woosh or an impact. These add emphasis, weight, and a little bit of drama to it. So this is what we'll cover in the next two lessons.
I'll see you.
11. Sound Effects: Creating Realism : These realistic sound
effects make it so that the viewer you can touch the video. Sound is so important and by having it right there
at the perfect moment, it elevates your video. It makes it feel more tangible. It sounds so satisfying. But the important part
is to not overdo it, not to use your sound
effect too loud, to make it a bit too obvious. You want to be more
subtle about it because our human brain is wired to understand sound
in great detail. Don't believe me, what if I
told you you can distinguish between hot water and cold
water being poured on a cup? For example, and So yeah, the first one was hot water, and the second one
was cold water. That's how much in
detail that is. That's why it is
really important to find the right sound effect. If you're opening a door, if it's a wooden door,
you can hear it. If it's a metal door,
you can also hear that. And that's why for me in
the premium music platform, I write specifically what I want wooden door or small object, big object falling,
things like that. And for you to
really understand, I'm going to show
you a short video on where most of the
sounds are fake. They're fake, but
they're realistic fake at it in a good sense. But it's called y'all so
it's called y'all my so. With that said, I'll see
you in the next one.
12. Sound Effects: Creating Drama : In the previous lesson, we
learn how in detail you can hear the sound effects and how important they
are for a video. And in this video, we'll learn
about the other spectrum, the dramatic sound effect, the types of it, and
where you can use it. For the dramatic sound effect, I have a few ones I usually use. They're in different categories. So, for example, I
have the boom sound. And I just use them
sometimes when I'm putting something and to add some emphasis,
it's there. Or if I'm showing a photo, I have a camera shutter sound. Or if I'm placing something, which is something I do often, then or sometimes if
I'm doing a transition, I like to use a switch sound. Or if I'm doing
something like text, then I use the winding sound. And of course, you can cut and extend it more or
make it shorter. If you want to
sound professional, you shouldn't overdo them. But of course, if you're
doing a comedic video, a more casual video, you can overdo them
for comedic effect. These are sound effects
I personally have on my folder ready to use so that I don't have to
search them every time. So with that set, I'll
see you in the next one.
13. Efficient Editing Workflow : Wah, it feels like you've
learned quite a lot. And I don't want
to overwhelm you. That's why this lesson is here. There's a few steps I like
to take in a certain order. Feel free to mimic my way
or just do it your way. There's no rule about it. But I feel this is the most effective way when I'm editing a video on how I deal with the video and sound and
then sound effects. So I usually start the video
with the introduction shot, which is, in this case, it's
just me putting the camera. And the second thing I do, I add my voiceover and my song. Being 100% honest with you, having most of the
gear that I want. I want to hate on
this key champ. See how it starts to evolve. And then afterwards,
I have the rest, which are the sound effects. Being 100% honest with you, that's when I added the
camera and put it there. That's with you, having
most of the gear there. And for more dramatic effect, I decided to use
a tick tack from a clock so that I change
from object to object. Most of the gear
that I want. I want to hate on key chat cab. And here, you see, I use the boom sound effect.
Let's hear it. But then I also use
other sound effects. Just a falling down object and then a camera shutter
just for the arrows. And how does everything
sound together? I want to hate on this key
chain camera. I got it. Now, imagine if I only had
the song and my voice over. I wouldn't really
sound that great. Being 100% honest with you having most of
the gear that I want. I want to hate on
this keychain camera. It sounds okay, but having the sound effects
just adds something. I got it delivered, and the box has seen better
days. My favorite. So I hope you understand that I first start with the
video and voice over, and then I choose the music
that matches that feeling. And then when I have the song, I can manipulate it or the
song kind of controls me, the tempo, the rhythm. And at the end, when
everything's really ready, that's when I add
the sound effect, the dramatic sounds, the booms, and the placing effect, and at the end, you
have your final video. That's how I usually go for it. So with that said, I'll
see you in the next one.
14. Full Editing Examples (Step-by-Step) : Now having everything together. I would really just
like to explain a few final examples
so you can really fundamentally understand
my thought process behind things and maybe how I use
these certain techniques. This is going to be fun. In
order to solidify everything, I'm going to share with you my personal thought
process when I was editing the videos on the sound
for you to better understand the things I taught
before and how I use them. So here I already explained, I really wanted this part here. Let's just hear it. I chose this song
because it really felt like an energetic
intro and I liked it. But I really want this part to be when
I revealed a product. That's why I added a
little bit here of this part of the song,
and then I paused it. So I could continue with
a simple beat so that this part matches exactly
when the product is there. Oh, and it's so satisfying, especially with
the sound effects, the boom and the placing. It just makes it so crisp and it already
tells the viewer, right in the first
10 seconds that, you know, this video is gonna
be really high quality. And for this song,
I really wanted two beats to drop because
I'm introducing two things. That's why it starts slow, and then it goes
immediately into the drop. On the left side, I have the newest new
three DS that was. And you see how the music controls the editing
right there, but I also control the beat
and how long it takes. On the left side,
I have the newest. And this was, again,
that powerful technique of counting the beats, one, two, three, four, and then cutting at the same beat
and then merging together. On the left side,
I have the newest, new three DS that was released in tooth because this is
how the original song is. You see how slow that is? It doesn't fit my story. That's why I counted the beats a slow start and then
immediately there, and then maybe slow again,
and then the beat again. And this is how I
On the left side, I have the newest new
three DS that was released in 2015 and
ten years later. And in order to transition, I use the reverb because it has everything
at the same time, so it smooth transition
out for a pause. On the left side, I have the newest new three DS
that was released in 2015. And ten years later, I have here on the
right the AYN Thor. And there I cut to
the beat again. Boom. That's when it starts. An emulation device that
is a complete beast, inspired by what you
see here on the left. Ze Tor actually substitute
the new TDS, is this? And the rest are
the sound effects. Because the song already had
so much drama and emphasis. I really didn't have
the need to add booms or dropping effects
or anything like that. The song already carried a lot. But just by intelligently cutting the song
to fit my video, it made this intro super strong. And here, for the
first few seconds, I have to tell you I spent most of the time tinkering
with the music. I would say maybe
70% of the time. The rest was kind of easy. It's just like adding shots on top of each other for the video. And then here on
my last example, I start with a riser because I wanted to transition between the light off and on. And because this is a
horror typing game, I wanted a horror music
to match the feeling. It's been three years since I So by using these
two sound effects, a riser and then a boom, it makes it for
quite a nice intro. Just like that. Boom. It's been three years since I've made the typing fast tutorial. But the problem is, I
stopped practicing. On. And then the trigger
so I could stop the song. This lee wasn't
that fun anymore. And because I stopped,
I can continue with the same song because
it has the same feeling. But on the beat,
that's already further ahead because we jump
right into the action. Until now. Put guy. Please don't kill please I cut here because this
would go on forever. So that's why I decided
to shorten it a little. I count in the same
beat and I cut, and then I merge together, so it would end perfectly. And you don't even
hear where I cut it. That's why when the end goes, the song also ends perfectly, just by manipulating the
beats and merging together. Most of the cases,
you don't want to extend because I don't know, it depends on your
editing style, but in most cases, I just cut at the
same beat and then merge together so that
they're a little shorter. You suddenly wake up and
then you continue with a different song
because this one ended with a different feeling. With that said, I'll see
you in the next one.
15. Outro : Thank you so much for
coming along this ride. I hope you learn how
to improve your video, the music, the sound effects, and take it to the next level. Maybe at first it might seem like a lot of
it at the same time. And I hope these final
examples really help you solidify and
understand this concept. This feeling the music effect can only be achieved by doing it over and over again and trying over and over
again. But don't worry. If you have any questions, feel free to post them in
the discussion tab below. I create more cinematic storytelling videos
in my main channel, so feel free to check those out. More importantly, if you're
interested in doing videos, feel free to check my other
classes where I go into more detail into very specific
things like storytelling, specifically, editing or
how I compose my shots. Don't forget to
send your timeline. I would really like to see it. And if you enjoy this course, feel free to leave a review. It really helps. With that said, I wish you the best of luck
with your future projects.
 Edi Liang, Physicist + YouTuber