Transcripts
1. Trailer: Did you know that you
can paint on candles? Grab your markers,
'cause we're turning plain old candles into
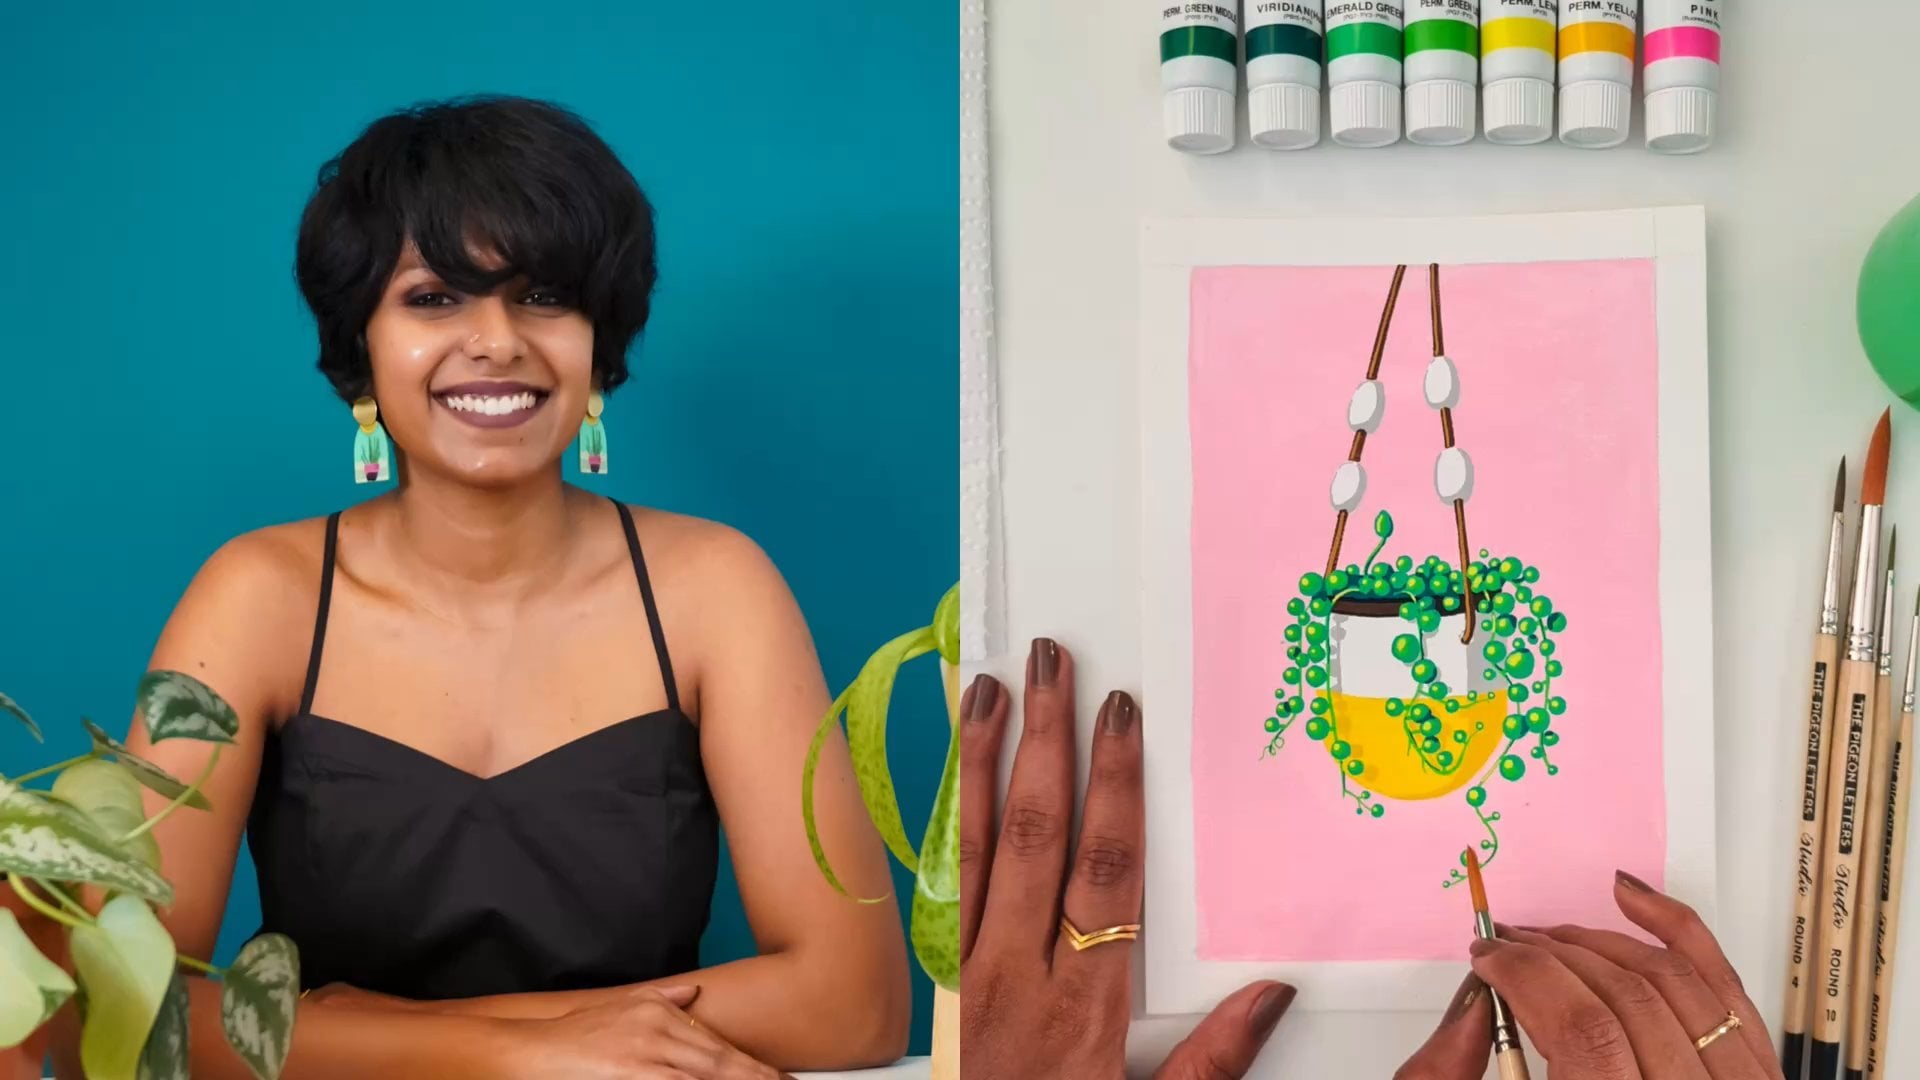
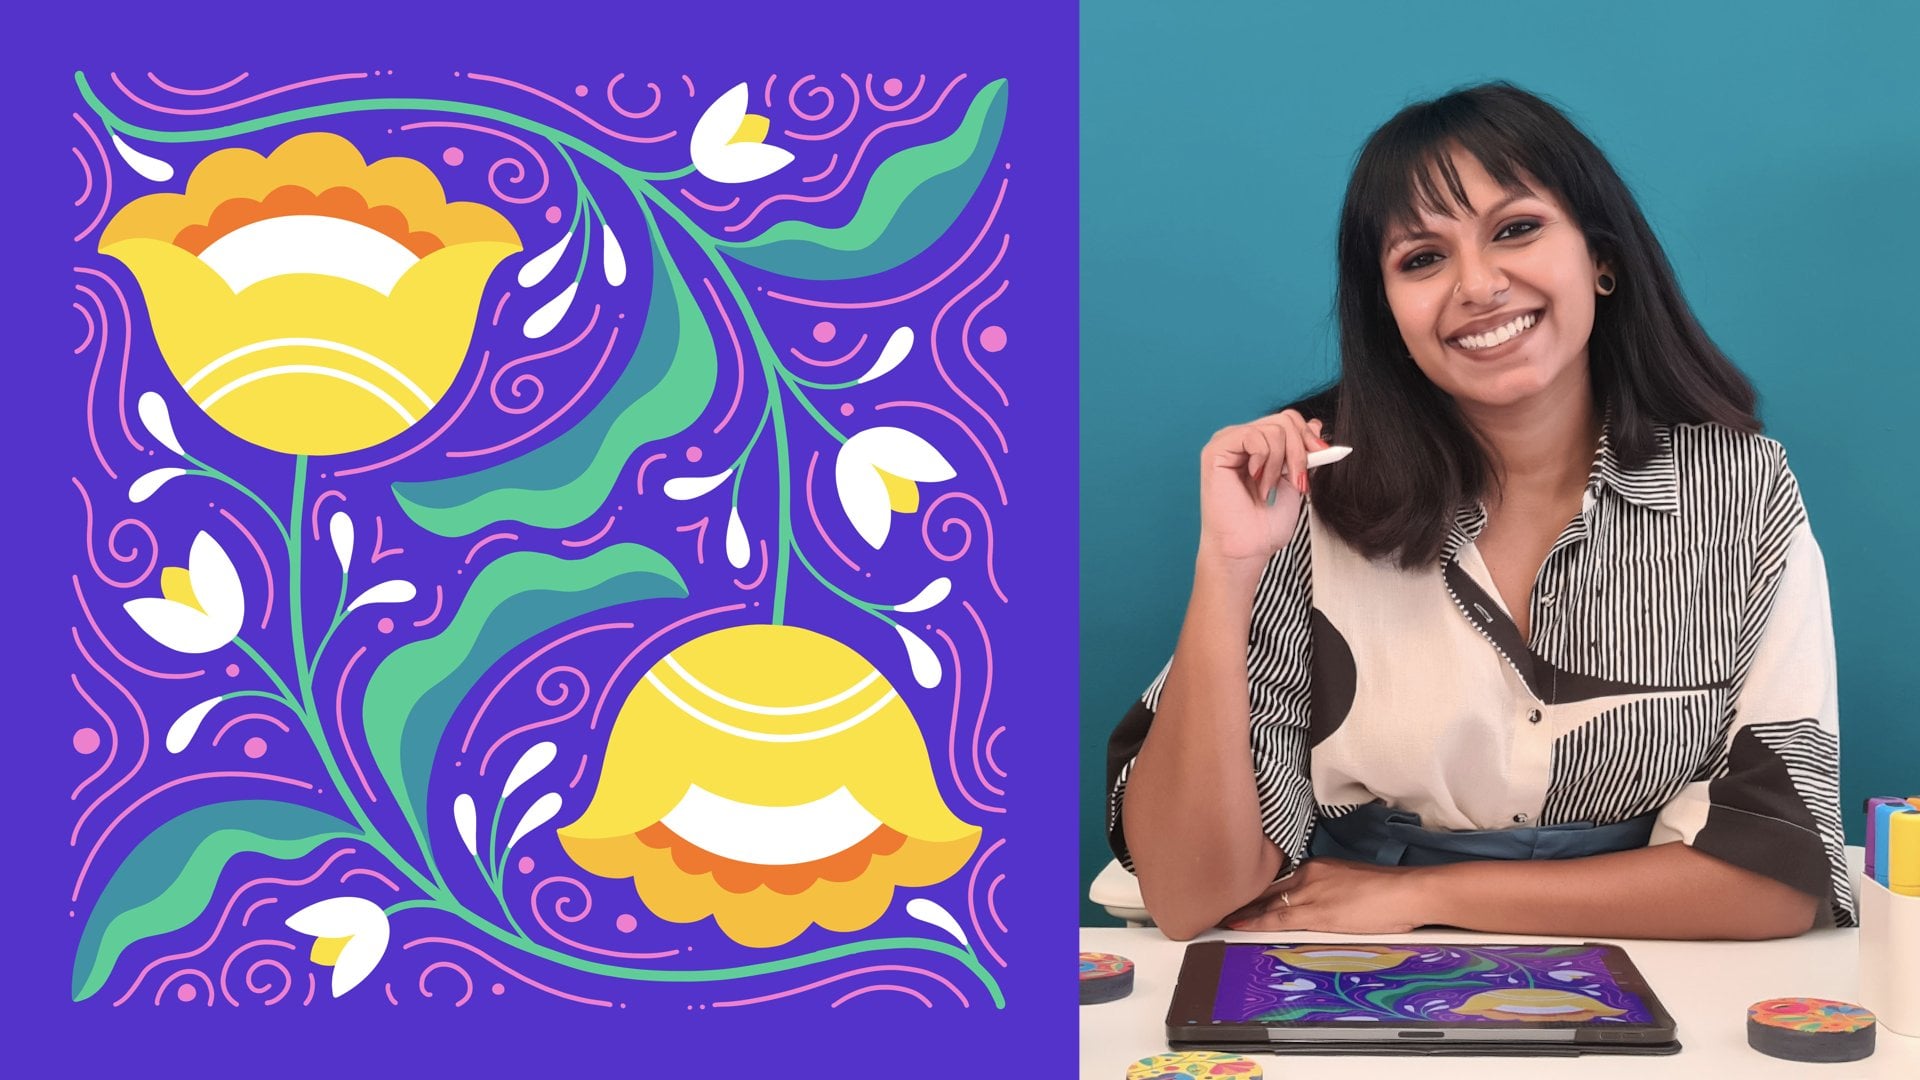
holiday showstoppers. I'm Bonita Merman, an
illustrator, lettering artist, and Skillshare top teacher specializing in bold,
empowering art. Besides freelance lettering
and illustration projects for commercial clients, I love creating colorful, joyful projects that bring
art into everyday life. Welcome to my make it
Merry series where we give new life to
plain everyday items, turning them into
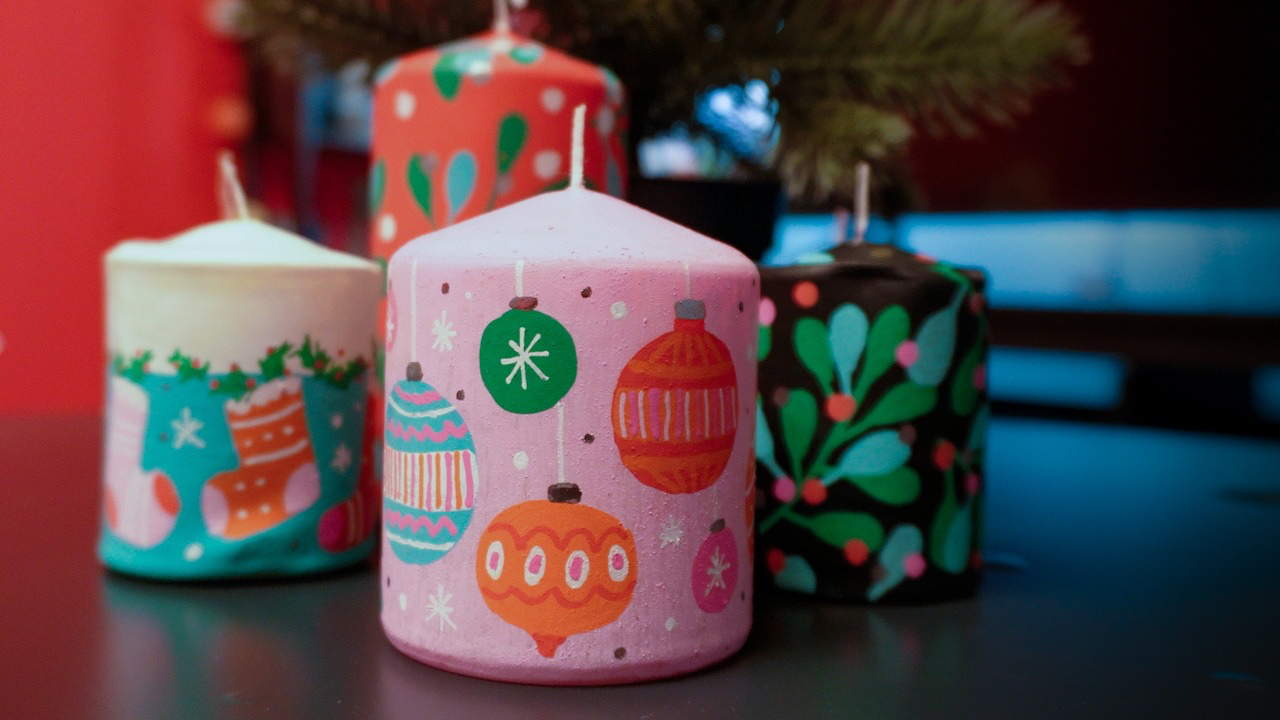
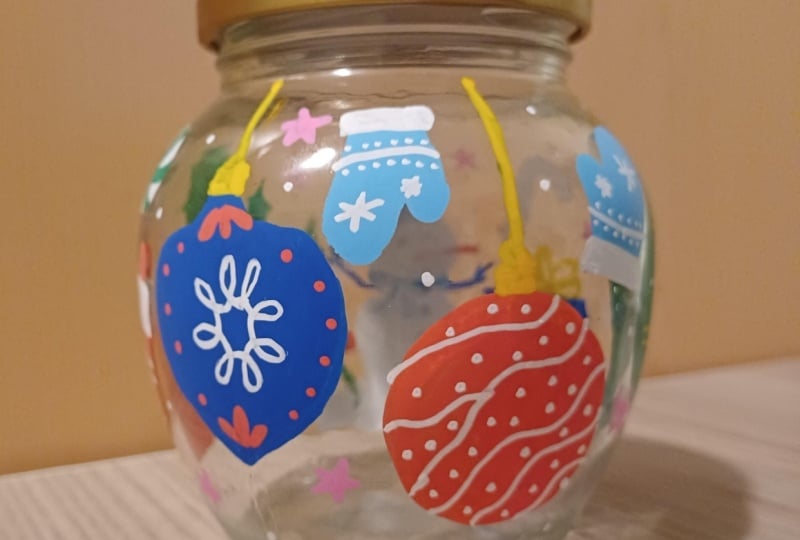
cute holiday art, bursting with personality. In this class,
we're transforming simple block candles into stunning works of art
covered in bright, cheerful, hand painted
holiday bubbles. No brushes, no mess. We're using acrylic
paint markers, which are my secret weapon
for creating crisp, vibrant and professional
looking designs with zero fuss. This last is for
anyone who loves the holidays but craves
a personal touch, whether you're a
seasoned crafter or a total beginner looking
for a fun offbeat project. If you want to create
unique decor or give gifts that truly come from the heart, you're
in the right place. We're gonna keep it
simple and joyful. I guide you through my
entire mess free process using acrylic paint
markers on candles. We'll start by
choosing a limited, modern festive color palette
that's anything but boring, and I'll show you what to look
for in the perfect candle. Then the real fun begins. We'll paint our background, create playful bobble shapes, and deck them out with fun details like stripes,
dots and patterns. Finally, we'll add those
whimsical finishing touches that make your design truly pop
and bring in that wow factor. By the end of this class,
you won't just have a beautiful candle
that's uniquely yours. You'll have the skills and confidence to create
your own custom designs. You know how to work with
paint markers on wax, how to build a
balanced composition, and how to add
that special magic that makes a design same. So if you're ready to make it merry with some pretty candles,
I'll see you in class.
2. Overview & Class Project: I'm thrilled that
you've decided to board this DIY train
with me today. Before we jump into
painting our candle, I want to give you a quick
overview of this class so you have a better idea of
what your class project is, the supplies you will need, and how the class is structured. So your project for
this class is to paint a block candle with me using
acrylic paint markers. I will be demonstrating
this by painting some fun bobble designs all across the
surface of my candle. You're welcome to follow
along with me and use the same color palette
and the same design, or you can just learn
from my process and do something completely
different, totally up to you. Once you're done, you can share
your project by uploading photos of your very
own masterpiece to our class project gallery. Just head to the Projects
and Resources tab under this video and click on
the Submit Project button. You can then add
a cover image and a title for your project and then use the project
description section to share more photos
of your piece, including work in
progress pictures and insights into your
experience doing this project. I would love, love,
love to see what you create and hear about your
favorite parts of the process. Don't forget to also check out other projects in the
class and engage with them to make the most of this wonderful global
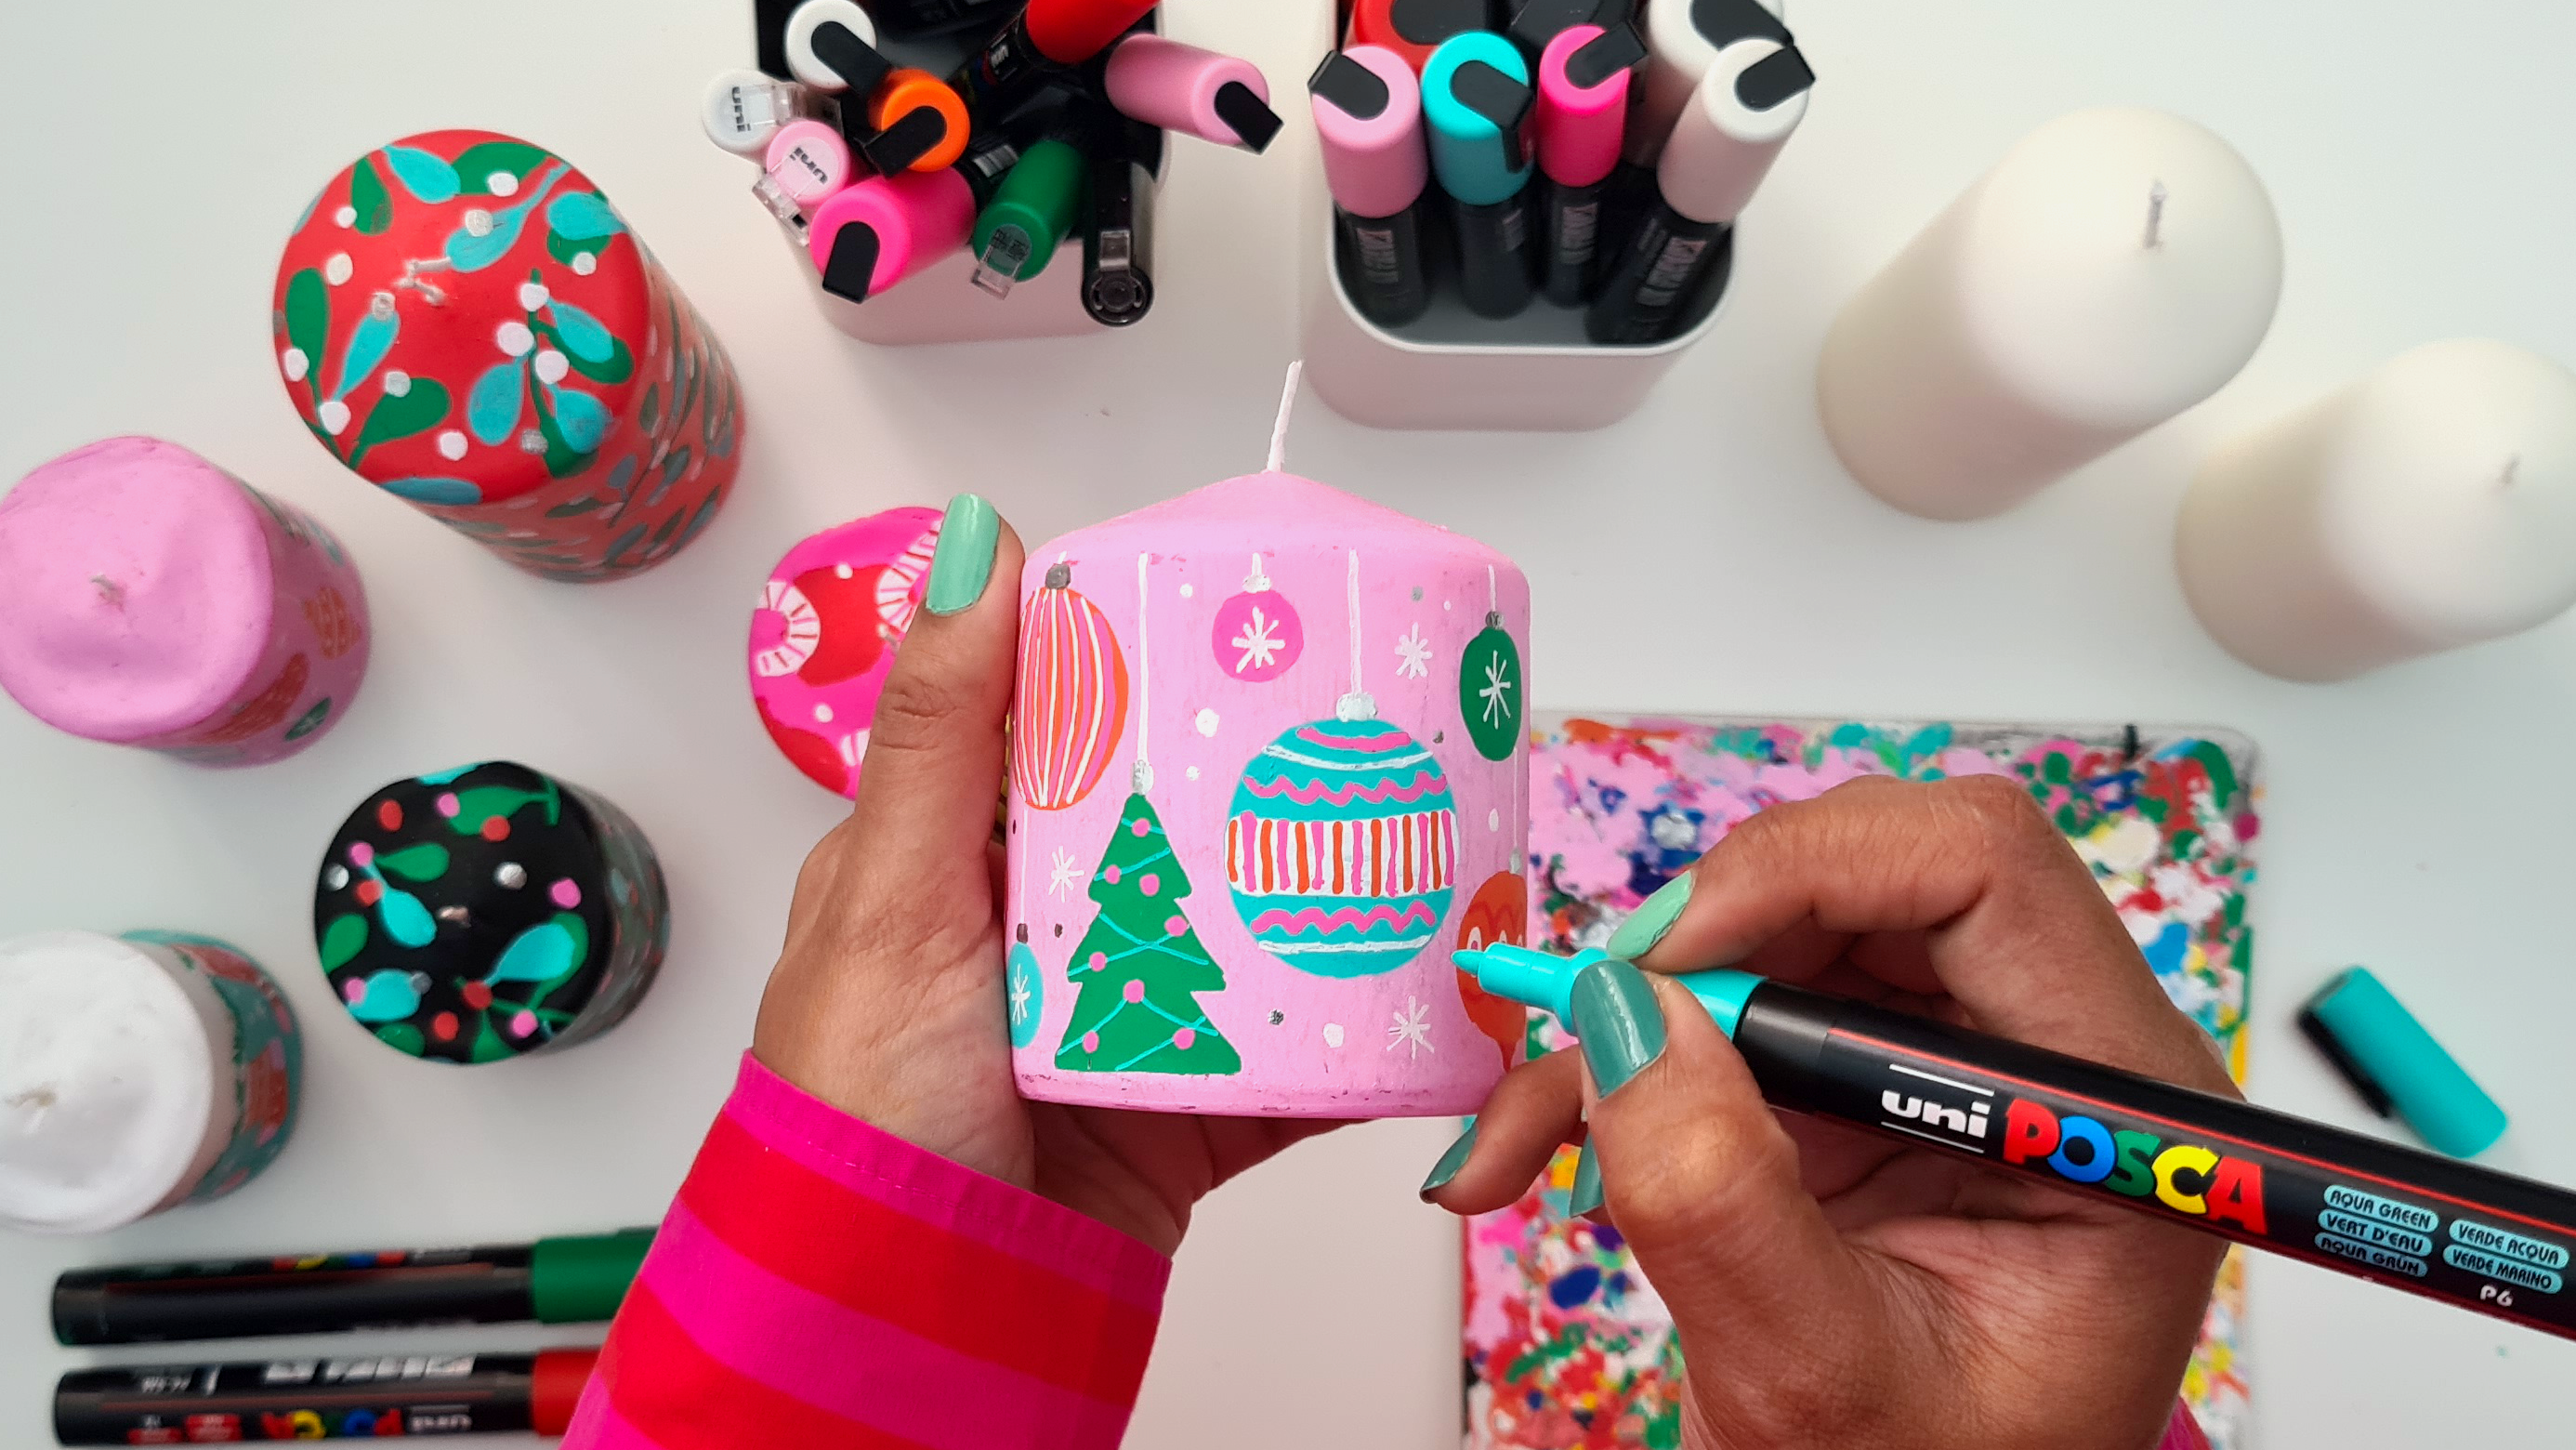
community of creatives. As for the supplies
you will need, you'll need acrylic paint
markers, of course. I'm using these markers
from the Posca brand. You can use any brand of acrylic paint markers
that you have at hand, or that's available
locally to you. This is the color palette I've picked out for this project. I wanted to keep it Christmasy, but also make it
more modern and fun. So I went with these sort
of candy toned colors. So pink, red, orange, green. There's really fun
aqua color and white. I have these in a
variety of sizes. Here, I've picked
out whatever sizes I have with me in these colors. So this is the eight K size, which is the biggest I have. I won't really be
using this size for this project today because, well, I usually use this
size for the background, but the background
color I've picked for painting our candle
is this light pink, and Posca doesn't make the pastel colors in this
size, as far as I know. So yeah, I will not
be using this size, but if you're using a different
color palette or picking a background color that is
available to you in this size, I'd recommend you
go with this size because it is much quicker, much easier, and gives much cleaner results
with this one. I have to go with the
next best option, which is the PC five. PC five M is a
good size to have. It's very versatile
because you can do both bigger areas and relatively
smaller areas with it. So I have all my
colors in this size. Then I have a couple
of them in this size, the PC three M. This size is
great for smalleish details. And finally, the one M
size for finer details. So these three sizes are what we'll be using
for this project. The five M, the three M, and the one M. The one M is
also not that critical here. If you were to pick
just two sizes, I would go with five M and three M. So with just
five M and three sizes, you can manage to do
this type project. The rest of them are
optional nice to have sizes. Okay? Then we have
one more marker, which is this silver
chrome marker. I'm using this one
from an Indian brand called Brostro. It's
a really good one. But if it's not
available where you are, I'm sure there are other silver chrome markers
that you can find. You can choose not to include
this if you can't find one, but I feel it elevates
the design quite a bit. So if you can get
your hands on one of these chrome markers,
I'd recommend you to. Cool. So that's all the
paint markers you'll need. Then you'll need a surface
to pump out, paint on. You can use clothing tags
or basically any piece of thick paper or cardstock or cardboard that you don't
really need will do, because we need to
pump the markers as a step to prime them
before using them. And we need a
surface to do that. This piece of cardboard from some Ikea packaging is what
I've been using for years, and it's been serving
me well so far. Right. Then you need
candles, right? I mostly end up buying
mine from Ikea. I picked up this set of basic white candles
in different sizes, and I'll be using one of
these for the project today. There are other options as well. These ones that come in a set of four are also a great option. So pick up whatever
works for you. Just one thing I would pay
attention to is the size. I would suggest that you go
with something that is short. One because a smaller candle
means less area to paint, but also because you can
then hold it like this. You can hold it on the
top and bottom like this, which makes it
easier to paint on. This size also works
well that way. You can hold it like
this comfortably and then paint on
these surfaces. Whereas something
like this would be too tall to hold this way. So just something
to bear in mind, especially as you're
starting out. Eventually, you can figure out how to tackle taller candles. But for now, I'd suggest
sticking to short ones. This is a candle I'm
going to work with today. It's about 10 centimeters in diameter and about
12 centimeters tall. So it's a good size
to get started with. This class will follow a
very simple structure. We'll start by going over some acrylic marker basics to set you up for success
while using them. And then we'll jump straight
into painting our candles, starting with a solid
color for the background. We'll then create fun bobble shapes
throughout the sides of our candle and then add some playful details
to decorate them. And finally, we'll
bring our candle to life with some fun
finishing touches. You can either follow
along with me and do each step as we go
passing as required, or watch the entire class first and then rewatch it as you
create your own piece. Now for the can we
light it question. From my research, what
I found is that since these markers are non
toxic and water based, it should be safe to light
the painted candles. But I probably won't cause
I don't think I have the strength in me to
actually burn these babies. In any case, do
your own research. Look into the specifics of
the markers you're using. Even if you're using
Posca markers, I'd say look them up and take a well informed decision on whether you want
to light them or not. Don't just take my word for it. Whether you like them or
not, they're going to be gorgeous additions to your holiday decor or
gifting this year. All right. So shall
we get right into the class by taking
a closer look at Aquila paint markers?
3. Acrylic Paint Marker Basics: Before getting on with
painting the candles, I want to quickly
take you through some acrylic paint
marker basics, some best practices on painting with acrylic paint
markers in general. Like I mentioned,
acrylic markers are basically acrylic paint
in marker form, right? Which means this barrel is
filled with acrylic paint, and we have some things to
keep in mind while using them. One, we need to prime
them. It's very simple. You just need to first shake it for a few seconds,
maybe a minute. And then you need to pump it. And this is something
we do before we use it every single time, and sometimes even
while using it. When we see the paint
not flowing out smoothly enough or
pigmented enough, that's usually a sign that the
marker needs to be primed. This is what makes the paint in the barrel run nice
and homogeneous, so we get that beautiful
coverage when we paint. I'm not going to be
showing you this priming step with every marker, but I'll be doing this
with each marker. I hear there are some
newer paint markers available now that do not
require this kind of priming, which sounds fantastic, but I haven't yet had a chance
to try those out. But most markers, as of now, will need to be shaken
and pumped like this. You'll see instructions
like this on your marker. Just follow those, and
you should be good to go. It's a good idea to shake and pump all of the
markers before you start if you don't
want your flow to be interrupted too much while
you're doing your project. And secondly, we need to
wait for each layer to completely dry before adding
any paint over it again, whether it's another color or another coat of the same color. So with acrylic markers, one of the things that makes
it an attractive medium to use is that it's
very layerable. The paints are opaque and you can lay them
over each other. But we need to wait
for each layer to dry completely before painting
the next layer on. Let me demonstrate this to you. So I'm just doing a block
of this green here. And we're going to
wait for this to dry. As you can see, this
is very wet right now. I'll just do another one
with this pink here. Now, as I see it,
there are mainly three reasons for why we
need to let the layers dry. If you go over this
with another color, you can end up with
a muddy color. So the colors can get
mixed and give you results different from what
you're expecting to see. And secondly, again,
if you're going in with a different
color on a wet layer, you can end up
getting the tip of your markers contaminated
with the other color, which I'm not a fan
of doing to my tips. I like them to be nice and
true to their own color. And the third reason is, even if you're not
switching colors, you just want to do a second
layer of the same color to maybe patch something up or get a more even
coat of paint. If you go over this
before it's fully dry, see, you end up scraping the paint off of
the previous layer. So instead of putting
more paint down, I end up taking off the
paint that's already there. Now, even if you end up
doing this by mistake, you wait for this
to fully dry, okay? So I've waited for
a few minutes. You can see how it's not
super wet and glossy anymore. The pink one is
still slightly wet, but this green block is nice and matt and fully
dry to the touch. So I'm going to go over this
with some light pink lines. And see. Now that
it's fully dry, you can go over it
without any issues. It looks nice and clean. We don't have any green
on the tip of the marker, and our colors are nice
and clean here as well. No mixing, right? It can take some
patients to wait for each layer to dry, but
it's gonna be worth it. What I typically do is I do another section
or a different piece while I wait so that
I don't get too impatient and I'm able to
work more efficiently. Cool. Now that all of
that is out of the way, I know we're all waiting
to put paint on candle, so shall we jump right in and
jazz up a plain old candle.
4. Painting the Background : Alright. Ready to jump into the fun part of actually
painting our candle. Let's start by doing
a solid color all over the surface of our
candle for our background. So we'll start with
the background color. Like I said, this light pink is the color I want to go
with for the background. So shake and pump it. You almost always end up having to shake it for
longer than you think. Shake it till the paint looks nice and opaque and consistent, which I think it does now.
So let's get painting. I like to start from the
top just around the wick. Just move the wick to the side and get as close
to it as possible. And just go from the center
outwards. Just like that. All around the top
of our candle. Be gentle. Okay. Don't put too much pressure on the marker because we're painting
on wax, right? We don't want to scrape off
the wax from the candle, so we want to be
nice and gentle. Gentleness is a requirement throughout this project, really. You'll keep hearing me say it. Now, you see how the
paint is looking a bit watery and not so
easy to control. This is again because
you're painting on wax. Wax is supposed to repel water, and this is water
based paint, right? So it's okay. Just work with it. Alright. So because I'm using a relatively
smaller marker and not the biggest size, it's gonna take some time
to paint the whole thing. Now, I feel like
the paint is not flowing as freely as
it was initially. Sometimes it feels like some of the wax gets on the marker
tip, which is fine. We can just rub it off
like this and then pump as usual and then continue. It gets back to being
nice and flowy. So we'll just keep
painting till we finish the top section. Okay. So the top part of the candle
is fully painted pink. As you can see, the
paint is still wet, so we have to wait
for it to dry. Because like I said, initially, we need to hold
this at the top and bottom to paint
around it, right? You can do it in different ways. You can hold the bottom
and paint the top half, wait for that to dry, and
then do the bottom half. So if I'm painting
a taller candle, that's how I would tackle that. But in this case, I think it's
better to wait for the top to dry and then do the
rest of it after that. It's a good idea to do like
two candles simultaneously, especially if you're
doing the same design on multiple candles. It's a good idea to
do them step by step, side by side to make the
most of the drying time. I can get a bit impatient while waiting for
the paint to dry. And like I said, it's actually really important
for each layer to fully dry before you paint over it to get the best results. So this is what I typically
do to get around that. I use the drying time to
paint another candle or two. Alright, so the top is
fully dry to the touch now. So now we can comfortably hold it like this and
paint the sides. Again, very gentle. I'm applying as liss pressure as possible on the marker
as I'm painting. And I also feel like
shorter strokes gives better results. When I go with longer strokes, I feel it gets a bit streakier. So I'd say, when you're filling in larger
areas like this, especially with a
relatively smaller marker, go with Shorter strokes. This part will take some
time, but after this, the rest of it is going to be a quicker process and more fun. Even though this is slow, it's quite satisfying
to do, actually. If you're doing this with
me, you can probably relate. It's quite a meditative process to slowly fill this in, right? I'm not going to paint
the bottom of the candle. That would just be a waste of
time and paint and effort. The paint from the
edges can still get on your hand when you hold
the candle like this. So just be mindful of
that as you paint. Every now and then when I feel
like the flow can improve, I shake and pump,
and then continue. However gentle you
are, some wax will end up on the tip of the
marker and restrict the flow. So compared to painting
on other surfaces, this takes some
more pumping breaks while painting
because of the wax. I don't think it causes any long term damages
to the markers, but just something to keep
in mind as you paint. You can just rub it
off like this and do a couple of pumps, and
it should be good to go. So just like that, paint
around the whole candle, keeping these little
tips in mind. Go gently, hold it comfortably, be mindful of wet paint, and shake and pump when
the flow feels restricted. Cool. So we're almost there now. I just have this tiny
little bit left. And done. So there we go. Our candle is now
fully painted pink. If you want, you can do
another coat once this dries. But in this case, I don't
think it's required. Despite trying not to, I did manage to get some
paint on my hand, which to an extent
is inevitable, I suppose, so be prepared
to get your hands dirty. Now, we, of course, have
to wait for this to dry. Again, if you're doing
a second candle, you can go ahead and paint the background on that
while this dries. You might wonder
why not just get a colored candle like
this? Well, you can. But personally, I feel like
it's harder to control the paint when you paint
directly on the wax. If you want to
paint an intricate design or any design really, you don't really get
that finish when you paint directly on the
candle from my experience. You get much better control
when you have a background that's already painted with
the same posca markers, and then do the
designs over that. The paint just sits
better on paint, you'll get more
clearly defined edges. Same applies if you want to keep a white candle white and
just paint designs over it. I would say, give it a
go, see if you're able to get the motifs to look like what you want them to look like. And if not, I just go with a large white marker like
this over the whole thing, and then do the design. That'll be easier to draw and give you better
results, in my opinion. I also really enjoy this painterly imperfect
look that this has. So overall, I'm definitely
team paint your background. Cool. So we wait
for this to dry, and I'll see you
in the next lesson where we paint our
bubble shades.
5. Painting the Bauble Shapes: Alright, so this is pretty
dry throughout now, so we can go ahead and
start painting our design. What we're going to do is we're going to draw bobbles
throughout this. We're not going to do
anything to the top section, which is gonna
leave it like that. And we're going to draw
some fun bobbles all along the sides in different colours and
different shapes. Sounds good. I like
to go in and paint these directly with
the paint markers without any sketching
or anything. There's no point,
really. It's wax, right? So it's not like
you can erase it if you did a pencil
sketch first, anyway. So we'll just go in with
the markers straight up. If that terrifies you, you can do some trials on
paper first just to get your muscles warmed up and your nerves calm
down a little bit. But really, it does not
have to be perfect at all. Part of the fun of hand
painted stuff is seeing all the wonkiness and quirks
of hand painting, right? So try and just have
fun with it, okay? Cool. So let's start. We can start literally anywhere. So let's start
here. I'm going in with red first and putting
down a simple circle. A simple round bobble. Okay? It's not going to be perfect, and that's
totally fine. Just draw the outline like
that and then fill it in. Again, gently and
using short strokes. Is this a perfect circle? No, it's not, right? But it works. And then we'll add a little stem like this to
make them bubble shape. Cool. That's one down. So first, we'll do all
these solid colors, the shapes of our bobbles
in different colors. Then we'll add some fun
details on them later. Okay? Let's pick a
different color, say the orange and do
a long bobble here. I'll start with a
vertical line like this and then extend
the shape like that on one side first,
and then on the other. Both sides are not
symmetric, but that's okay. We're going to embrace
imperfections. And then fill in the shape. Next, maybe we can
do a green one. I'm just winging it. You don't need to do a lot of planning. I'm basically just
trying not to put the same colors next to each
other. These are our colors. We have this red,
orange, aqua, and green. These will be our bobble colors. So we'll just switch
between these colors. Keep an eye on these
ones that you've just painted and try not
as much to paint. I think I'll do another
big circular one here, which is not all the
way up like the red, maybe a little bit down and
bigger. So just like that. O. It's not really
that much bigger, so I'll just extend it out some more. That looks okay. And then we can fill it in. If you want to mess with the shape some more,
you still can. You can make things bigger,
not so much smaller. Actually, you can make
things smaller, too, with poscas by just using the background color
like an eraser. So this is why pascas
are great to paint with even without a sketch because
they're quite forgiving. Cool. So that's the green. Now I'll do another red, maybe towards the bottom this time. I'm taking extra care not to touch the already
painted bobbles. And with this one, I want to do this toe up kind of shape. We'll draw a line
down the middle. And then an oval
like this first. Fill it in gently again
so that we're not scraping out any
of the pink color or any wax from the candle. And then we'll just extend the shape like this to a point. Yeah. And then again, a little stem on top. Another circular one
with orange now. Don't worry about
the big spaces in between these bubbles right now. We'll fill them up with
other fun stuff later, okay? Oh, we didn't use
our aqua at all yet, so let's do an aqua bobble next. Again, a simple round one. I've left this sort of
triangular shape over here intentionally because I want to draw a Christmas tree. So let's do that next
with the green colour. We'll start with a
small triangle first. Sorry that my hand
is in the way. It gets a bit tricky
to film painting on curved surfaces. But
please bear with me. We'll draw a bigger
one below that. And then an even bigger
one at the bottom. Again, it does not
need to be perfect. We can then fill
the entire shaven. Now we have aqua
here and red here. So we'll do something either green or orange in
the space between. I think let's do orange. I'll do another one of those
turnip shaped bubbles. Cool. Now we can
move on to doing some smaller bobbles in the spaces between
these bigger ones. Let's do a small green one here. I'm checking where else
we could use some green. I think the green is more or
less balanced out as of now, but we can always add
more if we need to. We can also do some
dark pink ones. I think we could use
some pink maybe here. I mostly just keep these
smaller ones round and basic. You can do other shapes
also if you want. They're going to be very simply decorated also, not
very elaborate. I'll do another
pink one over here. So just like that,
look for bald spots, see which color would look best there and just draw
a small circle. Easy, peasy. I think that
looks pretty good for now. We can always add
stuff if we need to, but for now, I think
this looks good to go. So we'll just let it sit
for a bit to make sure that all our bobbles are fully dry before moving on
to the next step.
6. Adding Fun Details : So that's all the
bobble shapes done, and now comes the fun part
of decorating the bobbles. You can do whatever
you want on them. Only thing I'll say
is to keep it simple. Don't go too intricate with it 'cause there's already
so much going on. So easy and simple works
perfectly for this. On each colour bobble, we'll just do something
that complements and contrasts it nicely. Okay? That's it. So let's jump right in and
decorate these bubbles. This is the first bobble
we painted, right? So let's start
with the same one. For the bigger details, I'll stick to the
same five M size. For the smaller details, I'll switch to the three size. And if there are any
tiny little details, I'll use the one M. Good. So I'll start with an orange
band right in the middle. Okay. We're going to keep
things nice and simple. I'll just fill
this in like this. Then maybe some lines
like this on either side. With a smaller orange, we'll go in and draw
some more lines like this, some radial lines. Yeah. And then we'll do more details on this with
other colors once this dries. Cool. So we'll do that
with all of them. We'll go layer by layer
because we need to wait for each layer to dry before we can do any details
over there, right? Next, for this shape, I think some diagonal lines
will look nice. So maybe with white. We'll do some diagonal lines
like this, slightly curved. This is the threem size markup. Okay. Then I think we can also do some dots in between,
just like this. Okay. We'll add one
more color later. For now, let's move on to
the next one. The green one. I think I'll pair
it up with pink. Again, a thick band like
this in the middle. We'll close off the sides like
this and then fill it in. Then with a smaller pen
in the same pink color, I'll add some details
like this on the top. And similarly over
here on the bottom. And some more lines on
either side of the band. Okay. We'll come
back to that soon. Now on this red, I'll do some curved lines like
this with the same pink. As you can see, I'm just
winging it. And so can you. Just go with the
flow. Now, I'll add some little beads
to these lines like this at more or less
equal intervals. Yeah. Next, I'll pick up
the orange and do another line just like that here in between these two lines. And then again,
between these two. And then we'll do the same tiny beads on these
lines as well. Like I said, these
are just some ideas. You can do whatever
you want to do. You could check out
bubbles on Pinterest or even real life bubbles at home and be inspired by
how they're decorated. What can we do next? Let's pick up this white and do a straight line down
the middle of this one. Then some curvy lines
on either side of that. See, again, it's
not perfect at all, right? But that's okay. We're gonna embrace
the wonkiness and keep adding these
curves to this bubble. Now, let's jump to our tree. So with this aqua in the
smallest size that I have, which is the PC one M, I'm just going to draw a
few criss cross lines. So it's like a tin cell or, you know, tree lights. So we'll just draw
some lines like this at different
angles across the tree. Yeah. Now for this aqua bubble, I'll just draw a white band
in the middle like this. And then some thinner
lines on either side. Cool. We'll come back to that. Now let's jump to this.
We'll go in with this red. And how about we do some
little scallops like this. And then similarly
at the bottom. Okay. And I'll make
this tip also red. This here looks like it needs another coat of pink
to look nice and flat, so we'll not add
details to it just yet. But this one is now dry. So let's do some
white dots here over these little beads ter bring
that out and make them pop. Yeah. I like that. Here we can do some
elongated white ovals in between the red scallops. Cool. Now I'll just go ahead and
do that second coat of pink. This happens sometimes
for whatever reason. Maybe the marker was not shaken
well enough at the time, but you just need to go over it again like this after
it is fully dried. Okay? I'm going to go in
and add some pink lines in between these white lines here to elevate it a little bit, but without too much contrast. This pink and this orange don't have a lot of
contrast between them, which works out in our
favor in this case. Then we can do some pink
dots on our tree, too. This green and this pink
look so good together. I'm in love with
this combination. I'm fully taking advantage of how pretty they look
next to each other. Yeah, I like that. Let's also maybe add some pink
scallops to this one here. It looks nice and cute
against the aqua, doesn't it? We can also add some
vertical pink lines along this white band like this. We're keeping it very simple. All right. And maybe
another curvy line here. Then maybe we can do some
pink dots inside these. Next, maybe some light
pink lines here. Yeah, I like that. Now let's do this one. Some white lines above
and below the pink ones, and then some vertical lines
along the middle band. Then what else? We're almost getting
there, actually. I think we can do
some pink lines too in between these white ones. I'm just taking a look to see
what needs more detailing. I'm still looking at only the bigger bobbles
at this point. We'll get to the
smaller ones in a bit. I think this one can
use some orange, so I'll do some lines in
between the pink ones. I was looking nice
and candy like. What else? What else? We'll grab the red
and do some dots in here. Okay. Yeah, I'm pretty happy with how the bigger bubbles are
looking at this point. So now we'll get to
the smaller ones. We're gonna do the easiest, most basic white stars
on them. Just like that. Very basic. Very fun. That's it. We're just going to do
that same basic star or sparkle on all of them. I'm not even trying to
get them to look perfect. In fact, it's better
if they're not. So I like to do this
nice and fast to get that super quirky
vibe with these. See this wonky one right here? Looks so much more
fun than this more symmetric and clean one
here, don't you think? So, yeah, it's all the
small ones also done. And the next lesson,
we'll add some easy, easy finishing touches to
bring our bubbles to life.
7. Finishing Touches: We're almost done with
making our candle merry. We just have some tiny but mighty little
finishing touches that will really make
everything pop even more. So, shall we? Firstly, with
the same white marker, we're gonna draw some strings
for our bobbles, right? So just from the
center to the top. Just like. From here. Since this is in my way, I'm just going to
stop right there. Yeah, for the bigger ones
and the smaller ones. If there's space for it
to go all the way up, we'll take it all the way up. If there's no other
bubble in the way. Easy PZ. There we go. That's all within. Now, we're going to draw
some of these little guys, some of the stars in the
remaining spaces, right? So we can do one right here, one right here.
Another one here. You can vary the
sizes depending on, you know, how much
space is available. You don't have to fully fill up every bit of
space with these, sprinkle them around in the more big gaps
between the bobbles. Cool. And then we can also
add some dots in white, just for fun to add that
extra touch of whimsy. If you're familiar with my work, then you know I
love sprinkling in these dots in pretty
much everything I do. Again, you can vary the sizes, but don't go too
overboard with them. Use them sparingly and intentionally for
the best results. They're really cute and fun, but too many can be
counterproductive. So when in doubt, less
is more. All right. Now we have one last step. We need to first make sure
these white lines are all dry, then we go in and add a
final touch of magic. Remember this chrome marker. We're going to use this to draw little tops on our bobbles. Just like that. See?
That little detail just takes it up another level, which I absolutely love. We're going to do
this to all the big ones and the small ones, very simple little rectangles. Be careful not to smudge the wet chrome paint with
your non dominant hand. These can take a while
to dry a bit longer than the acrylic paint markers, so be mindful of the wet paint. If you can get your hands on
a chrome marker, do this. If you cannot, then just
pick a different color. Just one color for all the tops. Just like how we pick just one
color for all the strings. I think it's nice to keep some elements like the
strings and these tops, in this case, consistent
across all of them. Just to tie everything together, but there's so much happening
in the rest of the pattern. So it looks like
that's all of them. And finally, I'll
just sprinkle in some really tiny spots using the same chrome marker
very sparingly again. Okay, and that's it. We're done. You can now take some time to admire your beautiful creation.
8. Final Thoughts: So there we have it.
We've transformed this pouring old white candle into a beautiful piece of
art. How cute is this? And this is just
one of many, many, many, many designs you
can paint on a candle. Let me show you some
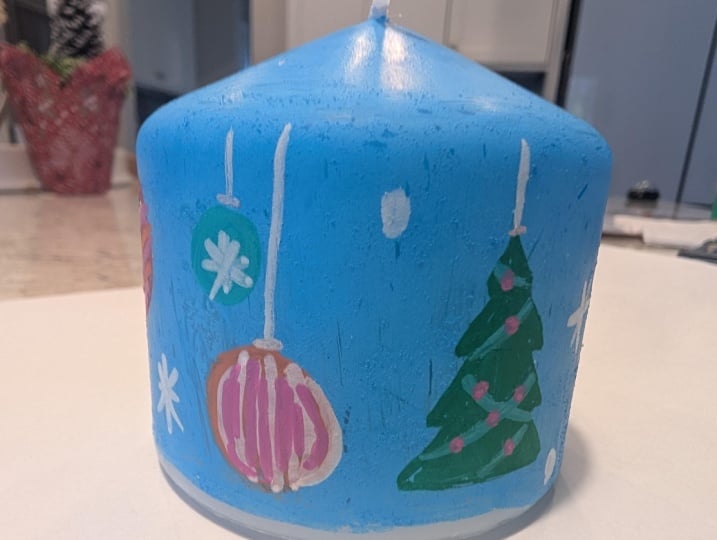
other designs I've tried. Here's one where I
did half and half. Well, not half exactly,
but you get it. So that's something you can try. And I actually painted
in the white instead of leaving the candles
natural white exposed. You can leave it like this or even use the white
space to add in some text like a Merry Christmas or even personalize
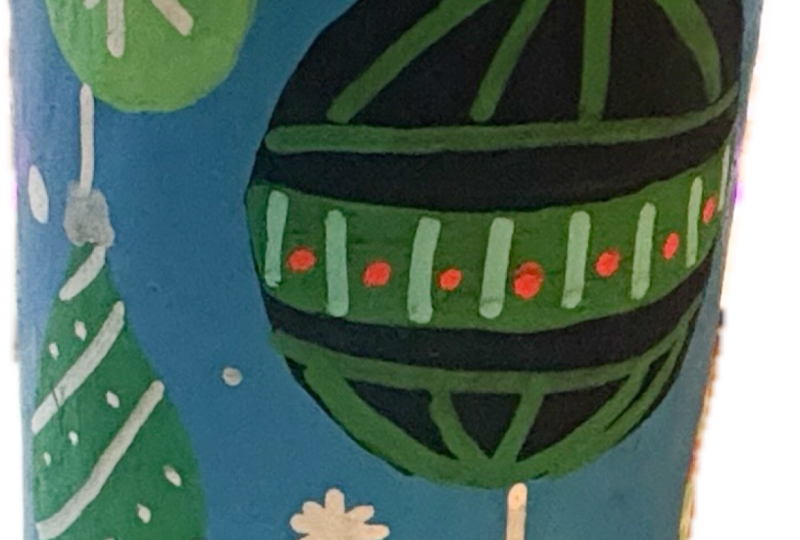
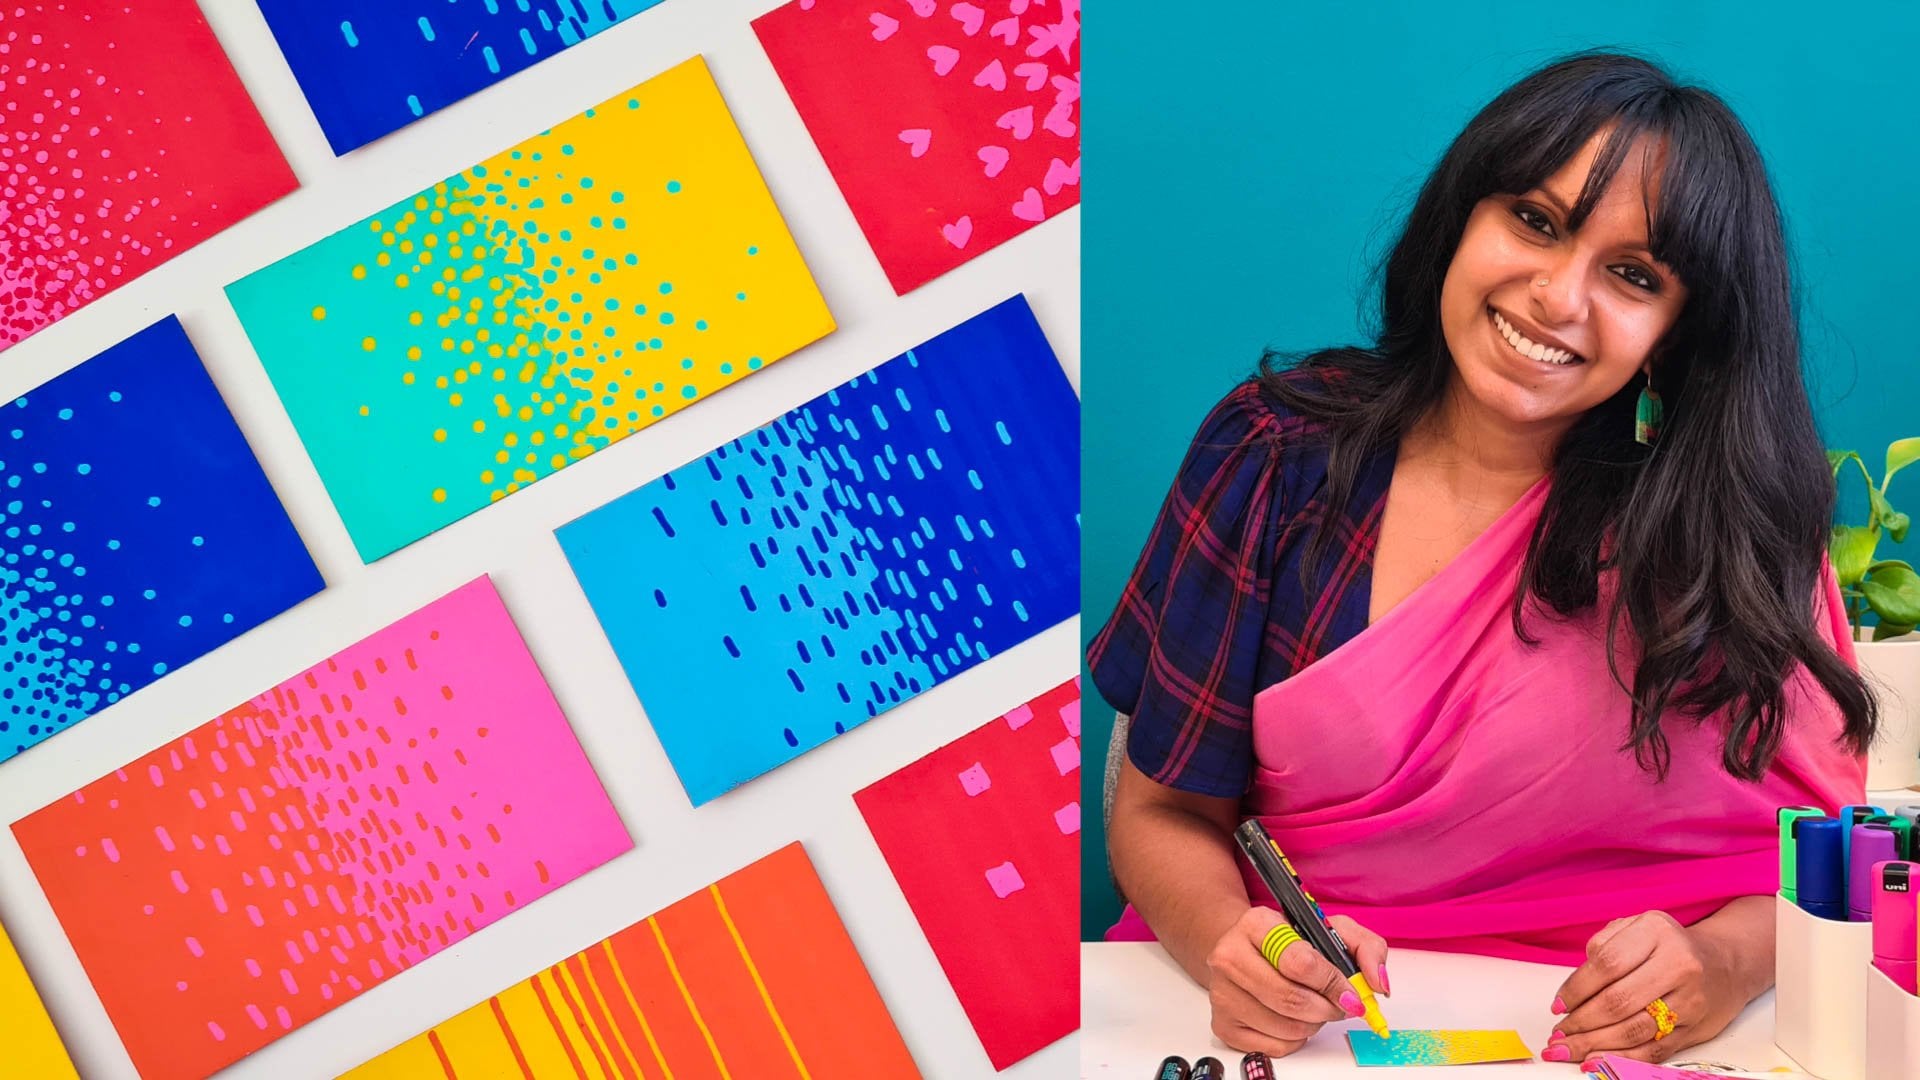
it with some names. Here's another one, a really
fun and pretty pattern. And here's the same pattern
in a different color way. Everything looks so stunning
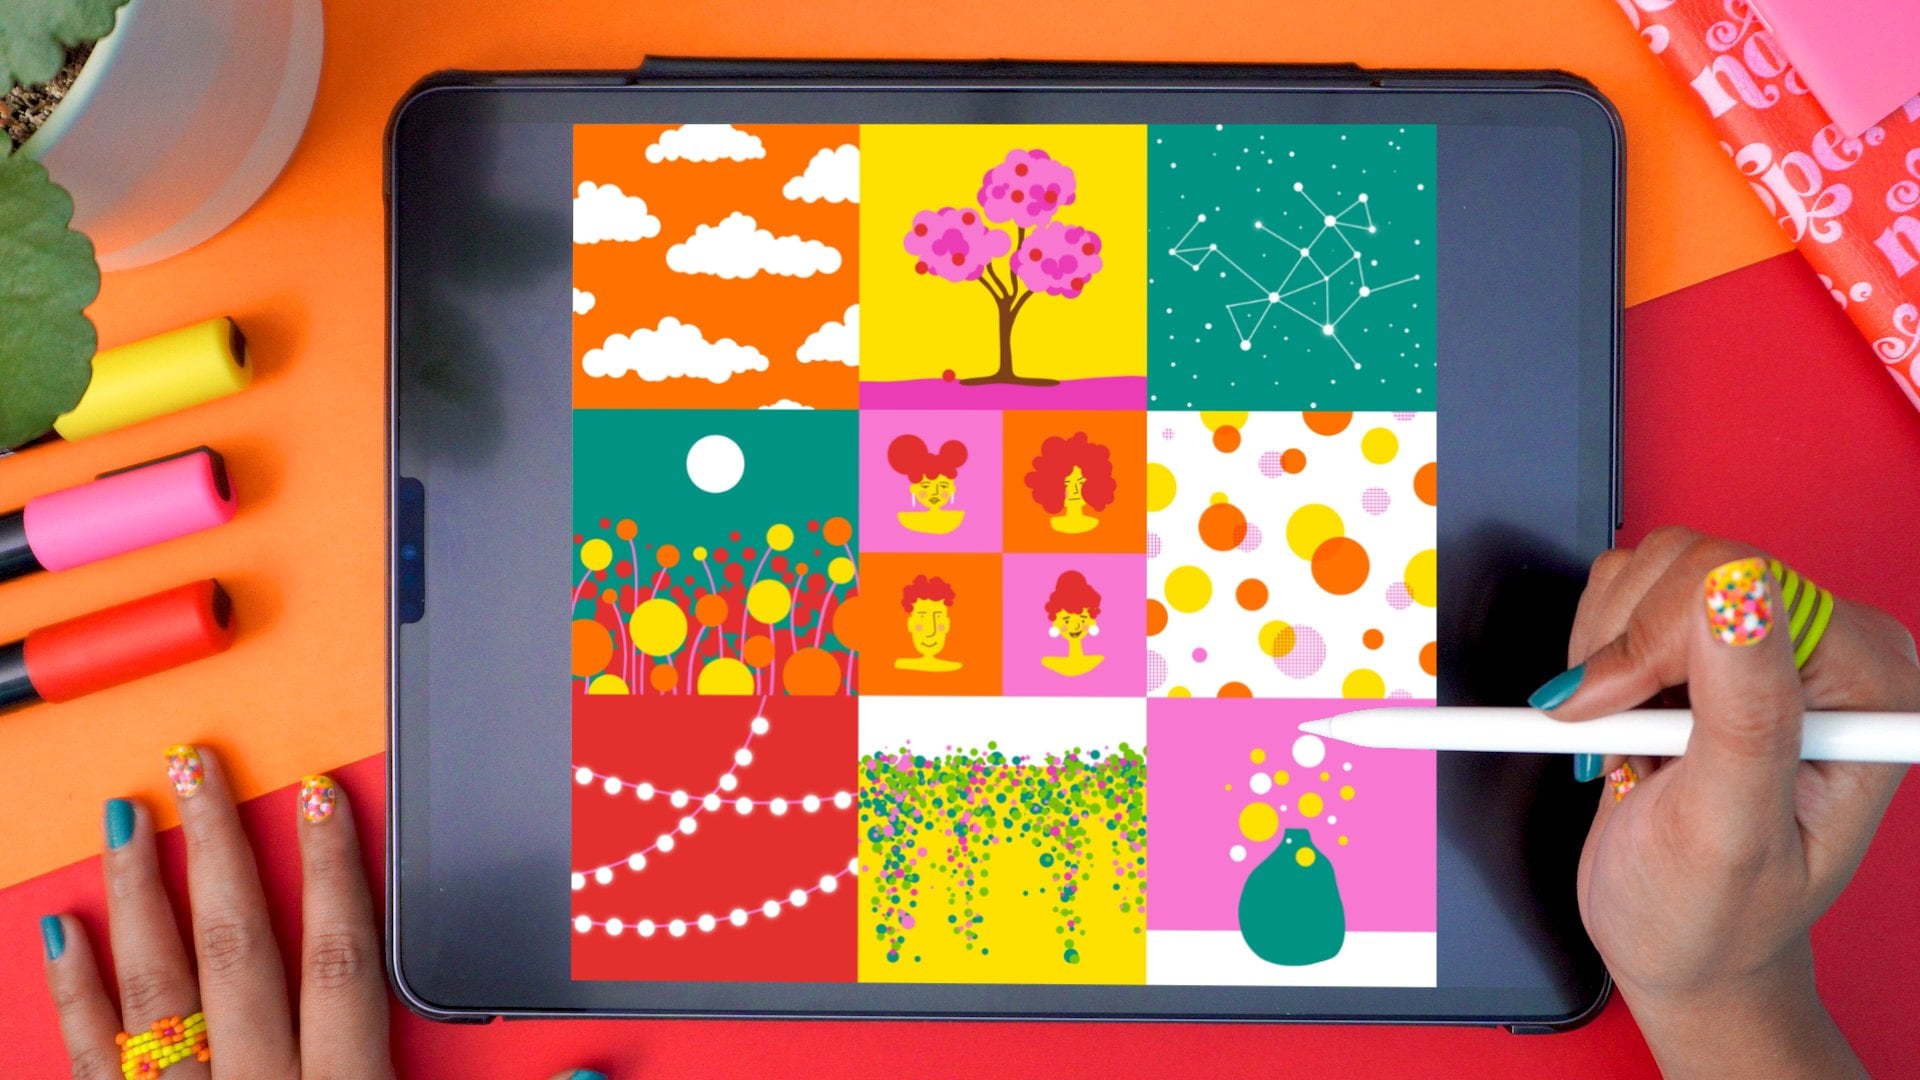
when it's on black, right? And here is another pattern. I originally made this
candy g pattern on Procreate and tried
recreating that on candle. Definitely easier on Procreate, but still so fun and pretty
as a candle, don't you think? So yeah, lots and lots
of options for you. You could go on Pinterest and
look up holiday patterns or holiday illustrations
for inspiration and then put your own
spin on them on candles. These are amazing for gifting. In fact, the first candles
I painted were as a gift. I needed something
meaningful to gift a friend who invited us to her place
for a Christmas party, and that's how this all started. So I hope you had a ton of
fun doing this with me, and I hope I've sparked a whole candle painting frenzy in your life with this class. I'd love to see your
version of this, so don't forget to share
your project with me and your fellow students through the project gallery
of this class. Also, if you share your
painted candles on Instagram, don't forget to tag me
so I don't miss out. If you want to
learn more from me, do check out my other
classes here on Skillshare, including classes on Posca art, let wing practice, compositions, Procreate Illustration, surface pattern design,
watercolors, and more. I keep adding to my collection
of classes on Skillshare, so definitely follow
me here to be notified right away when
I publish a new class. Also, if you're on Instagram, you can find me there
and connect with me. That's the best place to stay updated on everything I'm up to, including crosses
videos, new artwork, new classes, and
behind the scenes. Thank you for joining me
on this fun paint party. It's been an absolute pleasure. I hope you have the happiest, funnest, brightest, most
joyful holiday season. Until next time, go bye
and happy greeting.
 Vinitha Mammen, Illustrator | Lettering Artist