Transcripts
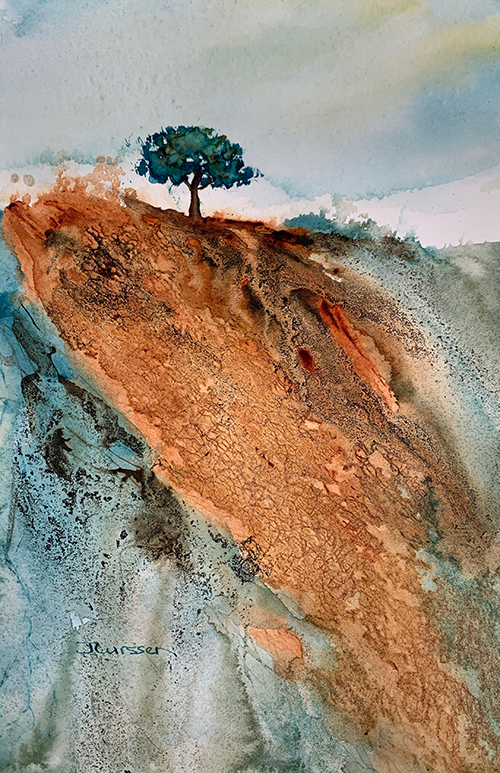
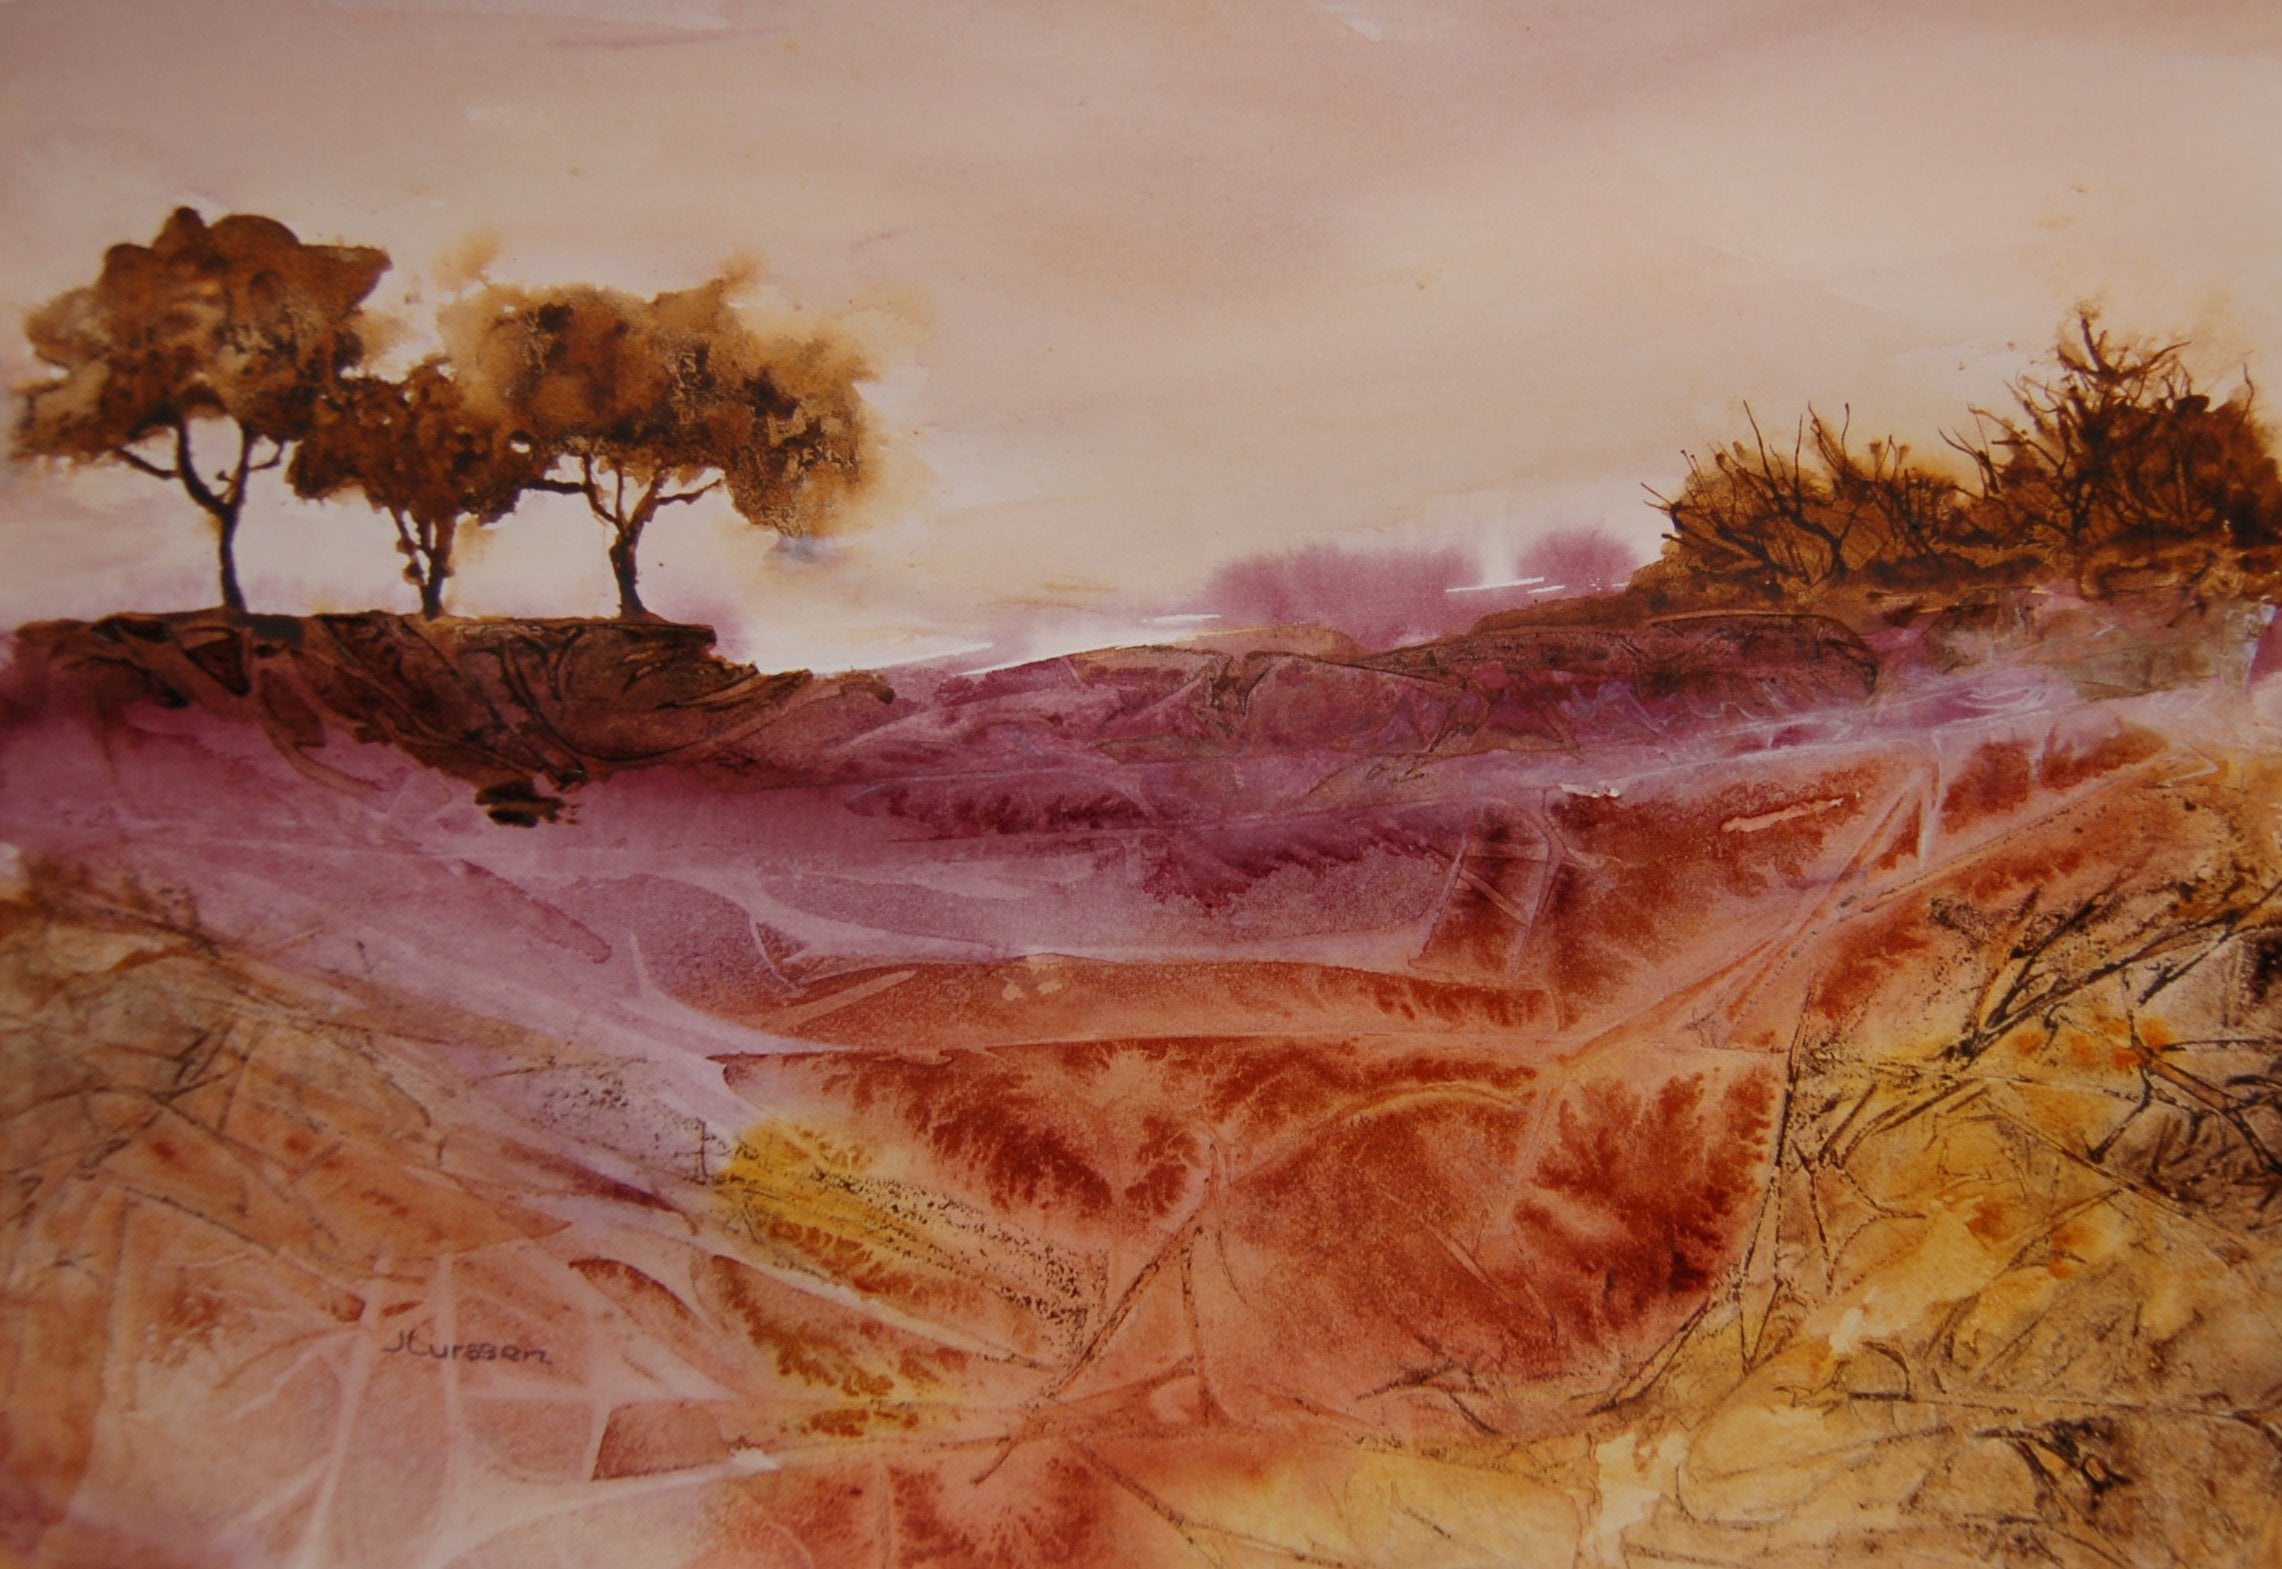
1. Introduction - Lone Tree Hill: Hi everyone. Gene lists in here. This is a short watercolor painting course where I'm going to show you how I find materials to create textures, interesting textures in my landscapes are paid a visit to the fabric store. And I went to the knitting department and rummaged around and found some really interesting materials that I thought would create nice textures in my landscape. And it was very pleased with how it came out. So this is the painting that we're going to do. I simplified this landscape because I wanted to focus on, on showing you how to create interesting textures in the landscape. In this area, in the green area are used acrylic ink. But in this area here, I used this material that has a very interesting texture to it, and I was quite excited to find it. And it worked pretty well for this particular painting. Now the whole point of this demonstration is to get you to think about materials that you can use that will create interesting textures and your landscapes. If you can't find the exact material that I did and rummage around in the fabric department in the knitting aisle and see what else you can come up with that will create interesting textures. I had a lot of fun doing this. So come and join me, collect your materials, I see what you can find. Maybe you'll find something around your house that you can use. And let me show you how I created this landscape.
2. Creating textures: So I'm going to do a very simplified landscape for you to show you how I create textures in my imaginary watercolors. I'm going to be using Dale around knee sepia ink. And I'm going to use Winsor and Newton, aqua green and Daniel Smith. Quinacridone, burnt orange. Now you know that there's two colors if our mix them too much, I'm going to create months, so I have to be careful. They too, I'm going to spritz the paper at the bottom a little bit. And I'm going to start off with the burnt orange because I really love this color. And you see what happens because our spirits, the paper. I, getting these interesting textures. And I'm just going to add a little bit of queer green, which is an intense color. And I am living in touch in some areas. And I'm even going to just create a grayish color where mixed them here. Now, before this is dry, I wanted to do something to create some texture. Here I go to the fabric store and I look in the knitting department and I get these interesting materials. I'd like to get the regular mating with a little round holes out. I tried to find things like this, which has, I don't know how well you can see the city a very uneven design, netting by use it a lot. And when you cut pieces of always make sure not to create straight lines. Now my papers or ready because I've been talking, getting dry. So you have to just waited again. And what I want to do is lay this down. And I've got all sorts of little off cuts that I use. Said set is no sharp edges. And I wouldn't do it everywhere in this area here. I'm going to take some sepia ink. And 2. Run some sepia ink down this part. And you have to be careful when you're doing CPR into that. You don't add too much because you can get overkill with that. Just taking some granulation medium by Winsor and Newton now and just adding it to the sepia ink. So that runs down and breaks up and create interesting textures. Somebody for my YouTube channel said that Winsor and Newton has discontinued this granulation medium, which really surprised me and I hope it's not true because I use this a lot. And I need some something down here. So maybe I need some sepia ink down here too just to, because otherwise it looks foreign to the to the rest of the painting. And maybe I'll even just dropped some in here. And it's got mat board at a 45 degree angle. So that everything runs down. And same here. I'm just want to create some interesting textures that looks better. And it's just sort of take the puppet and just create some lines in the piece. You know, like what's happening here. And I like what's happening here. This ties into that now. Now at this stage, I really just need to let let it dry. I don't want to go over the little granules because they'll move around and then you won't see them. But once they dry, you can actually paint over acrylic ink and it stays put. So the next stage will be to put some trees in here and some sky area.
3. Revising Color Values: Now that the painting is dry, before I do the sky and a tree, and looking to see if any of this area needs fixing and took off the knitting. I love the pattern it gave here, but I'm not that happy with this down here. So what I'm gonna do is take a stiff brush. I want to de-emphasize this a bit. I'm just going to wet it. Keep dabbing it. See, I'm getting quite a lot of lifting quite a lot of the color. What I like, yeah. I'm able to actually live the pattern and it's creating some texture.
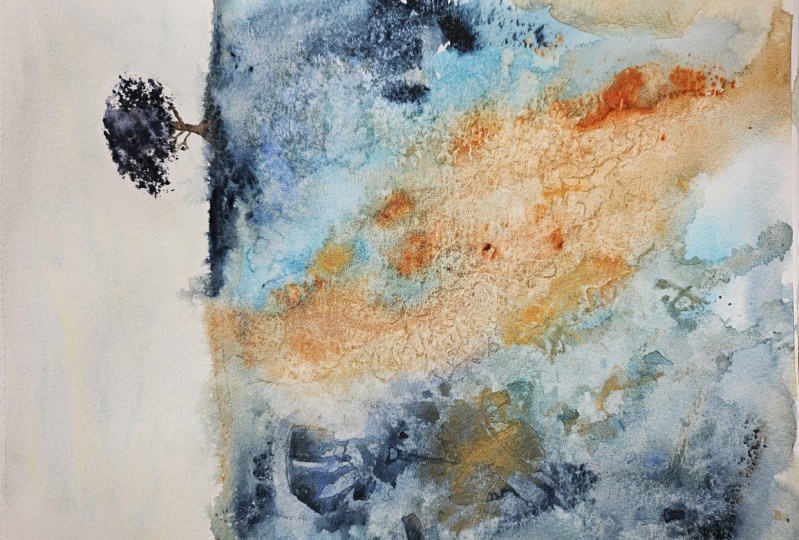
4. Adding The Final Touches: Okay, So I'm going to put a tree here. And after decide now the size of the tree, because you're looking up this hill. The tree needs to be rather small for the scale of the painting. And so I'm going to again use the same color, but I'm going to also use some yellow, raw sienna and burnt sienna. And I just want to do fairly small tree. I like using my hogs hair brush for this. Now may have done it a little too dark, so I'm going to just dab a little bit. I think that's okay for the size right now. I just wanted to fix that. I want some variety in the tree. Okay. So I'm going to mix up a brown for the trunk. And we start off with a thinner trunk because you can always make it wider. Anchor that. So at this stage, I like to leave this painting for a couple of days because maybe I need to have some bushes here and I want to fix this area here. I could do some grasses here. But I want you to think about it first because I may just want to get rid of that. And the way I would get rid of it is with Dr. Ph. Martin's bleed proof white. I cannot do without this paint. It's on your side. They say it's a watercolor, but it's a very, very thick watercolor. And I could actually totally get rid of all of that. Let it dry and then do whatever I want, paint over it. But for now, I'm going to leave this for a few days. And I mean, think about it. I may want to make the tree just a little bit bigger. But maybe I wanted to do something here. I don't know yet and I don't want to rush it. So so that's what I'm gonna do. One of the things I mentioned about this knitting, I purchased it at a place called Joanne's fabric store and I believe they are nationwide, so you could try and I'm not sure if you can order it online. You could see if maybe there's a joins fabric store in your area. So let's remove the tape. And we'd like to have this white border around my paintings. I hope you enjoyed this demonstration. I had a lot of fun doing it. So thanks for watching.
 Jean Lurssen, Jean Lurssen Watercolors