Transcripts
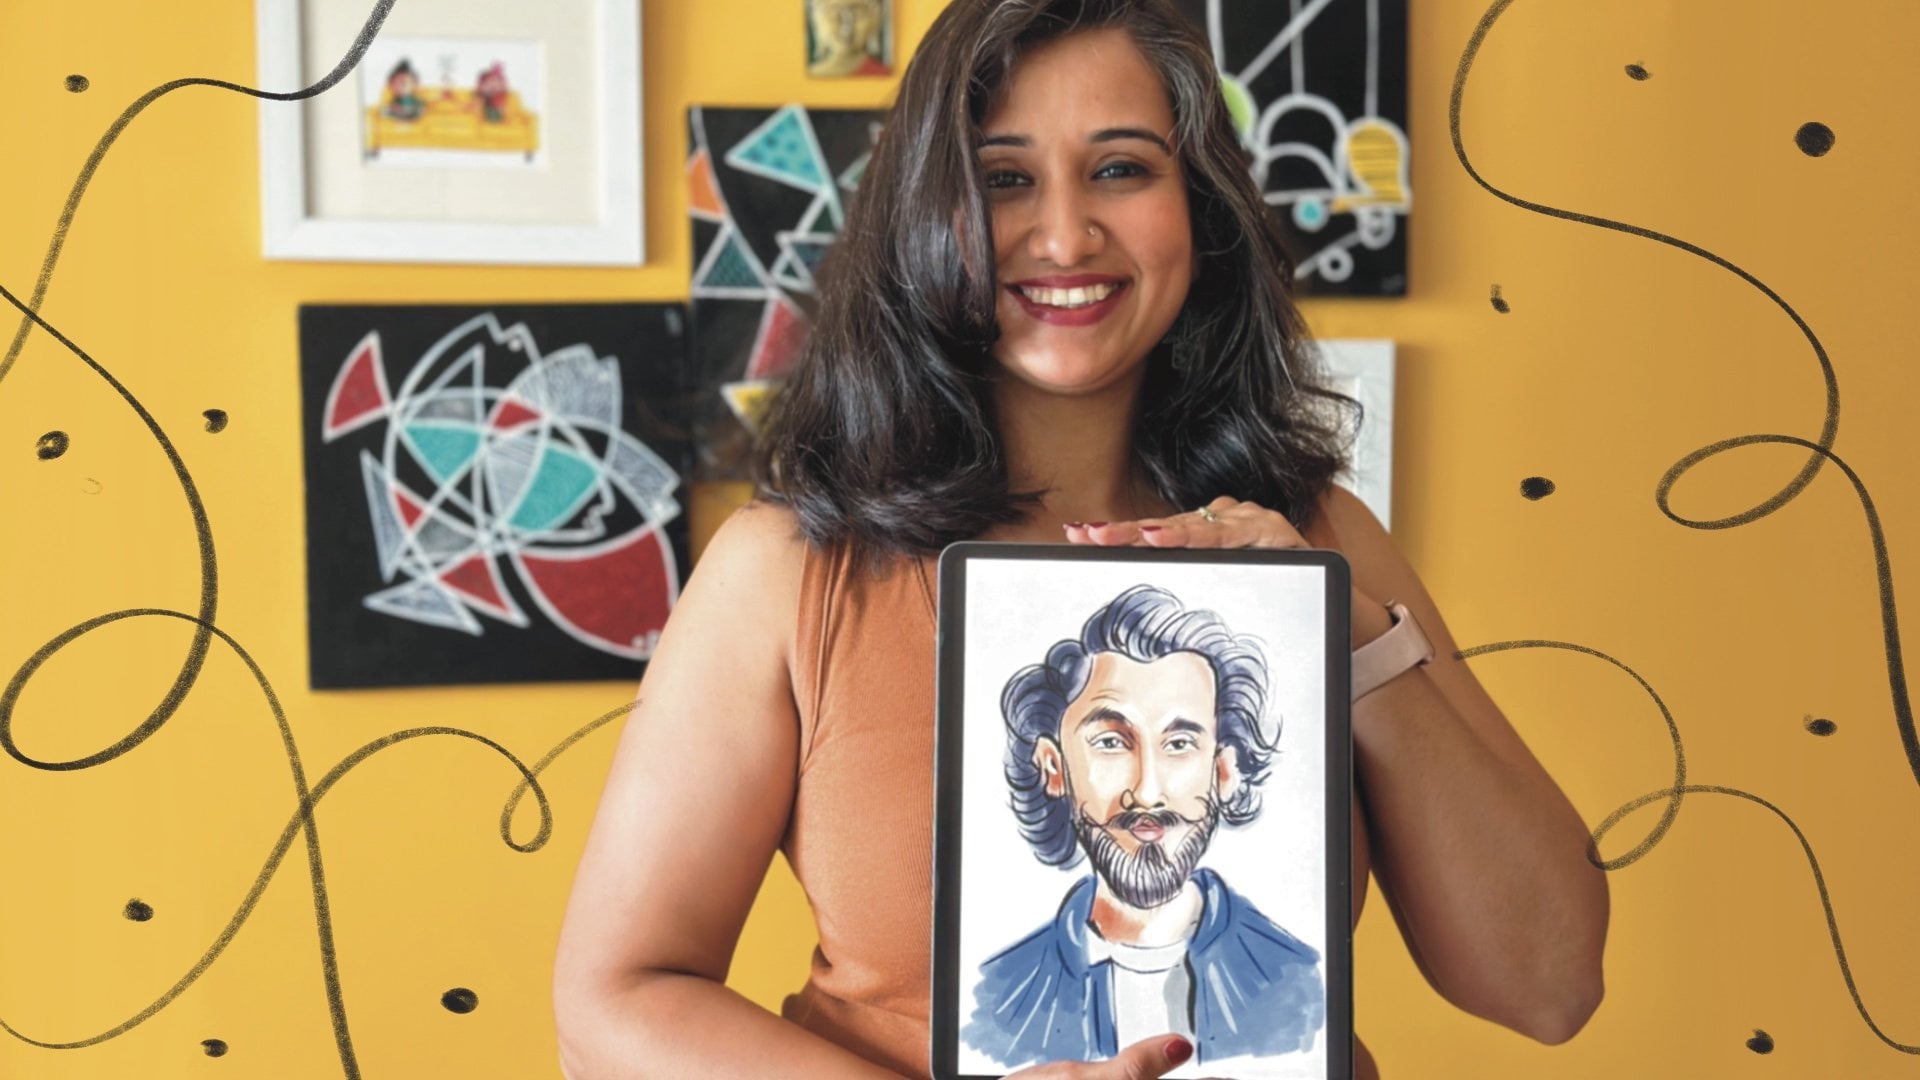
1. Introduction: Hi, guys. I'm Diva Batya, an illustrator based
out of Mumbai India. I'm a self taught artist, and this is my second
class with Skillshare. My first class was all
about illustrating faces, using simple techniques
like line, shapes, curves, using values,
light and shadow, and I'm trying my best to make the process
super simple for you. I would really appreciate
if you could just dive into the first class
before you dive into this one. This is an extension of
the first class and will give you a better context
to start this class. This class is all about using different lighting techniques
to light your illustration. Lighting techniques
are super important when you want to take your illustration
to the next level. Thinking about the
mood, the feel, the emotion, the setting the
illustration is placed in. Lighting is going to
give you that context. I really hope that you enjoy this class as I've designed
this class for every level. I've tried to break down these concepts in
a very simple way. Lighting can be a game changer if you know how to use
it and when to use it. I really hope you join me
in this class and submit your class projects for
me to appreciate and interact with you.
Thank you, everyone.
2. Class Orientation: The material we'll be using for this particular class is iPad, Apple Pencil, and Procreate App. These are the only three things we'll be using
throughout the class. Guys, let's talk about
the class project. A class project
submission is a great way to solidify all that we have
learned during the class. As I've mentioned, this is an extension of the first class. It's best that you combine both classes and submit
the project together. Use the first class to learn
how to illustrate a phase. And once that is done, you can use different
lighting techniques that I've shared
during this class. Pick any two lighting
techniques and apply it to the pace
that you've illustrated. I really am looking forward
to see your projects. Have an interaction with you.
3. How Light Works: Guys, before we move
into understanding how to light faces by using
different lighting technique, let's understand how
light actually works. I've used a sphere to give you a better understanding of the whole thing and what
actually goes into it. So light travels
in straight lines. However it travels, and
whenever it hits a surface, it bounces back into
another straight line. So over here, we see
a few things that I have marked on the
particular page. The first is the highlight. The highlight is a direct
reflection of the light source. It is small, sharp, and bright, especially a very, very shiny, you know, thing that you
actually see on the surface. We move into the light area. A light area is the area which is directly illuminated
by the light. It's bright but not as
bright as a highlight. Half tone. Half tone is basically where the light
is hitting at an angle. It's medium tone forms a gradual curve
from light to dark. Next is the core shadow. The core shadow is where the
light is actually blocked. You cannot see the area
to be illuminated. It's dark but not the
darkest on the form. The next is a cast shadow. A cast shadow is created when the form is separated
from the surface. Basically, a light
the light cannot reach to that part and that's
why it's the darkest area, you know, on the whole
thing that you see. Cache shadow is actually the darkest of the
dark on the surface. Next is a reflected light. The reflected light is a
little bit of the light that is bouncing from the
surface and hitting the form. It is subtle, and you can see
that little glow which is happening and slightly lifting the darkness in the core shadow. The best exercise to study light and how it works is to use different forms and use different sorts of lights to see where the light is actually
hitting the surface. Where are the highlights formed? Where are the case shadow
coshadows are formed. This is a great exercise
to understand light or different forms. Mm.
4. Recap of Previous Class: Hi, guys. In the
forthcoming classes, we'll talk all about different
lighting techniques, and I will demonstrate
the same for you. But before we dive into it, let's have a quick recap. In this particular illustration, I have used the reference image and the lighting in
the reference image. In the coming classes,
I will also tell you what lighting
technique I have used here and we'll
dive more into it.
5. Loop Lighting: Now. Guys, let's dive into, you know, different
lighting techniques. The first one we will
discover is loop lighting. So what I've done
is I have taken the same illustration
from the previous class, and I have done a base
of skin color for the face and then some
color for the hair as well. So the first lighting
is loop lighting, a very popular or
the first choice of lighting between photographers,
illustrators, artists. This lighting setup
is popular because it makes the face look
three D and not flat. Where is the light
actually set up? The light is set up
in front of the face, but at a 45 degree angle. So what happens when
that is done, actually, let's dive into the shadows that are found when this
particular lighting is used. So what will happen is you
will see a shadow happening on one side of the face on the
opposite side of the face. And it's called loop
lighting because there is a loop that is actually
created around the nose. The upper lip is in shadow, and the half portion of the
lower lip is in shadow. The year is in shadow, and the neck is the half portion of
the neck is in shadow. So this is how the
setup is done, and the loop lighting is
shown on the face. Mm
6. Under Lighting: Let's dive into the second
lighting technique, which is under lighting. Underlighting is a
very unnatural way of actually lighting the face, and that's why it's a
very popular choice with horror and mysteries. So when you're creating that
kind of an environment, this is a perfect lighting. Where is the light set? The light is set
somewhere under the face, and that is why all the areas which are above are in shadow. So let's mark what are the
areas that are in shadow. The areas that are in shadow
is all of the forehead. The under of the eye, the top of the nose, the top portion of the nose, the under of the nose, also the under of the lips, and the lower lip is in shadow. So as you can see, and also some bits of the
years are in shadow. Yeah, for horror and mystery, if that is the vibe you want
to go for your illustration, this is the lighting that
you should go for. Uh huh.
7. Rembrandt Lighting: Guys, let's dive into the third set of
lighting technique, which is Remn lighting, a very, very popular
choice among portrait photographers,
artists, painters. Actually, it got really popular because of this
Dutch artist Remron. He used to use this technique when he used to paint portrait, and it's also called
the Remran triangle. The lighting is set up in
a way where, you know, there is a light here at the 45 degrees in
front of the face. But also, there is
a reflector here, which kind of adds that little triangle that
we will discover now. So this is how the lighting
actually looks on the face. Very similar to
the loop lighting, but then you will actually see this little triangle
that is forming here. And it's very, very flattering. So I'll just try to enhance that triangle a little bit here. So all the shadow areas are actually connected
with each other. Then just that little
triangle is in light, which gives a very, very enhanced look to
the illustration. Now, what we actually
see in the, you know, illustration that
I did last time, you will see the Remron triangle in that particular
setup as well. So, guys, that's Remron
lighting for you. Mm
8. Rim Lighting: The next lighting
technique that we'll delve into is rim lighting, a very interesting
light on its own. But when combined with
different lighting techniques, it can just take the whole lighting game to the next level. Let's discover it, guys. In this particular
lighting technique, the whole front of the
face is in shadow. Even the neck is in
shadow. And why is that? Because the light source is
not in front of the face. It's actually
coming from behind. So what happens is,
when that is the case, only the rim or the edges of
the face are lit, actually. Rest of the face is in shadow. So it gives a very dramatic, a very enhanced, you know, look to the illustrations and
paintings and photographs. So we will further, you know, understand how to combine this with different
lighting techniques. But that's rim
lighting for you guys.
9. Loop and Rim Lighting: The next lighting
technique we'll delve into is a combination, a combination that actually
really, really works. It's loop lighting
and rim lighting. Loop lighting is like
a primary light, and rim light is only used to
lit up the rim of the face, a very effective combo that can leave a strong impact
on your illustration. Let's dive into it, guys. So I'm just going to pick color from here and we're going to use shadows to create the loop lighting that
we've already learned. And now we're going to use rim lighting to just bring that
oof to the illustration. I can see how this combination actually makes a
lot of difference. It's used highly for, you know, portraits by
different artists and different illustrators
and widely popular with celebrity
photo shoots. Uh Mm
10. Rembrandt And side Lighting: The next combination
that is also very popular and can be
used to make it, you know, make the portraits
or the illustration, give that glamorous look is Rembran lighting
with side lighting. So of course, we understood that Rembran lighting is such
an important, you know, use of lighting when we
are doing portraits and photography and we are doing illustration,
we are painting. But if we combine it
with side lighting, that's just going to take
it to the next level. Let's just figure
out how that works. So the remron lighting,
we understood. The light is coming
from the front and then it's reflected
from the side. There's an additional
light which is actually coming from the
reflected light area, which is like forms
like a nice, you know, not a rim light effect, but it gives that brightness that different
contrast to the face. So let's just figure out. Let's first dive into creating Rembron
lighting on the face. Yeah, getting that triangle,
you know, over here. And now we are going to add
another source of life, which is coming from the side, which is going to actually lift the same side of the
face, which is in shadow. This portion of the
nose will also be lit. The upper portion won't
be because, you know, the eye sockets up
is actually casting a little bit of shadow on
the upper part of the nose. So those areas will not be lit, but the other parts that I've
marked here will be lit. And it gives this
nice glamorous kind of feel to the
whole illustration. Again, somewhat
like a rim light, but a little more enhanced. And that's the combination and the outcome is going to
be something like this. Mm hmm.
11. Tips: You for sticking around.
We're almost there. These are the final tips
I want you to take back. First, light always
has a direction. Always ask, where is the light coming from and
start from there. Second, shadows are where
light cannot reach. No light is equal
to shadow areas. Third, three values are golden. You don't need ten values. Three are great to start with. Light, mid and dark. Fourth, each lighting
style has a mood. Decide the mood, the
emotion of your character, of your illustration before
you pick a lighting style. Fifth, use as many photo
references as you can. Inspiration is the key and learn from the masters. They
know what they're doing.
12. Final Thoughts: Guys, these are all the
lighting techniques that I have shared with you. Thank you so much
for sticking around. I really, really
appreciate you all. We have loop lighting, we
have Rembran lighting, we discovered under lighting. We use different lightings
together to form, you know, a different context altogether, different
mood altogether. I hope lighting enhances all the illustration
projects you do henceforth. Using lighting can be an essential tool when
you want your viewer to understand instantly where your illustration is
placed. What's the mood? What's the emotion that you
want to evoke through it. Thank you so much
for sticking around, and I really am
looking forward to see your class projects
because that's the way we can interact
and appreciate each other. Please do share your reviews and tell me how you
felt about this class. You can follow more of
my work on Instagram. My handle is, you know her too. Thank you so much,
guys. Have a good one.
 Divya Bhatia, Artist & illustrator