Transcripts
1. Lettering Intro: Hi, I'm [inaudible]. I'm a lettering art and published author and so excited you guys are here with me today to watch me work through the process of using Procreate to create a lettering piece. I'm going to walk you through everything from sketching, refining, adding color, texture, and even export in your designs, help throughout the class, you pick up some new tricks, and find a really great way to incorporate the iPad and procreate into your workflow. See you in class.
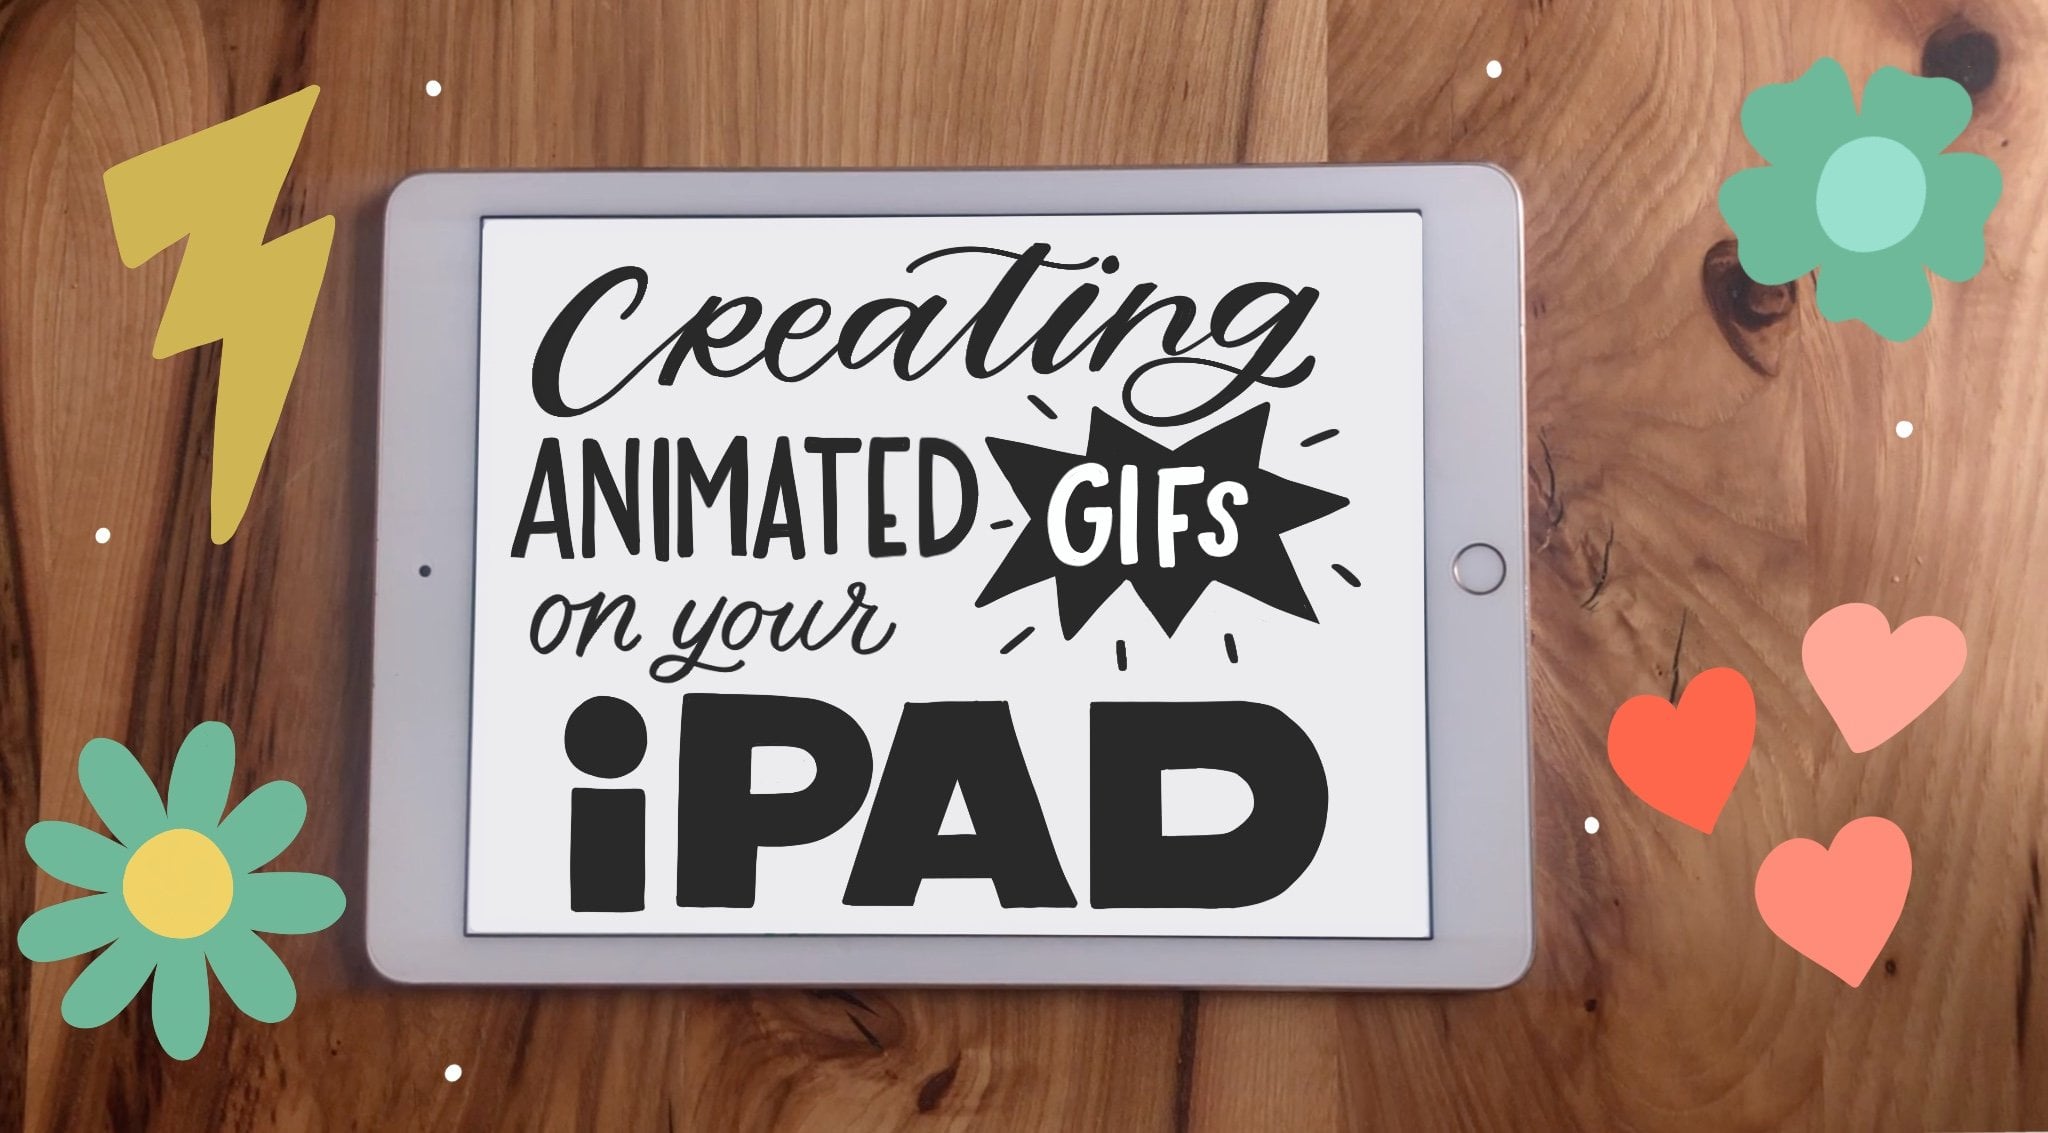
2. ProCreate Basics: The first thing I want to do is walk you guys through the actual app and all the tools and features. I'm going to start by pressing the "Plus" button right here in the right corner. That is to create a new board. I know that I want my screen size for this to be a square. I'm just doing this for a promotional piece. It's not going to be printed. It's just a fun little piece, but I'm going to do a little bigger than I need to anyway. My first tip is to think about what your final product is. Is it going to be a Photoshop file for a greeting card? Is it going to be printed? Is it going to be any right ten print? I would always go bigger just so that you don't lose any resolution or crispness when you are designing. I'm just going to click on the square. That automatically brings up my new art board. Up here, if we press "Gallery", that just brings us right back to where we were. But this next one, this little gear. It's not a gear, it's a wrench. It's an Actions tab.You have Add, Canvas, Share, Video, Preferences, and Help. There's tons of options up here. But if you go to Add, that's where you can insert a picture or you could use a reference, you could add a background or something you've already done that you want to look at. You can take a photo, you can Add Text is the cool new feature. Then Canvas you can actually now crop and adjust your screen size. If you've made your document too small, you can scale up. However, I really recommend thinking about that before you start. The other thing is Drawing Guide, which is a really cool feature.You can have your grid right in here and there's a couple different grids to choose from. You can change the color. You can do different types of grids. Change the opacity. It's very cool. That's a nice tool. You can flip the canvas and you can get all that canvas information. Then Share is how you would upload your file when you're done. You can share it to procreate, which is what we're in now. You can share it as a Photoshop document, which is very handy since you'll be working in layers. Another great tool is animated GIF, which I actually teach a class on as well. Video is another cool feature. If you have this on, you can record. It will record all your work as long as you haven't quit the program or turned off your iPad. Preferences, so if you're a right-handed person, it's automatic, but you can switch it around. Then Help if you have questions. That's alright with under the Actions tab, the next one is this little magic wand and that's Adjustments. Here are some fun adjustments you can use. I don't use these very often, but if you are looking for creating some effects like a blur or to sharpen at some noise. Liquefy is really cool. It just literally makes what you're doing look like liquid. You sort of just drag it around. You can also recolor things, change your curves, color balance, hue, saturation, and brightness. Here we have the Grabber, the lasso I guess is what I would compare it to. The Selection tool. You can see down here there's a couple of options. It's a really user-friendly interface. Automatic, which I don't use often. But freehand is where you can just draw and grab whatever you need and then you could hypothetically move it. Rectangle, Ellipse, Add, Remove, Invert, great things to know. Usually I'm just on freehand and just grabbing a letter and moving it around. Then we have our mouse, but there's nothing on my layer now, so we don't really need that yet. Over here we have brushes and this is the fun part. You can download these on lots of sites, but procreate comes with a ton of really great ones. I've actually created one that says my favorites right here. I've brought all the ones I use most frequently into here. Most of these I've created myself, but a lot of these and it's right half-and-half, and then I have some of my favorites here which I will link to. It's really fun to play with different brushes. This one is the Blur tool which uses the same brushes, but you can blur things instead of just using the crisp brush. Then we have the eraser, which the same rules apply. Then we have our layers. You can add layers. If you click on the end, you can change the opacity. You can do some filters and features. There are a couple more options down here as well. Then we have our colors. We're flying through these, but I want you guys to know that we will touch on all of these as we go through the process. You can make your own color palettes. There's a couple different ways you can do it. Since this is digital, it's all an RGB. When you want to print something, you'll need to make sure to change that over to CMYK. Then you can save your palettes as well, which is a really nice feature. I wanted to share these really quick, but basically when you are using a brush, you can change the size with this top line. Then you can change the opacity, which with this bottom line. One feature I don't think people know is that this is my calligraphy brush. Actually I'm going to use the mono-line for this. But if you're drawing with a mono-line and maybe you don't have a pressure sensitive stylist. What you can do is by drawing and holding using your other hand, you can actually change the size. Oops. Create some fun effects. The same goes for opacity. It helps if I grab it. Maybe a little hard to see on the screen, but I've increased and decreased the opacity to give it some fun effect. I'm just going to swipe right and Delete my layer. We will talk about some shortcuts as well. This one, it doesn't really, because it's my only layer, but you can Clear it, Duplicate it, Lock it. That is the basics of procreate.
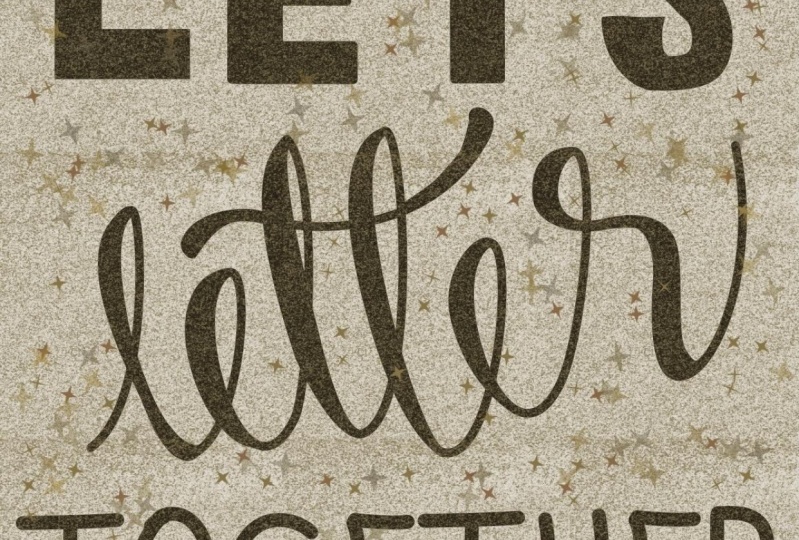
3. Sketching: In this video, I want to walk you through how I create a sketch which is the skeleton for my finished piece. I've done my research, I know what style I want to do and not the end goal, but the vibe is, so the aesthetic for it. The first thing I'm going to do is turn my grid on and then I'm going to sketch. I just grab a pencil, check the size. Yep, that's good. I just use black, but you could really use whatever color you want and then I just start sketching. Usually I will write the phrase I'm going to use up at the top just as reference and think about, maybe I want this to be one style, maybe this one should be another. I just think about how that would work. I think that this one could be script. This is maybe plain so it's not as exciting as the others. Then maybe this has a cool element to it, maybe an embellishment. I'm just going to turn down the opacity by clicking on the n and dropping that down, and then I'm just going to start by blocking off my space. I need to make sure I'm on a new layer. I'm just going to block off a really rough skeleton. I know I want letter to be script, so I'm just going to freehand that. Again, really messy just to get the idea out, and then see how this would all fit. Again, nothing's perfect. I'm just sort of playing. I use the selection tool. Little lasso, graft it and just moving it down. I'm not scaling it or anything, I'm just again, really rough skeleton. I'm going to grab this and just blocking out how I want these. The other way you can do this is by shapes and so I'll create a new layer for that and say, I want that to take up this much room. To create that straight line, all I'm doing is I'm drawing and then holding it down at the end and it creates a straight line, which is really helpful. Now I know like I can take up each space, since this is a shorter word, it only to be bigger. Just looking at what I want. I'm not doing anything in arches or in circles because I just want this to be a very simple and clean piece. Then I'm going to add some embellishments to make it unique. I'm just going to revisit the spacing. I know I want these to be like these big block letters. I'm just calculating using my grid. I'm just drawing right over what I had just, this is really just a pencil sketch, so we're just playing around and s s are a really tough letter. I'm sure I'll need to reference some other s s to make sure I have the style I'm looking for. You can see I don't even have enough room to do the style that I want, so I'm going to have to scale it down. But that's no problem. It's really easy and one of the reasons I love the iPad so much, I'm describing the selection again and I'm just going to scale it down. I have it on magnetic that way everything scales together and I'm not stretching anything. Then I'm just going to redraw an S, keeping in mind the same width for the width I've done, almost two across. You can see I've done 1 2. I want to keep that in mind for some spots in the aspect there it won't be perfectly consistent since there's curves. I can tell already this one's going to lead a lot of work, but that's okay. I'm going to move down together to see how many grids I want to use and just make sure I have the spacing right. Another thing to know is that you can really build shapes off a bit. You can build letters out of shapes and you could also repeat the T. Any letter that's there more than once, you can repeat it. Just wanted to see, I'm not sure exactly what towards style I want this one to have. Maybe I want a really high crossbar, but at least I know that that fits. Now I'm going to do is I'm actually don't delete that first layer because I have a foundation I like, and I can delete this one as well. I'm going to drop this opacity and basically start all over again, but using that as a guide and adding a little more style this time. I want it too thick two squares. Again, this is still really rough, but just blocking out everything and are really blocky geometric field for this. I think I want to do really thin, some high-contrast. Maybe I won't make the legs and the crossbars so big. Do a little high crossbar over here, and it's getting a little distracting so soon I will turn off my grid that's underneath. I press the undo here. You can also do that by clicking two fingers for undo. This is where each letter gets its unique hand lettering. Appeal is that they're not all identical, they're imperfect and falling our own rules, but I'm just seeing what I think would look right. What makes them all work together in a family. I'm going to have to add an apostrophe here softer, do that scale again and I can see this S still doesn't feel nearly as big as others, but we will keep trucking along and come back to it. You can see I'm just holding two fingers and moving to change where this lies on the page, instead of turning the whole iPad, it's a really nice workaround. Now I want to do some faux calligraphy here and again, I'm just using the pencil. There are a ton of settings within the pencil. You can see I have spacing, streamline jitter and really the best way to figure this out is to play with them. Spacing is, this is one brush and you can see that over here. That's what the brushes and spacing, I don't want any spacing because I want it to look like a continuous brush. The streamline will talk about more when I do the calligraphy. But I have this turned way down because you can see it's a little wonky. I want this to be just like my hand. I don't really play too much with the other brushes unless I'm creating my own. But you can also play with opacity, size and things like that right in here. Another thing with making perfect circles is if you draw one and then hold it, you can see it just snaps right into place. As far as building letters, to do this, I just selected and then I drag down with three fingers and I did copy and paste, brings it to its own layer. Then I'm just dragging it over with magnetic selected and I'm going to build my G based on that. I clicked on that and I did it, merge down and now it's on the same layer. I want to make a G that's based off of a circle. There we go. I might want to change that maybe I decide I don't want it as geometric, so no change that later. At the G, I could just copy it and move it over. But honestly it's so simple, I don't think I need to at this point. I can see I don't have quite enough room. The best part about this is sometimes you don't get it right, but you can scale down or you can go back really easily and say, I'm going to change something, so I'm describing the eraser. I think that my letters or just a little too wide. I'm just going to trim them and make some more room. Again, I haven't really gotten to the style. This is a perfect point for me to say, building these skeletons, should they be really wide? Should they be condensed? Sometimes I come in knowing like I want this to be Gothic style or maybe I want this to be really Art Deco and so if I knew that I would do the same thing, but know what letter shape, what forms I wanted and really dictate how big things were. We've got a nice foundation down here, and I want to go back and play with this S and I can actually easily this layer but turn it off. Then I'm just going to grab this and without magnetic turned on, I'm just going to play and see, does that seem right. I know it should come below the baseline a little bit. I don't advocate for stretching type, but I'm really just trying to see what would look right. I think that maybe this and this is handmade type. It's not like I'm stretching a font. I think it needs to be more dramatic and so I'm just going to see. That looks terrible. I'm just going to keep playing until you get it right. That's how I build the sketch.
4. Finessing: I'm not sure it's quite there yet, but what I've done is added some thickness to these crossbars and that way it matches the S. I'm not sure that S is where I want it, but I think I'm just going to come back to it for now instead of getting frustrated with it. I want to talk about the calligraphy brushes. I have a calligraphy brush. Let me just fix the screen so it's going in the right way. It's really fun. I'm going to turn these off so you can just see. I have this streamline turned up to 61 percent, and basically the streamline is the snap. I'll first show you it with the streamline all the way down so you can see it's really wonky and my hand is really unsteady. That looks really great when you're sketching or when you are going for something that's really imperfect. I use the streamline turned down quite a bit. Now let's do it with the streamline turned up all the way. You can see that it snaps and it is, you can turn this grid off, a lot nicer, a lot crisper, a lot more smooth and it snaps. That's really nice as well, but I tend to like somewhere in the middle because I don't want it to look too hand-on. I want it to look in-between, done with a crown and done with a digital program and so I like to turn it down to about 60 and use it like that. That way my hand is still in control and I'm using my skill as an illustrator, but that it's not totally perfect and not too imperfect. I'm going to turn this back on and I am just going to letter again. I'm going to turn the opacity down on this one now. You can also fake the lettering. You don't have to use a clicker or your pencil. You can just go through and do your style with a regular pen but for this one I want to play with doing it that way. To get this thick and thin, basically, it's just pressure sensitivity. On my upstroke I'm pressing really lightly and on my down-stroke I'm pressing harder. You can adjust the pressure sensitivity under Preferences and edit pressure curve. I just have mine set like this, but you can reset it and bring it to the middle and just play around with what works for you. What I like to do next is go in with my mono line, which is just all the same weight and I like to check what size I have, turn the opacity up. I like to go in and just smooth out my lines. This is when I get a little anol and go into really zoom in far and just perfect it. Which sometimes you don't need to do this depending on how big your work is going to be or what the final file is going to be, but I really enjoy this process too. The cool thing about the eraser is that if I want to mimic the same brush that I'm using, and I want to just grab, so I'm using the mono line here and I want to use the mono line on this, I can just click on my Brush and then click and hold on the eraser and you can see a little thing popped up that said erase with current brush. That helps to create some consistency, especially if you're doing a texture or something else. If you are erasing something that's not a very rough edge, like an airbrush or something, you don't want to erase with the mono line brush because it will be really stark and won't be a smooth transition. Another reminder is that it's really important to take a step back and make sure it's legible. Make sure you like the way it looks, consistent and just check in. When you're working this close, it's really easy to forget the big picture. Sometimes I get a little too detail oriented on this part. If you are like, I don't spend that much time cleaning out my letters, that is absolutely okay. I can see that this one's a little thicker. This t is a little thicker and that doesn't bother me. That's what makes it done by hand. I'm using the mono line brush, but because that's the look I'm going for I don't want any texture or rough edges, but I might change my mind and I'll show you guys how we can do that. I have a lot of fun with these tails. I'd like to give it a little style, and I just want to drag and drop and fill in that area so you can actually grab your color and just drop it in. I'm taking a step back and I realize I want the L to be a little thicker, so I'm going to go back and do that, fill that in, and then I'm going to draw the crossbar connecting the two of them and add some faux calligraphy here. That's kind of fine bouncy. I'm just going to fill those in and then I'm also going to add some thickness to that. I want to show you a cool feature that you can use if you want to change the color of that. We're not quite there yet, but one thing you can do is just drag and drop so drag and drop. If your letters aren't connected, let's do an example of that. Let's say you want to drag and drop and change the color. So you've dragged one but the other two don't get it. All you need to do is drag, drop and then swipe to the right and you can see that's color drop threshold. Maybe you don't want everything, maybe you do, but you've noticed that it changes everything if you get too high and so now I would need to redo that. It's just something to think about. There's a bunch of different ways to do similar things. The next thing I want to do is go back to lets and I'm going to do this on a new layer. We'll name this one, just double-click and do rename and do letter. I want to use a IPL artisan brush. Let's try that. It's just got a little bit of a rough edge. I'm on a new layer. I'm just going to drag, draw line and hold it so I get a straight line. Actually to make life easier for myself, once I have this one shape, drag and drop. I am going to copy it three times because I have three other letters or two other letters with the same kind of foundation and I'm going to merge them all together. You might not want to do that because maybe you wanted it to feel a little more organic, but I'm okay with that for this purpose. I'm going to draw these. I don't have my grid on anymore and I don't think I need it because again, it's going to create a couple of imperfections, so we'll see, maybe I'll change my mind. When you're working with a texture brush, it's not easy to drag and drop color so just keep that in mind. It works really well with a really full brush. That's not cut a ton of holes in the source. It still feels a little heavy to me, so I'm going to play around with it a little more. I'm going to use the same eraser or same brush, so I'm just going to click and hold. A lot of lettering is really just going based on your knowledge and your gut. Like this is work together, do I like it, does it read well, and so that's what I'm doing here, is just saying, I think I like that. But you can also reference the style or you can look up alphabet you love as long as you are making them your own and you are not copying an alphabet because that isn't lettering. That's looking a lot better, I think I'm just going to push it a little further, a little less thick. I'm starting to like it a little more, but I want to move onto together, and I'm keeping this on separate layers just so I can move them around really easily. Now I can change it, I can scale it if I wanted to and I wouldn't have to worry about the lasso. I'm going to start on this layer and I'm actually going to turn my grid back on for this one because I really want this to be geometric. Now go back to a mono line, and I just held on a little longer so I have a perfect circle that closes. You can also if you just want it thicker, I like to draw the skeleton but you could also just scale up your brush. I just want to move that over and play with it, so I'm just going to grab the lasso, move it over, and then edit it as needed. Not exactly what I'm looking for, but I'll go in and make those adjustments. Seeing those changes you want to make does take time, and some people are much faster, some people are slow, and doing that initial sketch really helps. Also just feel like this is like sideways, so I'm going to turn the magnetic on, I'm just going to rotate it, that feels better. Then I just want to make sure it goes a little bit below and above that baseline, and then I'm going to copy. I might want to make some adjusting to that later, but I'm going to go back and merge those two, and then I'm just going to copy the whole thing and see if I need to use any of those letters. I know I have another T, so I'm going to get rid of, it doesn't look like I'll need these, I'm going to get rid of these, swipe down with three fingers, and press cut. I'm actually going to use the T as the framework for my E, so I'll move one of them out of the way. Just drag and move, and I'm going to open this one. It's nice to use what you have instead of thinking that every time you need to do something you need to do it from scratch, and so use if you've drawn the E once and you want it to look cohesive, you want them to look totally different arts, usually the way with script but maybe for this I want them to look the same, and so I'll use the tools that I have. I'll look at conning and a little bit, but first I just want to draw all my letter forms and I can actually duplicate that again. I'm getting up there and the number of layers I have, and so I'll be merging those because of your file size, we want to keep it up a relatively appropriate one and you'll run out of layers if you had 20, so I'm consistently like merging or to leading one I'm not using anymore. Then I can actually duplicate this E. Notice they're not perfect, so this crossbar and this one are not the same height or anything like that because I'm just making up my own rules. I might go back, and change that, and play with that to give a different style, but for now it is fine just as is. I honestly don't even notice having the grid on, but I know some people really like to turn that off. It helps me just know where I'm at, and it's so fate that I don't even notice it most of the time except when I need it, when it really comes in handy. I can see that like the G and the O look really thin compared to everything now that I'm putting them next to each other, so that's why I want to consider too. This is just snapping, so you can see that blue line just making sure I'm snapped even though I have the magnetic on, and an R I'm just going to build. Having that sketch underneath is helpful because I know how wide I want it or what I'm lettering because often times you forget the words you are looking at, and then you spell something wrong, or forget a word, or something like that, which happens so often because we're working so closely to it that we don't even see it for what it is. I'm going back to this G. I actually don't like it at all, so I'm going to get rid off and I'm going to turn off my sketch. Something you can do here is you can combine layers down. So you've seen me merge a layer by just merging down, but you can also combine them. If I want to combine them, they are going to turn into a folder. So I can just move this in here. To rearrange them, you can just touch it, hold, put them together. It's a good thing that I have my baseline turned on because you can see my T and O are way lower than they need to be. I'm going to bring them back up and revisit this. It's a little wide, I think it's maybe a little off for the other pieces. Again, there's so different approaches to this and with systems and even with the Adobe Systems, there's so many ways to get to the same answer. You might think that's a lot of time or you might think that I can just draw it once and that's fine too. But this is my process and this has worked well for me. That might be a little thick, but I'm going to leave it for now and just play. I also want to test something. I want to see what it looks like with a really high crossbar and I think I might like that. Now I want to check what it looks with a long one. Just bring down. I think I like that better actually. I'm going to go ahead and make that change, and I'm going to do that over here as well. Now, what I'm going to do is the G, you can see I jump around a lot basically just how my brain works, but when I see something, I just grab and go. I'm going to try for a G. I think it's going to be a little different than it was before. I can see I don't have the eraser selected. Then I think I need to adjust the shape. I don't think it needs to be exactly the same as the old but it did give me a place to start. I think about this when I start, but do I want to have any drop shadows or embellishment or illustrations. But if I did, I would really need to accommodate for those now because right now I don't know that I could fit a significant drop shadow, so if I did want that, I'd need to space the letters out even more. "Lets" is feeling really big so I want to make sure I downplayed that with color or any other embellishments. I'm seeing a couple of things I can go in and change just make sure you're on the right layer. I could really go back and play with these for long but I think at some point, you just have to stop yourself and say it's good enough or it gets the job done. Now I want to play with kerning and you don't need to have your grid on for this. The first thing I would do is to look and I can see that the space here is too much. But maybe I want to add a drop shadow. Actually I think what I want do is space out the other letters first. I'm on the wrong layer. I'm just going to move that over. I'm realizing that maybe I'll make the hole [inaudible] bigger so that "Lets" is not so much bigger. I'm going to just add some space and then revisit. You can keep your grid on doing this. But, the way that kerning works, it's not exactly the same number between each one, so I think using your eyeballs is a good way to gauge that. Also I was thinking this G still looks weird and I think it's because it's lopsided. I'll start by fixing it on the O and work my way over to the G. A nifty trick is to turn your lettering upside-down and check it out that way. I can see now they feel too thick, so go back in thin them out by trying to make them even at the same time. We're getting there. It might seem tedious, but it's the fun part. You can put the TV on and just draw. It doesn't take as much brain power as sketching or working on the composition does. I'm feeling pretty good. I feel like have room to add an embellishment or even a drop shadow. I'm going to grab that whole layer by clicking on and I haven't selected so I click the mouse. But if you have part of it, then you need to use the lasso. But you could also just press "Select" and grab it. I have the magnetic turned on and I'm just going to grab a corner and scale up. I'm feeling pretty good. I think I could finesse it for a while, but I think for now it's okay. I want to talk about color in the next video.
5. Adding Color: I actually think I want to pick my background color first and that's really easy, it's right in here. You can see that a second ago there were these lines showing up and that was because I had something selected. Those diagonal lines means that something is selected and you can tell what's selected by whatever doesn't have those lines. I'm going to play with this blue background and see what I think once I have some color associated with each other and I already mentioned I want to make "Let's" fade and not be as bold as it is now. I'm going to drag and I'm going to make sure [inaudible] selected and I'm just playing around with a color palette that I already have. It's pretty hard to read but I think I can just adjust till I do like how these work together. I might even turn down my background. Now, the fun part is I want to go in and add embellishments. I know I want to add a drop shadow somewhere and I might do that on the script and so I'm going to go duplicate. A drop shadow is so much simpler than you would think, so I'm going to take that color and make a lighter version of it. You could do darker, whatever works. That color definitely doesn't work but we'll change it. I'm just going to take it and move it down and then I'm going to go back in and fill in the empty space. I'm going to start by seeing if white looks better and I'm definitely not loving it. I might just play around with this but I can at least go in and fill in those areas first. But I think I want to know what's going on with my other letters first. I feel like it would be cool to have an inline stroke on one of them. Instead of working destructively, I'm going to do a new layer and pick a darker blue to see. So cool. I think I could also do maybe some dots on there just to give it a little more, or maybe even some. Just give it a little more style, a little sass. Another thing you can do with these drop shadows going back to the letter is you can actually turn a Gaussian blur on. It's not the effect that I'm going for, but it is a fine way to add some dimension. I think what I want to do for "Together" is to have an outline on the letters. Instead of duplicating it, I'm just going to put a layer behind it and add a stroke. I want "Together" to be actually in this coral color instead and then I want the stroke to be in this pink. I make sure that layer is behind and I'm going to keep my brush consistent the whole time but I'm going to stick with the same. I just made my brush a little bit bigger to make my life a little bit easier. I'm just going to outline. I'm just going to do one or two letters and then just see how it looks and see if I'm liking it. [inaudible] on these colors but I'm going to go ahead and fill in the drop shadow because I know I want to keep that feature. The reason I'm taking extra caution with this is because if I decide I want to create some vector work from this, I want to make sure I don't have some really crazy jagged edges. But again, if you know your final piece is going to be just a Photoshop file, then you can be a little more rough.
6. Recolor & Alpha Lock: There's a few ways you can go about recoloring artwork. One way is to click up here and press "Recolor" and whatever color you have selected is what it will turn into. Then wherever this little [inaudible] is, is where it will recolor and I'm on the one layer. That's all that will happen. Another way is to hand-paint. If you swipe two fingers to the right, you can turn on Alpha lock. You know it's on because you have the checkerboard behind it. Maybe you want to do something really fun with color like use this squash brush. Maybe you just want to do a little bit on that same layer. You can just do that and because it's on Alpha lock it won't go outside the lines. You can also just drag and drop. Like I said, the threshold will determine how many things get colored. However, when you're dragging and dropping, it affects other things too, especially since these are on the same layer and that's why I really try and work non-destructively and have every color on its own layer. The other way you can do this, if you wanted to do that Gouache technique where I had the yellow, this one doesn't need to be on Alpha lock, but you click on it and press "Select". That layer is selected, I'm going to click on the new layer. It's only going to draw within my selection. That looks pretty cool. You can see that is all on its own layer. That's just because I only selected one spot. Then if I wanted to change that one layer, I can do that without changing the background, but it might miss a few. [inaudible] something like that. If you look up close, it still has a bit of a yellow edge, so I prefer to keep everything on its own color and layer. Then again, you go to Recolor and you could change it. It's fun to play around and see which process works best for you.
7. Clipping Masks: As a bonus, I just want to shape as haven credit clipping mask. This can go either way. But for this one, I'm going to show you how to use that background as the color for this word letter. Basically I have letter on one layer and I have this fun background or another. All I'm going to do is I'm going to move letter to the bottom. I'm going to click on this layer and create a clipping mask. Basically what that's done is taken the shape of below it and filled in that space. That's a really fun way to add some style to your letters.
8. Exporting: There you have it. What you can do next is you can share it. You can just export it and save it your iPad, and then you can share it on Instagram, use it on your website, send it to a client. If you want to share it to Photoshop, you can export it as a PSD and that retains all the layers and then you can go and do some more work, right in Photoshop.
9. Class Assignment: Thanks so much for joining me in class. For the project, I want you guys to create your own version of this piece. So you used the phrase, let's letter together, and create a piece and even export that final video to Instagram, and tag me @ilanagriffo so I can see your whole process. I hope you picked up some tricks and tips throughout the class, and found some ways you can incorporate using Procreate and iPads to increase your workflow and fit your next piece. Be sure to share designs and I can't wait to see what you create.
 Ilana Griffo, Artist & Author