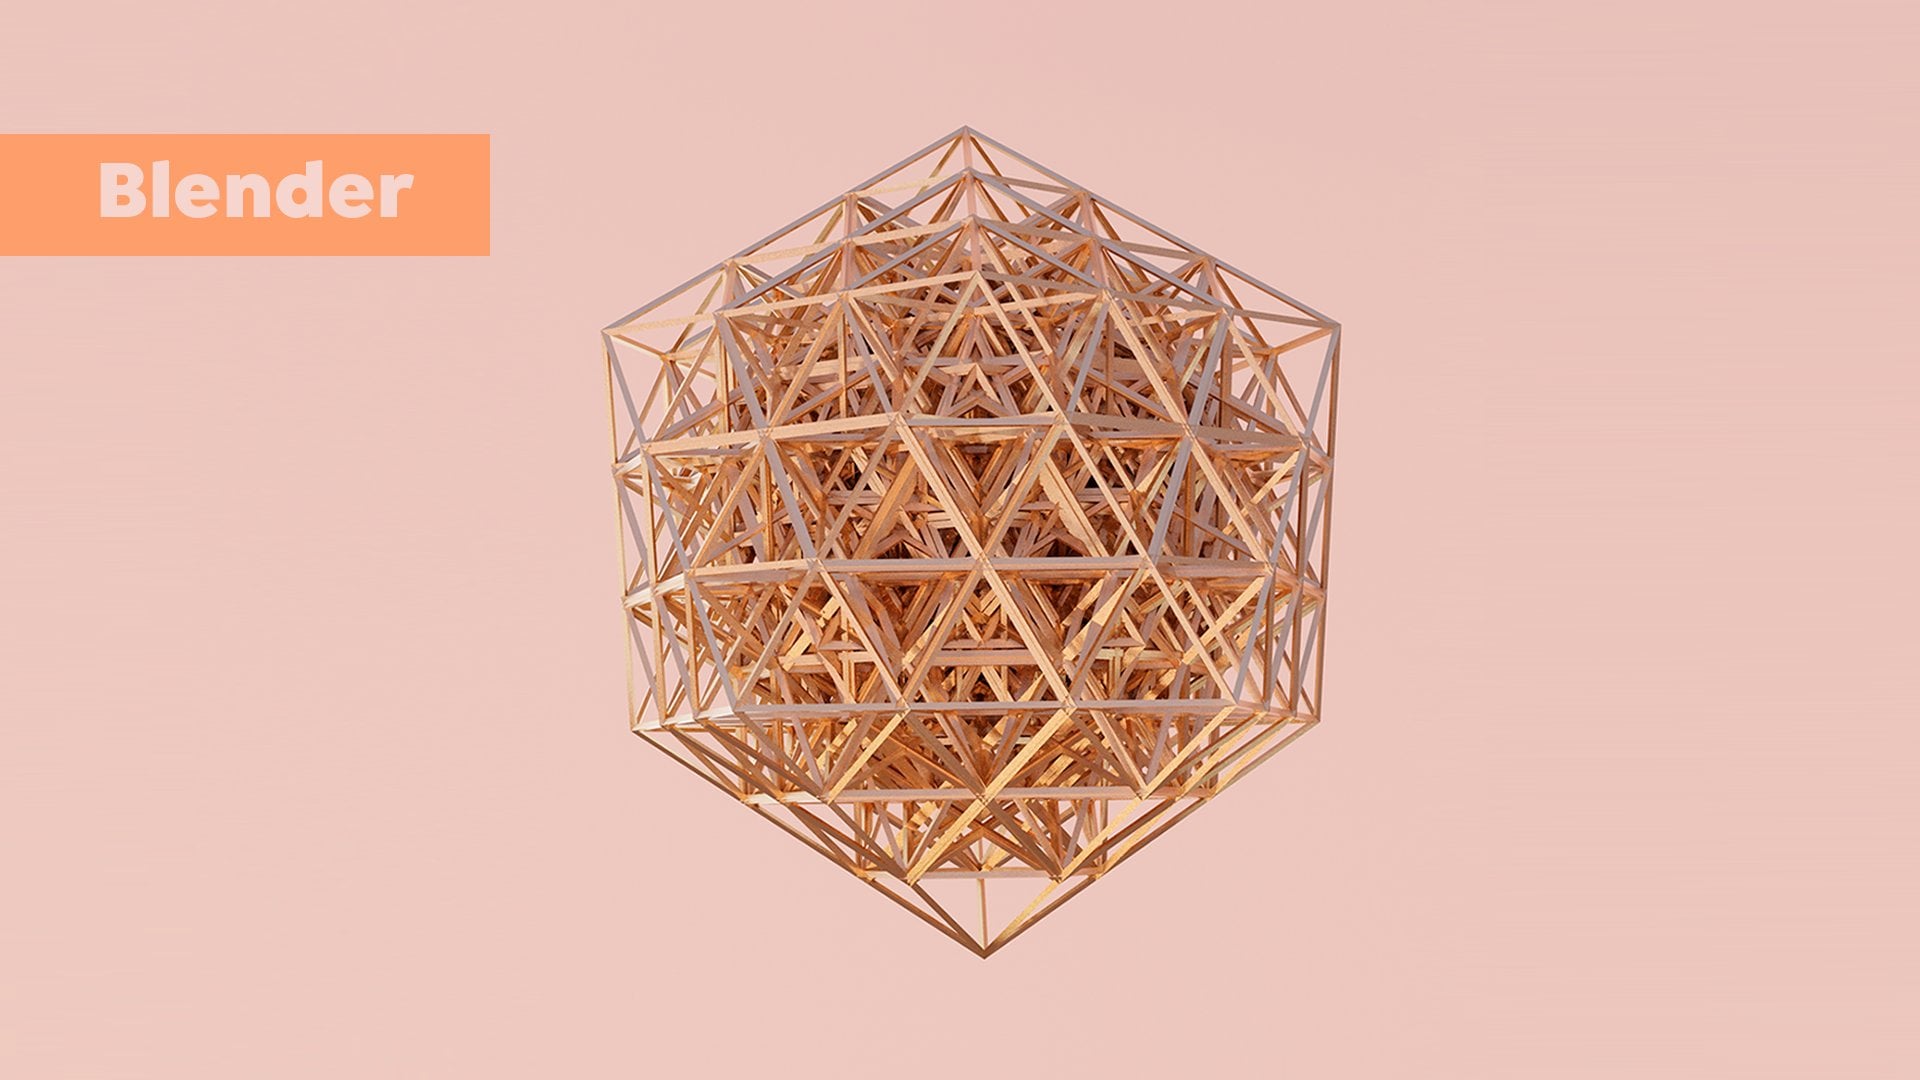
Transcripts
1. Wellcome!: Hi. I'm Eveling Salazar, and today I'm bringing you
an interesting class about Blender I want to share with you
some of the first steps I did to learn how to use the blender
interface and some tips I learned about this amazing
program If you have knowledge
of other 3D programs and you want to start developing
new skills with Blender Or if you don't have knowledge, about 3d programs yet This course is
special from you We will start with
the navigation and I will simply explain to you how
to use the interface Then we will work with the camera and objects
in a very easy way. You will understand the use
of materials and finally, how to set up the render. You will learn Blender in only
few steps that will help you to develop new skills
and get unexpected results. In this class, you don't need any prior knowledge or experience It is especially for anyone
who already has experience in other 3D software and wants to experiment with new
design with Blender. Or if you're a
complete beginner, I think that you can enjoy this class and discovers
something new. In my career as a 3D designer, I have had the opportunity to
use different software. In general, I find
that learning a new program can be very entertaining and challenging. At the same time, it is
also a great way to try new ways to create and
new techniques to implement. Let's start a new way to increase our creativity with Blender I can't wait to
have you in class.
2. Working with the Navigation: I usually work with different 3D programs, and one of the things that catch my attention
is that each of the programs has a little different interface, Although being
3d programs they have a similarity, but their way of working
on shortcuts are different. I made a transition
from Cinema 4D to Blender and it was a little difficult to adapt for me. So for this reason, I have created this class for everyone who wants
to start in Blender. or already has knowledge
in other programs and wants to learn the interface in a fast and practical way. These lesson we'll
be very helpful for you Let's start discovering Blender. To begin with, we will see
the panels of the interface. This is the main panel where, the modeling and all, the scene creation are done
by default, blender has a camera that
is this rectangle, a light, and a cube. Every time we open the program. It is a type of list that allows you to
organize all the objects that makeup
the scene as you add elements to the scene
they will appear in this section. It contains a great amount of grouped
and very well organized functions, that
facilitate the work of changing, the behavior and attributes of
each element inside the scene. This vary according to
the selected elements among them are
materials and modifiers. There is the option menu, which is located in
these upper part. Now that we know how
to locate each of the sections of the
Blender interface. I will explain how to navigate This was the first
thing we want to know when I opened a Blender
for first time. and now I will specify it because it is important
to know it beforehand. The navigation in its
entirety is with the wheel. Orbit: Wheel (MMB)
Pan: Shift + Wheel Control wheel. For some in and zoom out. For move object. Use G for a scale object. Use S for rotate object
use R If we get lost in 3D space two keys can help Home changes the view so that
all objects can be seen View, frame all while, numpad period,
adjusts the view. zoom to the currently selected objects. This is the main thing
you need to know to start navigating the interface. Now we will see some
keywords shortcuts that will help to navigate more precisely.
Orbit, always MMB. And to change the angle of
view in discrete increments, it is done with Numpad
8 and Numpad 2. Or by Numpad4 Numpad 6 to rotate the scene around that Z-axis
from the current viewpoint Finally, Numpad 9 switches to the opposite
side of the view. Next, Roll shift plus
Numpad 4 and shift plus Numpad 6. Rotates the view
around its local Z-axis in 15 degrees increments. Pan, with shift and MMB,
moves the view up, down, left and right
to pan the view. Shift is held down, while
dragging with an MMB. In the 3D View. For discrete
increments use control and Numpad 8 control Numpad 2
control Numpad 4 and control Numpad 6
keys as when orbiting And finally, Zoom In/Out With Control + MMB, you moves the camera forward
and backward. You can zoom in and out by holding
control and dragging MMB To zoom in
increments the Numpad Plus and minus
keys can be used. If you have a mouse wheel you can zoom by
rotating the Wheel. Knowing this
information helped me a lot to navigate and
start creating with Blender. I hope it's helped you. In the next, we will see a little
more about the interface.
3. Working with the Interface: When I started my
exploration in Blender, the first time I wanted to go through and recognize
each of the interface options intuitively
and quickly Some options, I recognized but others I did not.
For these reasons Here I will summarize
that help you to know and recognize
to shorten your time learning the interface The first one is top bar. The top bar is divided into
the following sections, File, Edit, Render, Window and Help. Under files, you can open new files, open recent files, saved,
import and export files, and other options.
The next is edit menu, you find the options of
undo and redo, history, menu search, and preferences The next is render menu, Render, image, animation and audio
options, and more. And the last one, window menu there are options to create a new window
in the workspace itself, this option is very useful
when you want to try things out on work on
several scenes at once. You can also switch to the next workspace with
the next workspace option. And also this option, that I love is the save
Screenshot option. Workspaces are essentially predefined window
layouts. Blender's flexibility with areas lets you create customized
workspaces for different tasks such as modelling animating, and scripting. Blender also has several
more workspace added by default, modeling
for modifying geometry, with modeling tools.
Sculpting. For modifying meshes with
sculpting tools. UV Editing mapping of image texture
coordinates to 3D surfaces. Texture Paint, tools for coloring textures in the 3D Viewport. Shading, tools for specifying material
properties for rendering Animation, tools to make object
properties time-dependent. Rendering for visualizing and analyzing rendering results compositing to combine and post-process images
and render information. Geometry Nodes For procedural modeling
using Geometry Nodes. Scripting Programming workspace
for writing scripts. The blender window
is divided up into several rectangles
called areas. Areas reserve screen space for editor size, such as the 3D Viewport or the Outliner. Areas can be customized to match specific tasks
called workspace, you can resize areas by dragging
their borders with LMB. Move your mouse cursor over
the border between two areas so that the cursor changes to a double-headed arrow
and then click and drag. Each mode is designed to edit one aspect of
the selected object. Blender modes, Object mode and Edit mode The Object mode,
the default mode, available for all object types.
Edit mode, a mode is available that focuses on editing shapes, vertices, edges, faces for meshes control points
for curves surfaces and more. Now that we know the basic to understand and manage the
Blender interface let's review the camera
in the next lesson.
4. Working with the Camera: A camera is an object that
provides a means for rendering Blender images. It is defines which part of a scene is
visible in the render image, the camera view shows the
current scene as seen from the viewpoint of the
currently active camera. It can be activated by
pressing Numpad 0 The camera view can be used to virtually compose shots. and preview how the scene will
look when rendered. Align active Camera to View
control plus alt plus numpad 0. This feature allows you to position and orient the
active camera to match the current view. Select a camera and then
move around in the 3D view to a
desired position and direction for your camera
so that you are seeing what you want
the camera to see Now, press control. alt, numpad 0 and your selected
camera is positioned to match the view
To control the camera use the middle mouse
button. Press it and move the mouse
to rotate the camera If you also hold down
the Shift button, the camera will move
instead of rotating. If you will hold down
the Control button. instead, the scene will zoom in
or out with the mouse movement.
5. Working with Objects: In this lesson, we
will see how to work with objects and
also a little bit about the modeling.
You can add objects by Shift + A or by using the add button
at the top. Or go to add, mesh add the object you need. Blender has a few modes. For
basic modeling purposes Let's review two of them. In object mode, you can
select an object or a few. and in edit mode, you can edit it. Use the tap key to
switch to edit mode. The vertices and edges
together form a surface. In edit mode, you can press
one, two, or three. o switch to vertices, edges, and surfaces accordingly. Sometimes it is easier
to edit an object when it is transparent for
that, press Shift plus z. Here you can also move, rotate and scale, any vertex edges or surface using G, R and S, buttons and the axis button. Or use the corresponding
buttons on the left panel. Check the extrusion
press three to switch to surface mode and press "E" to squeeze the object. To delete the
object, press tab Exit edit mode, and go to object mode, Then simply press Delete. If you are in edit mode, You can also press
a to select all, and then press delete. If you need more
geometry, select the object and press Control plus
R in edit mode. This command will make
a cut and add geometry. That combination of Control
plus r and a scroll allows you to add more
segments to the object When you add an object, for example a torus, an object
configuration panel, will appear It is important to set
parameters in it right away. Otherwise, if you make
other modifications the panel will disappear and the changes
will not be saved. How to make a donut-shaped
object. Place a torus Switch to the top view Select half of all vertices. To do that. Make that object transparent
with shift plus z. Otherwise only the top vertices
will be selected, delete them Use shift plus z to cancel
the transparent mode. And you will see that now
have half a torus. In the next lesson, we
will see the next steps that would have
helped you understand the blender interface. Working with materials.
6. Working with Materials: You can use materials to show the substance an
object is made of or to paint the object with
different colors. Usually, the
substance is represented by its surface qualities like color, brightness,
reflectance, etcetera. Example. Firts, let's create a
via shift plus a, mesh. Then enable the soft tone via right
mouse-click to display it. When in the graphic Windows
you can hold down. Z button to
see the solid display or press shift plus Z
to switch to wireframe. Click on world a red button with a red planet on the right side of the interface. Note that the color will be
seen only in rendered mode. So you may want to
split the screen to see the render and a perspective
of the object in the same time. Click on the sphere and, in the lower right corner you will find a
menu with a ball icon. This refers to the material
properties. Click on New. Then in that list
of parameters choose a contrast color so that
the object can be visible. There are many more
parameters to count set. It is a very good
idea to give your materials clear names so
you can keep track of them, especially when they are linked to multiple objects Try to make your names
descriptive of the material. Not its function. For example, I put yellow painted. Now that we have a basic
introduction to materials I invite you to see the last step to get to know the
blender interface. and start creating your designs.
7. Render Time: Now we will see the
last step to get to know the
Blender interface Let's explore
the rendering section. Blender has two
engines, cycles, and eevee. The benefit of Cycles is
that it allows you to have a photorealistic
rendering and result although the rendering time
is longer because of the additional resources
it uses for processing. In contrast, the eevee render engine is a real-time
render engine It can render the
the 3D modeling in blender while you are
still working on it. It is a foster render
engine because it consumes less processing
resources of the PC, but its result will be less
realistic than Cycles. To choose which
rendering engine will be ideal for your project
you should consider the type of result
you want to obtain. Also, take into account
the time in which you need it. Now let's move on to the
rendering section. I have a scene open I will use it to know
the Render Settings. In this top section, blender has four options
for scene view you can choose one
according to your need. The first one is the
viewport shading wireframe. Display, the objects as wire edges. The next one is Viewport
Shading. Solid. Display the object in solid
modes. The third one is material preview display
the material preview mode. And the last option is
a render preview. This option helps to
visualize an approximation of what will be
the final render. For the Render Settings, go to Render properties and choose the
render engine you need. The important thing for a high-quality result is
the amount of sampling you add the more you add the less noise
you will get in the image. Also, keep in in mind that
the more sampling you add the longer it will take
to render. In the cycles. engine there is a
denoising option use it to add more quality to your renders and
eliminate noise. Now let's look at
output properties In that section add the
the dimensions for the render as well as where to save it
and choose the format Maybe PNG, JPEG, Tiff, and
more. With those simple steps you can get the rendering
done in Blender Now, just press F12 and rendering will start.
8. Class Project: Thank you very much for
joining me in this class I am very excited
to have you here. Your project is to explore each of the steps followed in and create your first
render with Blender, You can use
the file attached in in the projects & resources
section or create a new composition
using the options Add, mesh, and add, the shapes you want to
use for your render. Please, publish your 3D composition in the Project & Resources Gallery Share it. I would love to
see the result of the renders. To publish your Class Project, you must
do the following: Go to the Project and
Resource section, locate the Create a
Project button on the right side, Click on it. And once you're
there, you can select a cover photo and a title. In the project description
you can add some comments
about your process Something about what you
enjoyed about the class, or if you want something
about yourself. and share your social media links To upload your work, click on Image, and then
you can upload a as many images
as you want to share. After it's ready, hit Publish and your project will be shared. If you share it through Instagram or stories
you can tag me @eve__3d I will be very excited to see each project. If you have any questions or need extra guidance
during your process, feel free to contact me
using the discussion boards. I can't wait to see
your project.
9. Keep Learning!: Please, leave a review if you found this class helpful and learned
a new skill. All of your comments will be
very valuable to me. If you want to get notified
about my upcoming classes. Follow me. And you will be notified
when my new class is out. You can follow me on Instagram and see what other projects
I'm working on. I also invite you to follow in my YouTube channel where I publish some tips
about different 3D software. If you post your art don't forget to tag me. So I can take a look at
what you have created. If you want to learn more about how to create 3D compositions, I invite you to follow my other classes on
Cinema 4D, and Adobe Dimension or Substance 3D Stager I hope you enjoyed this class
and learn something new. I hope to see you soon.
 Eveling Salazar, 3D Designer - Graphic Designer