Transcripts
1. Welcome!: [MUSIC] Have you
ever want to start creating 3D design or great 3D art but don't
know how to start? [MUSIC] Hello. My name is
Eveling Salazar. I am a freelance
graphic designer and 3D artist based in Lima, Peru. I come to Dalia flora and experiment with
difference of work, but one that has caught my
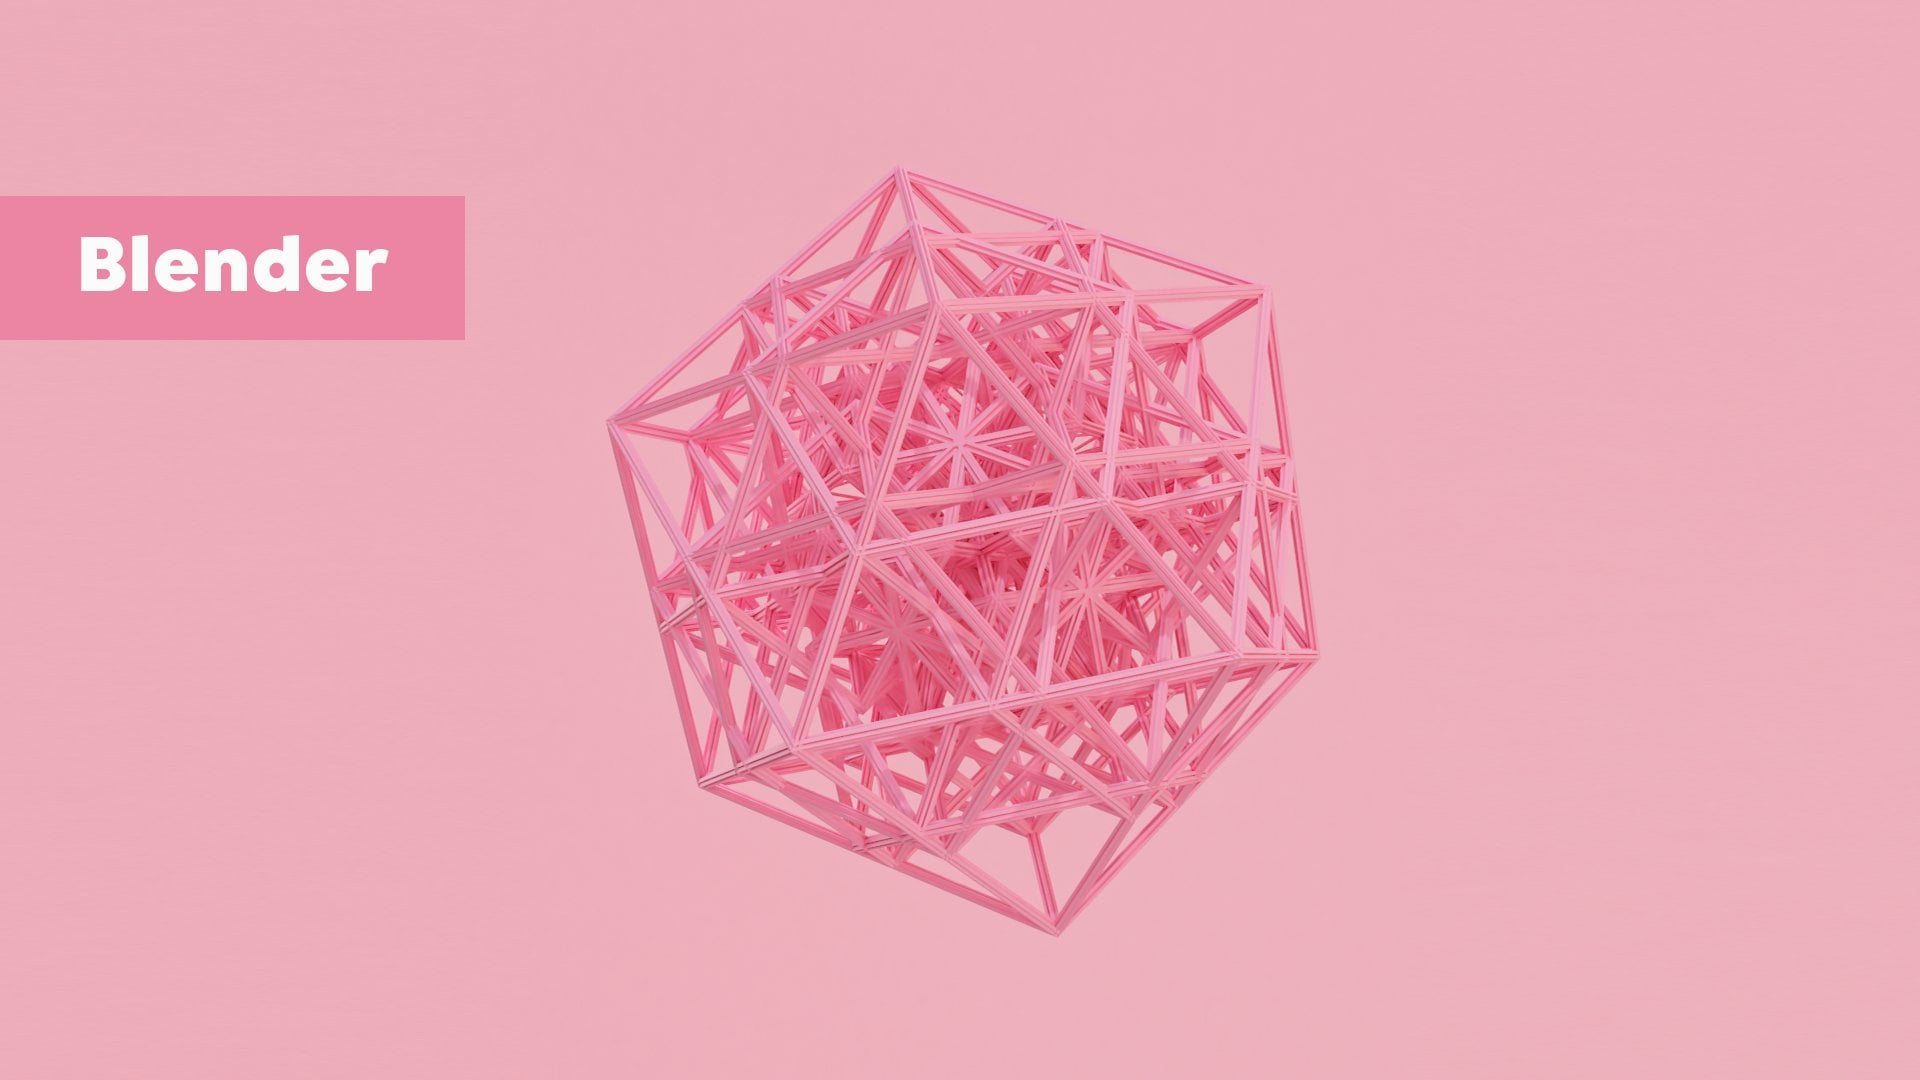
attention lately is Blender. Blender is an amazing
free 3D program that offers many advantages. It is a complete
program that can help you to deliver any
project you have in mind, even if you don't have
3D knowledge yet. In this class, I want to
show you my process of how I instantly create
these art renderings. We will work on the technique, you will learn how to
work with the camera, how to add a 3D scene, and how to add a background. Then I show you, how to use diameter knowledge and
apply it in artistic way. I'll show you how to grade
material sector and finally, how to set up Blender
for rendering. The lesson is easy to follow. You will only need
to want to shut off the artistic side and of
course have Blender installed. With 3D skills, you can open your way
to new opportunities. You can translate it into
different digital designs or maybe create your own NFT
until you earn to the work. This class is perfect
for beginners and for everyone to divide
into artistic work. Perhaps creating Blender
might seem difficult, and if you don't have any
3D knowledge with that, but with my process, I will show you that
these are really simple. I want it has your
skill, durability, and creativity as an
artist with Blender
2. Class Project: [MUSIC] Create your
own artistic upset , rendering with blender. To start the class you can go to this link and download
the blender for free. The skills and knowledge
you will learn through the following lesson will be a foundation that we
allow you to apply, experiment, and create artistic 3D rendering into your way. You can consider writing
the following step when creating your
class project. First, focus your attention
on an artistic perspective. May the artistic world flow together with the technique
you will learn in class. Use geometric node modifiers and play with the appearance. Create objects that make
up the field of view, ambit, art the blur, and did you get the
best result for you. Create, play and experiment with values
when creating materials, and apply a color palette
to your composition. When you have all the above
stuff ready, rendering. If you want to apply a
little more constraints, use photoshop or any
other application to enhance colors and make
anything adjustments. Finally, share what you learn share what you create,
share your art. [MUSIC] I love it their
brilliant and resources section for a chance to see
your 3D creation. Ready to transfer those skills
you will learn into art, let's go to the next lesson. [MUSIC]
3. Art with Blender: [MUSIC] Picasso once said, "All children are artists, but the challenge is how to continue being artist
once we grow up." I believe that one way to do it is to feel our
creativity continually. Another way to achieve
it is to be a creator. That is to say, to think and put ourselves to work because to
create is to learn, to improve, to experiment. It is to stop being impassive, it is to stop scrolling
and on the contrary, is to start acting. When do create artistically, nothing is a mistake. The vulnerable thing
about it is that it connects you with what
is unique in you. Approach your work creatively always looking for
new approaches. Increasing your knowledge,
trying new things, and exploring new techniques. In the following lesson, we will talk about a
super powerful tool. If you do so creatively, you can get very attractive
artistic results. Blender decided at the
beginning of 2021 to add a procedural system inside the software Geometry nodes. It is a great way
to start creating abstract element and inspire you to create artistic blenders. What I find beautiful about
this tool is that is and especially that
diversity we do can create through its modifiers. Diversity, this component is essential if you do
plan to create art. It is one of the essential
ingredient of creativity. When we as planning, with new techniques will
increase this software. We will learn new
ways to approach to diversify our minds on
generating more creative ideas. May tones can be
used to enhance it or innate creativity
within that Tuesday work, I recommend you to
exploit Geometry nodes. [MUSIC] In the following lesson, we will explain
with how it works, play with its values, and create various types. [MUSIC]
4. Camera, Lighting & Background: Before we start, let's define the
dimensions here. In my case, I will
add these dimensions. Blender, but before it
has a camera in the same. To play as to camera
view and move it, we can use this
camera view icon. Let us start by reviewing
object that are properties. To seek what are shown, we have to position the
camera in the same. Let's go directly to lens. Here, there are some
interesting focus option. There are three types of view. The first one is perspective, the autographic one which
is an isometric view, and the last one, panoramic. Panoramic only
work inside cycles because is one of
Blender Render endings. Let's leave is in perspective
form the project. Here, there are
focal point option. These define how deep the
camera is, as we zoom in, we see the zoom. Let's leave it at
15 millimeters. In the case of our rendering, we will use to eliminate
the scene only with HDRI. This HDRI, we are likely to
get a more natural lighting. It is at 360 degree
high-resolution photo that we will cover the
whole thing with channels and lights information. To do this, go to world properties. This option will define that environment in which
the scene is located. We use that color
"Environment Texture" option, and then, find the folder
where you saved the HDRI. A website I recommend to
look for HDRI is PolyHeaven. It is free and you
can delete them in different resolution
according to your need. I will use this one. I will leave it in
the project and resources section in
case you want to use it. Then, we look for where you
have saved that is derived. In this style, we can
see an approximation of the rendering and you will see that it's derived
in all the environments. To work better and not to
confuse us with the match, we can make it invisible
to the truth, the viewer. To do this, we go to the
render properties tab, and in film, we
activate transparent. This will be this
activate the HDRI view, only the viewer but
not the objects. Finally, for light
and shadow effects, we change the HDRI
conformation to estimate. The HDRI is ready, we move on to blaze background. We will use a plane, click "Add" and "Plane". We place it in the back. Do that S key to scale
it and that's it. Now, is your test while we have advanced AI doesn't
mention for your class for a yet as we come
around looking PolyHeaven for that HDRI
device or use mine, if you can't find it in for a pro-social section
and add Background. See you in the next lesson, we will see how to work
with geometry nodes.
5. Geometry Nodes: [MUSIC] This class is very important because we'll be learning how to use the technique
with geometry nodes. Geometry node is a
tool introduced in Blender in Version 292. This was at the beginning of 2021 and it is great because
it allows you to transform, join, modify, and merge geometry
inside a modifier. This can be used to modify parameters shape object
with numerical tape. It is the foreign modifier but unlike other past
Blender modifier, it can be customized
by combining nodes. It also allow
multiply operation, we can be communicating
within a group. Now we will start to [inaudible] our object
in the 3D scene. Also in this node, destruction
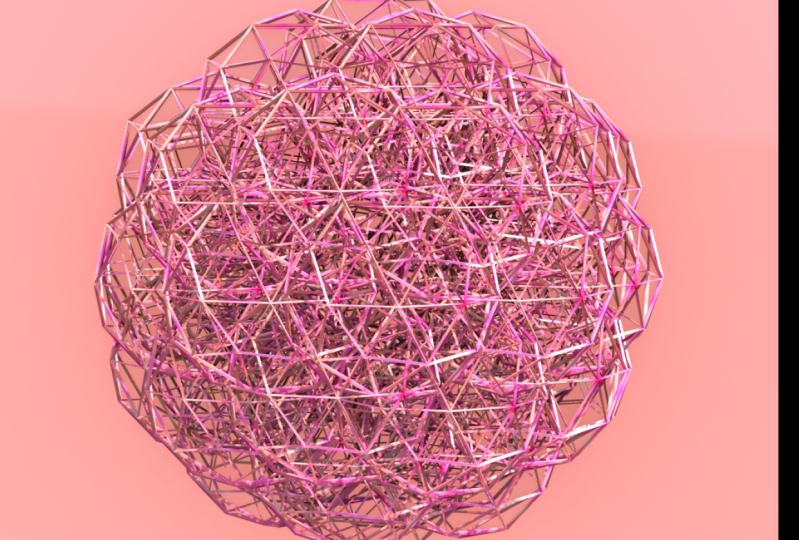
blender technique. We will start with
an icosahedron. Volume of the cube
and go to Add, Mesh, and Icosphere. In the tab below we
will change from two to one subdivision, D will be the base
of our element. The next phase is to
grain an instance geometry node besides
history auto-data's, geometry can install
instances which entire co-reference more geometry to
an object or a collection, but what is the
purpose of instances? The purpose of
instances is to allow more geometry to be
included without duplicating actual
data and may not use to create instances is that
instance not in point. In the same, we will duplicate that icosahedron to
make an instance, an M to create a new collection. Do you feel that you
are a little bit lost in the interface
on navigation, please, I invite you to watch
my first blender class. There you will
learn a little bit about how to start with Blender. We make two columns shown
one for each icon as first. Now it is very important
to always keep with names the elements on collection to work faster and
avoid confusion. We will call this Instance. Based on it, we will
create fractals, which is a simple, complete way to create
a repeating pattern. If you want to know a little more about these geometric node, I leave some links at the beginning of the
class description. It is also important
that you have the node wrangle option
enabled in preference. This I will give you
survey tools that help you work with nodes quickly
and efficiently. To activate it go
to "Preference", then to "Add-ons" tab, select "Node", and "Node
Wrangler" to enable the script. Now we will turn off the tab to only view our collection
and start creating. Let's go to the geometry
nodes tab, new. These two boxes,
we're pure that will allow you to add
input information to perform operations combination
of nodes to obtain a final result that will
result in an output. Press Shift plus A
at point instance. The point instance node
instance an element for each of the point present
in the input geometry. In object, we will
select the icosphere. The next thing we will
do is add that point on a scale that
will help us change the attribute of each point in the geometry by a
specific amount and dominate the side of each
instance object or collection. Again, Shift plus A and
select point scale. We will change the
scale to four. You can bury it
and play with it, and see its result later. Now, will we merge that separate diameters
into one fluid, join geometry, Shift plus
A and join geometry. Then we will tell that
interest to join the geometry. Now, we must control the scale of the duration to do this, G plus I and vector
and combine XJC. With the math node, which is that mathematical node that perform
mathematical operations, Shift plus A could
delete this on Math. We will use that power
function as the input value, which is that better I said, of the power of exponent. Both the base and the exponent will be added to that input. Then we will connect it
with XJC as an output. I'm going to deal with
that point scale. In the properties,
modify properties, geometry notes section, we can modify the
base dimension. With this, we finish
the node configuration. This is the basis for the
geometry node configuration and in the next lesson based
on our configuration, we will see how to create
manuals and a catching element. [MUSIC]
6. Art with Geometry Nodes: [MUSIC] Now, it's time to play around
with the settings and attributes and create art. The first thing we will
do is duplicate it. Then we will play with
the base which will be the scale and the
exponent that will be the number of
repetitions of the process. You can see how it change
as I modify its value. The next thing will be to add a structure modifier that will make our element looks better. We add a new modifier,
in this case, it will be wireframe. To comply with the thickness
of the structure and vary the values and to define the ones who are best for you. [MUSIC]. If you want to try with the
values that I have used, I'll leave them here. [MUSIC]. Flip that icon there. [MUSIC]. You can turn different values
and create new elements. Now it's fun to play.
It's your turn. Create your own objects, create all from the
geometry notes. [MUSIC]
7. Shading: [MUSIC] Now it's time to
create materials in blender. For this project, we will
add a metallic material. I will show you how to
create it and of course, based on what we will
see in this lesson, you can create your own material while changing the values. Let's go to Shader
Editor add New. As the material we are
going to increase is metal, we will increase
their metallic value. We will increase the
roughness value, this control the roughness
of the glass reflection higher values result
in a smoother look. Now we add with Shift+A
Musgrave Texture, a fractal permanences, and their input
texture coordinates. The fractal in this case is cry, how many iteration or octaves, and the octaves mean that
control the amount of nodes, so detailing the pattern and will reduce to
generate the nodes. With higher iteration
resulting in more complex detail it noise
and slightly lower shaving. With most graft texture, it allow more control over how the octaves
are communicating. With Musgrave tests [inaudible], press "Control" and "T"
and mapping will appear. The mapping transfer that input vector by applying
the translation, rotation, and scaling, and
texture colony can be used to map any
texture on an object. Then we connect the
object with the vector and I will use the value
of five for this scale, 16 for the 12, and zero for dimension. Let's show this information to the color base is
signed to add color, and for this, we
will use Color Ramp. I wait, I luminousity and show the color range to
yellow or gold maybe. This will be the main color. For the secondary color, I will add a similar color. But I recommend that you
use permanent and test. What colors suit
it best as for me, we will see how these two shaves of gender
and threw it on the audit. To add some texture we
will reduce noise texture, and join the mapping
with a noise texture. In this skill, I will
use 400 in detail. For roughness, I will add 7,5,0 in that factor we use the value of
the fractal noise, we will join it with normal. Normal mapping is a tool to
raise technique used to give the impression of light in detail and give more
texture to the material. To our relief, we will use bump, but we will change it
from normal to height. This is where you can
make the texture, as you will see, is too much so I
lower it to 5,0,0. I like it. We had them really. Finally, we'll add a new
material for that background, and in this case, we'll just change
the color range. [MUSIC] The materials are already signal now is to
choose your color palette, the same with the
values play have fun and work what we have learned in this lesson [MUSIC].
8. Bonus: Shading: [MUSIC] The great thing about
creating this kind of element is to explore and experiment. Here I'll show you some change I made to have a different
result in the renders. The first one is
to learn only with Musgrave texture without
adding more textures. The next example is to
work only with the color. The color, which do you prefer. You can make more
changes and try. The interesting thing about
learning a technique is to see what else you
can achieve with it. To make the changes, I recommend that
the rendering thing you are going to
use is selected. In this case, I will
work with cycles. To create new material, use the new material icon. Make the changes
you want to make by selecting the object
to apply the material. To change color material you can change it in this section, always with the object to
change material selected. If you want to make
this same pattern, here are the values. [MUSIC] Now it's time to render, See you in the next lesson. [MUSIC]
9. Rendering: [MUSIC] We are getting to the end of this
word processor and is signed to [MUSIC]
configure the render. Click on render properties, and we have two main options
for rendering with Blender. Eeve is a real-time, physically-based
rendering and cycles is a physical way spot tracer. It is designed to provide
physical results. For our project, we
will use cycles. The next thing is
to choose what kind of the vibrant then
we'll render with. If you want to render
with a GPU or with a CPU. You must also take into account the number of sampling to add. This means the number
of paths took tray for each pixel in
the final render. As more samples are taken, the resolution becomes less
noisy and more accurate. In this case, I will add
8000 for higher quality. Next is to check that
the natural under books and tools
that optic option. This option uses an artificial
intelligence algorithm to remove noise from renders. Then we must go to output properties and choose where you want to
save that image. For this format, I
will save it in PNG, which is always better
because it saved more image information
than the JPEG. Then encoder depth 16
and compression at 100. [MUSIC] Finally, we have
everything ready to render. Just press F12 or go to many
render and render image. That's how easy is to surround
the memory in Blender. Let's go to the last
lesson where we will see the result
of the rendering. [MUSIC]
10. Keep Creating!: [MUSIC] Congratulations
for having written this part of the
process of the rendering. Now, we will see the
rendered result. If you want to save me
directly from the render view, well you go to
Image and Save As. Then, what you can do is to enhance the career
in Photo-shop. For this, I use raw camera and added some tests or saturation, and contrast to that rendering. I hope you're happy with the result of direct
result rendering, and I invite you to
continue exploring the values and attributes
of each technique that we have been learning
during the lessons to control different color and
setting in Geometry notes. One last important step, is to cheer while do great, inspiring more students in the class and show
what you can create. Go to Project and
Resources section, and I left the image
of the render. I am sure you'll inspire
others to create. If you want to add
comments about the process and tag
your social network, it will be great so we
can get to know you. You can also tag
me on Instagram, please to see the result
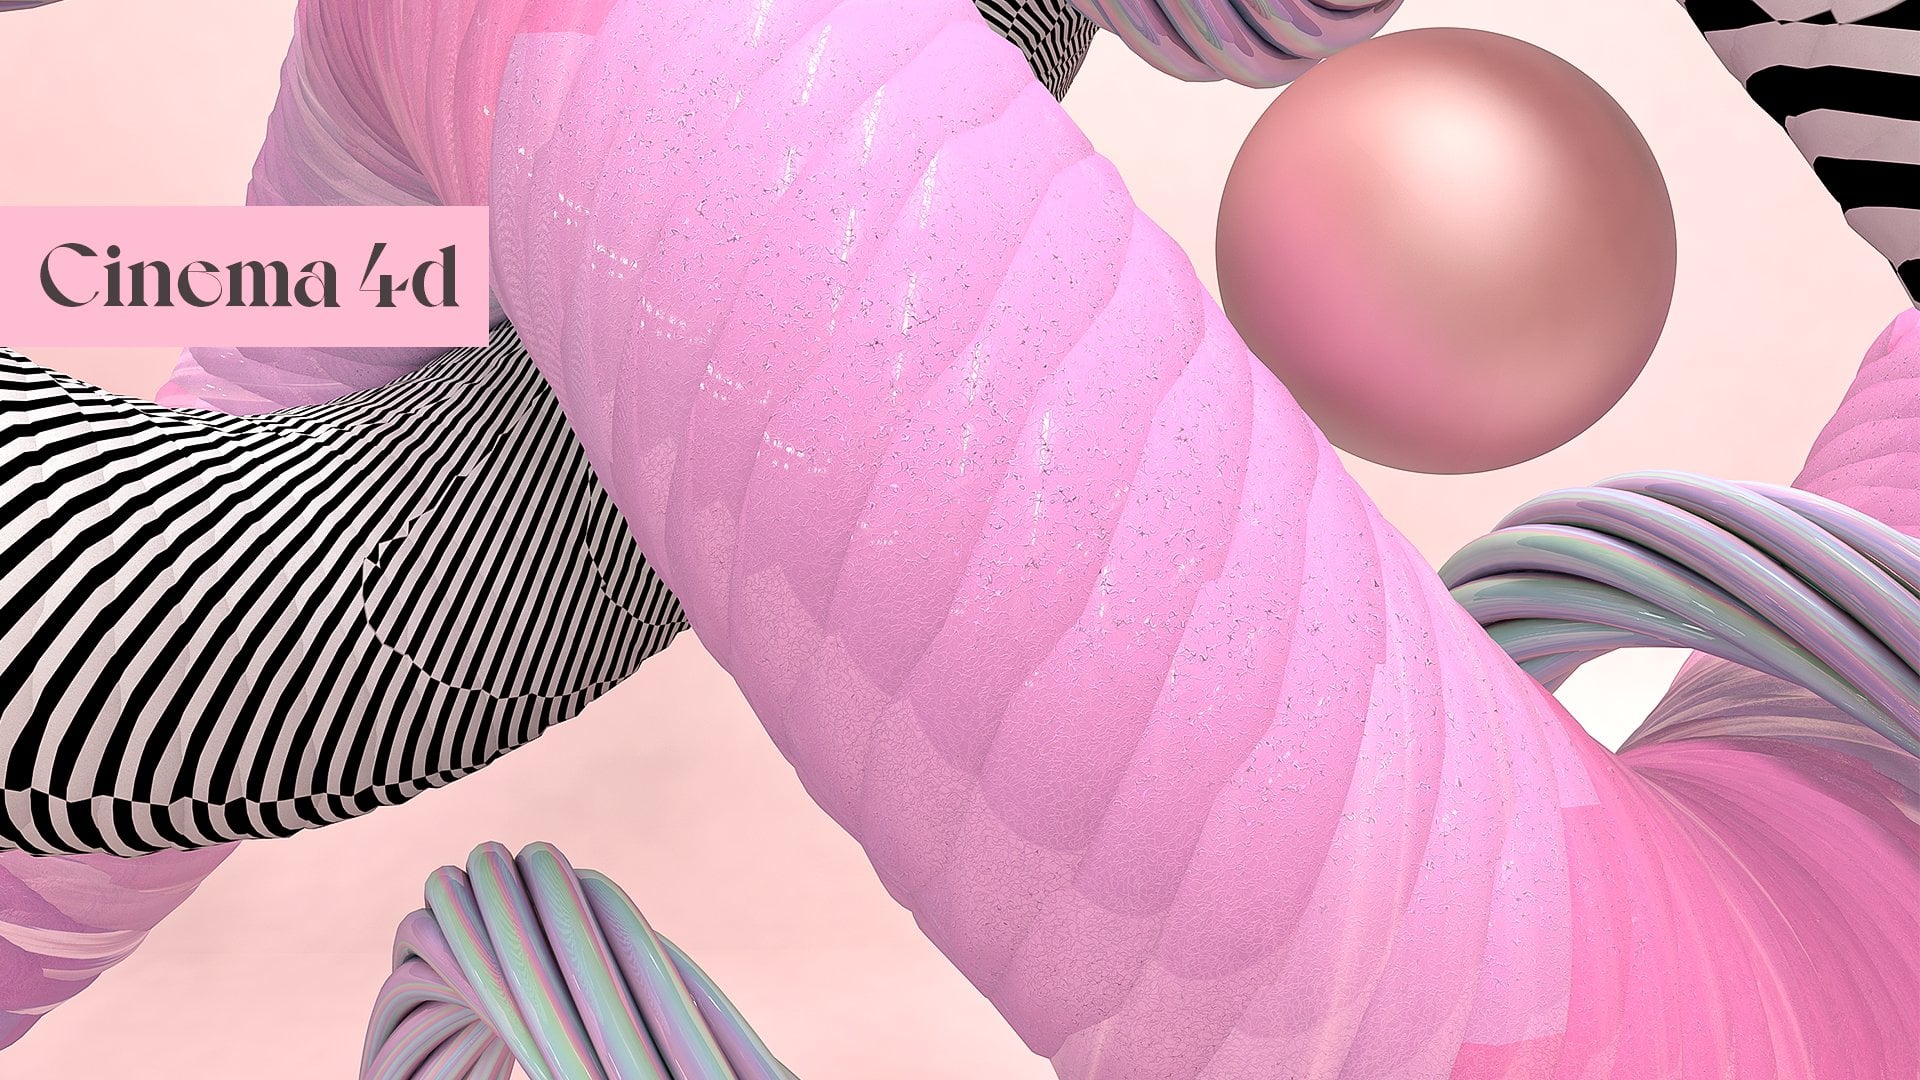
of zero plus brilliant. If you want to keep learning subscribe to my YouTube channel. I have a lot videos related to difference
of the savior light, Cinema 4D, Substance 3D Stager, Dementia, and of course Blender. I also invite you
to follow me on a Skillshare channel to be in another fate when a new
class is available. To have all these
additional classes to continue exploring Thursday, choose the one you like and I encourage you
to follow them. For more information about me, visit my website,
Evelin Salazar. You can find me on social
media as Evelin Salazar. Finally if you like the class, please leave me a review. In case you have any
suggestion for a future class, or improvement in my
teaching methods, I invite you to leave a comment in the discussion section. [MUSIC] Friend for
making this far, I hope you have learned
something new and enjoy Blender techniques and
tools through the class. I hope I helped you. Thank you. And see
you next time.
 Eveling Salazar, 3D Designer - Graphic Designer