Transcripts
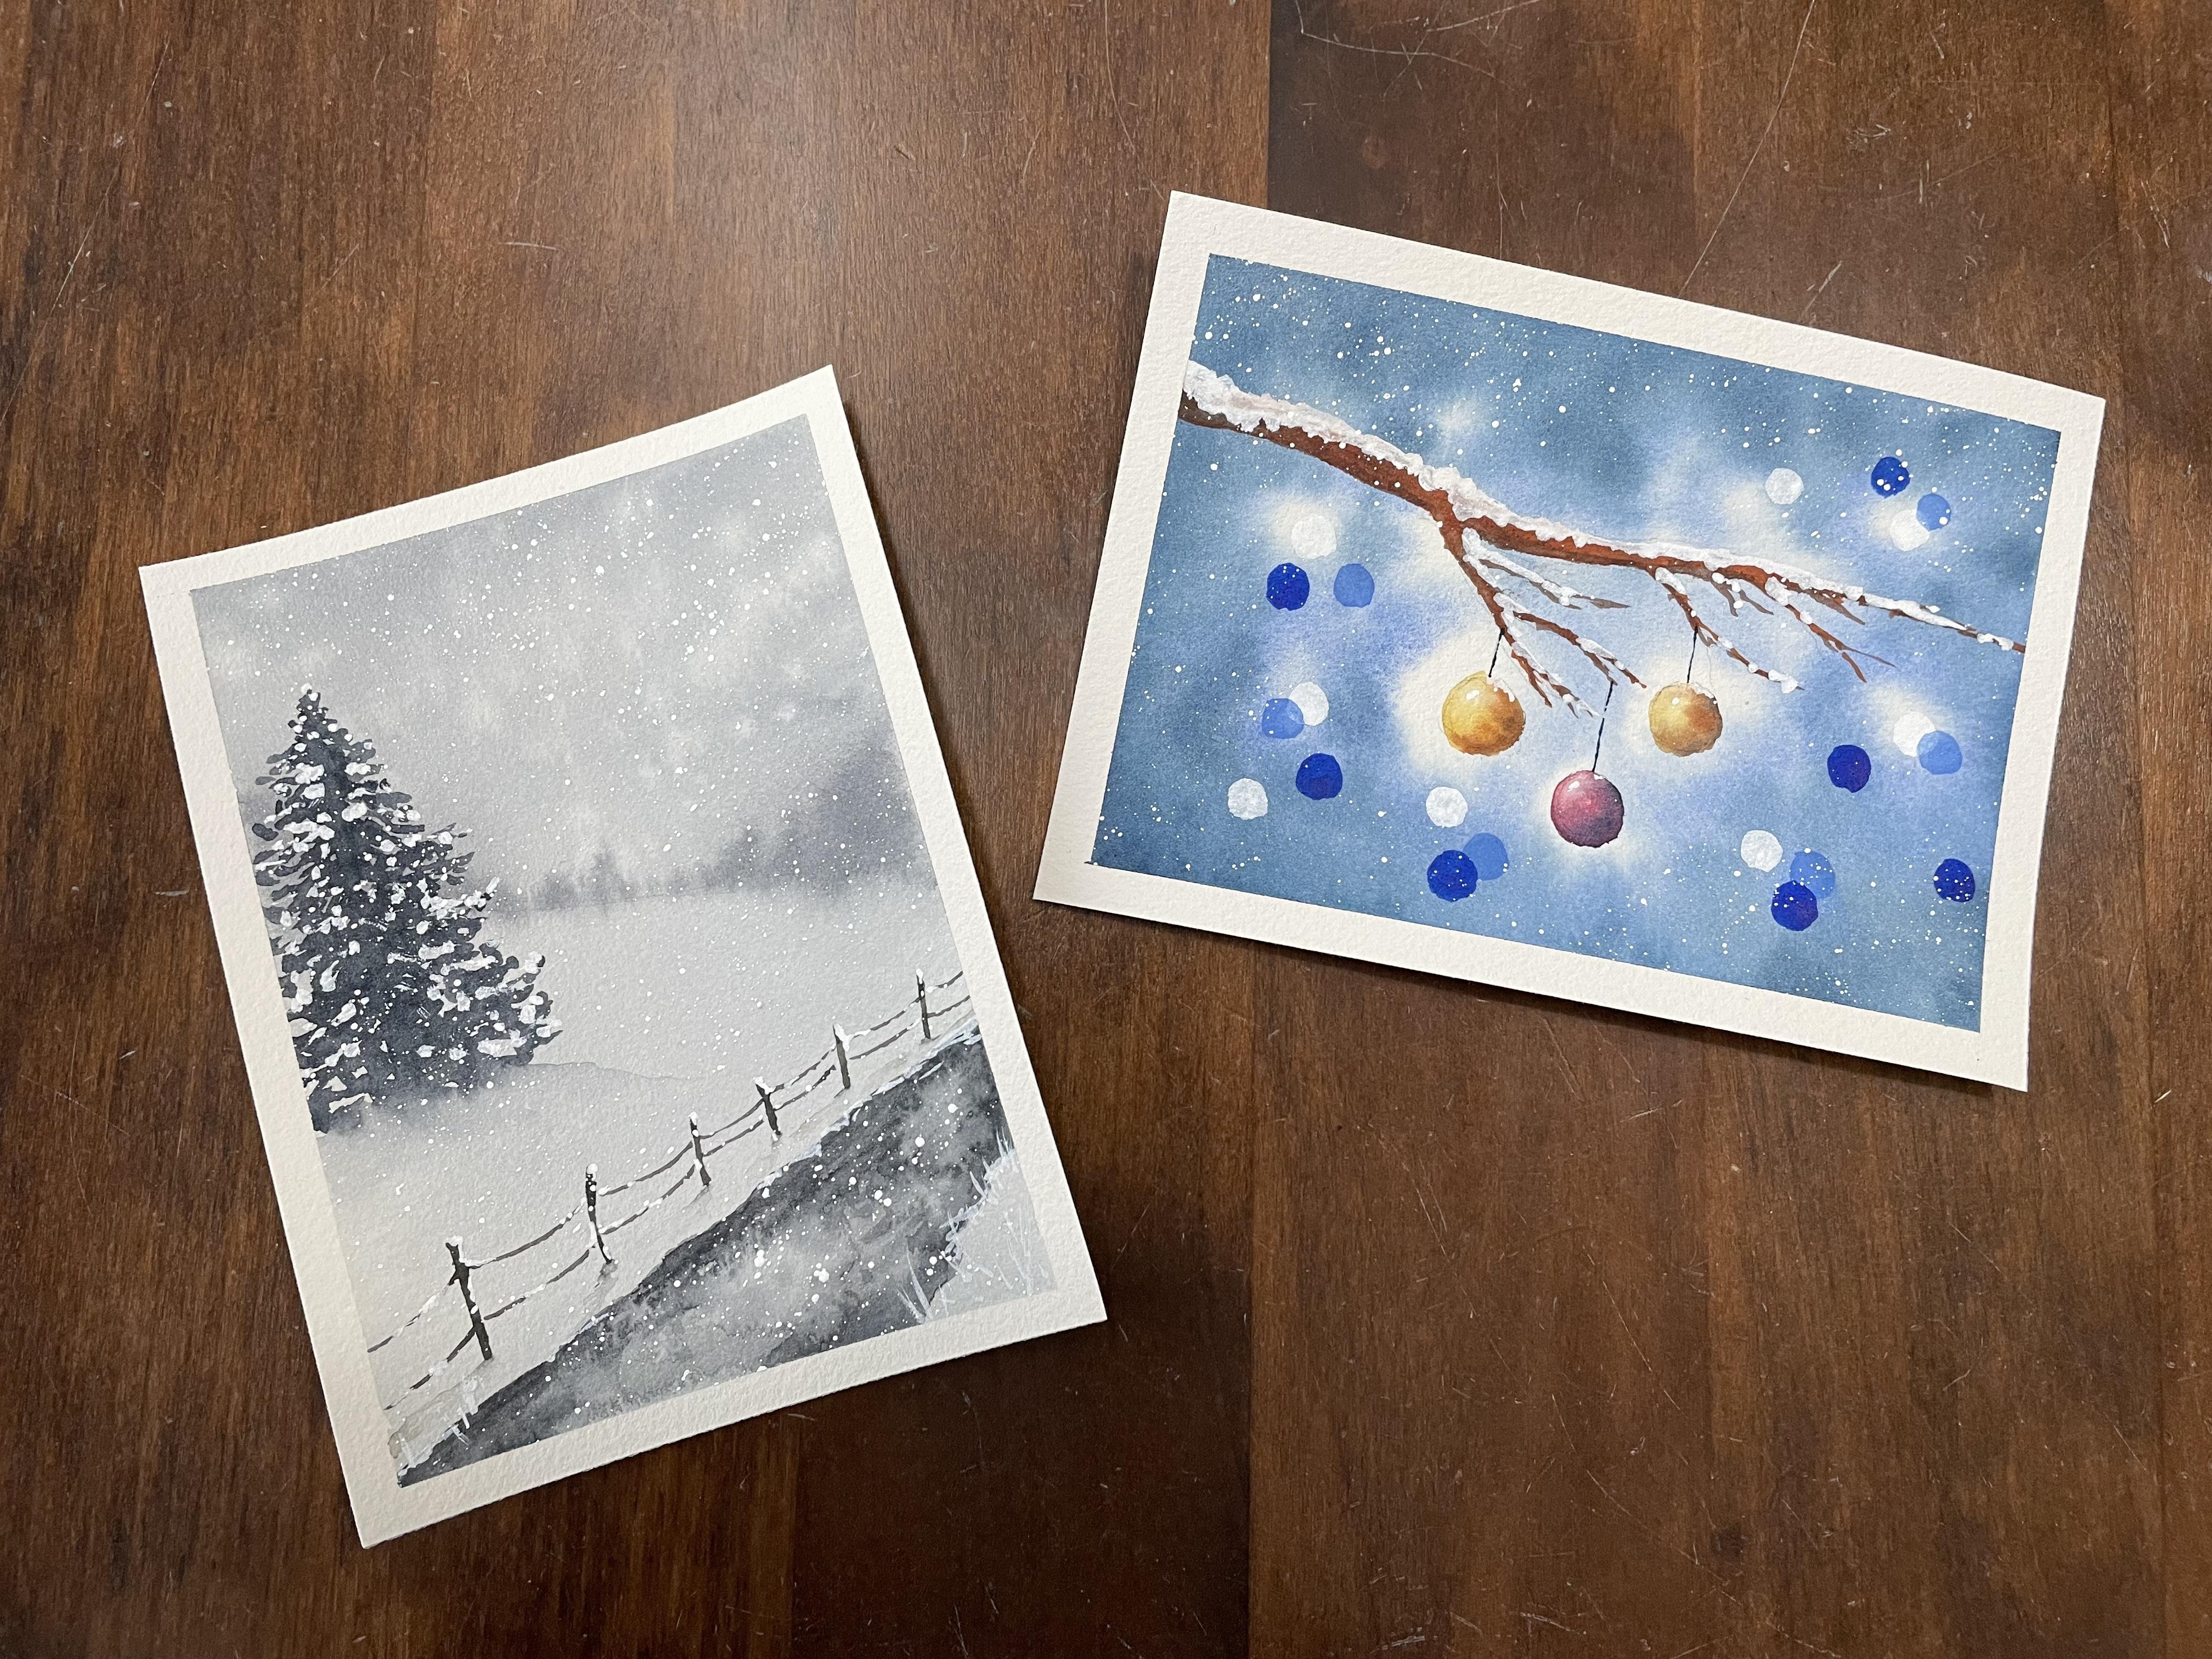
1. Let's create Christmas cards with watercolors!: In this class, we will create two beautiful watercolor paintings that you can use, for example, as a Christmas card to your loved ones.
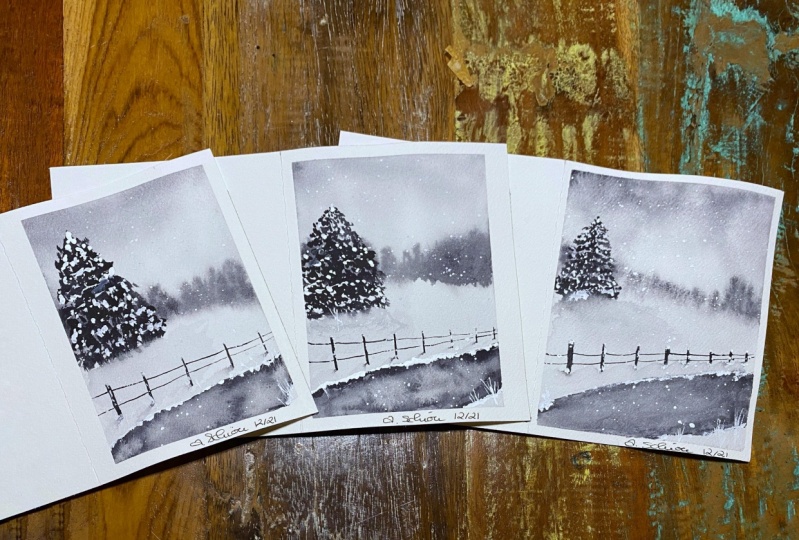
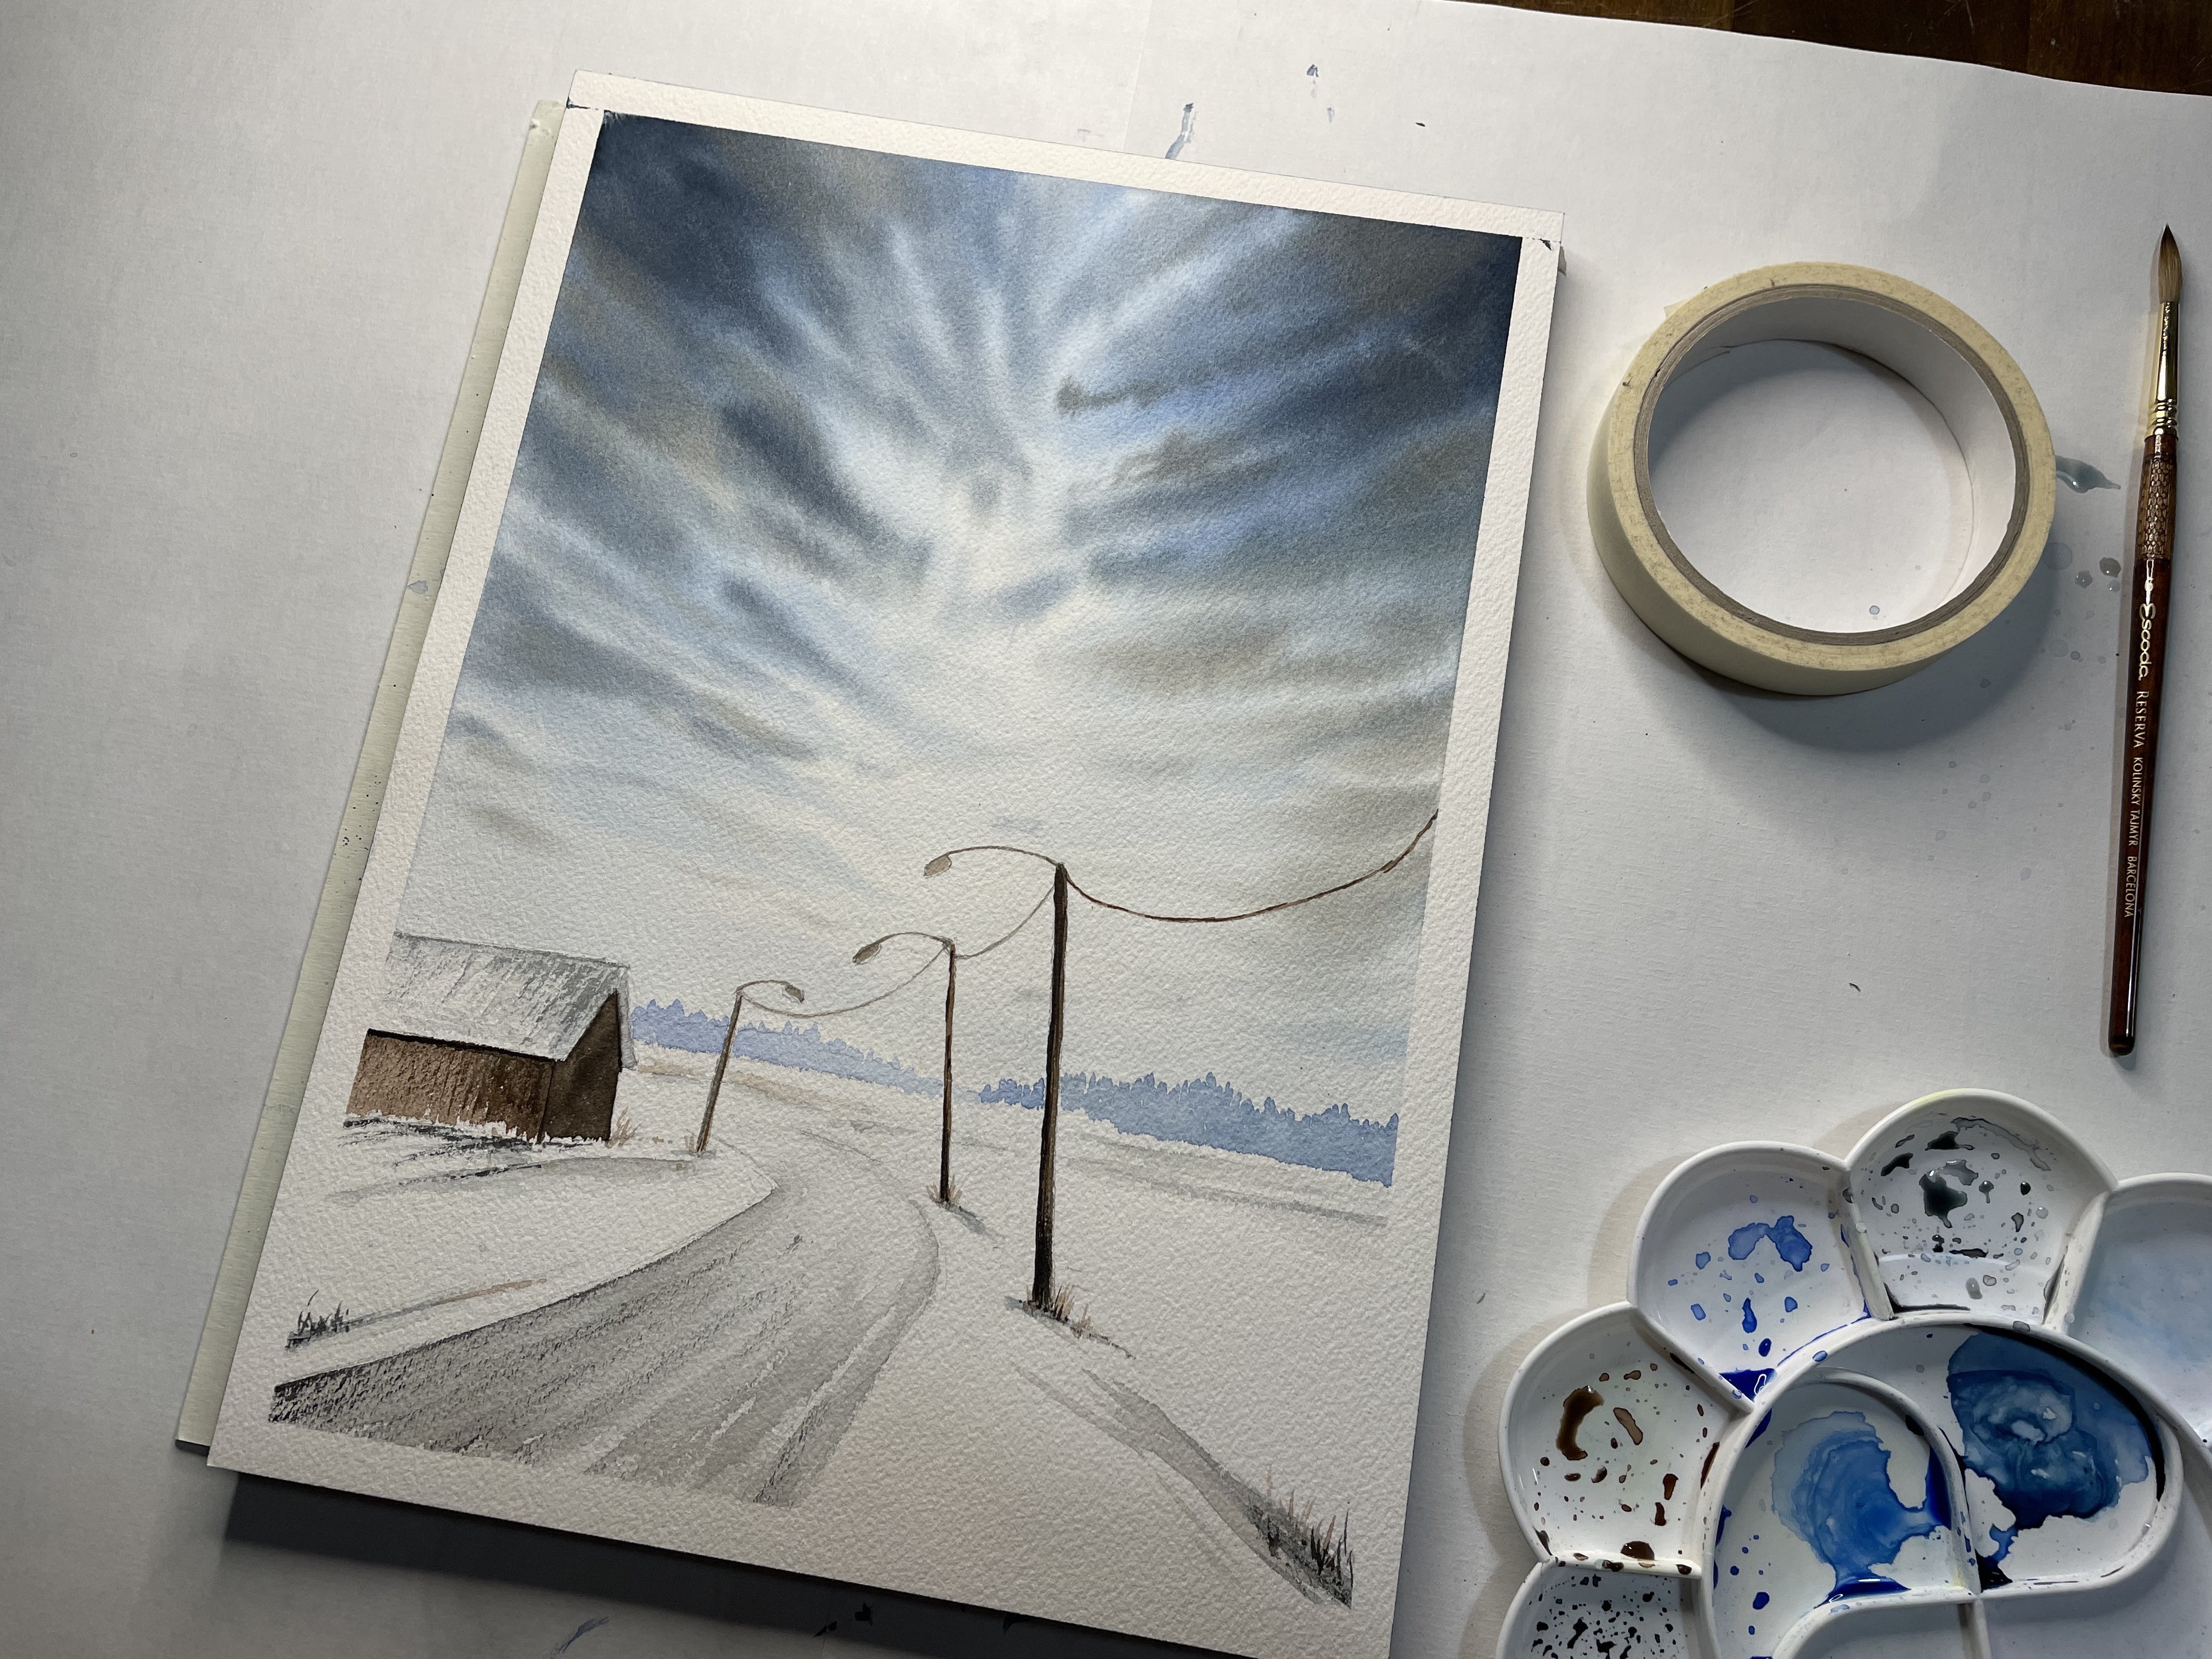
2. Supplies and the background wash: Okay, let's take a look at the supplies mixed. You will need to charge water, masking tape, different sizes of brushes. And then, of course, water color paper, one hundred percent, one hundred and forty LOB Easter best. And then colors that you'll see on the screen. Let's first draw a very simple sketch. And of course you will also need to attach your paper to the surface weaker masking tape. Now that we have to go sketch in place, Let's make our color, the Payne's gray red beak up a larger sized brush, for example, 10 or 12. And then pick up some paints gray and put it onto a mixing palette. We will create a very pale shade of page scrape because we will use it for the background wash for the entire painting. Okay, let's see if I got to shake right button DO ideating. It's way too dark. So I will add more water and try to make even a lighter shade. Okay, let's see how it turned out on the second try and stats exactly what I was looking for. So next let's paint the background, the entire background. We pay paid shade. Let's mixed paint the background. Trees. Take a slightly darker shade of the same to same paints gray and start dabbing little dots in the background. We will use the wet on wet technique. So we create these very, very loose style background trees. Let's next add some darker color to the sky. I pick up the same color that you used for the trees and added at the top of the sky. And it's init, add a bit darker shade trees because as you can see, they are in that visible anymore. Now that we added more color to the sky. Next we'll create a snowfall type of emotion. We're using water. So pick up some clean water in your paint brush and drop it on the sky. Like this.
3. Creating the middleground: Now that our background is dry, let's create a mixture using orange, ultramarine blue and paints gray and eat will create this kind of bluish brown shade. And we'll use that for a tree that we will paint on the floor or ground. You can also use just paints gray. It's just as good for this mixture that we are using. Once your colors ready, pico, smaller size, brush, for example, 4 or 2, or anything that has a fine tip. So you will be able to create these more detailed tree. And then just pick up some paint in your brush and start dabbing small branches at the top of the tree and then gradually making it wider towards the bottom of the tree. And now let's finalize the tree by blending the colors, colors from the bottom of the tree to D, to the ground, so to speak up some clean water and blend the color like this.
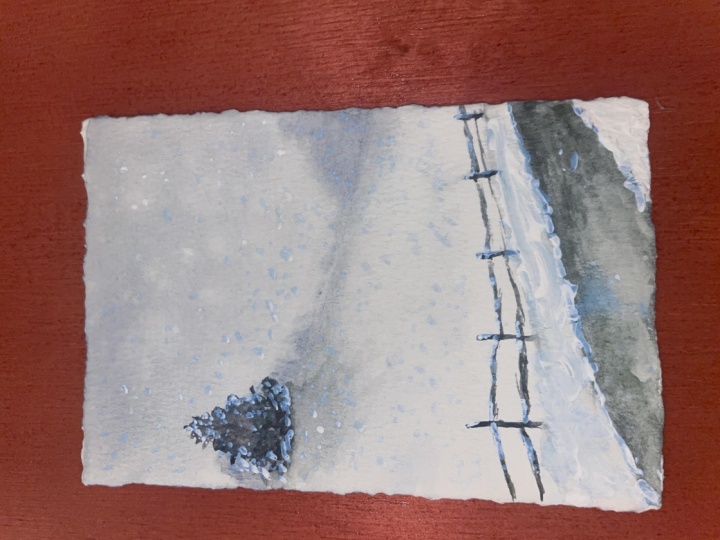
4. Adding details to the foreground: Next we'll create a fence on the foreground. Let's use the same mixture that we used for the tree and a smaller sized brush so we can make it more detailed. You can also use Payne's gray for this. It's just as good. So let's start first making these thins posts. Paint them evenly on the on the poor and groaned and make the, make them gradually smaller so it creates the illusion of the perspective. Let's then add these ropes or whatever they are called, that connect the fence post to each other. And here it's also important to have a fine tip on your brush so you can make, make the deadline they're small enough so that they do exclude. I think my fence posts look a bit too short, so I had just delete it off of height to them like these. And then add some details so that the Finns descent glocal likes, like it's hovering in the air. So let's add some shadows under the fans and the famous posts. So pick up the same color or maybe a lighter tone and paint these small lines, each most. Then we could blend that color so that it looks, it looks nicer to pick up some clean water and blend color to the ground. Next, let's create a river or road, whatever you like to do at the front of the fins. So pick up the same color again and draw first the alkaline water lever. Like this. Or paint, of course we are painting not to drawing. And then start feeding the deadlines wheat with the color evenly. You can pick up some clean water and blend the paint like this so it looks a bit smoother. And they mixed, we could add more color to the river to quickly clean the rest of the three VR like this. Okay, so next, let's pick some darker shade and add it to the river banks. So we'll make it look a bit more interesting. Let's also add some more color to the river like these. We could also add some texture to the river. So we could use the same trick that we used for the sky. So let's pick up some clean water. Brush on the paper. I think I created a beat to beat blooms, but I'll just blend it a little bit with a clean brush. Doesn't stand out too much.
5. Finishing touches: Now the river has dried. So let's take the white goulash and a small, maybe our size 0 brush. And let's add some finishing the top cheese. Too dark. Let's add some snow on the fins and also on the tree. Next. Let's add some snow on the river banks. Like these. I think we could also add some branches also, or some grass grows and grass or something like that on the river banks. You can do whatever feels good to you, just, you know, trust yourself and your vision. And we could start adding snow on the tree. So just dub white dots all over the tree. Dame Esther, very final step. Let's add some snow falling from the sky at some more water to your white. So it's easier to drop it on there on the paper and just start dropping Greece white, white drops of color on your paper. Okay, We are government. Let's remove the masking tape. I've, let's take a look at the core gorgeous painting that we have. Just wait.
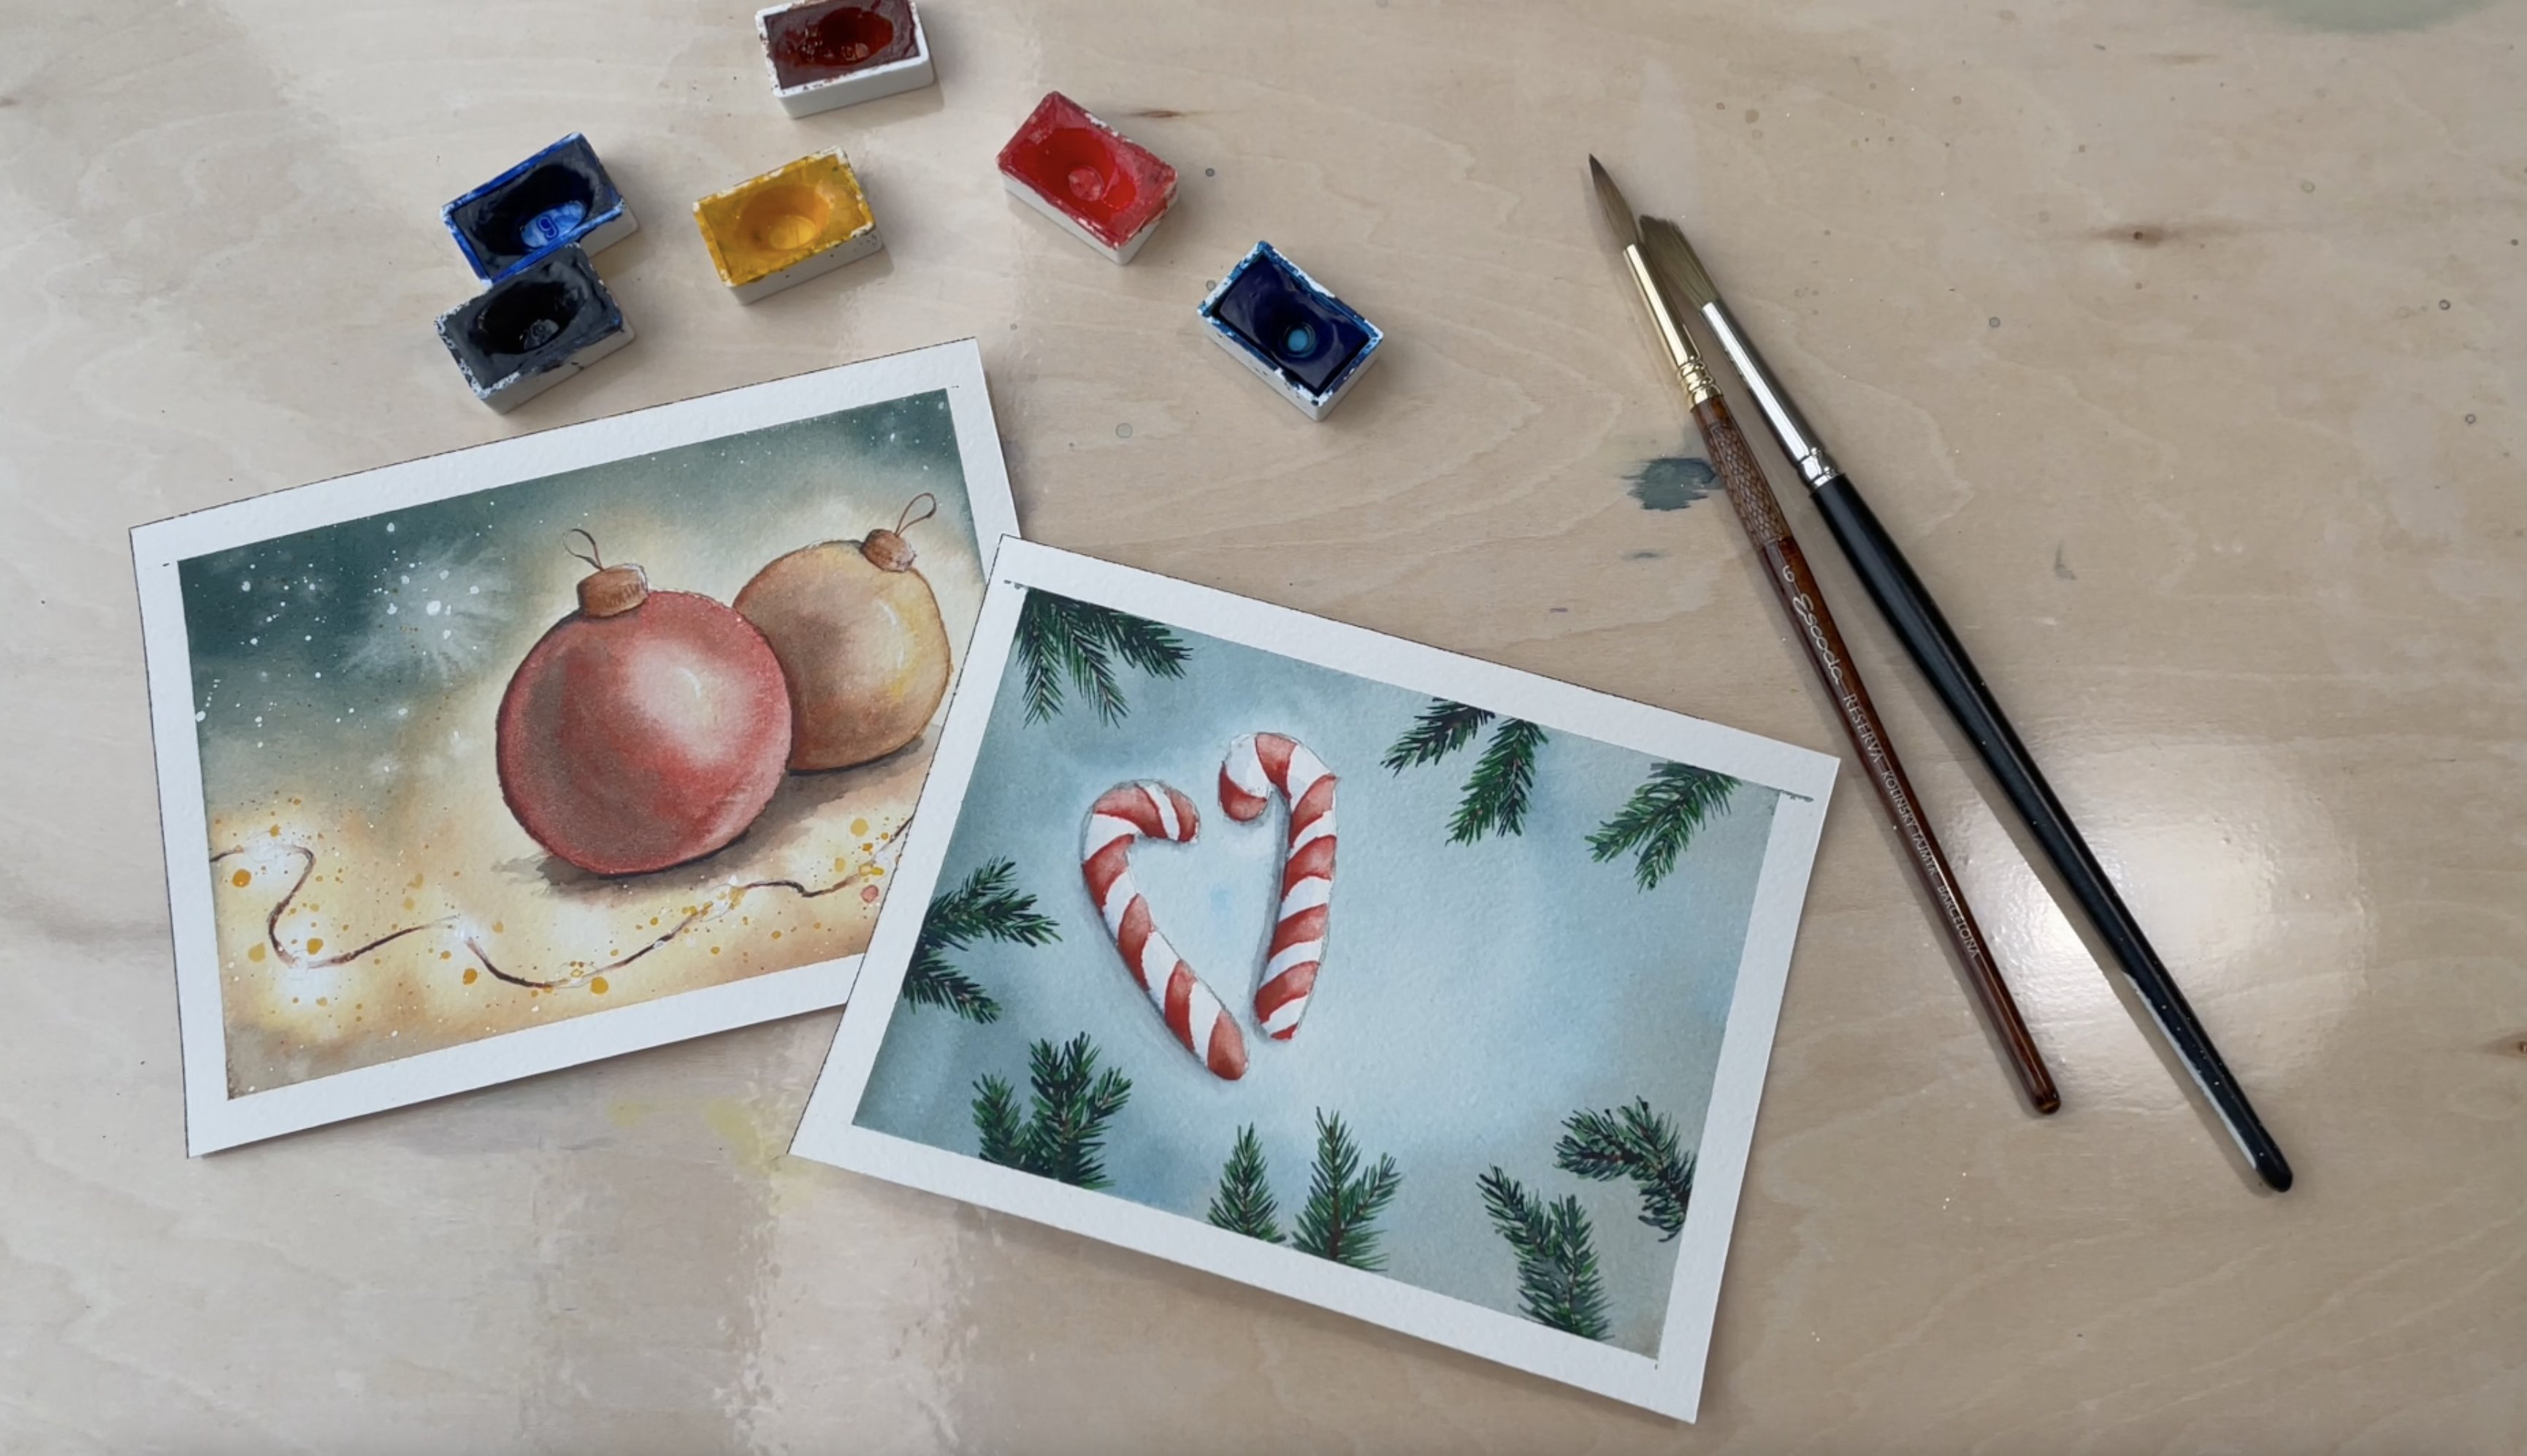
6. Project 2 - Supplies: Let's then start making our second class project. We will use the same supplies and on the screen you can see the colors that we will be using. Let's first tape the paper firmly on the background. And then we can start making our sketch. Just to see him pull up a tree branch. You can draw it like this and equal how some branches. And then at the end we will draw three Christmas decorations that are hanging from the tree. Okay, I'm starting to be happy, But the branch, and I think I'll next to draw the Christmas decorations. Maybe one could go here. And the mixed one here. And the third one, uh, maybe, maybe at the end of the branch. Actually the composition is not that nice. Pour my eyes at least. So I will draw the decoration over here instead. And with that, we are done with our sketch.
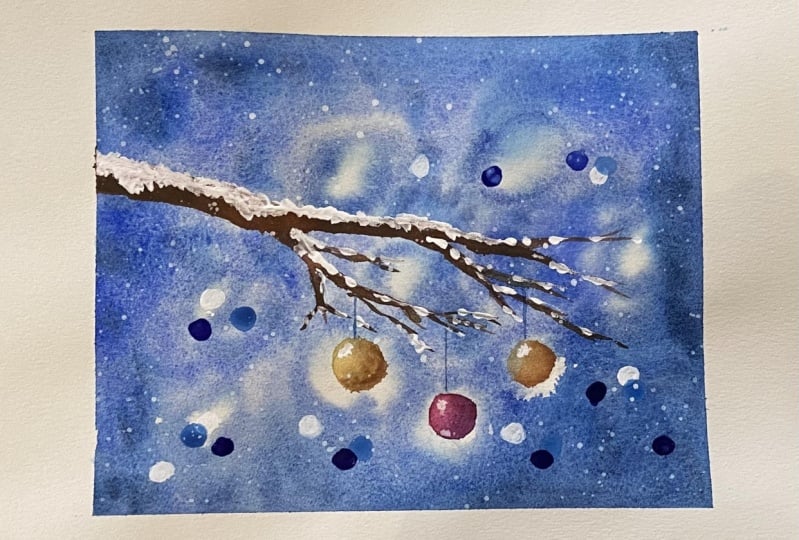
7. Background wash: Okay, Let's then create the background wash. First. Wet the entire paper. We will be using the wet on wet technique. So first of all, we are wetting the entire paper with clean water. And after that, we will pick first ultramarine blue. Okay? I will pick now a larger sized brush, for example, size 10. And I will pick or trauma area. I will add a beautiful water to my, my ultramarine so it won't be that dark. And with the ultramarine, I will start creating these circles on the background and make sure that you leave whitespace inside the sheriff goes. And especially when you are drawing circles, are painting circles over the Christmas decorations. Make sure that there's enough white-space. Because that will be the effect of, that will make the decorations look like they are shying away. Then when you have painted circles, or birthday or Christmas decorations, start making similar circles all over the painting. It doesn't matter if your paint on top of the tree branch. It doesn't matter, you can do it. And it's field entire background with the ultramarine blue. And then when we are almost, almost done, let start adding, adding, mixed the indigo. And I will add indigo mostly in the Corners and Sides to make it look like it's dark or hours. But I will also add some splashes up in the goal in the middle of the painting as well. Okay.
8. Adding Christmas decorations: Okay, now our background as dried. So let us start creating the Christmas decorations. I will use carmine red for at least one of the declarations. So take a lighter shade, dilute to town with some water and create the base color or the declaration like this. Then we'll need to make it a bit more interesting. So let's add some darker shade to the Babu. I will mix some indigo with the car mine. And I will create this kind of a purple, more purple shade. And I will add that to the right edge of the ball. Like these. I think it could be even more darker. Let's then add some light to the declaration by removing some color. So pick a clean brush and Dentist a wipe away some of the color in the upper right corner. Then let's add more darkness to the right side of the equal of cobol. I'll add just a test indigo smear on the right side and a darker tone. And then I think I'll add a darker tone off carmine. Red over so. Okay, the shadow is starting to look good. Then let's still remove a bit more color from the top to make the light area pop out a bit more. And I think I'm quite happy with these decoration. And then start creating the next once. For the next declaration, I will deal with quinacridone, gold. You can also use yellow or any other shape you want. I have added quite a lot of water to this color and I will create the base layer with this light tone. I'll add a bit more darker shade of the quinacridone gold here. And then I will start next creating a shadow areas or so on the right side. And for that, I will use burnt sienna. Let's add a year like these. And then I will actually add even more or more darker color and font that I, by William Van Dyke brown. Then let's create the lighter area by removing some of the color with a clean brush like this. And I think I'm starting to be quite, quite happy with the stipulation. Then let's create the last declaration. In a similar way. What is this?
9. Painting the branch: Okay, The declarations have no Troy and let's mixed paint a tree branch. I wouldn't use burnt sienna also for, but I will pick strong, strong shade. I won't add any water to it. And I will start painting the bread. Again on the bottom of the branch, I'll add some Yvonne donkey burrow to make the brunch or bit more interesting. Okay.
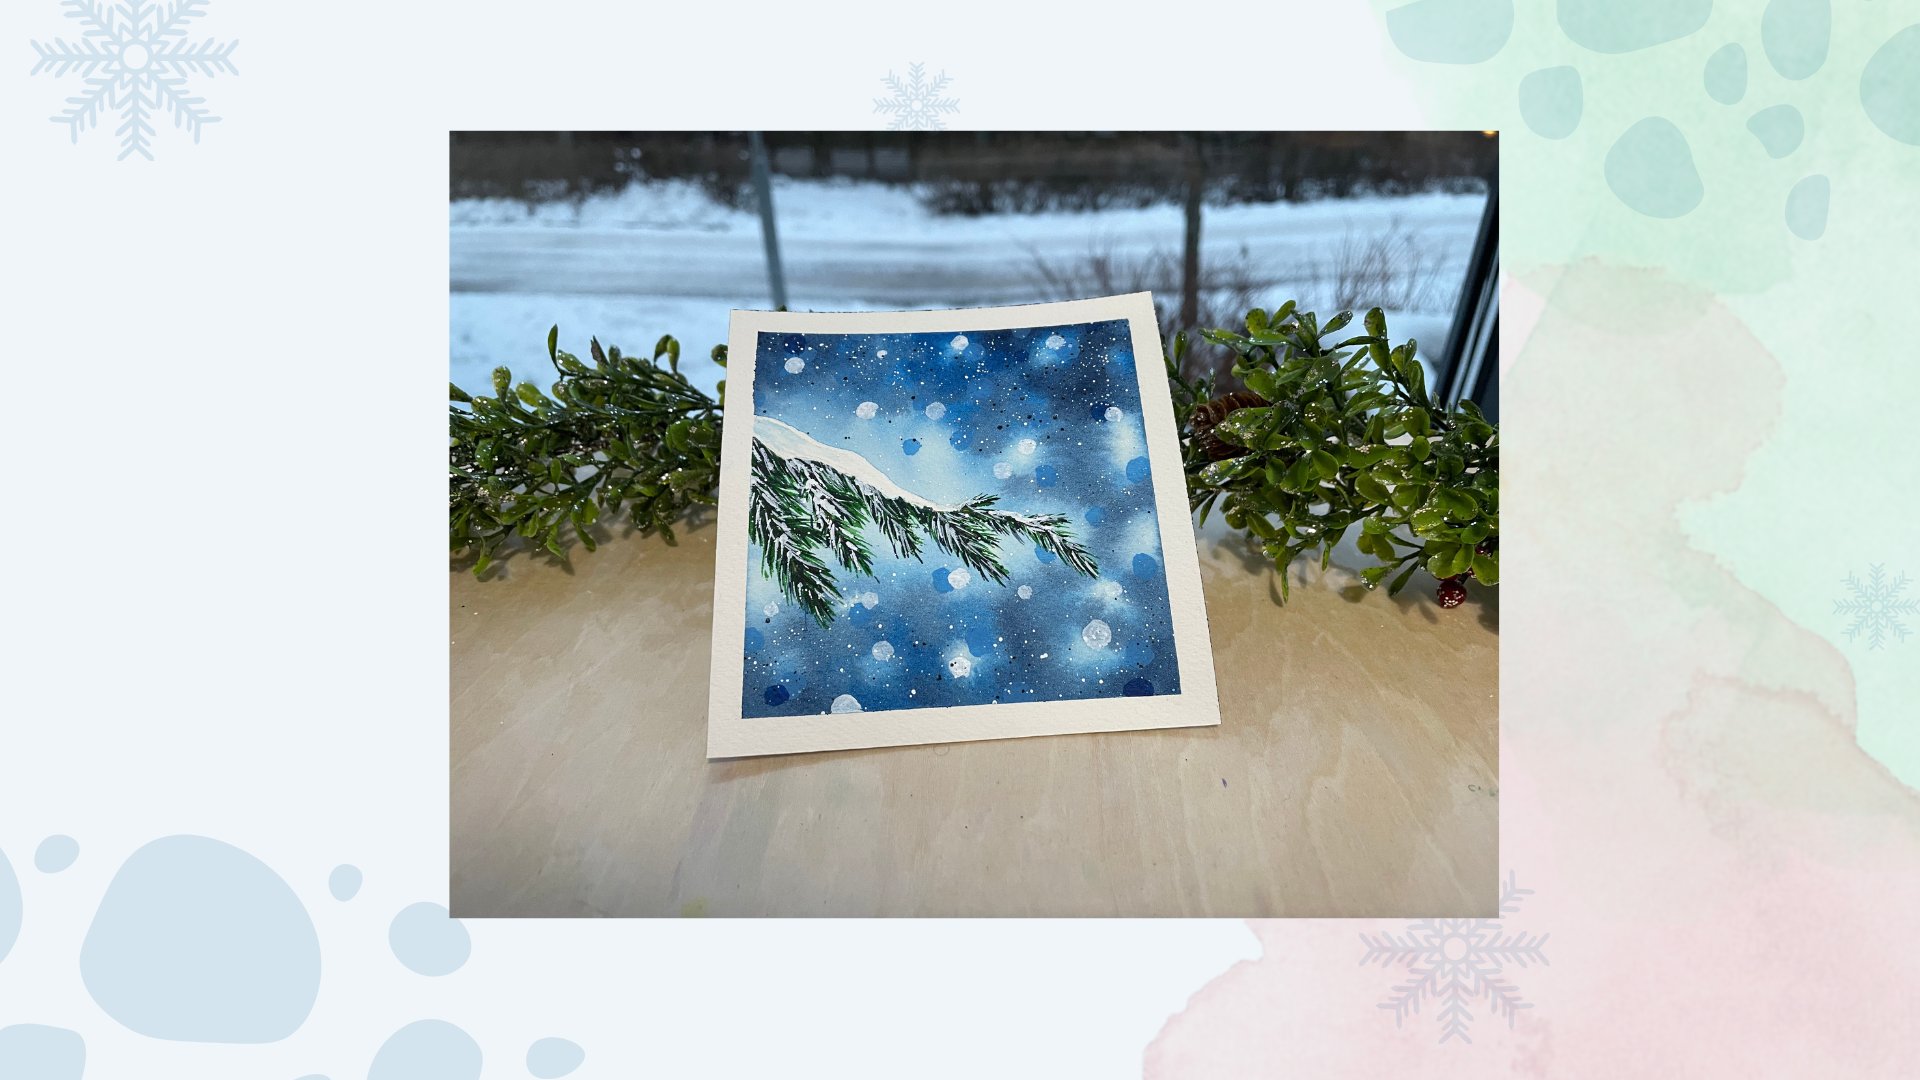
10. Let's add snow!: No longer a tree branch has dried, so we pick up the white gouache or white watercolor and start adding some details. I was thinking of adding snow on top of the tree branch. And let's use a smaller sized brush for example, of size two. Hello. Okay, Now the snow has been added. Myths mixed at some white surf force. This is kind of like bokeh effect that you can see. So let's try to create something similar. Let's first start by adding a small white circles. And I will add those in places where there's kind of a, a lighter. So basically the areas where you, in the beginning when creating the background wash, you will have those white circles. But basically you can add the circles anywhere you want, whichever looks good for you, and then let the circles dry. Not the white color has dried and mixed. I will mix ultramarine blue with some white. So it will create these PESTEL kind of blue. And I will start creating similar circles with the blue color. And in places I will make them overlap with the white circles. Not what I'd eat enough, all of those pastoral circles. And next I will take strong shade of blue, ultramarine blue. And I will create similar circles with that color as well. And in places, I will make the ultramarine blue circles overlap with the white or the past the blue circles. Thank you. I think I've added enough blue circles. Maybe just a couple of more white circles. In some places. Maybe one more here. And then I think on the Don will be the circles.
11. Finishing touches: Okay, We are almost done. Let's add some snow and some final touch. Ci's take some white color and act just small white dots on the Christmas decorations to bring out the glow in them. And then let's add some snow all over the painting. So at some will add some water to your white-collar and, and start dropping the color on the paper. And with that, we are done. Let's remove the masking tape carefully, an angle so that it doesn't go into the paper. I just realized I missed one detail. Lines that are from which the decorations are hanging Chrome. So pick up some indigo and, and the fine brush and paint the final piece, final streams like this. And with that, we are done with the second painting.
12. Hope you enjoyed the class!: Thanks for joining me on this class where we painted these two beautiful paintings. I hope to see you again next time. Bye bye.
 Liisa Halttunen, Skillshare-taught watercolor artist