Transcripts
1. Introduction: Hi. This class is all about creating lens flares in camera. I'm going to go over what to do and the scenarios to look for to get the most effective looking lens flares, as well as some specialty tools that you can use to help shape the light and give it a little extra sparkle. I love the effective lens fares on photography. I feel like they add the cinematic drama to a picture that you really just can't get any other way. So I'm super excited to show you how and to see what you create. My name is Tabitha. I photograph families, and babies, and plants, and I also teach a bunch of classes here on Skillshare. I'm stoked for this class, so let's do this.
2. Catching Lens Flares: All right. So lens flares. There's two different categories of lens flares. There's good lens flare and bad lens flare. So bad lens flare is where you have a really distracting bright sun, just like eating your subject face. You can't see their face and they're just completely burnt out. It almost looks silly. That is what you want to avoid. There's also where you get this really bright glowy haze that's just like takes over the whole image, it washes out your photo, it desaturates the color and sips away the contrast and it makes really, really tricky image to edit later. That's the lens flare that we're going to try to avoid. We're going to hone in on the more like artistic, dramatic lens flare that adds more to your photo. You want lens flare that is going to not detract from your subject. It's going to add that emotion, that summary feel, that glow. I think you've probably seen in movies. They do this.They add the lens flare either after the fact or while they're shooting and it is just the camera pans by and you can see the sun and it just creates these angles of lights and streaks and spots in the picture, and when you see it, it feels natural, that's what we're used to seeing. That's how the sun interacts with cameras and with lenses, and so that creates a part of life feel, I guess. So that's the kind of lens flare that we're going for. So to create lens flare, we want to shoot at a time of day where the sun is going to be at a loan of angle to stream straight into our lens. So you don't necessarily have to have the sun in your picture, but it needs to be either just out of frame or I mean pretty close so that it can still get inside, bounce around the mechanics of the inside of the lens and create these spots and stripes and glow in our pictures. So for me that's typically like after 06:00 pm in the spring and fall and then like after 7:00 pm in the summer and then winter, it's like 4:00, in the States. So it'll be different depending on where you are. But basically, you want anywhere from an hour to two hours before the sun completely sets and it's gone, okay? Then even after it's gone, you can still sometimes get these lens flares, especially if you're somewhere that has a lot of reflected light, like off of the lake or something. So late in the evening or first thing in the morning when the sun is just coming up. Those are the best times to get that angle of light into your lens, and then you want to shoot wide-open. So use your really wide apertures here, your 1.8, your 2.8, those apertures so that you are as open as possible so that there's more area for the light to come in. So shooting into the sun, shooting wide-open and shooting at a time where the sun is going to create those effective angles into your camera. Yeah, so let's say you want to avoid lens flares, you just do the opposite. So make sure that the sun is not in your picture, closed down a little bit or attach the lens hood onto the front of your lens. If you buy a lens new or gently used, it will likely come with a lens hood. It is basically a hat, so it helps block out the extra sun that would've came into the lens, and so you just add those. I have one for every single lens that I have. But they are all just collecting dust in a drawer because I love [inaudible] , so I never tried to get rid of them. Well, I don't usually try to get rid of them. Next I'm going to talk about some tools that we can use to help shape our light.
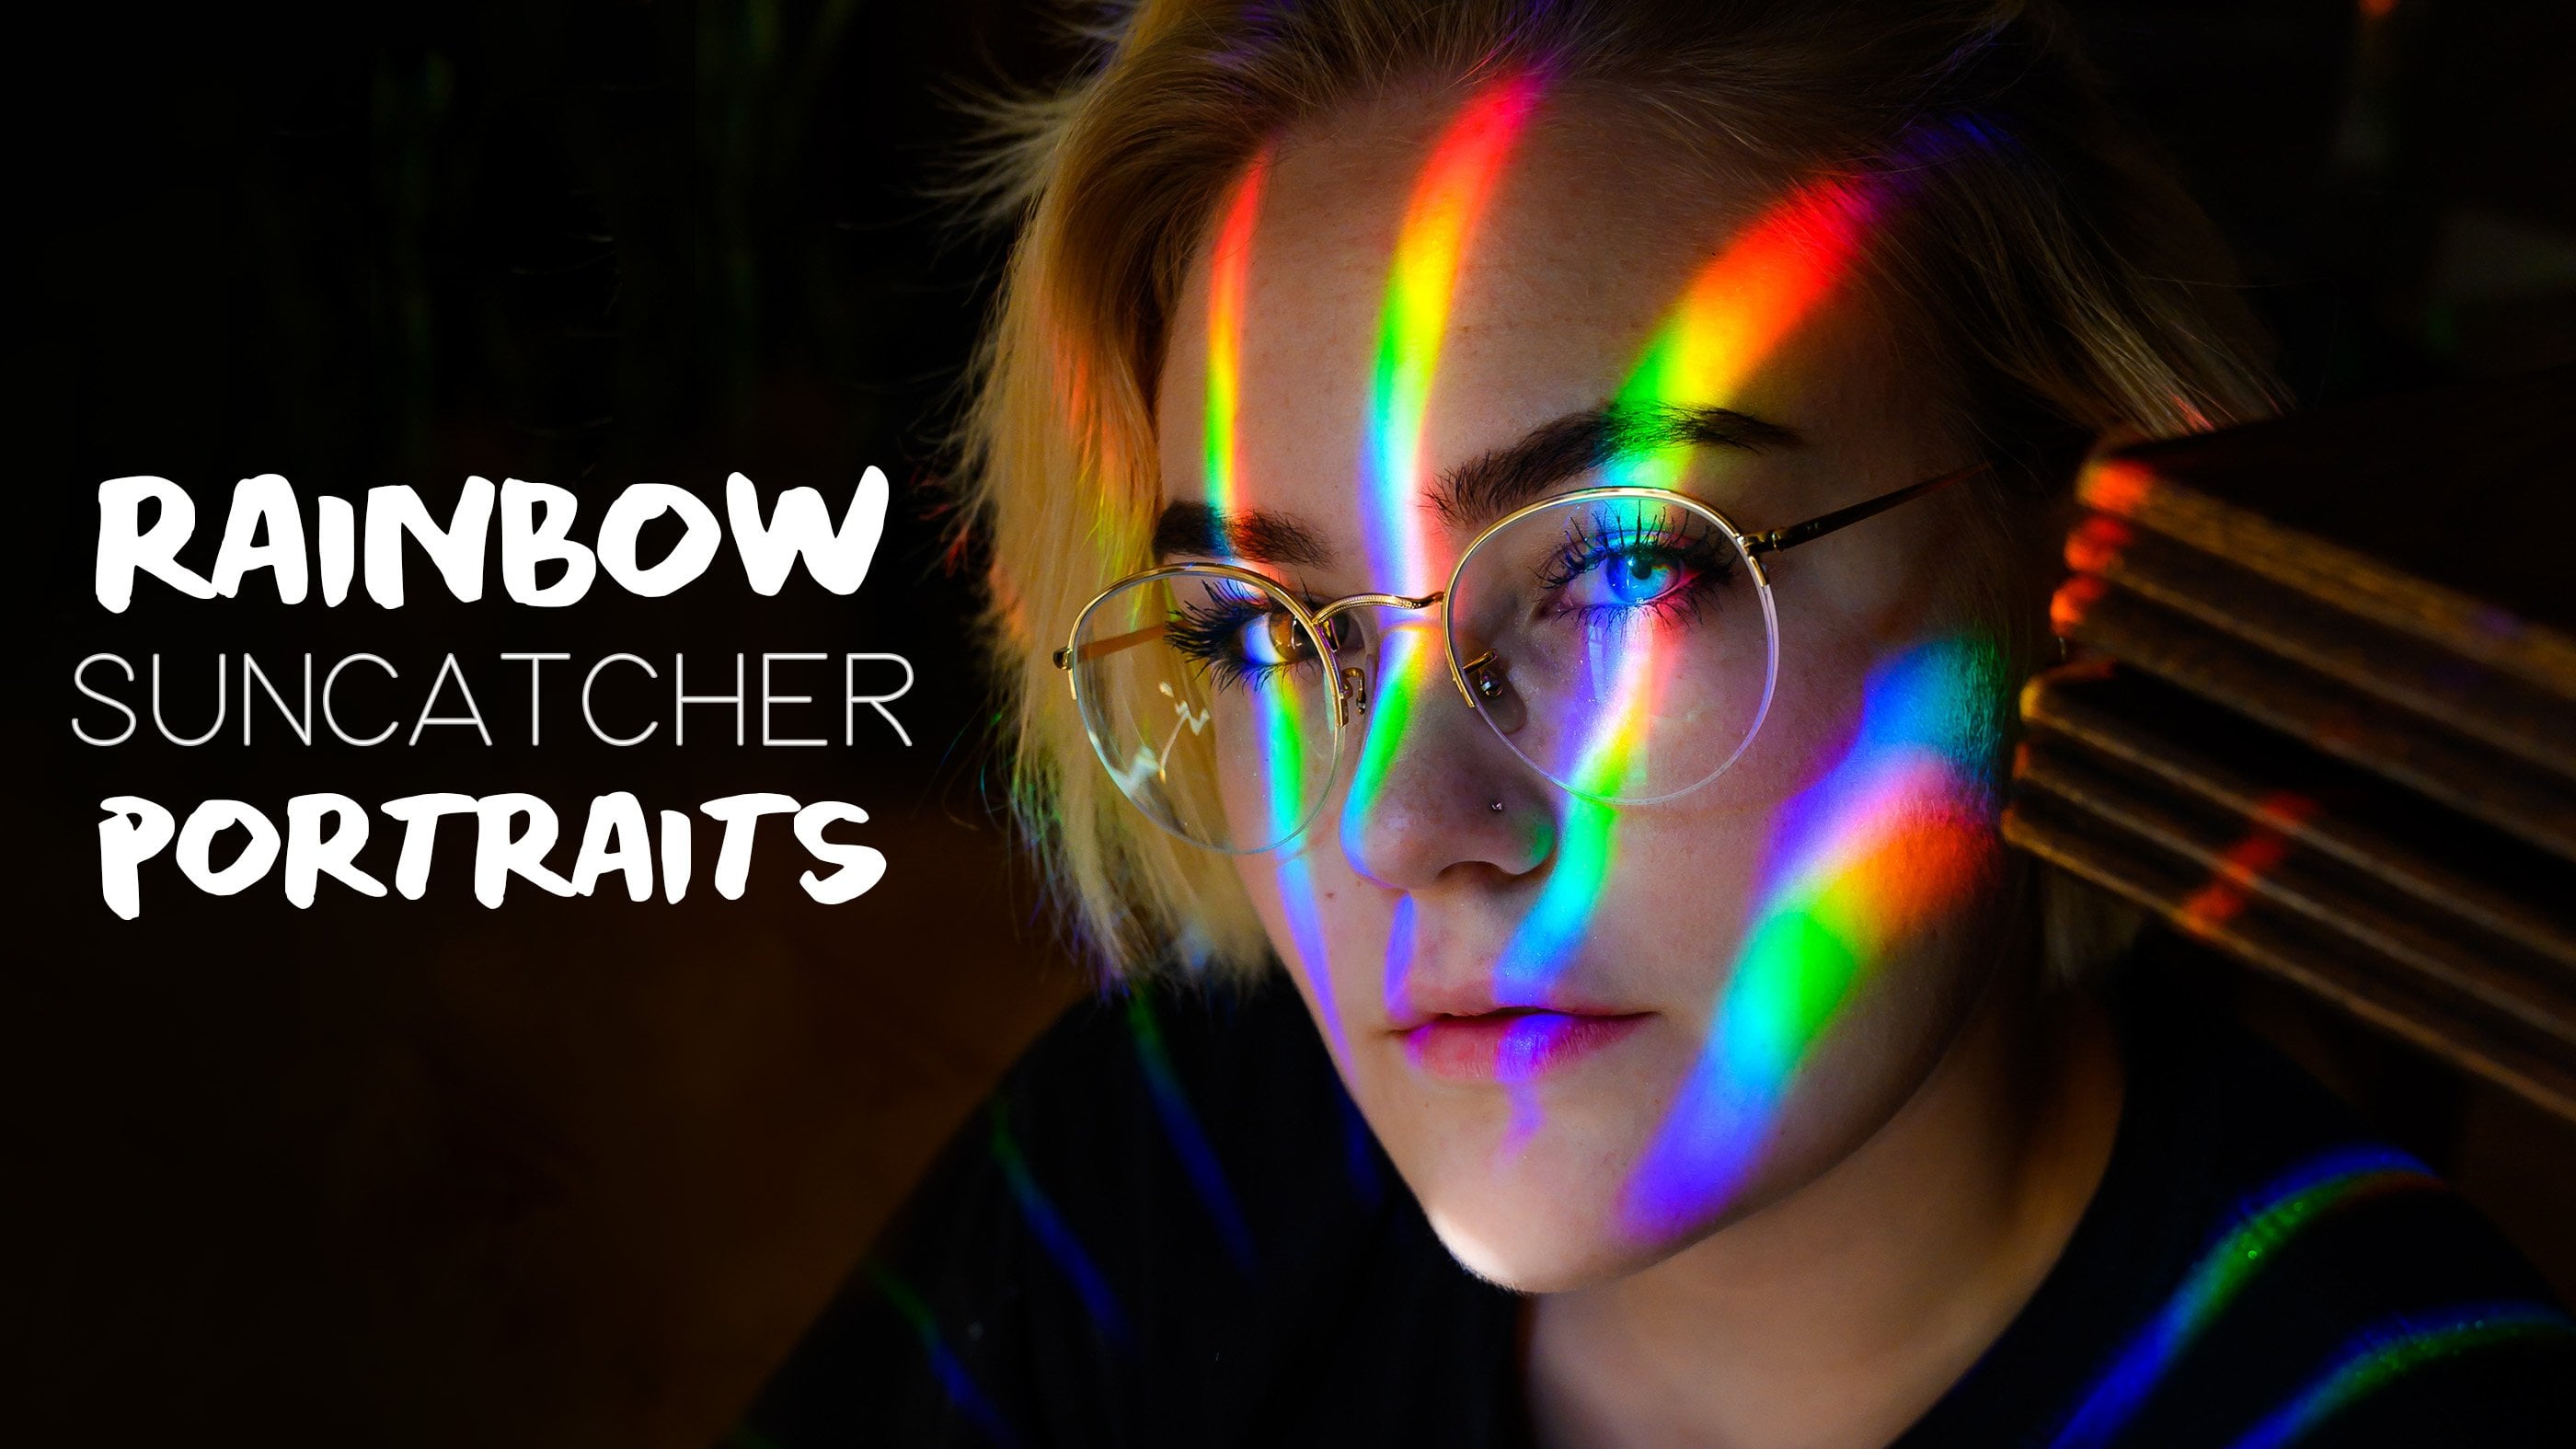
3. Prisming: Prisming is a pretty recent technique, I feel like that's been sweeping the internet. That's where you put a reflective surface in front of your lens and it adds a mirror effect to your image, or brings in reflected light from other where that just creates unexpected results. This is a glass prism that I got on Amazon. I'll post the link so that you can get the same one if you want. It was $25. So far, I've been really happy with it. It's cool, because you can just place it right up against your lens, and depending on how you move it and where you are, you can get a reflection of the tree that's up here, in the bottom of your photo because it's reflecting off of this smooth glass surface here. Experimenting with this has been really neat. Prisms are just cool in general. I don't know if you've seen the kind of photos where people reflect, refract, I don't know, rainbows on their face. They'll set their prism up and then have a little beam of light shine through it, and then they get that little splash of rainbows, so you can play with that too. If you don't have a prism or you just ordered it, and it won't be here for two days, you can use CDs. I have this neutral CD that's basically, you're just going to put it at an angle to your lens and move it up and down to get that reflection. It'll be a more vague reflection, obviously, because this isn't going to show you exactly what you're seeing. It's got a color, so it might add a color cast to it. This one's neutral, This one's purple. This is actually just the spacer that came with the stack of DVDs that I bought. You could even put this up in front of your lens so that what you're seeing down the center is going to be in focus, and then everything else around has a blur or just that off focus glow to it. Definitely experiment with CDs If you have them. Also, you can use the screen of your phone. I follow a lot of groups on Facebook, a lot of photography groups, and I've seen people post these beautiful wedding photos; where you've got the couple, and then you have this smooth glass surface that they're reflected into, and you're like, "how did they do that?" They just happen to have a glass table. I don't carry around one of those all the time. Actually, I do. I carry around this big glass table. Basically, what the photographer did is, he put the phone right in front of his lens and was able to catch the reflection of the couple in the shininess of his screen. It probably works best if you take your case off, and you just really have the smooth, seamless phone screen to work with. Experiment with this, experiment with a few CDs, with your prism, and really just push your photography to the next level with this technique.
4. Ring of Fire: Next, I wanted to talk to you about the Ring of Fire. There's a photographer Sam Hurd, his specialty is these images. He does a lot of prisming he also does what he coined as the Ring of Fire. That is where you shoot through a little copper pipe, and basically what happens is the sun reflects off of the shiny part of the inside and it creates this big circle glow that's warm and like really dramatic. So people have been trying this themselves and posting their results all over the Internet. It's gaining popularity. I actually have two copper pipes. You can buy like a big copper pipe and like have the store cut it to size for you or you can just go into the little fittings, the coupling section, and they have like little elbow shapes and little spigot shapes and stuff. I just found these. This one is one inch and this one's three-quarter inch. I think one was $4 and this one was $2. But these have been really cool because they can create this warm circly glow so that it just really helps you hone in on the subject here. It just blocks out most of the background, and obviously it takes a little bit of playing with. You can get images where the Ring of Fire takes up the whole photo and it's pretty distracting. Or you can get it where it's just barely there and it just adds a little extra something to the picture. If you don't like the warm glow, I've seen people use aluminum pipes, so there's silver, and they just create a more neutral color tone to the picture so it's still bright white light, but it doesn't have that color cast to it. Then I think if you just have PVC lying around, I think PVC is shiny enough on the inside that you could try using that too. You just want to make sure it's really close to your lens so that you don't get your fingers in focus because you're going to have to hold on to it, and so basically everything that gets close just becomes kind of a blur and then what your camera sees is directly down the center and then around the outside basically. Here's some pictures that I've taken with this and I've been really pleased with the results. There's your Ring of Fire.
5. Miscellaneous Tools: Lastly, I just wanted to show you a couple other miscellaneous tools. This is the bottom of a glass bottle. I just had my sister break a bottle for me and this is the base. I just wanted a chunk of glass that was flat enough that I could just store it in my bag, but also big enough that would create an effect with my photo basically. What you can do is if you're photographing maybe on the beach and you got your subject in the ocean but there's people in the side of your photo, you can use this to scratch them out. Basically, if you hold this up against the side of your lens, it will add a soft blur to the picture so that you don't really see what's going on there. This can be used in conjunction with lens flares. If you have distracting subjects, you can use this and the Sun will catch it, the light in here and add a little bit of a glow to it. That's something that I like to keep around. Then I also have, this is just like a little ziploc bag. It's pretty hashed because it's been in my bag, but basically what you do is you want to cut a hole in the bottom and then you can just flip this over the front of your lens and shoot through it. Basically where the hole is, that's what's going to be in focus like sharply on your photo and then everywhere around adds this soft glow to the picture and it really creates a really ethereal feel to your photos. I love the way the slips and it's super cheap and super easy. Using all these tools in conjunction with utilizing the sky at the right time of day, is going to create the most effective looking lens flare photos for you.
6. Editing in Lightroom: I just wanted to guide you through how I would typically edit a picture like this. I think you'll probably notice that your pictures are a little bit hazy, they don't have very much contrast, the saturations maybe a little bit low. Basically, when I shoot, I tried to shoot a little bit underexposed so my picture in my subject area is a little bit darker than normal because I have so much brightness going on that I don't want much of the highlight detail to get lost, so I tend to show you a little bit darker and then try and bring up the shadow areas after. Here I am working in Adobe Lightroom. This is the Creative Cloud version. I pretty much just start at the top. This is straight out of camera. I did go through and then clean up the skin a little bit but other than that, everything else is the same. I just start out up here. The white balance is something that gets changed as I go so I'm just going to bring up the warmth just a little bit and then just work from there. Already this picture seems a little dark and muddy, so I'm going to kick up the exposure and then I'm going to also bring up the contrast. The contrast is important because it can help give your photo the definition that it needs to really just stand out. This is the shadow area of the picture so we want to bump up the shadows a little bit. You can see that mostly brightens them and the green hill behind them. Then whites, that's going to be in your highlight stuff. Usually when I'm trying to decide what to edit, I rock back and forth with the slider to see what's going to look best and then blacks, I usually always take down to help add a little bit of that edgy contrast to it. Then from here I usually like to kick up the vibrance and saturation, not usually more than 10. I don't want it to look unrealistic. Then I drop down to the tone curve section and do pretty much the same thing. Bring down the shadows, bring up the lights, and then darks usually depends on the photo, whether it needs to go down or up, but I think it needs to go up. Then right now it just still seems really, really bright to me so I'm going to bring the exposure back down just a little bit and then there's one more slider that's all the way down at the bottom. It's called the Dehaze Slider and it's in the Effects drop-down. The Dehaze Slider basically helps add that contrasts and that crunchy edginess to the photo. You can see if I take the dehaze out, it just makes them look like they're in a cloud and I don't want that. Dehaze usually a little goes a long way, so I feel like 9, not too much, and then this picture seems really warm so I'm going to try and play with the temperature a little bit. There's some magenta in the face tone, so I'm going to bring the tint down just a little, just these teeny little tweaks to help really make the photo great. Then sometimes if it needs it, you can add a vignette that's going to be in the Effects tab as well. You just pull this down to help bring in the corners, but sometimes it doesn't work well with the Ring of Fire. So for this picture, I'm actually just going to leave it off, and then I'm probably just going to call that good. I feel like for right now this is a really nice clean edit. Maybe just take up the lightness in it, just a teeny bit. Basically you can see what I started with right here, really muddy, almost purpley blue gray in the shadows, and then this one really just helps make our subject pop. That's my typical workflow and then I would just copy this and apply it to the next photo and then go from there. So yeah.
7. Final Thoughts: That's it. Thank so much for taking my class. I really appreciate it. I hope that you post your pictures in the project section. I can't wait to see what you create and I will be posting some of mine as well. If you have any questions for me, or you need some help, or you have suggestions for future content that you want to see, feel free to leave all of that in the discussions section. Thanks again for taking my class.
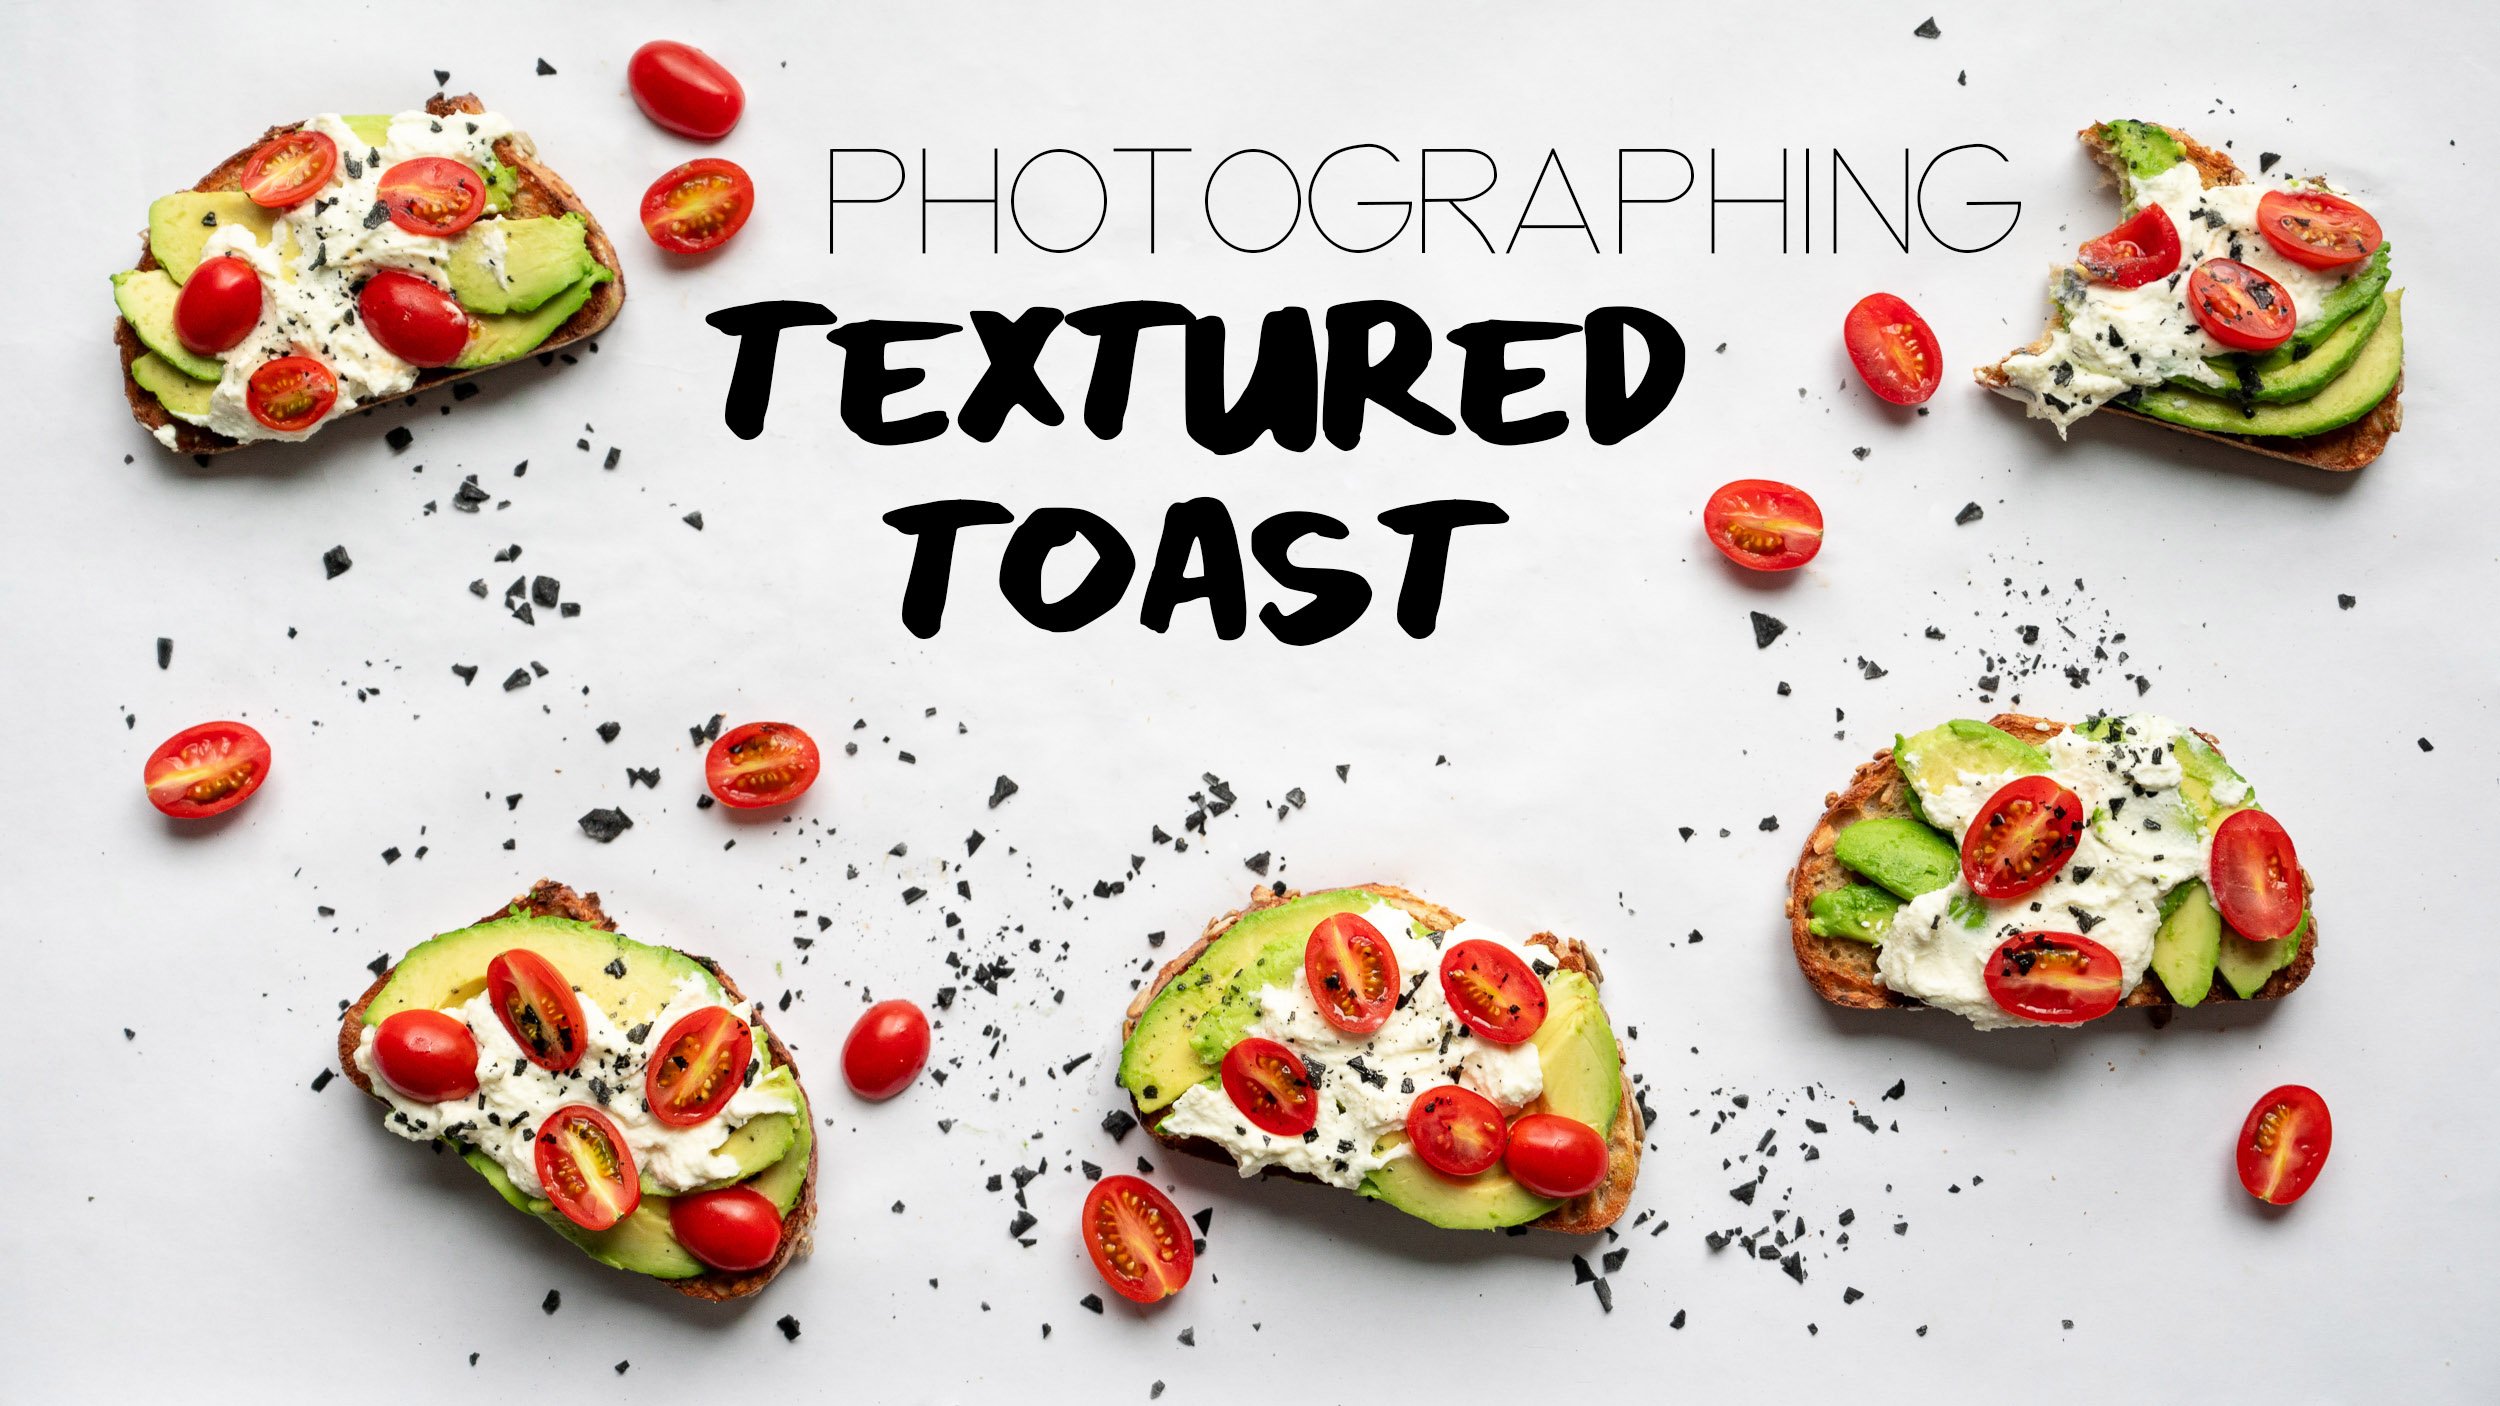
 Tabitha Park, Product & Food Photographer