Transcripts
1. Introduction: I love sunflowers. Hello, I'm Manushree, the artist and illustrator behind The Whimsical Creative. In my personal work, I like to paint flowers which evoke calm, positivity, and grounding feelings. I'm also passionate about enabling creatives embrace their creativity and evolve in their artistry. In this class, we will be painting sunflowers, which are a symbol of vitality, good fortune, and happiness. Now sunflowers may appear a little daunting, however, in my humble opinion, they are one of the most easiest flowers to paint, especially when loose expressive style. It just takes couple of basic strokes which I'll be sharing in this class and I'll be guiding you master those basic strokes and then we will be painting flower heads and finally, we will also be building entire stalk of sunflower. You'll also find that we briefly touch upon sketching this sunflowers and don't worry, we just do it in a very loose quick way and you can apply that principle of sketching to any flower of your choices then. For materials, we'll be using watercolors, however, feel free to experiment with gouache or acrylics, the techniques that we use in this class to explore light and shadow and adding layers can be applied to all the other mediums as well. I am super excited, let's get started and paint some sunflowers.
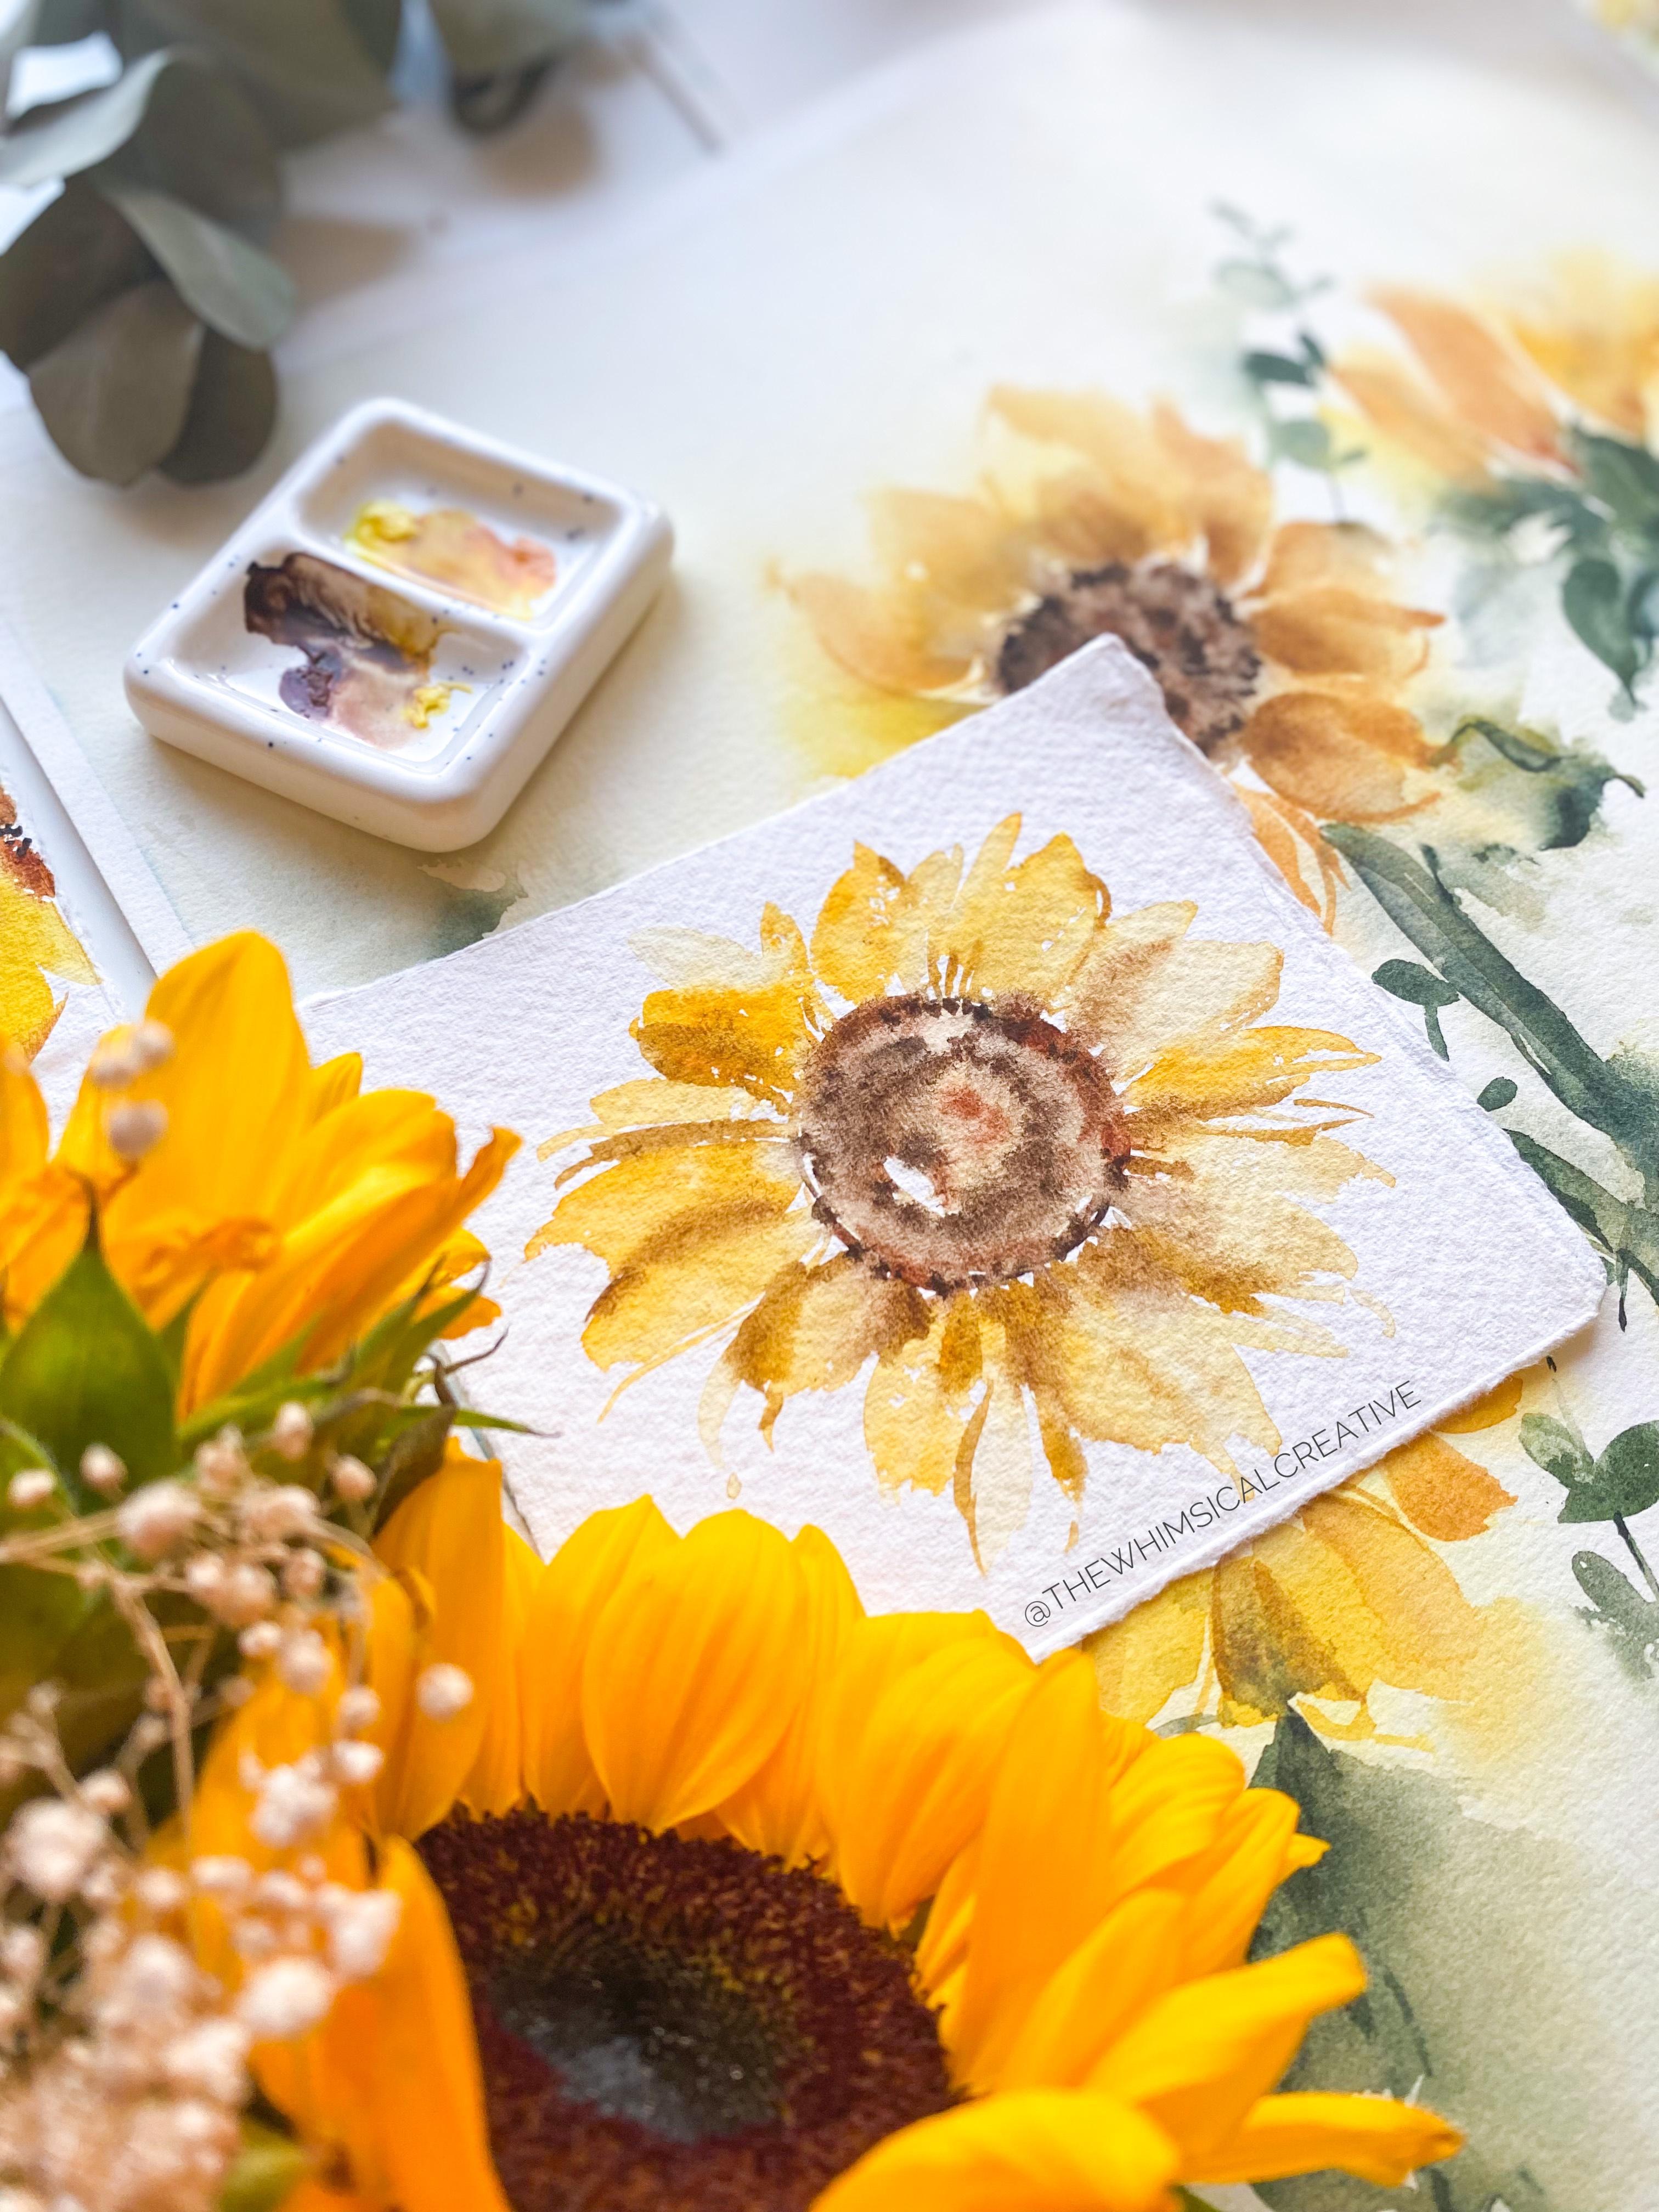
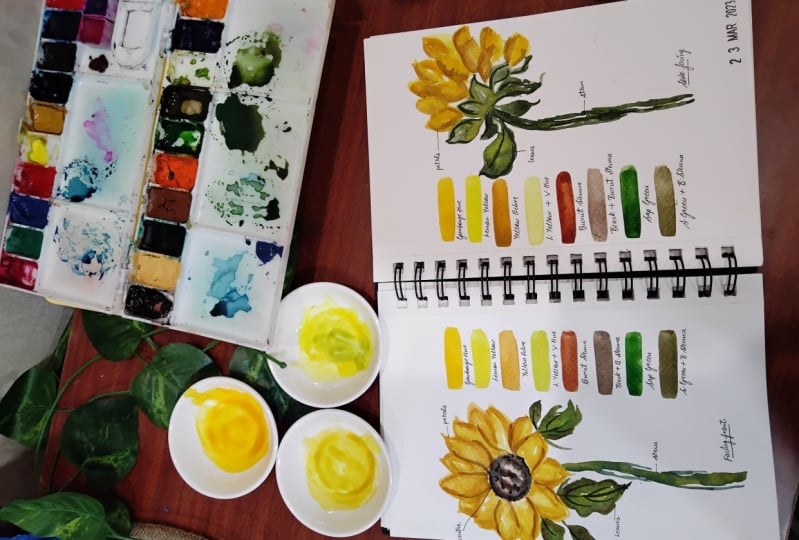
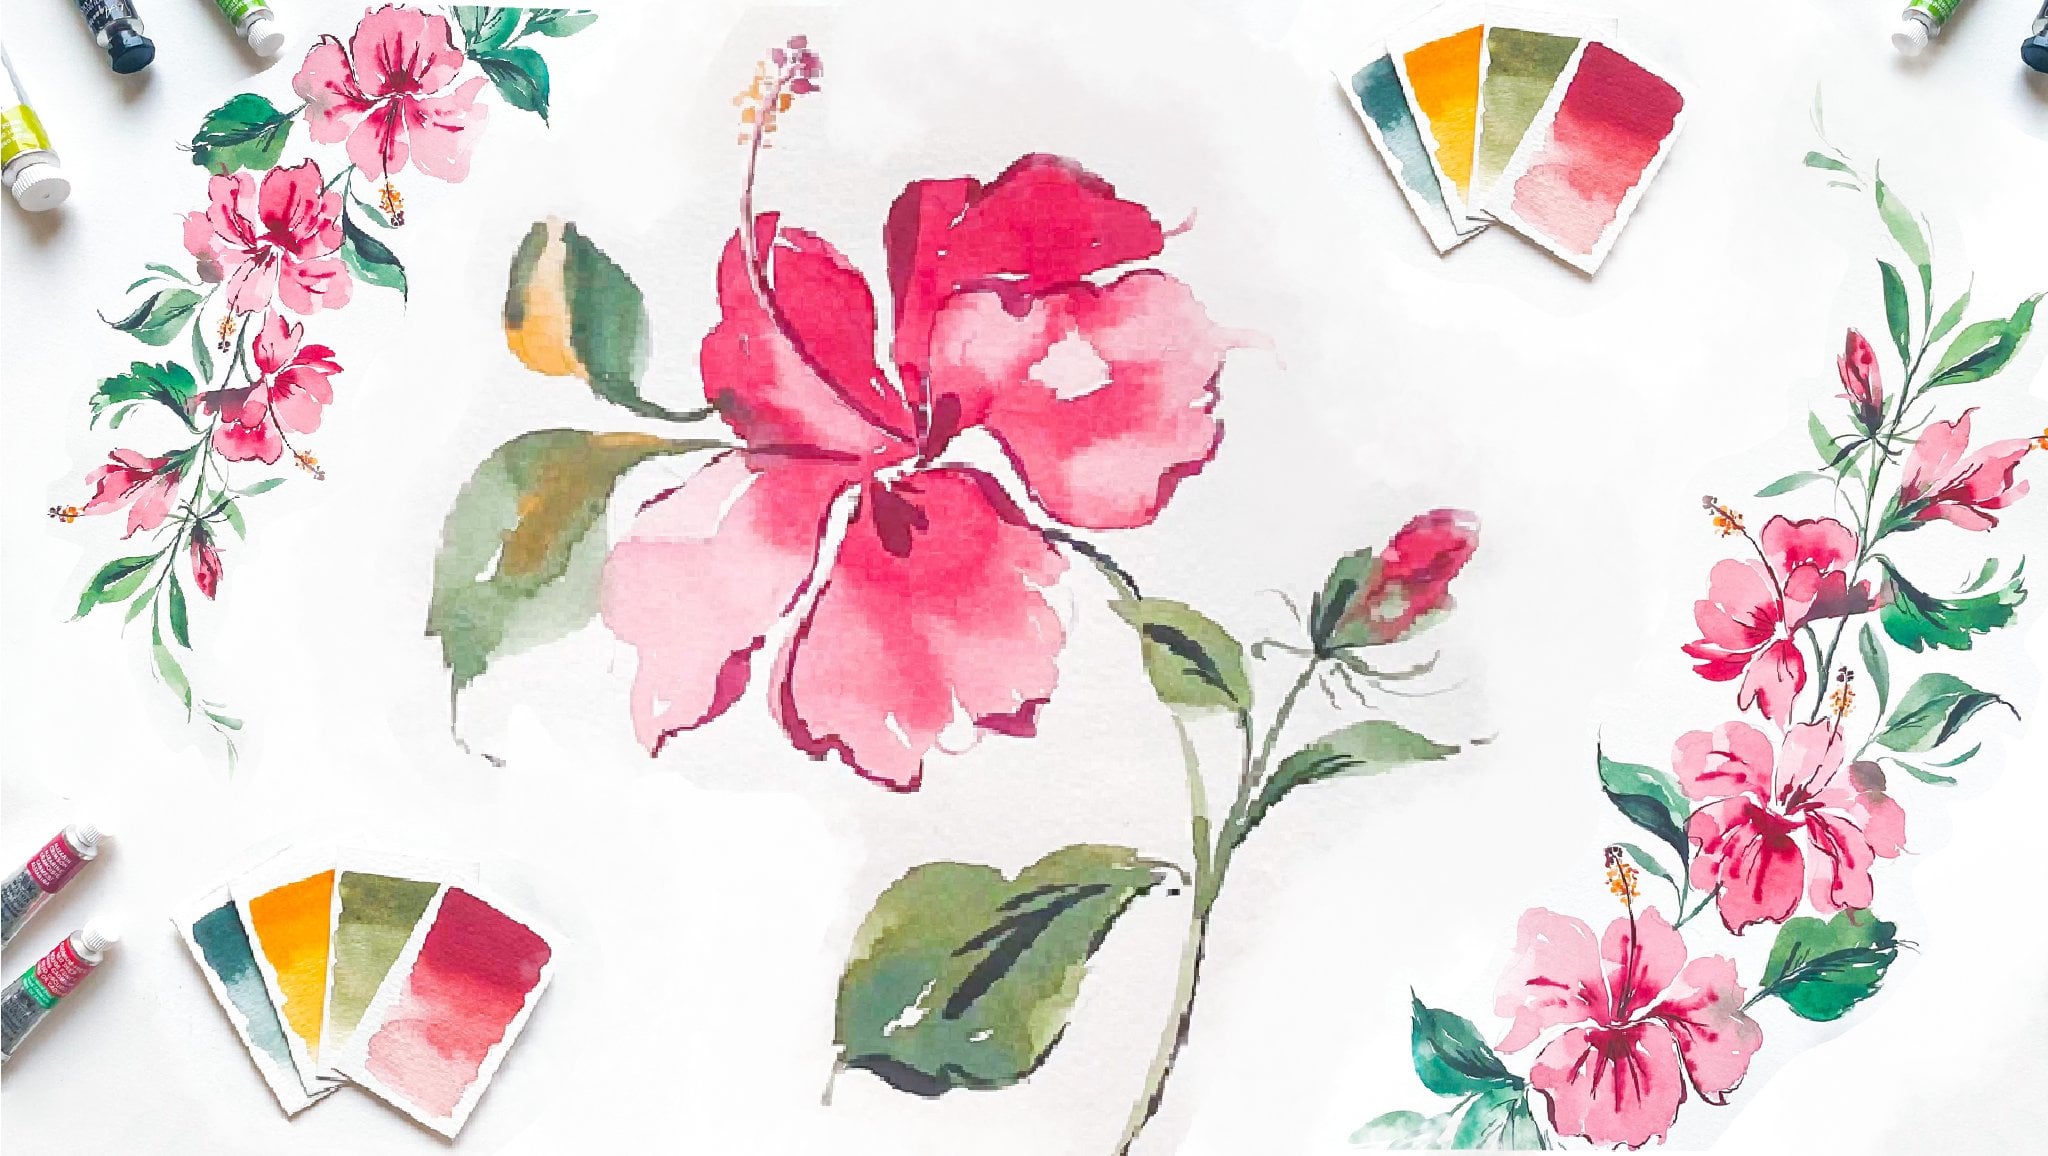
2. Supplies: Welcome to the loose sunflowers class. I'm so glad that you choose to be here. Let's have a look at all the supplies that we'll be needing for our today's class. We'll be needing a pencil and an eraser. Any normal HB pencil will do, and you can choose any eraser of your choice. If it's a non-dust eraser, then that's awesome because that doesn't alter or damage our watercolor paper. Now, let's discuss our paints. We'll be using assortment or selection of yellows, starting with the yellow ocher, it's a gorgeous earth yellow color. Then we'll be using new gamboge by Daniel Smith. Then we have our Winsor lemon yellow, that's the color that we're using next, and then we'll also be using burnt sienna. You can also use raw sienna if you don't have burnt sienna. Lastly, we'll be using this gorgeous shade of green gold. Now, feel free to substitute these colors with any or all the yellows that you have in your palette. Basically, we want to have as many yellows as we can possibly, so that will allow us to create more complex yellow shade and create lot of dimension when we start painting our sunflowers. For our greens, let's have a look and see the colors that we'll be using. We have permanent sap green. That's from Winsor & Newton. Then we have undersea green, it's from Daniel Smith. Then we have perylene green. Lastly, we have greenish umber. Once again, you can pick and choose any of the greens that you have in your palette, and that's going to work fine. Now, for the centers, because the centers are usually dark in color. Like you can see, the gorgeous yellows are offset by this beautiful deep dark center. To account for that, we will be using two colors, one of them is burnt umber, and then the other one is sepia. These are from Winsor & Newton's Cotman range. For our brushes, we will be using round brushes in a variety of sizes. I recommend size 8, 6, and 10. That will give us a good range in terms of creating petals and going for more details. Then lastly, we need a jar of clean water, a mixing palette. I'm going to be using a ceramic plate as a palette for today, and of course the most important is a watercolor paper. Even if we use 300 GSM watercolor paper, if possible, try to use 100 percent cotton one. However, if that's something you don't have, that's also fine, no worries. But make sure that your watercolor paper is at least a 300 GSM. That's all for all the supplies that we'll be using in our class. Let's dive in into for the lessons and start creating these gorgeous sunflowers.
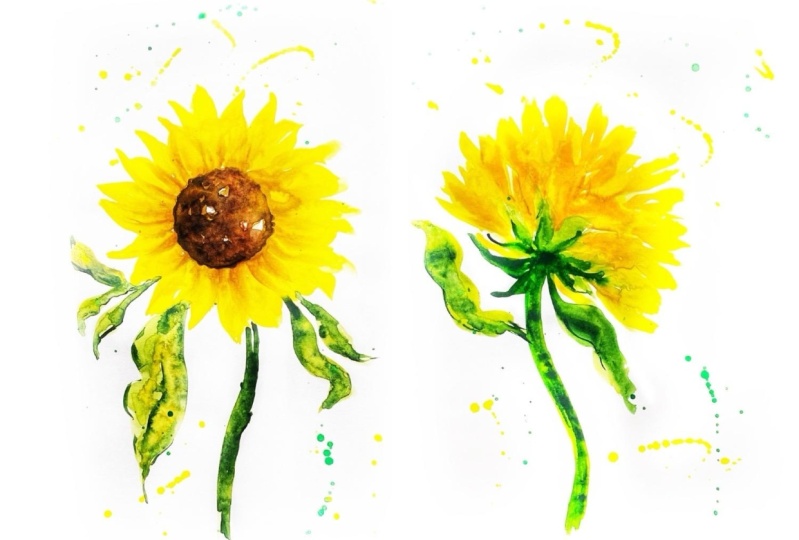
3. Sketching: Let's have a quick look at our subject, that is these gorgeous sunflowers. I have two different kinds here; one has a darker center, you can see it's very dark and it has lot of gradations, and then another one has a lighter center. Also, this one is not completely open, it's still a little close. This is very open and towards the front, and this one is towards the side. I'm going to take you through the entire process of sketching these loosely. What we'll do, is we'll go ahead and capture their peculiarities in a quick sketchy style, and that's going to help us when we will be laying down our colors and using watercolors. Let's sketch this one first. I'm going to put this on the aside. Take your pencil, and let's observe first. What I see, is it has a gorgeous center. I'm going to make it a front facing sunflower. We start with a rough circle. I'm not bothered about getting it perfect. Let's move on to the petals. How I see the petals look, they look like inverted teardrop shapes. You can see this is how they look, there are a lot of overlapping petals and then they have lot of tiny little folds in them. That's also what we're going to capture. I'm just going to start creating these tear shapes randomly. I'm not too bothered to get it exactly like what I'm seeing, instead, I'll go ahead and add my own bits and pieces. Sometimes there may not be a petal at a place, and I'll still go ahead and add that. Similarly, some other times there might be a thinner petal, I may go ahead and add a thicker one, or there might be a thinner one and I can choose and decide to add a thicker one. You can see I'm being very quick and loose on my strokes. I'm not trying to have a very exact replica of whatever I'm seeing here. That is simply because we're not going for a detailed botanical style, instead we are going for a more expressive, loose style, and that's precisely why I'm choosing to take some creative freedom and interpret this flower in my own unique way. Now, let's move on to the leaves. What I see, is it has gorgeous leaves. One is peaking behind from here, there's another one here, there's a beautifully crumpled one here, and then there's also a tiny one at the back. Let's see. I'm going to redeem this larger one and loosely, again, just going to capture this. It's coming out like this. Then we have another one. It is very pointy at the top. Oops, we have a petty here. It's actually withering. I was supposed to make this class three days back, but life happened and here we are. Anyway, there's this leaf which has tiny ends. If you look at the back of the sunflower, you'll see that these leaves which come and cup the entire sunflower from behind, they have this gorgeous pointy ends, so we'll also enhance that with watercolors. Anyhow, I'm going to go ahead and add this leaf. Finally, we have one here. It has a fold, so I'm going to capture that, like so. Finally, the beautiful stem. Even though the sunflower has a very straight stem, I'm going to go ahead and give it a curve, because I feel that just adds movement to a rather static flower. That's it. We're done with this one. Let's put this one aside and get out another one, which is this. This is a sight facings sunflower. How are we going to interpret it, is we'll be concentrating mostly on these gorgeous leaves and these overlapping petals which come from behind the leaves. First of all, what I see is the stem comes out like this, and then we have these beautiful leaves, which have pointy ends. Again, maximizing that. Then I see that this has a cup shape, so I'm roughly going to mark out that, it's like this. The leaves are towards the edges of this cup shape and throughout. Finally, we'll start creating the petals. The petals, you'll observe they're larger than these leaves, so I'm taking into account that. It curves and curves in the petals, so let's keep that as well like this and somewhere here. I'm going to add some additional ones, even though they're not there on the flower, but I want to add it. This beautiful leaf, so let's add that. We have another gorgeous one, it starts here and it goes like this. Of course, we have this beautiful, curvy stem, long, slender, nice stem. I'm going to do that as well. That's it for our sketching board. I see that a lot of creatives struggle with the sketching bit. There are a couple of tips which I want to share with you, First is be very swift with your strokes because that way you don't end up getting caught into thinking how a certain petal should look, instead you go with the flow, you see what's in front of you and then you quickly interpret it in the way you feel best. Another thing is always use a light hand when sketching, so that if you feel that you have to remove certain areas, by all means, you can go ahead, use an eraser and start over. Another good tip for sketching, is always having a sketchbook and, of course, taking out some time, maybe like five minutes in a day, and just sketching any object that you see in front of you. That could also help you get more confident when you are approaching sketching. Lastly, when I'm actually sketching, I try to basically think, what is it about a flower that just jumps out to me from the photograph or from the real actual flower? In case of our sunflowers, what really jumped out to me, were these gorgeous leaves which peak from behind the flower, the overlapping petals, and then how they have tiny little folds, the gorgeous centers, the beautiful take part, a long stem, and the gorgeous different leaves. Apart from having the leaves just at the base of the flower, there are gorgeous, huge leaves that you saw on the stem as well. Those are some of the things that really jumped out to me and I tried capturing that in the sketching bit, so that we can amplify it even more when we'll be using our watercolors. That's it for this lesson, I'll see you in the next one.
4. Preparing Colour Palette: Let's quickly discuss our color palette. In order for us to have depth in our sunflowers, we'll be using a selection of yellows. We'll be varying not only just the values of the yellows we're using, but we'll also be varying the temperatures. Here you see me mixing new gamboge, which is a beautiful warm yellow shade. Now, I'll go ahead and pick some Winsor lemon yellow. This is a cool yellow shade. I'll also mix a neutron, which is a yellow ocher right Right. I'm just transferring these colors from my color palette so that it will be easier for us to mix them. Make sure that you mix enough. Because when we are painting, you don't want to run out of paint. This is quinacridone gold that I'm mixing. Finally, I'm going to do some amount of raw sienna. It's a very light yellow color, and it barely shows, and you need a lot of it. I forgot one more, a gorgeous yellow-greenish shade that's green gold. These are all the yellows that we'll be using. Apart from that, we'll also be using some amount of sepia. For my greens and sepia, I have them here. I have some burnt sienna here, which is the one we'll be using for our centers. I'm going to mix that. Then we'll also use our sepia. I'll have some mixed here and ready to go. Lastly, we have a selection of greens. Why we be using greens? I will mix the yellow that we have picked in our greens randomly. Sometimes when you'll be painting our leaves, I'll go ahead and add little bit of new gamboge to say perylene green or to green jumbo, or to undersea green. These are the greens that we have. I'm just using three greens: undersea green, perylene green, and greenish amber simply because we have so many yellows, I can vary the greens a lot by mixing tiny amounts of these. Now coming on to our yellows, even within them we'll have lighter values and darker values. For this one, I'm going to dig a little bit of it and create a lighter value of this color. Similarly, I'm going to take this one and create a lighter value for that. Sometimes you don't have to necessarily create a pool of lighter value. Instead, you can take some color, lay it down on the paper and then rinse some of it off and what you have is already on your brush after rinsing is a lighter value of the same color. I'm going to use that as well. We'll also be mixing our yellows together to create some unique, more complex yellows. That's the entire intent. We want to have a mix of yellows. While we're painting our sunflower, we'll be dipping onto different yellows and creating different patterns. That's what's going to give our sunflowers the dimension and the light and shadow effect. Also, if you want to get the exact same yellow shades like the ones I've used here, it's all listed down in the project resources section, which you can access through the web version of Skillshare. However, a good tip that I can give you is, you can start with just one yellow color and it can be Winsor lemon yellow. If you want to donate into a warmer yellow, just go ahead and mix slight amounts of orange or red to it, but start really slow. That way you'll get a warmer yellow. Same for the green gold. You just need to mix tiny, little amount of green and lemon yellow and you'll get a color like this. Feel free to use the colors that you have. Just to ensure that you have a variety of yellows mixed in. Let's quickly swatch out the yellows that we have picked. I'm going to swatch out both the darker and lighter values. The first one is this gorgeous new gamboge. Its lighter value is going to look something like this. The next one is Winsor lemon yellow. It's a cool yellow color. It's going to look like this. Then we have our yellow ocher, it's a neutral yellow color. Even with yellow ocher, you need quite a bit of paint in comparison to the water for the color to really show up. Then we have green gold, which is a really unique and gorgeous color. Let's swatch that. I'm not going to use green gold at full strength, simply because it leans more towards green than yellow. But the lighter value is going to be a gorgeous addition for our yellows. I also have quinacridone gold. It's a very beautiful warm yellow, it glows. That's how I would define it. Lastly, we have our [inaudible]. That's how it looks. Then you'll be using our sepia. I'm going to swatch it next to [inaudible] to see how the centers would look. I'm also going to be using yellow ocher, a little bit in the center. That's how the transmission would look. Then with some yellows like new gamboge instance. I'm going to see how the greens would look. Let's swatch out our undersea green. Undersea green is one of my absolute favorite colors from Daniel Smith. It looks gorgeous. Let's see how lemon yellow would look next to it, beautiful. Then we also have our mix of sepia and burnt sienna. That's how it's going to look. I'm just too how beautiful this looks. I'm going to drop some ocher here to see how that mixes. Then a tiny amount of bone sienna at the end. This is always a great exercise to do, whenever you're beginning onto the new piece. This gives you a lot of perspective in terms of how the colors would look next to each other. This also tells you that, in order for us to get this gorgeous, beautiful bleed which is happening here, here and here, we'll have to be a little quick to capitalize on the wet on wet watercolor technique so that we can get those gorgeous bleeds in our sunflowers as well. That's it for our color palette lesson. I'm going to see you in the next one where we'll actually start painting our gorgeous, beautiful sun.
5. Final Project Part I: Let's get started with painting some flowers. I'm going to be using a selection of round brushes. Right now I have 8, 10 and 8. One of them has lemon yellow in it. The other one has [inaudible] bush, and then here I have a green one. I'm also going to use another brush to first start with the centers. One of the things that we have to be extremely careful about is making sure that our centers don't bleed onto the petals much, and then our petals don't bleed on to the centers much. That is one thing we have to be really careful about. I'm mixing a little bit of sepia and burnt sienna for our center. It's a very light value that we'll be using. I'm going to go ahead and start adding it to the center. I'm not going to entirely fill the center, I'm going to leave some white areas. That's because since it's a loose style, it's very important to leave whites. That's what gives the illusion of light and highlights as well. Then I'm going to go ahead and add some darker color at certain areas, especially near the center of our circle, and that's it. Now we'll go ahead with our yellows. I'm going to go first with a lemon yellow color. I'm going to mix tiny amount of ocher to it just to tone down a bit, and then, let's paint our first petal. For our petal stroke, I'm doing nothing. I'm simply using two strokes to create a petal. You can see here, I'm using lemon yellow. I'm going to start with the tip of the brush, press down to create this. Then I'll alternate with the warmer color and create the rest of the petal, leaving some whites in between. We'll go ahead and take some ocher. While these petals are wet, I'm going to create the third one. You'll have to be a little quick so that we can get gorgeous bleeds. I'm doing nothing, simply just touching my brush and then pressing it down, dragging it up and creating the petals. Don't worry, don't try to create the petals too perfectly. We want it to remain organic and loose. You can also add some darker color towards these petals because the sunflower is tilted like this, so I'm adding the darker color to communicate shadows. While you're painting these petals, don't get too caught into making sure that you get that perfect petal or teardrop shape, try to stay loose so that the petals will come out much more organic and loose. Do leave some white space here and there onto the petals. That's about it. I'm going to leave it as is. I'm just going to make some little bit of burnt sienna with our yellow ocher.
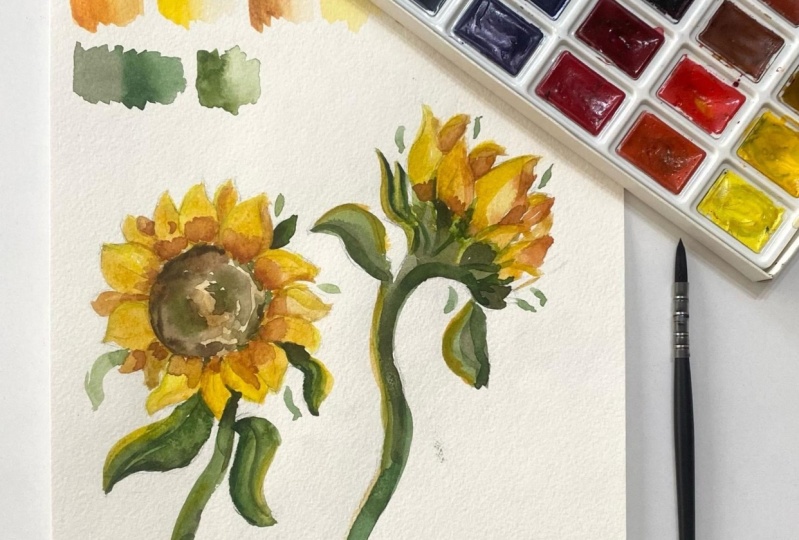
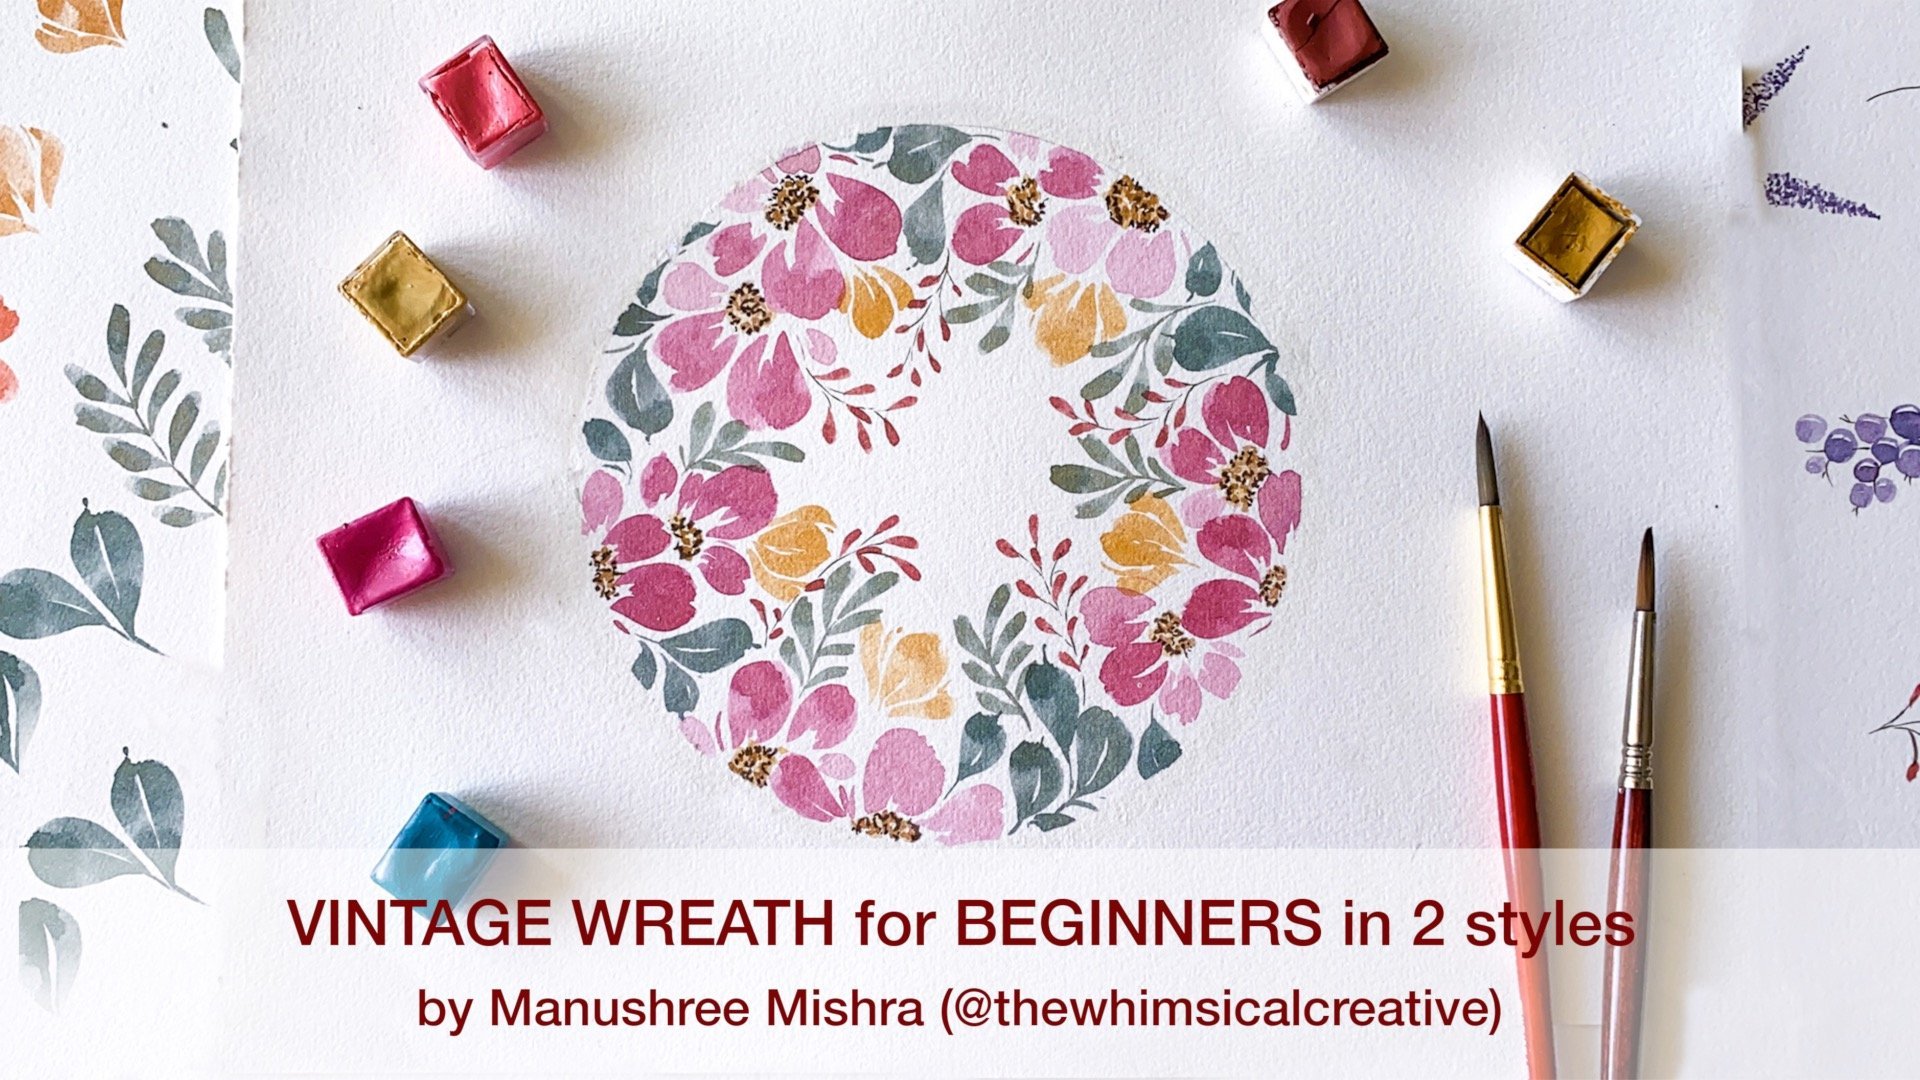
6. Final Project Part II: I'm going to add it to some areas that I feel I want to emphasize about having shadows, like the petals overlapping the other ones, or the petals which are very close to the center. That's where I'm going to add that. That's about it. It's drying very quickly. I'll go ahead and get some greens and see if I can get some leaves. No, it's already too dry. I'm not going to be able to get some leaves. That's okay, but it's fine. Again, for the leaves, I'm trying to stay loose and organic. Just following the sketch that we had created earlier. Adding some yellow onto my leaves, just to tie in everything together. I'm going to bring in some Berlin green towards the edges like this. While the leaf is wet, I'm going to add it and it's going to give this gorgeous blooming effect. Onto this one. There was a tiny one which was peeking from behind. Let's create that as well. Like this. I'm going to go ahead and just add tiny amounts of Berlin green towards the edges. We're done with that. Let's move on to the stem. For stem, I'm going to start with a very loose wash of green color. I've mixed lemon yellow with my undersea green. Then slowly I'll start adding darker green to it. I'll add darker green towards the flower head because that's where the shadows will be mostly concentrated. Like so. Now I'm going to let it be like this. I'll wait for the stem to dry a bit more and then we'll come back with Berlin green towards the edges. Again, I'm also trying to capture some whites onto the stem. That's going to give us some highlight, make sure to capture that as well. We are basically done here. Just adding some darker values towards the edges. This one is done. Now we'll come back to it once it's dry. Let's move on to our second sunflower which is this one. For this one, I'm going to start with the stem and the greens first, simply because they are more dominant. Let's start with the stem. Just adding some strokes. Now I've mixed some yellow with the green. Now I'll come back with some Berlin green. Inside the needles, we're doing wet-on-wet while the stem is wet. I'm adding some wet watercolor and that's on wet-on-wet technique. If you'd like to learn these techniques more in depth, I'd suggest take my vintage reach class. That's the class I've designed for absolute beginners and we go in depth about these techniques. Petal strokes, leaves strokes and all of that stuff. Now I am painting these leaves. I'm going to alternate between undersea green that I'm using and the scourges green shade that I just mixed with some yellow. This was our larger leave. I'm going to add some yellow to it. Now you have to be a little quick because I want to capture those green to yellow leaves. Make sure that it's not too wet. But when it's just about drying, start painting the leaves. For the tender leaves, I'm just using the single stroke and for our thicker leaves I'm using two strokes. Look this gorgeous thing that's happening. That would only happen if usually quick. Introduce one color to the other while it's still wet in this time. I'm going to take some green gold and we'll add it towards the edges of these leaves. I'm also going to take some green gold and I'm going to add it to the stem just so that it will glow slightly. We also have our leaf here. Let's do that. Adding some yellow to it. Then using Berlin green just at the edges, define it, and add some shadows. We are done with this. We'll let it dry for some time. Meanwhile let's go back to this one. For this one, I'm going to start with the center first. Let's lightly wet leave the center. Make sure not to go over the whites. Just carefully wet the center. Now I'm going to start adding darker color towards the edges. You don't want to all wet and add it all over the place, which is keeping into random. Next up, I'm going to take some burnt sienna. I'm going to add that as well to certain areas. You can go ahead and encourage them to bleed or soften the edges a bit, like I'm doing here, in some areas which have started drying already. But for most part I'm going to leave it like this. Now for adding shadows to our petals, I'm going to take yellow okra and I'm mixing it with burnt sienna to create.
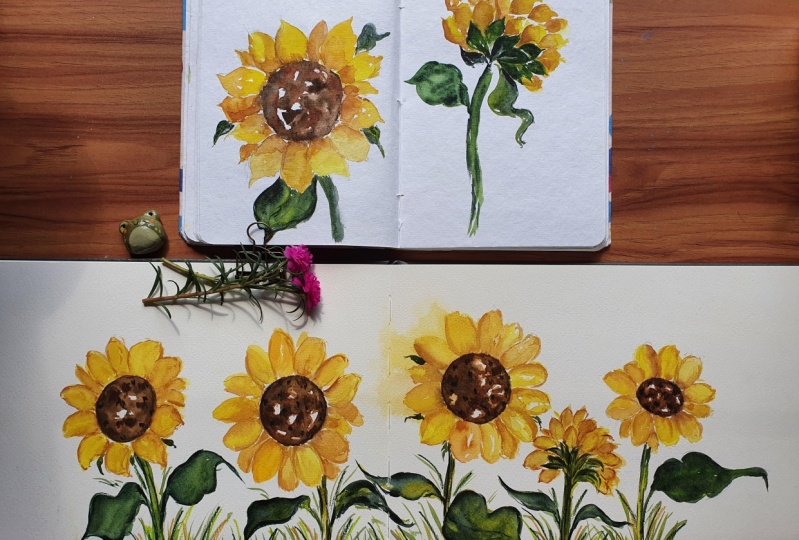
7. Final Peoject Part III: Dark, neutral, or the yellow color. That is what we'll be using to add shadows for our petals. Also, use a clean brush to smoothen it out because I don't want to have a line going like this. I want it to remain soft. Here there's the fold, so I'm going to emphasize that. But let's soften it out as well. Adding some color here, because as we discussed, the sunflower is sort an angle. So I want to translate that these petals have some amount of shadow in comparison to these ones which are completely in light. This is a clean brush and it has no color in it. I'm just using it to buff out the edges a bit because I don't want to have hard edges onto my petals. That's about it. I think I need a couple of them here, especially on the petals which are behind some petals like this one. I'm going to rinse the brush again and add that. There's a hole here as well, so we'll go ahead and add this. Then again, just buff it out like so. I'm happy with this. I'm not going to mess around the petals anymore. I feel it looks perfect. Let's move on to the leaves. For the leaves, I'm actually going ahead with some yellow. I'm using new remouche mixed with the green, and I'm going to add this in certain areas that I feel that it lacks color, like here. Adding this yellow color to our leaves would again tie them together with the sunflower. Now I'm going ahead with the perylene green, and adding some darker values just to show there is a fold here, and a line like this. While I'm doing this, I'm making sure that it's wet so that I will not get hard edges. Similarly, with this one, I think it can use tiny amounts of yellow here. I'm going to buff it out and bring in some perylene green, and adding some depth to it. I'm going to leave it at that. Adding some dimension to this one here, and a little bit here. But again, let's take care of brush, buff it out a bit. I'm happy with this. Now onto our stem, I think I'll add a little bit of color more. Taking my mix of undersea green, I'm going ahead and adding it in pen strokes. That's about it. I'm going to leave it here. Let's move on to this one. It's dry, I thought it's probably a little bit. Mixing some undersea green, and adding it in towards this. Do you remember we discussed that these tiny leaves behind have this gorgeous tip? I'm going to maximize and I'm going to bring that out here. Just towards the tip, I'm adding a V-shape, then going back and softening it all. Taking on darker green color and adding some shadows to our leaves that we have painted here. Again, when you're adding shadows, go slow. You don't want to go too much into it and then add too many details in all the leaves. Here I'm going to take some perylene green and reemphasize this fold that we have on the leave and vein. I'm also going to take that mix of yellow ocher and raw sienna and add it towards the edge of these petals, making sure to soften it with a clean brush. Whenever you want to define that there are two petals and you feel that the definition is missing, you can use these shadows. You can use this darker color to define that. I'm concentrating mostly the shadows, near our greens, because that's where they'll be mostly. Like we gave the tips to our leaves, you can choose and give some to the petals as well. There is a fold here, so I'm going to create that. I'm happy with this one too. Now I'll go ahead and add some lines onto the stem with the green color, and that's it. Finally onto the most finer details, for that I'm using our number 4 brush from Plush. I'm mixing sepia with tiny amounts of paint spray to make the color even more dark, rich, and smoky so that bear excelled with a beautiful smoky brown. I'm actually mixing things straight to darken it further. Then with that, I'm going to go ahead and add some details onto the center. You see that it has these tiny fuzzy things, that's what I'm trying to capture here with these tiny details. I'm just going to add a little bit of these, again randomly. I'm not going to add them all around but in certain areas. I'm mindful of the direction. So these will be also facing like this. Just be mindful of that. Just adding this in some areas which are light to hint towards this fuzzy texture. Oops, I was about to drop my brush. I'm also going to add some dots. That's about it. I'm going to leave it at that. I see there was one more fold here, so let's go ahead with the darker color. That's it; we're done. I hope you enjoyed painting these beautiful sunflowers and had a fun time. I'd love to see what you create from this class., so make sure to tag me at the whimsical creative on Instagram. Also, you can post your projects in the project resources section of Skillshare. I'd love to give you feedback as well. Thank you so much for joining me today and painting these beauties with me. I hope to see you soon in my next class. Till then, happy creative.
8. Final thoughts: Thank you so much for joining me today and painting these gorgeous sunflowers with me. I'd love to see what you create from this class. Feel free to upload it in the project resources section of Skillshare. Alternatively, you can also choose to share it with me on Instagram. Be sure to tag me @thewhimsicalcreative. I love to admire it. If you liked this class and would like to further expand your floral library or perhaps you want to get more comfortable using colors, be sure to check out my other classes on Skillshare. There are presently seven, I believe, or eight classes on Skillshare and do give me a follow here so that whenever I upload a new class, you'll be notified first. I also share process videos on Instagram and YouTube, so do make sure to follow me there as well. All right, I'll see you in the next class. Until then, happy creating.
 Manushree Mishra, Watercolour Artist