Transcripts
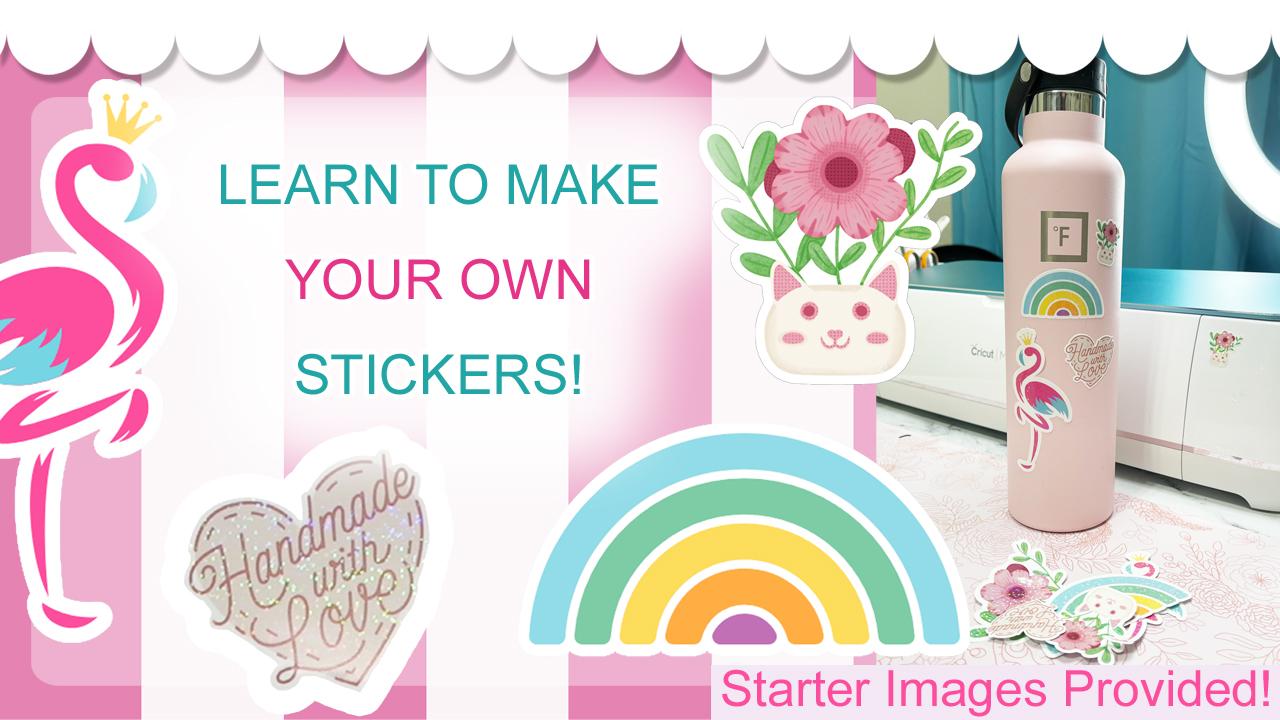
1. Sticker Class Intro: Hi everyone. Tammy here
from Tammy an Creative. And today I'm going to show you how to make your own stickers using a cricket cutting
machine and some art. You don't need to be an
artist for this class. I'm going to provide you
with some art that I have. You can also use the
Cricket Design Library. There's some free stuff
in there that I'm going to show you how to access. If you're an artist,
this is great. You're going to be able to
take your creations and make them into stickers
and into different things. I'm Tammy, and I create a variety of different
things with my art. I make stickers, notepads, bookmarks, as well as prints. So I'm going to show
you step by step how to make art into
stickers so that you can have this for
your business or if you're just an enthusiast
and you love stickers, you're going to be able
to make your own and be able to use whatever
types of things you want. By the end of this
course, you're going to know how to choose some sticker paper
based on your printer. How to add a margin around your stickers
so that you can do, say, a white or a
different colored border and give some extra
little space. I'm also going to show you
how to make your stickers more durable by pitting
on an adhesive. You can choose
like a holographic or you can go more clear. But this is going to
give your stickers extra durability and
make them a little bit more waterproof than if you were just going with a
plain vinyl sticker. I want you to feel confident
by the end of this course with choosing what
papers, making your cuts. And I'm going to explain exactly all the
different steps that are needed to make
your stickers. Join me in the next lesson, and I'm going to go over what supplies you
need for this course.
2. Sticker Supplies: Welcome back to
Sticker Making class. In this lesson, I'm
going to go over all the different supplies
you're going to need, as well as a few little extras that you can decide if
you want to invest in. If you're going to make
loads of different stickers, first off, you'll need
a cutting machine. I'm going to be using
a cricket maker, but cricket does make
other cutting machines, and the machine comes with some software that we're
going to be learning about. In a bit later,
I'll be going over all the software and how to use it to make your little
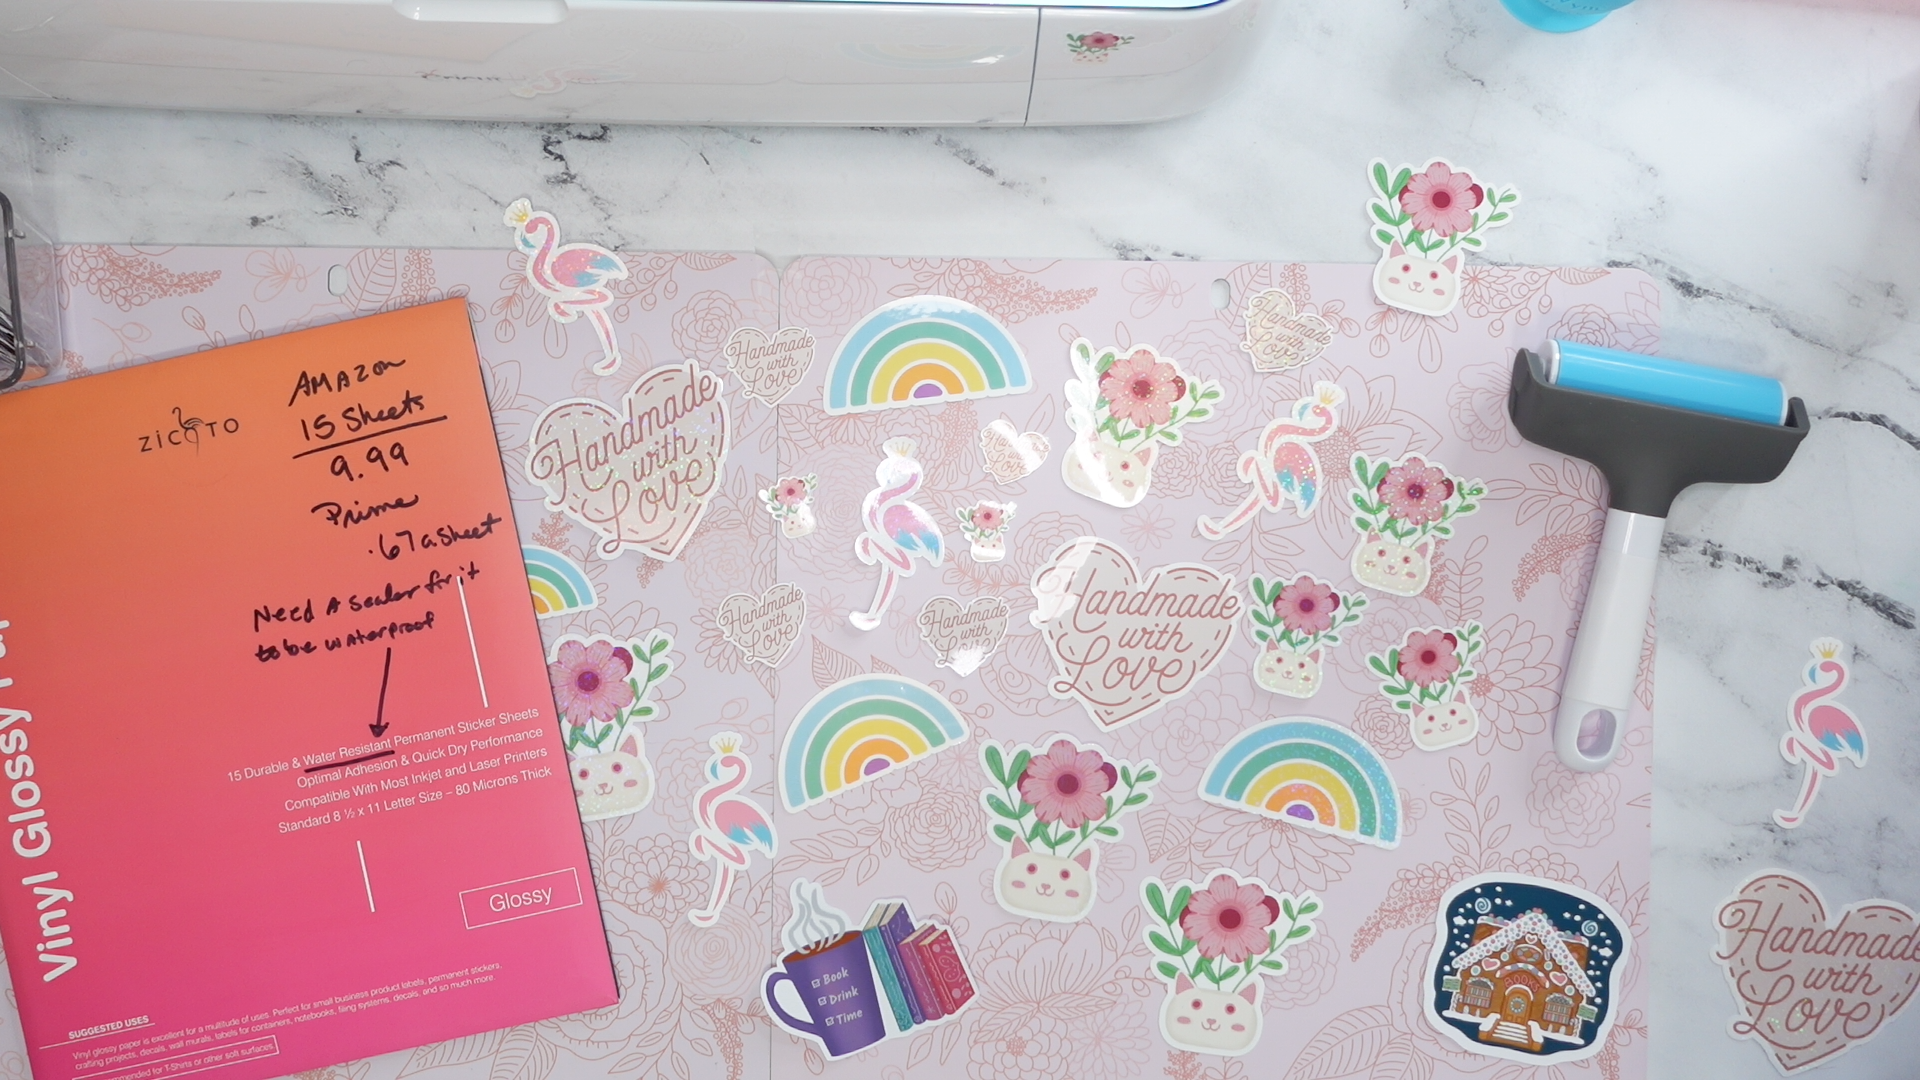
stickers and get them fully cut out of. When it comes to a supply, you'll need some sticker paper. I've got a couple different
brands that I really love after trying
out loads of them. I probably try it out seven
or eight different types of sticker paper and
these are my two favorite that I use on a cannon inkjet bubble
jet type printer. This one is an inkjet, vinyl, self adhesive gloss. This one actually works on both an inkjet and
a laser printer. Both of these are going to be glossy that I'm
working with today, but you can also find matt
versions of different papers. If you aren't sure
what your printer is, take a look at the
manual and find out if it's a laser or if
it's an ink jet. And choose your paper accordingly to make your
stickers a bit more durable. You can also add
what I have here, it's a holographic
laminate sheet. You can also get just
plain laminate sheets with no holographic, but I got this mixed media set. Mine comes with some
different bubbles, and stars, and hearts
and that type thing. And I'll be showing you
how pretty that can be. This laminate is going to make your stickers much more durable and even a bit waterproof
for your cricket. You'll also want a
cricket cutting mat, and I'm going to be using
the light grip one, it doesn't need to be too
sticky for the sticker paper. You'll also want a ruler, a pencil, and some
type of large scraper. This is going to help
pit on that laminate. I use a larger version, which is just a ruler covered in some fabric so
that it's nice and smooth. Oh, not last, yeah. Actually, I have two
more items here. I have what's called
a Breyer that just helps the sticker
paper onto the mat. It's not required, but
I love having this. It just makes everything
stick a little bit easier. And then a pair of scissors you'll need just to cut
things up as needed. Let's now move on to getting your first image into
the design software. I'll be right over there and
showing you the full way.
3. Make a Sticker with Free Cricut Art: So I'm going to assume
that you already have cricket design space that came free with your
cricket machine. I'm going to click
on new project. You do what I do and just
follow along in here. You're going to see your
canvas. Right now, it's white. First off click blank canvas
over here on the right. Click right under the color
section up here at the top. And we're going to
change the canvas color to let's go blue. This is going to make
things pop a little more when you pit on that
little white border. First I want to
show you how to use the cricket design
space free images. You're just going to
click over here on the left and choose
images from here. You're going to see a
variety of different things, some of them are going
to be free, some won't. I have a filter over here where I'm just
seeing free things. I'm going to turn
that off. You can see there's other things that you can purchase
to make stickers with, but you can also
use the free items. We're going to use
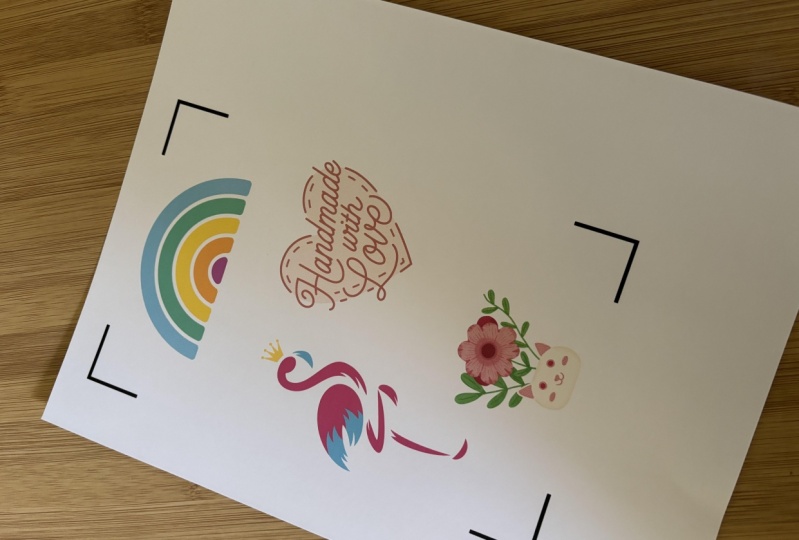
all free items today. I've searched for Rainbow, and you can see what's up there. I'm going to click
the filter free so we can get it down to
just free rainbows. I'm liking this one over here. I've already bookmarked it. I'm going to click
on that and I'm going to go down
here to the bottom. You can see where it
says Add to Canvas. But before adding to canvas, I want to get some
other items as well. Some other items that I
can make into sticker, some images here up here, you can just type in what
you want to search for. I'm going to search
for a Flamingo. I really like this one. I
bookmarked it earlier as well. It's a free Flamingo
with this little crown. A lot of my personal artwork actually has these
little crowns and stuff, so it's very reminiscent of
something that I would draw. I'm going to select that when it turns this little border on, you know that it's been
selected right now. You can also see down here, I've got the Flamingo and the rainbow selected right down here at the bottom,
on the right side. I'm also going to add
an additional image that I found earlier
called handmade with love. It's just a heart. So I'm just going to
search for handmade. What I found is
sometimes things come up by their name and
other times they won't. I've done a little
bit of research and I found this sticker earlier and I found out that handmade seems to
make it come up. There's actually a couple
different versions, but I'm going to go
with this one that has this pretty pink background. I've got it selected here, Clicking on it,
and now we've got the little green border. And I'm going to
add all three of those to the canvas
down here it says add the canvas now that we
have all our images in, you're just going to
pull it to the side. We're going to see what
we're playing with here. Over here on the right side, you'll be able to see that
there's little arrows. If you click on them,
you'll see that the heart has multiple layers. The Flamingo as well,
and the rainbow. What I'm going to have
you do is just hover, so everything is selected. Then you're going to right click and you're
going to say flatten. Now that's all one layer. And it says print the cut. You're going to do the same for all the others over
right click and flatten, right click and flatten, everything now should say flattened over
here on the right. If you click down it
is print the cut. Now let's change the
size on each of these because I think they're
a little bit too big for the stickers that
I want to create. But you can choose the
sizing that you want. I wouldn't go down
to say an inch. You'll definitely want more like a two inch sticker or more. I would think just because the intricacies of the cut can make it
a little harder. I've tried smaller ones, yes, you can do them, but they
are like super small. Depending on how big or
intricate the cuts are, you can get by with a small. But some you'll want larger. For this rainbow. You're going to
come over here and I'm going to change
mine to a height of 1.75 I'm going to change my flamingo
to a width of 1.5 I've done some
calculations to figure out what sizing I wanted these
a little bit earlier. I'm going to move out there.
Then the handmade with love, I'm going to go with
a height of three. This is a good starter point. Now that we have this, we're going to be adding
on the border. I'm going to click
on the rainbow and come up here to
what's called an offset. Okay, let's try this. I'm going to show you how this margin border feature works. If you put 0.1 it's going
to change the size. Yours might have come in at
a different size than mine. You can go 0.2 And you can
see how that border is getting bigger and bigger
and smaller and smaller. Depending on which
way you're going, I'm going to go 0.1 I've
got the corner selected, Welds offset, and I'm
going to click Apply. It's going to come in black. And you can see it over here in the layers panel, just here. It's going black, but I'm going to choose
a different color. I want to go with
white. I'm going to come up here on the left, it says operation print the cut and I'm going
to choose white. I've got a rainbow
with a white border. These are not
attached yet though. If I was going to make this, they would come out
two different layers. What I want to do is I want
to go and select both layers. Right click and say flatten. Now that's one piece of art,
you can move it around. Now I'm going to
do this handmade with love, to do the same thing. I'm going to click
up here on offset. I'm going to go with
the 0.1 again, apply. I'm going to change that to the background of white as well. Go on top of it,
select both layers. Right click and say
Flatten with the Flamingo. I'm going to do a little
extra work because there are some areas that
have some contouring. Once we fixer up here, I'm going to click on, I'm going to go with the 0.1 still. But if I want to
try to get rid of those little tiny
spaces in here, you can see where
it wants to cut these little tiny spots. What you can do is you
can bump that up to say, a 0.2 You have no spots now, or you can just do
0.1 and go Enter, you're going to
have those spots. What I'm going to do is going to come over here and
I'm going to click, I'm going to click on the
eye here so that it's off. You can see how there's these
little spots underneath. I'm going to fill in the spots by making some small
little shapes. If you come over here
to the shape layer, you can go over here and you can fill in those little spots. These ones are all free
up here at the top, just going to go with a circle. I'm going to bring that down a think, I can
bring it in there. Now. I'm going to start
changing the size. You can also make it larger
by clicking down here in the left bottom so that
you can grab that better. I'm just going to
go right on top. I'm going to duplicate
that by going control C, control V, or you can right
click and say duplicate. And I'm just going
to pick one over here and do the same thing. I'm going to highlight
the whole thing. I'm going to go
combine and say weld. Now we can see it's
just one layer. Now you see the weld result. And I'm just going to pull
that down now to the bottom. And turn that back on, our full Flamingo. Fully done. And I'm going to turn
that to white as well. So I'm just going to
select that weld result. I'm going to turn it white. I'm going to select
the Flamingo. And that weld result, just going completely over it. Right click and flatten. Now we have those
three stickers. Now I'm going to show
you how to upload a piece of art that you
have from somewhere else. I'm going to be providing you a free piece of digital
art that I created. It's a cat planter.
4. Uploading Art To Cricut: To get my free cat
planter sticker, you just need to go to the
Projects and Resources section of this class down here. And you're going to go down to the download resources section. Just click on the tact
planner sticker dog and download that
to your computer. From there, you're going to come into the cricket design space. And you're going to come over
here to the upload section. Just click Upload, and
then you're going to come in here and you're
going to upload an image. There's going to
be a little bit of a tutorial that will take
you through everything. Just click Browse and
then on your computer, choose the image
wherever you stored it. And now you're going to
import, choose Complex. That's what I choose for all the print and cut artwork that I do. And select Continue will be some different ways that you can clean up your
art if you want. You can actually pay Cricket a little bit of money each month to give you additional features, but you don't need that
with this piece of art. It's all ready for
you. You're going to click Apply and continue. Then you're going to choose
the print thing Cut option. You can also give it some
special names like Cat Planter. Give it tags if you like, Add it to collections. But all you really need to do is click print Thing
Cut, and then upload. Now it's going to be in
your cricket library. I'm just going to click on here. You can see the little border around it and say Add to Canvas. Like all the other items it
came in, it's pretty big. I like to make my items larger so that they
can be printed. It came in with the
little lock open. You're going to close the
lock and you're going to change the height to 3 ". That's a pretty good size like I did for all
the other images. I'm going to add a border to the cat
planter by clicking on it, clicking offset, and going
0.1 I like that size a lot. As you can see, this one
also has a little bit of a spot in the back
there at that size. But I'm liking that size. I'm just going to
come over here. Turn off the cat planter. It looks like. I just need
to fill in that one spot. Get a little shape here. I like going with the
circle coming down. Okay, that looks great. So
I'm going to select both. Right click and I'm going
to combine and weld. And I'm going to change
the color to white. Sometimes when you click on it, it will slightly move. If you go slower, it seems
to not happen as often. But if you have an
instance where, say, an image moved, you can control Z
and it will go back. Click on that, and you can see that now and
just pull it down. I'm going to turn back on
the planter. Select both. Right click and flatten. Now that is ready as well.
5. Creating a Sticker Sheet Layout: When you print and
cut on a cricket, you can only do it
for a certain size. The max size of your paper or your image layout can
be 9.26 " by 6.56 ". I normally make an image just as a background so that I
know I'm within that area. I make a square and then I
turn it into a rectangle. I'm going to unlock that. I'm going to make it 9.26 Then
I'm going to go over here, since it's unlocked,
and 6.56 and Enter. That's going to be the area that we can use to create
our stickers. I'm going to go shift and
turn that around because I like this orientation
and I'm going to lock it. Then I'm going to pull
it all the way to the back over here
in the layers panel. You can also right click and say bring to the front
or send to the back. You can do things like that. Now let's get the
stickers here set up. I'm going to put
this one down here. You can highlight over
these two layers. And then come up here
to the aligned section. You can align to the right
and then align to the bottom. You're going to get something
right in the corner there. I'm going to do the same
thing with this one. I'm going to pull it all
the way up to the top. You can come over here and
you can see the positioning. Right now, it's at 0.006 I wanted to put that
at zero and go enter. Now it's right up
there in the corner. I'm going to bring the
rainbow over here. Align that to the left, right align to the top. Those are a little too
close to each other. Move that down to 3. " make things just a little bit smaller
so they fit on here. I'm just moving things
around. That's looking good. I'm going to change the heart to a direct 3 " high line to the
bottom line to the right. Just move things around three size things
as you want them. You can also select an image and change which
direction it is. With the little flip up here. You can flip horizontal
and bring her over here, liner to the right. And then you can
also go control C, Control V to duplicate or
right click and duplicate. Make sure there's
space, everything to be cut out. That's looking great. Once you have everything
within your area and you're liking where
things are laying out, you're going to click on that back piece and you're
going to turn it off. Before you make it, you'll want to hover and select everything, right click and say Attach. This means everything's going
to be printed out just in this layout as it is now. You'll click Make It or Make, depending on which
version you have. It'd be Make or Make
it or something. Up here it's a little
like Go button.
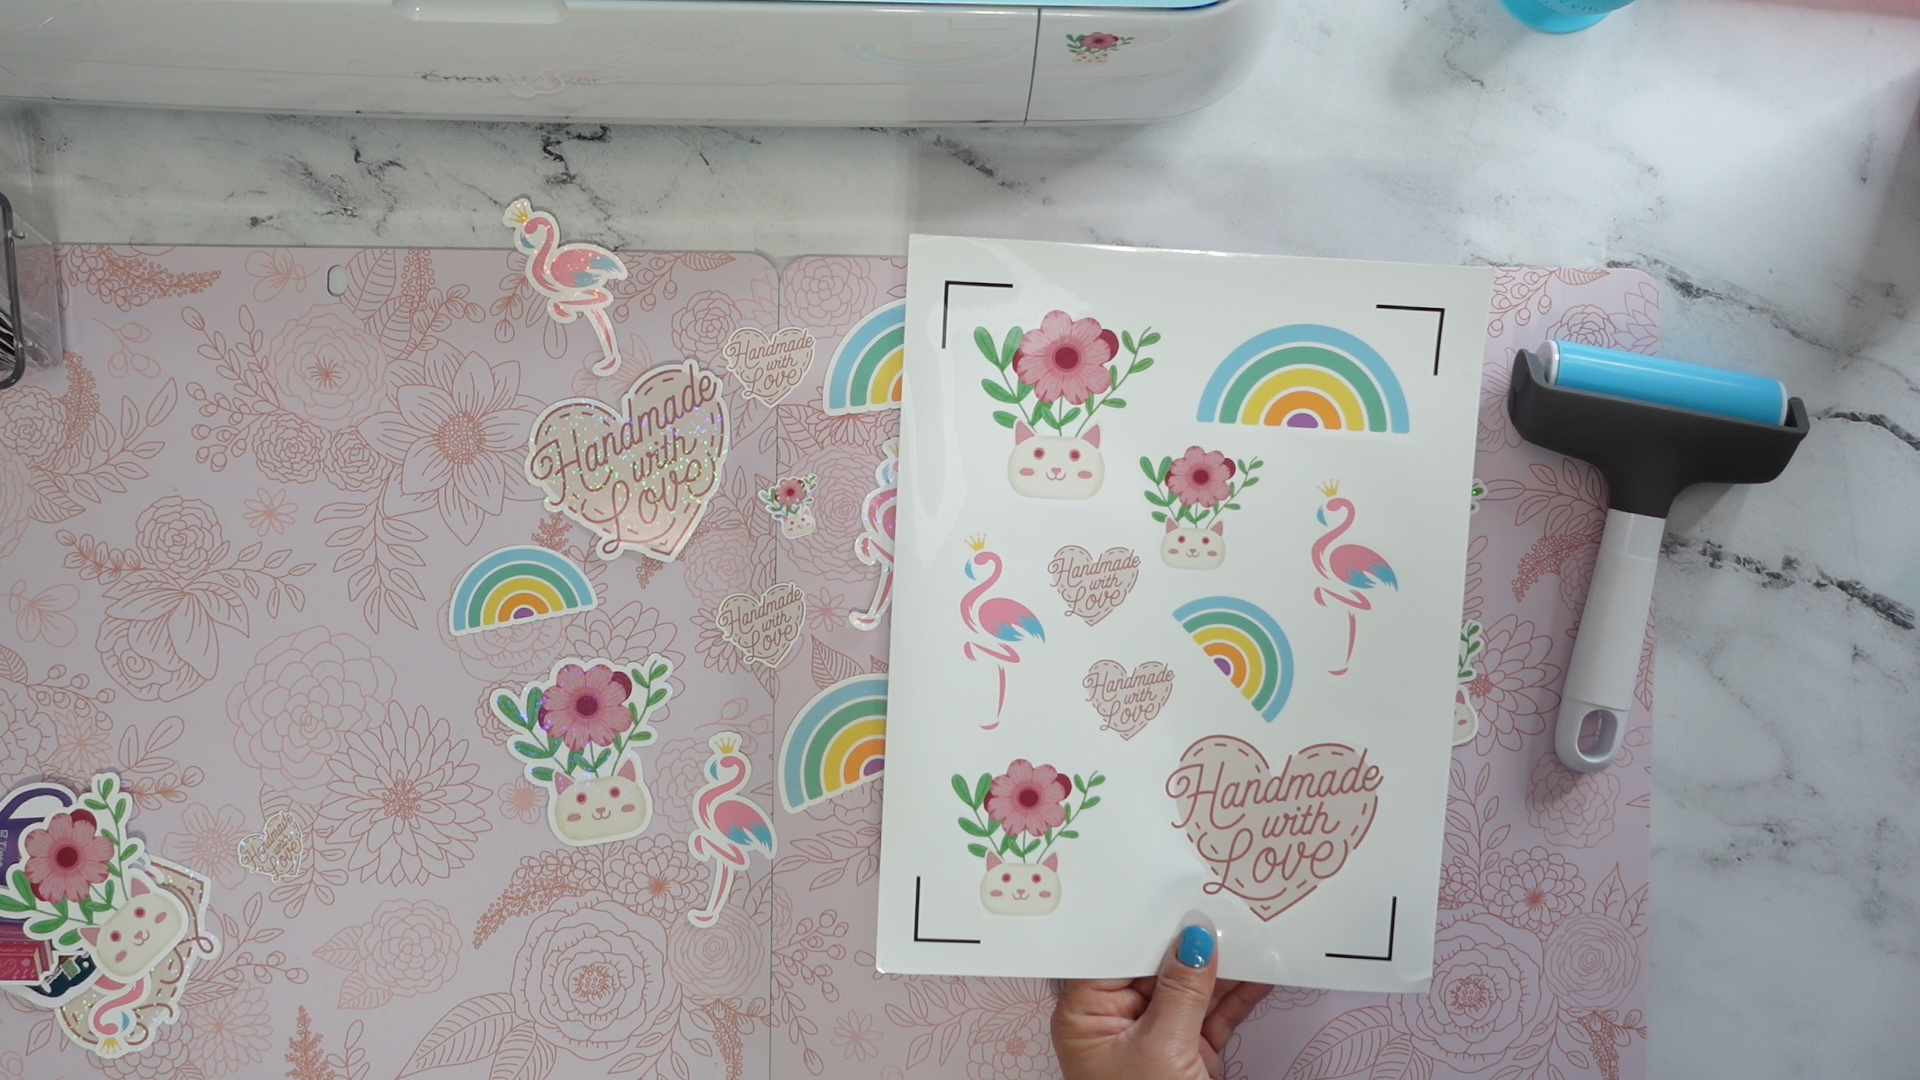
6. Print Sticker Sheet: Now we're over here and
we're ready to print. We're going to be
making one copy. It says print then cut. We're going to be
making it on a matt. The material size that
I have is an eight, a 211 letter size. The mirror needs to be off and you're going
to click continue. Now we're going to be printing, we need to make sure
that we print on the correct side of the paper. And we're going to be telling
the printer that we have sticker paper or
like a photo paper, something that's glossy or matt, depending on what type
of paper you decided. Click Send a printer. You're going to get
this dialogue up here. I'm choosing my Canon printer. I'm adding no Bled. Turn that off If it's
on and we're going to use the system
dialogue. Click that. Once you're there, you'll
want to click Print. And then choose again the printer that you're
going to be using. It might change, so make sure you have the printer
that you want. Then we're going to
choose some preferences. Depending on your printer,
this might look different. Each printer has
different preferences and selections and
that type thing. You're going to want to choose the preferences based on the paper you're
going to be choosing. I've got one that's called
glossy photo paper. I'm going to choose
the highest standard. It might be best depending
on your printer. As I said, it's going to
have a different dialogue. You're just going
to choose whatever is right for your paper. Click Okay. Once
you're back here, you're going to make
sure your paper is loaded in your
printer and click print.
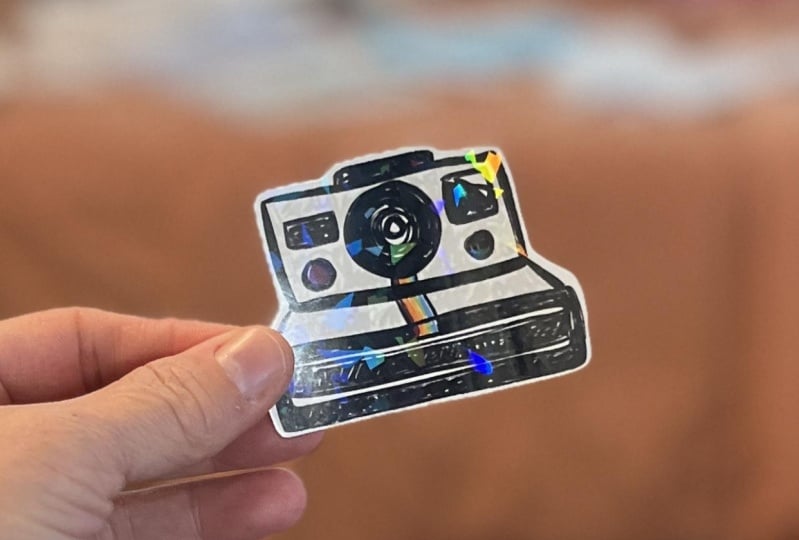
7. Optional: Laminate - Protection & Bling: Welcome back to Sticker Making. In this lesson, I'm
going to show you how to add some laminate. It can be clear or it can have holographic images
like some sparkles or like a rainbow tint. I'm going to show
you how to do this. This is definitely a
more advanced thing. Sometimes it works out and
sometimes your stickers do get bubbles in them. I would say this is one of those things that
you'll want to try, and over time you'll
be able to perfect it into a more clear thing. You can see here, this has a little bit of a
bubbling and that type thing, so I'm going to be
throwing this sticker out because it just did not work. But I'm going to show
you some tips and tricks to make this easier so that you can get
extra protection on your stickers and a
little extra bling. Laminate sheets come in a
variety of different types. You can get bubbles, stars, rainbow broken glass effects,
hearts and snowflakes. This one I have here in my hand has some small little stars. This one down here is
just a glitter layer. So first off, what I'm
going to have you do is cut it down if you're not
using a cricket maker. If you're using a maker,
you don't have to worry about having it
within these lines. I've never had a
problem with that. I've heard other people say that they have like
the cricket Explorer. And sometimes it won't read
the registration marks. You can cut this down and
it's actually going to make it easier to make it work. Just cut it down to the
size inside those marks. The laminate that I have has some lines on the back
that make it a little bit easier to get that right in
the right amount of space. Next stop, I'm going to have you take this and
just pull it off. You're going to see a clear
section and a clear section. Come over here and just take it down just a smidge,
like a quarter inch. Don't do too much. Your next step
will be to trim it that quarter inch off here
so that you can see it. It's a see through now
there, up at the top. And you're going to take your sticker sheet
and get it into a good position where
you're going to have your ruler here and you're
going to be pulling down. Put a little piece of tape up at the top so that
it doesn't move. And also do that at
the bottom so that it's nice and steady. It's not going anywhere. Now you're going to
take your piece, you're going to put it
right here at the top, being really careful to get it straight and
within the lines, then you're going to go out. That looks great. Once you're there, you're
going to take your scraper. I do recommend that you use a larger one that goes
all the way across. I've got this cricket one, it's a little smaller
and it can work, but using something larger
is going to be best. You're just going
to come in here, you're going to pull it up. You'll want this little
piece of paper to start coming off
just a little bit. Now you're going to come to
the side and you're going to, even with a lot of pressure, go once it's fully down, we'll just make sure
everything looks good. I've got no bubbles. This was a perfect
application today, which I'm very happy
for because getting bubbles in it is
really not nice. I have to throw away the
stickers when that happens, but today that's perfect. That's one reason you'll want a larger scraper because you'll be able to get that all the way across with
even pressure. Our next step is to
just release this. We're going to get the stickers onto the cricket sheet, the mat.
8. Cutting Stickers : Here's the light grip, Matt. And I'm just going
to pit the stickers up here in the corner. Eight a two by 11,
press it down. Then use a brayer to go
over it if you have one. If you don't have a Brayer, just use your hand
and press it down. Good because we're
making a vinyl sticker. We're going to select
what's called acetate. Acetate means plastic. You're going to go over here
and you're going to browse all materials and you're going to type in acetate
and click Enter. You're going to see
acetate and foil acetate. Just choose acetate. You can bookmark that if
you like for future use. I'm going to go with a
pressure of default. Depending on your machine, you might need to do two
cuts or just select more. Every machine is a
little different, even if it's the
same type Cricket. I found that from cricket
I've had two cricket makers, each one's had a little
bit different pressures. Sometimes I have
to cut it twice, But in this case we're just
going to choose acetate. Now we're going to be loading the machine. I'll
see you right there. Now we're going to
load the stickers in. You'll want to be
underneath here. You'll want the star
wheels over here on the edge so that they're not
going over the stickers. You'll want to press
the load button here. It's blinking, it's going to pull it in and
read the lines. When I click the cricket button
on a lot of new machines, instead of having the
little cricket logo, it has an arrow, I believe. Just click the Go button and
it's going to pull it in, read all the lines, and cut out the stickers. Now that everything's done, come over and make sure
that it's fully cut out. I'm pulling up the edge, you can see that everything has been cut out, so we're good. If you find that
you pull it up and your sticker comes up
and it's not cut out, you'll want to come
over here and click the cricket button
or your Go button. It'll pull it right
back in And cut in the same spot doing the same passes and stuff and
cutting it through for you. Once you're fully sure
everything's great. This one just popped out on me. Oh, once you're fully done, you're just going to click the button out here and
it's going to release. I love this little extender. It just helps out, especially
with the larger mats. I also got this
little piece over here which I can
store my blades in. If you're looking for any little upgrades to your cricket, I think those are two fun and fairly inexpensive upgrades. Maybe like 20, $30 I've
seen it on sale though. You can also use a coupon if you go to Michael's
and get it there. I think this was maybe $10 Now it's time to get
our stickers off. To get your stickers off easily, just turn your mat over, release, they're going
to start coming off. So you want to give it a, you want to give it some torque there letting them come off. If you can't, just
keep giving it a little push and each of
your stickers will release. This is the reason you
want to probably use the light grip mat is it can still be sticky and a
little hard to get off. Okay, so all my
stickers are now off. I really love this
handmade with love One. Let's come down here. We had have handmade with love, this really cute flamingo. She's sparkling the
sparkly rainbow. The cat planter and some
other size items as well. I hope you enjoyed
making these stickers. And I'll see you in
the next lesson for a little bit of homework
because I'm interested in seeing what you have to share with all
of us in the class.
9. Homework: Welcome back to Sticker Making. I would love for you to design five new stickers of
your own as homework, then display them in the
projects and resources area. I want to see what type of stickers you're going
to come up with on your own and where you
want to display them. In my case, I put
some stickers on my phone case and
on a water bottle. But I'm interested to see where you're going to
pit your stickers. I'm going to show you how to
upload to the projects and resources area so
that everyone in the class can see
what you produce. I'm really interested in seeing what stickers
you're going to do. I love stickers and I want to see what types of
things you choose. Are you going to
go with animals, plants? Are you going
to go with people? I'm really interested to see
what types of things you are going to turn into a
lovely stickable sticker. Come down here, I'm going
to show you how to interact with the class by
uploading your images. Once you're on the website, you're just going
to come down here to projects and resources. You're going to
see what's called the My Project area and
Submit Project button. You're just going to click
the Submit Project button and it's going to
load another page. You're going to
do a cover image. This is an image
that's just going to showcase your overall project. You're going to click Upload, and you're going to
select whatever image you have to represent
your project. You're going to
give your project a title and a description. You can upload additional
images if you like. I would like to see all
five of your new stickers. Maybe more if you like, you can upload a video or
do other things. Once you're done there,
you're going to come up to the top and you're
going to click Publish, and it's going to be
published to the class, and then I'll be able to see it.
10. Thanks: Thanks so much for joining
me for sticker class. I hope you learned a
lot from this class. A few things you can do extra with stickers and that you can bring fun and happiness to
yourself as well as others. I find stickers are one of those things that you
can really share with others and just to bring an extra smile and
happiness to their day. If you'd like to stay
in contact with me, you can find me at Tammy Creative.com as
well as on Instram, Twitter, and on Youtube. I make videos, I post different
images, I make bookmarks. I do just fun little things. Come and join me online at Tamyancreative.com and I'll see you again soon for a nice, fun and happy tutorial.
 Tammie Ann Creative, Artist & Crafter