Transcripts
1. Wild Blue Iris Introduction: Hello. Thanks for
joining me today. I'm Tammy and a mixed
media artist from Texas, and I'm going to be
showing you how to draw wild blue irises. I'd say this is on the
harder spectrum of drawing flowers because there's so many different petals that
are different and unique. I'd say this is a little
bit more advanced. If you're wanting
a beginner course on drawing botanicals, please check out my
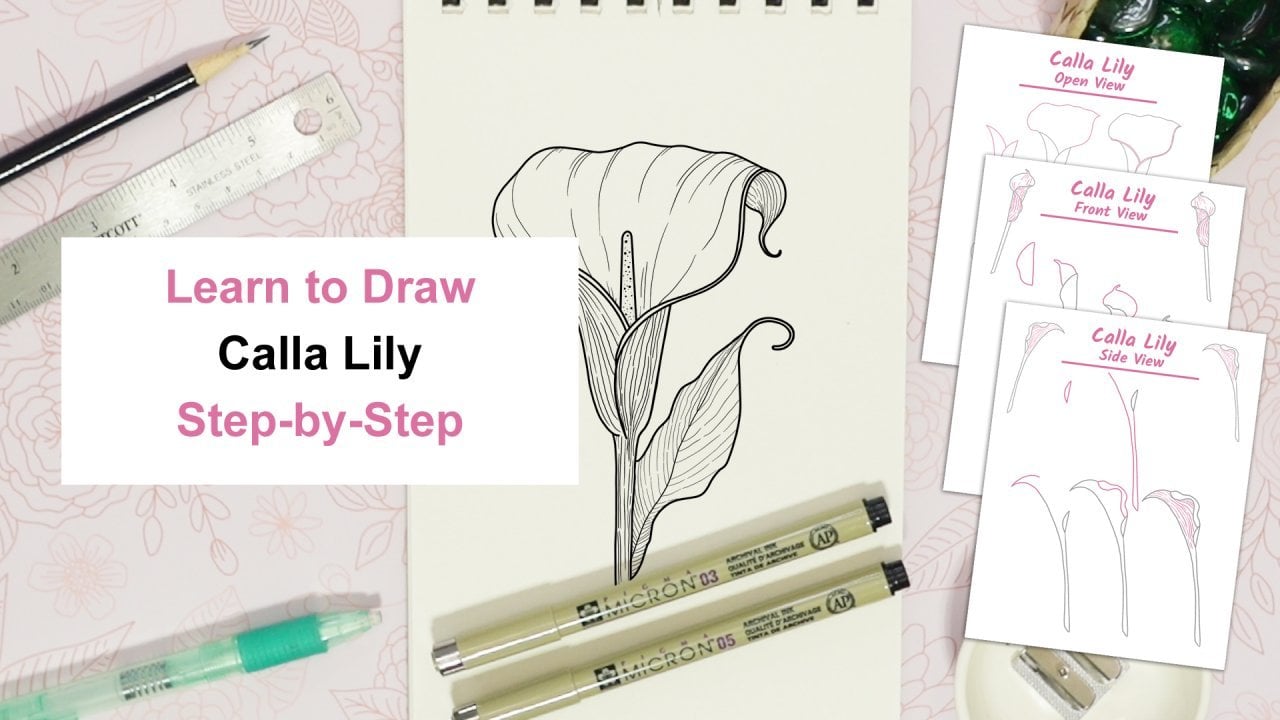
calla lily class. That's a real beginner
class where you're going to learn the basics of just pitting in small little petals
and basic shapes. Whereas the Wild blue iris
is definitely more complex. I'm excited to give you
the courage to try out this more advanced flour and
take on something brand new. So if you want that
beginner course, do go get the Cali course, and then you can move on to
this wild blue Iris course. This is definitely not a beginner course for
drawing botanicals. But in this course, I'm
going to show you how to draw the flour
from the front, as well as from the top. And this is just such a
beautiful and airy flower. It really looks
great in bouquets, and it looks
beautiful in drawing. So if you're looking for a unique and just
beautiful flower to draw, give this course a try, and next up, I'll show you all the different tools
you're going to need. You're not going to
need a huge amount, just your regular
basic sketching tools, like a black pen, paper, pencil, eraser and so forth.
So I'll see you there.
2. Supplies: Let's go over the
supplies for this class. You'll need a number two pencil, some paper, just some copy paper will work or some sketch paper. An eraser. Any eraser around
your house will be great. I have these different
types of erasers. A black pen. Any
black pen will do. I'm using these Pigma microns. I have a number three
and a number five, and that's just the nib size. So they're different size nibs. A sharpener. So
optional supplies. I've got these pens, and
they've got a really fine tip, but they're a fun addition if you have any pens
around the house. Some pencils, some
colored pencils. If you just happen
to have them around, you can decorate your
flowers with those. A white gel pen works
great if you want to add some white spots to
your colored flowers. But like I said, these
are all optional items. A ruler. A ruler's great
if you just want to be able to figure out your
petal length or stem. And then I have
some flowers that I purchased from
my local market, and I took pictures because they were gonna go
bad pretty quick. Irises don't last long. So next up, join me
for an anatomy course.
3. Anatomy: Get your wild blue
Iris Anatomy sheet in the projects and
resources area. It's a really complex flower in that it has three
upright standards. It has three elegant
flowing falls and this beautiful three layered
styles on top of the falls. Center is the style arm and
top is the style crest. So there's two separate
sections here. They have these bright
yellow signals, and those really
make the flower pop, especially with those
blues and those purples. And then we have a really
delicate stem down here, and they're typically
fairly long. It's a really distinct,
beautiful flower. It's known for its wisdom,
hope, and courage. It comes in vivid
blues and purples, and it's in gardens and
bouquets here in North America. So it's native to here. So next up, let's get drawing. We're going to draw the wild
blue iris from the front.
4. Draw the Front View: Make sure to get your step
by step drawing guide in the projects and resources area so that you can draw this
flower along with me. The step by step guide will
really help you in getting your shapes correct and just going along
at your own pace. So make sure you have your
paper and your pencil out. We're going to get started here. Step one, create a ruffled
U shape like this. Add a curvy arch and create
a soft point y inside. Step two, add a curvy
arch on top, like this. I'm trying to keep it as
simple as I can for you. This is definitely a
more complex flower. Step three, add in a tall, ruffled standard petal
straight up here. Make sure to leave room for the petals that are going
to come off on the side. Now, let's add in a thinner
standard petal on each side. There's going to be lots of
bumps and curves in here. So make it your own. No
two flowers are the same. You're just creating
the general shape, not copying exactly. Let's add in a curl on
each side of the standard. Step four, add in a
style on each side. Take your time and make
them similar in size. I know this can be really hard, but that's why this
flower is definitely on the more complex
side because you're trying to do a little
bit of mirring. But remember, they don't
have to be exactly the same. Just do your best.
Once you're ready, move on to the
next step with me. Then add in a
straight stem below. Step five. Adding a
fall on each side. It's this petal here. Like your prior petals, keep them similar
in size and shape. But they don't have to be
exactly the same shape, as I was saying. You want this to be
an organic flower. So let's go on to step six. Make lots of lines following
the curves of the petals. With these lines you're
defining the shape. This will add texture and give
your flower lots of shape. And I just love these lines. I added a lot into mine just because I felt this
flower really needed it. Make sure you're curving
them along with the petals. That's going to give
it that extra shape. Okay, let's lightly erase now. Feel free to pause the video now and erase as
much as you need, but make sure you can still
see your drawing underneath. Let's get inking here. I'm going to use my
number five pigma micron, but use whatever
black pen you have, and you're gonna try
to do each shape and give it all those
little bumps that you put into it originally. And you're just doing the
outside of the flour, not any of the inner lines. So just do the outside shape. If you have a smaller nib pen, let's move on to using
the smaller nib now. So I'm just doing all
these lines in there. I'm using a pull
and flick motion, and that's giving
it extra texture. Do as many of these little
lines as you like or as few. Make sure that you
bring your own personality to this flower. I'm going to add a
signature to mine. Feel free to add a signature
to yours if you like. In the next lesson,
we're going to draw the Wild Blue Iris from the
top view. I'll see you there.
5. Draw the Top View: Get your wild blue Iris top view sheet in the projects and resources
area so that you can follow along with each of the steps that I'm going to be showing you here in this class. Let's get drawing. You'll
need your pencil and paper. Step one, create
three small loops attached in the
center like here. Then add in a curvy
and long top petal, and you're gonna keep the curves going all along the
edge here in and out. It has a very unique
and wavy shape. Step two. Add in three unique shaped
puddles below like this. Do the shapes as best you can. I know that they're really hard. Make sure to add in some
squiggles and bumps in here. Step three. Let's add in a
wing like petal over here. You're going to do
one on each side. And each is a different shape. And another one here. Add an upside down heart shape
in the lower section here. And you're going
to finish off with a half oval in the middle. Step four. Let's add in
some back petals here. And with texture, we're going to show how those are back petals. Step five. Let's add in some specialty lines
inside the petals. These lines will show
up as those folds. And let's finish off
the iris with lots of lines that go in the direction
of each petal like here. And you're going to do that
pull and flick motion. And this is giving it lots
of shape and definition. So let's move on
to lightly acing. Once you've lightly erased, we can move on to some inking. So let's get inking here now. I'm going to use my
number five pigma micron. I really love this pen for doing the outside of those really
strong sections on a flower, the outsides, it
makes it extra poppy. So let's go along each
of the outside areas, making this a strong flower with those
overlapping sections. If you have a smaller nib, let's move on to the smaller
nipped pen for doing those inner sections and where we're doing those
pools and flicks. If you just have your one pen, stick with your one black pen and complete the flower here. So make sure you're going in
the direction of the petals. Just refer to your
sheet if you have any questions on in what
direction they're going. Now that you're finished,
add a signature if you like. I'm gonna add mine right here 'cause I like signing
my work when I can. And next up, join me
for your class project. I'll go over it, and
I'll see you there.
6. Class Project: I hope you enjoy doing the Wild blue iris drawings and getting to draw them from a couple of
different viewpoints. For your class
project, I want you to choose either the
front or the top, draw it and give your
own little flair to it. Give it the extra
little pieces that you think will make it
look even more dramatic. Add in some color if you like, add in those little
yellow dashes. Most of these flowers
come in purples or blue, so you can add in some
color if you like, or you can just stay with
the black and white, if that's what you have
available for tools at home. So once you've completed your project and
you've drawn it, you've added your own flare, you're going to upload
it to the projects and resources section
of the website. And let me show you
how to do that. So you're going to go
to the Projects and Resources area of the website. Click that submit
Project button, and then you're going to upload
a copy of your drawings. So take a little
snapshot with a camera, and then you're going to give it a title and a description, and then you're going
to click Publish. Once you've clicked publish, I'll be able to
see your project. Once your project is up there, I'll get a little
notification and come and take a look at it and
leave you some feedback. And other people in the class can leave you some love as well. So thank you so much and I'll
see you in the next lesson.
7. Thank You: Thanks so much for taking my Wild Blue Irises
drawing class. I hope this class
made you feel more encouraged to try these
more complex flowers out. I hope you're excited to
do more flowers and expand your drawing
capabilities and things that are definitely more complex like this Wild blue Iris. If you would like to
take more classes, do check out my bio. I've got several different
versions of flowers to give you inspiration and send you in multiple
different directions. Maybe you say you want to draw a bouquet with multiple flowers. I'll show you how to do that. So if you'd like
to stay connected, I would like to
connect with you. I'm on X, Instagram, and on YouTube, and you can
find those links below. So keep practicing,
keep growing. And above all,
make your art fun. Art should be fun,
and I love having fun and bringing cheer and joy to the world through my art, and I hope you do, too. So thank you so much. Take care, and I'll see you in
another class. Bye bye.
 Tammie Ann Creative, Artist & Crafter