Transcripts
1. 01 Introduction: Have you ever tried
drawing a face, but something just looked off? Maybe the eyes were not aligned or the proportion
were just not right. Well, don't you worry. Today I'm going to
teach you a method that will help you in drawing
portraits more realistically. This method is called
the grid method, and it has been used by
many artists for centuries. Hi, my name is Mika, and I've been using the grip
method for a few years now, and it really helped to improve my portrait drawing. I go
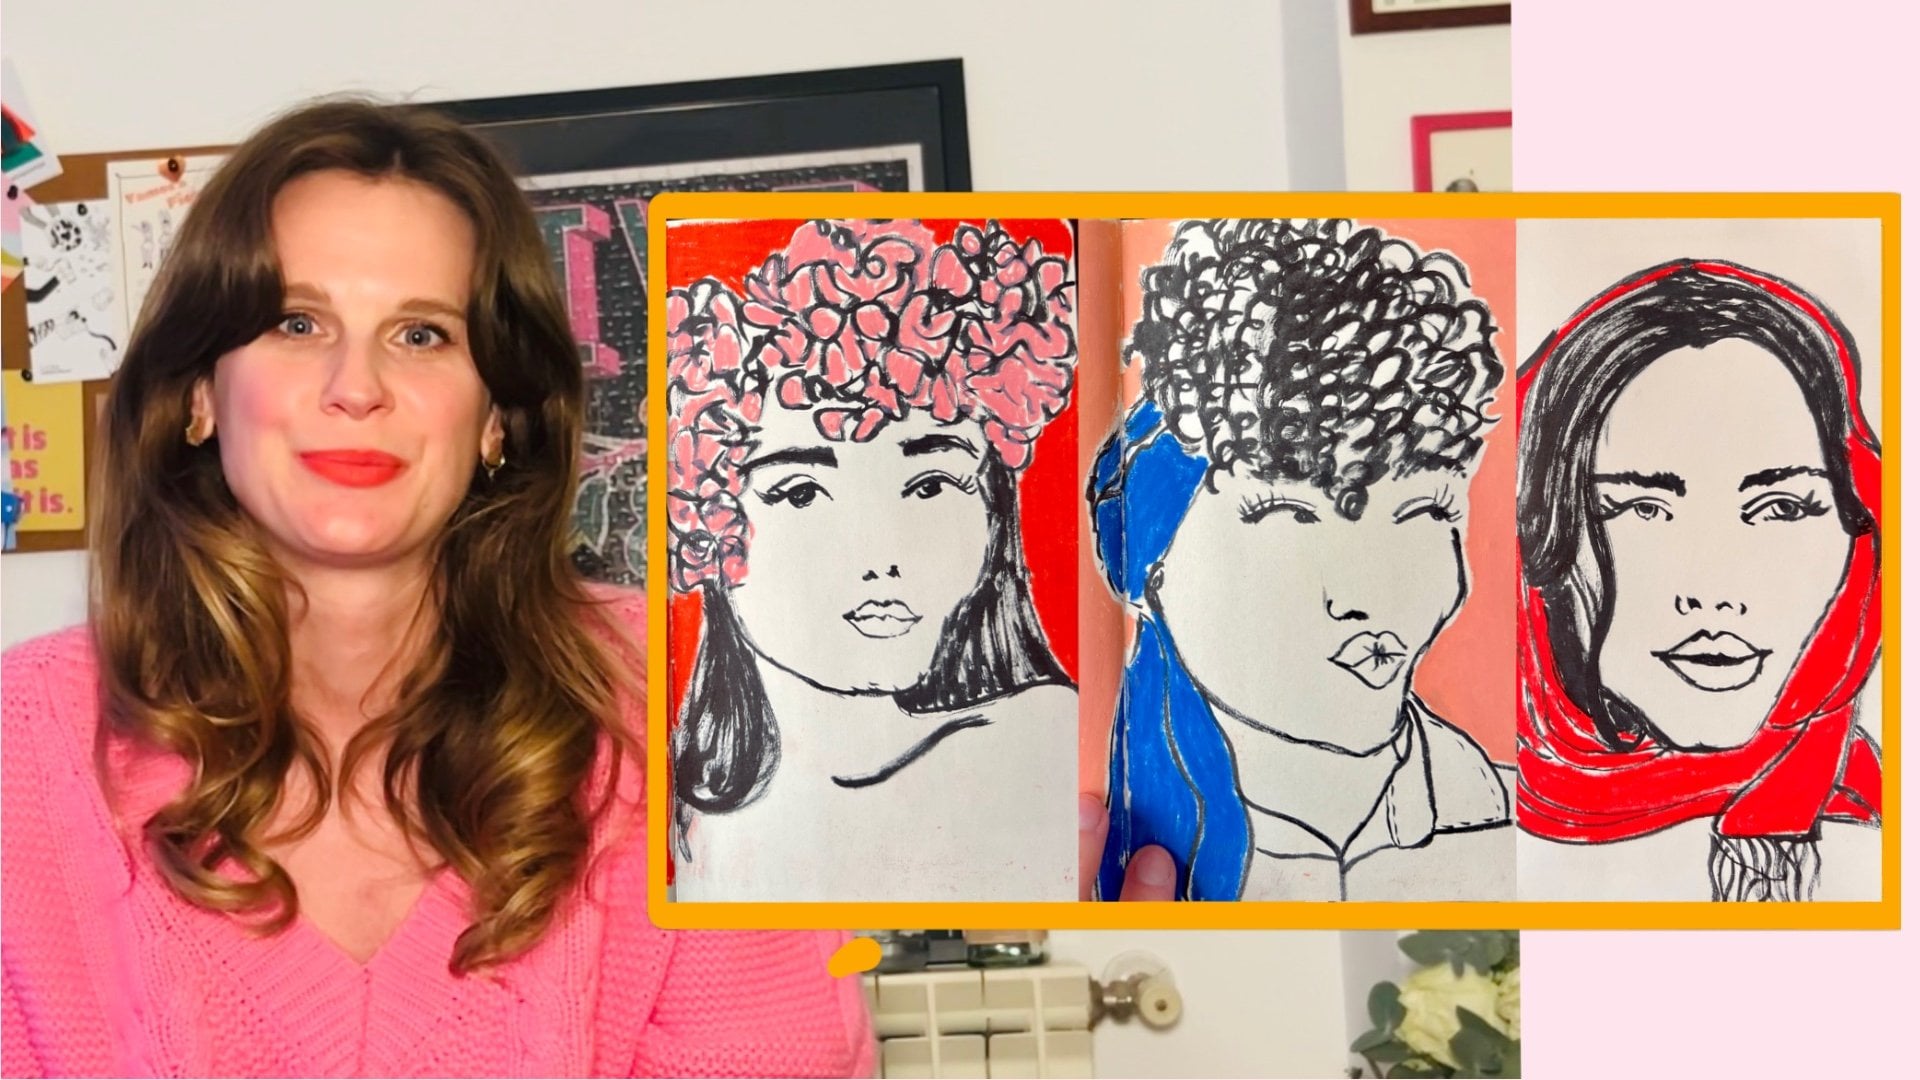
to show you something. These were a few portraits
I did a few years ago, and these are portraits
I'm doing right now. So you can see a
massive difference. Of course, it's practice, but it's also using
the right method. Like, for example,
the grip method. It helped me a lot, so I'm sure it will help
you as well. So let's go.
2. 02 Materials & Project: For this class, we're going
to keep it very simple. You will need a reference photo, which you can either
print out or just take a magazine and look at
a picture that you like. Of course, you can
also use it on your iPad and do the grade on top with digital
tools such as PCrate. Then you will need a piece
of paper or a sketchbook, a ruler, and a few pencils. Will explain the pencils we're going to use
a little bit later, but we need nothing fence. Your project of the
class is, of course, creating a portrait
using the grid method. I highly encourage you to
follow along step by step. We're gonna do it
together, that's where the learning happens. I'm really excited to
see what you created. Alright, let's get started.
3. 03 What is the grid method: So what is the grid method? It's actually very simple, and that is what makes
it so effective. So basically, you
take a photo or an image and you divide
it in small squares. And then you just
repeat this grid on your final paper and
copy square by square. This makes it easier
that you do not have to paint or draw an entire face, but you just draw a
little piece of that. I promise you that
will help you a lot. As already mentioned,
it has been used since century from a lot
of different artists, like, for example, Leonardo
Da Vinci Albrechtura. Especially Albrechtura, who is a German artist from Nuremberg, this guy was obsessed
with proportion and how to get the human
body right on paper. He actually created
this grid where he could actually
draw from real life. Luckily, we have it much
simpler and we're just going to take a photo or an image
and draw from that. It is also a great method if you want to resize your picture. For example, if you
want to make it bigger, then you just have to
recreate the grid you did on the image on the paper, double the size so that you will double the image
that you have on paper.
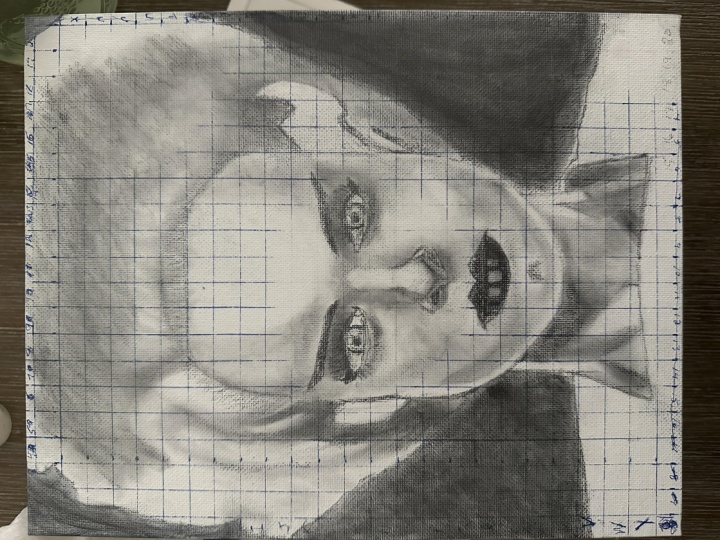
4. 04 creating the grid: Okay, so I printed this
image of a friend of mine. She gave me permission to use this beautiful
picture of her, and I decided to print
it in black and white so that it's a bit easier to
not get distracted by color. You can put a filter
on your iPhone, for example, to put it black
and white and then print it. If you don't have a printer, of course, you can also
do it on your iPad. Directly, or you can just use
an image from a magazine. For example, I once did this
as well, which is very nice. I took it from a magazine and then do the grade
on top of this. But today, we're going to
use this beautiful picture. And then I'm going to use
a ruler and I also have this ruler because it
has a 90 degree angle, which it's going to help
me to actually have 90 degree grade because
it's very easy to mess it up only with
the straight ruler. I also like to use colored pen so that I
can see it properly, but, of course, you can also use a pencil or whatever
you have lying around. I'm going to use this so that you can actually
see it properly. What about the size of the grid? Which size do you want to do? The bigger the grid is, the more difficult
it's going to be. The smaller the grid is, the easier it's going to be, but of course, it's also
a little bit more work. So it also depends on
the size of your image. For example, if I would
want to do this one, I would definitely
do a bigger grid. I'm going to use centimeters. You can use inches,
of course, as well. And here I might do two or
even 3 centimeters big. And then if I want to
replicate it on a sketchbook, for example, I can
make it smaller. So let's make an example
so to make it clear. If I'm going to
use 2 centimeters, every 2 centimeters, I'm going to do the squares of two by two. And then I want to
replicate half of the size, I just going to take
my sketchbook or my paper and do a grid
of one centimeters. That means we're going
to take this picture and reduce it by half. To start easy and slow, we're going to do a one to one. So this is the size
we're going to take and we're going to replicate
it with the same size. I'm going to do a grid
of 1 centimeter each, so we can start making a
little sign, every centimeter. And I'm going to stop a ten. And then I can make the lines. I'm actually going
to use this one so that I have the 90 degree. If it's not 100% perfect, it's not going to mess it up, especially if it's
just to test it out. If you want to do it, of course, very precise as a gift
or as a proper artwork, then take your time to
really do a 90 degree angle. But if it's just for training
purposes to practice, then it doesn't
matter if they're not 100% straight or on
a 90 degree angle. There we go. And then
we're going to do the same thing on
the other side. I'm just going to do
a few to show you, and then you can do it as well. You get the point, do the grid, and we will see
each other later.
5. 05 additional tip: While you're doing your grid, I can show you something else
I did that is very helpful. If you don't want to ruin the original picture by
drawing a grid on it. You can create a little
folder like this. Just take this
transparent folder and draw the grid on top of it. And then you can just
take your picture, your reference image,
and put it inside, and then you have
the grid on top. Like, for example, the one I had earlier from the magazine, I could just put it in here. And then you would
have the grid, and you only need to do it once, and then you don't have
to redo it every time. So this is very
helpful, actually.
6. 06 copy grid: All right, the grid is finished. As I said, I did 1 centimeter,
which is quite small. I could have done 2
centimeters as well. But as I said, it's a little bit easier the smaller the grid is. So now that I've created that, I'm going to take my sketchbook. You can take a sketchbook or if you prefer
a piece of paper, and redo the same grid. And what you have to pay
attention to is that here I started at the
bottom and at the top, it's not exact one
centimeters left. So the important
thing is that if I replicate this grid
now on my sketchbook, I have to do the same
and not start with 1 centimeter on top and then it's not going
to be the same. I hope you understood
what I meant. Perfect. Let's create
the same grid on a piece of paper and on your sketchbook
and see you later.
7. 07 lets draw: All right. Now we can start
drawing square by square. And that's where you're going
to realize how easy it is. Okay, I want to start with
the outline of the face. So we're going to start on top. So I'm going to count one, two, three, four, five. I want to start with
this intersection here. So this is the
fifth on the first, one, two, three, four, five. There we go. And there's
two things you can look at. The first thing I look at is the intersection with our grid and the outline of the face. So here, that's where
interacts with the grade. Then I'll just continue one down and it comes
almost at the corner. It's not exactly straight, so it's going to be
down and there we go. What you can also look at
is the negative space. Meaning, if I want to
have this as pace, this is the negative space. Is it the same as
I can see here? Then we're going to
continue down here. Next square intersects more
or less here. There we go. Then I can decide do I want
to do here's the ear as well? This ear is going to start and this method really
helps you observe. And that's actually the
secret about good drawings. You need to learn to
observe correctly, right? Because in school,
we used to do, Oh, our lips this is an I, and this is Os. But that's not reality, but that's what's
still in our brain. So we really need to observe
what is their reality. We were doing the
outline of the year. It's more or less in the
middle of this square. And what I learned using this method that many things look differently than I imagine. For example, the eye is so
much smaller than I thought, Look, it's in one
little square, almost. So it's 1 centimeter. If you look at the
entire picture, don't you think this
would be much bigger? Anyway, then we're going
to continue down here. It makes a little round. Then we can try to
do the earring. Nice. Looking good. It's almost a bit too much
down, as you can see. There's just a little
bit in this square, and I went down quite a bit. So let's redo this. So it goes in this
square, tiny bit. And then up almost to
the top, almost up here. Okay. Looking good. There we go. And
that's what you do. Square by square,
you just continue. I keep looking at this side at this side at this
side at this side, back and forth, back and forth. Where is the intersection? How does the
negative space look? Like even here, for example, can you see the negative space between the face
and the earring, it's actually much
smaller than what I did. I need to correct this as well. So what it is? Is it this one? Yes, this needs to go more to the side. This is
a bit more round. There we go. I'm not really
happy with this earring. Yeah. You're gonna
leave it for now. You can always correct things
later as well, of course. You're gonna continue the phase. Where are we dear,
so this is going to continue here. Nice. And then and look how different would you have
drawn this without the grid? For me, just it's so helpful
to use this grid and realize that so different than what I would have drawn if I would have done it
without it, right? And at the moment, it
looks like nothing, but this is a trusted process kind of
thing, I promise you. So let's continue and do
this square by square. Y And there we go. Here we have the
outline of the image, and I'm pretty happy about it. The only thing that I
am not loving about this method is that the lines
are not very flowy, right? Because you do square by
square and not in a flowy way. But once you have this, you can change that,
right? You just go. Even the hair, I decided then to do a bit more flowy
movements because, of course, it's going to look a little bit weird if you're going to do
square by square. But you can correct
that afterwards. But we do have the
main proportion. I really looks
like her, as well. I'm really, really happy how this turned out. There we go. And now in the next lesson, we're going to do
a little bit of shading because let's be honest, this is very flat and we do need some more three D elements, and that's what we can do
with some shading. Let's go.
8. 08 shading: For this class, we're going
to keep it very simple. You will need a reference photo, which you can either
print out or just take a magazine and look at
a picture that you like. Of course, you can
also use it on your iPad and do the grade on top with digital
tools such as PCrate. Then you will need a piece
of paper or a sketchbook, a ruler, and a few pencils. I will explain the pencils we're going to use
a little bit later, but we need nothing fancy. Your project of the
class is, of course, creating a portrait
using the grid method. I highly encourage you to
follow along step by step. We're going to do
it together because that's where the
learning happens. I'm really excited to
see what you created. Alright, let's get started.
9. 09 Final thoughts: Congratulations in
finishing the class. I really hope that these method helped you see
that drawing faces is not that scary and that
if you draw piece by piece, then at the end, you're going to have
a fantastic result. Don't forget to upload your project in the
project section. I really would love to see it, and it's always so inspiring to see other people's projects. And you will inspire
other students as well. Enjoy this class and
my teaching style then check out my other
two classes as well. There is a 10
minutes funky Faces, which is less technical, more intuitive drawing,
but very much fun. And there's also a 100
day challenge course that will really skyrocket your drawing skills
to the next level. We're going to draw
100 days together. I've actually done this
challenge more than three times, yes, and that's what really
helped me improve in my art. I really would appreciate if
you could leave me a review. It would really help me a lot. Thank you so much again and
hopefully see you soon. Bye.
 Mika Simmen, colorful self-taught artist