Transcripts
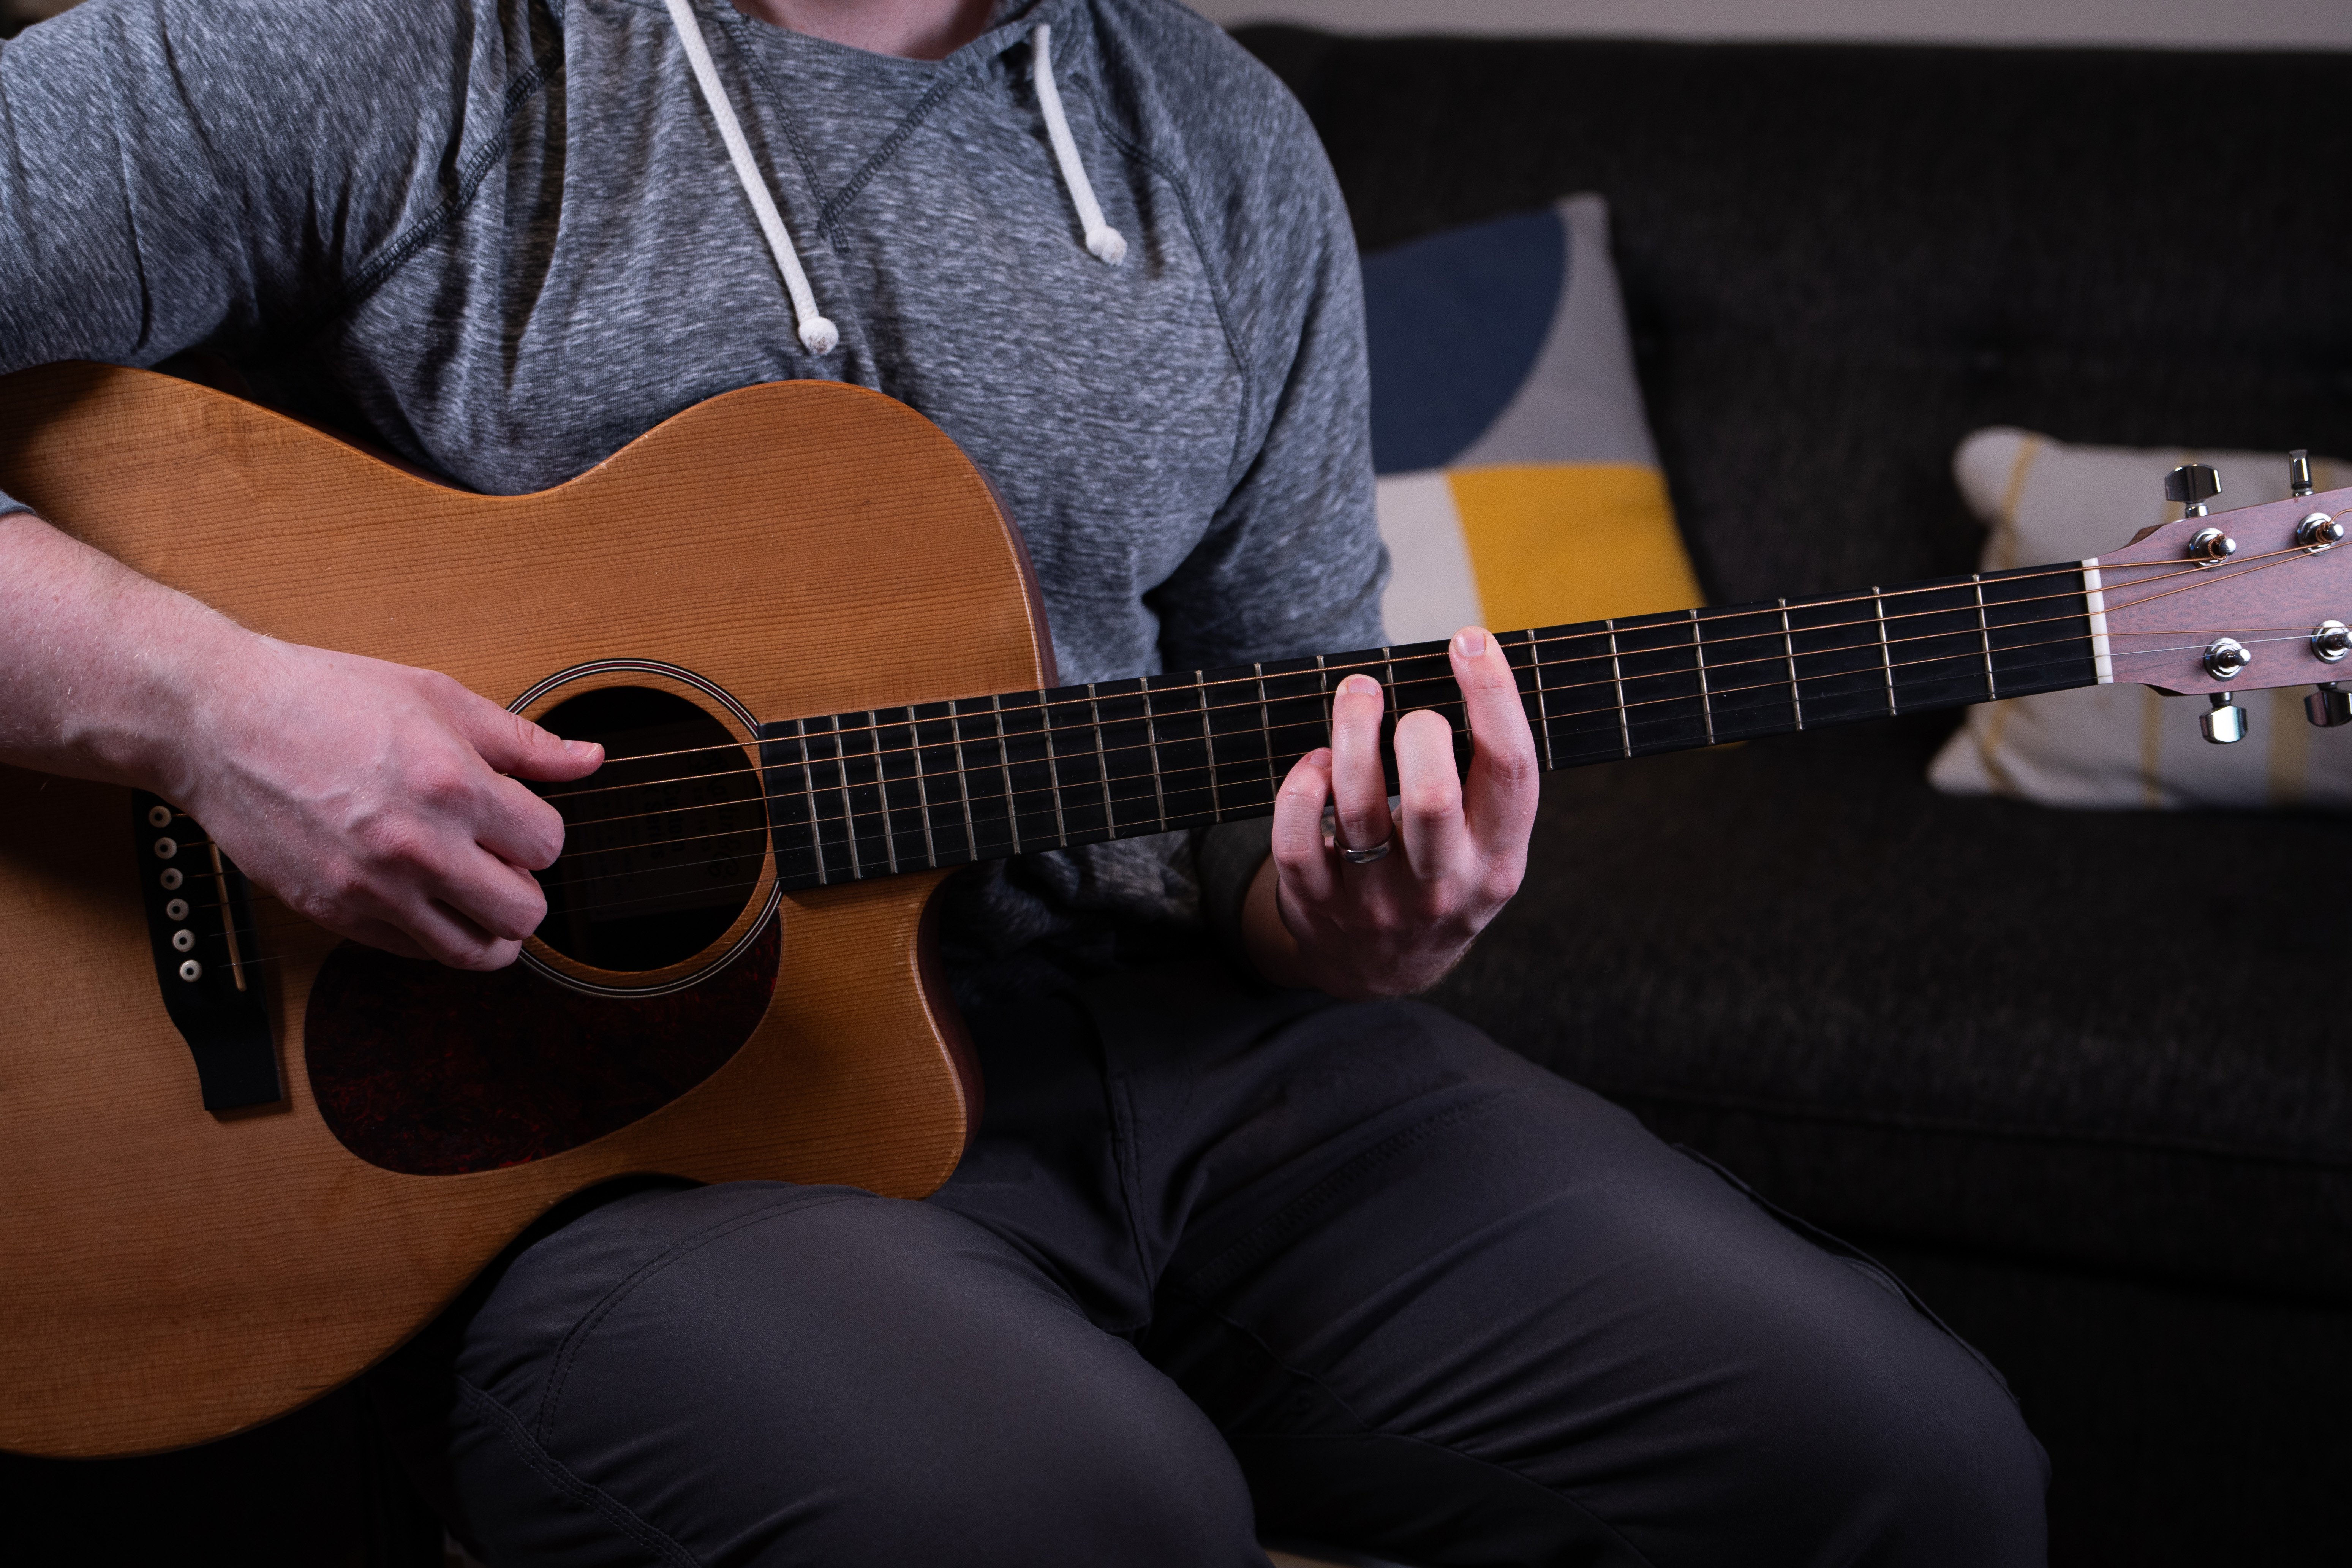
1. Intro: Hi, My name is Jacob Lam. I'm a musician, a teacher, and the owner of lamb lessons. Have you ever
wanted to play like Mathias Asada or Tom mesh? Well, to do that, we need to understand something
called Spread voicing. And that's what this
whole course is about. Spread voicing is a
special type of chord. It's taken the modern
guitar world by storm. You'll often see it unpopular Instagram or Facebook
or TikTok posts. In this course, we're going to cover what spread voicing is, how it works, and the
shapes we need for it. We'll also cover
how to put these into a chord progression to make our chords have this special spread voicing
quality about them. By the end of this course, you should have a much
better understanding of spread voicing intervals and how to use them effectively to fit your songs. I'm looking forward to
seeing you in there.
2. What Is Spread Voicing: Now, before we learn the actual shapes and how
to utilize spread voicings, we need to learn
what it actually is. And there's a really
simple definition. Spread voicing is just
when we take a close, close cord and spread
it out past an octave. Now, e.g. in a mode, there are seven unique notes. And to play a chord, we typically borrow notes 13.5. If we're playing
a seventh chord, then we'll also borrow the seventh note from
the mode. So e.g. if I'm playing a major chord, I can take my major scale. Playing a chord, all
buyer or the first, third, and fifth note
from my major scale. If I'm playing a minor chord, well, I would take
a minor scale. And then to play a chord, I'd borrow the first, third, and fifth note. Now, of course, when we
play chords on guitar, we often have more than just three notes at
a time being played, because a lot of these
notes are repeated. So in a G chord, maybe you'll have G, B, D, G, and another G. And so it's the
same three notes, 13.5 out of a G scale, being repeated over and
over to make a G chord. Now, when we're playing a chord, a common standard chord notes
are often in order 13.5. So when we're
playing them out of the scale or the
mode, we've got 13.5. Spread voicing focuses
in on the 13.5 and says, what if we expanded
this past an octave? What if we took 15? And then for our three, maybe we move it
up, an octave up. So we'd have 1503. That would be a
chord that is not close voicing or closed voicing, but spread voicings spread
out over the guitar. Now, this typically creates
a much more clear sound, a very unique sound, and a very full balanced sound.
3. Using the Shapes in a Key: So we know that spread
voicing is any chord that expands those three
notes beyond an octave. So what we're going
to do is we're going to learn two shapes, major and minor, both on the sixth string and
on the fifth string. So by the end of this course, we will have the
sixth string, major, sixth string minor,
fifth string major, and fifth string, mine. Then we'll finish
the course with some extra special
chords that just cover, bringing in 6.7
eighths to create some really nice
and unique chords that could be used
in neo soul plane. To start in this lesson, we're going to learn about the major scale and how each chord shape
fits within that. The reason that's so
important is we can use the major scale to
create a progression. The major scale has
seven notes in them. In each of these notes can
be turned into a cord, either major or minor. So when we learn a major shape, it's going to fit the
major notes in the scale. When we learn a minor shape, it's going to fit the
minor parts of this scale. Here's what I mean. Say
there are seven notes running through the
letters of the alphabet from one sea to the next, C an octave up. So we have C, D, E, F, G, a, B. And we're back to a, C. No matter your starting
and ending place. In a major scale. Cords fit like this. We have a major chord, a minor chord, a minor chord, a major chord, a major chord, a minor chord, and
another minor chord. Now, the reason that's
important is that we now have all of the chords that
fit within the key of C. That would be a C
major, D minor, E, and F major, G major, a minor. And you're bound to see when we learn our
spread voicings shapes. To apply them to a scale, we just need to find whether
the shape is minor or major. And here we have our answer. And then what note it
starts from? So e.g. instead of an open seat,
at the start here, I could play my C major shape, either from the fifth string
or from the sixth string. If I needed a D minor, well, I could take that spread
voicings shape once I know it. And play a D minor again, either from the fifth
string or the sixth string. When we know our
major and minor shape for both the six and
the fifth string, we'll be able to fit them into scales and keys just like this. That way we can begin
playing songs and chord progressions and fitting
these shapes into the key. We will look at this a
little bit more once we have an understanding
of the shapes.
4. 6th String Major Shape: Now that we know what spread voicing is and how we
can use it in a key. Let's learn the major shape
for the sixth string, like a power cord
or a bar chord. The use of spread
voicing is that once we know the shape, it's
movable anywhere. The biggest thing is
that we're playing the right shape and that we're starting them from
the right root. Note, for this example, I'll use G as my starting point, which is the third
fret on the a string. But again, it can
be used anywhere. I'm going to start with
my root node right here. And then I'm going to borrow
the fifth out of the scale. Now, if I know my major scale, I'll know that the
fifth node right here. So I've got my room and my file. Now to make it spread voicing, I need a three that
goes beyond the octave. So again, I can follow my
scale and say 123-45-6713. That could be a three that's
in the next octave up. So I've got my, my, my third. Now I've got a major
spread voicing shape starting from the string. Again, this is from a G, but we could move this
example anywhere. If I needed an a
major and I wanted to play it like a
spread voicings shape. I just slide it up
two frets to lie man. Now, looking at the scale
that we had looked at before, we'll see the major
tones are the first, fourth, and fifth positions. So if I'm in the key of G, that means I could
play a G major, D major, and an E major. Finding the key of C, that
means I could play a C Major, F major, G major.
5. 6th String Minor Shape: Let's take a look at our
minor sixth string shape. To start, we'll use the same root that we just
used for the major shape, which would be the third fret
of the sixth string, a G. Now, knowing my minor scale, I'm going to find the 5 min in the same place
as the major fund. A quick note and
reminder that what makes a chord major or minor isn't
the root or the fifth, but the third, which
means that the three will be different
for this chord shape. So our root and our fifth
are exactly the same. But now we want to find r three. There it is, right
there is our three, an octave above where
our room and fifth are. So I've got my five. And now my third. It's a little bit of a stretch
of that middle finger on the same fret as the first
finger on the third string. But now that we have a
major and a minor shape, Let's see if we can work
our way through a key, putting these spread
voice and chords in there instead
of regular courts.
6. Playing up one string: Let's talk about the key of G. In the key of G, we
have a gene, a, B, C, D, E, F sharp, G again. And we know that the
cords are major, minor, minor, major, major,
minor and minor. This rule for major keys is just something that
we're going to have to memorize so that we can pull
and use it at any point. An easy way to remember
is that you are 14.5 are major and
everything else is minor. This means that our chords
in the key of G, or G major, a minor, B minor, C major, D major, E minor, F-sharp minor, back to G. Now that we know a major and a minor shape
for spread voicing, well this means we can
use our spread voice and chords to work
through the key. Let's do this. Our first chord is a G major. So I'm going to
start from a G note. I'm going to play the major
spread voicing shape. Next on this list is an a minor. So I'm going to move up to a. I'm going to play
the minor shape. Next is a B minor. So I'll do the same
thing up to b and play my minor shape that
I have a C major. So I'll move up to see, and I'll play my major
shape than a D major. So again, major shape from
D, We're almost there. An E minor, so slided up
to E and play the minor, F-sharp minor, back
to a G. There. Now we know a major
and minor shape. And we have a way to
look at the chords in a key and figure out which
chord sound good together. And that's fantastic. We can already use
spread voicings and know that a lot of these chords
will sound good together. But you'll notice how
high up the neck we went. Something to solve
that is to figure out our fifth string, major and minor shapes. So let's jump into that next
and then take a look at another key using both strings.
7. 5th String Major Shape: Now we're going
to take a look at our fifth string major shape. So a lot of the
roots and fifths are going to stay consistent because the scale
looks the same. This time though we'll
start from a C note. As our example. It's on the third fret, on the fifth string. So I'll take my finger
and I'll go to C. Now I'm going to find
my fifth, 12345. So I've got my room and my now in our major
sixth string cord, our third was right here, except that's not going to be the case for
the fifth string. Now, our third is going
to be right there. So I have my root. Fifth. Third. That's my fifth
string major shape. And let's use the key of C
instead of G as our example. In the key of C, we have C, D, E, F, G, a, B, and back to C. We know our majors are 14.5, which in this case
means C, F, and G. So I could play C, I could play F, and I
could play G major shape. You may be thinking
already that we also know f and g on the
sixth string now so I could play C, F, G.
8. 5th String Minor Shape: Now let's take the minor
shape on the fifth string. You may be noticing already, but we'll point it out. The difference between a major
and a minor is the third. And the amount that
we're moving that third is one fret, one half-step. So when we looked at the major and minor chords
on the sixth string, we had major minor, we were just moving
our third down by one. It's the same exact thing
from the fifth string. So starting from C, we have our major or minor, or note that the
pinky is on is going to move down one fret. Let's also find that note using the minor scale, one to five. That's our fifth
string. Minor shape.
9. Playing up two Strings: Let's take another
look at a key. We'll do the key of G again. And so we know the chords well. G major, a minor, B minor, C major, D major, E minor, F-sharp minor, back to G. And again, this format of major and minor
fits any key in the world. We're starting from
G as an example. Now, if I want to play, I can use major
and minor chords. Going now between the sixth
string and the fifth string. E.g. I've got my G major, a minor, B minor. Now I can choose here
to go higher or come down to my seat right there. D, E, F sharp, G. Instead of having to come
all the way up here. For g. Now I can start practicing chord progressions
using spread voicing. E.g. maybe I want G, C, E minor. That's my progression. I would do something like this.
10. Fingerpicking Example: Playing chords like
that's really nice. And it adds a really
unique feel to your song. Anybody can play regular chords, but by the time we get
to spread voicing, well now we've narrowed out some of the
competition and we're onto something that can
give us a unique sound. Something else that
helps a lot is finger picking your spread
voicing chords. You'll notice we skipped a string when we're
playing them. So picking with
irregular pick is nice. And finger picking
makes it even easier. E.g. let's play the
same progression we just played in
the past video. But now let's try
finger picking instead. Whether you're using
a regular pec or your fingers or some
hybrid picking. Choose what you think
fits the feel for the song best and experiment
with these different shapes.
11. A New Approach: Now let's talk about some different approaches
when using spread voicings. We've learned chords,
but there are some really nice things we
can do with these courts. E.g. let's say I'm on my
one chord in the key of E. Something I
personally like to do is keep my five consistent. I'm going to drop down to
the seventh tone of my mode. Well, that five now becomes the minor six of
the court, right? When I'm playing an E, Well, my five right,
there would be a B. My three. Fine playing. D-sharp. B would
be the minor six. This I think is a really
nice spread Voicing chord and works well when we're walking down
to the sixth minor. We can try that shape
on the screen as well. It works from any
point on the guitar. Maybe I wanna do
it from a C to a, B to an a. We can do it on the
sixth string as well. There's my major, minor, minor. So it's essentially
a minor shape with the five raised by one, making it flat six. This works on the
way up as well. If I'm approaching my route. It works well to fit into
that second chord here is my minor shape. Then my room. So essentially the shape that
we're learning right now, it fits in the place
of the seventh chord. In your scale. I like
to use it as a walk down from the root
or from the one, or a walk up to the one.
12. Using the Thumb: You may have noticed me
using a slightly different fingering with some of
those sixth string chords. It's because there's actually
an easier way to do it. I think, where we utilize the thumb instead of
the first finger. See, all of our other
fingers can actually say exactly the same. Here's our sixth string shape
using the first finger. Now, I can swap out in
the first finger for wrapping my thumb over the top. This is especially useful when we start playing
the minor chord. When I switch to the minor
chord using the first finger, I'll have to change this
maybe to the pinkie and move this down to the same for it. It's not the easiest
shape in the world. If I'm using my thumb
instead of my first finger, all I'm changing is my second finger to my
first back-and-forth. See which one is more
comfortable for you to use.
13. Progression Practice: Now that we know are
major and minor shapes on the fifth and sixth string, let's pick a couple of different keys and try
some progressions. Pulling out of those keys. E.g. we could use the key
of C like we've been using. And we could play
146.21 would be a C. So we can play a C major shape either from the sixth string or the fifth floor would
be an F. And again, we could use either the fifth
string or the sixth string. Again, using that thumb there. Six would be an a. So I could play that
from the sixth string, or I could play it
from the fifth string. Now you'll notice this shape
looks a little different. That's because I'm taking that
minor shapes and moving it down to the point where
we're using an open string. And then finally
we have a D minor, which we could play
six or from the fifth. Now you have two options. You can pick version either six or fifth for the court
and you could stick with it, or you can jump back and forth. Sometimes it's nice to
slowly work your way up to higher notes and
land on lower notes. It has this nice
deep resolve to it. Let's try this progression. You may notice as well that
we can throw some other notes in there if you're familiar
with sustained chords. Instead of just playing
a standard cord, we could play sus4 as spread voicing or a sauce
to spread voicing. Let's try another progression and this time we'll
use the key of a. Now, in the key of a, we have
an a, B, C-sharp, G-sharp. So that would be an a major. B minor, C-sharp minor, D major major, F-sharp minor, G sharp, line back to. And by the way, if
you'd like to play that seventh chord perfectly, well, we typically have a flat
five on the seventh tone. That means we would
play are minor shape and flat. The five. Let's do a progression of 1235. So in this case, we would play a minor, B, C-sharp Minor. And practice these progressions or make some of your own
in a key of your own.
14. Congratulations! Final Project: Congratulations on making it
to the end of the course. As a final project, pick one of the chord
progressions that we've already gone through in this
class or make your own. Then play it as a spread
Voicing chord progression. You can pick if
you want to stick to the sixth string shapes, the fifth string shapes, or go back and forth
between the two. Upload your submission either as an audio or a video file. If you have the ability
to record video, if you're a little
camera or recording shy, then you can submit
just the core and you chose to use and how they went if they were difficult or if you
found them easy. And what you thought the
best part of the class was, I'm looking forward to
hearing your submissions. If you have any questions
or comments from me, you can reach out at
Jacob at lamb lessons.com or visit at lamb lessons.com where we
have many more courses. And we'll see you there.
 Jacob Lamb, Musician, photographer and videographer