Transcripts
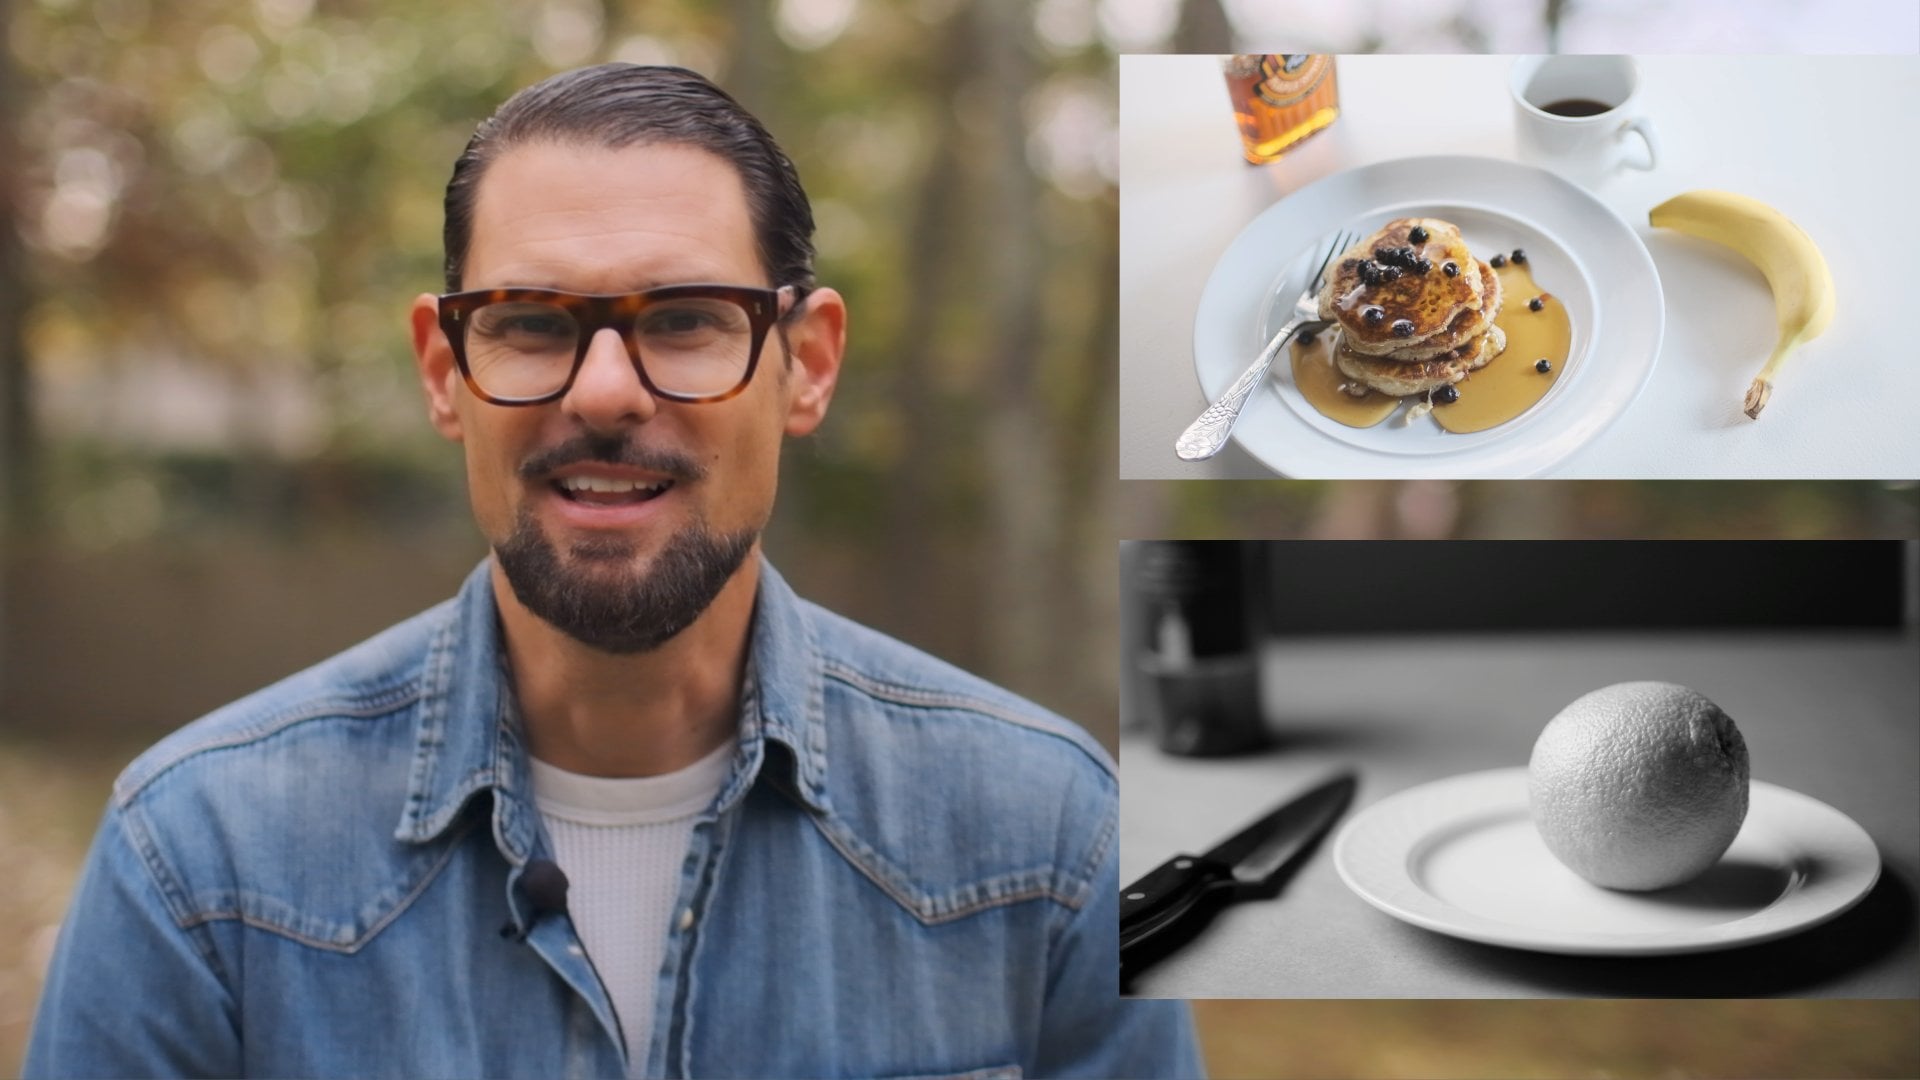
1. INTRODUCTION: Hello, skill share creatives. Are you a foodie like me? I love documenting my food adventures. So let's share a very valuable skill today, which is how to properly light your food photographs. There's many rules and concepts of lighting and photography. But I pulled up the six most important ones that are going to improve the quality of your food photographs the fastest. So the six topics we're going to cover are how to use beautiful natural sunlight properly. Then we'll talk about diffusion, what it is, and how to do it right there in your own home to talk about exposure, which is an important one. Light sculpting, which is a very cool concept. Then mixing light sources, don't do it. And then the Kelvin scale. And I've got a really fun assignment attached to this course that's designed to really drive home the skills that we're going to cover in this course. So you ready? Let's do it.
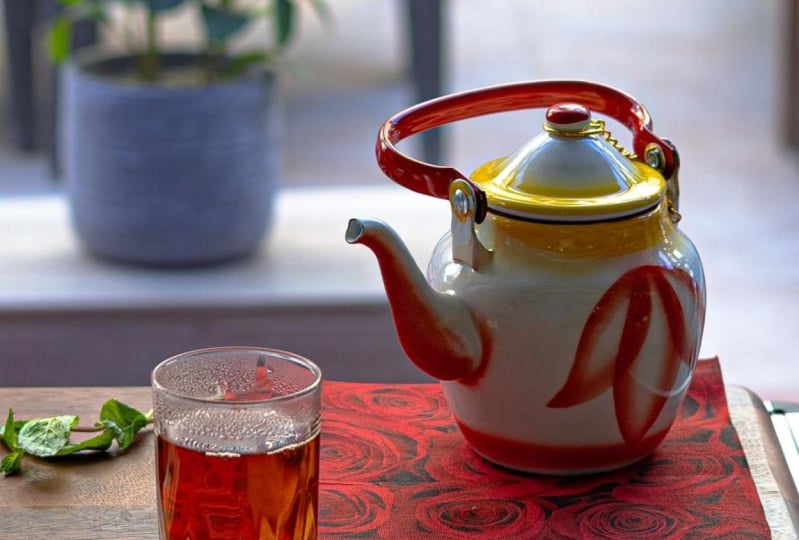
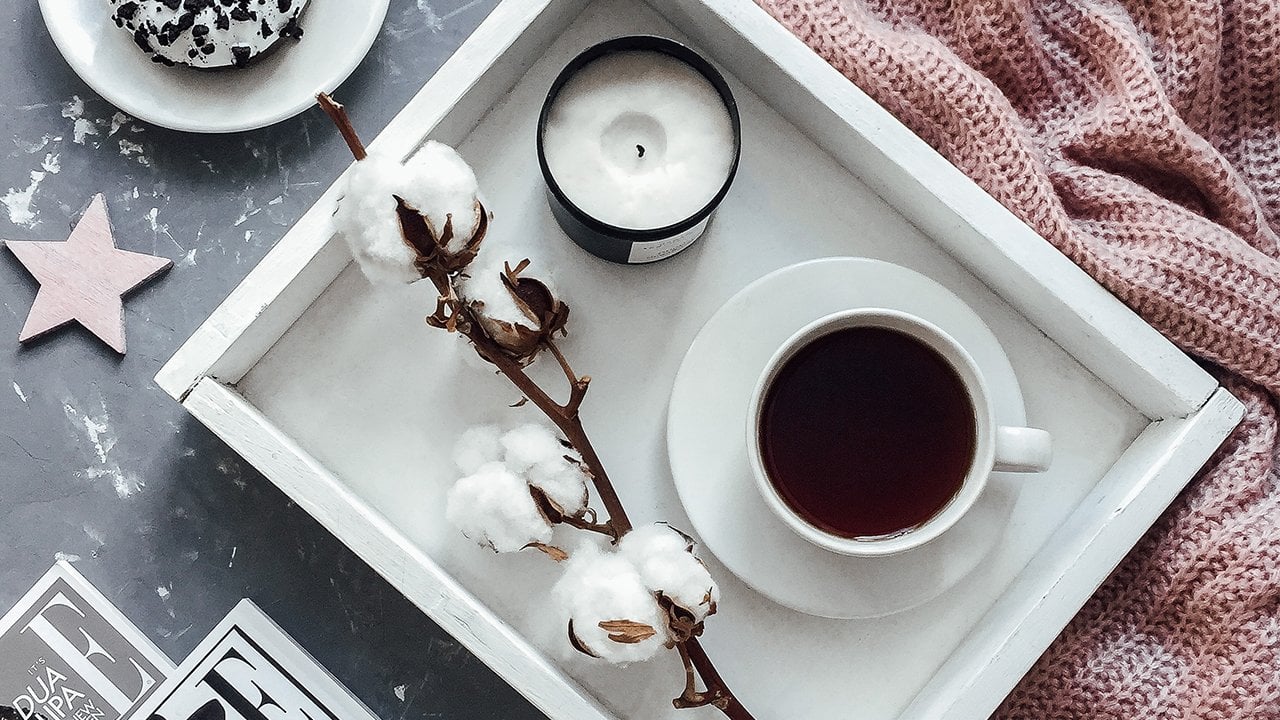
2. LESSON 1: Lighting? Yep. I know you've probably heard about lightings, everything. Lighting is the most important thing. I would say focus is number one, you want to have things in focus lighting yet is number two and number three is composition. So let's take a deeper look at lighting. Here are the six fundamentals of lighting that I've simplified. I've pulled out that I really want you to grasp and apply to your food photography. There's six. Let's take a look at them. Beautiful natural sunlight. It's always the Queen's joule. But there's a couple little tricks that you're going to need to learn in working with sunlight. We're going to cover them all. Then it's diffusion. Then we'll look at exposure and why it's so important. The idea of sculpting light, which I think is pretty cool. Then we're going to look at why you should not mix light sources. Then we're going to look at the Kelvin scale for photography. Beautiful, natural sunlight. Yep, I'm always going to recommend you use sunlight whenever possible. But there's three important factors to keep in mind when working with sunlight. So let's take a look at, I want you to set up your work table next to an open door, open window, where you are going to let sunlight in. Now the key with sunlight is you want to have your camera in a 90 degree angle to where the sunlight's coming in. So set up your table. And here's the sunlight coming in in this direction. And you are going to set up your camera in a 90 degree angle to that. And the reason is the sunlight is casting a shadow or its rays across your food. And what that does is really pick up on the texture and the highlights and it gives shape or a depth to your food. With your camera being pointed at a 90 degree angle to that, a really accentuates it. It doesn't look flat, gives much more visual interests. Winded highlights, all of that really beautiful kind of texture and colors and that kinda thing. So that's a really important setup to have, is that 90 degree angle. The next is pretty obvious, but you don't want direct sunlight coming through that window. You always want to make sure it's shade. And the reason is direct sunlight. It's too hot, it's too bright. And those bright highlights, it's kind of a, what they call a blown out highlight, which means all white. So there's no information left in that blown out white highlight. And then your shadows are also going to be very dark and black and there's no texture, there's no color, is nothing visually interesting left in that shadow. So that's what you call hard light, is one, there's direct sunlight coming in, so you want to avoid that. So the shadow light is going to give you most information, the most detailed left in your food and when you take that picture, so yeah, make sure it's not direct sunlight coming through your window. The last thing I want you to know about working with sunlight is timeOfDay matters. So the quality of light, the intensity of the light in the morning and at night is different than in the afternoon. So at sunrise and sunset, you're going to have a very warm, soft light. In the afternoon. It's a much brighter, harsher light. It's what's called cool and warm. We're gonna go into that later on in this lecture when it comes to the Kelvin scale. But for right now, I want you to write down the time of day when you took the photograph so that you can reference it later. Maybe you want to recreate that light that you had. It was really beautiful and warm or soft or those a particular effect that you liked about that sunlight. If you can go back and see, oh yeah, that was a two o'clock, then you can recreate that. So it's really important to keep notes like that when it comes to sunlight, because that's what progress is all about, right? Remembering and knowing what you did right, or what you did wrong. So that you can reference it later and kind of build on top of that. So when it comes to sunlight, definitely timeOfDay matters. So make sure you record that time of day.
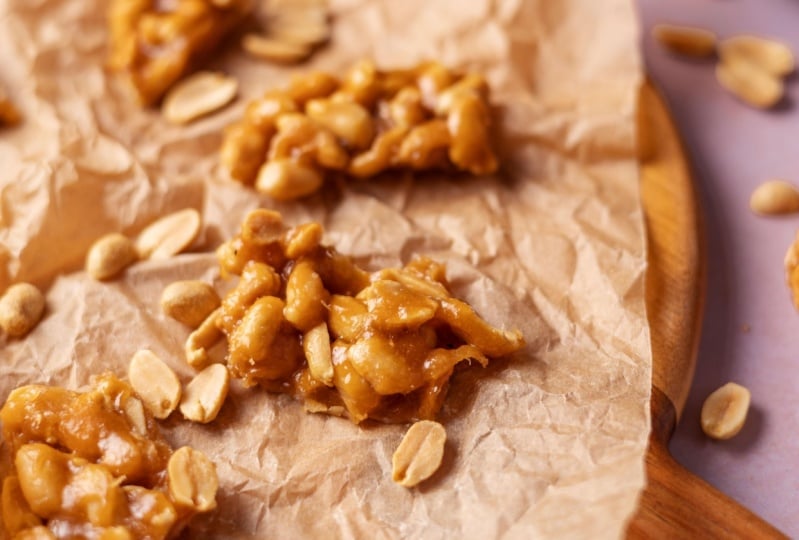
3. LESSON 2: So that was the first aspect of lighting we talked about was working with sunlight. Now we're going to talk about diffusion. If you've heard of that term or if you've not heard of it, I'll tell you now, it simply diffused light is light that's passed through kind of a semi-opaque material. Quite often at home, it's a fabric or curtain that you can pull across your window. And now that sunlight, there'll be times where it's too harsh, so it's a little too bright. And this few, this diffuse material, this curtain, we can even use wax paper, any material that's going to cut down on the amount of sunlight coming through that window is gonna create diffuse the light. Here you can see I'm using this portable blight diffusion panel. So it folds up and unfolds really quickly. It's a great amount of diffusion. I got this on Amazon. I think it was $30.35 dollars Grade Item. So earlier I mentioned soft light and hard light. So soft light is light that's been diffused. So the light is passing through a material and its cutting down on the amount of light. So the reason again is that when you have a very harsh light in, the bright highlights are almost entirely white and the shadows are almost entirely black. And that leads to a very uninteresting photograph because there's no detail left in those two areas. The colors very washed out, so it's just very uninteresting. Were you going to get the most beautiful photographs are when the light is properly diffused. And that retains all the rich color and the details from the soft light. So It's not what's called blown out. So that diffuse lights going to really retain all of that texture and visual interest. And what's called fall off, which we'll talk about later. So that's why you want to, it's really important that you have diffuse the light. The next aspect of lighting way to talk about is exposure. It's a big one. Now, explosion as simply as referring to the overall amount of light in a photograph. So high exposure, very kind of bright, airy, happy Martha Stewart type photograph has high exposure, simply means it's very bright. And a low exposure is dark moody, which is kind of very popular these days. Those dark loci, low exposure simply means there's less light in the photograph. So that's really the biggest determining factor in your photograph, is how much overall light is in the photograph. So your exposure, high exposure, very bright and airy, low exposure, dark, moody. So very simply what determines this is the amount of light that's coming in through your window. If it's during day and you've just got your diffused material over the window. You can have a very high exposure Heikki, very bright photograph. Now if you want to capture a kind of a darker moody, you can either shoot, if you can shoot like in the very early morning or at night, or kind of at sunset. That's gonna be very warm diffused light. That's ideal. But if you want to get, you know, if it's during the day and you wanna get a moody dark photograph, simply block off the majority of your window. You can use like a black curtain. You can use that foam core board, whatever, even cutting board, whatever's going to block out the majority of that window and the light coming in. That's what's called sculpting light. So you're restricting it in certain areas so that it creates the overall exposure that you're looking for in your photograph. Now with these darker photographs, there's definitely a lot of trial and error. And you're taking those bounce cards, these foam core bounced cards, and you're just moving them around so that they're reflecting light and subtract and light in a way that really perfectly captures the texture and the shape of your food or your dish. So it is yeah, just a lot of trial and error. Some move those bounce cords around to there. You're sculpting a light to wear. It looks right in your camera, so it will be a lot of trial and error. Don't think you're doing it wrong or that it's unprofessional. That's what the professionals do, especially with the darker photographs, is really shaping it to get to, to look just right. And then you're gonna take the picture and capture it. So that's what's meant by sculpting light and exposure. So you really simply limiting the amount of overall light that's entering your picture. Now the next important aspect of lighting is that you don't mix your light sources. You get these little LED lights so that you don't have to use your house lights. Now, the reason is your house lights, your overhead lamps, your chandelier. They can have different bulbs, which it can have different quality of light, sometimes alive that Tungsten bulb, which gives a very light yellowish tint to everything. And then you can't undo. In post-production, it's gonna cast a different color temperature across your light, which is not good. So you don't want your sunlight competing with a house lab. So you don't want to mix those light sources. So different light sources have different color temperatures. Now, for some reason in photography, they chose to use the Kelvin scale. We've heard a Celsius and we've heard of Fahrenheit. Kelvin is simply another scale. Here you can see Kelvin scale goes from 100000 up to 10 thousand. So 100 thousand is kind of very dim light, candlelight and it goes up to the brightest, which is like a clear sky, is 10 thousand degrees. Now this part's counter-intuitive. So the coolest temperature is 1000 degrees Kelvin, which is kind of a very dim light, candlelight that's only a 1000 degrees, that's cooler than 10 thousand degrees, which is like a assigned to a bright sunny sky. Now. The colors are the opposite. So blue is said to be a very cool color. But yet it 10 thousand degrees. And a candlelight, for example, is like a reddish warm orange. That's a warm colors. So even though it's the opposite, you know, a cool color has the highest degree Kelvin. Whereas a, only a 1000 degree Kelvin is a warm color like red or orange. So it's counterintuitive. You don't need to grasp right away, but just realize that as your photography pursuit continues and start to learn more and more, you may hear this Kelvin scale mentioned. And one other thing I'll mention right now, in some lights and some cameras you can program in your Kelvin scale so that maybe 6 thousand degree Kelvin looks perfect for your setup. You can dial in your lights, are your camera to exactly 6 thousand degree Kelvin at something definitely a little more kind of intermediate and professional, but just having the back your mind that you're probably going to come across that as you're learning progresses. So I just wanted to mention that in this discussion on lighting. So this the, the important items for this lecture on lighting. So here's the big takeaways. First of all, obviously beautiful natural sunlight. It's always queens jewel. Use it whenever you can. Next is always use shade. You never want to shoot direct sunlight. Third is you want to have diffused sunlight. So shaded sunlight should be passing through some sort of opaque material like wax paper or most commonly is just a curtain, a sheer curtain that's letting a little bit of sunlight through it. Then you're going to use those bounds cars goes form, core white and black bounce cards. You're going to move them around in your photograph to achieve the look you want. Again, the white card is gonna bounce sunlight into the shaded area and make it a little more, a little brighter. So it's going to add less contrast. And the opposite of that, the black bounds card, as it gonna subtract light and make that shadow little bit darker, a little bit moody or so those bounce cards are really valuable in your lighting. And lastly, we talked about mixing light sources. So yeah, turn off your house lights, your overhead lamps in your household lamps, just use the sunlight. And if you need, you had that little LED light because those LED lights are very clean, white light source and they don't compete quite as much with the natural sunlight, so don't mix your light sources, so that's it for now. So I put all of those into a PDF attached to this lecture. And those are really important topics. I moved kind of quickly, but I stripped them down to the bare essentials that you need to Portugal VCE, you can apply them really easily.
 Ted Nemeth, Re-Inventing You!