Transcripts
1. Class Introduction: What's more important
than design itself? It's understanding why you're designing in the first place. Now, for beginners, when jumping into a new
design project, it's tempting to dive straight into the fun stuff
playing with color, picking type, and
trying out layouts. But here's the thing.
Design without direction is just decoration. If you want your
work to actually mean something to hit the mark, to do its job, then
you've got to start with one thing a proper design. Brief. Understanding a
project's requirements could possibly be the
most important step in your design process. If you fail to give this
adequate attention, you could completely miss
your project's goals. So have you ever been given a project with little
to no direction? Maybe just a short email
or a quick phone call, and suddenly you need to produce great work without
any real clarity, or maybe you're working with a client who needs assistance, giving you what you need
to start a project. This is something every designer encounters at some point, and it's exactly why the
design brief is one of the most important tools in
the entire creative process. Hello, and welcome
to this class. My name is Gareth David, and I'm a designer with over 15 years of experience working across both freelance and full time roles in
the design industry. And in this class, we are
going to cover one of the most important resources
in any design project, the Graphic Design Brief. Over the years, I've worked with a wide range of clients
from those who have provided fully structured
briefs to those who are completely unfamiliar with the concept
of a design brief. But what I've learned is this, every successful
project starts with a clear and thoughtful
design brief. It's what gives your work
direction, purpose, and impact. How you avoid endless revisions, miscommunication,
and missed goals. In this class, I'm
going to share with you everything I've learned
about design brefs, not just what they are, but how to make them work for
you as a designer. We'll start by
breaking down what a design bref is and
why it's so important. Then we'll explore
the three main types of briefs you'll come across and how they influence your creative freedom and
the direction of a project. And if you ever find yourself in a situation where your client doesn't provide a
proper design brief, which happens more
than you might think, I'll show you exactly how
to create one yourself. Over the years, I've
developed a method, a formula that can help you extract the right information, ask the right questions, and build your own design
brief that you can refer to and share with your clients before you ever start designing. In this class, you'll also get access to design resources you can use that include over
ten design brief examples, a client questionnaire to
help gather key information, editable in design
and Illustrator brief templates you
can customize and use on real projects and resources to help you
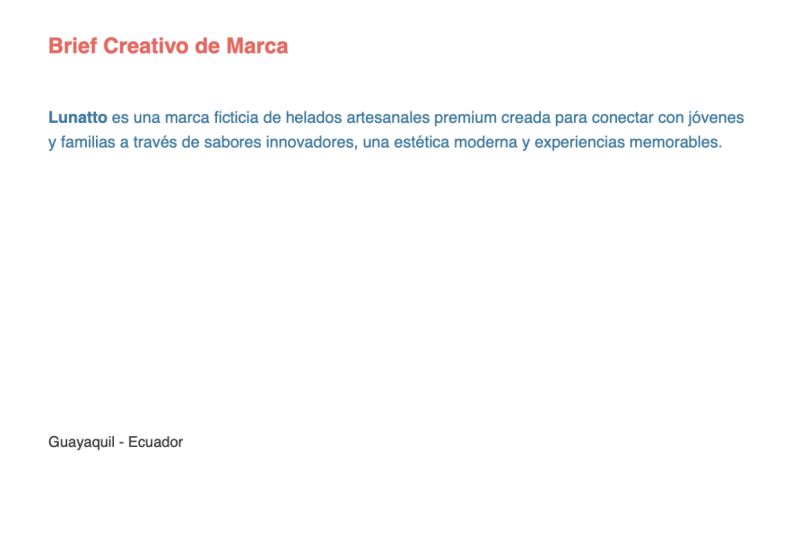
create a fictional brief. Whether you're a
freelance designer, a student building
your skills or someone looking to improve
your professional workflow, this class is designed
to give you the tools and the confidence to start
every project strong. So if you're ready to bring
more clarity, control, and confidence into
your design process, let's dive in and get started.
2. Before You Begin: So before we dive
into this class, there are just a couple
of things I recommend you do to get the most
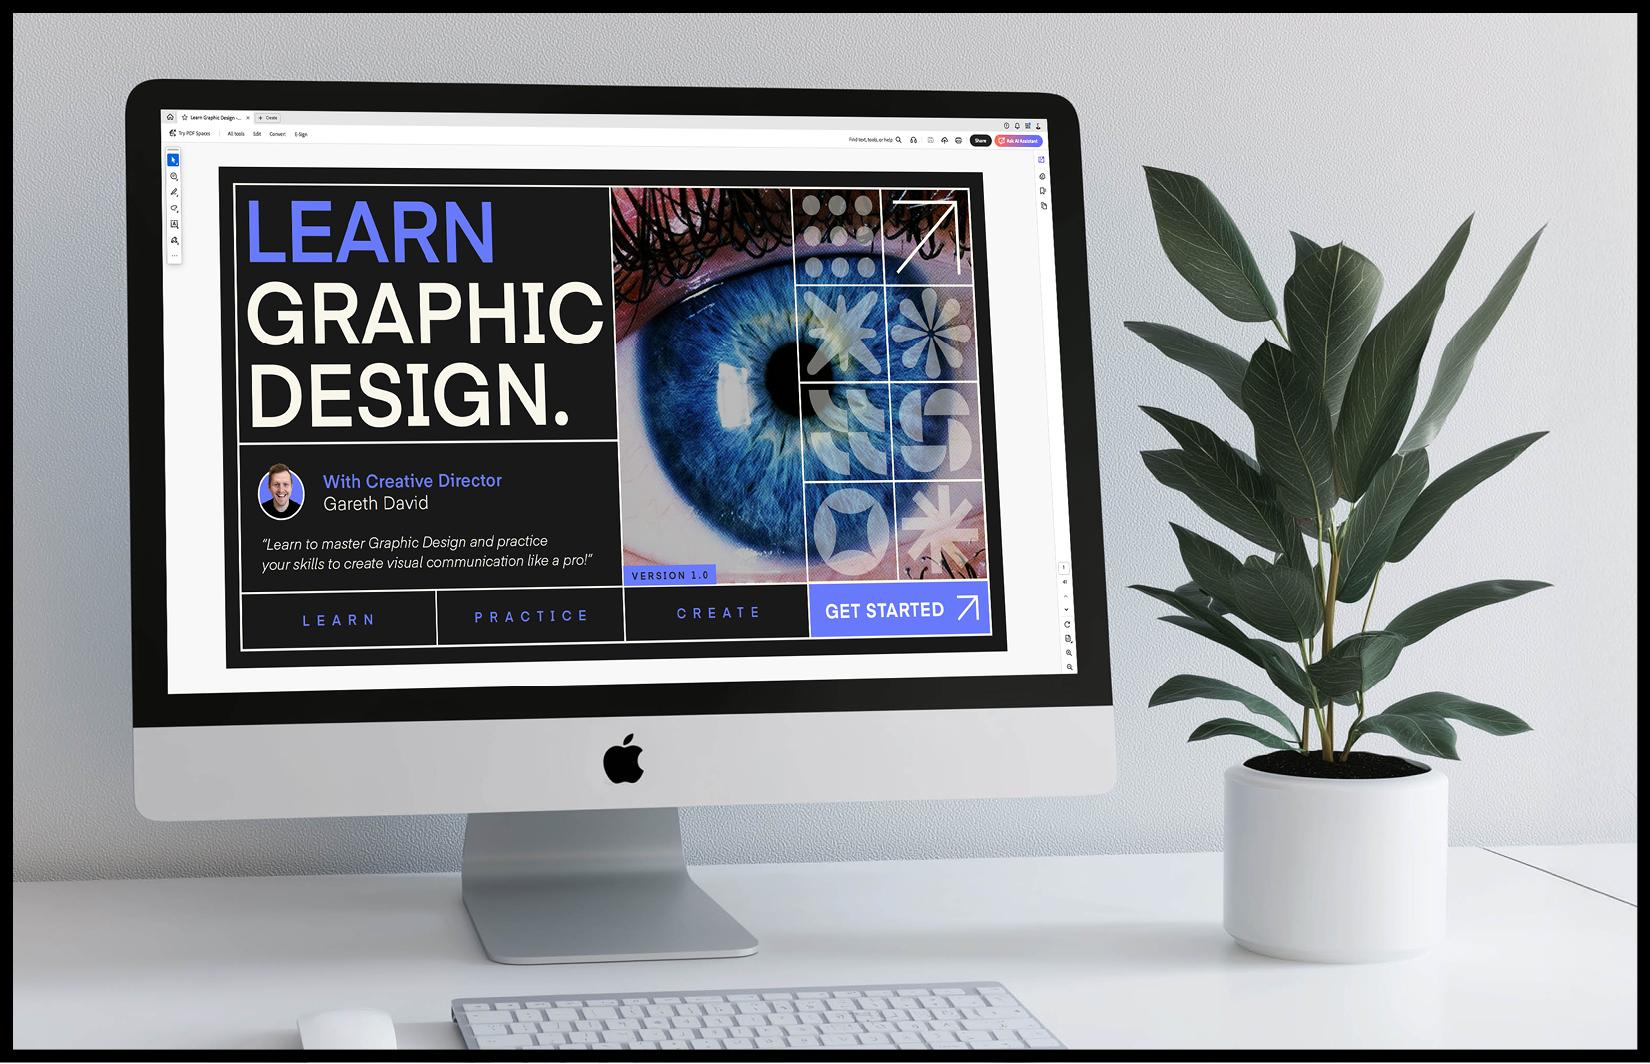
out of this class. This class comes with a PDF that contains everything you'll
need to follow along, including demo design briefs, client questionnaires, and a set of editable brief templates. These are the same resources I'll be walking
through in the class. So having them in front of you will make things much
easier to follow. So before you
begin, head over to the project description section and download the class PDF. Once you've downloaded
the class PDF, you'll be all set
and ready to go.
3. Your Class Task: So before we jump into the
main part of this class, let's talk about your task. The purpose of this
class isn't just to help you understand the theory
behind the design brief, it's also to get you to practice creating
one for yourself. After watching the first videos, which will bring you
up to speed with the design brief
and its importance, use the tools and
templates provided in the class PDF to go ahead and create your own graphic
design brief from scratch. If you have a real client or a live project you're working
on and you need assistance, building a design
brief, perfect. Use the templates to help
gather and structure all the information you need to build a proper
professional brief. However, if you don't have a real client right now
and you want to practice, you can create a
fictional brief. The instructions to
create your brief will be presented in the last
video of this class. Once you've created
your design brief, feel free to share it in the project section
of this class. We'd love to see how
you approach it, and it's a great
opportunity for us to see each other's
briefs. For example, so as you move through
this class, remember, your goal is to understand
the role of the design brief and create one of your own
using the provided resources. Okay, so with the
introductions out of the way, let's get into it.
4. Graphic Design Brief Overview: Start Any Design Project the Right Way!: Understanding a project's
requirements could possibly be the
most important step in your design process. If you fail to give this
adequate attention, you could completely miss
your project's goals. To confidently begin a project, you're going to need a
graphic design brief, especially if you're unsure
of what you need to solve. So let's break down what a graphic design brief is
and why it's so important. So as designers, we
want to do great work, work that delivers
and work with impact. And to do that, we need clarity. We need to understand
exactly what the project is asking from us and why it even
exists in the first place. Jumping into design
decisions without a clear understanding of the
problem, well, that's risky. You might create
something that looks good but misses the
point entirely. Best design does two key things, serves a clear
function or purpose, and it responds directly
to the project goals. And if it looks great,
too, that's a bonus. Remember, your job isn't just
to make something pretty, it's to communicate a message, an idea, a story,
visually and effectively. The graphic design brief
is your blueprint. What is a graphic design brief? Well, put simply, it's a
practical document that outlines the scope
of a project and includes all the key details a designer will
need to be aware of before they embark
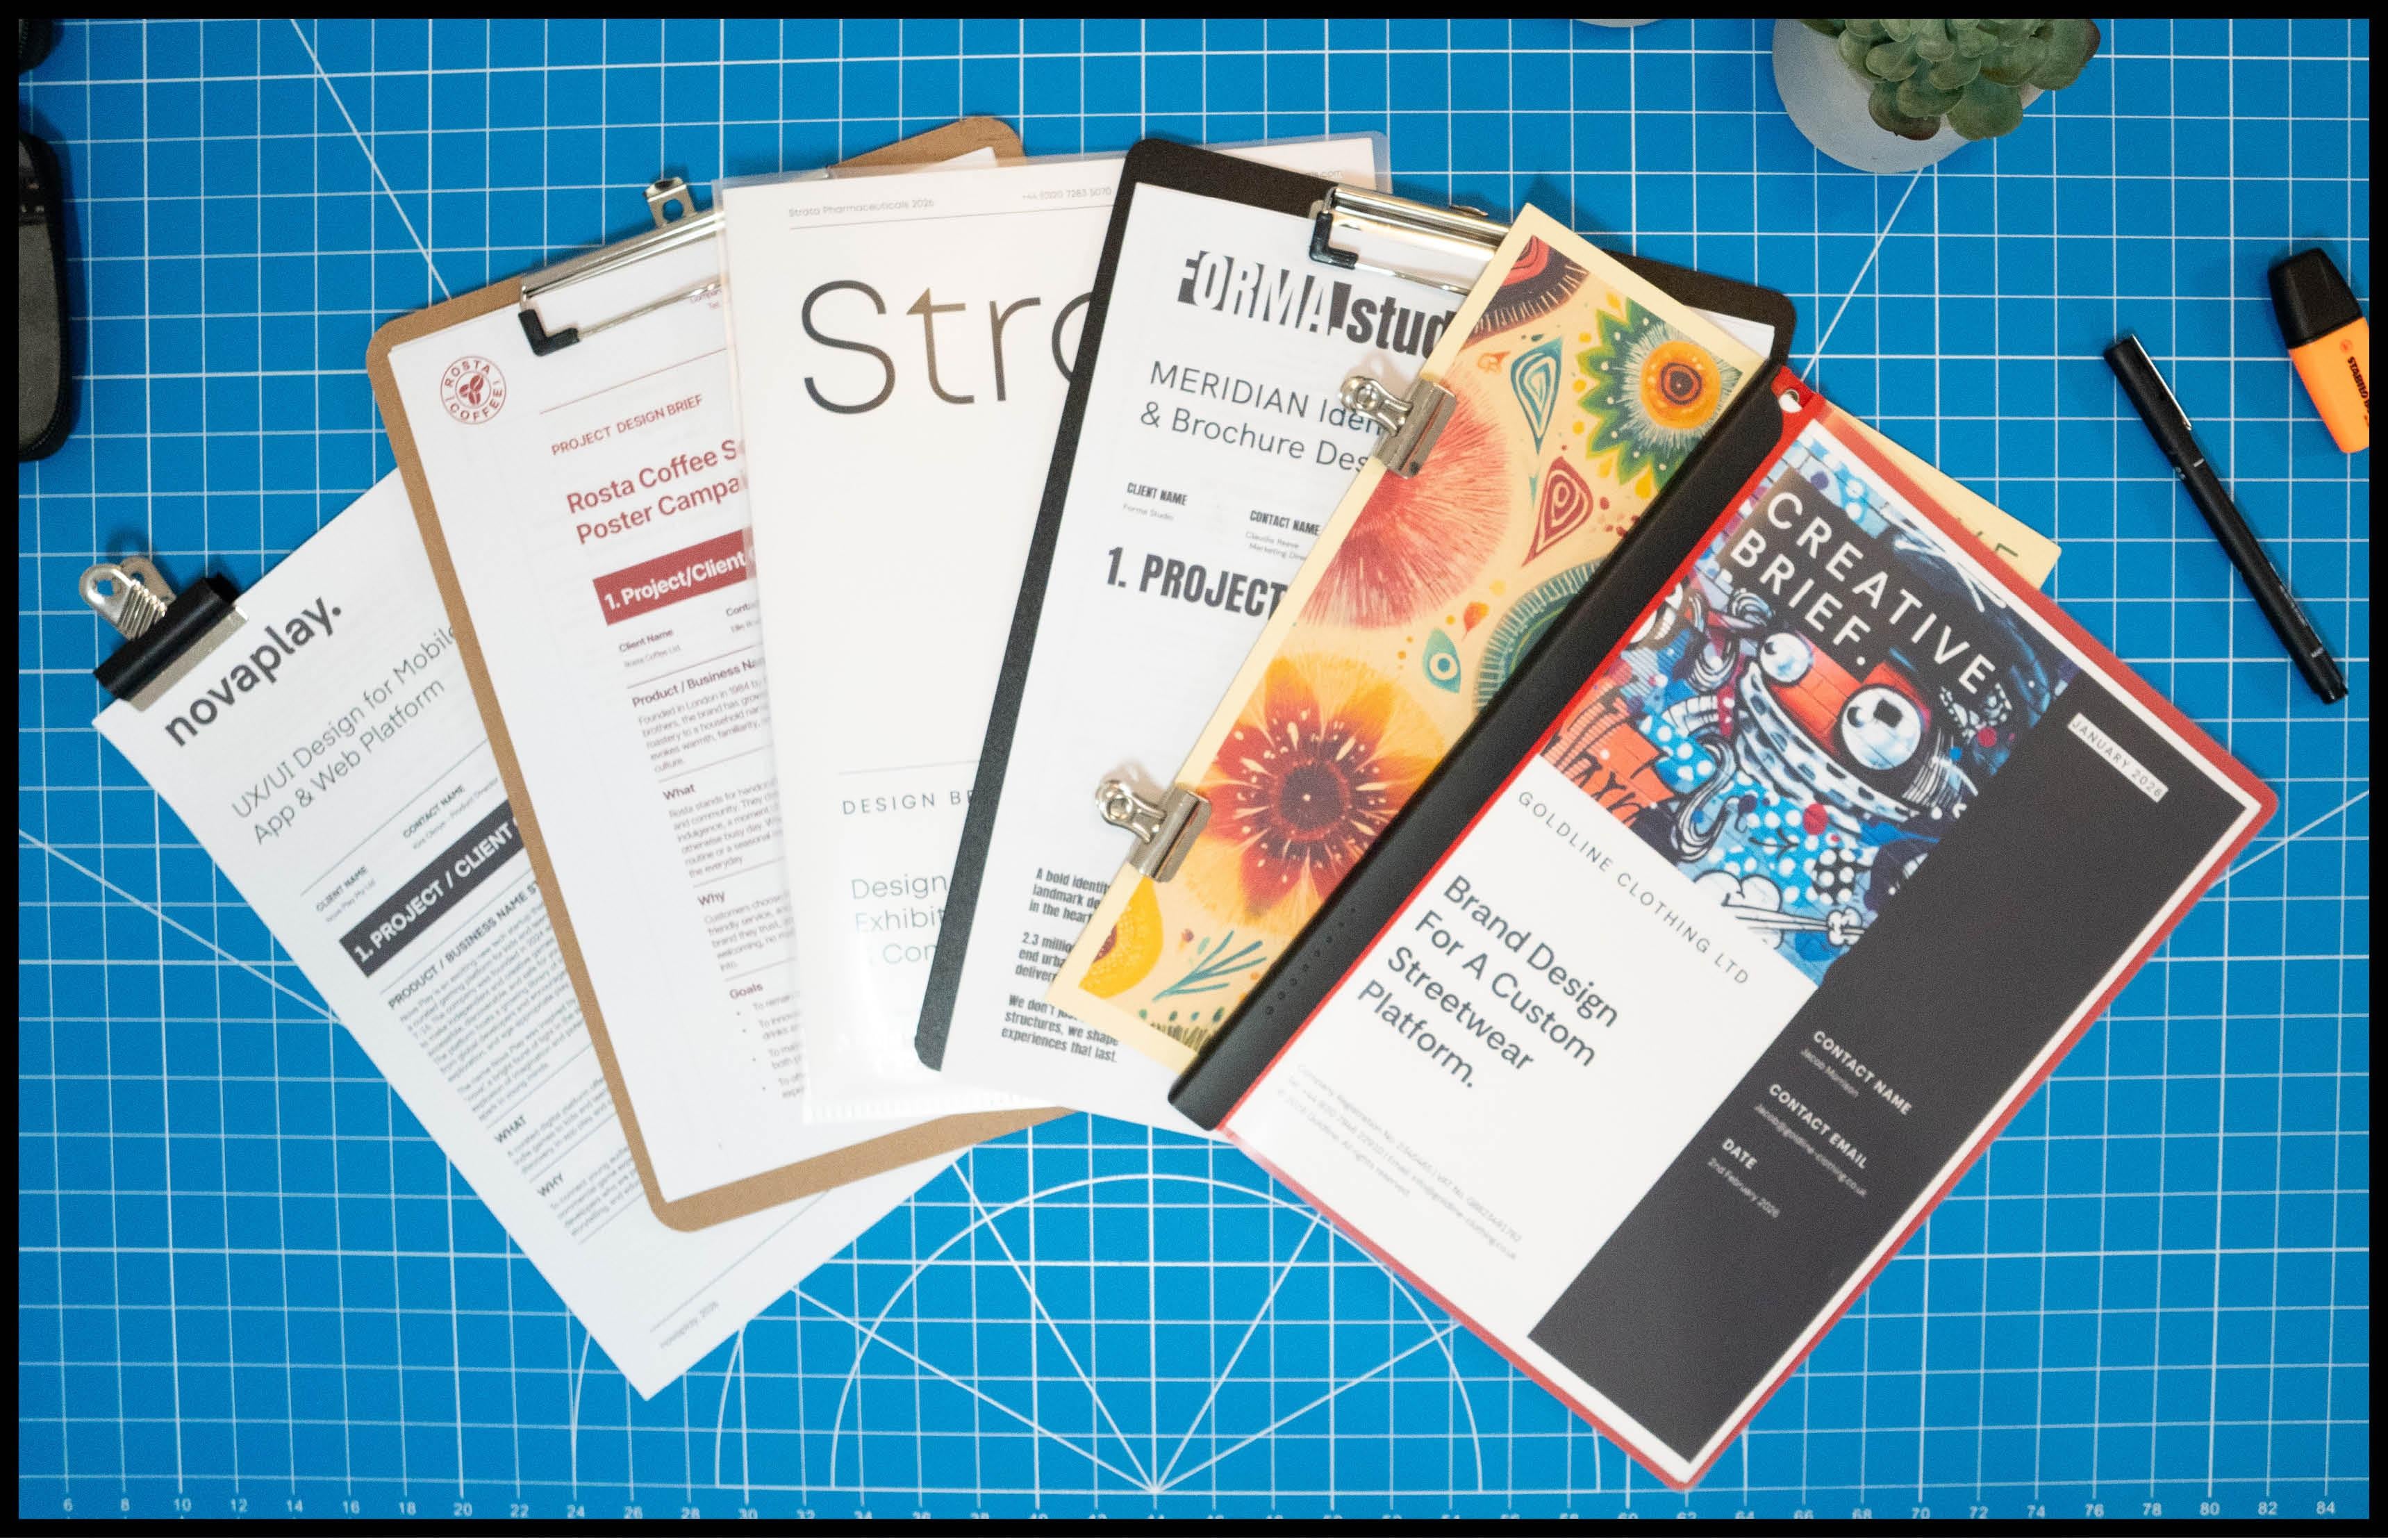
on a design process to solve a creative problem. Now, a design brief can
come in many formats. Depending on where the
brief is coming from, a brief could be a
branded document carefully crafted as
a booklet or leaflet, or it could be a
very simple document printed across a few sheets of paper printed out in black and white from an ink jet
or laser jet printer. While some design briefs may be created in a digital format, such as a 16 by nine
landscape document, they are more
commonly prepared for print as A for
portrait documents. This format is practical,
easy to compose, and ideal for sharing and
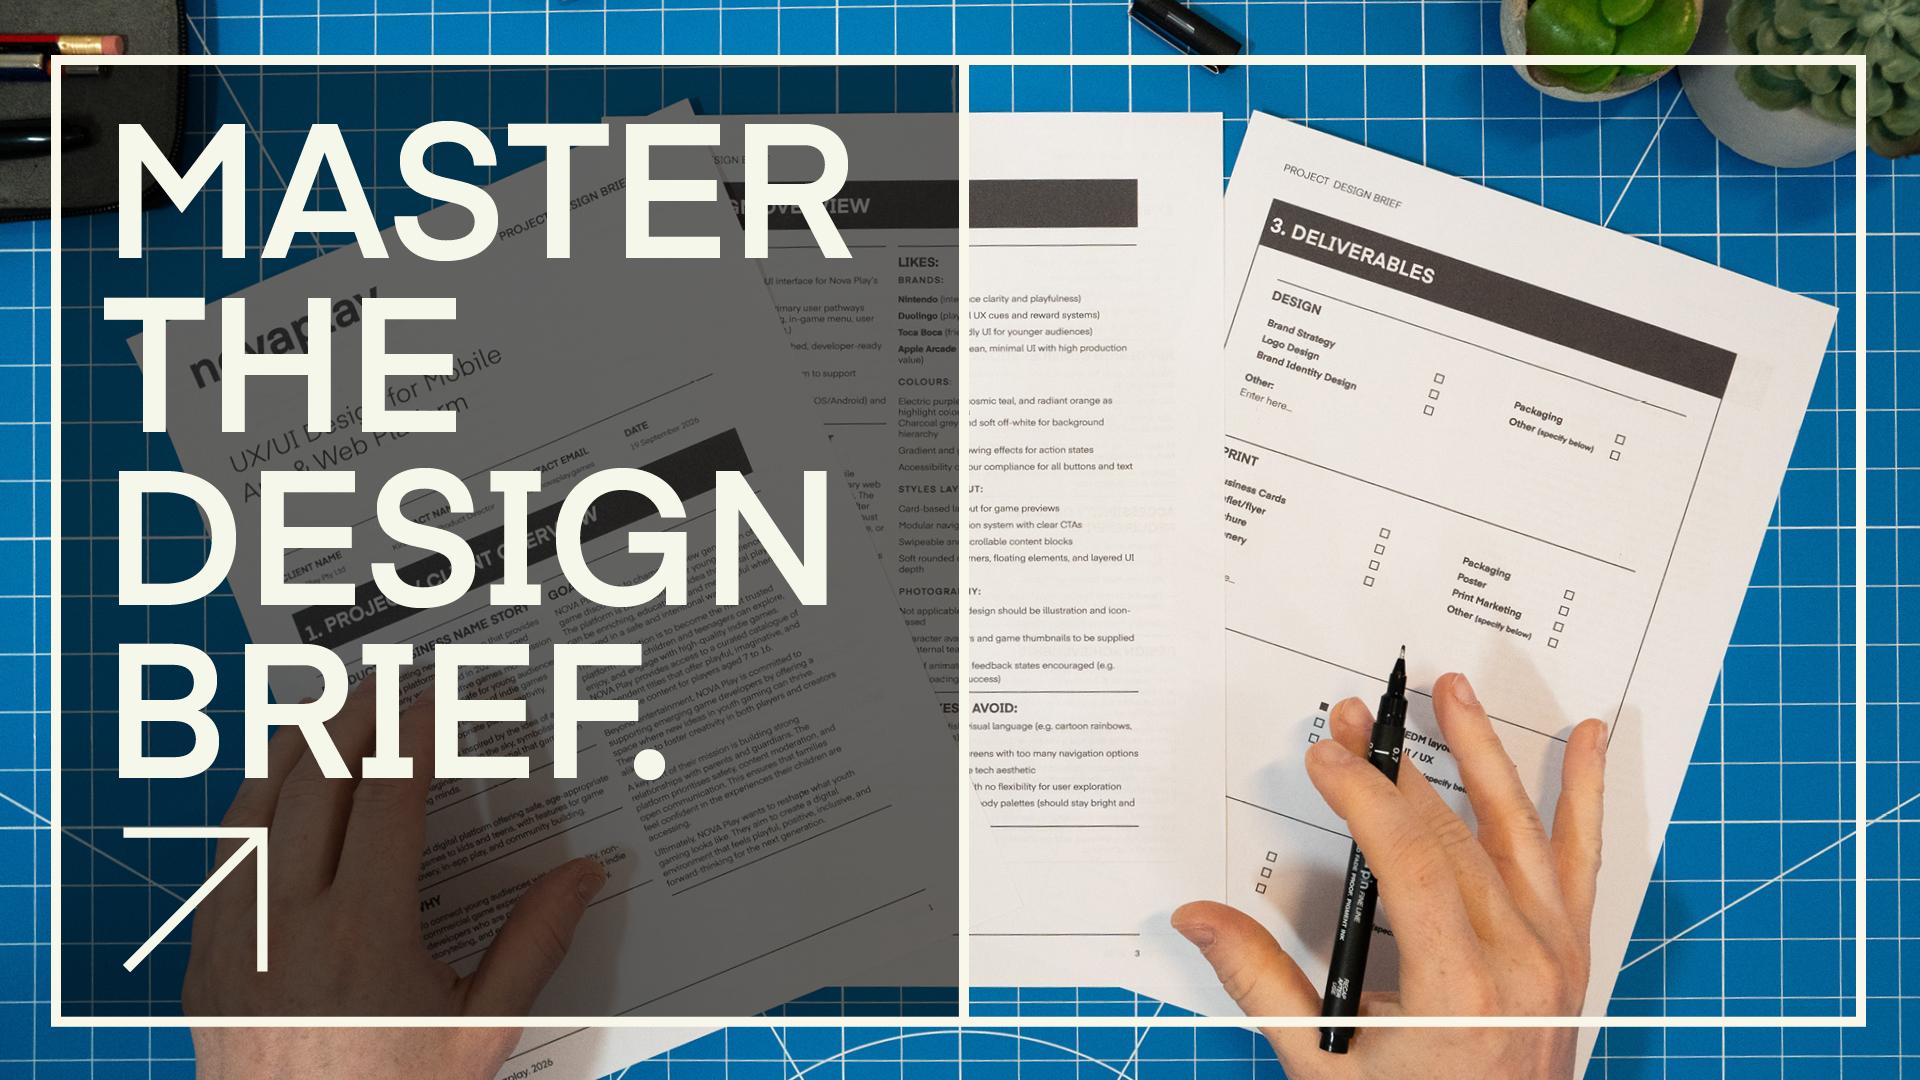
working with in a tangible way. Designers often like to
get hands on with a brief, making notes,
highlighting key points, and referring back to it
throughout the project. For that reason, printed
briefs tend to be the most practical and
user friendly option. Design brief is
usually written by a person or team
requesting the work. This could be a
marketing manager, account manager, or
creative director. In smaller teams, it may come
directly from the client. In education, briefs
are often created by tutors to mimic real
world scenarios. But often, especially in
freelance or solo work, it may be a designer who will
need to craft the brief. A graphic design
brief should help you understand the
problem you're solving. Identify the needs of
the client or audience, stay focused throughout
the project, understand exactly
what you need to deliver and help you explain your decisions
with confidence. A good design brief will include key criteria such as a clear overview of the
client and project, details about the
target audience, clear goals and objectives, competitor or market
context, the deliverables, success metrics, a timeline, any constraints or requirements, a budget, and any
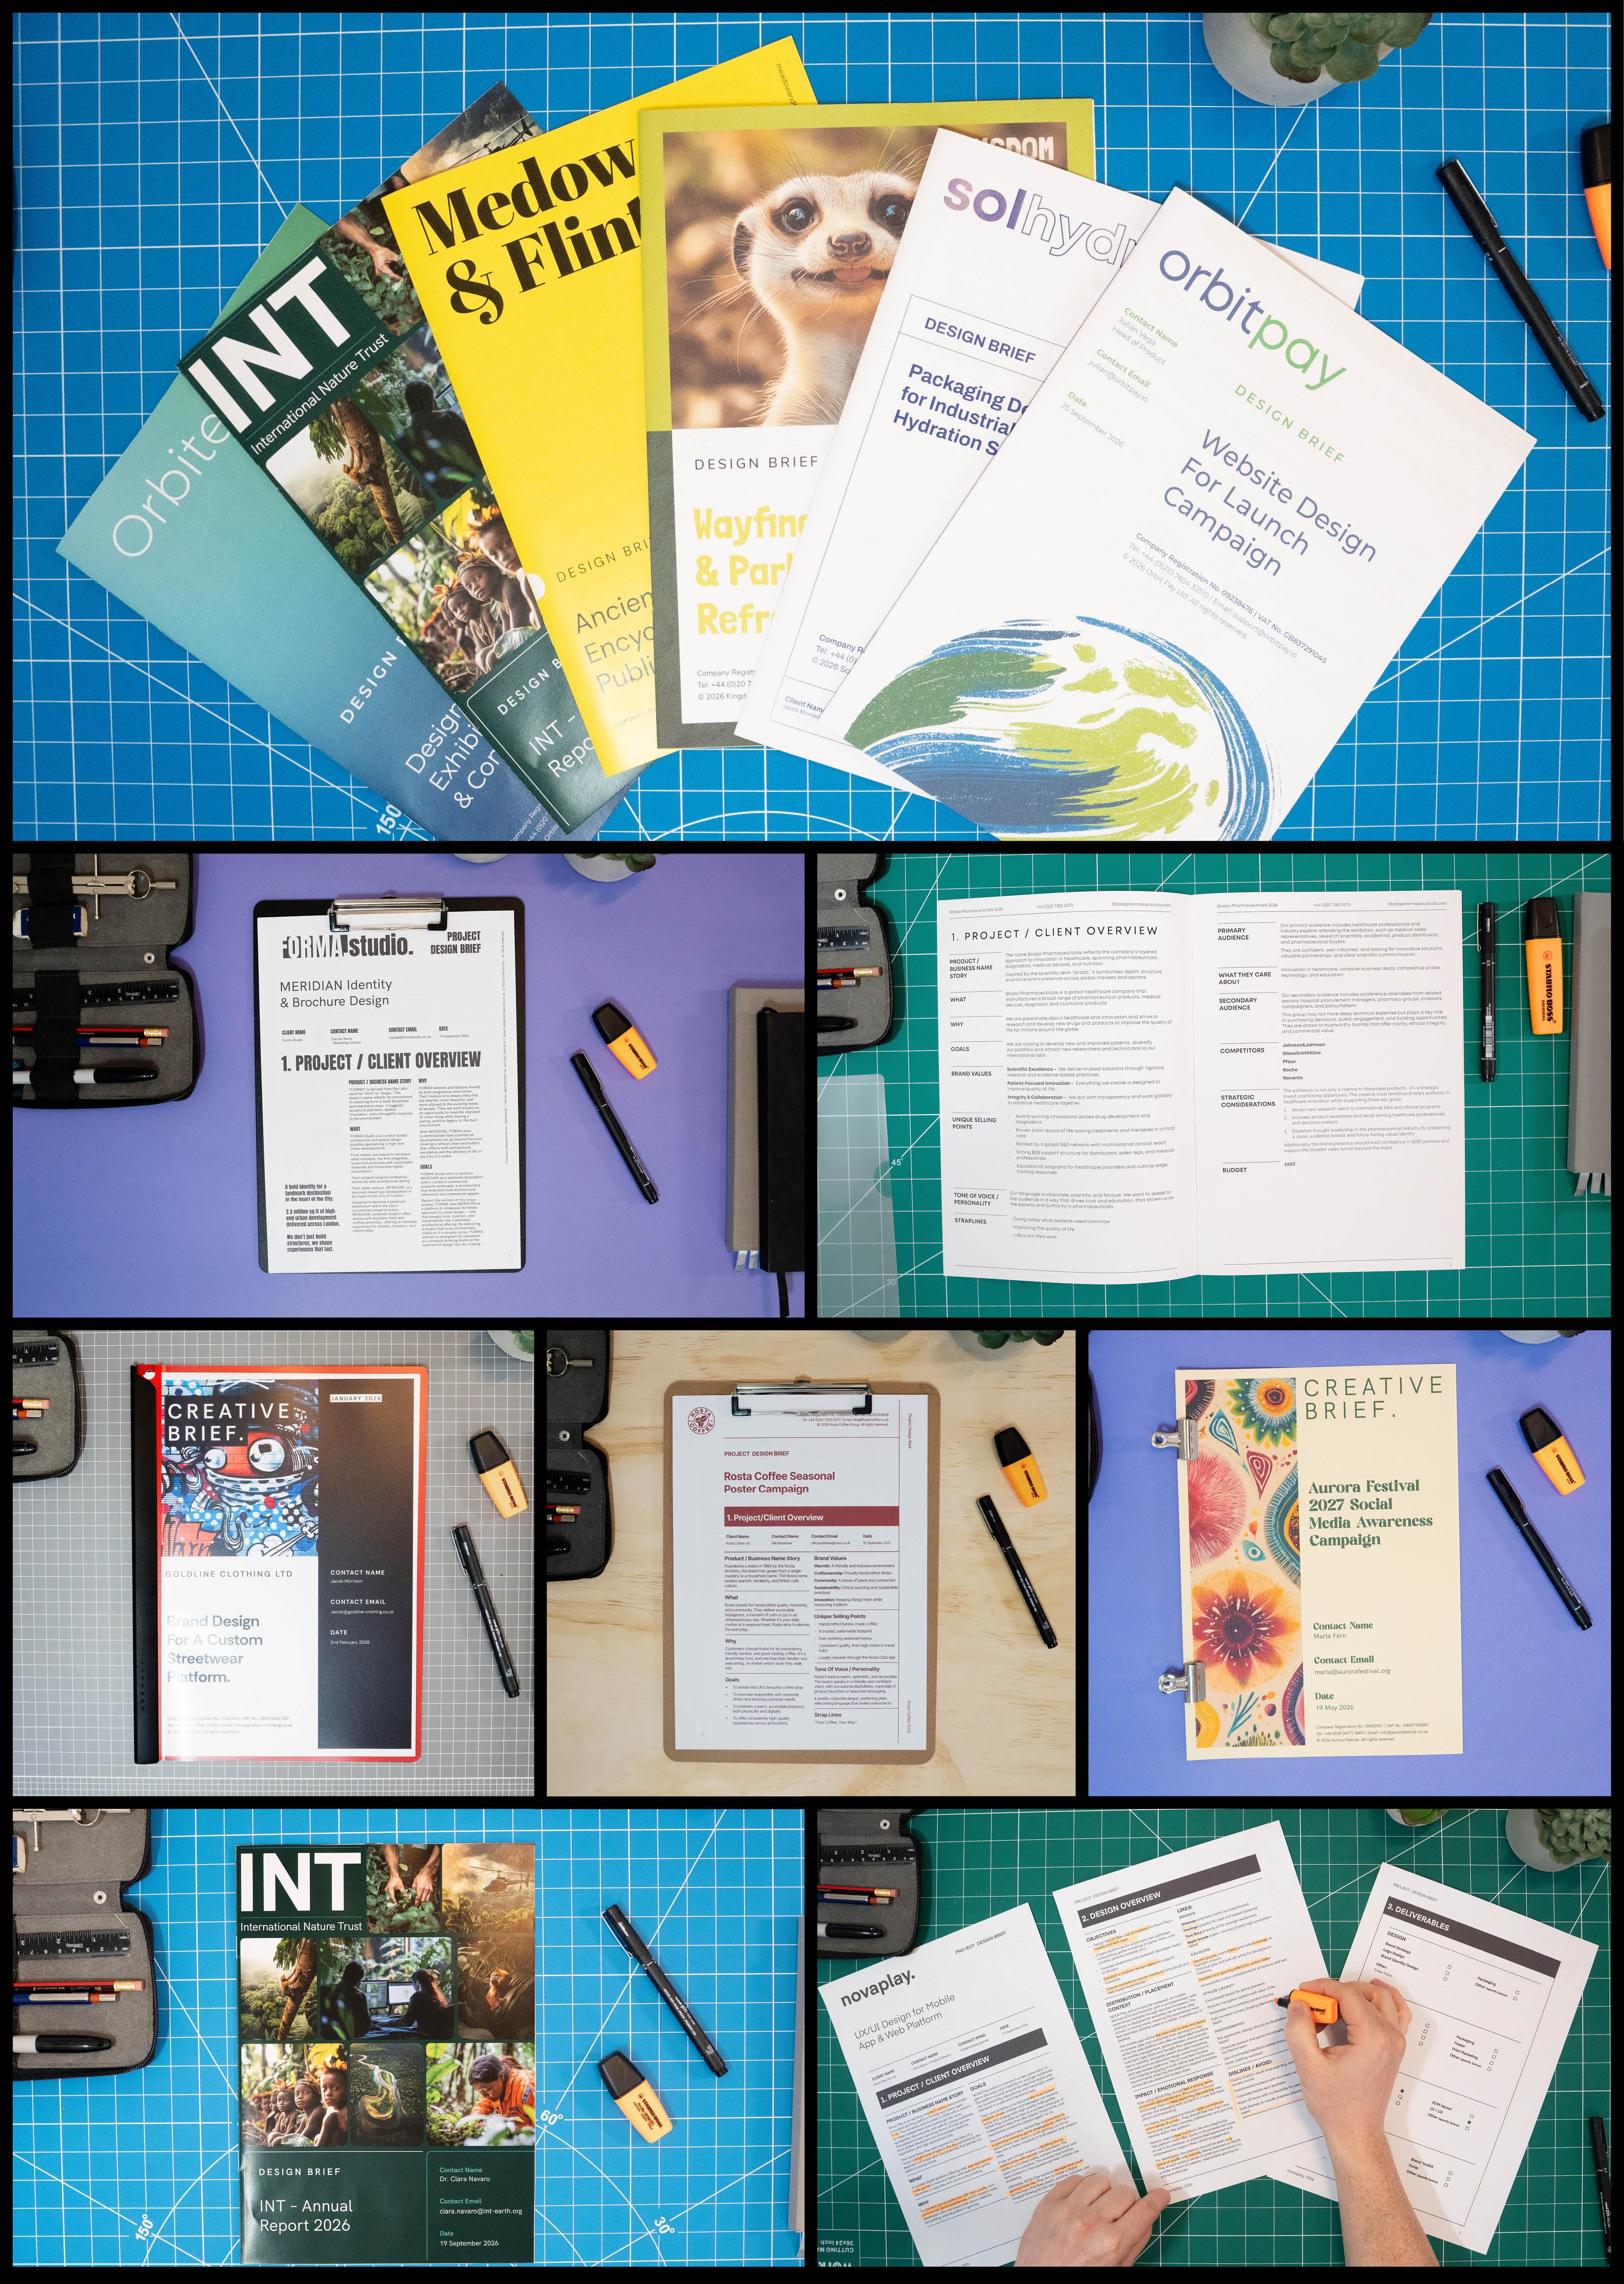
additional information a designer will need to know. So here are some typical
graphic design briefs. Now, while every brief might
look a little different, depending on the client
or the industry, they all aim to cover
the same essentials. If you want to explore these
brief examples more closely, you can get them
from the class PDF that comes with this class. Download the class PDF from the project section
with it open, navigate to the design
resources section where you can click
on Design briefs, click on the design brief
examples, and from here, you will see several
brief examples which you can click
to open and observe. So why is the graphic
design brief so important? Because when you have a
solid detailed brief, everything becomes easier. Having everything clearly
outlined and organized at the start can give you
the best start to a project. In the industry, time is money, and the less time you can spend preparing to start a project, the more time you can spend
on the design process. The design brief helps
a project stay on track where you're less
likely to go off course, which can prevent less back and forth later on and
becomes a point of reference that you
and the client can return to if anything
becomes unclear. Now, an often overlooked benefit of a solid design brief is rationalizing your
design decisions during review or
client feedback. A good brief doesn't
just help you start. It helps you defend your work. When it's time to
present your designs, you'll be able to point back
to the brief and show how each decision connects to the
goals, audience, and tone. It gives your work context and makes you look professional. So a graphic design brief
will help optimize your time, direct your creativity,
inform your decisions, and safeguard your sanity. So you really should not start a project without one in place. So what if you
don't have a brief? Well, not all briefs
are created equal. Sometimes you'll be given a
clear and detailed brief. If you work as a
full time designer with established clients, chances are you might get
a well prepared brief. Other times, not so much. Some clients might hand
over a short email, some might want to
chat over coffee, and some might not even
give you a brief at all. Which can be common if you are a freelancer working
with small businesses. So what if you're not
provided a brief? Well, in those cases, it's up to you to help
guide the process and ask the right questions to
get the information you need to do a good
and informed job. If a brief isn't handed to you, you can build one by taking
some effective steps, either by sending over
a quick questionnaire, requesting a meeting or jumping on a call
with the client, which we'll talk more about how to do in a future episode. So what if a design brief is too vague or missing key details? Now, even if you're
handed a brief, that doesn't always mean
it's ready for action. Remember, not all briefs
are created equal, and some can be vague, incomplete, or even confusing. You might get a few
bullet points in an email or just a vague idea
like Make it look cool. In those cases, don't be
afraid to push back politely. You're well within your right
to request more clarity or ask additional questions
before you begin designing. You can enhance the brief
by filling in the gaps, taking steps to acquire the information you need
from the client directly. Remember, you're responsible for delivering
effective design, and to do that, you need a clear and focused
brief to work from. If something's
unclear, seek clarity. It's part of being a
professional designer. Now, it's also worth knowing that there are
different types of brefs which can exist
across a wide spectrum. Open briefs give you a high
scope of creative freedom. Closed briefs are more
prescriptive and specific, which may give you a lower
scope of creative freedom. Whereas flexi briefs
can define limitations, but also offer a good
degree of creative freedom. Now, I won't go too deep
into those right now. We'll be looking at these
in a feature video. But at this point,
it's good to know the different exists
at this early stage. Before you start to
design anything, ask yourself, do I confidently understand
the problem I'm solving? If the answer is
no, press pause, and don't start until you've
got a solid brief in hand, whether it's given to
you or crafted by you. Because the success of any design doesn't start
with color or layout. It starts with clarity. In the next episode,
we are going to take a deeper look at what actually makes a good graphic
design brief. I'll break down the
sections and give you a closer look at one of the
examples I showed earlier. So see you in the next video.
5. Anatomy of a Graphic Design Brief: What Makes a Good One?: Now, you can't hit a target if you don't know
what you're aiming for. A strong graphic design
brief gives you clarity. Without it, you're just
guessing at the style, the message, the audience, and what the client
actually wants. So what does a good graphic design brief
actually look like? Let's break it down. In the last video,
I unpacked what a design brief is and why it's essential to
the design process. Now, let's go deeper and look at the anatomy of what makes a
good graphic design brief, the kind that gives
you direction, saves time and sets your
project up for success. Now, not every brief
will look the same. The structure might change
and the language might vary, but the core content should
always hit the same notes. Now before we get
into the details of what a brief should contain, it's important to
talk about format. Depending on where the brief comes from or who's creating it, it can take many forms
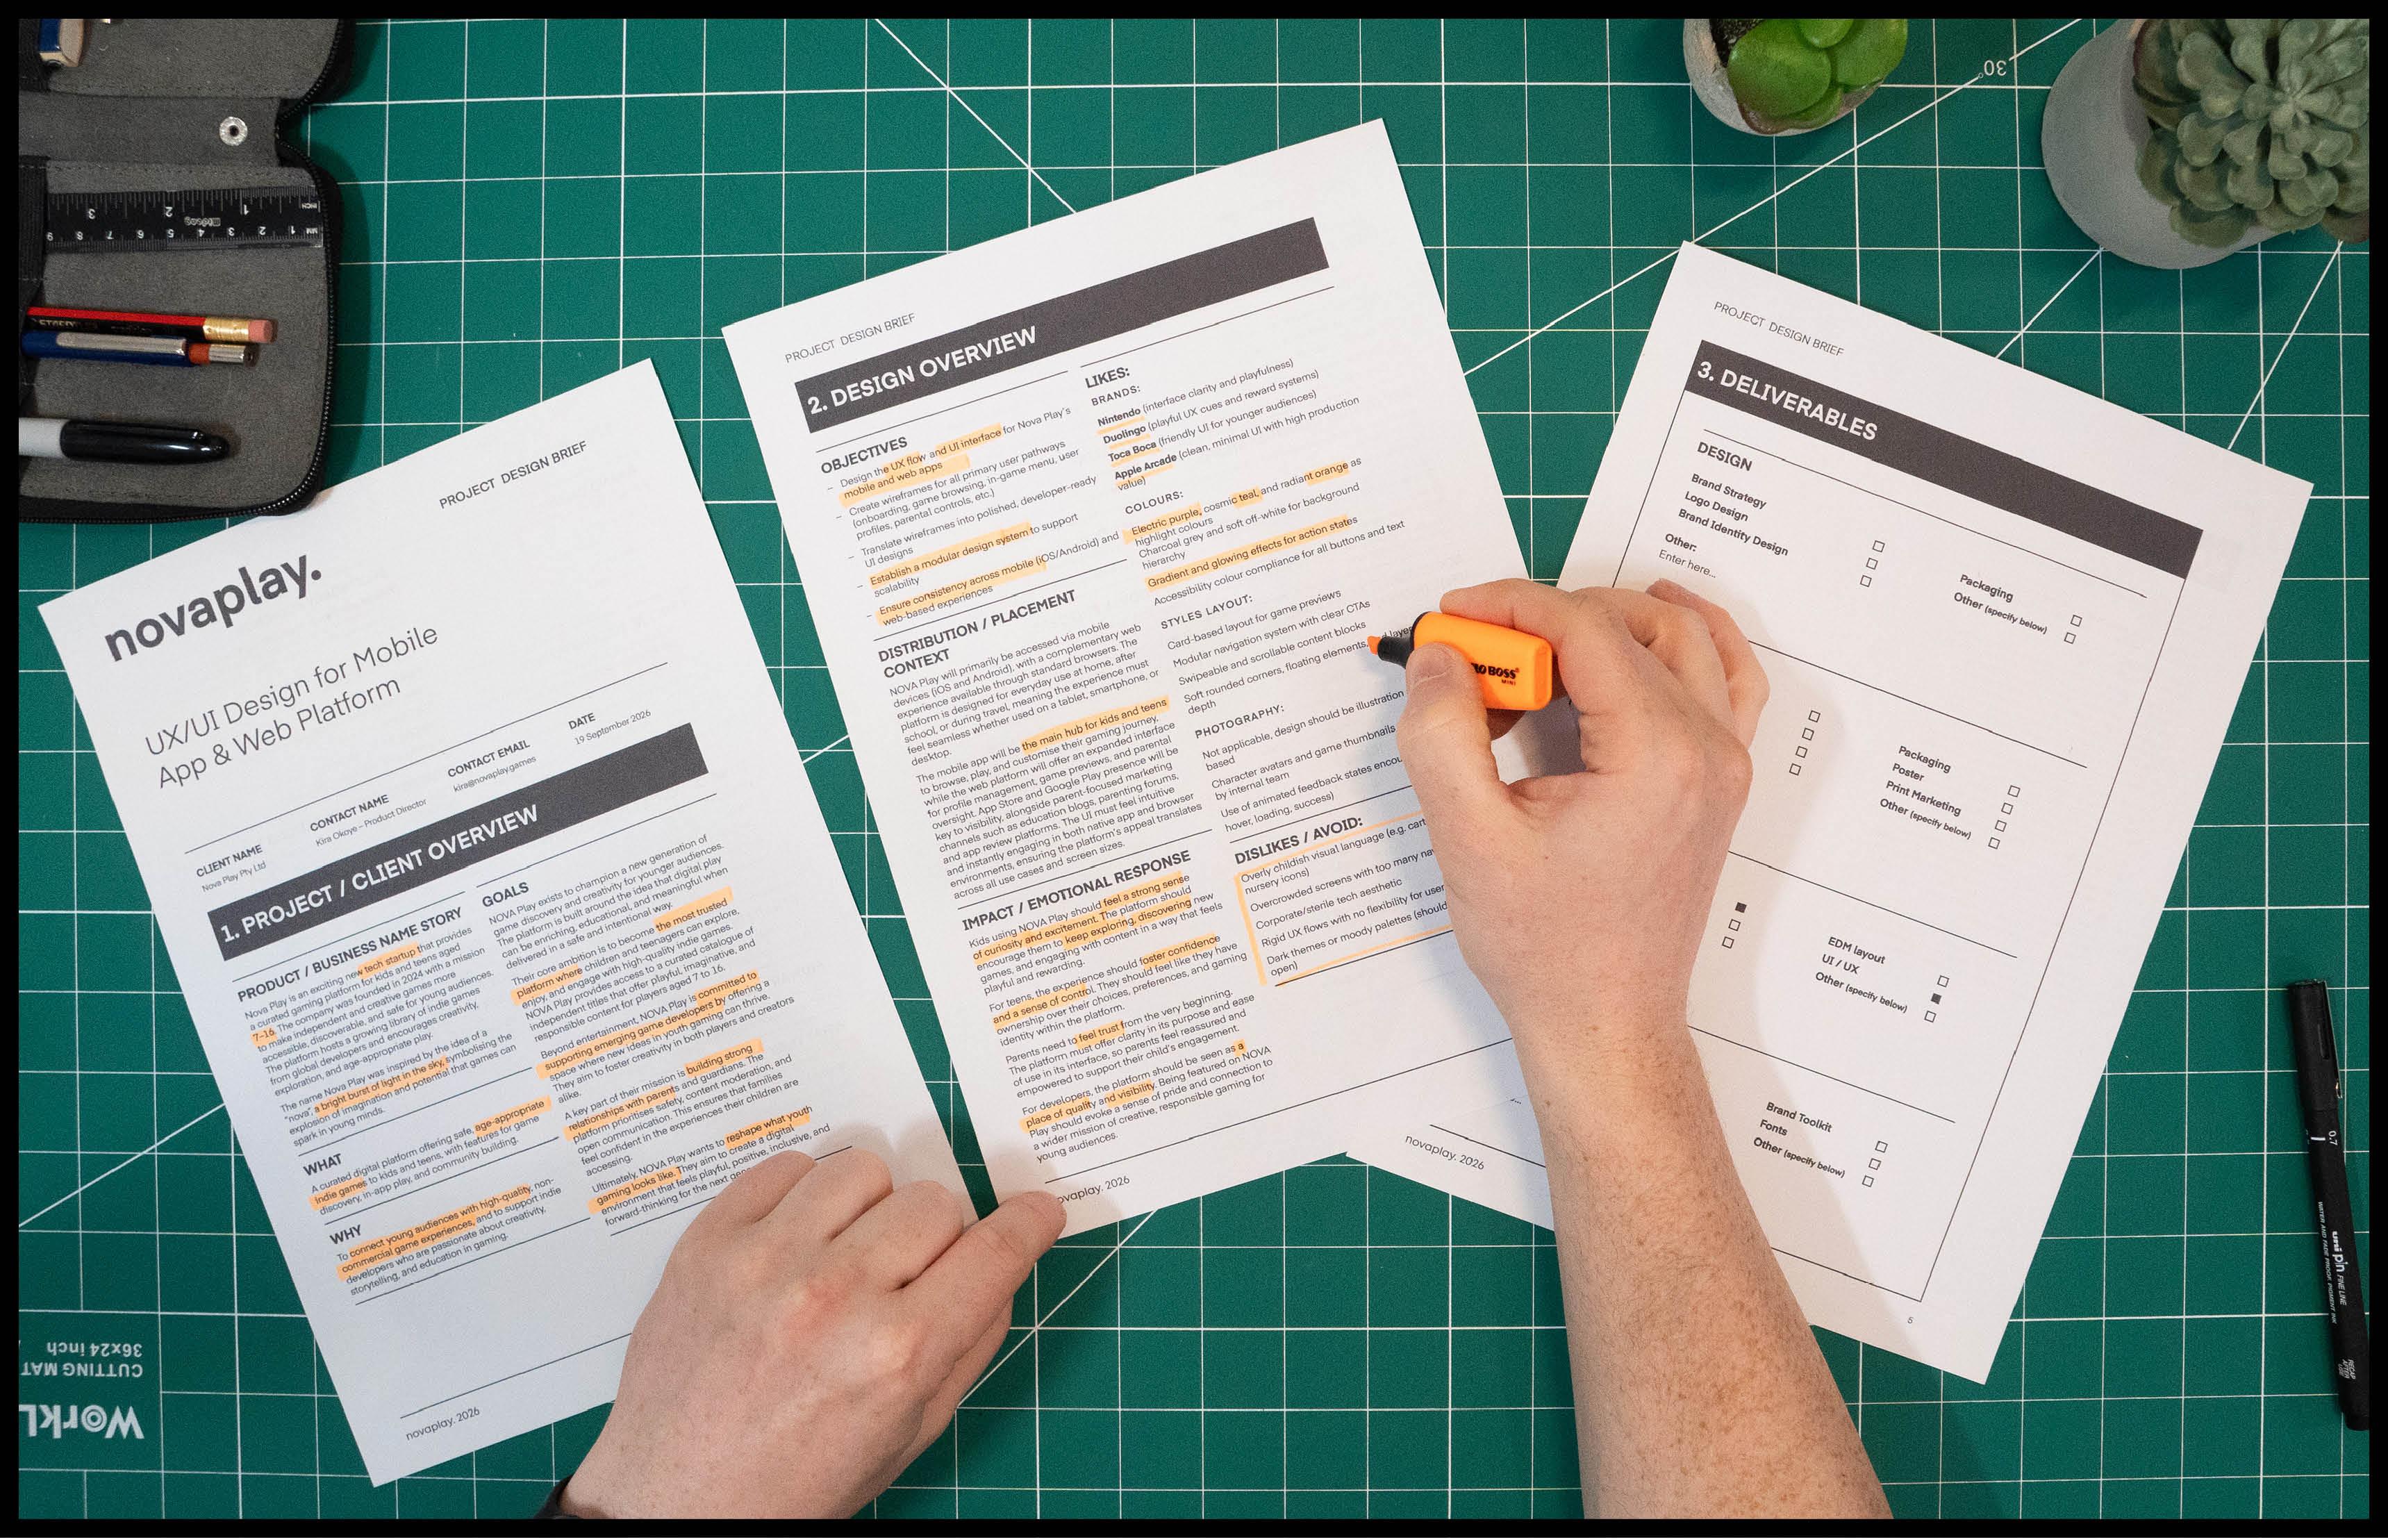
a screen presentation, a PDF, or a printed document. In my experience, it's always best to have
a printed brief. Designers usually prefer to
get hands on making notes, highlighting key points, and referring back to it
throughout the project. The design brief is a big
part of the design process. While a digital brief
might look polished, the best briefs are practical. They're printed,
easy to work with, and designed to be used. Remember, a design brief
isn't meant to be pretty. It's a working document
that should clearly present all the information a designer needs to absorb and act on. So what does a good
design brief contain? Well, a strong brief should give you all the information
you need to understand the project
context, client goals, what's required,
target audience, what success looks like, visual direction, timeline,
and deliverables. So here is an example of a good and thorough
design brief. If you want to explore this
brief example more closely, you can view it from the class PDF that goes with this class. Download the class PDF from the project section
with it open, navigate to the design
resources section where you can click
on Design Brief, click on the design brief
examples, and from here, you will see several
brief examples which you can click
to open and observe. In this instance, click on the Soul Hydro brief to
follow along with this video. So this design brief example is separated into
four key sections, each including many key parts. Section one, project
client overview, Section two, Design overview. Section three, deliverables, and Section four
additional notes. So Section one focuses on the client and project overview. This introduction will outline
all the details a designer will need to learn
about the client and the context of the project, and we'll start
with the following Project brief title, a simple, clear title that captures
the essence of the project, client and contact details. This will include names, roles and contact info. You're working with and who
to go to with questions and then move into a more
detailed overview of the project and client, which contains project
business name story. This can include
any backstory or reasoning behind the
business or project name, why it was chosen, what it represents, or how
it came to be. This kind of insight can
spark creative direction and help ensure the design aligns with the deeper meaning
behind the brand. What? A short paragraph about the client
and what they do. This provides context
about the business, organization, or individual
behind the project. Who are they? What
do they offer? What industry are they in? This helps you
understand their space and how they position
themselves in the market, all of which can influence
the direction of the design. Why? A short paragraph about why the client
does what they do. This is about
uncovering the passion, purpose, and motivation
behind the brand or business. What drives them?
What's their mission? Understanding the why gives
you insight into the heart of the product or brand and helps shape design decisions
that feel meaningful, authentic, and aligned
with their values. Goals, a short paragraph about the client's ambitions
and long term vision. What are they ultimately
trying to accomplish? This could include where
they want the brand to go, how they want to grow, or the impact they hope to make in their industry or community. Understanding their goals
gives you a clear picture of the bigger journey
they're on and helps you design with that
destination in mind. Brand values, a short
paragraph outlining the core values or
guiding principles of the product or brand. Understanding the brand's
values helps guide visual decisions and feel
authentic and aligned, ensuring the design reflects not just how the brand looks,
but what it stands for. Unique selling points. A short paragraph
outlining what makes the client product or service stand out from the competition. This helps clarify the brand's strengths and
distinct qualities, whether it's their story,
their values, pricing, product features, customer experience,
or market position. Knowing the unique
selling points gives the designer
insight into how to shape the visual identity
and messaging to highlight what truly
sets the brand apart. Tone of voice and personality. Few keywords or
short phrases that describe how the brand should
sound when it communicates. Is it friendly and approachable, bold and confident,
professional, and informative? This can also include three to five traits that best describe the
brand's personality. This helps define
the personality of the brand's messaging
and ensures that both the design
and the copy feel consistent across
everything from packaging to social media. A clear tone of voice
and personality helps guide not just what's being said, but how it's said. Strap lines include any
existing strap lines, tag lines or slogans the client currently uses or
would like to use. This gives insight into the client's voice
and competitive edge. These short punchy
phrases often capture the essence of the brand or
communicate its key promise. Whether it's
something already in place or still in development, strap lines can help
guide the overall tone, message, and creative
direction of the project. If none exist yet, this is a good opportunity
to brainstorm potential decisions based on the brand's goals and
values. Primary audience. A clear overview of who
the design is targeting. This should include details
like age, gender, location, profession, lifestyle, income level, and
personality traits. Anything that helps paint a clear picture of the
core customer or user. Knowing exactly who
the design is for helps guide visual choices,
tone, and messaging. So the final outcome
speaks directly to the people it's meant to
engage and connect with. The better you
understand the audience, the sharper and more effective
your design will be. What they care about
a short summary of the audience's interests,
values, and priorities. What matters most to them? What problems are
they trying to solve? What influences their
decisions or builds trust? This insight helps align the design with what the
audience truly connects with, whether it's quality,
convenience, sustainability, status, or
something else entirely. Understanding what your audience
cares about helps shape messaging and design choices that feel relevant
and meaningful. Secondary audience, an overview of any additional groups
the design should consider. This might include future
users, adjacent markets, internal stakeholders, or fringe demographics the brand wants to attract or grow into. Recognizing secondary audiences ensures the design doesn't alienate other potential users and allows for broader
appeal where needed, supporting long term growth, inclusivity and
strategic expansion. Competitors, a list of any direct or indirect
competitors in the same space, along with links,
visual references or notes on how they
position themselves. This helps identify how your
client fits into the market, what others are doing, and where there might be
opportunities to stand out. It also helps avoid unintentionally mimicking competitor branding
or messaging. Understanding the
competitive landscape is key to designing something that's both relevant and distinctive. Strategic considerations,
big picture, an outline of any broader vision and strategic goals
behind the project, whether it's breaking
into a new market, shifting public perceptions,
challenging industry norms, or launching something
entirely new. Understanding these
bigger picture aims helps designers move beyond surface level aesthetics and develop more intentional
meaningful work. Strategic insights can spark bold creative ideas and cover opportunities
to differentiate and shape a design solution
that's not only visually strong but deeply aligned with the brand's mission
and future direction. Budget. This outlines the
financial scope of the project, either a fixed amount
or a general range. If a quote has already been provided, it can
be included here. If not, this is where the client can note what they
are willing to spend. Having a clear budget helps
define what's realistic, ensures expectations are aligned and can influence the scale, timeline, and deliverables
of the project. So the project client overview will include all the details a designer will
need to learn about the client and the
context of the project. A good brief will cover
these key criteria. Now, Section two focuses on the design criteria
of a project. This will include
all the details that give a designer
all the information about what they will
need to keep in mind regarding the
design of the project. This section will
include objectives. A clear summary of what needs
to be designed and why. What is the project
aiming to achieve? Are we raising awareness,
increasing sales, launching something new, or shifting how the
brand is perceived? This outlines the
functional purpose behind the design and gives direction to your
creative decisions. Having clarity here
helps ensure the work is focused and built to
deliver real results. Distribution, placement context. Clear summary of where
the design will appear, whether it's for print,
like posters, flyers, packaging, digital
platforms like Instagram, websites or email campaigns,
or other environments. Understanding the
placement helps shape everything from layout and
format to tone and scale. So the design is optimized for its environment and reaches the audience where
they actually engage. Impact, emotional response. A short paragraph
about the kind of response the design
should create. This is all about
how the audience should feel when they
interact with the design. Should it excite them, build
trust, inspire action? Or create curiosity,
whether it's emotional, intellectual, or sensory, this helps define the
intended experience. Clarifying the desired impact
helps guide tone, style, and creative choices to ensure the work resonates
in the right way. Lis a list of visual preferences,
what the client likes. This can include brands, colors, styles, layout,
and photography. It's also helpful to note any visual references the
client has already researched. Understanding a client's
preferences gives you a creative starting point
and helps shape a direction. It can spark ideas and build early confidence
in your design approach, dislikes to avoid a list of what the client
would prefer to avoid. Capturing this early helps steer the creative direction
and avoid missteps, saving time and keeping the project aligned with
the client's expectations. Visual references, color
preferences, styles to avoid, anything that helps you steer
clear of what the client doesn't want existing
brand assets. Summary of any current branding or materials already in place. This might include
logos, color palettes, typography, imagery, brand guidelines or past
marketing material. Knowing what already exists and what should be
kept or evolved helps maintain
consistency and ensures the new design fits within
the broader brand system. If no assets are available, that's useful to know, too. It often means there's more
creative freedom to explore. Key design considerations. This should include
any important notes, limitations or requirements
that could affect the design. This might include
format constraints, accessibility needs, platform specifications,
print requirements, or specific elements
that must be included. It can also cover technical
aspects like file types, image resolutions,
or usage contexts. Identifying these early
helps avoid surprises later and ensures the design is both creative and practical. Accessibility or
legal requirements, an outline of any
accessibility standards, compliance rules or
legal guidelines that need to be considered, such as WCAG accessibility,
color contrast, alt text, copyright usage, disclaimers, or
industry regulations. These requirements ensure
the design is inclusive, legally sound, and
suitable for all users, helping avoid potential
issues while making the final outcome accessible,
ethical and compliant. Design achievements.
This outlines the core goals of
the design itself. For example, should
it attract attention, informed clarity,
driver response, or simply look
professional and on brand? These are the practical outcomes the design should
deliver once completed. Keeping these goals
clear helps you stay focused on what
the design needs to do, not just how it looks. How will success be measured? This should outline
the metrics, feedback, or outcomes that will be used to evaluate the effectiveness
of the work. This could include
increased sales, higher engagement, improved
brand recognition, or feedback from a
target audience. Defining this early helps align expectations and
gives you something concrete to work towards and reflect on once the
project is complete. Timeline. This should outline key milestones and
the final deadline. It can include start dates, phases of development, and any important
delivery checkpoints. A clear timeline helps
manage expectations, keeps the project on track, and ensure there's enough
time allocated for feedback, revisions, and final delivery. This keeps everyone
accountable and gives the project structure.
Approval process. A clarification of who
will be responsible for reviewing and signing
off on the design, including any stakeholders or decision makers involved
throughout the process. Knowing who has final say helps
streamline communication, avoid unnecessary revisions,
and keep the project moving forward with clear
accountability at each stage. So the design
overview will include all the details a
designer will need to know about what is required. A good brief will cover
these key criteria. So the next section focuses on the design deliverables
for the project. Depending on the
scope, there may be one or many
deliverables required. In this brief, there
is a checklist of exactly what
needs to be created, whether it's a
logo, print files, social media assets, packaging, or all of the above. This can be sectioned into
various subcategories, making it easy to manage with a simple checkbox system to
highlight what is required. So the deliverables
overview should include all the items a
designer will need to know about what is required. A good brief will cover
these key criteria. The last section focuses
on additional notes. This is a space for
additional information, links and anything else that may be important for a
designer to know about. So those are all
the key criteria a good design bref will include. A strong design bref allows a designer to take a step back, digest the
information, and start the design process to
problem solve with purpose. Because what makes a great brief isn't how pretty
the template is, it's the quality
of the information and the clarity of
the intent behind it. When the right questions
are asked and answered, everything else gets easier. So here's the insight I
want to leave you with. Great Design starts with
great understanding, and that starts with the
graphic design brief. Whether you're handed one or you have to build it yourself, take the time to get clear on the details before you dive
into the design process. In the next video,
we're going to look at the different types of
briefs you may encounter and how each type
of brief can shape your creative direction
in very different ways. So see you in the next video.
6. Three Types of Design Briefs You’ll Work With: Now, not every graphic design
brief is created equal. Some give you room to
explore, invent and play. Others hand you
the structure and expect you to work
within the lines, and some are somewhere
in the middle. One isn't necessarily better than the other, but
knowing the difference, that can change how you
approach a project or even decide what kind of
designer you want to be. Do you thrive on
creative freedom or do you prefer
clear boundaries? Let's take a look at the
three most common types of design briefs and what they mean for your creative process. So when you're
working on a project, you'll usually be issued
with a design brief. And that brief will
typically fall somewhere on what I like to call the
creative freedom spectrum, which ranges from low to
high creative freedom. So what's the
difference? Open briefs offer more creative freedom. They don't tell you
exactly what the solution is and will give you
room to explore. On open briefs, you'll likely be spending
more time researching, sketching ideas, developing
multiple directions, and presenting concepts
before one is chosen. Open brief examples might be for creating a new logo design, creating a new brand identity, creating a new
marketing campaign, creating a new layout
for an annual report, creating a pitch deck
for advertising ads, or developing concepts
for an event booth. Now, closed briefs, on the
other hand, are more specific. And will offer lower
creative freedom. You might be working within
set brand guidelines, using existing assets, or updating something
that already exists. In closed briefs,
the design direction is typically already defined, and your job is to execute it
effectively and accurately. Closed design brief
examples might include creating a brochure
from strict guidelines, creating a presentation,
using a template, develop brand guidelines for an already established brand, taking specific direction
from a creative director, producing social media using
pre approved layouts and templates or creating internal PowerPoint
slides or branded forms. So open and closed briefs will give varying
degrees of direction, which will shape the design
process very differently. It's also important
to understand that design briefs aren't always
strictly open or closed. They often fall somewhere
along a spectrum. Some briefs may sit firmly at the closed end with
clear guidelines, strict brand rules, and very little room
for interpretation. Others may be wide open, giving you complete freedom to explore ideas from scratch. But many briefs land
somewhere in between. A flexi brief sits
somewhere in the middle. These brefs offer a blend of creative freedom
and structure. You're usually working with an established brand
that already has specific design elements and guidelines in place like logos, colors, typography,
and a general tone. But within those parameters, there's room to explore
and create something new. You might not be
building from scratch, but you're still contributing
to how the brand evolves or shows
up in a fresh way. It's about problem solving with freedom but also responsibility. Flexi briefs can
involve designing a campaign using
existing brand assets, creating new posters,
banners or social templates, developing a sub brand
or product extension, expanding a brand's
asset library with new icons, patterns, or illustrations, developing a brand identity
uplift or refresh, or designing an event booth or presentation space that
uses brand guidelines. In instances like this, you're
not inventing the rules, but you're also not stuck
inside a rigid box. It's a great space for
designers who enjoy both creative exploration
and strategic structure. Recognizing where a brief falls on this spectrum helps
you manage your process, set expectations, and make the most of the creative
opportunities available. Here I have three design briefs to demonstrate an
example of an open, closed and flexi brief. If you want to explore these
brief examples more closely, you can get them from the class PDF that comes with this class. Download the class PDF from the project section
with it open, navigate to the design
resource section where you can click
on Design briefs, click on the design brief
examples, and from here, you can see several
brief examples which you can click
to open and observe. In this instance,
we'll be looking at the gold line clothing brief, the Strata pharmaceuticals,
and the Roster coffee brief. The first example is
an open brief for a fictional business
called gold line clothing. This company is launching a
new online platform called One Star T shirts to allow designers to create and sell
their own t shirts online. So the brief was to
create a brand identity for a new online
T shirt platform. From the design overview
section, some key highlights. They want a full brand
identity created, logo, look and feel, assets, the whole kit. There's no existing
branding to build from, so it's a full creative
build from the ground up. Want to see multiple
creative routes before moving to execution, and there is a good amount
of time to do it in. So this is a classic open brief. Here, the job is not to
design but to invent. There's a lot of space
to explore, test, and define the direction and requires multiple
routes to pitch. On a job like this,
you would use all your design skills to develop a completely
new creative direction. Here, you would have
the possibility to put your stamp on the design. So the next example
is a closed brief for a fictional company called
Strata Pharmaceuticals. This company is preparing for an exhibition and wants print
materials for the event. The brief is to create
promotional print media for an exhibition to engage and
interact with attendees. From the design overview
section, some key highlights. Brand guidelines already exist. They're using last
year's templates. They want new imagery
and minor updates only, and there is a short
two week turnaround. So this is a classic
closed brief. The job is not to
create a new concept. It's to work within
the structure they've already established. And even use some of the already established templates
from the previous year. So the solution is
already defined. On a job like this, you would be applying
your design skills, but the creative boundaries
are much tighter. You might have some
input on details like image choice
or layout tweaks, but the overall
direction is fixed. Now, let's take a look at a brief that falls
somewhere in the middle, not fully open, but not
strictly closed, either. This example is a flexi brief, a fictional brief
for a coffee chain called Roster Coffee. The brief is to
create a series of in store posters to promote
seasonal drinks and new offers. From the design overview
section, some key highlights. Design a series of five to ten promotional posters for use in store and online. Open to exploring
different compositions, photography styles, messaging approaches,
and typographic layouts as long as they stay on brand. Already has established
guidelines, including typefaces, color
palettes and logo usage. The timeline is four weeks for
concept to final delivery. This is a great example
of a flexi brief. On a job like this,
you wouldn't be creating an identity
from scratch, but you'd be building on
top of current guidelines. There is scope for fresh ideas, and it has moderate direction. On this job, there is room to be creative within a
defined structure. This brief example sits comfortably between
open and closed, blending direction
with opportunity. So why does this matter? Well, understanding
whether a brief is open, closed or somewhere in
between helps you set expectations and figure out what kind of work you
actually enjoy doing. Some designers thrive on
starting from a blank slate. Others prefer refining and improving existing systems
within a set structure. Knowing where you sit on that
scale can help you choose the right projects
and clients and ultimately shape the kind
of designer you want to be. And this isn't just
theory, either. In job interviews or when speaking with
potential clients, you can ask a simple
but powerful question. Do you work with open briefs, closed briefs, or a mix? That answer alone can
tell you a lot about the creative scope of the role and whether it aligns with
how you would like to work. When I'm speaking
with recruiters or reviewing new contract
opportunities, I'll always mention that
I prefer open briefs. That clarity upfront saves everyone time and ensures a
better fit from the start. Over the course of your career, you're likely to work
across all types of briefs. Some will be fully
open, giving you total freedom to invent and define the
creative direction. Others will be closed, where the role is to execute within strict brand systems using
existing assets and templates, and many will land in
the flexible middle, where you're designing
with brand guidelines, but still have freedom
to shape layouts, campaigns, and messaging
in your own way. Understanding where a project
sits on that spectrum helps you choose the kind
of work you enjoy the most, manage your time and creative
process more effectively. Avoid frustration when expectations aren't
clearly defined, play to your strengths and lean into the work
you prefer to do. In the end, it's all about
knowing what you're walking into and using that
awareness to your advantage. So the kind of brief you work with doesn't just
shape the project. I shapes your role
as a designer. The more you understand
that, the more intentional you can be
with the work you choose, the clients you say yes to and the direction you want
your design career to go. When I'm speaking
with recruiters or reviewing new contract
opportunities, I'll always mention that
I prefer open briefs. That clarity upfront
saves everyone time and ensures a better
fit from the start. So let me know in the
discussion section, which type of design
bref do you prefer to work on open, closed or flexi. In the next class, we look at what to do when a client
doesn't give you a brief at all and how you can build one yourself using a set of
professional design resources. So see you in the next video.
7. How to Create Your Own Design Brief: Free Templates Included: So what do you do when a client doesn't give you
a graphic design brief? Maybe someone's reached out, asking you to take on a job. You've had a quick chat,
maybe exchanged a few emails, but there's no real direction. Just a couple of loose
ideas and a vague goal. And now you're expected
to start designing. Now, you could wing it,
but let's be honest, that's risky because
without a clear brief, you're flying blind, and
that can lead to confusion, wasted time, and work
that misses the mark. What if you had a
better way forward? What if you had your own set of tools to build a professional
design brief yourself, quickly, clearly,
and confidently, no matter what type
of project you have? Well, in this class, I'm going to show you exactly
how to do that. I'll walk you through
how to acquire all the key information
and then create your own graphic design
brief from scratch using my custom in design and
Illustrator templates. So whether you're
working in house, freelancing or
just starting out, this episode will give you
everything you need to get your projects off the ground
with clarity and purpose. Let's dive in. So before
starting any new design project, it's ideal to have a
well thought out brief. A brief gives structure
to your work, defines the goals and makes sure everyone's on the same
page from the start. Typically, before starting
a design project, you'll be issued a design brief, but that doesn't always happen. Might just get a call, a
couple of bullet points, or a very loose idea. Some clients prefer to discuss everything in person
or over the phone. Many don't fully understand what a brief is or how
important it can be. Whatever the situation,
you'll want to build a solid design brief before
starting any project, and it's totally
possible to create your own using a simple process. If a brief isn't handed to you, your first job is to gather
the information yourself. Now, there are many ways you
can go about doing this. You can get information
via a video or phone call, an in person meeting,
an email exchange, or a client questionnaire. Over the years, I
found that using a client questionnaire is one of the best ways to collect
the information you need. You can go through
this face to face over a phone call or simply send it to them to fill in
in their own time. This gives you a clear structure to articulate what you need, so you can collect information
in a variety of ways, from a simple text document to more interactive online tools. Some great online platforms include Google Docs
and Google Forms. Here you can create
a Google Doc, share it with your client, and they can simply fill
in the details. Alternatively, you
could consider online form Builders
such as Tally, Jot Form or typeform. These allow you to create custom online forms that
you can share via a link. Whether it's a simple text doc, a Google Doc or an online form, the client can fill
in their answers directly into each field. And once they send it back
to you or hit Submit, you'll receive all the responses
in a structured format. So let's look at using a
project questionnaire. To make things really easy, I've created a simple Google Doc questionnaire
template that contains all the key questions with instructions you can use to
build your own design brief. If you want to view
this in more detail, you can get access from the class PDF that
comes with this class. Download the class PDF from the project section
with it open, navigate to the Design
resource section where you can click
on Design briefs, click on Design
Brief Questionnaire, and from here, you will
see a few options. This instance, click
the first link to view the Google
Doc questionnaire, which you can open and observe. This document is fully structured with sections
for you and your client to fill out with
helpful instructions under each question
to guide the process. This document has been
prepared to help you gather the right information and
ensure nothing gets missed. Here you can copy it into your own Google Doc,
save it as a template, download it as a word file, or adapt it however you like, for your own workflow. This resource is here as
a blueprint to save you time and give you
a solid foundation when a brief isn't provided, so you can move forward with clarity, confidence,
and professionalism. In my experience, going through this with
a client is best, but most clients are happy
to take a few minutes to complete it if they're prepared to do it
in their own time. Now, alternatively,
if you prefer a more interactive and user friendly way to
collect information, I've also included some online Form Builder options
you can explore. Here's an example
of a Google form I have prepared previously, which mirrors the same structure as the Google Doc I just showed. If I scroll down here, you can see how it's all
structured where I have created all
the key sections a client can simply fill in. Next is an example
of a tally form I have created previously. This is much like
the Google form, but with a different
layout experience. If I scroll down here,
you can see how it's all structured with all the key sections
a client can fill in. So instead of sending a static
document that your client has to download or edit
manually using an online form, you simply send them a link. They can open it right
in their browser, fill it out step by step, and submit their answers, all without needing to log
in or download anything. It's a clean, intuitive
process that can save you time and make things
easier for your client. If you'd like to check
out these forms, navigate back to the
class PDF, and this time, click on the Google
Form and tally Links to open and Explore. Also, check the video description
for some links to view. So whether you prefer to use a text based template or
create your own digital form, both options are
available for you to use, adapt, and share. So whatever approach
works best for you, once you've gathered your info, it's time to build
the actual brief. Next, you can simply
take the information and drop it into a design
brief template. If you navigate back
to the class PDF, this time in the Design
Brief resource section, click Design Brief Templates. Here you will find
templates built in in Design and templates
built in Illustrator. By clicking on either
of these folders, you will download a zip folder. In each folder, you will see all the templates I have
created previously. Now, if you're using InDesign, you can begin by opening up the InDesign brief ID ML file, where you will see all the
brief templates on offer. These range from simple
to more complex. So depending on how you want to prepare and print
your design brief, some are single sheets and
some are double sided, outlined in a booklet format. So here you have a
variety of layouts. However, I have
set them all up in a similar way so you can
work with each one the same. By holding Alt on the keyboard, you can double click
on the design brief and it will open in
its own document. Each brief template is
spread over a few pages, allowing for large
amounts of content with clear defined sections that reflect the questionnaire. By pressing W, you can see that each section includes
tethered text frames. As text is added
into the frames, it will continue
into the next frame. As text flows
across the columns, keep in mind that
ifever you want to force text into
the next column, you can come to type,
insert break character, and click Column break, instead of having to tweak
the column height manually. By clicking on the text frames, up in the paragraph panel, you can toggle the
number of columns to customize your layout. However, keep in mind in
some of the templates, text flows inside tables. So you'll have to toggle
the frame size there. Fill the check box fields, simply select the boxes stroke, then use the swap fill and
stroke tool to fill them. Now, every template uses Google fonts, which
are free to use. So if you want to use these
templates as they are, navigate back to the class PDF and get the fonts from the
design resource section. To customize the typography, go to Window Styles
Paragraph Styles. Without anything selected, simply double click into
the Paragraph Styles, and you can edit them to
change the fonts, weights, and stars across
the entire document by editing the presets. Also check out the
character style, as there is one in there to apply a bold weight
to your type, as not to alter the
paragraph style. And if you want to
change the colors, double click on the swatches
and update all your choices. So the layout is structured
using text frames with simple paragraph styling
that makes it easy to paste in your client's answers
and change your style. In the templates, I have
included fictional text, so you can see how it works
across the text frames, which you can simply select and replace with your own content. Now, if you prefer Illustrator or don't have
access to InDesign, Illustrator versions
are also available. You'll find the
same sections just laid out separately
across the pages. They won't be as flexible, so you'll have to do
some manual work to adjust the layouts
as you add text. Like in InDesign, you
can edit fonts and styles by going to Window
type paragraph styles. Double click the style to change the fonts and apply
your own look. So once you have taken
all the information from your questionnaire and filled in your brief templates, you can export it as a PDF. Make sure you're
happy with the level of detail you need for the project and then share it with your client for review. This gives a client
a chance to confirm the direction or
suggest changes. Once approved, you've then got a solid reference
to work from. So to recap on how to go from
nothing to a solid brief, first, use a project
questionnaire to gather information
from your client. Then use the brief template to structure that into a
clean professional format. Once complete, review and finalize to make sure you're
happy with the details, send it back for client sign off or any small adjustments, and then print it off and start the design process with clarity. So remember, you don't have to wait for a brief.
You can create one. And when you do, you take
control of the process, which means fewer revisions, better communication, and
better design outcomes. So grab the templates, try them out and start your
next project with confidence. I hope this helps you take charge of your
creative process. So that's how you can
create a design brief for real projects
using a questionnaire. But what if you're looking to challenge yourself with
a fictional brief? Maybe you're just
starting out in graphic design and want to
explore the creative process, but you don't have a real
client to work with. A great way to practice is by creating your own
fictional design brief. In the next video, I'll
show you how to create one from scratch
quickly and easily, so you can start building design projects for your portfolio. See you in the next video.
8. Create your Own Fictional Design Brief : When it comes to real
world design work, being able to develop a clear, structured brief is one of the most valuable
skills you can have. It sets you up for success before you even begin designing. If you have a real client or a live project you're working
on and you need assistance, building a design
brief, perfect. Use the templates I provided earlier in
this series to help gather and structure
all the information you need to build a proper
professional brief. However, if you don't have a real client right now
and you want to practice, don't worry, you can
create a fictional brief. And to do this is easy. Here, we can leverage
the power of AI to generate a fictional
design brief in minutes. So if you want to make
a fictional brief, you can undertake
four key steps. Step one, define your
company or product context. Step two, customize
a full brief prompt. Step three, generate
a full design brief, and step four,
prepare and export. So let's begin with step one. Define your company
or product context. Here, I have a Google
Doc containing a pre written prompt to help you generate a fictional company or product you could use for a
design brief to view and use this prom you can
get access from the class PDF that
comes with this class. Download the class PDF from the project section,
with it open, navigate to the design
resource section where you can click
on Design Briefs. Click on Design Brief AI Prompt, and from here you will
see a few options. In this instance, click
the first link to view the company and product
Contexts Google Doc. So the first step is to think
about the four criteria for the project context that I
have here at the top in pink. Think about a name for
a fictional company, what the fictional
company or business does, what do you want the
design brief to be for, and what design
work is required. Currently, you can see the fictional descriptions
I have placed in pink so you can get an idea of what you can create
for your example. So here you can do
one of two things. You can either create your own fictional company or product, or you can use this prompt. If you want to use AI
to generate it fast, simply copy and paste the entire prompt
into ChachiBTPcess, and it will return a
response for each part. Easy. Step two, customize
the full brief prompt. So next, I have
another document, but this time with a thorough
pre written prompt that you can use to generate a full detailed fictional
brief in seconds, which you can again paste
directly into Chat EBT. This prompt touches on all the key criteria you would need for a detailed brief with instructions on what is
required for each part. If you navigate back to
the class PDF, this time, click on the next Google Doc for the full design
brief prompt. Initially, I'd recommend
copying the text from this doc and pasting it into
your own document where you can
customize the details. At the top, you can see the
project context in pink, which currently
contains my example. Now it's just a case of removing my example and replacing
it with yours. So either type in
your own criteria for each section in pink or copy the result that you
generated for your company or product context
and replace mine. And then you'll have your
full brief prompt ready. Step three, generate
a full design brief. Once you've made your edits
to the full brief prompt, copy and paste the entire
prompt into Chat GBT. Again, process,
and it will return a full response
for each section. This should help speed
up your entire process to generate information
for your fictional brief. Step four, prepare and export. With your generated result, it's just a case
of exporting it as a PDF directly from Chat GBT, or take the results and
drop them into one of the in design or Illustrator
design brief templates included in the class PDF as demonstrated in
the previous video. You can adjust the layout, tot the type, and customize
the look and feel. Whichever option you choose. Once you're done, you'll have a complete fictional
design brief ready to print that
you can learn from. Easy. This is a great way
to save time and simulate the initial process
of setting up a design brief and getting comfortable working
with the structure. Once you have a fictional brief, you can even take it a step
further and respond to your own brief with a full design project for
your portfolio. So if you follow the steps and you've created
your own design brief, be sure to share your brief in the project section
of this class. I'd love to see what
you have come up with. This is also a great way
for others to learn to get inspired and see different approaches
to the same process. Let's see what your ideal
design brief would be.
9. Closing: So that's the Graphic
design brief. In this class, we've explored why it's such a crucial
part of the design process, how to recognize the
difference between open, flexy and closed briefs and what to do when a client
doesn't provide one. Most importantly,
you've now got a method and a set of tools to build
your own briefs from scratch, so you can bring clarity to
any project you take on. Remember, the design brief
isn't just paperwork. It's the foundation that supports every creative
decision you will make. A strong brief sets
up a strong process, and a strong process
leads to great results. I really hope you've
enjoyed this class and that the
resources, templates, and insights I've
shared will become a useful part of your
own design toolkit. If you want to keep
growing your skills, check out more of
my classes here on Skillshare and make sure to follow my profile so you don't
miss any future releases. Thanks again for joining
me and until next time, unleash your creativity, and I'll see you in the next class.
 Gareth David, Graphic Design & Process