Transcripts
1. Intro: Have you ever wanted
to learn to knit? You don't know where to start and think that knitting is hard to learn if so this
class is for you. Hi, I'm Isabel Zubak. I'm an artist,
crafter and designer. In this short class for
absolute beginners, I want to show you how to knit your first project
quickly and easily. We have just three
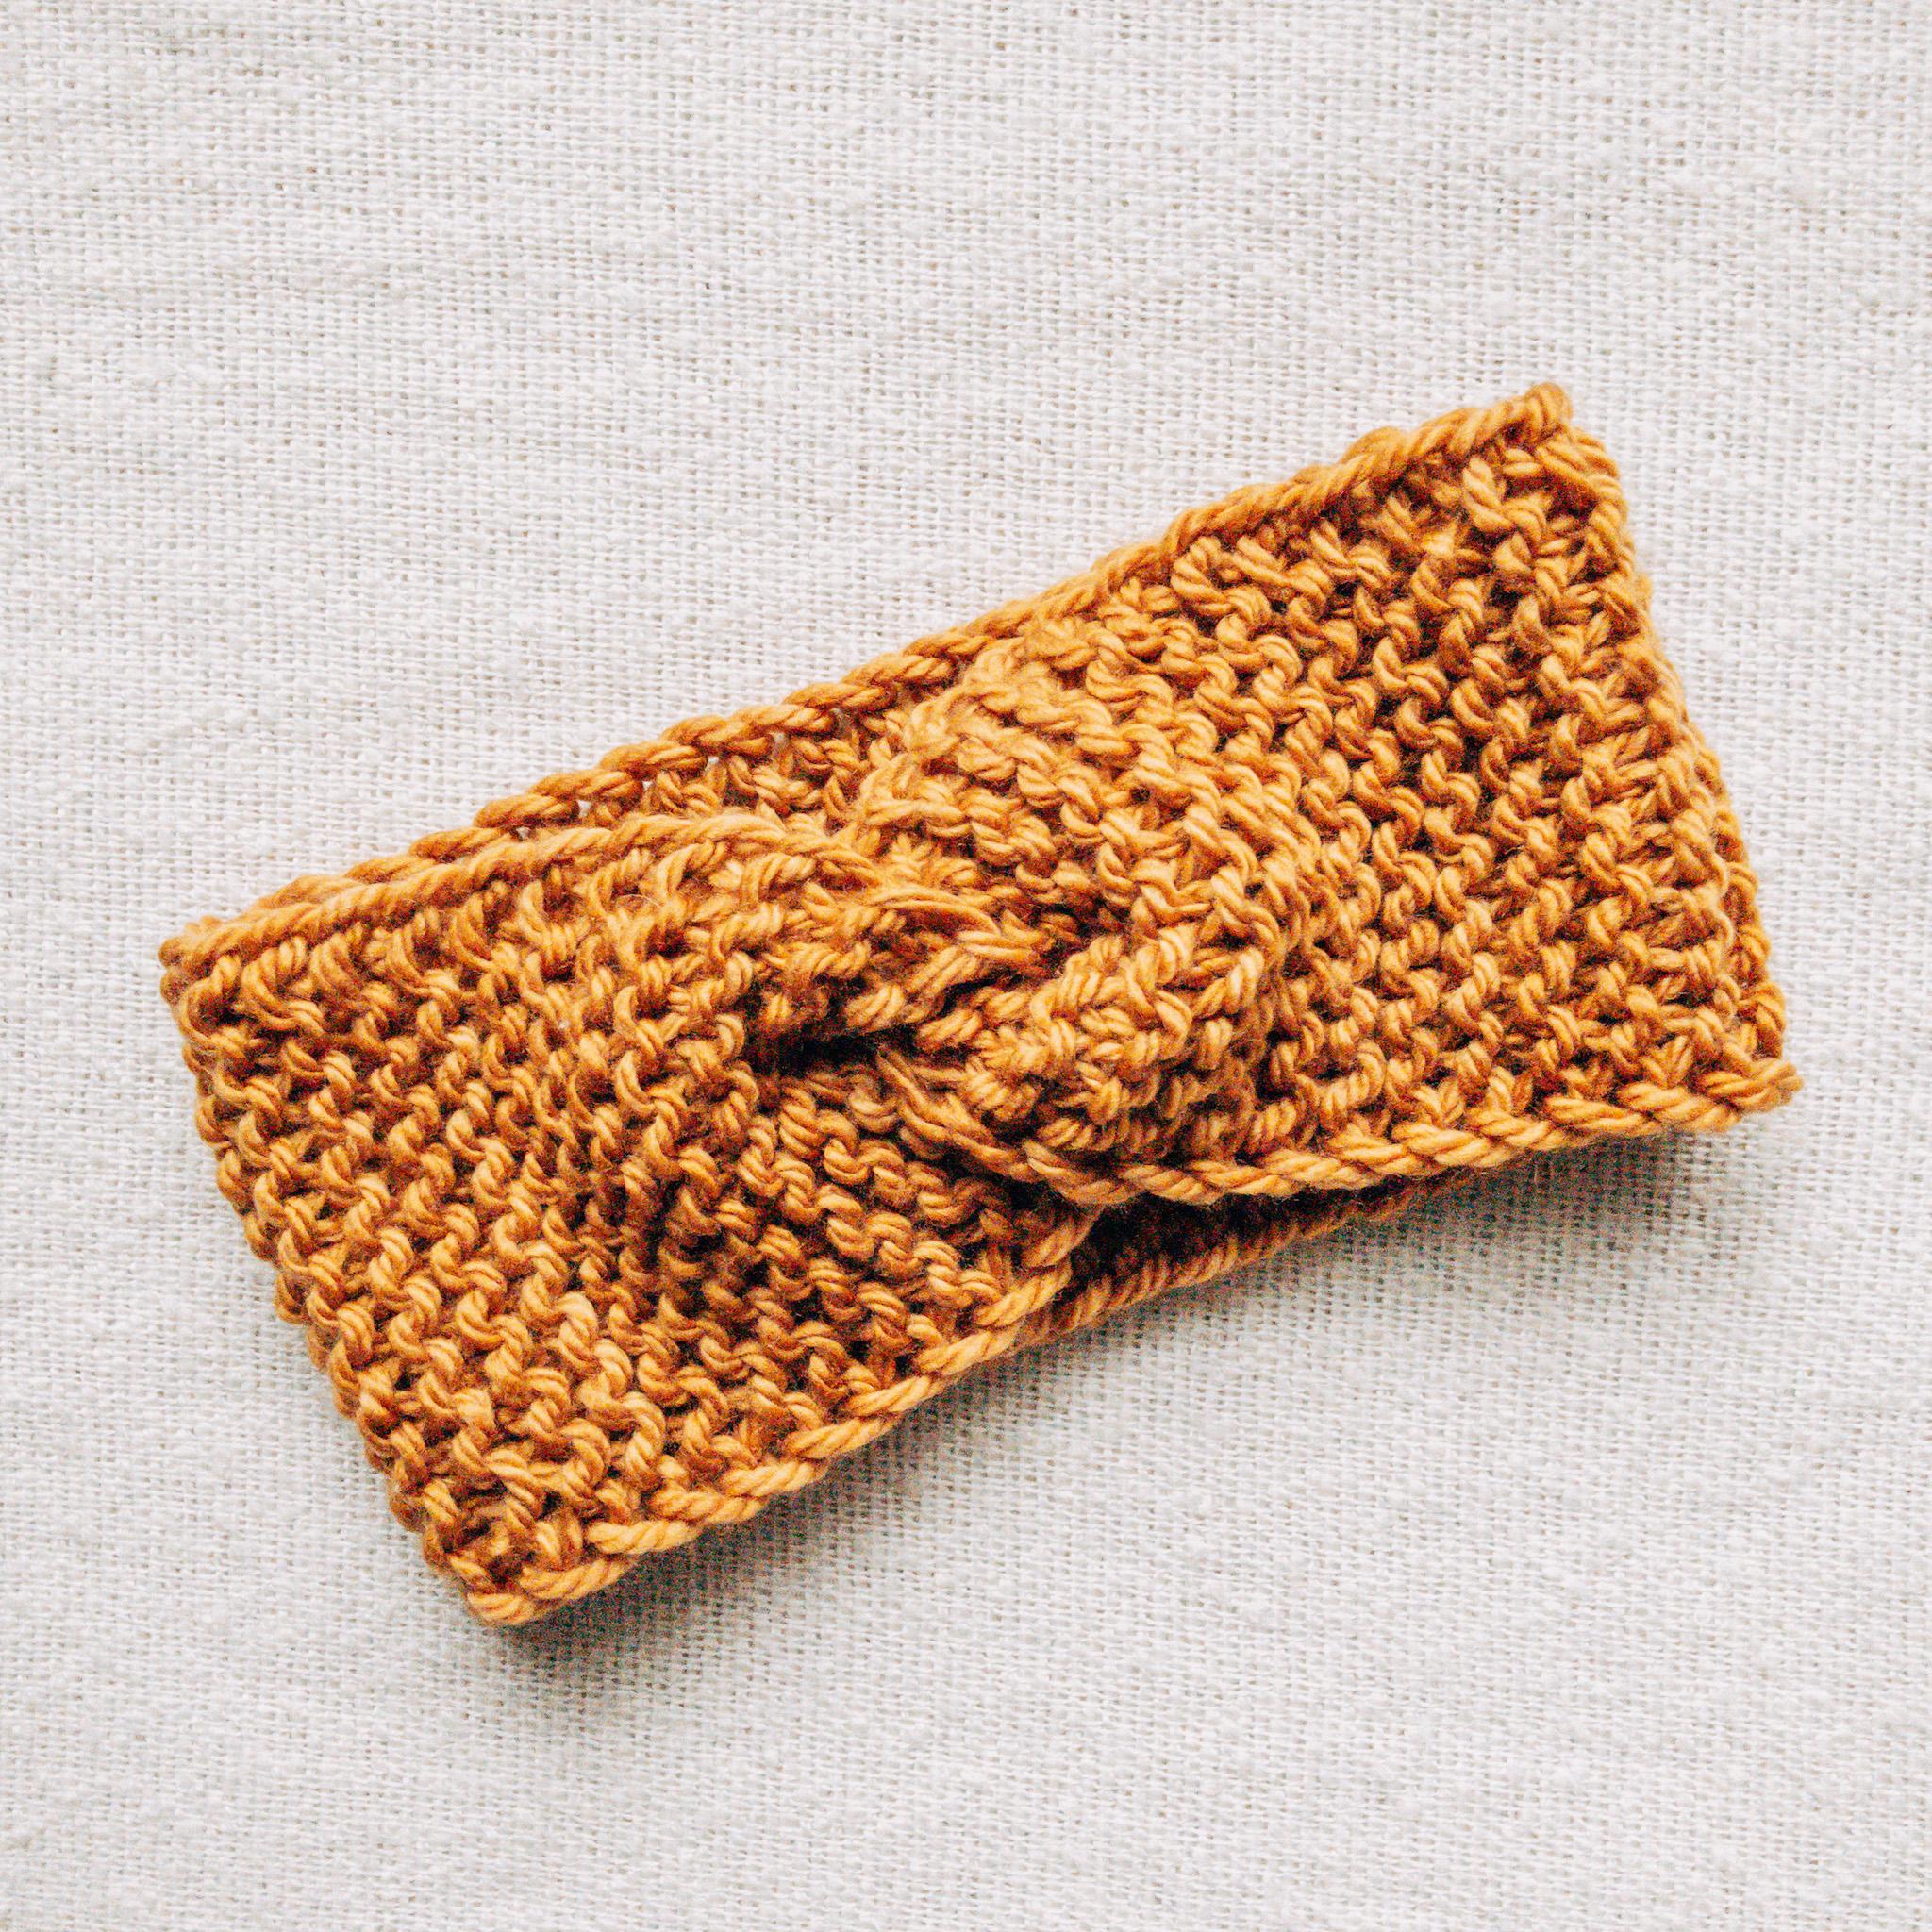
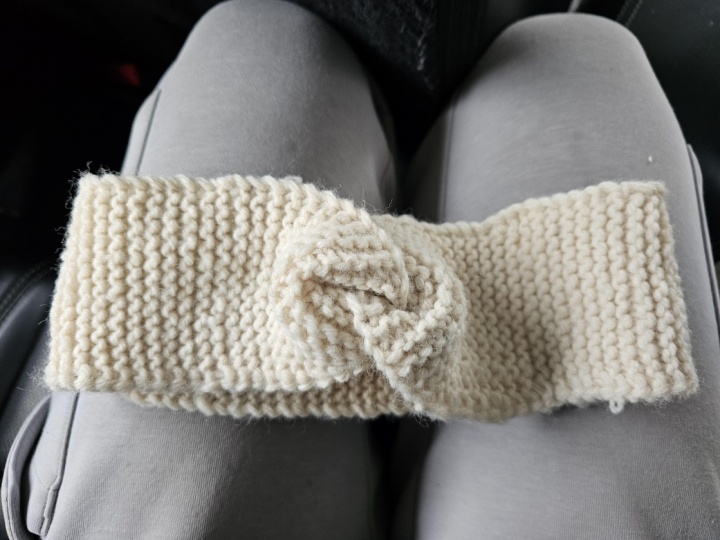
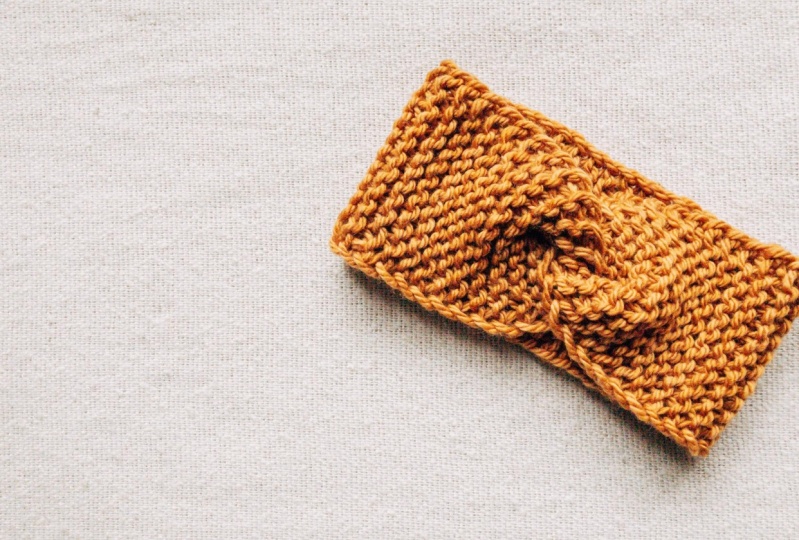
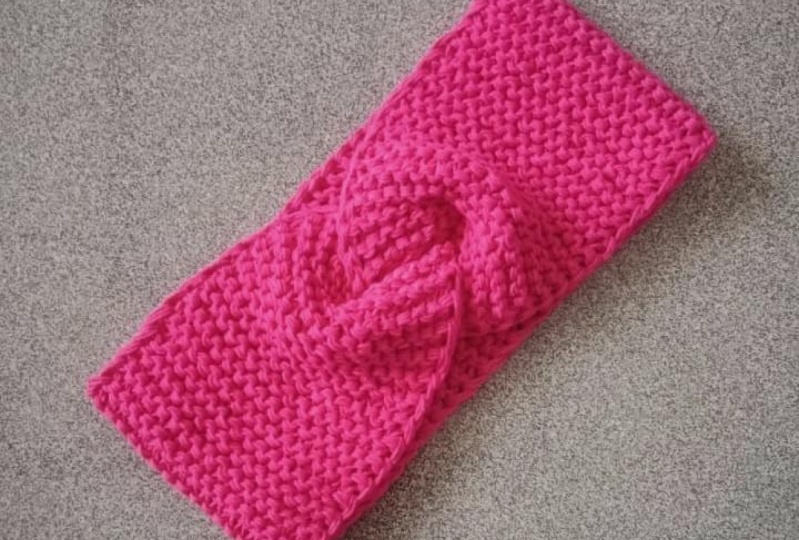
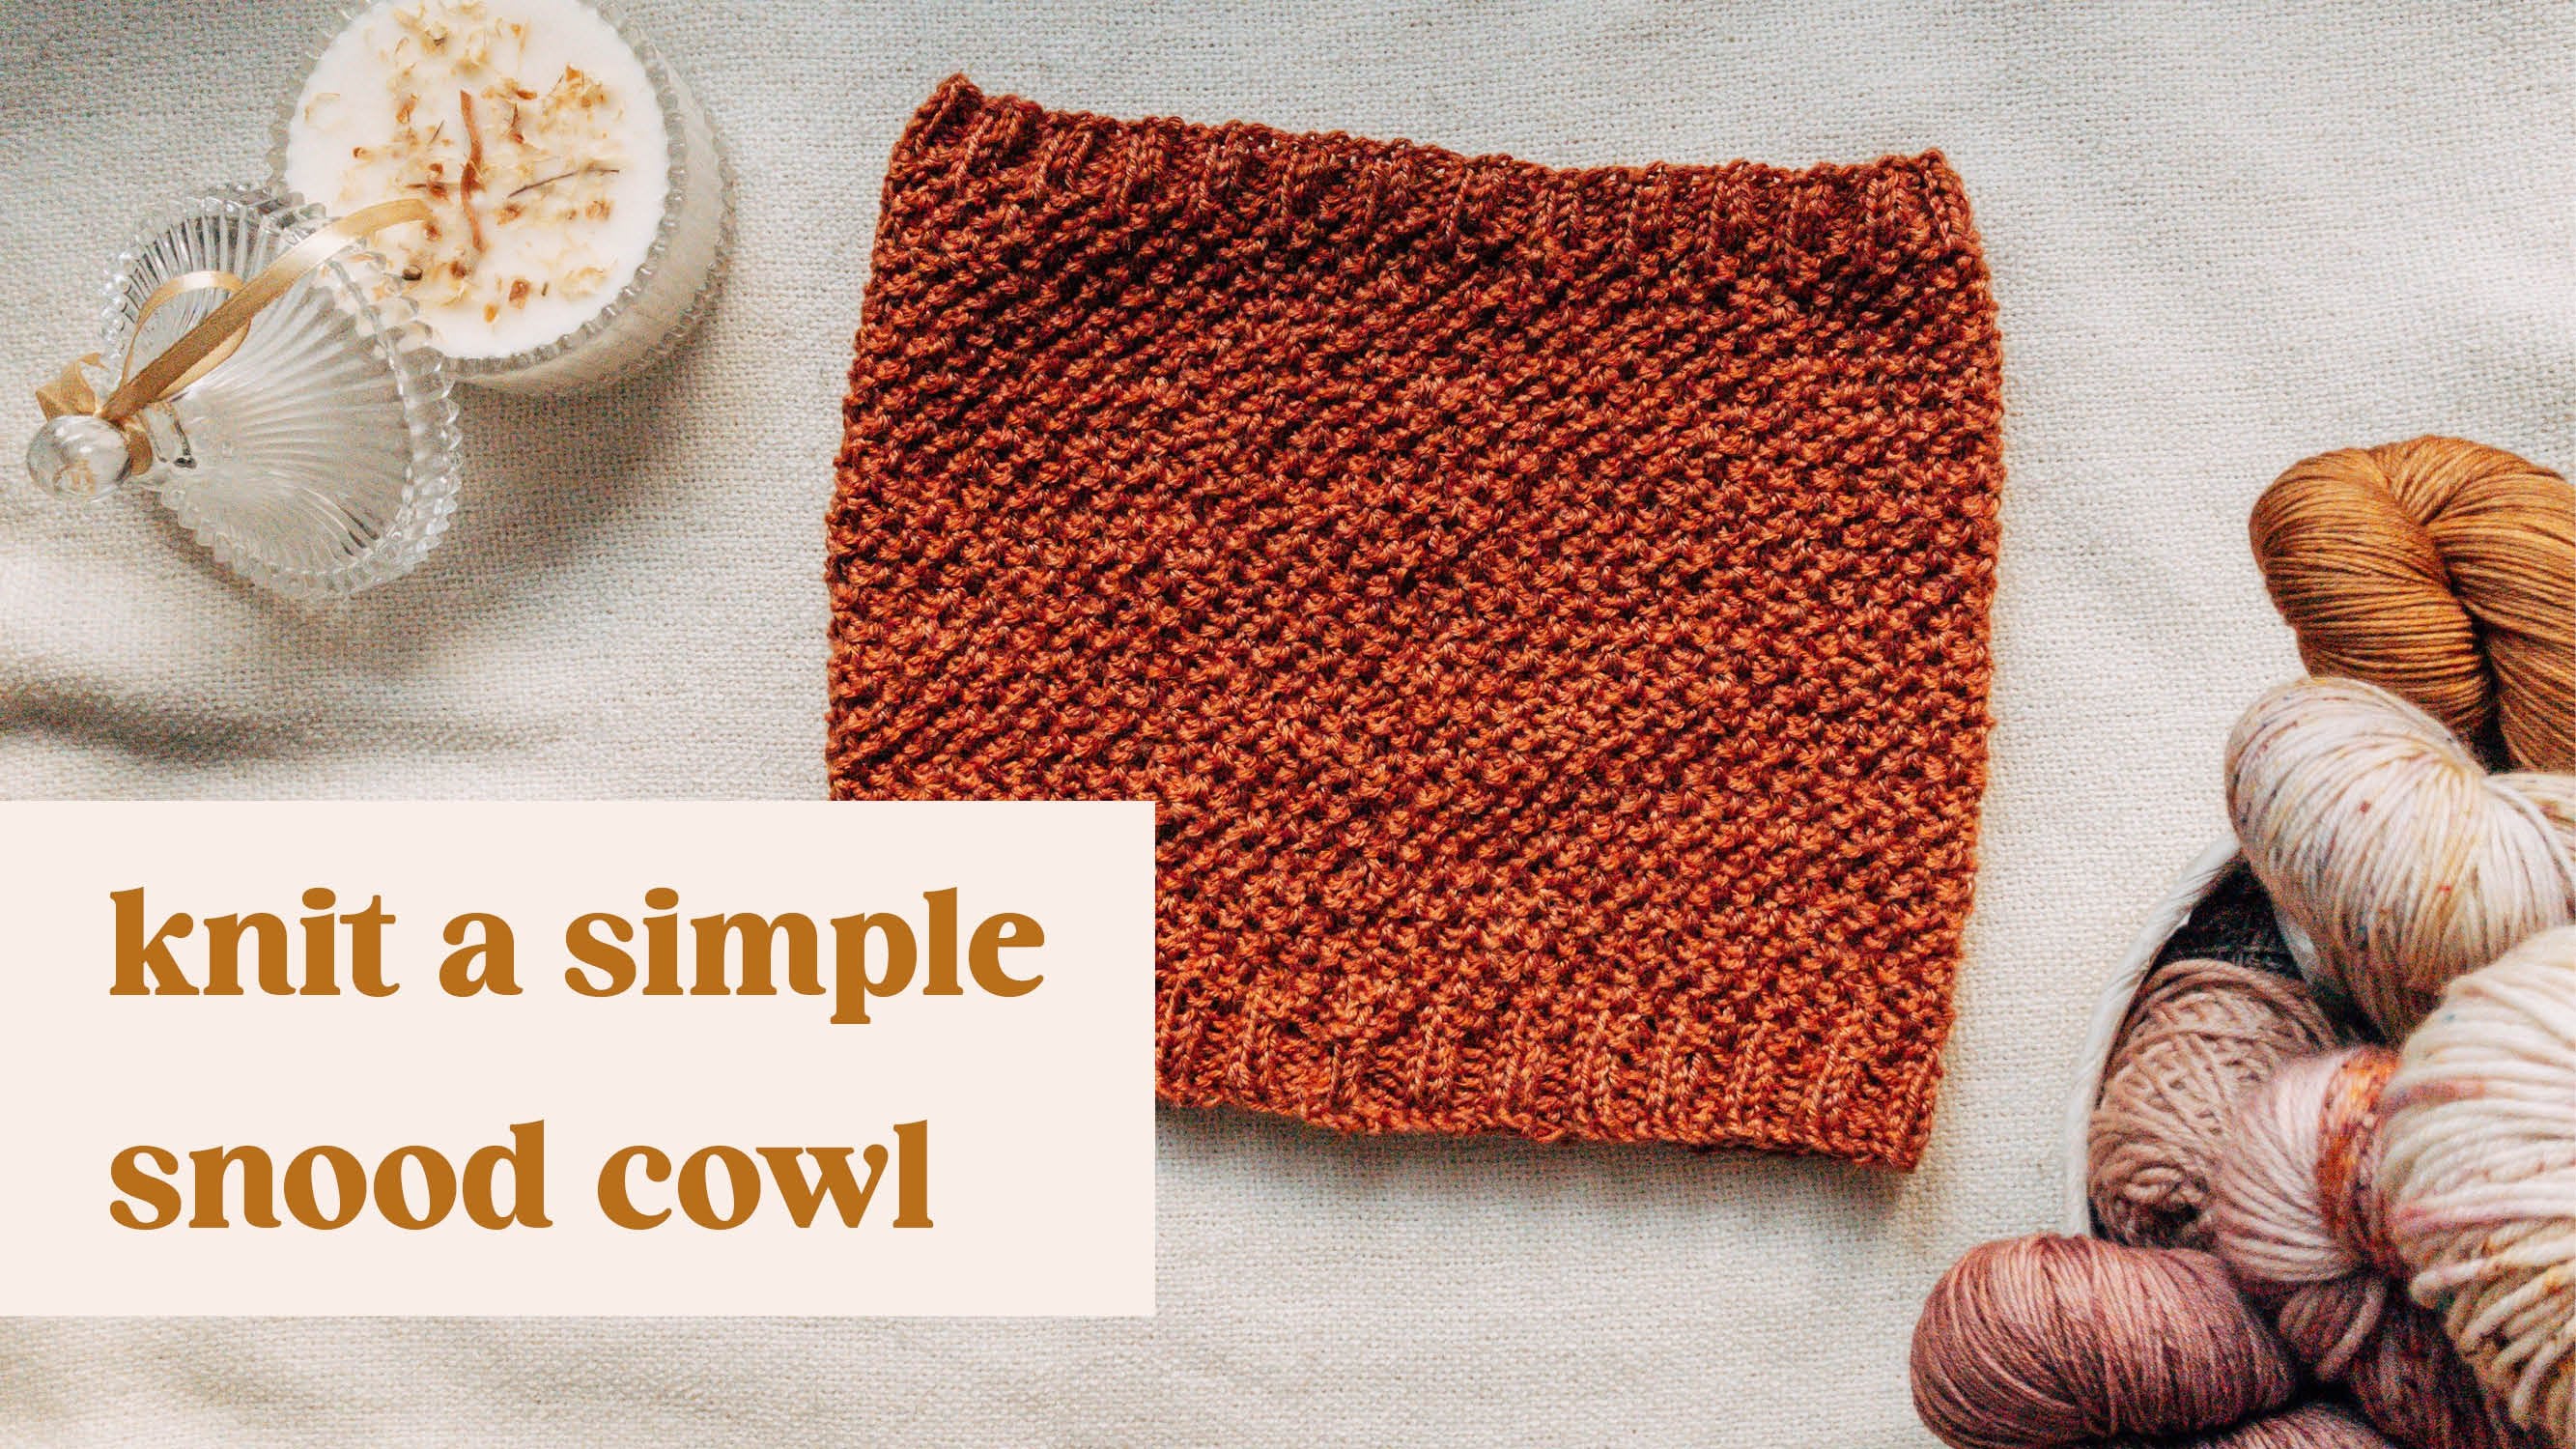
basic techniques. Our project in this class
will simple head band. I believe it's a
great first project. It's small and quick to
Nate using thick bulk yarn. It's also a very
practical project you can wear or gift right away. It's quite classic, so it should fit your outfit
for many years To come in the class first we will briefly go over the
necessary tools and supplies. Next, we will learn how
to cast on and work the basic stitch knit stitch
to create our head band. Last, we'll finish the project. Bind off so close all of the stitches and sin the head band to
create a modern twist. Finishing, after
completing this class, you will know three
basic knitting techniques and you will be able to take the skills learned and create the next
knitting projects. For example, a matching scarf. When you wash this
class, you will receive a class guide with a list
of tools and supplies necessary to create
the project Tips on simple modifications to the head and scarce knitting
guide and more. I will encourage you to
use bulky weight yarn and eight millimeter or US size 11 knitting needles
to follow this class. To knit the project fast. But you can use any yarn and matching knitting
needles you have at home to see in the class.
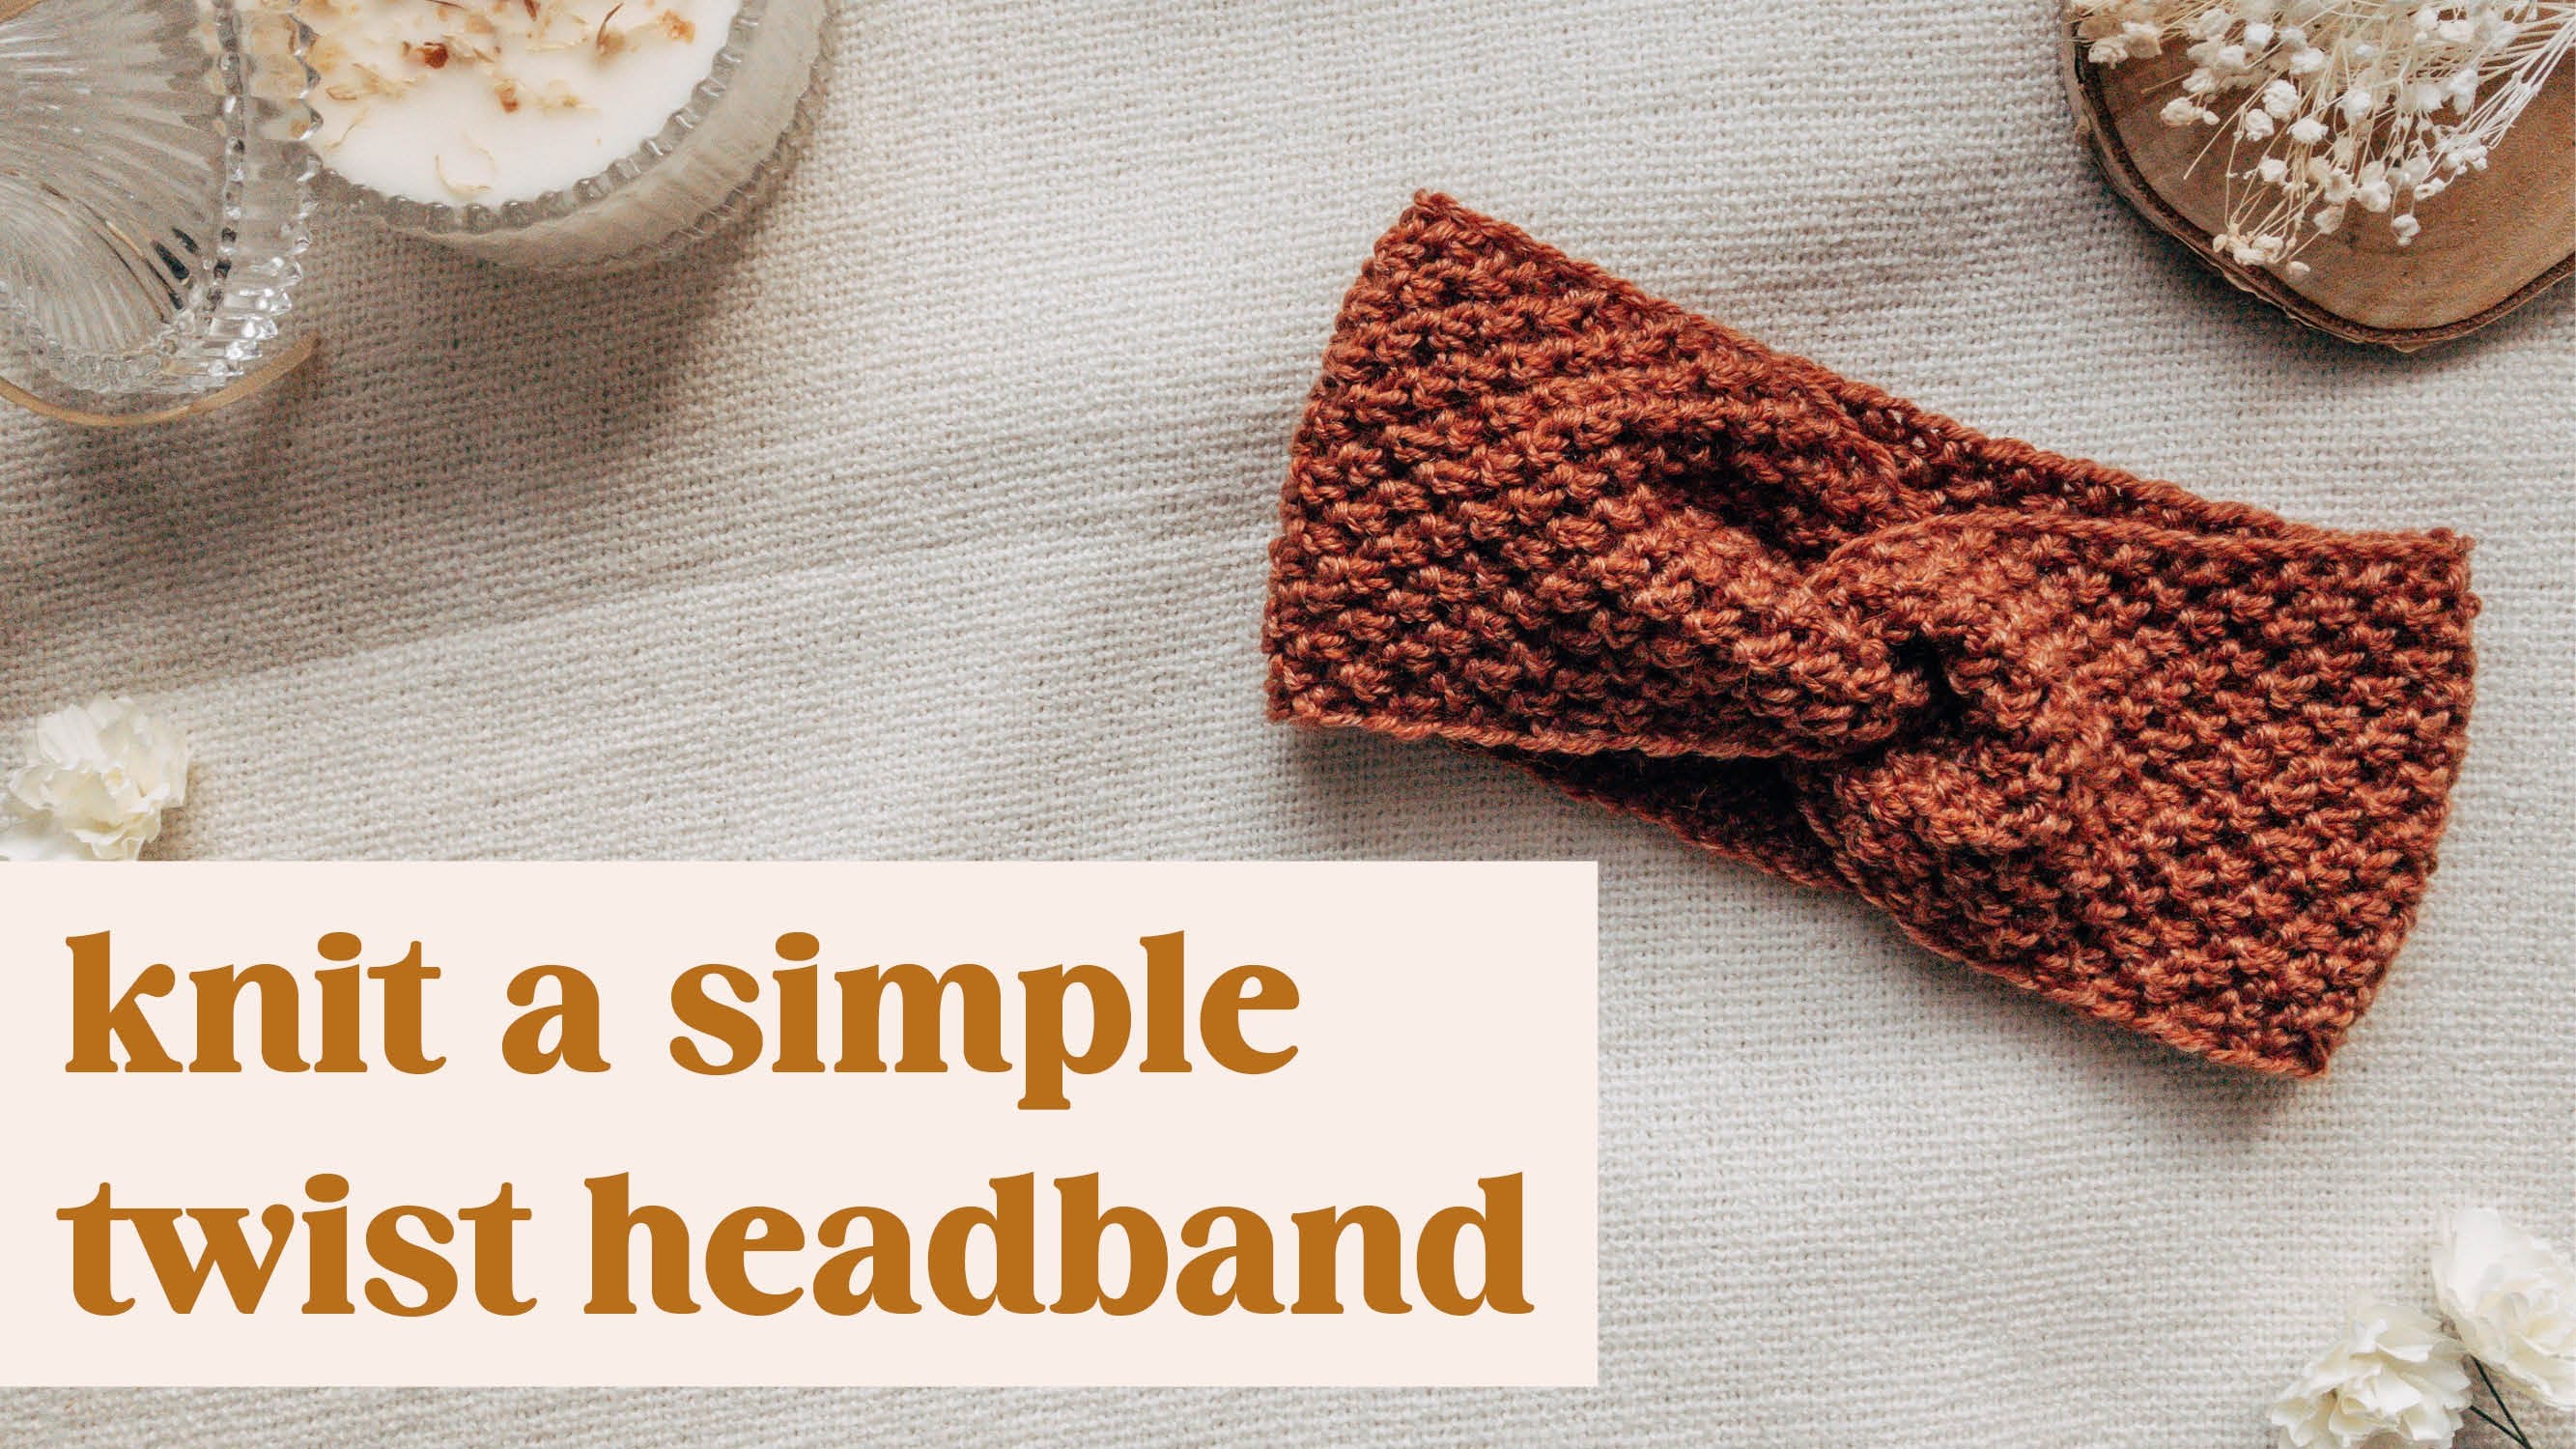
2. Class Project and Resources: The project in the class is
to knit a simple head band. The class includes a
class guide which you can download in the projects
and Resources section. In the guide, you'll
find some information to support you in completing
this class and beyond. You will find there
are a few options for tools and supplies. Some tips on modifying
the headband, including how to calculate custom stitches if you want to use different yarn
than bulky weight. And a guide on knitting
and matching scarf, including how to estimate
how much yarn you will need.
3. Tools and Supplies: You will need just
a few tools and supplies to create the
project in this class. First of all, bulky weight yarn. You will not need probably more than 50 grams,
a small skin. You can find a few options listed of widely available
yarn in this weight. In the class guide
to the bulk yarn, You will also need
8 millimeters, 11 knitting needles, either circular as they have
here or straight needles. You can also use
the straight ones. You will also need
a tapestry needle. A blunt needle that is a bit thicker and has a bigger
ear and scissors. This is all you will need
to create the project in this class if you don't
want to buy specific yarn. You can also follow this class with any yarn that you want. For every yarn on the label, you will find
suggested needle size. For this one, it's
US 64 millimeter. I recommend wool because it's a natural material that
will keep you warm. If you are sensitive and
often find wool itchy, go for marina wool,
it's super soft. If you're a vegan, you
may want to choose acrylic yarn to get the head band of
the same dimensions as we are doing
here in the class. The width of 10
centimeters, 4 ". You will need to look into the gauge that is proposed
by the producer of the yarn. For this one, this is
a light decay yarn. It is 22 stitches per
10 centimeters, or 4 ". You can find also a reminder, a quick guide on
how to calculate, where to find the
custom stitches. How to calculate the amount
of stitches if you want to create a wider headband in
the class guide as well.
4. Knitting the Headband: Let's start knitting
the head band. To start our knitting project, first we'll need to create the first set of
stitches on the needle. This process is called castinon. There are lots of different
methods of castinon, but I will show you
the easiest one, the one that I was
learning as a first two. To start the cast on, first
we need to make a slip. To do that, unwind your yarn
and catch the yarn end. Then holding around
10 centimeters, maybe more, move that yarn end over the longer
part of the yarn. Okay? Then lift the loop that
is created and throw it catch on the other side
the yarn tail and pull. Here we have this slip knot. Okay. Now place it on the
needle and put it tighter to start the custom. Remember that the slip knot
counts as the first stitch. Take the yarn strand that is long and is leading to the ball, not the yarn tail. We will not be using
the yarn tail for now. And place it around
your fingers. Move it on top of your thumb and index finger and catch it
then using the needle, move it under the strand
next to your thumb and pull up a loop is created. Don't pull the loop too tight
because it will be hard to work into it later
on, another one. Take your needle under
the strand and pull up to create a loop once more. In this way, we will cast
on 12 stitches in total. Now it's time to start
work in the first row. To do that, we need to turn
the needle around so that the yarn leading to the ball
is on our right hand side. Take the second needle
into your right hand now. Okay. And we'll start
working the stitches. To do that, make sure that
the yarn is in the back. Wind it around
your finger to get some tension so that it's
easier to work the stitches. And now we will work
the need stitch. Taking your right hand needle, insert the needle into the first stitch on the
needle from left to right. Then wrap the yarn strand around and pull the needle through the stitch and slide the
stitch of the needle. You just need the first stitch for the second one,
take the needle, insert it from
left to right into the next stitch on the needle. Then wrap the iron around the needle and pull up a
loop through the stitch, and slide off a stitch. Every stitch will
work the same way. Again, make sure not to pull the stitches too tight on
the needles because it will be harder to work into
them in the next rows. And also if you
need very tightly, then your headband
will be more narrow. It may not cover all
hole of your ears. Sega Insert needle
from left to right, rub the yarn, and clap a
loop slide of the stitch. Okay. I finished the first row. To continue, I need to once again turn around
my work so that the yarn strand leading to the
ball is on the right side. Okay, here it is. We finished the
first row and now we will start working
the head band. As of now, every row
will be worked the same. I want my head
band to have nice, clean chain like edges. To accomplish that,
I will be slipping the first stitch in each
row with yarn in front. To do that, make
sure that the yarn is in front of your work. So I will insert the needle into the first
stitch from right to left, and just move it to
the right needle without any other action. Then I will move this
working yarn to the back. I will knit the rest
of the stitches again. Inserting the needle
from left to right, wrapping the yarn around, pulling up a loop,
sliding of the stitch. As you work, make sure to insert the needle only into the
stitches on the needle, into the bars between them, so as not to create
an additional stitch. Always into the stitches on the needle from left to right, wrapping the yarn around, pulling up loops until
end of our stitches. Okay. Again, finish the row. I will turn my work around so that again the yarn
is on my right hand side. Again, I will slip
the first stitch so I make sure that the
yarn is in front. Insert my needle from
right to left and just move the stitch and move the working to the pack and
the rest of the stitches. If you don't want to
add this technique now, it's absolutely fine to
work the headband exactly as we did the first row to
knit all of the stitches. The edges will be less tidy, there will be some notes, but it's still absolutely
manageable. Continue working,
slipping the first stitch of the row with yarn in front, and then knitting the
rest of the stitches. The turning your work around so that the yarn strand is on your right hand side until your head band is
as long as you need. We will create a strip. It will be a long strip. As you work, you can try it on, wrap it around your head. The strip should be a
little shorter than your head circumference it just a little bit tighter so
that it stays on your head. The texture of the stitch
is a little elastic. When you try it, just pull a bit on the ends so that
you get some attention.
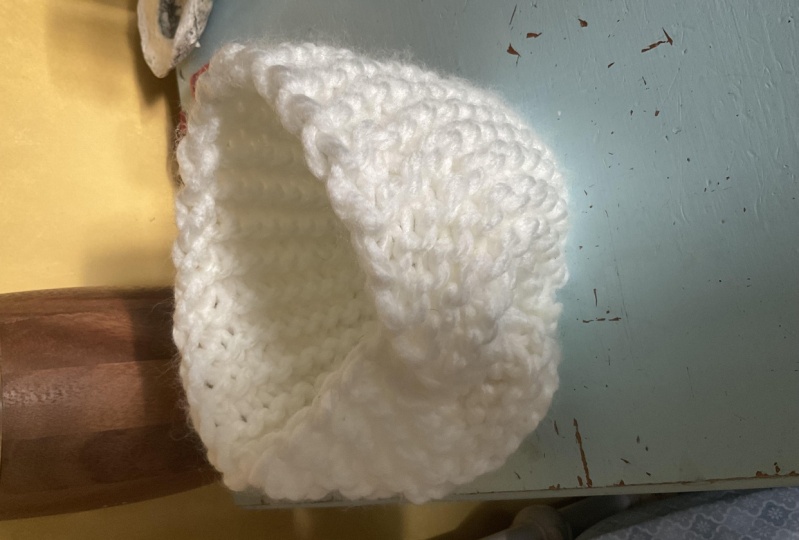
5. Finishing: It's time to finish
the head band. My strip is as long
as you want it to be. Remember when you measure how long you want this
headband strip to be? Remember that this
stitch is quite elastic. When you try it on
around your head. Pull it only very. But the headband should
be sitting on your head snugly but not be
loose or too tight. My head band is as long
as I want it to be. Now we need to finish
off the project, close the stitches so that
the work doesn't unravel. This process is
called binding off. We will use the
simplest bind off, which is called a
standard bind off. I will make sure that
my yarn is in the back. To start the bind off, I
will need the first stitch, then I will need the
second stitch. Okay. Then I will insert my needle
into the first stitch on my right hand needle and pull it over the second one
and slip it off the needle. Now we just bound off
one stitch to continue. I will knit the
next stitch again. Insert my left hand needle
into the first stitch on the right hand needle
and pull it over the second one again, knit the stitch
and slip it over. I will continue this
way until I bind of all but one stitches. Okay? So I have just one stitch
left on the needle, and I will put my work aside gently so the stitch
doesn't slip out. And I will cut the yarn, leaving a maybe 30 centimeters. So 15 ". Approximately. 12.
15. Okay. And now I will just pull the yarn tail. Okay. Headmand is bound off. I can put aside my
needles now I will need to with the end that we have left from
the cast on edge. Then we will seem the
head band so that we create the twist
to weave in the ends. We always ends on
the wrong side. However, this head
band is reversible. It looks the same on the
right and the wrong side. It doesn't really matter on which side to
weave it in thread. Your tapestry needle
with this yarn tail. Okay, now we will
start weaving in. Insert your needle into
one of the stitches. Then you will
notice that some of the bumps are facing upwards. It's also often called a frown because it
looks like a sad face, or downwards, like a smile. We will be weaving it
around the frown first, inserting the needle
in the bar next to it, around the frown, down into
the stitch that we came from. Okay, now around the
smile around this frown, honestly you don't
have to worry much about weaving ends
in this head band. Just do it as close to
the edge as possible. And you can also weave them in more freestyle if this is not something you
want to learn now. Okay. When you move in the end, we can cut off the
remaining part. Then we will see the head band. So to do that you need to place the head bond
with the right side, up the side that doesn't
have the end swoven. Okay. And then folded thread the needle with
this longer yarn tail. And now grab the end of the headband and fold
each of them in health. Then place one end
into the other. You create like a sandwich. And then take the needle. Take it through all of the
layers of the headmand. Pull through the same way back. Insert the needle as close
to the edge as possible, but be sure to move the needle through
each of the layers of the headband so that the seam is full and nothing
is showing through. And back all the way until
the other end again. Each time make sure that
you move the needle through each of the layers. Okay. And for security, we can also solve it back
in, in the same way. Now let's put it twice, and when we finish swimming, we can cut the yarn tail short. Okay, So this is the wrong
side of the head band. And now we have to turn it
around to see the right side, and this is the ready head band.
6. Wrap Up: Congrats on finishing your
first knitting project. You learn the three most
basic knitting techniques, casting on the knit
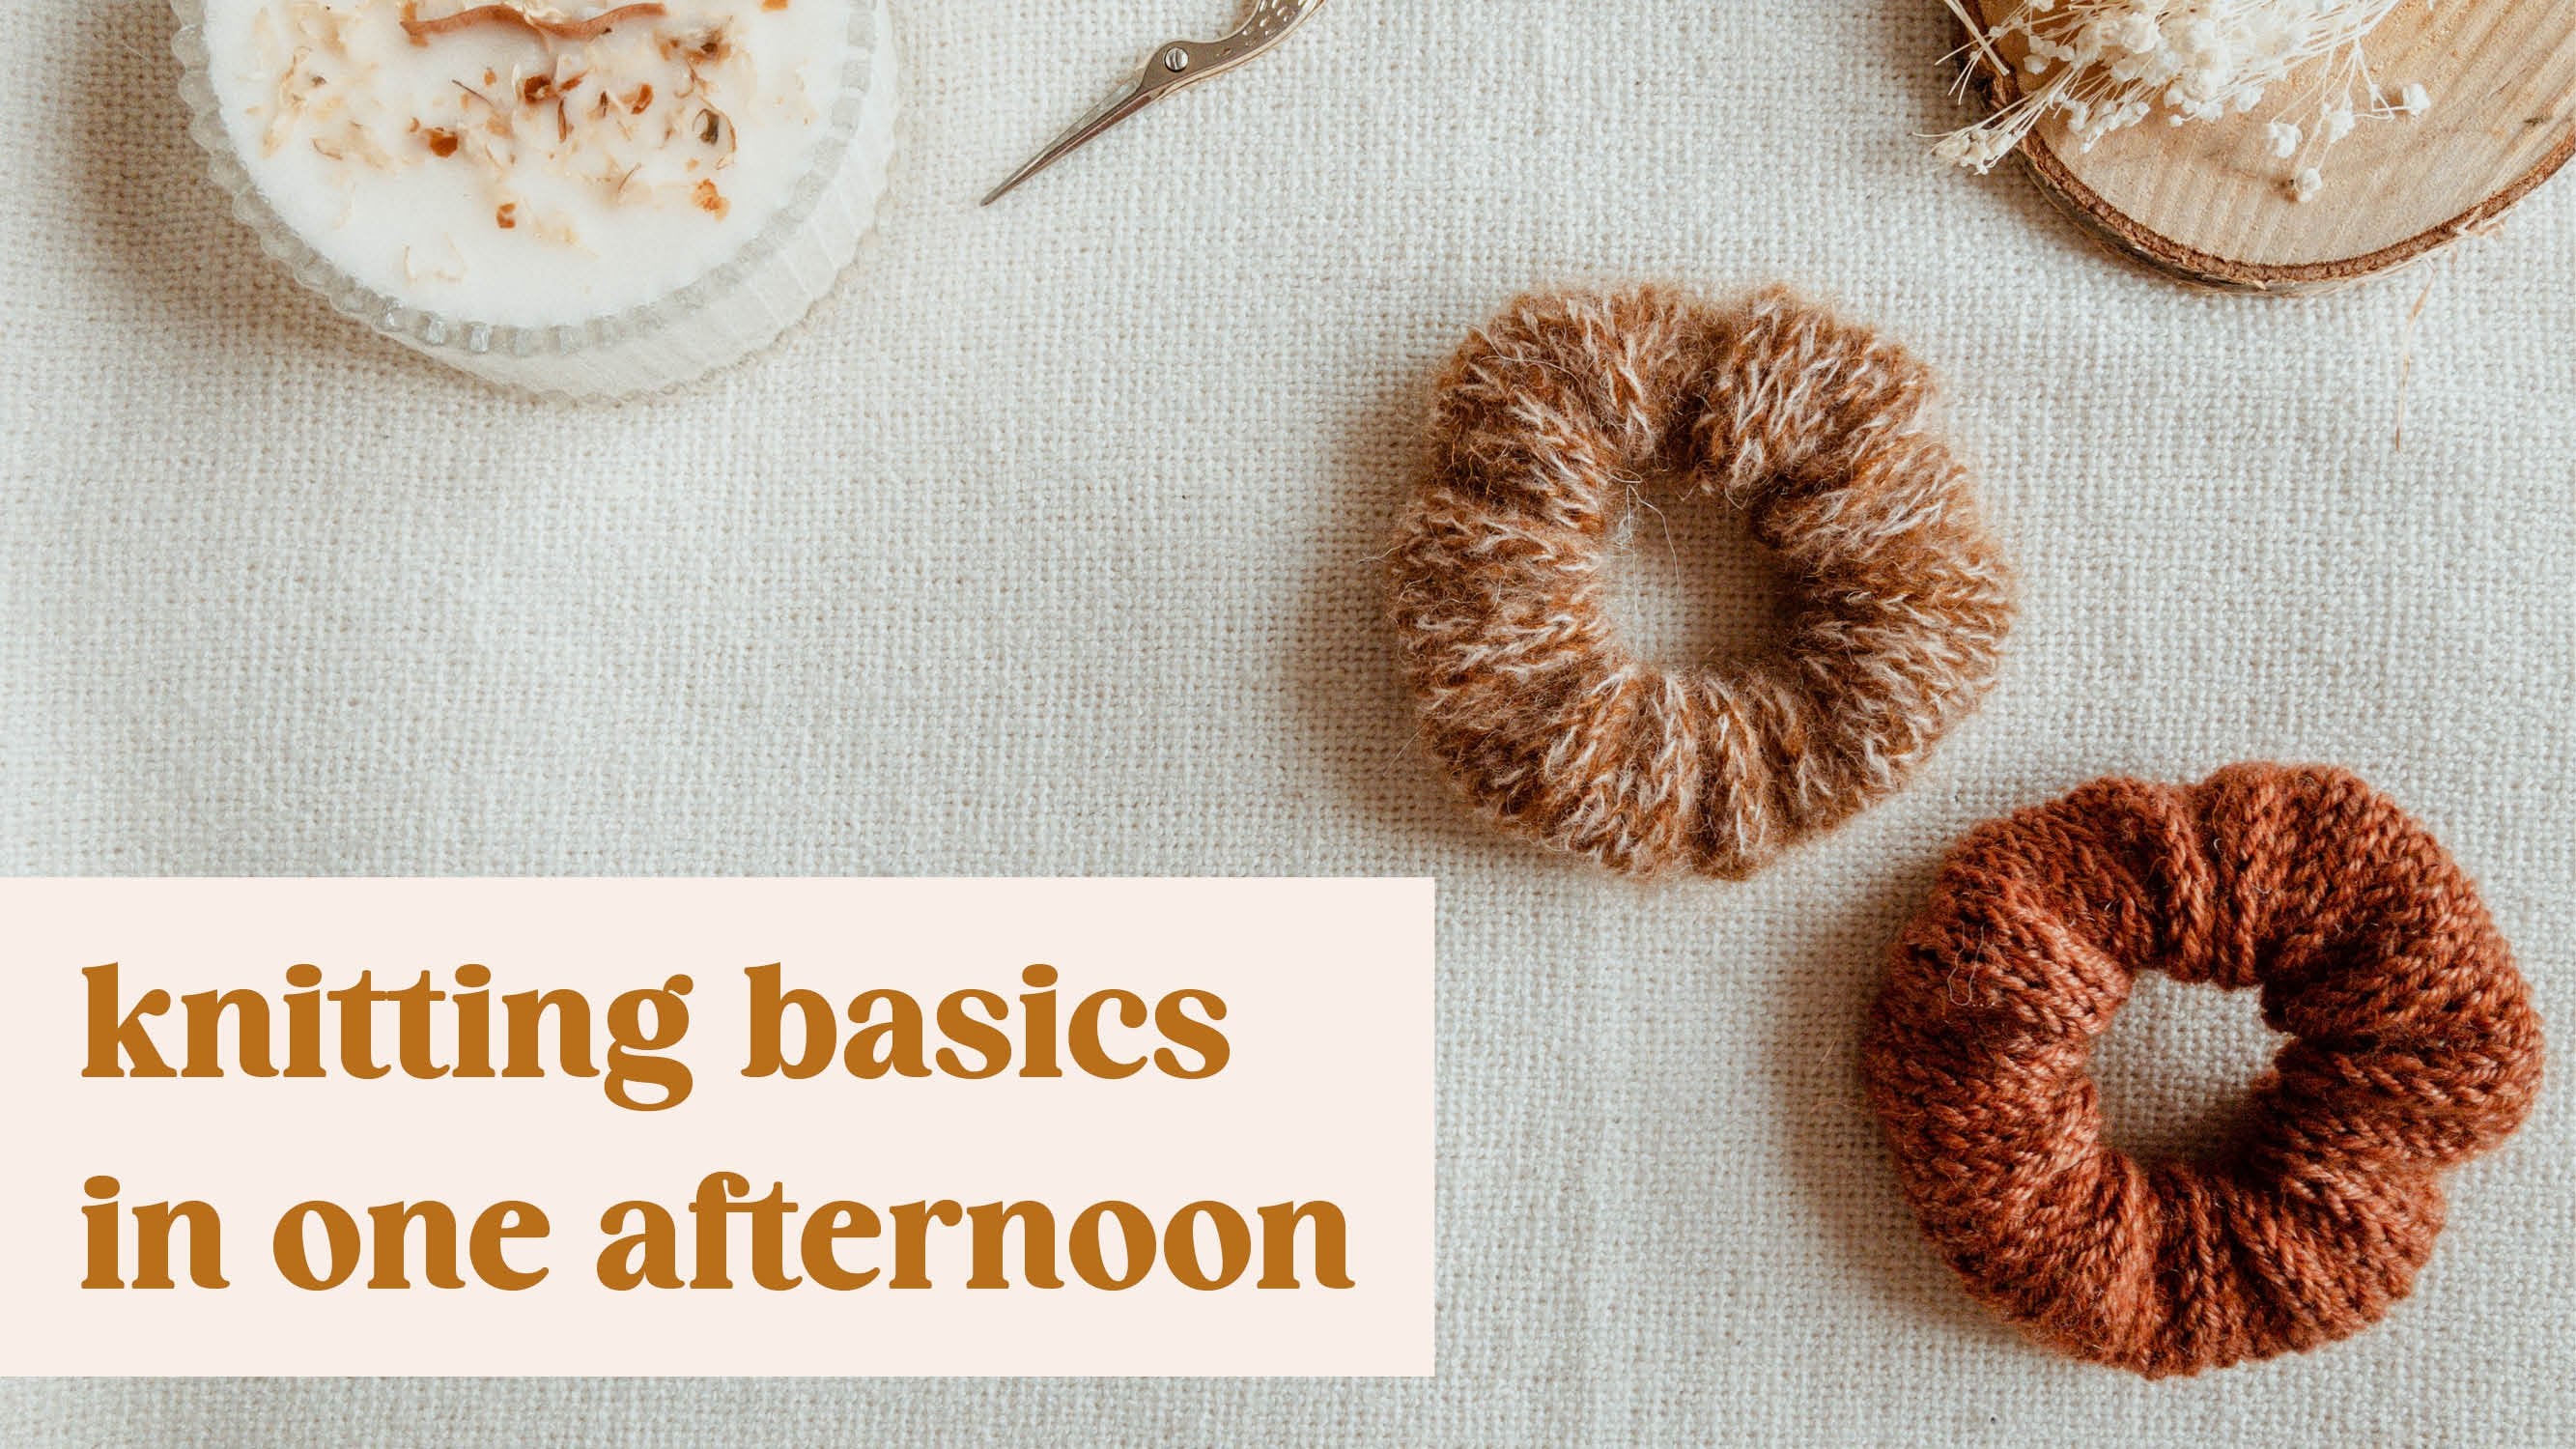
stitch and binding of. I hope you enjoy the class and are eager to keep knitting. What you can do next,
you can practice the same skills you
learned in the class to knit a bigger project scarf. Use the guide from
class guidebook to help you plan the project. Or you can dive into
the next classes and learn new techniques
and new projects. Don't forget to leave a
review for the class. I'd love to hear your feedback. If you want to stay in touch, sign up to my newsletter at
Welbury.com Happen it in.
 Izabela Grzybek, Knit & Crochet Designer