Transcripts
1. Introduction: Are you wearing jewelry making? Would you like to create beautiful jewelry quickly and easily? Would you like to make something special for your loved ones to cherish? Then this is the class for you. Hi, my name is Pam money and I have been making jewelry professionally for almost a decade. And in this class I will share exactly how you can get started with making your own fashion jewelry at home. By the end of this class, you'll be able to make a large variety of jewelry quickly and easily, including earrings, necklaces, and more. So what are you waiting for? Let's get started. See you in the first lesson.
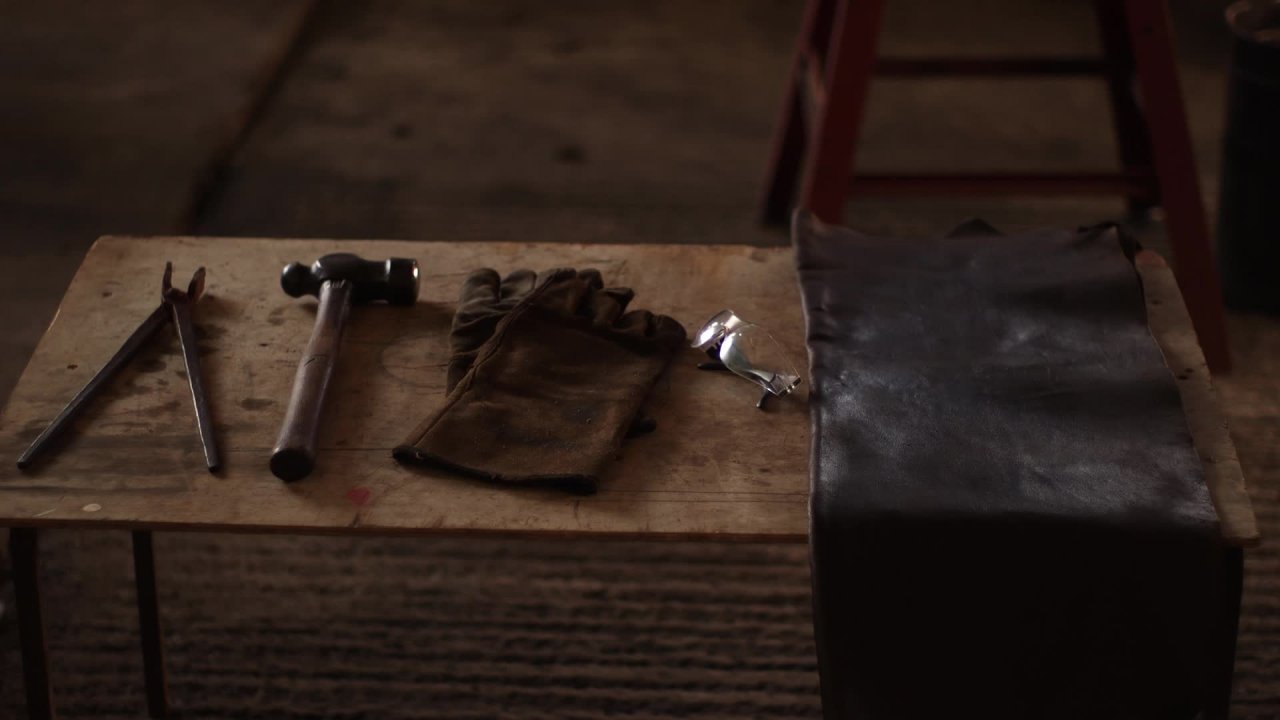
2. Jewelry Making Tools - The essentials: Welcome to the first class on jewelry making. In this class, we learn about the tools required to make your jewelry. The first tool is a wire cutter. Mine is already old one from 10 years ago. And I would recommend getting a good quality one so that these last few longer time. The second is a round nose pliers. This is the coil. This is called the nose of the flyer. And this one since it's wrong, so it's called a round nose to nose pliers. The third one is a chain knows Player. And no, it doesn't look like a chain, but that's what that's called. These three are the most important tools that are required to make your jewelry. And approximately around 90 percent of the jewelry can be made just with the use of these trade routes. There are a large variety of tools available other than these. But for beginners, I think these three are the sufficient ones. So I'd recommend getting you these from your local craft store or a hardware shop. Or you can buy them online as you find comfortable.
3. Introduction to Metal & Color: Let's get started with the introduction to the jewelry making supplies. Two important things that you need to know before we get started are that the data are available in a large variety of metal options. And also they're available in a large variety of color options. For example, this is a silver colored lock, but this is not made of silver metal. It is made of a metal alloy. So by choosing your materials, It's a good idea to first know what metal it is made of. I recommend using brass for the artificial jewelry ones and of silver for the real jewelry options. Because silver is cheaper than gold obviously. So it is a cost-effective but a good option for making jewelry. I don't recommend using ion ones because they can get damaged quite easily, change their color, and it is not possible to restore it back to its original color easily.
4. Introduction To Jewelry Findings: Now let's get started with D supply details. You can see these are two colored wires with round edges. So these wires are having an openable end on this side. These are called I bins. The second is called hairpins. It takes everything to its head, not pre-taught. So basically they have one closed edge and the other edges open for you to insert any bead or Charmin do it. The third item is an S shaped Look. The fourth is a lobster class or look. This is an underclass. I'm sure you all have seen at least these, these ones because these are pretty common in bracelets and necklaces. And these two as well. Then we have another lock. It can be pressed to open and close. Then we have earring hooks, which are required for making earrings. Baby making the earrings, which he require these hooks. We will not be making stack-based earrings as they are not meant for bigness. The next is chain. These are pretty common in earrings, necklaces and everything that you've seen jewelry. This is a ticker gene and this is a quite thin chain. The next item is called Jumping. These are available in a large variety of sizes as well. Why do you think these are called jump rings? You know what? Whenever you try to use them, they just jump off and disappear. And that's why they are called jump rings. And you will only know this menu will try to use them. I'm not joking seriously, That's what happens. I've lost hundreds of them. One thing that I'd like to add about the jewelry making supplies as this, that they are available in a large number of sizes as well. For example, you see this lobster glass over here. It is available in many sizes, so you can get a smaller version of bigger version, just like the jump rings. And also, you can find that in the wires that we use, that is head bins and bins. You can see I've taken 23 size options over here as well.
5. Pro Tips On Saving Money On Supplies & Storage: The supplies are available by weight or by BCE count. For example, in India, we are able to buy them, for, say example, 100 grams of hairpins for x amount. We're also able to buy them 50 pieces of hairpins for y amount. So you should choose them depending on the amount as well as the quantity that you require. How do you see that? For example, I need to make a lot of jewelry. So we just cheaper for me to buy them in bulk by weight. But for example, if you're just starting out and you only want to try it for fun or a hobby, it will be a good idea to buy it by the piece count. As you might not use up a 100 grams were to have had bins that easily. And as I mentioned earlier, they are available in a large metal variety of options. If by any chance you bought iron once a 100 grams, then it might be something that you regret over time because they gets boiled quite easily. Which also reminds me of that. How should use to reach your remaking suppliers? It's a good idea to store them in Ziploc bags like these. So you put the supplies in this and you seal it in. You can get these in a wide variety of sizes, I'm sure wherever you live. So this way, the air moisture dot nothing comes in contact with your supplies and they lost of very, very long time. See, I have sorted my jump rings in different size bags for different quantities. And this is something which I recommend to every student. After storing the jewelry supplies in the zip lock bags, it's a good idea to organize them by category. And you could store them in partition boxes that are available easily online. So what I like to do is I make different patches of all the types of supplies that I have. And then I seal them and put them in a single partitioned box of 24 or whatever number of partitions it has that suits the amount of supplies I have. And then I put the zip for bags in the boxes. This helps to keep them safe and organized both at the same time. So that is something I'd like to recommend to you as well. Now we'd move on to the next class.
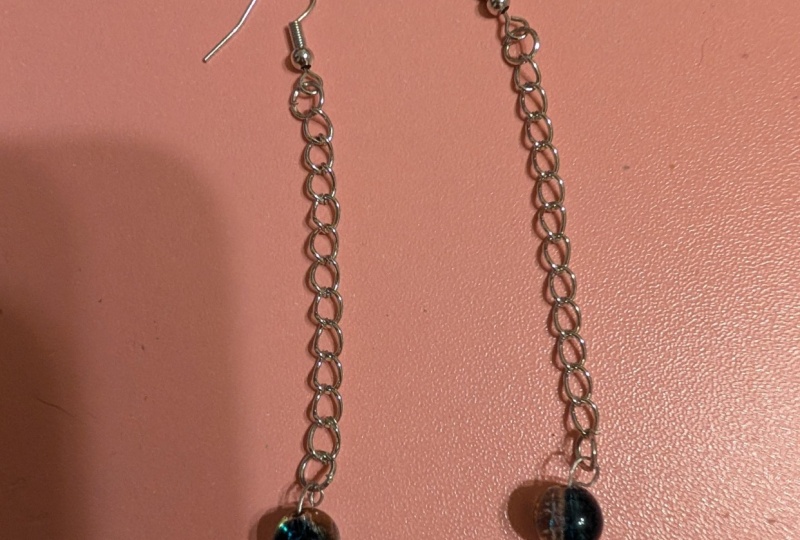
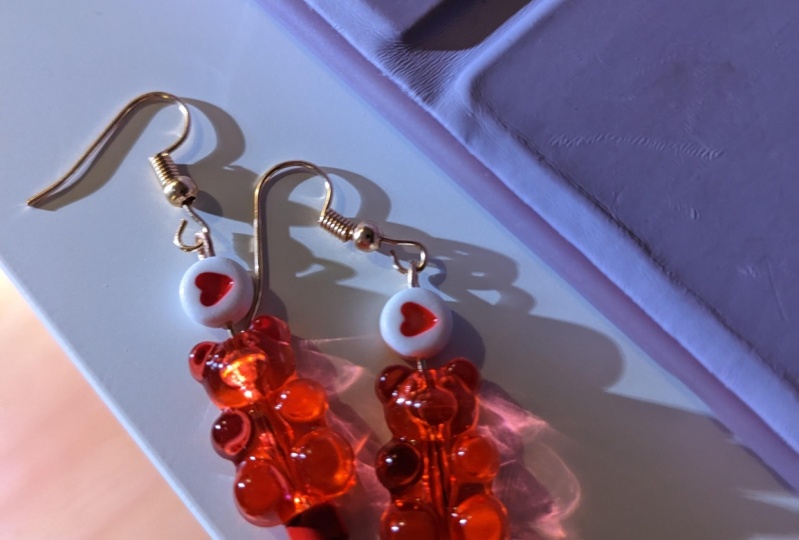
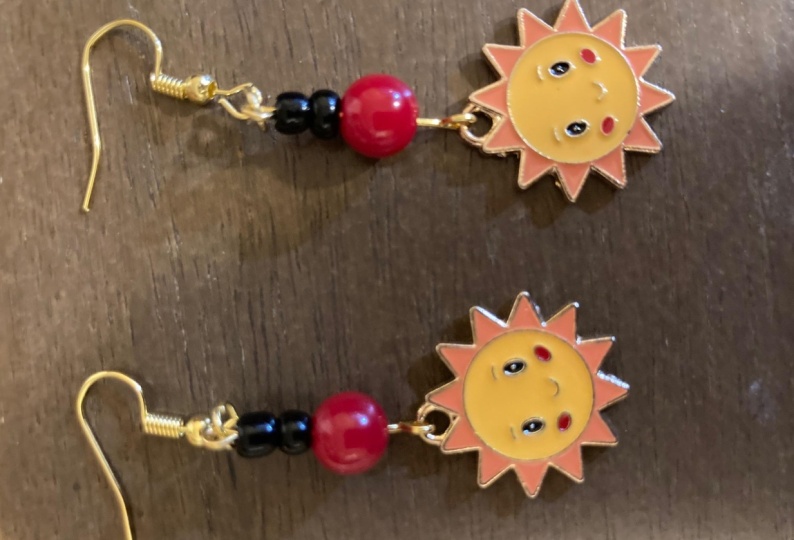
6. Introduction To Beads & Charms: In this class, we learned about the different types of beads available that you could use to meet your jewelry. So as we know that there are a lot of mental options for the supplies that we saw in the previous class. In the same way, there are a lot of material options available for beads. For example, you can find beads that are made of polymer clay, that are made of threads, that are made of metals, that are made of plastic, that are made of acrylic, that are made of ceramic, that are made of glass, that are crushed, and that are made of a large variety of metal and other material options, for example, resin as well. So how do you choose a bead? Well, it's as simple as that. The design that you like, you choose that for your project. Something that I highly recommend is avoiding the use of plastic beads. Since a large variety of beads that are available in more eco-friendly options. So we could definitely do that. Some goodbye avoiding plastic beads and jewelry. What I like to use the most is glass beads. And I use glass bead poles. So these are not real bonds, but these are not made of plastic. They have a nice shiny gloss to it. And these are the ones that are used most commonly in my projects. And another one is terracotta or ceramic beads that are the ones that I like to use the most. And you can choose whatever you like these and there is no hard and fast rule to it. But one thing that you need to see when you're choosing a bead is that it's either not too long or not too heavy. Because if you're making earrings, that is something specific for earrings, not for necklaces and other jewelry. And I'll explain that more. See, the largest I've been or had been that's available in my place is smaller than this VDD. So if I've got a 12, make an earring out of it quickly or easily. It is not a good idea since beads are used with the head bins or I pins gently. Definitely you can use wires to make this, but that is advanced technique and that's not what we are covering for bigness. So that's why I don't recommend using the heavier or very big beads for earrings, especially coming onto necklaces. For necklaces as well. These are easily usable with threads, wires. But since that is not what we're doing in this particular class. So for the beginner version, I would not recommend you getting the bigger beads. So let's move on to the jumps section of this class. No, wait, 1 second. There's one more thing which is left. And that is if you get a super heavy beat like this one, Let's ignore the length of it, that it's very long and not comfortable to use. The superhero beads are not a good idea to wear in your ears. Because if you are a fan of wearing earrings and if you were heavy hearings for a long time, That's not good for your ear lobes. And they'll probably drag themselves and turn themselves into something like this, a big pool over the years which you don't want, I think. So That's why I avoid using very heavy beads and jewelry. Now let's move on to the next materials. Something similar to beads is champs. These are pretty commonly used as the end part or decorations in bracelets and athletes, as well as necklaces and yearnings and other jewelry. These are pretty lightweight with mostly one who'll, and the design. And these are used to hang in your jewelry. You can use these if you find them. If you like them. I generally don't use jams in my jewelry because I like a more kind of rich look to the pieces. So I prefer bottles more with you can use any kind of charms of beads, whatever it is that you like in your jewelry. These are also most commonly available in metal alloy as well as plastic or acrylic. So now that we're done with this, let's move on to the next class.
7. Jewelry Making Using Headpins: Welcome to your first session of the techniques of jewelry making. In this class, we learn how to use the different supplies and materials you saw in the previous classes to make some jewelry. So we'll first get started with making a loop. I'm going to take a bead, a poll here, and then I'll insert it in this, stick like this. And now we learn how to make a loop to secure it. We'll take this round nodes player here. And just like this, go here, leaving a bit of the top edge. And then these food it like this. You see, you have something like a musical note over here. Now what do you do is, after making this loop, you take your flyer and insert the end which is towards you into this hole. And then to stealing like this. And then put some pressure over here and twist it like this. So that the loop that is formed in the center of the hearing. Now you see that there's a little bit of space left over here. So that is the space which is used for inserting the HUC. Take your reading hook and you go like this. And you will leave this. And now you will use your nose player ticket and press it a bit, and there you go. Our first hearing is super easy right? Now that you've learned how to make a loop. And your first urine, be sure to share the pictures with me in the project section.
8. Jewelry Making Using Eyepins: In this class we'll learn how to use EIP. And the first way is quite easy. And that is you take the I band and then you take any sort of charm. Have taken this small one here. And you could take some beads and an earring hook. Now what do you do? You just take the bin and you open this. I of it like this. And now you just take your jam and hang it in this. And then you will just close the eye. Now you have a pretty basic dangling. I use ready. If you'd like. You can add some beads in this, in this ground for beans. And like this. And then you just go ahead and make a loop. As I taught you. And the euro, you have a really nice whatever you'd like to make it. You can change it into an earring, a pendant. I'll tell you how to do that now. For making it into a coding. You just take the urine hook, open it up. Great di dt over here. And then you just put it through the loop that you've made. And you close this earring hook. There is no space left between DTU part of the ear in. This wire should meet on the end, like this. As you can see in the video, this is how your hearing will be made. We'll just make a copy of this for a pair of earrings. And now how can you turn it into? A pendant, if you'd like. And just take out this hook. Okay? And instead of the earring hook, you use it jumping. What do we do to turn this thing into a pendant? We just take any dumpling of our choice depending on the size, depending on the thickness of the chain that you want to use in your pendant. So if I want to go for slightly tic chain and I'm using this one. And you just take it like this. And you open the jumping. And you take the loop and put it through the jumping and then close it. The top edges of the jumping shouldn't meet, should be as close as possible. And there you go. You have a pendant as well. Now, the next way to use I pin for this I've taken when I pin and one had been. And what I'm going to do is I'm going to take a bead and put it in. D had been first. There you go. Then I'm going to cut it and turn it into a smaller had been so that it just fits the loop shape. Like so. And now you have kind of like a bead Jiang over here. But I'm going to do next is I'm going to take the IP and I'm going to take a bead. And I'm going to put a bead on top, like so. And then I am going to cut it off from here and make another loop. So I made one that comes like this. You can either make it facing towards the same side or on a separate site. That doesn't matter. During this, It's commonly same side adding that would be easier for you. So now what we'll do is we'll take this bead part and we'll just open it up a little bit. And then we'll hang it in the lower, smaller shaped lute. And there you go. This is one of the most common uses for it, an IP, that is to hang another bead or charm to it. And then you can use the top loop at a jumping to it and make a pendant or add an earring hook and turn it into an earring. Do the practice of making loops that always result in the same size. When you do this, then you will get an idea of what length you should fall the wire into so that you get perfect shaped, perfect sized boat loop every time. You can definitely use it in this size as well. Like one is larger when you swallow because you could definitely make it a part of the design. So when you make the other piece than it should be similar to this one. Which means the upper bod is larger and the lower bodies smaller. And now you have an earring mooc mooc. And this is designed to make you put it through it and just close the loop. You go pretty earring.
9. How to Use Jump rings and Chains: You take one end of the jumping using one player and you take the other using a different player. And then you can open it. And you can close it. You should adjust it. It makes a clicking sound and there is no space left in between the both edges of D jumping. So this is one way of closing the jumping. The other one is also pretty common. And that is you take the wire and you press it like this. Towards the other edge. Like so. Take it towards the other edge. And then you use another jump dual and just press it like this. So the wires are touching each other, either on top of each other, on the side. That is a choice that you can make like this. And this is also you can use it. And what are common uses for dumplings. I like to use jump rings of different sizes together to make earring designs. And I'll share the purchase with, you know, a bathroom that they are generally used for hanging other designs to them. For example, you'll see this over here. I have taken a charm. I've put it through the jumping, and I have taken the urine hook and I will also put that food jumping and I have close to jumping in. I have in here. This is especially good if you want more moving space in your jewelry design. Like so. Because the jumping, we'll give it a lot of space, the jam or to the jam or the beat to move around. The second way to use a jumping is to add multiple layers of chains or virus to a single design. What do I mean by that? For example, I'm taken golden jumping here, and then I've added two different leads to do two different sized had been OK. Now I want them in a single design. I want to layer them like this. So how do I do that? I will take a tempering and I will just open it up. And then I will add this one piece, the second piece. And since I want to make it into an editing, I will add to add, I will have to add a hook as well. And you lose the top of the jumping in the way that you like. And there you go. You have layered hearing design. Like so. Now another thing that you can do is you can arrange. You can make designs of dumplings using different sized jump rings together like this. For example, I've taken a smaller one here. Then I am, I am taking a bit bigger one than that. Then I'm taking an even bigger piece than that. And now you just put these to each other. One jumping into it other than the other, inside the other. And then on the top you can attach a hook and you have a new design, something that would look like this. And you add on top. And you have a different design or you can just do the opposite, like the something like this. So you can make pretty statement pieces out of only jumping as well. Or you can mix and match them with jumping than had been denied binded. It's all about your creativity, how creative you can be with your designs. The last use of jumping that I'd like to share with you is that these are used to attach the locks to change for necklaces, bracelets, and for anklets. How do you do that? And these are also used for the douching beads and other stuff too, chains. So this is a chain that took beautiful chain that I took from making a bracelet from my mother. So what I'm going to do now is I'm going to take luck. But how do we attach it to this? There's no way I can attach it to this foot for this book was I'll be using a jumping. So how do we use that? Take the jumping and open it up. It's always a good idea to use both d plus, but sometimes you can just skip it up and just use one plus. Now you will pass the jumping to the whole of the chain. And you will pass the lock on the other side of the same jumping, and then you will close it. So now you have a lock on one side, but do what we do security. So for that purpose, you will need more jump rings. I want to make the brace little bit adjustable. So I'm taking three jump rings. So what do we do now? So we'll join this region brings together. So I'll take one in the center. I'll close it properly. And then I will hang one on the other side and then close it. And add one more. And don't close it yet. And then attach it on the other side of the bracelet. Engine just glows, D, jumping, and there you go. You have a pretty bracelet or anklet ready for yourself. And now this is the way you will make a necklace and or a paisley it. So what, what is the difference between the three designs? Is that the length, the only difference between a necklace, bracelet and an anklet is that of the length. And the length varies depending upon the choice of the person. For example, for making choker necklace is the common length is 14 inches of chain, 14 to 16 inches of chain. And then you can add a little bit of adjustable chain, adjustable land, and that you can make using jumping or using large hold chain. Like you have made this bracelet or anklet. In the same way you can make nicholas. Two. The only difference between a necklace and a bracelet or anklet is that of length and of the choice of lock that you want to put on the ends. And then you can add an adjustable chain, as I mentioned earlier. I am calling it as a chain because genes are made in a similar way, like we have made this adjustable Lent for the bracelet. So you can either make a chain, it just double chain length using the jump rings, or you can buy a chain which is big like this, like this, this size chain. So you can directly put the lock through a chain which you can attach using jumping again. So what I'd like to show you, apart from this one, I want to make an earring using the chain. So I have taken a chain and I have taken a jam that are made using a head been a bead and making a loop point up. And then I'll take a jump ring. And then I'll open it up. And then I just inserted to one end of the chain and the design to the other end of the chain. And then just close it. And there you go. You have chain length. And now on top, if you want, you can use a jumping to attach the earring hook. Or you can directly put the hearing hoop to the whole of the chain, depending on the size of the chain, this has sufficient space for me to put a hook directly through the hole. So what I'll do is I'll just open the book. And then I put her through this. And I'll just close it. And there you go. We have a really long nice and golden turquoise earrings made of chain. So this is the way you can use chain to make earrings. Necklaces is necklaces and bracelets and anklets. And how you use jumping is done as well. So with this, you know how to make a large variety of jewelry pieces. I have shared a lot of designs in the beginning of the class. So now I'll just walk you through with the matrix designs that I've made and that you can replicate very easily. But the instructions that I'm giving to you, alongside the photos.
10. Decoding Basic Designs : Let's go over how I made the designs in the introductory video for this class. And in this, I have just used jumping to hold three different sized head bins which have beads in them. And then as if you were to do an earring. And in the next one, I have just used a large jumping and I have put in one beat and one I've been each. And they, you would as a new design for your eroding. And in this particular one, I have used asymmetrical design. So it is quite interesting to look at. So we have to jump rings and one eye open on both the earring pieces. And so we'll have just originated with hearing, will have the smaller jumping first. It is just the upside down version of the other part of the hearing is what you can say. So for this design, I've taken a large jumping and then I have inserted when I've been on one side. And then when pulled in and again, I've been and then again poll and then again I open, and then I've closed it with and yearning hook. So that is how you made this one. And then moving on to the last one, this is again an alteration of the design I've shown you earlier with three different sized jumping. And they are secured by very tiny jump rings that are joining it better joining the design from the center. So that would be mean design stays forward.
11. Final Thoughts: Thank you so much for taking this class. I look forward to seeing all your creations and there's still things that I'd like to recommend you for this class. And that is, keep practicing and keep being creative. Have a good day, take care and stay healthy. See you in my next class.
 Bhamini ., Professional Jewelry Maker & Designer