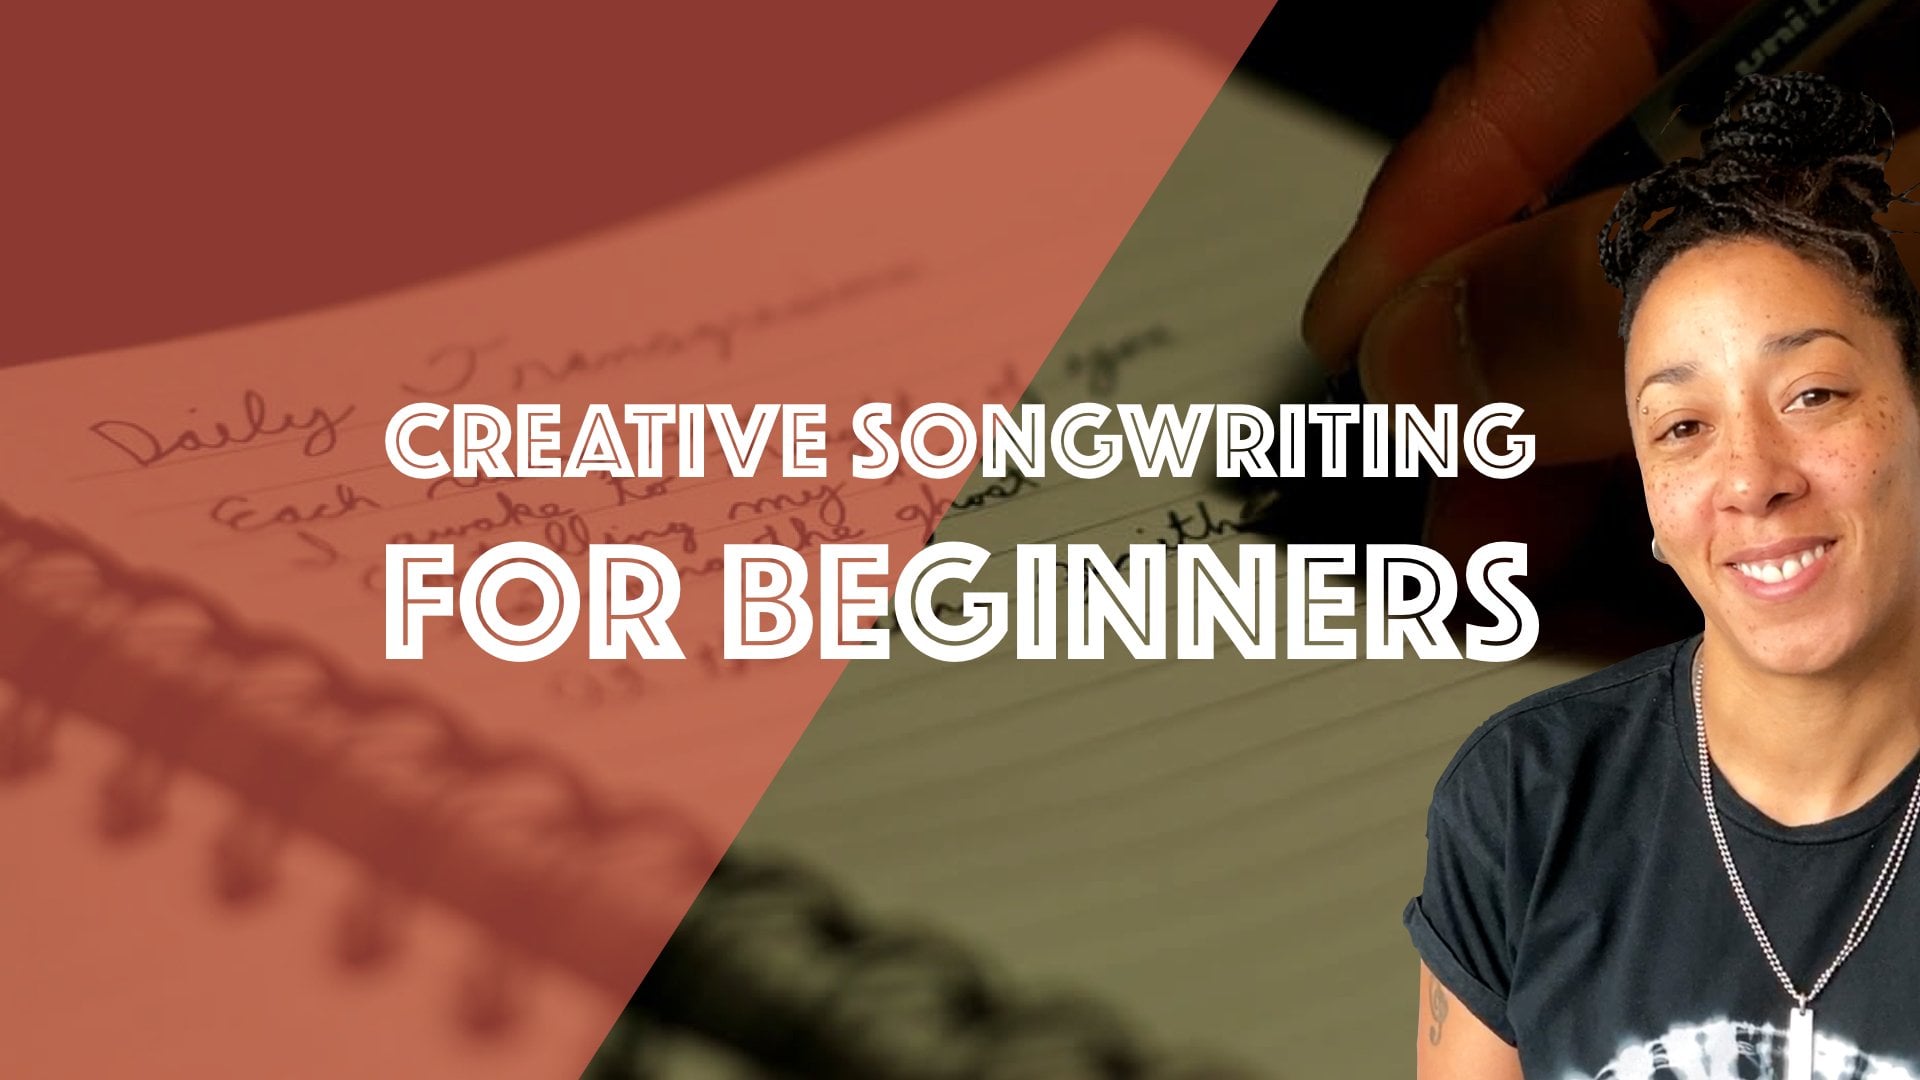
Transcripts
1. Introduction: Hi, my name is hello Maria. And I want to teach you
how to write a song. I wrote my first song
when I was ten years old. I sent it to the uni or Eurovision Song Contest
if didn't get him. But 20 years later, I had one of my songs in the Icelandic semifinals for
the Eurovision Song Contest. My bachelor's degree
in music composition. I wrote one song
every day for a year. I put all the songs on YouTube, didn't matter if they
were terrible or good. It is with these tools
that I want to teach you, not only how to write the song, but also to finish it and
feel good while doing it. The setup is very simple. I'll show you what
instruments I use, how I come up with new
chord progressions, how to write lyrics, and how to write
the song, It's up. I'll be giving you a recipe for a fun and quick
songwriting process. And just like if
you're cooking a meal, you can tweak the recipe
the way you want. But the important thing is
that in the end of the day, we'll finish it and
you will feel so good about it no
matter the outcome. I think this is
what will make you come back and make another
song and another one. And I think that is how we learn and become
better songwriters. I think that is much
better than spending forever trying to perfect this one project that
you're working on. In the end that is
not so much fun. I'll just keep working,
keep doing things. The learning is effortless. I'm not saying it's not
difficult to write music. I'm just saying it
doesn't need to be as difficult as we sometimes
make it for ourselves. So let's write a
song that's doing.
2. Class Project: Your project for this
class is to write a song and treat it
like a baby in the way, but do not let your
critical thoughts harm it. The equipment that I use
for a project like this is an instrument that I can
play while also singing. So a guitar or a piano, but you don't need an
instrument for this class. Sometimes I have an
iPad with an music creating app that I will talk more about
in the next video. Therefore, I would either have
an instrument or an iPad. Then I'll have a computer to watch this video and also
to write the lyrics. I mostly use Google Docs
to write my lyrics. And last but not
least, my fault, I use my phone for voice memos
and to film the final SOP. The reason I use video to record the outcome of this project
is because it makes you feel like it is more of a finished project and it's
really fun to own that video. And if you find it again
in ten years time, you have the song
there and you see how you played it and you
can pick it up again. In the project gallery below, you can see videos that
I uploaded where I show you how I followed the steps of this class in the
project gallery, you can also upload your song, which would warm my heart
and it will be amazing. And I think it's so nice
for everyone here to see that they're not alone
in the creating process. You can either put
a YouTube link, you can put an
unlisted YouTube link, which means that
only the people who have the link can see the video. But you can also just
make a project where you write the name of the
song or the courts you used, or how he felt about the
process or the lyrics. It's just nice together
everything in one place. If you're brave and you
want to put this online, please tag me on
Instagram and TikTok and YouTube and all these
places because it's so fun for me to see. I can give you
feedback if you want. I can just share you
on and share it. But right now, you don't
need to do anything. Just sit back and
watch the next video.
3. Lesson 1 - Pick An Instrument: In the first lesson, we're going to pick
our instruments. Obviously, if there's one
instrument that you play, that you can also sync
to at the same time, like a guitar or
piano, or local LA. Please choose that instrument. If you're fortunate enough
to be able to choose between multiple
instruments, like, you know, how to play both the piano
and the guitar than there's one thing that I would take into consideration
when chosen. And that is how comfortable you feel with making a melody. If you feel you need a
little help with coming up with a melody for your song. I feel that piano really
helps to just play around within the chord on the
piano to find your melody. I will show you more about this when we come to craving
the melody for the song. But this maybe
helps you if you're choosing between the
piano and a guitar. If you know how to play
an instrument where you cannot both play and
sing at the same time. I would maybe not use
that for this class unless you are very secure
with recording yourself. Because then of
course, you can record the musical part of
the song beforehand. And then you can sing and
create the lyrics over that. But as we're trying to keep
this class very simple, I would suggest that you use they're
non-instrumental option, which is what I'm
going to show you now. I have tried to write music
in a lot of different ways. But there is one way that
I like to share with you that you can
use for this class. And that is an app. So this is the app that
I've been using to create music is very simple because you can just
put it on an iPad, e.g. as you see here. Then you can simply
just start to create the music to your salt. And this kinda helps you to skip that step of
struggling with actually playing an
instrument and coming up with the rhythms and things like that for your
music creation. And maybe this can unlock
something for you if you feel that it's been
difficult to get to the stage of actually
writing a song. Even if you can't
play an instrument, you can choose this
option because it may be, makes it a bit easier
to just create a song. And then when the song is done, you can use the chords that you've created
within the app. And then you can actually play the song on guitar and sing it. But then you have two versions. So now when you have
your instruments, we're ready to move
on to the next video, which is about creating
your ideal workspace.
4. Lesson 2 - Create A Workspace: In this lesson, we're going
to set up our workspace. First. We're going to make sure
that we are left alone. This includes asking
people around you to maybe take a walk
for an hour or two, or planning to actually write the song when you
know that nobody's home, then we don't want
message or an email or a family WhatsApp group
interfere with that creation. So it's very important
that you take away the notifications
and maybe put it on silent while you're
doing this project. If you're composing your
song by guitar, e.g. and you want to be left alone, but there is no way you
could be left alone at home. I sometimes wrote
my songs in my car. So there are many ways to find your ideal workspace and
what works best for you. When you know that
you'll be left alone. The next step is to actually
set up your computer. So if you're
composing by a piano, I like to keep my computer
on top of the piano. If you're composing, maybe
with a guitar or the app, then it's nice to sit by a desk. In this way, you can be playing
and creating the song and also write the lyrics and change the song
at the same time. Now, you have your
computer set up. How I like to write my music is that I opened
Google Documents. I create a new document. Name is just Song and
the date of today, I write the title for now, it's just a song, music and lyrics by you. The date of today. And the video link. Because this is where I
will put in the link, the video of the
finished song in there. Then I write chords and lyrics. It's so nice to already
have this set up. So it will be easy to just dive into it as soon as we
start writing this on. A part of the setting
up process is to make sure that your
computer is charged, that your phone is charged, that you have a voice
memo app on your phone. So if you don't have
a voice memo app on your phone, please download one. There are plenty of free ones. And make sure that you
have enough space on your phone to be able to record the song
when it's finished, I normally take three
to five takes of the song because I just wrote it and it's difficult
to remember it. So you need a few ticks. So make sure to empty your
phone so you have space for a few videos to record the song. Now, go and make
something nice to eat. Get some tea or coffee. Turn off notifications
on the phone. And then it is time for us
to start writing the song.
5. Lesson 3 - Choose Chords: Let's write a song in
lesson number three, we're going to
choose our courts. I often get the
question if I start with writing the
music or the lyrics. And I've tried both ways, but I found when I want
to just write a song, to write a song and
do it quite quickly. It's really helps me to start with the music and
then write the lyrics. Of course, you can do it
the other way around. And you can do that in
this class as well. And if you want to, you can also use lyrics that
you already wrote before. But now we're going
to choose our courts. When I write a song quickly, I use cord generator. You can find this all over the Internet and they
change all the time. So as you're watching this in different times and
maybe different years, I would say just
google cord generator and find a simple one where
you just click Generate. And it gives you
three or four courts. And those are the chords you're
going to use for the SOC. See the restriction
of this as assets. Sometimes the creativity
that you need to use around rules that
you set yourself. Songwriting is really fun, and that brings new ideas
that wouldn't come up if you spend forever just trying
to find the coolest, most complicated chords that
people will be impressed by. You know, that's not what
this class is about. If you don't know the chords that comes up with a generator, feel free to take one out and just use the ones that
you feel comfortable using. Or just generate
the new row courts until you have something
that you can actually play. Another way to choose what
chords you're going to use is to take the last
song. You listen to. Use the chords from that song. You basically just search for the name of the song and then courts if the chords for the original song
is too complicated, a lot of websites have an easier version of all of these different songs
that you can use. The nice thing about
using cords from a song that already
exists is that someone else already did
the thinking for you when it comes to maybe changing
up the chords in the course, or finding chords that work
both in the verse and chorus, even though they stay the same
throughout the whole song. When you have your courts open up your document and put
the courts in there, if you're using an app
to create the music, choose three or four
different sounds that you feel something you
would like to work with and write the name of
those sounds in your document. Now when you have your courts, we're ready to move
on to the next lesson where we're going to build
the structure of your salt.
6. Lesson 4 - Song Structure: Now we're going to create the basic structure
for your song. First, I want you to play through the
chords that you have. See how they work together, see how you feel
about playing them. Is there anything you
wanted to change? Do you want to remove a chord? You want to add a chord. Like I said before, if you
have a song that already exist and you're using the
chords from that song, I would just keep
it the way it is. It saves time. And the reason I talk
about saving time is not necessarily that we need to do this as quickly as possible, but more that I don't want your critical thoughts
to catch up with you. So the faster we move along
and we just continue, the more likely it is that
you will just be a part of the project and be
involved in it and have a flow without really
thinking too much about it. When you've decided
what chords feel good. Then I want you to put them in the Google document in the order that you
would play them. And I want you to make
kind of a structure within your Google document
where you write the verse and you put it in the courts, that
would be in the verse. Then you write the chorus. You put in the courts that
will be in the course. If you're a bit more advanced, you can have a pre-chorus
and a bridge in the song. So then you would also put
this into the document. I put the structure
for my document below. So if you don't want to
write it out yourself, you can actually just
copy paste it from here. Now you can pause this video just to take
your time to play through the cords and see how it feels and really get a feel for
the structure of your salt. When you feel that
you have created a basic structure for the salt. We are ready to move
on to the next lesson, where we are going to come up
with fun, simple melodies. And we will continue using
tools that will help you with the creativity
and the decision-making. Congratulations on having
laid the foundation of yours. I'll see you in the next video.
7. Lesson 5 - Create A Melody: Now we're going to create
the melody for you. It's time to take out your very silent phone all without notifications and
open the voice memo app. Now we have the app open. Start by playing the verse over and over and over
and over again. As you're doing so and you're getting a feel for the song. You can start trying out
little simple melodies. As soon as you have something recorded on your voice memo and be sure to name the recording. So the first one I do, I record, I name it,
maybe verse one. And then I keep
playing the verse, the chords for the verse and I come up with
something else. Then I named reverse too. Then I often go on like that
until I have a few takes. And they have some kind
of melody that I like. Then I let myself move
on to the course. This is so when you
write the lyrics, it will be super simple
for you to jump back. If you've forgotten
how the melody goes. If you're working on the
lyrics for the virus, you can always just jump back to the verse and listen to it
while writing the lyrics without having to search
through a whole long take with a mix of the verse and the
chorus and everything. So I've tried to keep
them restricted to the verse, pre-chorus,
chorus, bridge. However, you decided
to build up your son. When coming up with melodies. Of course, you can just hum something or do,
do, do, do, do, do. But I love to just
do nonsense words. It doesn't have
to mean anything. It doesn't really
matter what language you just left. Calvin. Just need to get out. And this will actually help
you in the lyric writing. I feel it can be so helpful when you cannot
find lyrics to have a few random words
here and there that you hear in your
voice recording, even though they make
no sense at all. So there's no one here. I can hear you. So
just let it go. Just whatever words come out when you're making
the melody, they come up. And that's actually really good. If melody doesn't
come natural to you, you can use the guitar or the piano to come
up with the metal. If you laid down the chord on the piano that you're
using to start the verse. You can play on those keys, can play around with them and find the
melody in that way. You can do this on
my guitar as well, even though it's maybe not as straightforward as on a piano. But it can really help you to come up with a
start for a melody if you're feeling stuck and a melody does not need
to be complicated. There are plenty of really good songs that just don't have so much
singing in them. So if you only come
up a few lines, are a few words or
a few sentences. That's fine. The less singing
and melodies you have, the less lyrics you
will need to write. This is the time to do this. I would pause the video. And when you feel that you're starting to get some
kind of melodies out, then you can continue
watching this video. There you are. So now you're starting to get the whole
of the overall idea, maybe for the
melody of the song. So if you have a virus and it's kind of
sounding like it has a melody. I would like you to record the whole verse as a voice memo. And of course they emit verse. And then I want you to do
the same with the chorus. If you have a pre-chorus
and the bridge, do it with adults as well. Because when you have that set, we are ready to move on
to the lyric writing. And then having structures in your voice memos that
you can listen back to while writing the lyrics
will really help you. So take some time to do that. When you have recorded
averse parts, a chorus part, the
pre-chorus and bridge. If you've seen that
with nonsense words, or just humming, or just
a few here and there. That means you're ready to
move on to the next lesson, where we will write the lyrics.
8. Lesson 6 - Lyric Writing: Now we're moving on
to lyric writing. This is what a lot of people I know who are musicians
do not like. I have been one of those people who didn't like writing lyrics. But the more I've done it, the easier it gets. And the important thing to
remember is that again, it doesn't need to be perfect. It doesn't need to be great. It doesn't even need to be good. But every time you write, you will learn something so
that the next time you write, you might be a
little bit better. When I started making music, I used music a lot like therapy. And exactly like the first
time I went to therapy, I felt I needed to
talk about a lot of difficult and sad things and I was crying and
things like that. And that is how my first
songs sounded a lot like. They were very sad
talking about problems. And I mean, it helped me a
lot to write those songs. But just like going
to therapy more regularly when I started
writing music more often, I could suddenly talk
about more general things. It didn't always
need to be above the most difficult
periods of my life. And that is what
we're trying to do. Also in this class, that you don't need
to write lyrics about the most difficult
breakup today. Because then it's easy to start thinking
too much about it. And you want it to
be really right. You want it to describe
exactly how you felt. But now we're just writing
a song to write a song. So it can be about anything. If you already have lyrics or some texts they want to use, you can take that now and
put it in your documents under the lyric part
of the document. And then we will work
with it from there. If you're starting completely
fresh with the lyrics. This is what we're going to do. Open up your
songwriting document. Close your eyes,
point at something. Open your eyes, see what
you're pointing up. And that will be the
name of yourself. This is what I pointed out. This is a bit of a
challenge because I don't really know what
I would call this, but I guess I'll call it art. Now we're going to create
the skeleton for the lyric. So we're going to
write verse one, chorus one versus
two, chorus two. And of course, if
you have pre-chorus and the bridge,
you're adding that. Well, now we're
going to listen to the recordings that you've done and we're going
to write lyrics. It can be super silly or cliche. The important thing is that you get something on the paper. If you want rhymes. I use this website a lot. It helps me both to find variations of words,
but also rhymes. Two words that I want
to use in the song. If you feel that
words are missing, you may be have
the first part of verse one and then you're
writing verse two. But you cannot really
find that lasts sentence. You can copy paste something
from verse one into v2. That's okay. Everyone does it. And sometimes it just
makes the song better because it repeats a message that you want to get through. If you already have lyrics
that you want to work with, you also start creating kind
of a skeleton around them. Some lyrics into the
various and some into the chorus and some
traverse to adjust it. See if you want to find
synonyms for some words you're using or if you want to write some words and if you
need to add to it, Close your eyes,
pointing to something. Use that. So take your time now
and write the lyrics. Have fun with it. Just
point at random things. It doesn't even
need to make sense. But what is nice is
if you find a way to get it to flow with the
melody that you've created. And it's also super fun to change the melody
that you created. If you feel that, that works better with
the lyrics that you have. But just make sure that you're making new voice
recordings then. So that when you're learning
your new song yourself, you can actually listen
back and remember. It sounds like I hope
that you have fun with this and don't take too
much time doing it. You're starting to fill
out the document though. Then I want you also to put
the chords where they belong. So if a chord is changing at a certain place in the verse, and you already have
those lyrics there. I want you to put that cord over the word where it's
going to change. This is so it becomes
more visual and easier for you to actually
sing and play the song. When you feel that
you have a document that has lyrics for the
verse and the chorus, and the pre-chorus
and the bridge. If you have that and
you have put out the chords where they're
supposed to be in the lyrics, we are ready to move
on to the next step where we're actually putting
the whole song together.
9. Lesson 7 - Put Song Together: Now we're putting
the song together. Now, you should have a
finished lyric where the cords written above the lyrics exactly where you're going to
change the chords. And now I want you to
play through this. While playing through the song, you will get a feeling for
what words are working. That we want to
change some words, do we want to change the
structure a little bit? You will start getting a
feeling for the whole song. And this really helps to see if there's any changes
that you want to do. You're actually
finishing the song. When you're doing this. If you feel that there
are some words that just don't really work
with the flow of the song. It is completely fine to
make upwards or short-term. It's because you want to have a good flow to the melody and
to the way you're singing. So change the words. So use a word from another
language or something. When you feel that the
song is almost there, I want you to practice it. I want you to practice
until you feel that you can play the whole song
through in one gulp. While of course, looking at the lyrics and the
courts in your document. When you can play through
the whole song in one goal, it's okay to have a
few breaks here and there to get the core drive
and things like that. You have actually written a
song, pat on the shoulder. But we're not completely
finished yet. We still have to record it. In the next lesson, I will take you through
this step-by-step. It's very simple. And in the end, you're
going to have a video of yourself playing the song
that you just wrote.
10. Lesson 8 - Finish And Record: Now we're going to
finish the song. Finish that. When you're setting up
your phone to film. I'd like to have it in a
way that I can see myself, even though the selfie
camera isn't great. But this video isn't supposed
to be great. It's perfect. I want to position
my phone in a way that I can see how I'm playing. So you don't even need to
have your face in the camera. The important thing
is that you can see maybe how you're playing
the chords on the guitar, or how you are
playing on the piano, or what effects you're
using on the app. If you're using the app
to create the song. And when you're setting it
up, you can use anything, a mug, or your computer. If you have a guitar and you're sitting
here by the computer, playing is actually just
really simple to put the camera on the computer or by the computer
and that whole setup, you might need a few takes playing through the
song and filming it. Even if you're doing mistakes when you're playing it
in front of the camera. It doesn't matter. The idea of this is that you, yourself have a
recording where you can here and see you the
structure of your song. When you have recorded this, you have written and
finished your own song. So you can pause the video
now and then come back. When you have recorded yourself, you have now finished and
written your own song. Congratulations, I'm so proud of you and I'm so happy you
were able to do this.
11. Conclusion: You wrote the song,
Congratulations, your dad. I'm so proud of you. This is something that
can be very difficult. But you did. We have covered
everything from craving your perfect workspace to actually working in that
space and writing a song. And now you have a finished video of a creation
that they don't exist. This morning. If there is one key takeaway that I want you to
bring from this class. It is just the importance
of the joy of creation. Because if you have fun
while you do something, then you'll probably
do it again. And that is how we get better. I would love if you
wanted to upload a class project on the class page below in
the project gallery. And if you don't want
to upload a video, you can still upload
just the name of the song or the cords or how
you felt about the process. Because it's so nice for
everyone to see that they're not alone in
their creation process. If you upload your project on social media, please tag me. It is so nice for me
to see what you're doing and also to let
me share you want. Thank you for
joining this class. I hope it is giving
you inspiration and joy to create more. But mostly, I hope that you're
just happy with yourself, happy like you sat down and you wrote the song because that
is the most important thing. I'm so proud of you, and I hope that we get
to do this soon again. So until next time. Bye.
 Hanna Mia Brekkan, Musician from Iceland