Transcripts
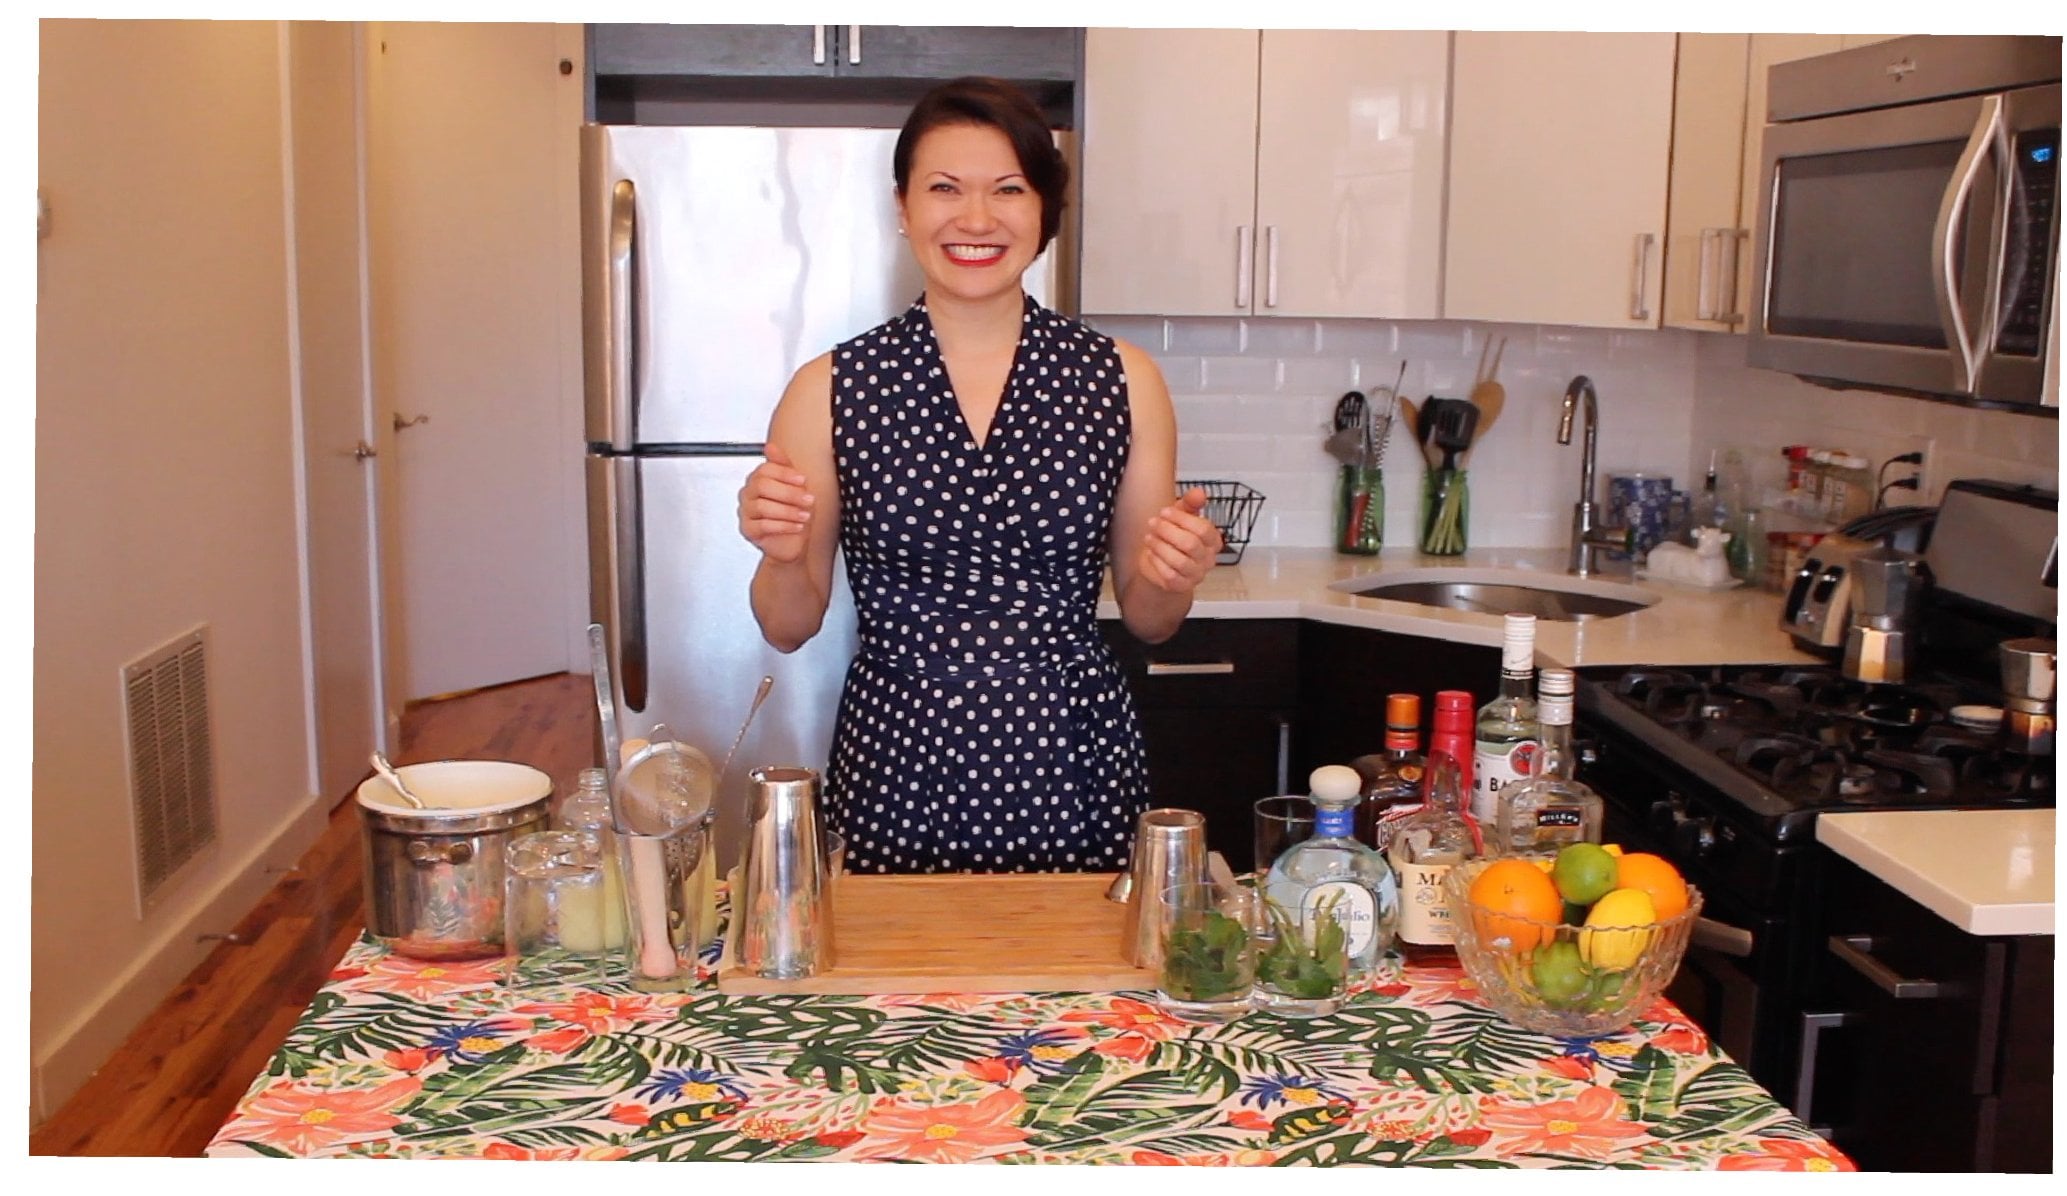
1. Introduction: My name is April Wachtel and today we'll be upping your bar tending skills from 0 to 60 and 30 minutes. I got into the beverage industry about almost 20 years ago. At this point, I've worked in mostly every role in the front of the house. I've also worked on the beverage side of things as well and I've been teaching cocktail classes for the past three years. What I've gleaned in this whole process is that there's a set of questions that pretty much every beginner has about Cocktail preparation. If you know the answers to the set of questions, it'll get you started from zero experience bar tending, and get you really functional behind the bar. Or if you're already making cocktails, this will exponentially increase your ability behind the bar, your understanding of flavor profiles of balancing cocktails as well. Our objective today is to answer those questions and get you guys started bar tending.
2. Tools and Space: Right now we're going to discuss the basic tools, like if you're just starting off right now, these are the basic tools you really should have to get started. I also just wanted to say a word on space. This is roughly about three feet of space. In an ideal world when you're setting up at home, you have about this amount of space. You can make due if you're preparing cocktails for friends, you can make due with this cutting board size space. It's not ideal though, because you're going to have your shakers on either side or lined up somewhere, you're going to have your jiggers, you're going to have your strainers, etc. If that's cramped into this little space, you really have no space to prepare your drink. This is a pretty decent height for a home bar. Ideally, it's a little bit higher like bar height. But if you work from a smaller, a shorter station, you are definitely going to be feeling the effects, probably even in 20, 30 minutes. Because if you always have to bend over for things, it's just not great for your back and it's not sustainable. First and foremost, we're using a combination of two different shakers called the Boston shaker and this is basically any combination of two shakers. In this case, I have a kind of fancy-looking pint glass, so it's 16 ounces. I have a metal shaker tin over here. If you have these, this is the basis for making really great cocktails. You don't need anything more. Frankly, when we're talking about pint glasses, the commercial really cheap kind work really great, that's awesome. So we got these guys. You could also, if you would like, instead of having the pint glass, you could always substitute a small metal shaker as well. It just depends on your preferences. But this is the Boston shaker right here. So moving right along, we also have jiggers. If you are again looking to build up your bar kit from nothing, these are inexpensive options. You can really find all of these tools at your typical restaurant supply store. You can also very easily look for bar supplies online and find them. In the US, we work in liquid ounces and the volumes are inscribed on the side for all of these jiggers. So what I have here is I have a half ounce to three-quarter ounce, and then I have a one to two ounce jigger. This will enable me to prepare drinks with a lot of different volumes of ingredients and so I think these are super versatile, so these are great to have. You can also upgrade if you would like to. These are a couple of fancier options as well available through Cocktail Kingdom, but these are just really well made. There's more accuracy with the taller jiggers, which are the Japanese style jiggers. I personally prefer with a leopold jigger, I personally prefer the weight here. So you can use either of those as well. Then we have a couple of strainers at our fingertips. Again, super basic, the Hawthorne strainer. There's a bunch of iterations of this. Just find one that you can use that's comfortable for you. This is a decent option, again really inexpensive. I also have a bar spoon just over here as well, and this is again super-duper, inexpensive, easily found. So those are really the basic tools. It's very helpful to have a cutting board and a paring knife, 3-4 inch paring knife is really helpful with a nice sharp edge and a pointy tip for garnishes in particular, and that's really about it. I would also recommend having a small ice bucket available at your fingertips as well as an ice scoop.
3. A Word on Ingredients: All right. So let's talk about ingredients now. If you start with poor quality ingredients, you will not have a good cocktail. It's just how it works. In all of my conversations with beginners, with experienced bartenders, the number one way that I believe you can up your cocktail game is by using fresh citrus. I know it seems like a really big jump for a lot of people were, I think I'll use to the convenience of having frozen juice or having juice from concentrate or whatever it may be. Quite frankly, its night and day when you have a cocktail that is fresh juice versus frozen juice. Again, I know it seems like a big deal, but I would recommend having even just one lemon in one lime if you're going be making cocktails on a regular basis, I recommend having just one lemon or one lime lying around. As long as you don't cut the peel, cut twists, cut segments of the citrus. It's going to stay good for an extended period of time. So maybe a week, maybe a little bit longer. When you're actually picking out your ingredients, you do want to look for really fresh, not wrinkled citrus. If you purchase old wrinkled citrus, the oils will not be present in the skin. So when you actually go to peel twists, part of it is the aesthetic, part of it is that you're using for aroma and the aroma comes from the oils in the skin. So if you're using old fruit, it's just not going to produce the oil that you're looking for. Frankly, the flavor is going to morph over time as well. So, I'd recommend having just a couple of these around if you're having a party, obviously you'd want more of them and again, it's a super simple process making fresh juice.So I will just demo how to use a simple hand press, citrus press to make this. So I'm just going to take a lemon here. I'm going to cut it in half. So I'm cutting in half, I guess the short way, I've got my two halves here, I'm going to take my pine glass in this moment and then this is a Citrus Press here. So these are pretty inexpensive. You can get them for maybe $5-10 depending on the quality and where you're going. But look what sort of story you're going to and then you split this into the round side is up, and then you're going to gently squeeze here. A lemon will produce, depending on the size, one to one and half ounces or so of citrus. So I am going to squeeze both of these. I would also say that if you are squeezing fresh juice at home, it's very helpful to strain out the pulp immediately if possible. Reason being that the pulp will definitely stick to all of your glassware and will be really hard to clean. So that's how you squeeze the fresh juice. Of course I'm going to taste it as well. So I've got these little tasting straws just over here. The point is that, fresh citrus, frankly any fruit or vegetable is going to taste different piece to piece. I want to get a little taste to understand better how acidic it is. More or less how it's going to play in the various recipes that we'll use later as well. I notice also seems a little bit daunting sometimes for people because they're like, I have 15 people over, how am I going to use all this lemon? Here's the answer. So you can use this of course. You can sometimes buy fresh squeezed juice, but I'm just going to place two side. This is a very decent option. This is just an electric reamer. The reamer, you would place the fruit on top and actually I should probably just cut another sample here. But you will place the fruit on top like this and this particular one actually has a two different sizes. One for lemon and then one for lime as well. So you can go between the two when you're squeezing citrus. This is a little bit less labor intensive than the previous option. This was $16, I think that there are in retail locations for between 16 and maybe 25 or so. This will definitely break at some point. But my previous version of this lasted me maybe a year or so and juicing often. So it's a really decent investment. Again, just slightly more expensive than this. I would say that the advantage of having a press is that, you're also squeezing the oils as well as the juice itself. This just squeezes the juice, so that's good food for thought. Another option, if you are looking to really get crazy with your citrus game, this is a [inaudible] it's used in a lot of commercial applications. These things are super durable as you can imagine. I mean, it looks like a torture device. So I have been wanting one of these for years and I somehow just did not realize how inexpensive they are. This was like a $130 at a restaurant supply store, which may seem expensive for a juicer. But if you're juicing all the time, this is really like ergonomically comfortable. So just for example, I would actually be turning this, this way and then the lever pulls down this way, but it has this nice little spring support here. Again, I would not be choosing this way, but just for the cameras sake, I would be doing it from the side. So you just place your vessel under here. Just over here. Then you're going to take your citrus, place it over here and squeeze. This is also great because this can accommodate for larger fruit. So either, a little bit over sized oranges or grapefruits as well. You can squeeze them in the sky and then both of these pieces come out as well for easy assembly disassembly and then also for washing too. So those are the three options that I think are really accessible again for somebody who's a total nervous or who's really trying to become a bad ass. So the next ingredient we're going to talk about is called simple syrup. You'll see it often in recipes because there's this drink category called sours, which is spirit, citrus, and a speak component that often includes simple syrup. You can also use other sweet components like [inaudible] for honey syrup. But simple syrup is really the kind of cornerstone of this category. Simple syrup is just as easy to make as the name would suggest. It's a simple process. So in this case, we're actually going to use just one to one parts. Sugar, granulated sugar to water. This ratio, you actually don't even need to apply heat. It's going to be a little bit easier to dissolve with warm water or hot water than it would be with just room temperature water. But again, you can just stir these two components to dissolve. So I'll just show you how to do that. So you've got in this case, eight ounces of granulated sugar and then I've got the eight ounces of warm water. Just going to pour this in here and I'm going to stir. Another option is to do this on the stove and at any ratio, you're going to do like a 2:1 simple syrup, which is a rich simple syrup, you are in fact going to need to apply heat or else all of the sugar will not dissolve. So I'm basically just stirring this up. I can add it to a [inaudible] on the stove if I would like to. I actually personally prefer the taste and the mouthfeel of simple syrup that's just been brought up to a simmer, just because it makes it a little bit more syrupy, a little bit more viscous and kind of a very literal taste of sugar disappears once you apply heat to it. So in any case, this is dissolving, it's win or lose it's cloudiness in just a second as well. That's really as basic and as easy as it is. You can incorporate this as soon as it cools a couple moments, if you'd like, into your cocktails, you can refrigerate it. You can also, if this is of concern to you, if you're saying okay, I want to dissolve this very quickly, and I also need to use it super quickly. What you can do is do half a part of the water to the full part of sugar. So warm or hot water and then you can do the remaining half part of water cold. So you add that to and it shows it down much more quickly. So that's another option as well. So there's your simple syrup. People say, I'm trying to replicate the results that I see in a cocktail bar in the home. To be quite honest, that's hard to do aesthetically with your standard fridge ice. So that's, I think just the aesthetic component is enough reason to purchase square options, for example. So I think a lot of people really just don't think about the aesthetics as being so hugely important. But it really does impact what you actually perceive in aroma and flavor as well. So just to give you a couple of options for different ice experiences for both home produced. So we've just got a one by one by one cube here, and then we've just got an ice ball here. So this guy is actually with Tubolo cocktail kingdom produces these as well, and you might have your own reasons for choosing one option or another. But they're silicone. Again, you just fill it in like a normal tray super easy. This is the sphere, the ice ball home tray here, and an is four at the same time, which is great. You can just rinse off any kind of rough edges because there are a few little rough edges as shown here. People often use this with like when they're serving whiskey on the rocks, for example, because it's a beautiful appearance and then also with a larger cube it's a little bit slower of a melt. Then here's another option as well. This is the obviously larger size of this guys is a two inch cubes, also really great options. So that brings us to the second reason why you might change your eye selection. Part of it is the actual time it takes to melt and really how much dilution you want to get into your drink. So it's two parts. I would say with in the home application, if you're producing ice like this, this will shake well, it'll stir well and it will also look nice when you present a drink in it or on it. The cubes, I'm sure the spheres, the balls, they tend to shatter when you're shaking them. The squares here, the two by two by two cubes. This is like a really nice option for shaking cocktails. It's harder to use just one for stirred cocktail and get the appropriate solution and appropriate shell that you want for the cocktail. But these are really great if you're looking in particular to get more teeny tiny air bubbles on the surface of your cocktail using one of these, one cube of these and shaking gets a lot more, generates a lot more of those air bubbles and so for shaking drinks like the Daqri, it has like this really wonderful texture and a little bit of effectively film at the surface. So that's a really great option. It's also a great option to shake with this. Again, this is going to break down and dilute a little bit more quickly when shaken. But again, in terms of presentation, I said it's a great option as well.
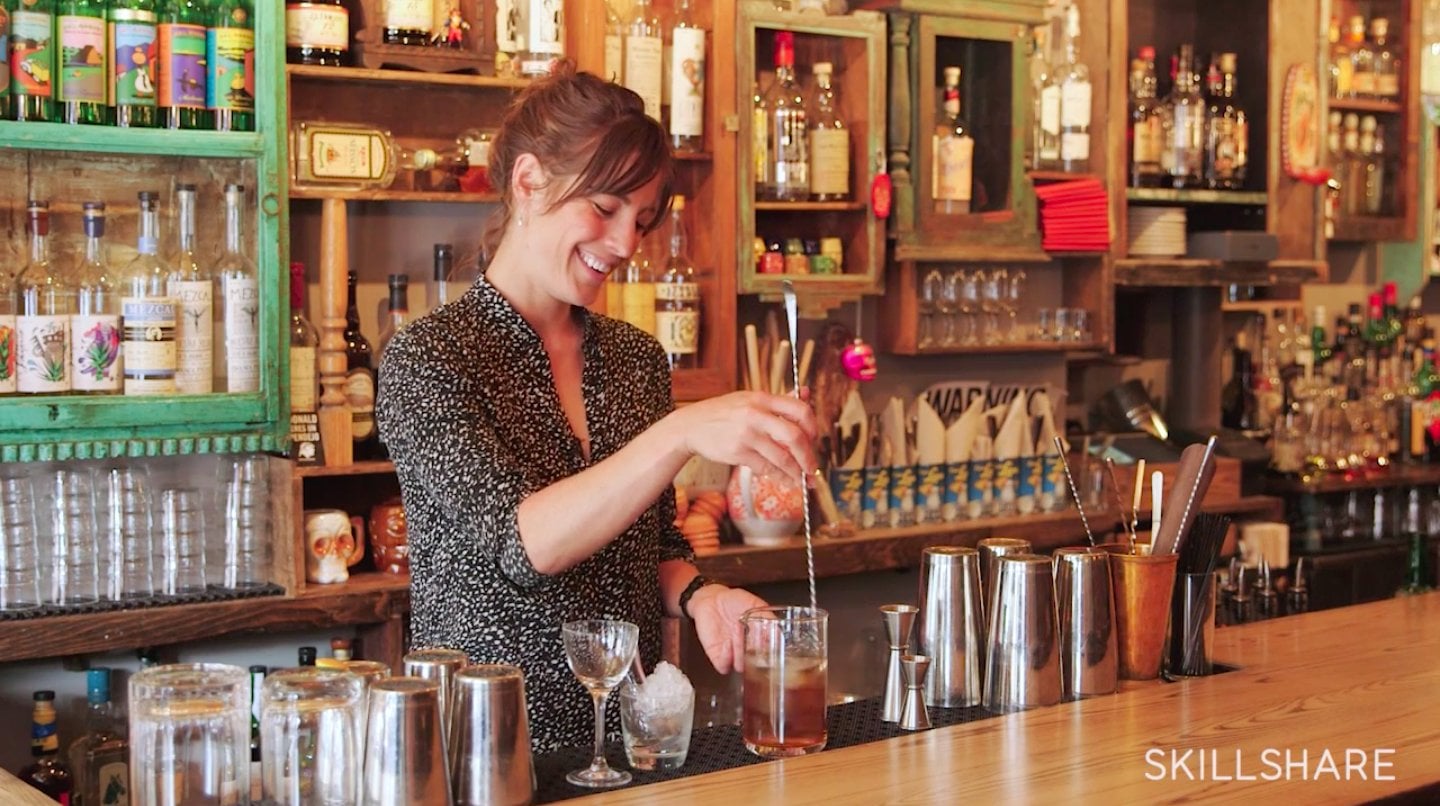
4. Basic Techniques: A few basic principles to remember when you are preparing cocktails are always prepare your cocktail in the smaller of the two vessels. So in this particular case, I'm using a pint glass and then the mixing tins together. You always want to prepare the cartel in the smallest of two vessels. One very basic, simple reason behind this is that if you're experimenting, if you're adding a bunch of different ingredients, or say, oh, maybe I want to add citrus, maybe I want to add muddled fruit, maybe I want to add soda water or things like this. By the time you're done with your experimentation, you may have a little overflow issue by the time you add ice, you place the two shakers together, you have more volume than can actually fit between the two vessels. So that's something to think about as well as, especially if you're using a clear pint glass, and it's a really lovely visual for guests who may be watching you make your cocktails. It's also a great visual check. If something looks wrong, it probably is wrong. So if you are preparing one cocktail for one person and all of a sudden the whole thing is filled up with gin maybe who have over measured, or if you're using a product that fortified aromatized wines, for example, like a vermouth. Oftentimes people don't refrigerate these, they are perishable, they will oxidize over time, and part of the oxidation process is you see a change in color so the product will get darker in color. So if you're using a dry vermouth or a blanc vermouth, and all of a sudden it's darker in color, you might have overlooked tasting it, you might overlook the refrigeration. So again, it's a great visual check. Another thing to note is that you want to add the most volatile ingredients first. Meaning if you're incorporating bitters which are very concentrated and flavor typically high in alcohol by volume or if you're incorporating an egg, for example, you just want the egg white, let's just say, and you're cracking the egg on the rim of the glass, and then you basically will move the yolk from egg half to egg half. So you have the egg white drop into the glass. You see this all the time where people crack yokes in somewhat you see them crack little shards of the egg shell, etc. So it's easier to do that first before you've added the rest of the ingredients for the cocktail. Another way to look at it is add the most expensive ingredient last. So again, the premise is that if you make a mistake, you can serve the most expensive product, the vodka, gin, rum, tequila, etc, that'll be the final ingredient that you'd add. So those are just a couple of principles. Also, a general guideline is you shake beverages with juice, with cream, with eggs, because you really want to emulsify those ingredients, you really want to incorporate them with each other, and then you stir cocktails that are straight booze. So in the shaken drinks, for example, we're talking a daiquiri, a margarita, a sidecar. These are just classic examples of shaken drinks with stirred cocktails, we're talking about an old-fashioned, for example, a Manhattan, a martini. So the guideline exists basically because you're looking for different outcomes. So a classically prepared Manhattan, for example, has this really clear mountain stream appearance. There's fewer egg shards, you're stirring this drink fewer egg shards on the surface, when you actually sip the drink, it's going to be a little bit weightier, fuller in body, if you will, and that is going to result in a very different sensory experience. If you're shaking a drink, you're going to have more egg shards on the surface of the cocktail, you're going to have a little bit more ice melt, although you can get them to the similar temperature stirring or shaking. Then additionally, as I mentioned, there's more force applied, so you are going to actively incorporate those ingredients a little bit better than if you were staring them only. Those are just a few thoughts on really basic guidelines. One final note, and we talked about ice as well, but one final note is add ice last, if you're preparing multiple drinks side-by-side, and you build one drink and you add the ice to it. Then you start building your next drink, and then you add the ice to it and you build your third drinking, and you add the ice to it. By the time you get around to shaking or stirring the first drink, it's already more diluted, but not as cold as you would like it to be than the final drink that you have prepared. Here's what this looks like if you're going to make a shaken cocktail. You take your smaller of the two shakers. In this case, I'm using the cheater tin, I'm going to take my jiggers. I have two over here. So again, I've got my half to three-quarter ounce and then I've got my 1-2 ounce. In this case, since I'm just doing this without liquid, I'll just show you how I would do it. So I'm going to start with, in this case just because again, it's a little demo, I'll do three ounces of my liquid here. So that's a one ounce and the two ounce, so three total. I would then add my ice to this shaker tin, I'd seal. Flip it. So you do want the smaller of the two to be on top, two reasons. First reason, if you accidentally, when you're shaking, lose the top one, it goes behind you as opposed to on anyone in front of you, and then additionally, and this is a lot more likely if the seal is not perfect between these two tins, any liquid that comes off again as you're shaking, that's going to go over your shoulder rather than onto somebody in front of you. I'm going to shake 10-15 seconds. You can just shake back and forth like this. You can shake up and down if you'd like, you'll see people have different kind of grips on how they hold the shaker. I would say two things, make sure it's comfortable, firstly, because this repetitive motion, so you'll continue to shake for multiple cocktails. So make sure it's comfortable, and then you also want the ice to be going end to end in the shaker as opposed to kind of side to side. So I do see people do this sometimes or this, you do really wanted to be going end to end. So you can shake it however you'd like to shake it, 10-15 seconds. The quality control point is you will feel the shaker icing up on the outside. So it's showing the cocktail down, it's adding dilution to the beverage, and then it's also forming a vacuum between the two shakers. At this point you need to use your free, your cocktail from the shaker, and I have this very violent analogy I always use that if this is ahead, meaning this is the nose, this is the back of the head, and then these are the cheeks, you want to hit at the cheeks. So use the meaty part of your palm, I'm twisting so the nose is pointing at you, meaty part of your palm, crack it like that. It may make a noise and may not in either case, let the liquid rip off, put this elsewhere, and then you're going to use your Hawthorne strainer spring size down. Drop it in, put a finger over it either this way or this way, and then you're going to pour it into the receiving vessel. So let's just say this is the drink or this is the glass I'll be serving out of a port like this. You can play around and kind of go up and down if you'd like or you can just pour from this height. Then I'm going to remove these, and just put those away for later. That's how to make a shaken cocktail. If you'd like to make a stirred cocktail, you would prepare your drink again in the smaller of the two vessels. In this particular case, people typically stir in glass, although you can do either. One of the benefits of stirring in glass as opposed to in one of the shaker tins, like this little cheater tin over here is that this is a little bit heavier, and so you are going to be using kind of vigorous motion here, movement, and you want to make sure that it doesn't tip over. So I've got my cocktail glass here, I'm preparing the drink in this class. I'm going to fill the liquid portion first, so let's just say my cocktail is complete, there's no ice in it yet. Then I'm going to add ice above the spirits line or the liquid line, and I'm going to take my bar spoon and stir. Everyone does this a little bit differently, but this is a really great starting off point. You're going to use these two fingers for part of the motion and then you're going to incorporate your middle finger for the second part of the motion. If you take an aerial perspective on this, if you view the glass from the top-down, you want this pivot point to stay in the middle. Like it's not like a witch's brew sort of stir you want to keep this in the middle. If you picture this as two semi-circles that are linked together into the circle that is the glass, you want to use your thumb and your forefinger to pull the first half the circle towards you, and then use your middle finger to push away, pull, push, pull, push. This takes a little bit of practice, sometimes it's easy, sometimes it's very difficult. I would also recommend using ice in water as you're practicing because it's a little bit easier when there's friction. You're going to stir for 20-30 seconds. The quality control point is you'll feel the glass icing up on the outside as well, and then you are ready to serve your cocktail, place your bar spoon aside, drop your strainer in and then you can strain it into the glass. It's as simple as that.
5. Garnishes: The final thing that we're going to do today is take a look at our finishing touches, or our garnishes. I'll just do very quickly, I'll show you how to make the basic garnishes that are pretty common for cocktails. Then, we can get all crazy and fancy when it comes to your special projects, if you would like. Super basic thoughts here. We've got a lime here. I'm going to cut some lime wheels. You can decide to put a slit in the lime wheel so you can perch it on the rim of the glass. I'll show you how to do that. My personal preference is typically to float the lime wheel, but this is, again, it's up to you. We're going to use this glass here as just an example if we want to add that here. I'm going to just make sure that my fingers are tucked in out of the way. You definitely want to leave this operation with all of your digits attached. You want to make a not too terribly thin lime wheel. In either case, you you don't want it to get flabby and floppy. I'm going to go, this is maybe two to three millimeters. If I were making a drink with a coupe glass or a martini glass, I can just float this on the surface like this. If I'd prefer to put it on the rim of the glass, I can just do this. I can take my knife, I'm just going to put a little slit here. I tend to go between in the middle of each of the segments. Reason being is this looks like it's a pretty tight structure for this lime. But oftentimes when you slit on the segment edge, it slits all the way to the middle, and then you're left with this gaping hole, and then the citrus is falling off the edge of the glass. So I tend to do a mini little cut in the middle of the segment and then just perch it on the glass like this. That's an option. This goes for any citrus, you could do a wheel like this. Next garnish is going to be a segment. We're going to do wedges. With a piece of fruit like this you can trim the ends off, we like to trim this little nubby off, or you can just leave it intact. If this were a lemon that looked a little bit more shapely, like this is a slightly more aesthetically pleasing nub at the end, I might just leave it as it is. In this case, I think I'm just going to chop it off. Again, tucking my fingers, placing this over here, and I might have to doctor this up a little bit after. At this point, you want to slice lengthwise. At this point, this is a great opportunity, if you've just got a couple of little seeds here, you can pop those out. When you extract the seeds, it's going to leave a little hole in that wedge anyway so that's a little bit undesirable right there. But you want to take the pointy part of the knife, just the end here, and make a little slit. You don't want to go all the way through the fruit. But this again, is going to allow you to have a slit so you can add the wedge to the edge of the glass, to the rim of the glass, if you so desire. At this point I'm going to make a decision. I'm going to flip this so the midline of the fruit is just here. I'm going to make a decision to either cut three pieces out of this, or four. I have decided, in this case, because it's a medium to large size lemon, I'm going to make four. Again, tuck my fingers, cut in the center, and this will ensure that I make equal segments as opposed to just willy-nilly deciding to cut from this side, then this, and this or this. So now I know that this is going to be the middle of this second wedge here and then likewise over here. Here are my wedges. We have our little slit there, which is great. You see that there's a little bit of extra pith here, I probably would just chop a little bit more of that off so it looks even. But there's your wedge, and this is just great as a garnish. Again, you want to do only fresh garnishes. If you have fruit that's pockmarked and unattractive, I would definitely just leave it on the side, nobody really wants to see a brown piece of fruit on the rim of their drink. Great. We've got this, and then if you decide to rim a glass as well, this is actually a great tool for this. You'd just take the wedge and you squeeze very gently, so now, as you can see, there's a little bit of liquid here on the rim, and you can do one of two things at that point. You can flip it over into a plate of salt or sugar, and shake it off, and then you've got a nice rim. The challenge with that is that if it's salt and there's a lot on the inside of the rim and it falls into the drink, it has a lot of potential to ruin the flavor profile of your drink. So what I tend to do is I take the outside edge of the glass and I roll it in salt or in the sugar. Then, I will take a napkin, or a bev nap and I'll just clean it up just a little bit, so the presentation looks nice. We've got this guy here. I'm going to move these aside. Then finally, we can do twists of any kind. I'll just show you on an orange. We do an old-fashioned in this video, this is how I made the twist for that. You can use a Y-peeler or a Swiss-peeler, it's basically a potato peeler that looks like this, but it has the blade running across this way, as opposed to up and down. In this case, I want to make a nice thick twist. I can do either a little disk like this, so I've got little disc. I can do a longer peel like this, and just leave it organically in this shape. The Y-peeler will turn out results that are similar to this. Or, if I decide, I can take this twist and I can also doctor this up. I'm going to, again, tuck my fingers out of the way. I'm going to make a nice clean line here. Just turn it around, make another nice clean line parallel to that first one. Then, I am going to turn this at an angle because I like what this looks like with a little bit more point to it. I'm going to flip it around, and I'm going to do another line that's similar to that, that's parallel to that. I've got this nice little shape here, it looks very clean, it looks very sophisticated. It's also nice and thick. One of the purposes of cutting twists in the first place is to express the oil, or expel the oil, over the surface of the drink. If I'm going to add orange oil, in this case, and an orange twist in my drink, what I'm going to do is hold this either with one hand, with the ability to squeeze, or with two hands. I'm going to squeeze the oils out over the surface of the cocktail and then rub the oils on the rim of the glass, flip it over so it's nice and pretty, and drop it in. If I felt so inclined, I could also put a nice little twist in it, because this has additional thickness, it's going to stay a little bit better. You can also, if you'd like, take a little garnish skewer here. You can throw this through here. You can add a cherry or a blueberry or something in the middle, and then you've got a nice little composed looking garnish, and you can garnish with that. One last thing that I would like to discuss is using mint or using herbs. In this case, we're actually using cilantro, but using herbs in your drink. I use mint as an example because it's the most ubiquitous of herbs in cocktails. But if I'm going to use mint in a cocktail, if it's a coupe glass, if it's an up glass where there's no ice, what I will likely do is I'll take one little leaf, and as I mentioned, I actually have cilantro here. So I would take one little leaf and I would just smack it in the palm of my hand like this. Then, I would float it on the surface of the cocktail, because just applying that small amount of pressure will stimulate these oils. Again, the aroma that you will perceive as you're drinking the cocktail is going to be magnified. So there's that. Then, similarly, if I'm going to make a cocktail that has an herb garnish that's on the rocks, I'm going to do something slightly different where I've already pre-plucked these little cilantro leaves from their stems, and so I've got a little bit of stem here. I'm bunching these together. If you can see, I'm pinching with my fingers. I'm bunching these together. I'm going to give them a quick little slap. This is empty, but assuming I have ice in here, I will fill this up to show you. I'm actually just going to tuck it in like this to the side, so basically you have this nice little bunch. You can then add a straw, either in the herb cluster, or just in the center of the drink as well. So that keeps the garnish together a little bit tighter than if you just dropped it in. Those are just a few thoughts on finishing. Good luck.
6. The Assignment: Guys, we've gotten to the end of our little class here, and your class project will be creating a riff on sour style cocktail. Sour cocktail is something that we had referred to earlier, but we did not actually get into the details of what this is. It's basically a beverage that includes a spirit, a citrus component, meaning lemon or a lime, and then a sweet component as well. Typically these are shaken drinks as we had discussed earlier. But it's really interesting because you can very easily incorporate additional flavor in this. You can incorporate muddled strawberry and basil or muddled strawberry and sage, or cilantro or jalapeno or bunch of different other things. Your project will be creating one of these cocktails and riff on your own and then garnishing it beautifully and then posting a photo of this on the website. There you go. If you guys have any questions, I will put my information, so you can get in touch with me, and happy cocktail making.
 April Wachtel, Cocktail Instructor & Entrepreneur