Transcripts
1. Introduction: Before you start any
interior design projects, you first want to assess the opportunities and
limitations of your space. One of the most
important ways to make this assessment is to
actually measure the space. Measuring the space can help you take a multitude of decisions, for example if you move
from one space to another, knowing its dimensions
is going to inform you about which
furniture to take with you, which one to sell, or give away and which one
might have to buy. It can inform you about the perfect location for
various pieces of furniture, or writing accessories,
that it can be particularly useful for
custom-made furniture. Measuring the space
is the beginning of any interior design project, and you need to rely
on this information anytime you make changes
in your environment. Hi, my name is Ana Marcu and
I'm a licensed architect. I've worked for a whole
decade as in-house architect, and I'm running my
own designs studio in the beautiful city
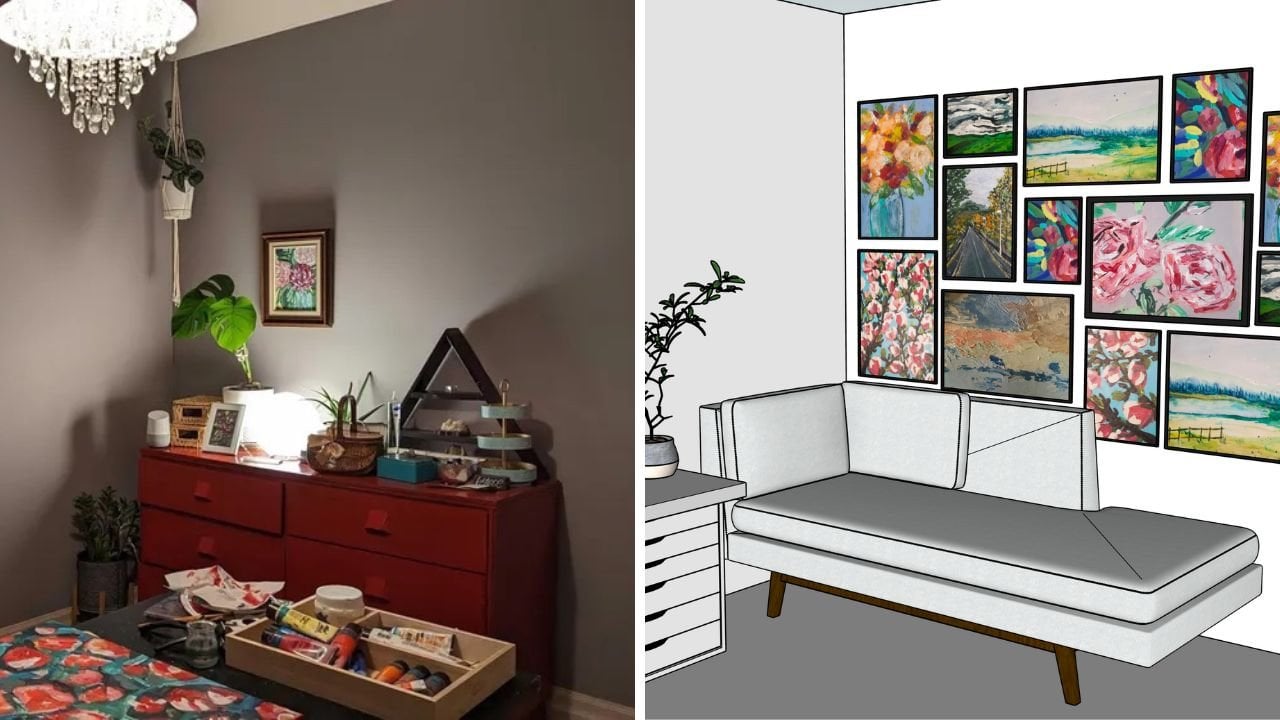
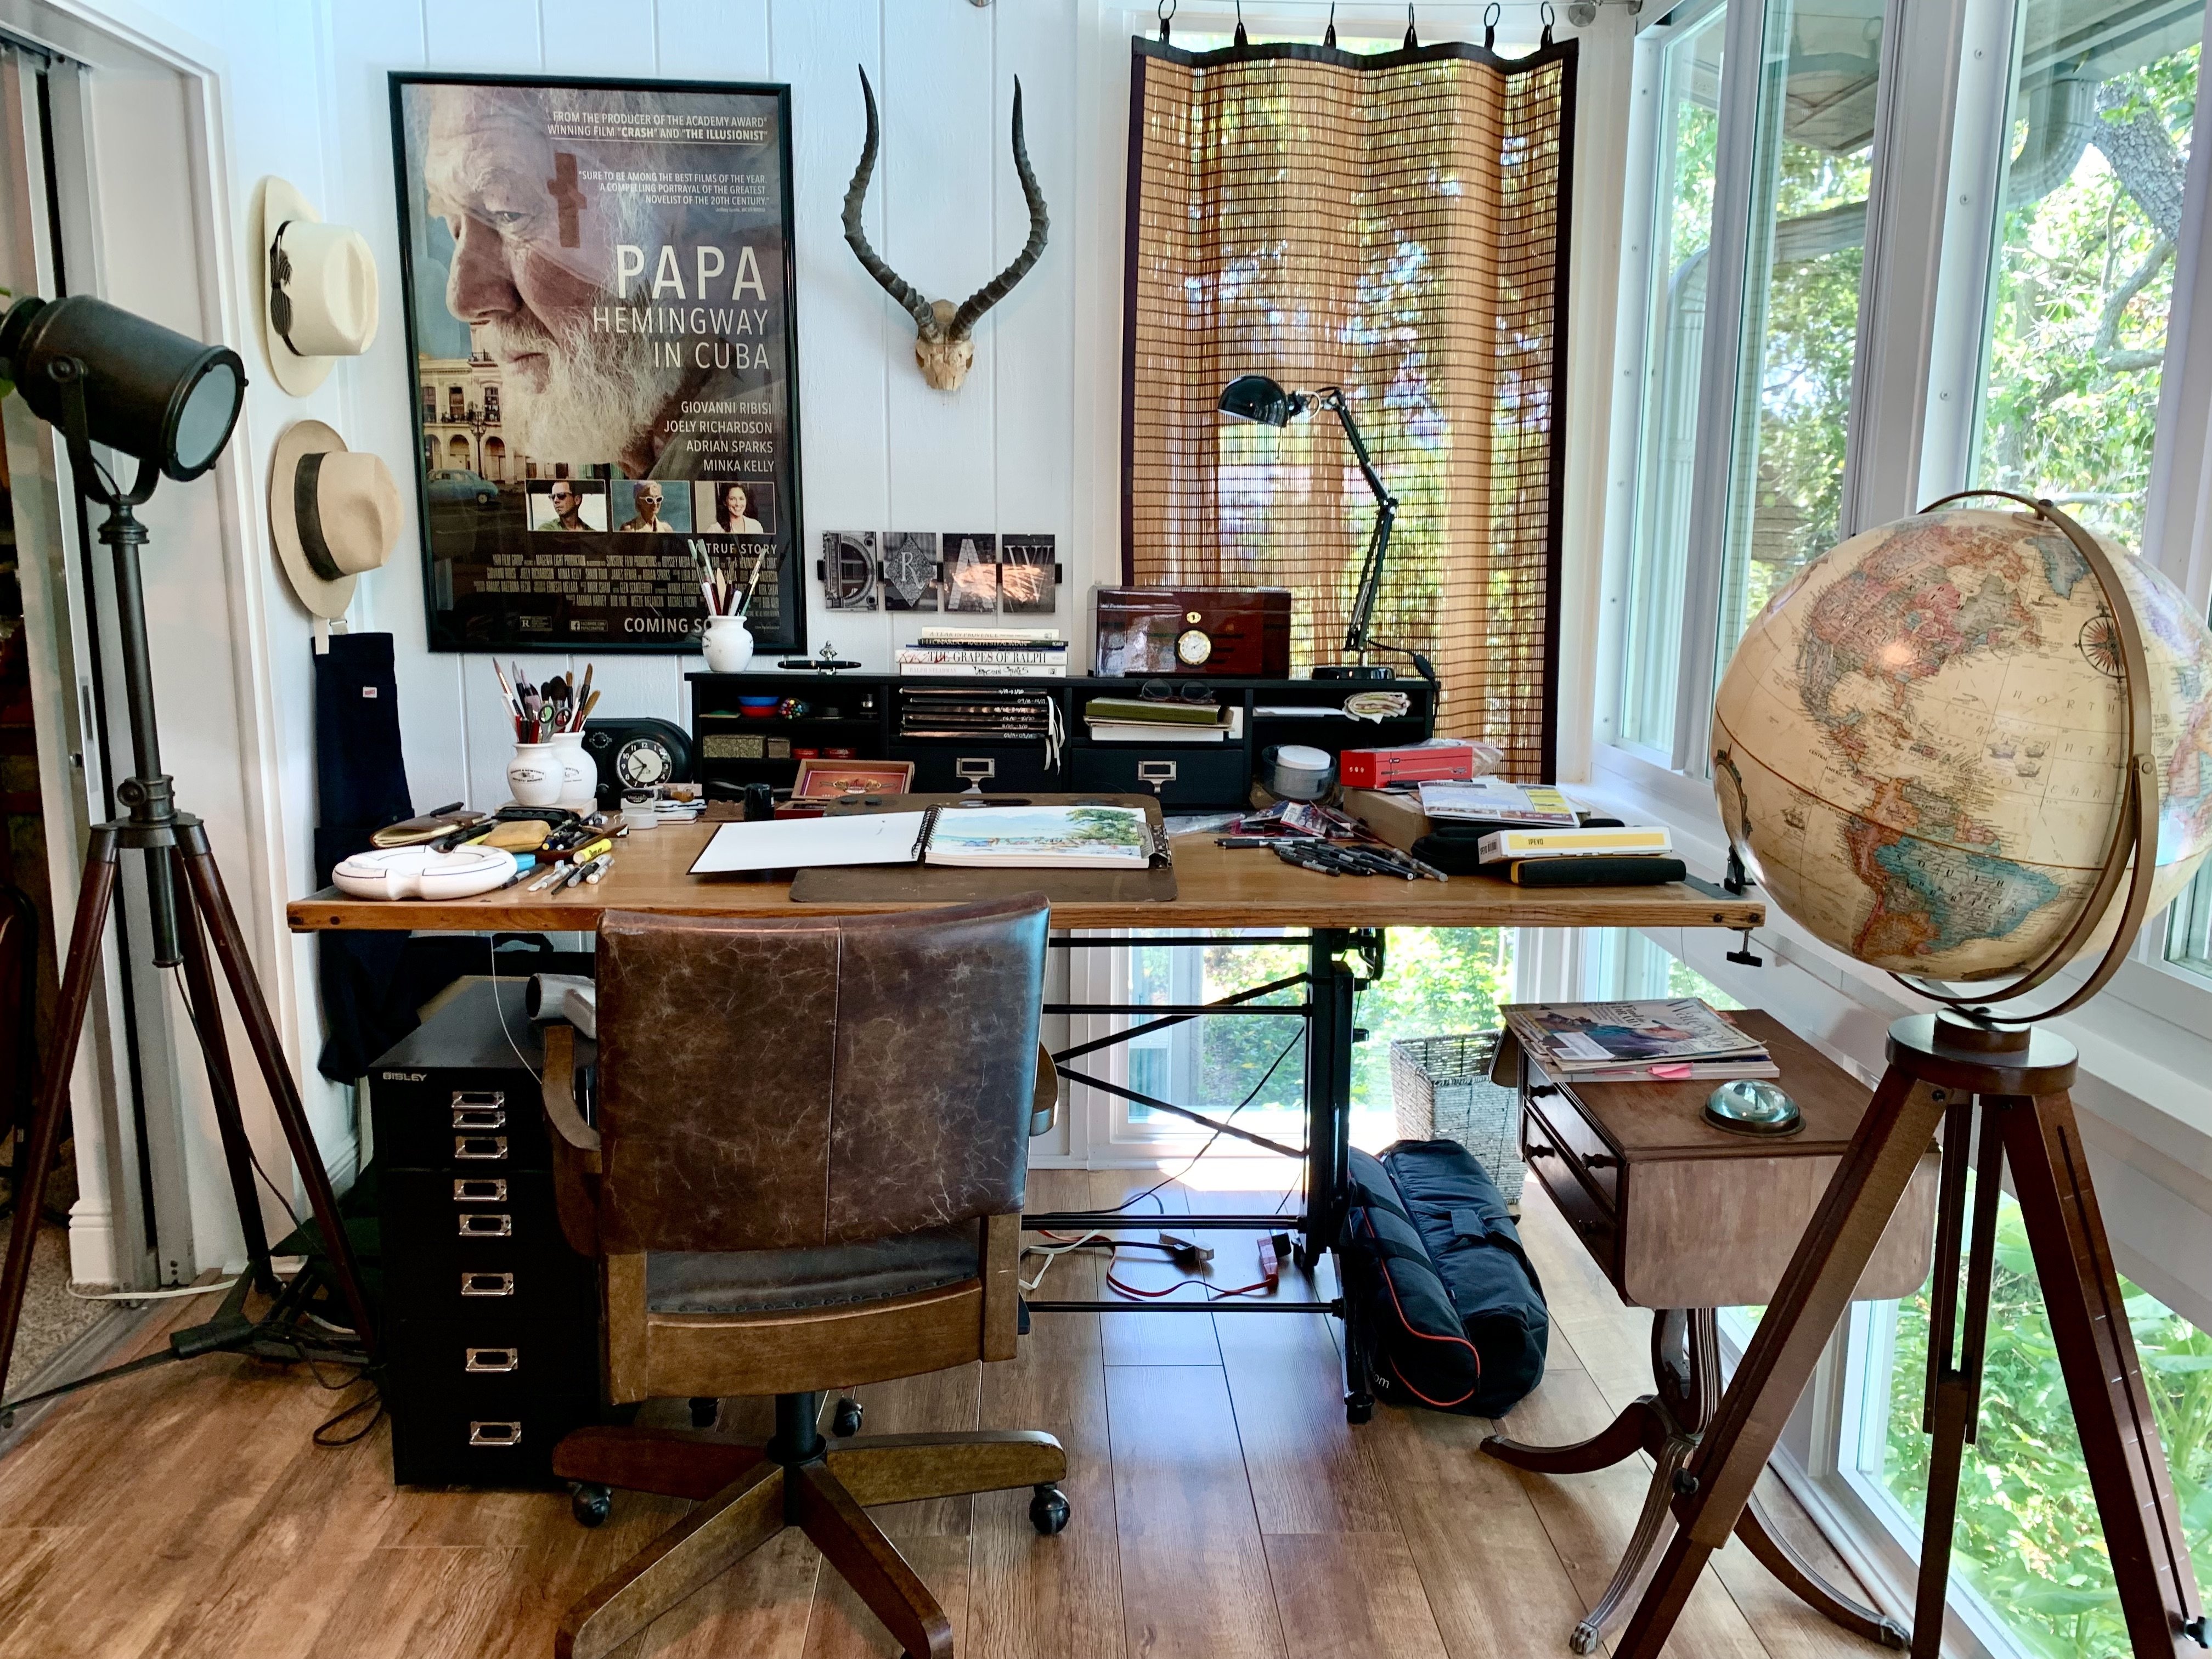
of Vienna, Austria. I recently moved
into my new home, which also doubles as
my design and recording studio and I'm currently in the process of redesigning it. The design process with
my own environment gives me a lot of material
for these concepts and I hope you can pick
up on a couple of ideas that will help you in the
design process of your home. With this class and
the ones that follow, I hope to walk you
through a series of exercises that architects use to find ideas and make design decisions and
prevent costly mistakes. But all those exercises rely on having the dimensions
of your space and I'll keep pointing to this
class and many of the classes that follow so
make sure to watch this class. In the lessons that follow, I will cover in detail why
you should measure the space, the tools you'll
need for measuring, what specifically in your space you should measure and finally, how to structure the information
in such a way that it will be useful to you in a
subsequent design decisions. This class, it is
complimentary to my class, create memorable
home experiences. In that class, I
was trying to help you assess your needs and in this class you will assess
your space by measuring it. Your design decisions, moving forward will be at the intersection of
these two assessments. What your needs are, and what your space
can actually offer? In this class, I
explained my ideas, with help up an app
called Procreate. I use it more of a substitute
for pen and paper, but it's not necessary
for you to have it in order to be
able to follow along. You can also use
just pen and paper. If you're ready to
learn the fundamentals of any home design project, jump in and let's
start the class.
2. Why Measure: I think what most people don't realize is that
measuring has the potential to save you a lot
of time, money, and energy. I want to start this class
with a couple of scenarios. We're measuring your space
might come in handy. One of the most basic reasons why you want to
measure your space is because you want to see if the furniture you want to
bring into your space. If it fits in there, every time you move, the new space will present
you with some new challenges. You need to make
decisions regarding which furniture
you will take with you and which one you don't. Let's take the example
of these two bedrooms. Let's assume you are moving from a home that has the
bedroom to the left, into a new place that has
the bedroom to the right. They're not that
different in size. The first one is 20 square meters and the second
one is 18 square meters. They both have the door more
or less in the same place. The only real difference
is that the bedroom one has the windows
on the longer side, opposite to the bed, and the other has the windows on the shorter side
of the bedroom. Now moving to bed from
one bedroom to the other is easy with the selection tool and just
going to push the layer of the bed from the old
bedroom to the new one. I'm going to place it
on the wall opposite to the door because that's usually the most
comfortable position. But let's imagine that in
the bedroom you are leaving, you had a wardrobe going
from one wall to the next, so a four-meter wardrobe. You want to move this
wardrobe in your new bedroom, where are you going to place it? Because you have the
measurements of your room, you can start making some decisions about
your wardrobe already. I'm just going to
select the layer of the wardrobe and push
it into my new bedroom. I cannot place it in front
of the Windows, obviously. But this whole
doesn't work either. Neither does this wall. I can already see that
my wardrobe is far bigger than the walls I have at my disposal
because of the door. Now I'm going to turn on the layer of the measurements
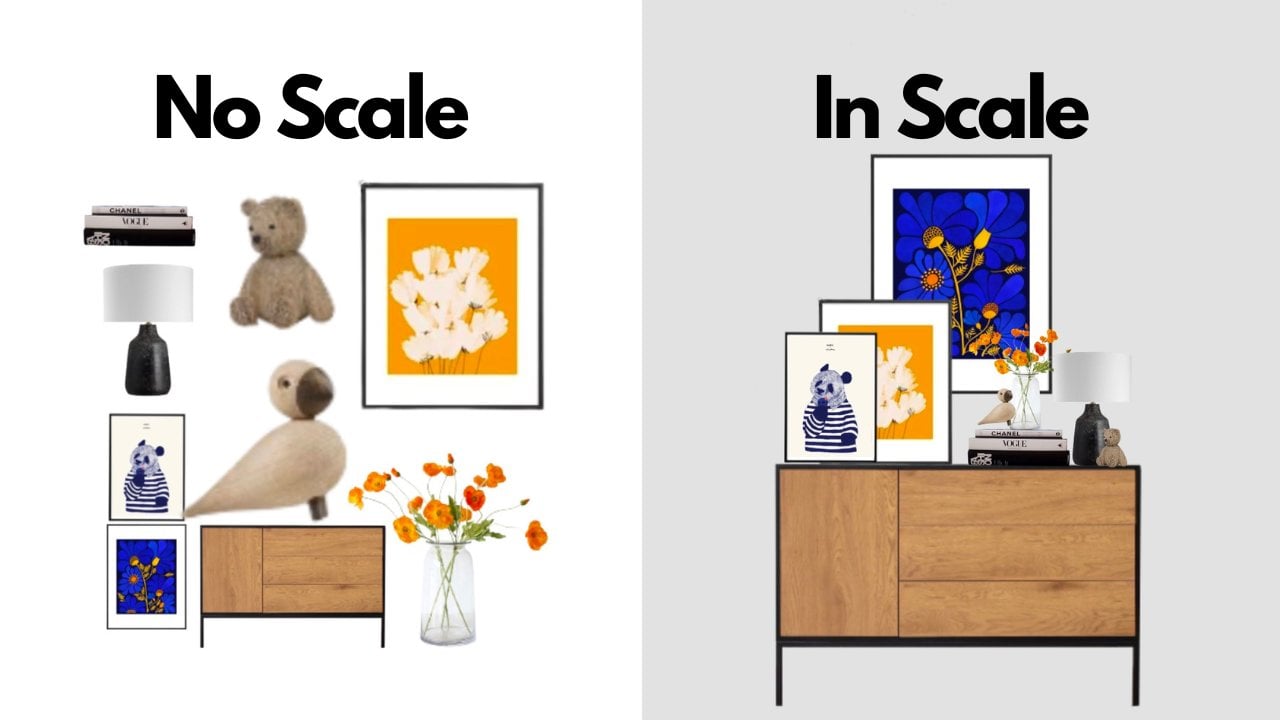
in my new bedroom. Now what I didn't
tell you is that my drawing is in scale. A scale is 1-20, which means that one of those
squares is 20 centimeters. When I move my wardrobe from
one drawing to the next, I can already see that
the wardrobe is too big. That even if you don't have
the scale on your sketch, with the help of
the measurements, you can see immediately that
the wardrobe is too big. For example one of
the walls is 420. If I subtract one meter door in the available space that I have for the wardrobe
is just three meter 20, which is far smaller than
the four meter wardrobe. If I open the door then
the available space on the second wall is
360 centimetrers, which again is smaller than
the four meter wardrobe. Any of the available wars in the new apartment or smaller than your already
existing wardrobe? You see with just a
few measurements, I can already tell
that I have to make some changes
to this wardrobe. The spirit me, the
energy of moving it to the new location
and finding out on the spot that it
actually doesn't fit. I can decide before the moving while I
still take with me, then what furniture
I might have to order for the new location. Reason Number 2 is
custom-made furniture. Finally, measuring your space
and measuring precisely is extremely useful when
you want to have a piece of custom-made
furniture. For example, I have a
wire triangular niche in my bathroom with an
interesting oval window. It's behind the door. It really doesn't bother me, but it's not small enough to
be ignored and it's not big enough to fit any standard
piece of furniture. This would be the
perfect place for a custom piece of furniture
like a triangular shelf. I could measure that, give it to a carpenter, and asked for a triangular
shelf cost estimation. I hope you are
able to see by now what an extraordinary
tool this is for planning and budgeting
your home design. In the next lesson, we're going to talk about the tools needed for this class.
3. Tools Needed: Before you start measuring, you need a couple of items that will facilitate
your process. The first thing you need
to have is a floor plan. When you receive your apartment, you usually also get a
floor plan of your space. You can make an enlarged copy
of the space you want to measure because you want to have enough space for
each measurement. For teaching purposes,
I'm going to use Procreate to explain my process, but you can absolutely follow along with a pencil
and a piece of paper. Finally, you will need
a measuring tool. You can use a simple tape, or if you want to
be more accurate, you can use a laser tool. These are more sophisticated
measuring tools, mostly used by professionals, but they give you a very
accurate information about dimension of the space and it's a lot less
straining on your knees. It's also become very affordable in the
last couple of years. Because with the tape you
usually measure on the floor, your knees may be a
little sore at the end, just speaking from experience. You could also use an app on your phone to
measure your space, for example the app measure, which comes with the iPhone. I founded that it helps if you have to measure
something really quick and you don't have your tape or your
laser with you, but I also found it to be between half a centimeter and
one centimeter inaccurate. Bear that in mind when you take your measurements
with your phone. In the next lesson, we're going to talk about what exactly should we
measure in the space.
4. What to Measure: Welcome to lesson Number 3, what should you measure. There are essentially
three things that you should be
measuring in a room. Number 1 is the walls, the windows, and the doors. Number 2 is the sockets
and the light switches. Number 3 are the furniture
pieces that are fixed in the room and you have
no intention to move. You notice I have
separated these elements in three categories
because essentially, I would like you to make
notes about them on three separate pages or
if you work in Procreate, on three separate layers. One for the walls,
doors, and windows, one for the sockets
and light switches, and one for the fixed
furniture pieces in the room. Before we start writing down
each of the measurements, I would like to give you
a couple of more tips. In the case of the paper
with the walls, doors, and windows, you
want to be aware of the floor trims
and door frames. You might be inclined to measure the wall and the
opening of the door, but what you are interested
in is how big is the bit between the
trim and the frame, because your piece of
furniture is not going to sit either on these trim
or over the door frame, is going to sit
in-between those two. You also need to know the
height of the window sill. Some pieces of furniture
might be too high, and when you bring them
in front of the window, they might block the
opening of the window. You should measure the height of the window sill and write
it down on your floor plan. Normally, you find window sills at the height of 90 centimeters, but of course this
depends on the building, so make sure to measure
it at least once. Regarding the light
switches and sockets paper, the first thing you need
to know is that normally all sockets and all light
switches are the same height. For example, in Austria, light switches are
typically placed at the height of 110 centimeters from the ground and
the sockets are placed at the height of 30
centimeters from the ground. However, depending on where you live and the building
codes there, as well as the measurement
system that you work with, they might be located
at different heights. Just remember that
all sockets and all light switches should
be at the same height, so you don't have to
measure each of them. You want to locate all
of them so you can take them into account
when placing furniture. For example, knowing where
the socket or the cable is, is going to help you decide
where to place your TV or the other sockets might
help you decide where to place a keyboard or
an indoor light. Always check the height of
the furniture you want to place on a wall against the
height of the light switch. Sometimes sideboards
might be higher. Always make sure you have enough space on your wall
next to the light switch. Finally, when it comes to
the fixed furniture page, you want to write the
dimensions of the furniture and one or two more distances
from the nearby wall corners. Now that we know
what to measure, let's have a look
at how to measure.
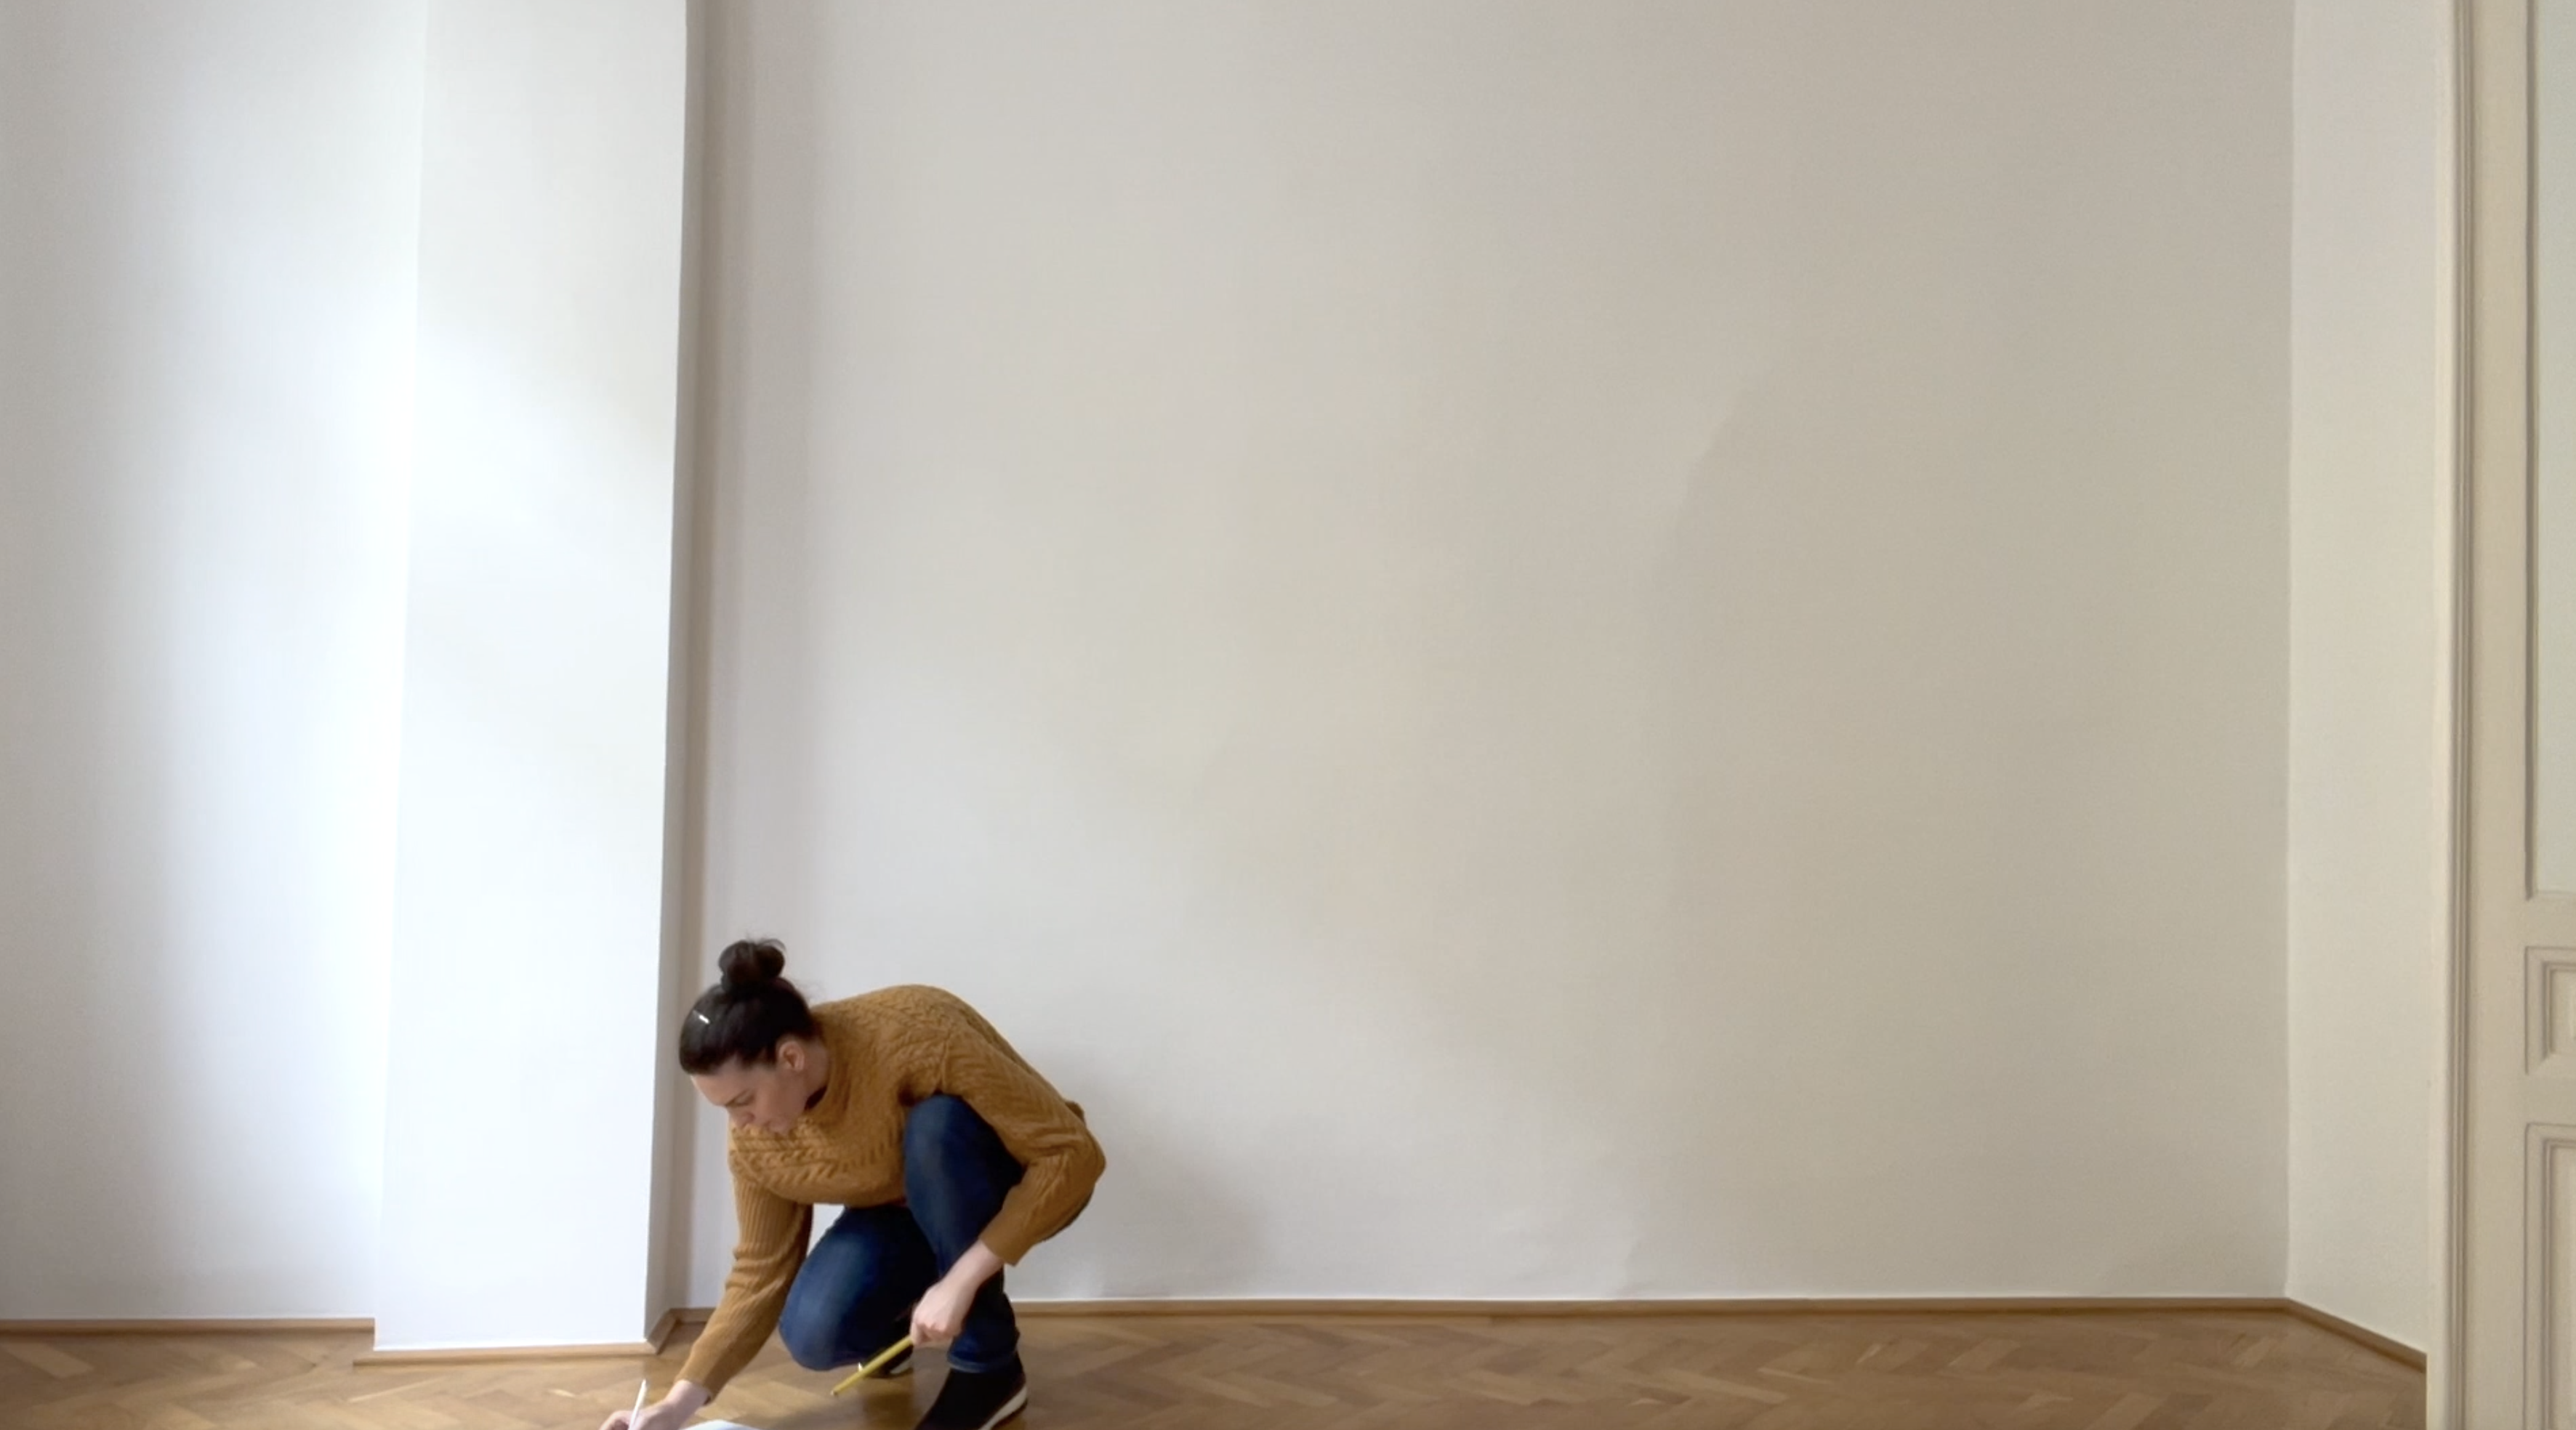
5. How To Take Notes: Welcome to the final lesson. Now, let's put everything
we learned so far together. Go around the room with your measuring tape and as
you take the dimensions, write it down on
a piece of paper. Of course, this piece of
paper should be a copy of the floor plan you
received when you moved in, but if you only intend
to measure one room, you can also make
an enlarged copy of the floor plan of that room. Or like me, you can
import the floor plan in Procreate and write your
measurements in the app. If however, you don't
have a floor plan or you feel like the floor
plan you have is unreliable, you can just make a
sketch of your room. I'm just going to show
you how I do mine. First, I'm going to draw a rectangle because my
room is rectangular. Then I'm going to look for
the protrusions in the room. Here I have left and right, a few [inaudible] elements
that come into the room. Afterwards, I'm going
to mark the windows. The walls here are very thick, they are about half a meter. Now, I'm going to
mark the doors. I have double doors on the left side and
on the right side. My drawing is not in scale, so I'm only looking for what
feels proportionally right, but I don t know for sure. You can do all of this, of course, with a pen
and a piece of paper. Now that I have marked all
the doors and the windows, I'm going to delete all the
lines that I don't need. Behind the protrusions and the doors and of
course the windows. I forgot one window, so I'm just going
to draw it now, it's a window on the side. First delete every line
that you don't need. Draw the windows, try to make them a little
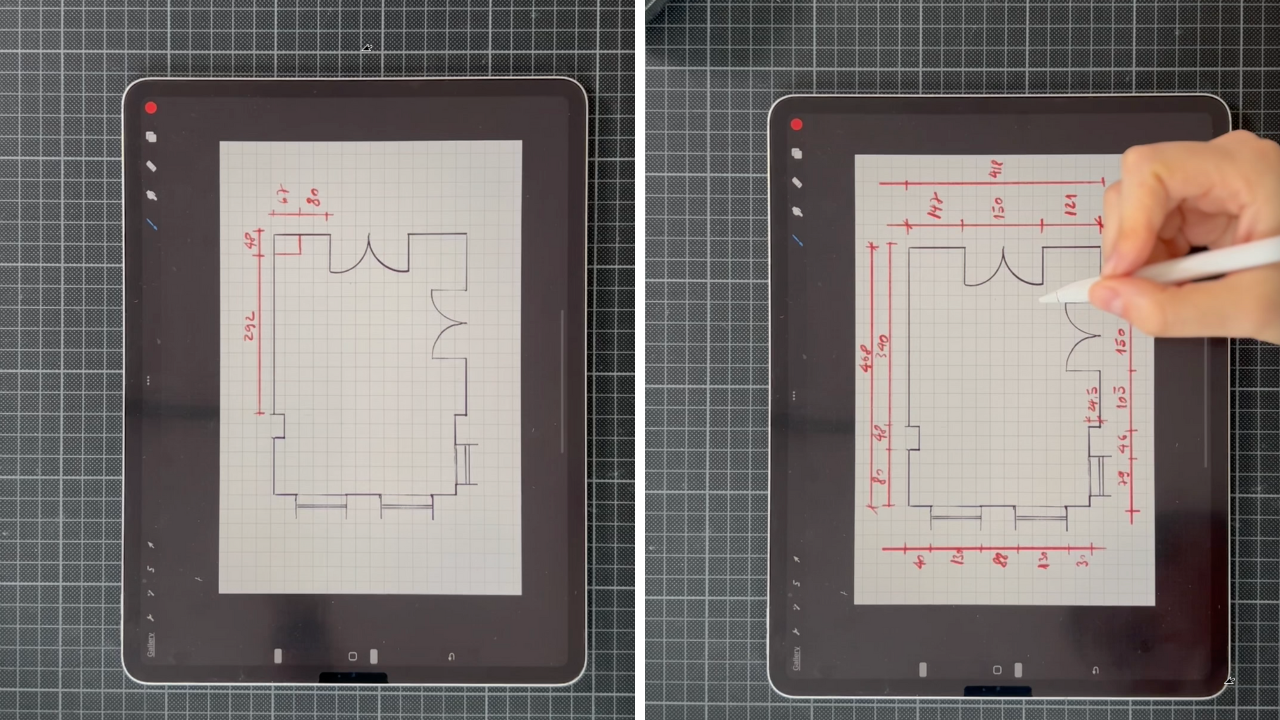
finer than the walls. I'll delete the final line that defines my protrusions. That is the final drawing. We see that we first
have to measure the dimensions of the
walls, doors and windows. The way to do this is to make
two types of measurements. The first one has to show the
entire length of the wall, and the second one is for the individual measurements
of the windows, doors, and walls in between. Normally, opposing
walls should be equal. Make sure that all
the measurements add up to the total
length of the wall. First, I'm going to scale down my drawing a little bit so
I can leave a little bit of space for the measurements and create a new layer
for the measurements. Ideally use a pen with a
different color. I picked red. From here on, I'm interested in knowing the dimension
of each door, window, and wall in-between. I'm going to mark
on my measurement line all these elements. Once I measure each
part of the wall, I'm going to write it down. Now, I'm going to mark the
second measurement line which shows the entire
length of the wall. Ideally, opposite
walls are equal, so you only have to
make it on one side. Finally, mark the protrusions, the elements that you didn't catch in the other measurements. This is the end of
the first page. On your second page, you want to mark all the
light switches and sockets, as well as their
height from the floor. If the sockets and
light switches are the same height everywhere, we don't have to add
it to each of them. In this room, I
have four sockets and two light switches
next to each door. One socket also has an adjacent
cable and Wi-Fi socket. You might want the mark it
differently on your plan. I start my drawing by creating a new layer for my sockets and light switches measurements. I'm going to draw a
little circle to mark the light switches and
an x for the sockets. I go around the room and just mark my sockets and
light switches. Sometimes the light switch
is over a socket then I just mark them or next
to each other like here. Here I make it a little legend explaining what X
and what O means. As mentioned previously,
you might want to mark any additional
measurements that are important like the height, for example, I'm writing here, each equals 30 centimeters. Alternatively, you
might want to write the distance of the socket
to the nearest wall. Mark the sockets for the TV
cable a little differently. Here, I'm making a little
square around my X, and you are done with
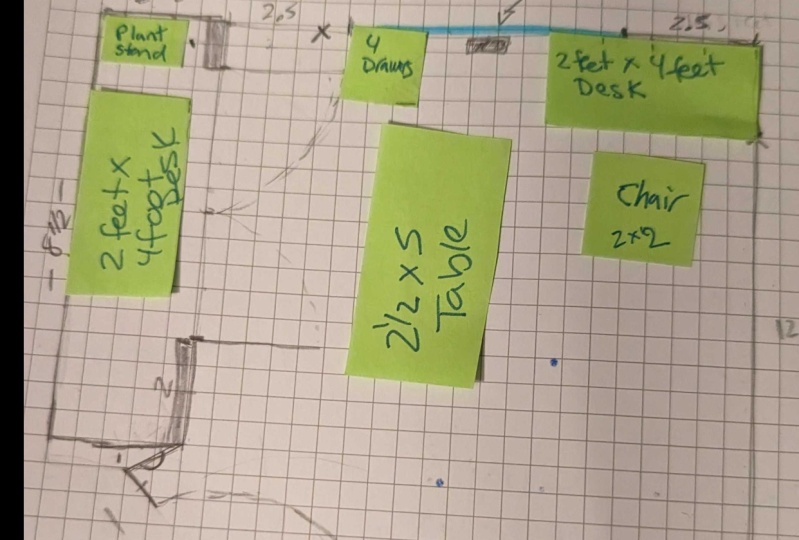
the second page. The file page is destined
for the items in your space that you feel cannot or should not be moved
from the place they are in. This comes in handy if
you are already moved in and are trying to
rearrange part of your room, but not the entire room. Then you'll need to know how
much space you have left among the items that you
cannot or will not move. As an example, I'm
just going to use my little trolley I have
here in the corner. It has wheels, so
it's not fixed, but I'm just going
to pretend that it's fixed for the sake
of this exercise. On your floor plan or a
sketch of the floor plan, you want to write down the
dimensions of the item, as well as the distances
to the nearest wall. This will inform you about how much space you
have left in the room. Also look at the wall
dimensions you took before, do the new dimensions checkout? Teaching is over, let's see what your
class project is about.
6. Class project: For the class project, I want you to measure
a room in your home. Use three copies for the floor
plan: One for the walls, windows, and doors, one for the light
switches, and sockets, and one for the furniture
that you do not want to move. Make sure you take a photo of these plans or export them as JPEG from your Procreate app and add them to
the class project. If you have any questions
or breakthroughs, do add them to the
project description, I'd love to know what
your experience has been. If you share your
project on social media, make sure to tag me so we can
continue the conversation. If you want to work
with or have a look at the appropriate files I
have used in this class, you can find the link in
the class description. All we have to do to get them is sign up to my
newsletter for free. All right, this class is over. I'll see you in the next class.
 Ana Marcu, Home Wellbeing, Licensed architect