Transcripts
1. Intro: Hi, my name is Zoe. I'm a cinematographer,
occasional director, and a Professor of Film. I've been shooting films
for many years now. And the projects that I've
worked on have gone on to be shown at festivals like
Sundance and Caribbean tools. I've shot and directed
several documentaries, all of which have gone on to win awards at various
film festivals. The thing about documentary
interviews is that they can be quick to shoot if
you have the right setup. Today, we're going to talk
about everything you need to get up and running with your documentary interview
in just 30 minutes. We'll discuss
equipment, software, lighting, and other
tips and tricks. Make sure that when opportunity presents itself, you're ready. By the end of this course, you'll be able to
go out and set up your own interview in
30 minutes or less. Let's get started.
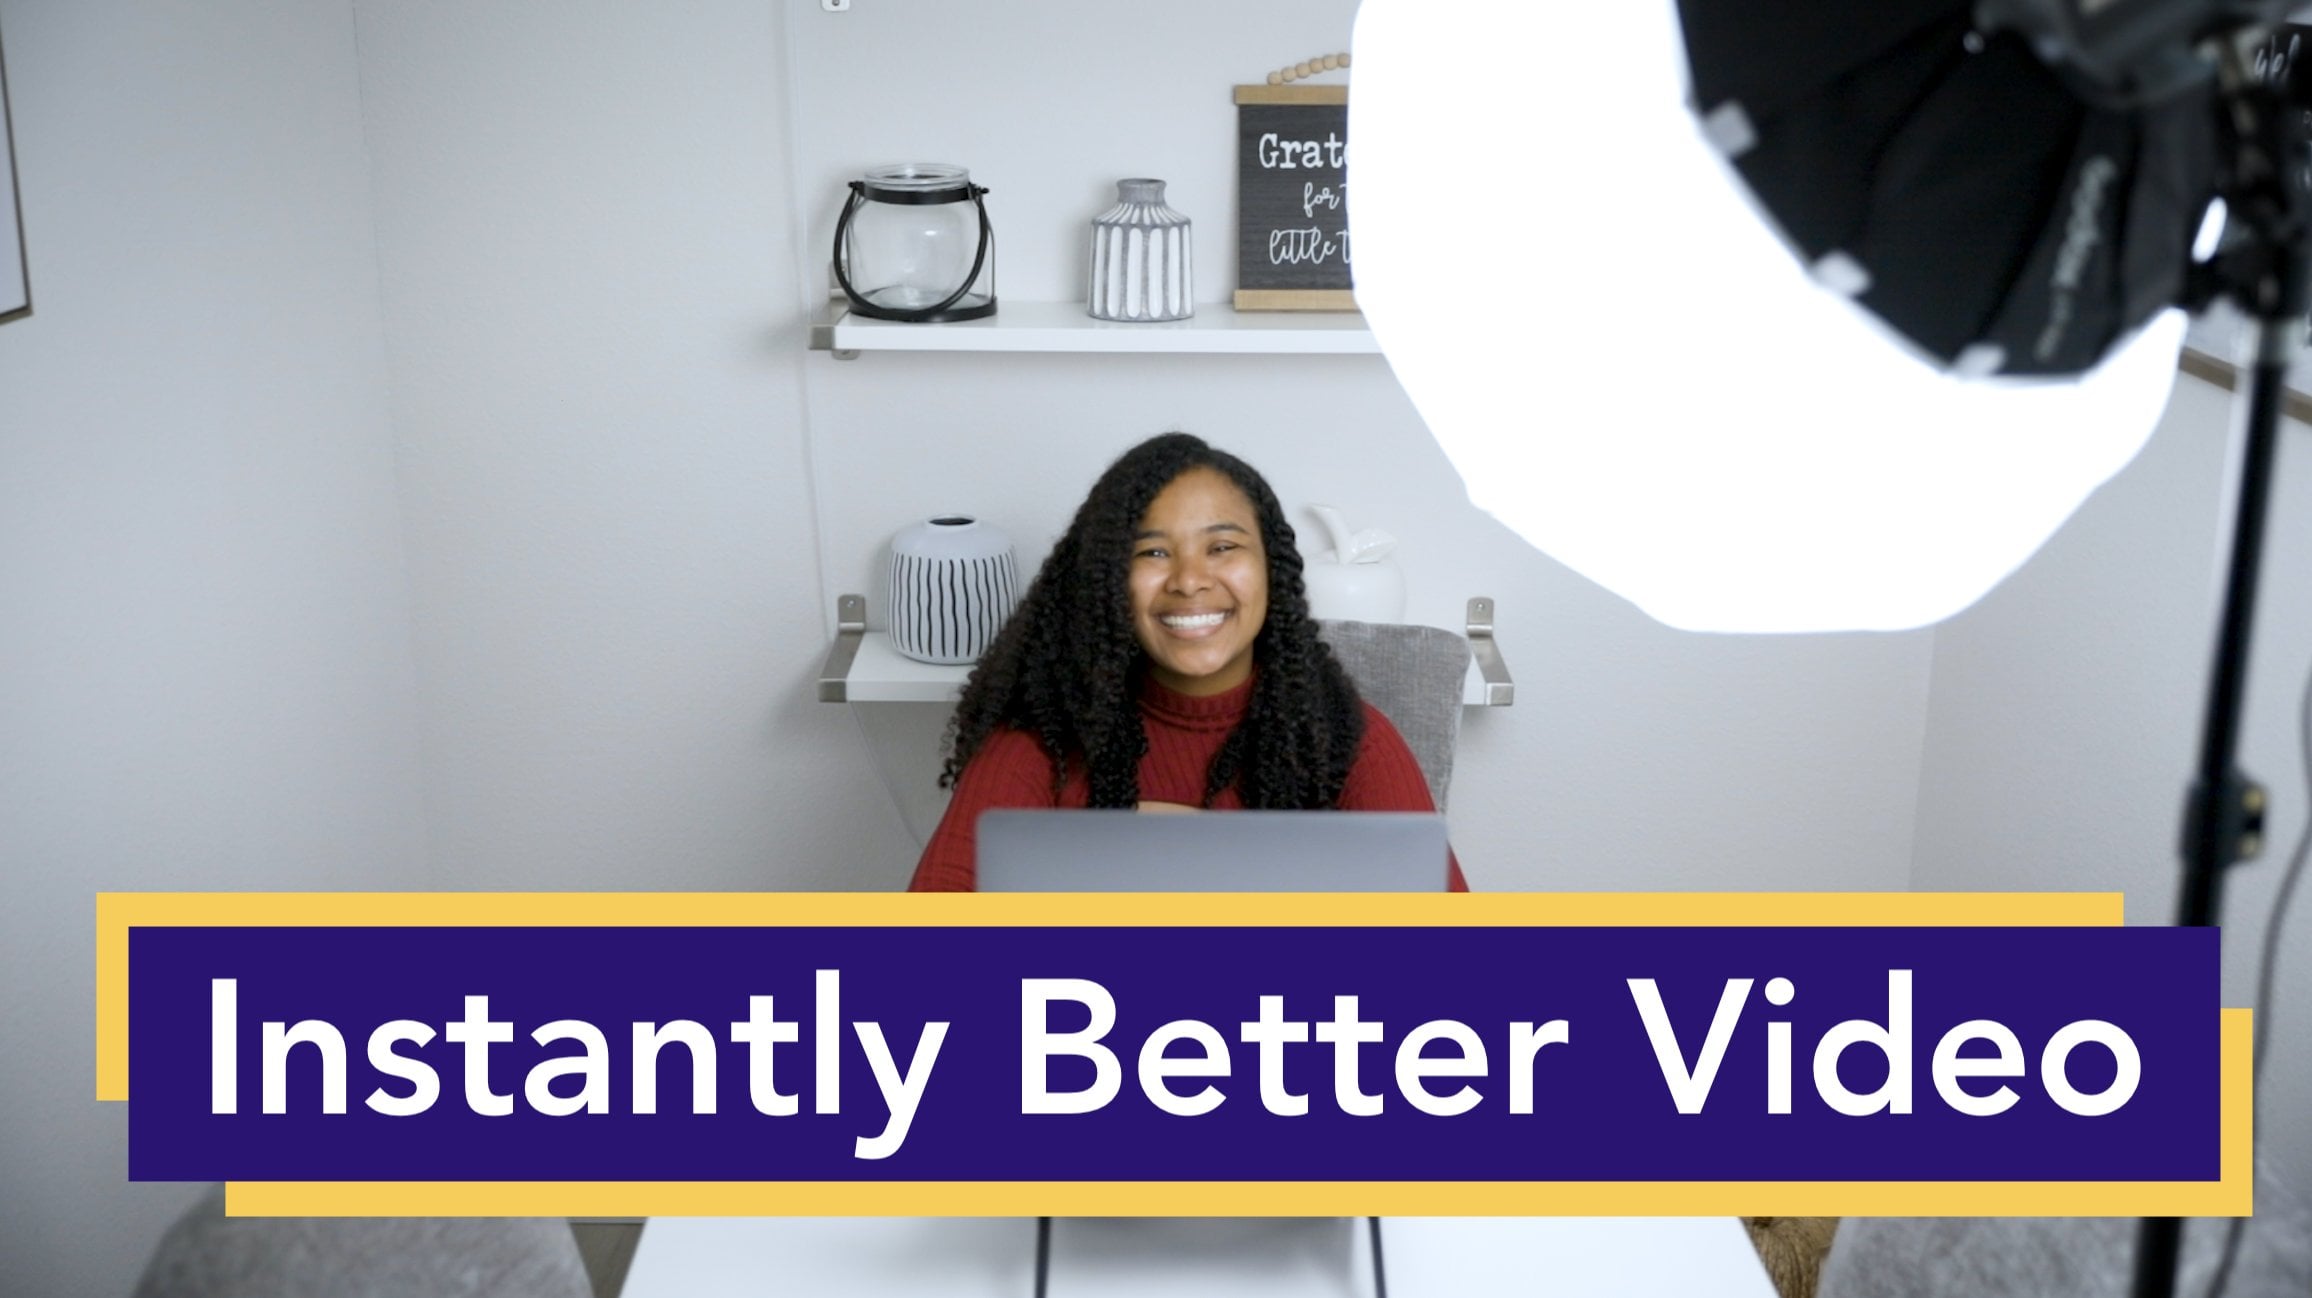
2. Lights: Lights. Let's start by
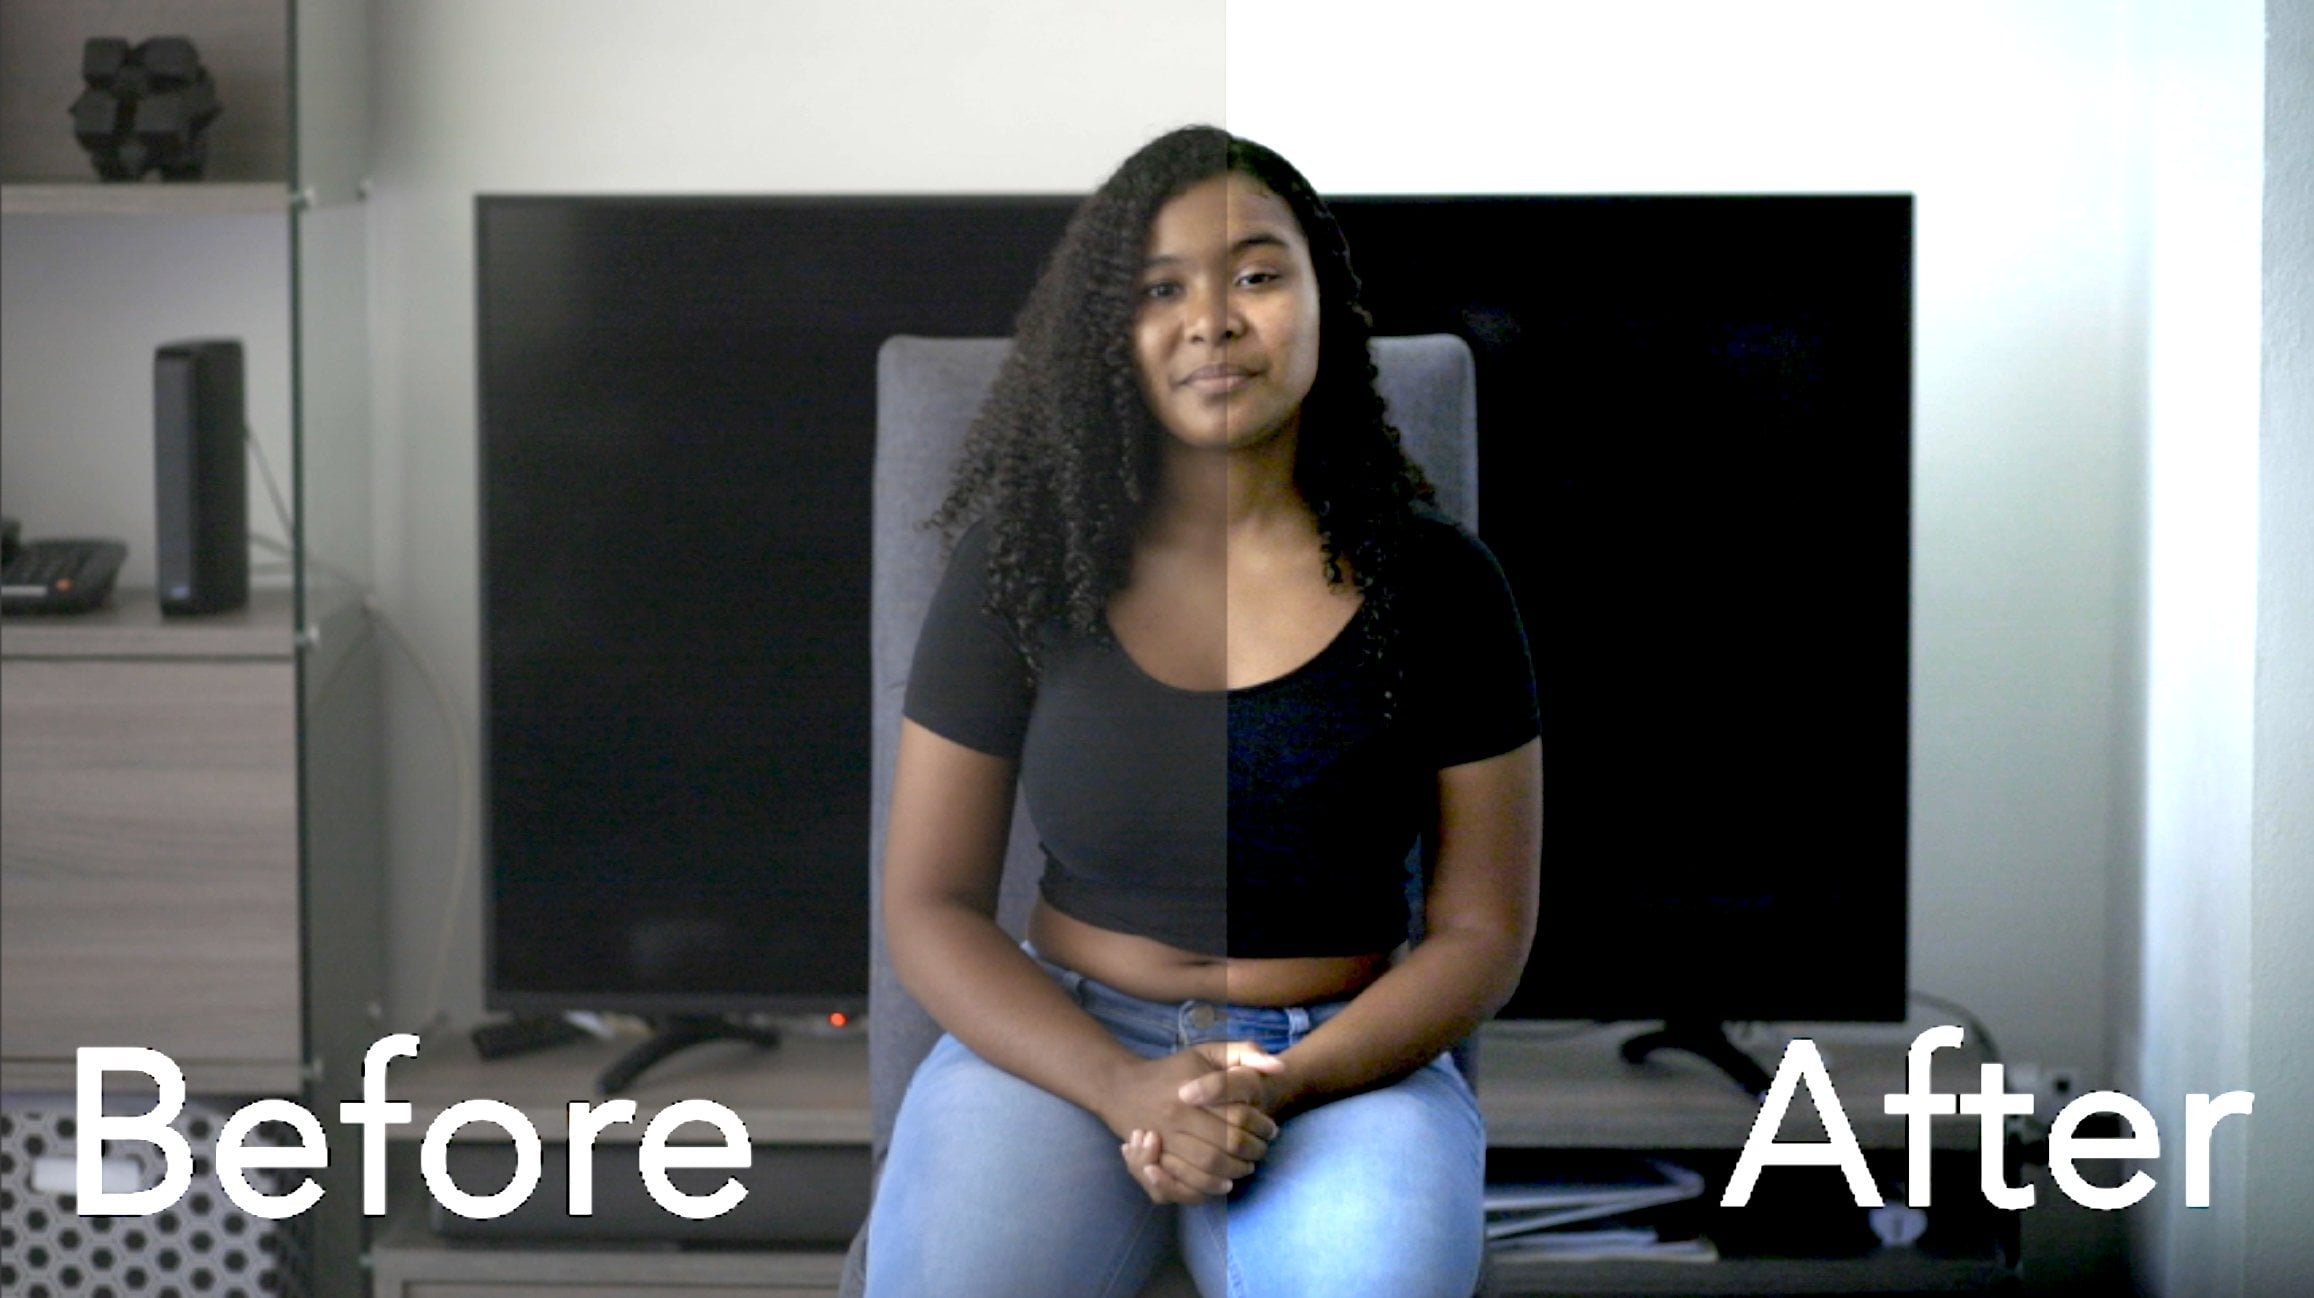
talking about lighting. Sometimes when you're
shooting a documentary, you won't have the space or the opportunity to
set up any lights. Other times, you'll have a set space and a few
minutes to set up. Regardless of your situation, Let's discuss a few
things to focus on as a quick refresher
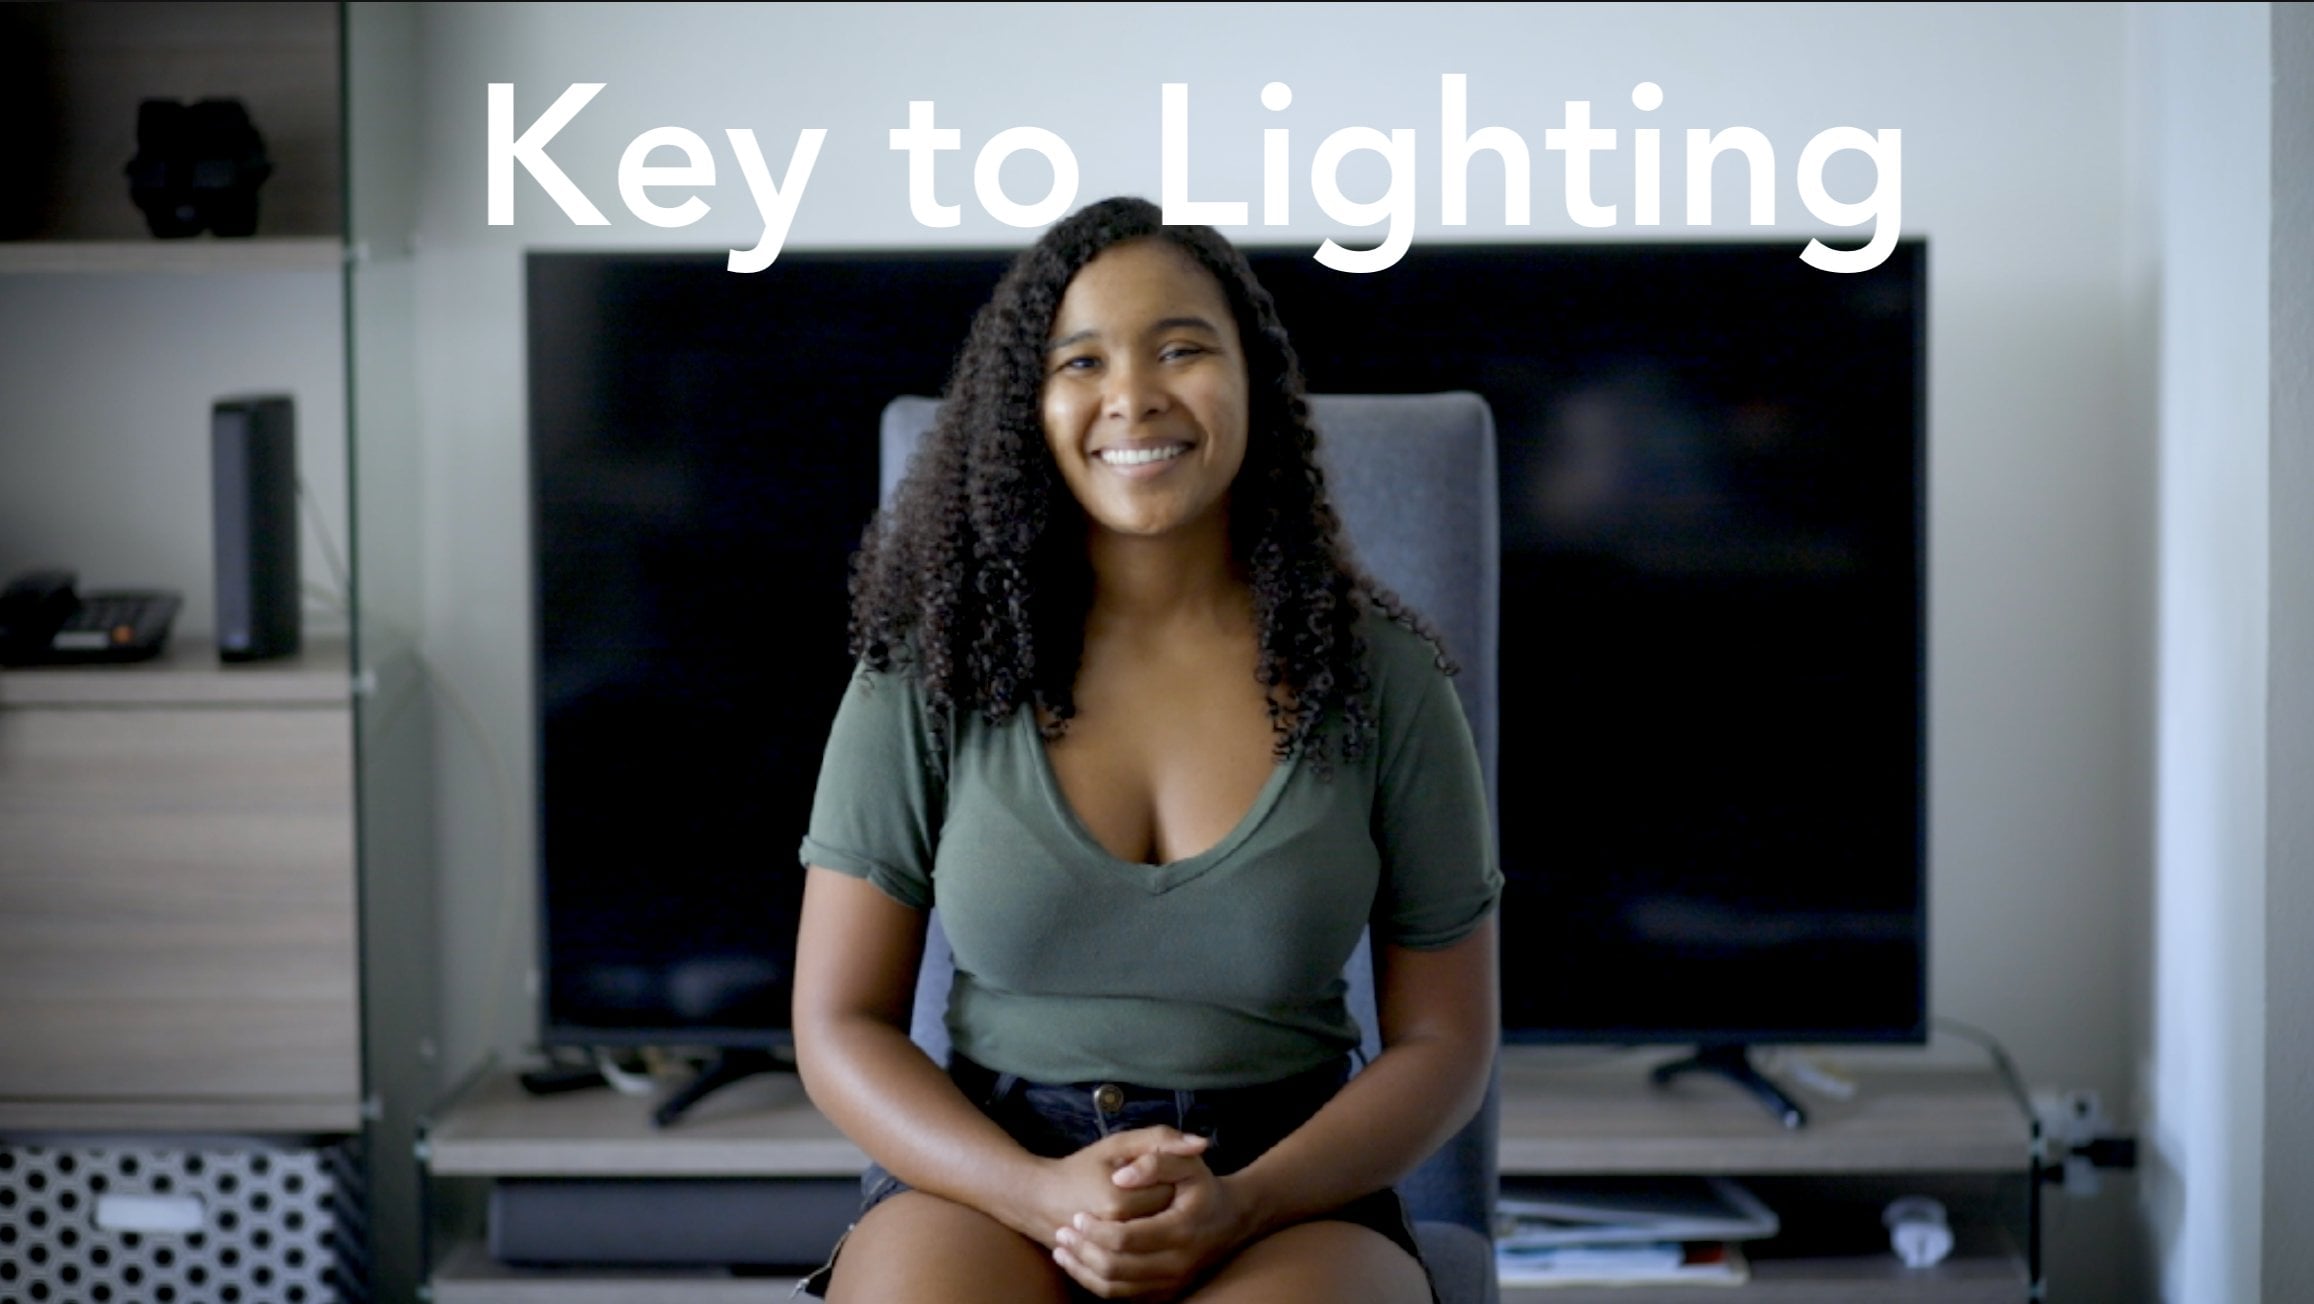
for my course on lighting, let's keep in mind that the key light is your
main source of light. While your field is
the one that fills in those shadows that are
created by the key, right? Moving on to the setup when
you're setting up lights, most cinematographers favor
a short key lighting setup. This is when the key light hits the opposite side of the
actor than the camera. This follows an idea in
cinematography that lighting is more interesting
when it comes from either the side or behind, rather than from somewhere
closer to the camera. Regardless of whether or not you have studio
lights to work with, you'll want to attempt
to have your subject sit in a direction that will allow for short key lighting. That way, you're getting that additional
cinematic dimension without too much
additional work. Opposite to short key lighting
is broad key lighting. This is a situation where
the light from the key and the cameras are on the
same side of the subject. This type of look has its
own place and it's typically reserved for more dramatic or jarring moments in the film. But you should definitely try both out to see what
works best for you. Now if you do have access to light and lighting equipment, Let's talk about how
best to set them up. Sometimes in a
documentary interview, it won't be desirable to have
the background lit up as the focus of the shot is
really just on the subject. Sometimes directors actually
want to make it appear as if the subject isn't in a
completely black space. In this case is, we'll use three-point
lighting to our advantage. Assuming we're using short key instead of
broad key lighting will want to ensure that we're ever replace
our key light. We leave room between the key and the camera
for the interviewer. This can mean requiring
a stronger light, taller stand, or a larger room, but this is an essential
step to allow for a proper eyeline to be
established while shooting. Islands are essential when shooting documentary interviews, as they make us feel as if the subject is connected
to another person, even though we may or may not
ever see the interviewer. If we do feature the
interviewer in the scene, then we'll need to adjust our lighting setup
just a bit as well. Now have at least two
or maybe three cameras pointing at different angles in order to cover
the whole scene. In this scenario,
we'll want to maintain having individual key lights
for each of our subject. But instead of to fill
lights will just have one large fill light that can actually
cover both subjects. That way, we avoid having too many unique sources of light to manage and work around. In this modified
three-point lighting setup when position correctly, the two key lights
actually serve as hair or back lights for
the opposite subjects. Now if you want to use
four-point lighting, it's a slightly different setup. Four-point lighting features of the four lighting positions
we spoke of before. Key fill kicker back her
hair and a background light. Here's an example of what the
left that would look like. As you can see, the fill
light on the bottom right of the image is placed at an imposing angle
to the key light. This is so that it can
fill in the shadows on the front of the subject
created by the key. The backlight, hair
light or kicker in the upper right hand illuminates
a subject from behind. Finally, the background light in the upper-left illuminates
the background of the scene. When you're doing
quick lighting, It's important to remember to
keep the setup as simple as possible and focus on telling
the best story you can.
3. Camera: Camera. Having the right camera setup when shooting a doc is crucial. But honestly, you can shoot on almost anything from an
RA Alexa to an iPhone. What's more important is
ensuring that you have the right tools to support the device that
you're working with. Now, what do I mean by tools? Well, first of all, you need to have some sort of tripod holding a camera with your hands for
the length of it. Interview more than a minute
is really impractical. First of all, the frame
will start to shift. There'll be noticeable
shake in the image. And honestly the quality
of your clip will rapidly declined from what it really could have been handled. Camera shots usually
have a place, but usually not in
documentary interview, any tripod is better
than no tripod. Once you do select a tripod, it's important to make sure that you're using it correctly. You want to have
your tripod setup at or slightly above your
subject's eye level, shooting from below in such a typically close
shot, generally speaking, we're assuming a shot somewhere
between a medium close-up to a medium wide shot,
shooting from below. In such a close shot can
be very unflattering. Generally, when we
shoot from below, it's because we want
to give our subjects some sort of power over
another character. However, unless it adds the quality of your
particular shot. When it comes to interviews, I'd recommend just
sticking to eye level. As far as lenses go. In an ideal world, you'll want to be
using some level of professional zoom lens, one that actually maintains the aperture as you
zoom in or out. I recommend zooms over primes. And due to the
unpredictability and lack of direction that the
interviewee usually have. Generally speaking,
these subjects aren't professional actors and
they may tend to shift in their seat and do things
like move closer and further from the camera unexpectedly throughout
the interview. In interviews, even more
so than in fiction, you really don't ever
want to yell cut unless something is going to break or someone is in
immediate danger, it's usually very difficult to get your subject to say
the same thing they were saying in the same way because the whole
experience is unscripted. All that to say, if
you have a zoom lens, you don't need to
worry about feeling the need to reset because
your frame is changed, you can simply zoom in or out very suddenly and
restore the balance. Speaking of resetting,
another thing you want to consider is the
size of your memory card, the length of time
that you'll have with your subject in that
flow state where they're comfortable telling their story in front of the camera will largely depend on how long your memory card
can hold out for it. I'd recommend getting
as large a memory card as you can afford and then
getting at least two, if not three of
those per camera. You don't want to have to pause your interview for an hour
while the footage from a single memory card is copied over and backed up to
a drive in a computer. You just want to pop it out, put it in a new one,
and keep going. In many documentaries, it's ideal to have at
least two cameras, each capturing different
shots of different sizes. Having this liberty makes
cutting your documentary much easier as you'll be able to swap between the two
shots with necessary. Ideally, one camera will maintain a medium or
medium wide shot, while the other
will stay between a medium close and a close-up. In terms of position, you'll want to stack these
two cameras there so they're able to capture shots from
the same side of the subject, but at slightly
different angles, you'll need to have
enough variation between the shots
these cameras are capturing to have their shots
cut together seamlessly.
4. Sound: Sound, almost more
important than the right camera setup
is having proper sound. Because interviews are
almost entirely about what your subject is
conveying with their words. Again, depending on your budget, your audio setup may vary. So let's talk about all
the different options. If you only have an
on-camera mic, that's okay. What I recommend
is that you get as close to your subject
as possible without distorting your
shot to ensure that what they say is picked up
clearly through the mic. If your camera allows it, you'll also want to be
monitoring your audio. Now, monitoring is when you're listening to the
audio on headphones. As it comes in. This will allow you
to ensure that you're getting good quality
sound the entire time. And you'll be able to make
adjustments if necessary. Ideally, especially if
you're the interviewer, you'll want to have
a second person just focusing on the
audio as you want to keep your mind focused
on what your subject is saying as opposed to
how they're saying it. If you do have a lavalier mic, that's great and you
should definitely be using it to get better audio. When using level ears are labs as they're
called in interviews. Don't be too concerned if
you end up having to place it in a position that's
visible to the audience. Unlike in fiction
films where it'd be a bit odd to see an
actor as loud mike. Seeing these mice
and documentaries or other types of interviews
is fairly normal. And it's not something
that would typically distract the audience or
take them out of the film. You'll want to make
sure that your lab is connected either
directly to your camera or to some kind of secondary recording device
like the H4 and pro, or a sound advice. If you are using a
secondary recording device, it becomes even more important to have someone
monitoring your audio as they will need to adjust for spontaneous moments
like Louder laughter. Or if your subject
starts speaking more softly than they did at the
start of the interview. Finally, if you
have the equipment, a third Mike to have
would be a boom mic. These are professional
Mike's use on film sets usually held
by boom operators. Although in documentaries
due to their length, I've typically seen them
rigged up to C stands. These mikes are a great
way to get audio if your subject is facing the same direction
throughout the interview. However, if you can only choose one out of all the
mikes I've mentioned, I definitely
recommend a lavalier, preferably a wireless one, as it will give your subject the most freedom and
if placed correctly, give you the best audio.
5. Blocking and Framing: Blocking and framing. Most interviews are blocked in a fairly simple way as there isn't much movement among
the subject or subjects. At the most, you may want
to capture your subjects as they stand up or sit
down for the interview. But typically the
whole interview takes place in a somewhat
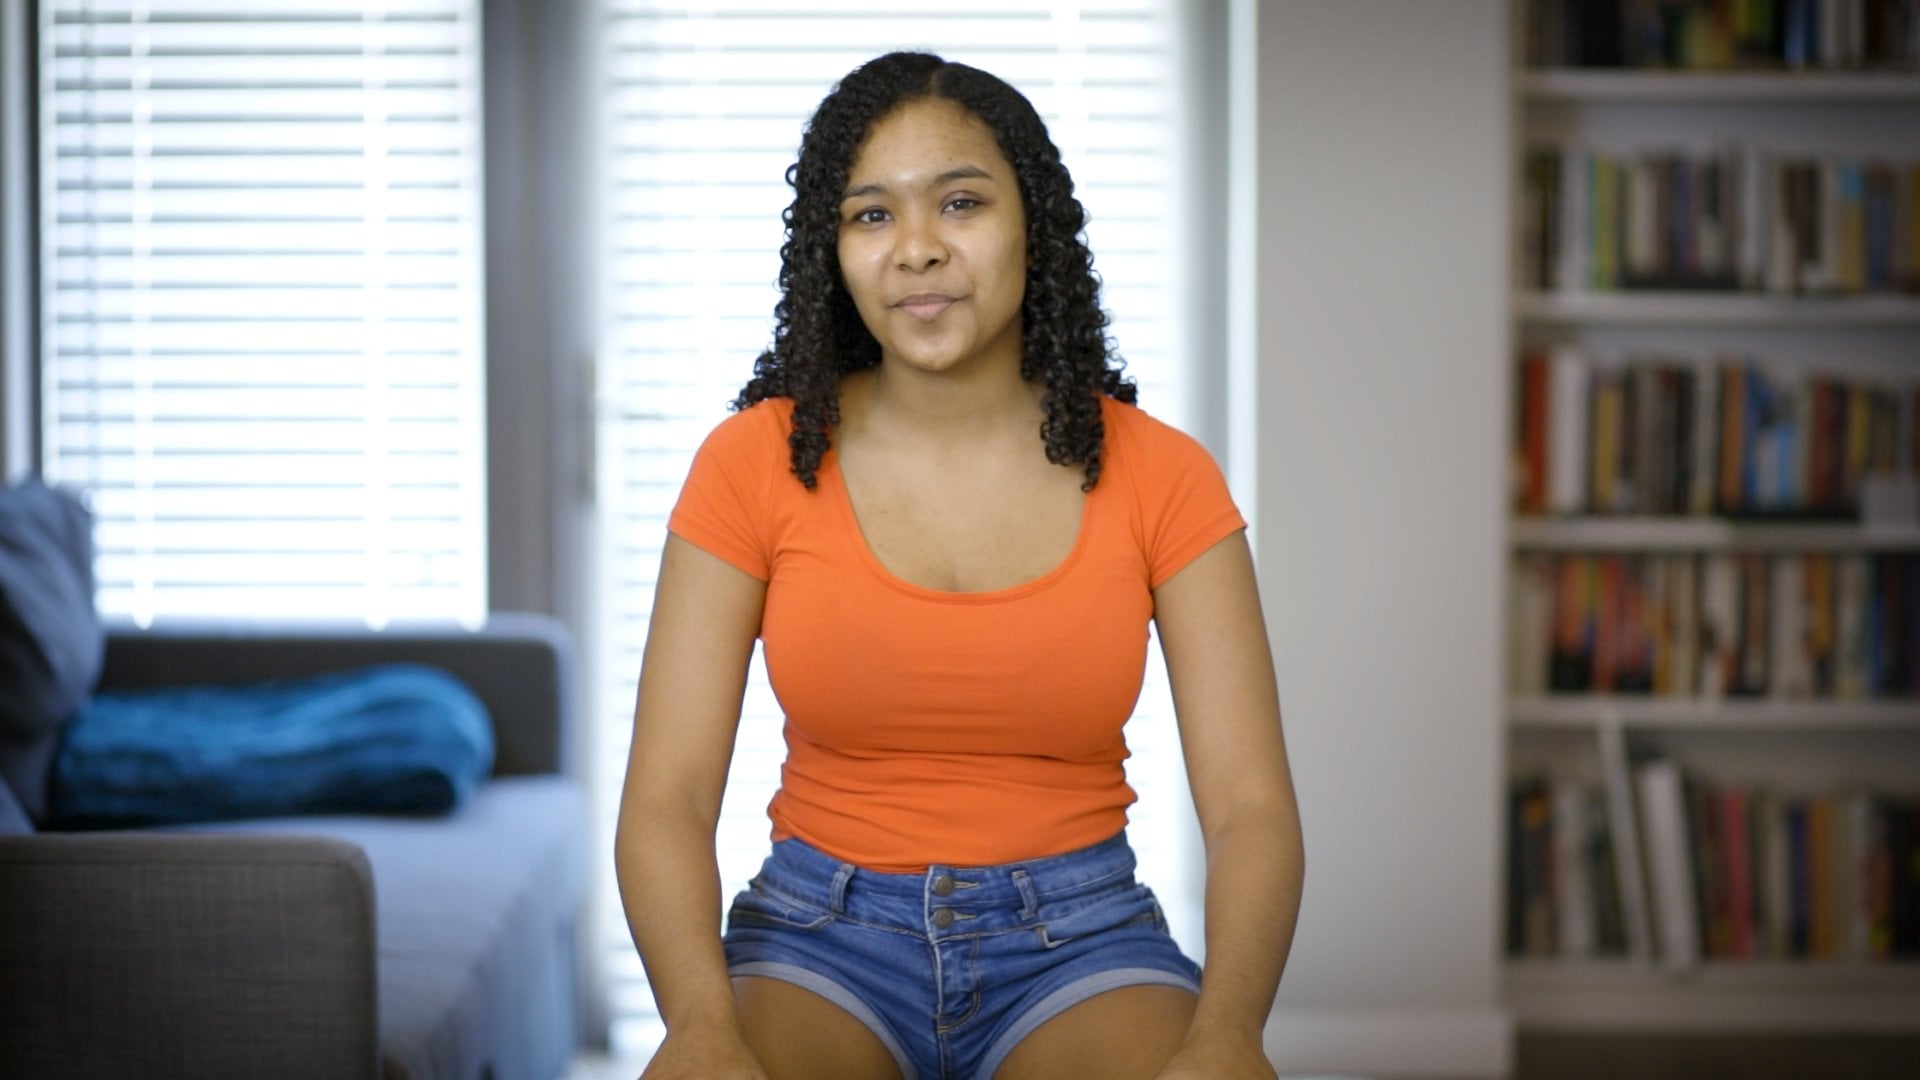
stationary position. Here are a few examples of what your setup could look like. As far as framing goes, you want to maintain
something between a medium wide and a
medium close-up shot for your interview to close and it becomes difficult to maintain
throughout the interview. And you'll end up having a
lot more camera movement that you may have anticipated
to wide however, and you'll lose a lot
of the subtleties of connections that come when
shooting an interview. Facial expressions will be much harder to read than if
your subject was closer.
6. Interviewing: Interviewing, how you
interview will vary greatly depending on what the
topic of your interview is. Is it a more comedic topic? You may want to
maintain a quicker pace with your interviews, not allowing the stories
to drag on too long. You may want to ask more
pointed questions, but, or is it a more dramatic
topic where you really need your subject to tell the story of what happened from
their perspective. You still want to maintain a pace so your phone
knows and drag, but you also want to be sensitive of their
connection to the topic. You always want to think about the edit before
you start filming, which leads to my next to
think about the role and the presence of the interviewer is the interview scene.
And are they miked? They are. Great. But if not, you may need to coach your interviewee a
little bit beforehand. Since the audience
won't be hearing the questions that
they are being asked, it might be in your favor
to ask your interviewee to repeat or summarize the question They've been asked
before the answer. That way the audience
has contexts. Finally, be careful with having too many questions
that can easily be answered with a yes or no. The goal of your interview
is to get the subject to share their story from
their perspective. If you find that your subject is being too short with
their responses, encourage them to elaborate
when it's appropriate. And if you find
that your subject is a bit nervous about
being on camera, it might help to start off the interview with some
throw-away material. Ask them about things that are unrelated while the camera
is already rolling. That way, once they
do get comfortable, you can seamlessly transition
into the interview. If you're interviewing multiple
subjects for your film, you'll also want
to consider what your processes for
asking questions. Do you ask each of your
subjects the same questions? If not, which subjects
get which set, and why did they get
those questions? Do you have a core set
for everyone that you interview and then specific ones for each subject depending on their unique circumstance or
relationship to the topic. These are all things
you want to think about before you start shooting as having a clear idea of your questions will be
essential in the edit.
7. Editing: Editing with any
documentary editing will take up the largest
portion of your time. They say that a documentary
is actually made in the edit because
unlike scripted work, you really don't
know what you're gonna get when you
set out to shoot. You want to leave yourself
as much time as possible to edit your film before it's due to be screened or submitted. By not leaving your work
to the last minute, you can put yourself in the best position
to get the most out of what you shot with
documentaries in particular, depending on how
many interviews you have or how long the HR, some directors find
it useful to get their interviews
transcribed before they sit down to edit them. That way they can go
through and highlight the exact portions they need for their film and begin to flesh
out the script that way. If you've asked a core set or even all of the
same questions, it becomes really
easy to catalog each subject's response to that question or even
summarize it in a few words. A lot of the time,
you'll find that you only use a small portion of what each subject says in their entire interview when you get to the final
cut of your film. So it's important to go through
their responses and see which part of the interview contributes the most
to the overall film. For instance, do they bring a unique perspective to the topic and one
of their answers? Or do they simply summarize
the topic itself the best? These are a few things to think about when
working on your edit.
8. Conclusion: We've talked about a
lot in this video, from cameras to blocking to
preparing for an editor. I hope that some, if not all of it will
be useful to you as you go out and get ready
to shoot your interviews. I have a few other videos on
how to work with cameras, lenses, lighting, so be
sure to check those out. As always, let me know if you have any questions, comments, or concerns about
anything I shared today and I'd be more than
happy to address them.
 Zoë Davidson, Software Engineer & Cinematographer