Transcripts
1. Intro: I attend a lot of Zoom, Teams, and Google meetings, and I'm sure you do too. Today, we're going to
talk about how to best set up your lighting
environment for your meetings. My name is Zoe, I'm a cinematographer and
a Professor of Film. I've been shooting films
for many years now. The projects I've worked on
have gone on to be shown at festivals like Sundance
and Caribbean Tales. By the end of this course, you'll be able to craft your own stellar
Zoom meeting setup. We'll talk about the
best lighting positions, how to work with a built-in
camera in your computer, what to do with your background, and options for an audio
setup. Let's get started.
2. Class Project: [MUSIC] Class project. The project for this
class will be to set up your own meeting environment using whatever tools you
have around your house. This might mean
moving a lamp around, changing the angle
of your desk or possibly switching
rooms entirely. Feel free to play
around with what works best for you and allow yourself to find or create the ideal working
environment for your setup. Once you've got something
you're happy with, take a picture or
record a quick clip of your hard work and share it in the Projects and
Resources tab underneath. I'd love to see what you
come up with. [MUSIC]
3. Lighting: [MUSIC] Lighting. More
than any other area, I think lighting is
the one place in which most people can radically
improve their Zoom setups. The fact of the
matter is usually the rooms and environments
that we're working in, aren't the best lit for
video specifically. Although you might not feel like you're straining
your eyes as you're working and that the environment might be generally well-lit, if your video
lighting isn't great, odds are the light might not be properly landing on your face. This leads to your webcam
to struggle to pick up a decent quality image of you resulting in
a subpar picture. The easiest thing we can do to remedy this is to
work with our lights. There are many different ways
you can fix this problem. You can do everything from
simply turning the angle of your setup to buying a professional light
to light your room. We're going to talk
about both ends of the spectrum and
everything in-between. On the lower end
of the spectrum, if you have the space and ability to physically
move around, make sure that
you're positioning yourself so that you're facing either the window or whatever the biggest
light source is. When you feel the light
hitting your face, you know that you're
getting to the right place and the best position in
the room for the light. This is a quick and easy way to begin to improve
your lighting setup. You'll then want to double-check by logging into your
meeting app of choice and either starting
a fake meeting or going into your
video preferences and see how it's worked. Some lights create harsher
shadows than others. Be sure to adjust your position
accordingly if you can. If however, you don't
necessarily have enough light or consistent sun from the window in the room
that you're working in, we still have some options. If you have other
lamps in your home, see which ones you're
not using and if they can be incorporated
into your space. Or alternatively, see if you can move to another space where the lighting is better. Either way, you just
want to make sure that the lighting is
hitting your face in a relatively even manner. The third option is to
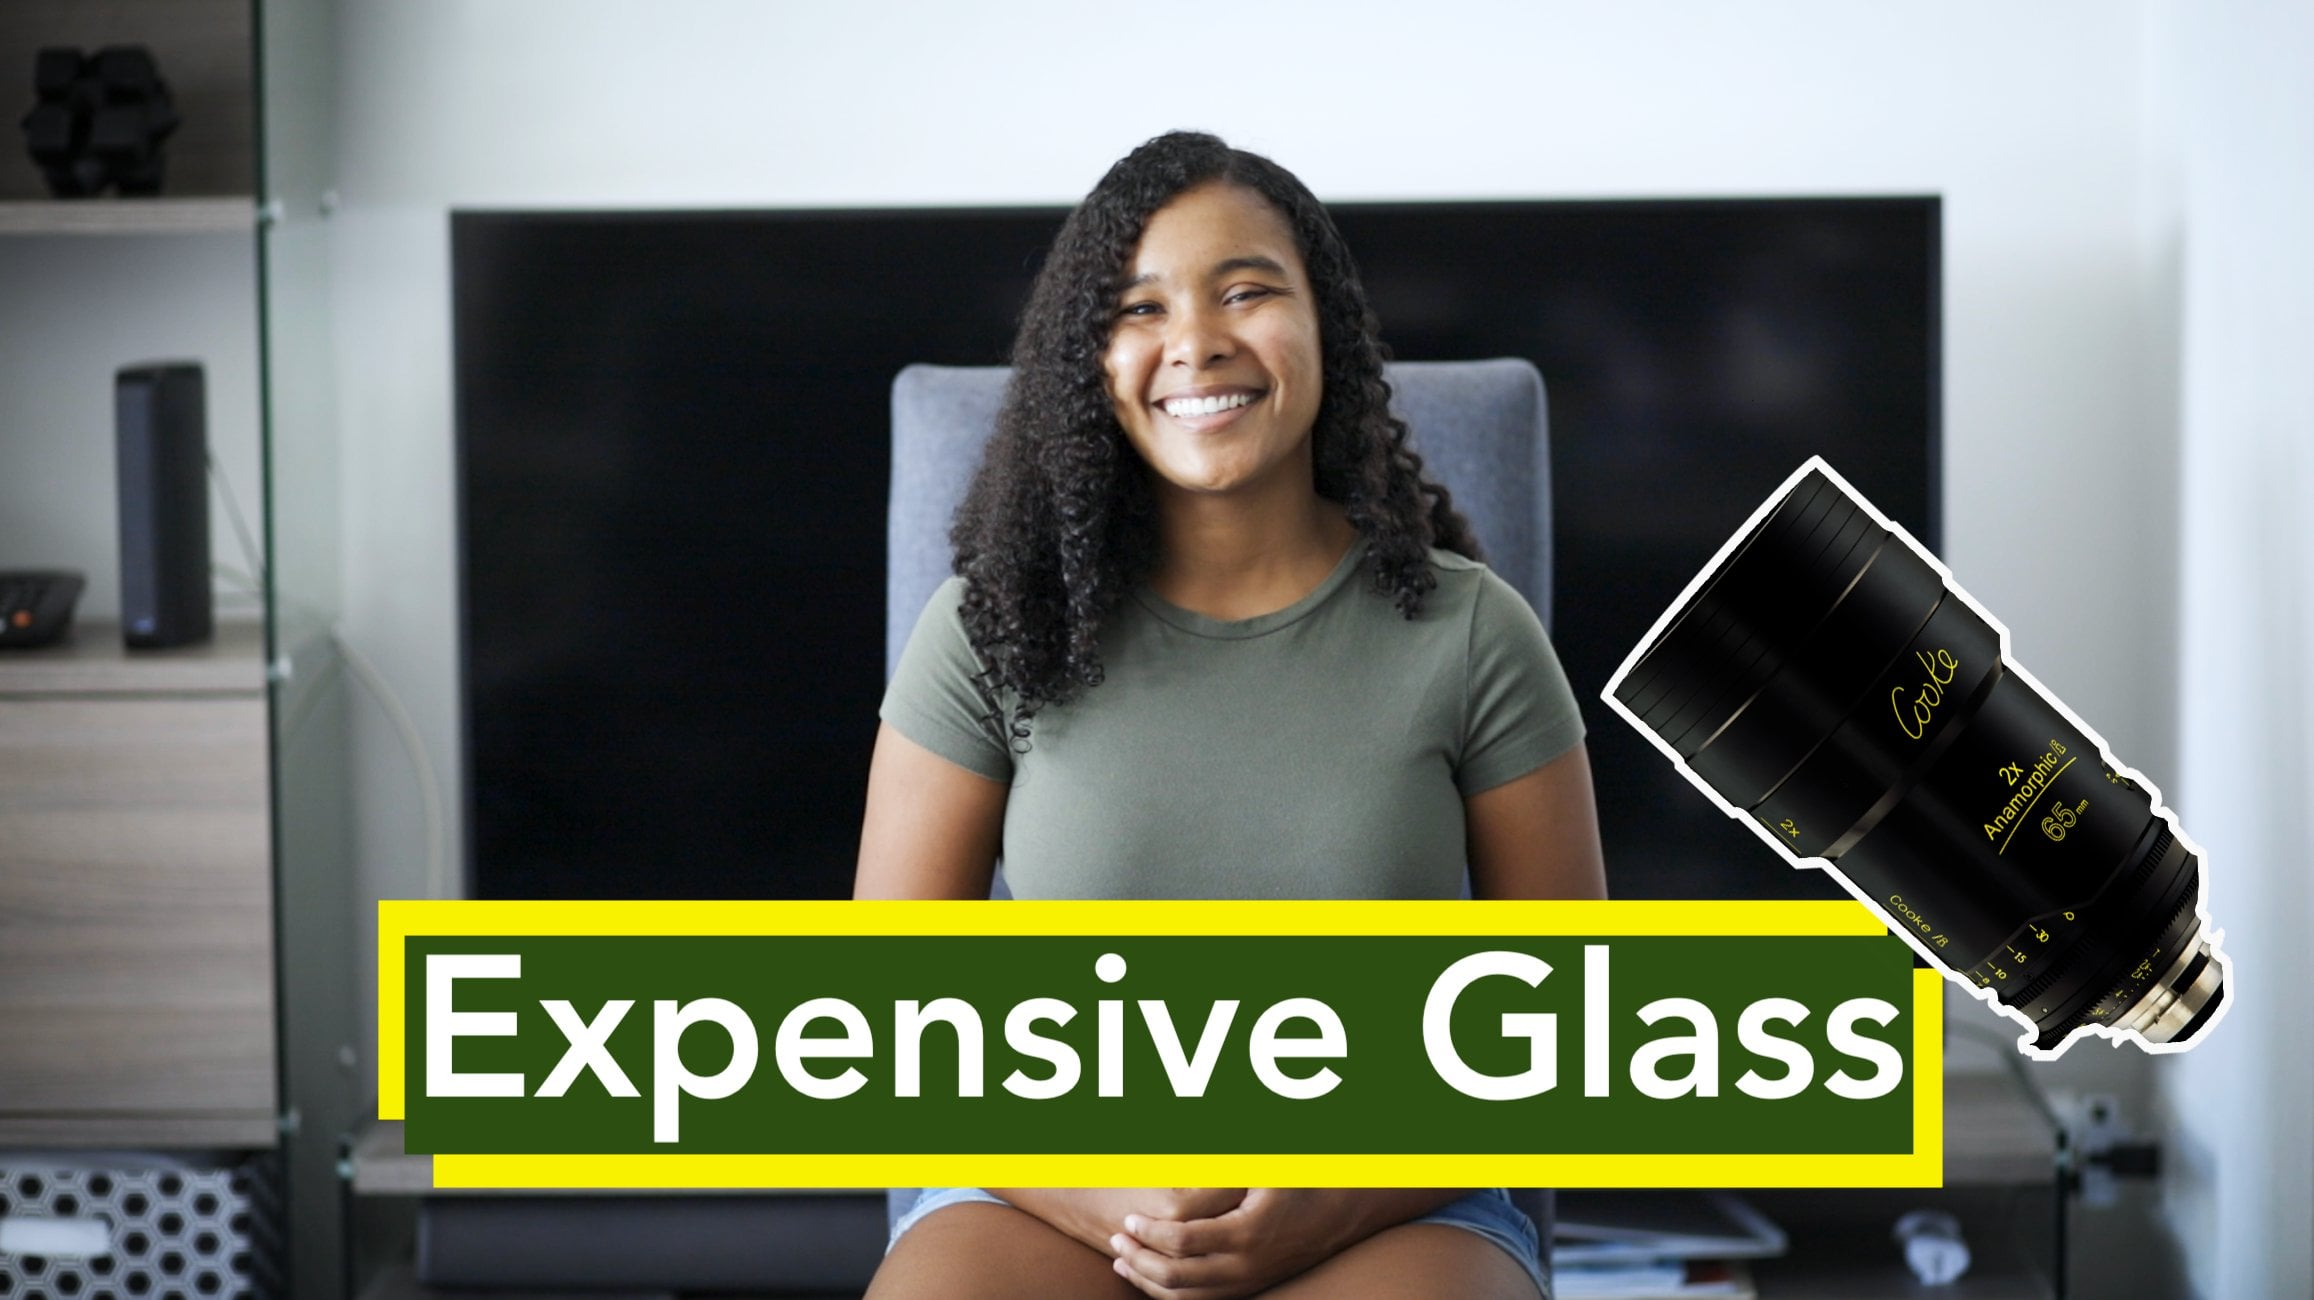
buy professional lights. Now, this light that I'm
using here is an amaran 60x. Including the stand
and the softbox, this all probably
costs around $250. As a professional
cinematographer and a professor of film, this was more than worth
it for my purposes. Because it's a super compact but powerful light that I can use on set and in
different scenarios. If this is something you
have the budget for, I'd highly recommend it. Not only is it an LED light, but it also has Bluetooth, which allows me to
turn on and off the light from my phone
from different rooms. It's very convenient to use. As you can see, I typically have this
light position slightly over to one side and bouncing light around
the entire room. The reason I got
this lantern softbox was to be able to light
the entire space. Although I do want
to light myself, I also want my
environment to be well lit and continue to
bounce light on me. Remember, we're not going for finesse lighting
in this scenario. We're going for as much even light on our faces as possible. Well, within reason. [MUSIC]
4. Camera Position: Camera position. Even on professional television shows like when you're
watching CNN or MSNBC and someone calls into their show from
their home environment, I see such interesting
camera angles being used. I think camera angles are one of the quickest things you can fix in your Zoom meeting
environment. Personally, and for the
last couple of years now, I've used laptop stands in
order to elevate my laptop. However, using a laptop stand throughout the day does mean also having a separate
keyboard and a separate mouse. Now, if you already have the setup or are already
interested in getting one, perfect, we just need
to put it together. But if you really just need your camera to be
elevated for calls, there's another way
to go about this. The goal of the laptop
stand is really just to elevate the level of the camera so it's closer
to your eye level. You don't want to be
shooting from underneath as that's an unflattering angle. But when your laptop is
on your table or desk, this is the default
position for the camera. Instead, you'd want a slightly
elevated camera position. Think about having
your camera at or maybe slightly above eye level. To achieve this, all you need to do is lift
your computer. Now if you don't
have a laptop stand, the easiest way to do this is to get a couple of big
books or just something sturdy like a
shoebox that you can place your computer on for
an extended period of time. If you do have a laptop stand, it's as simple as adjusting
it for the correct height. I usually have my stand set at the default lowest height depending on the
height of my desk, and then just before the call, I'll tilt the webcam
slightly to suit. Now, some folks want to use a spare DSLR or buy new
webcams for this purpose. However, personally,
I found that if I simply just
upgrade the lighting, then the camera isn't as
important because you already get much better looking
video when it's well-lit. However, if you do want
to purchase a webcam, then you can simply pop it
on top of your monitor or attach it somewhere else that is eye level and use that instead.
5. Background: Background. Whatever
background you choose to use for
your filming setup, it should be a professional one, and it shouldn't be distracting
from the meeting itself. If you choose to go with your real-world environment,
that's totally fine. But as I said, make sure that it is free
of a lot of things in the background that'll
be really distracting. Like other people, large posters or anything you might not want
to show on camera. Another trick to
this is that if you do want to use a
real-life background, but maybe you don't
want everything shown, most of these meeting
apps now have the option to blur
out the background. So it's still your
real background, but you actually just have
a little mask on top and everything's a bit softer and less prominent in the scene, keeping the attention on you. If you do want to use
a virtual background, then I have a couple
of recommendations. Try to choose something that is conducive to your
lighting setup. So if you have really nice, proper bright
lighting, you want to choose a background that
mirrors this lighting setup. I personally love to use bright, airy kitchens or living
rooms as my background, because I think it
really goes well with my bright daylight
balanced light. Another thing I really try
to do is keep the same or at least similar backgrounds
across my meeting platforms. So if I'm in a meeting on
Zoom or Webex or Google Meet, I'll try to ensure
that the background I use is similar
across all of them. For me, it's just
about consistency. But if you're trying to pass off a virtual background
as a real background, it does make that a lot easier. There are tons of free
places online where you can find backgrounds
for your Zoom meetings. Personally, I found some really great options
on Unsplash. [MUSIC]
6. Audio: Audio. While it's not
strictly necessary to have headphones and
microphones for your Zoom setup, they can greatly improve
the quality of your audio. Personally, I don't have a separate microphone that
I use for my Zoom setup, but it is something that I
have considered investing in. There are really great
options out there from companies like Shure and Blue. However, these mics can
range in price from $100 to upwards of $300, and even more when you
consider the stand and the cables that you'll
also need to use them. If you're not looking to
spend that much money on an audio setup,
you can do what I do. For my Zoom calls, I use any type of headphones with a built-in
microphone that I can connect to my computer and that's how I work through
most of my meetings. Sometimes, depending
on my environment, I'll decide to do a
meeting without headphones and just use what's already
built into the computer. But if I'm in a
noisy environment, maybe there's a truck
or a bus passing by outside or if somebody
else is at home, I prefer to use headphones. Primarily, because I
feel that it's much easier for me to focus
on the meeting itself. A lot of these virtual
meeting apps like Zoom have gotten really good at
canceling on background noise. These days you really
have to worry a lot less about people hearing what's going on in
your background. However, if you are the person who likes to have their
mic unmuted throughout the entire meeting and I would strongly recommend using
a pair of headphones. Depending on how your
speakers are setup, there can be a really
off-putting echo that gets generated when somebody has their mic muted throughout
the entire meeting. Having headphones
really diminishes the risk of this happening.
7. Conclusion: We talked about a
lot in this video, from how to set up a proper
lighting environment, to potentially using
professional microphones for your Zoom meetings. Just remember that the
at the end of the day, your setup is only part of your work and not
your work itself. Try and have some fun with
how you have your room setup, and don't take it too seriously. I know some folks invest
hundreds and hundreds of dollars into setting up the
perfect Zoom environment. But as I said in this guide, you can really get by
without spending a penny, by using what you
have at home already. I'd love to see what you decide to do with
your meeting setup. Please take a picture
or record a video and post it in the Projects and Resources tab
underneath this course, so I can see all the hard
work that you've done. I do read every comment and every review and look at
every project submission. If you have any questions, please feel free to leave a comment in the
review section below, or to reach out to me directly. check out my Profile page for more information about that. If you'd like to
learn a lot more about lighting and
camera techniques, check out my profile as well to see all the different
videos I have. I have videos on
camera techniques, on choosing the right lens,
how to write a script. If you actually end
up having to write scripts for your
presentations or videos, you can definitely
use that format. Or if you just want to learn
a little bit more about lighting and how to have a professional lighting
setup for a scene, definitely check out my page , and I'll see you
in the next one.
 Zoë Davidson, Software Engineer & Cinematographer