Transcripts
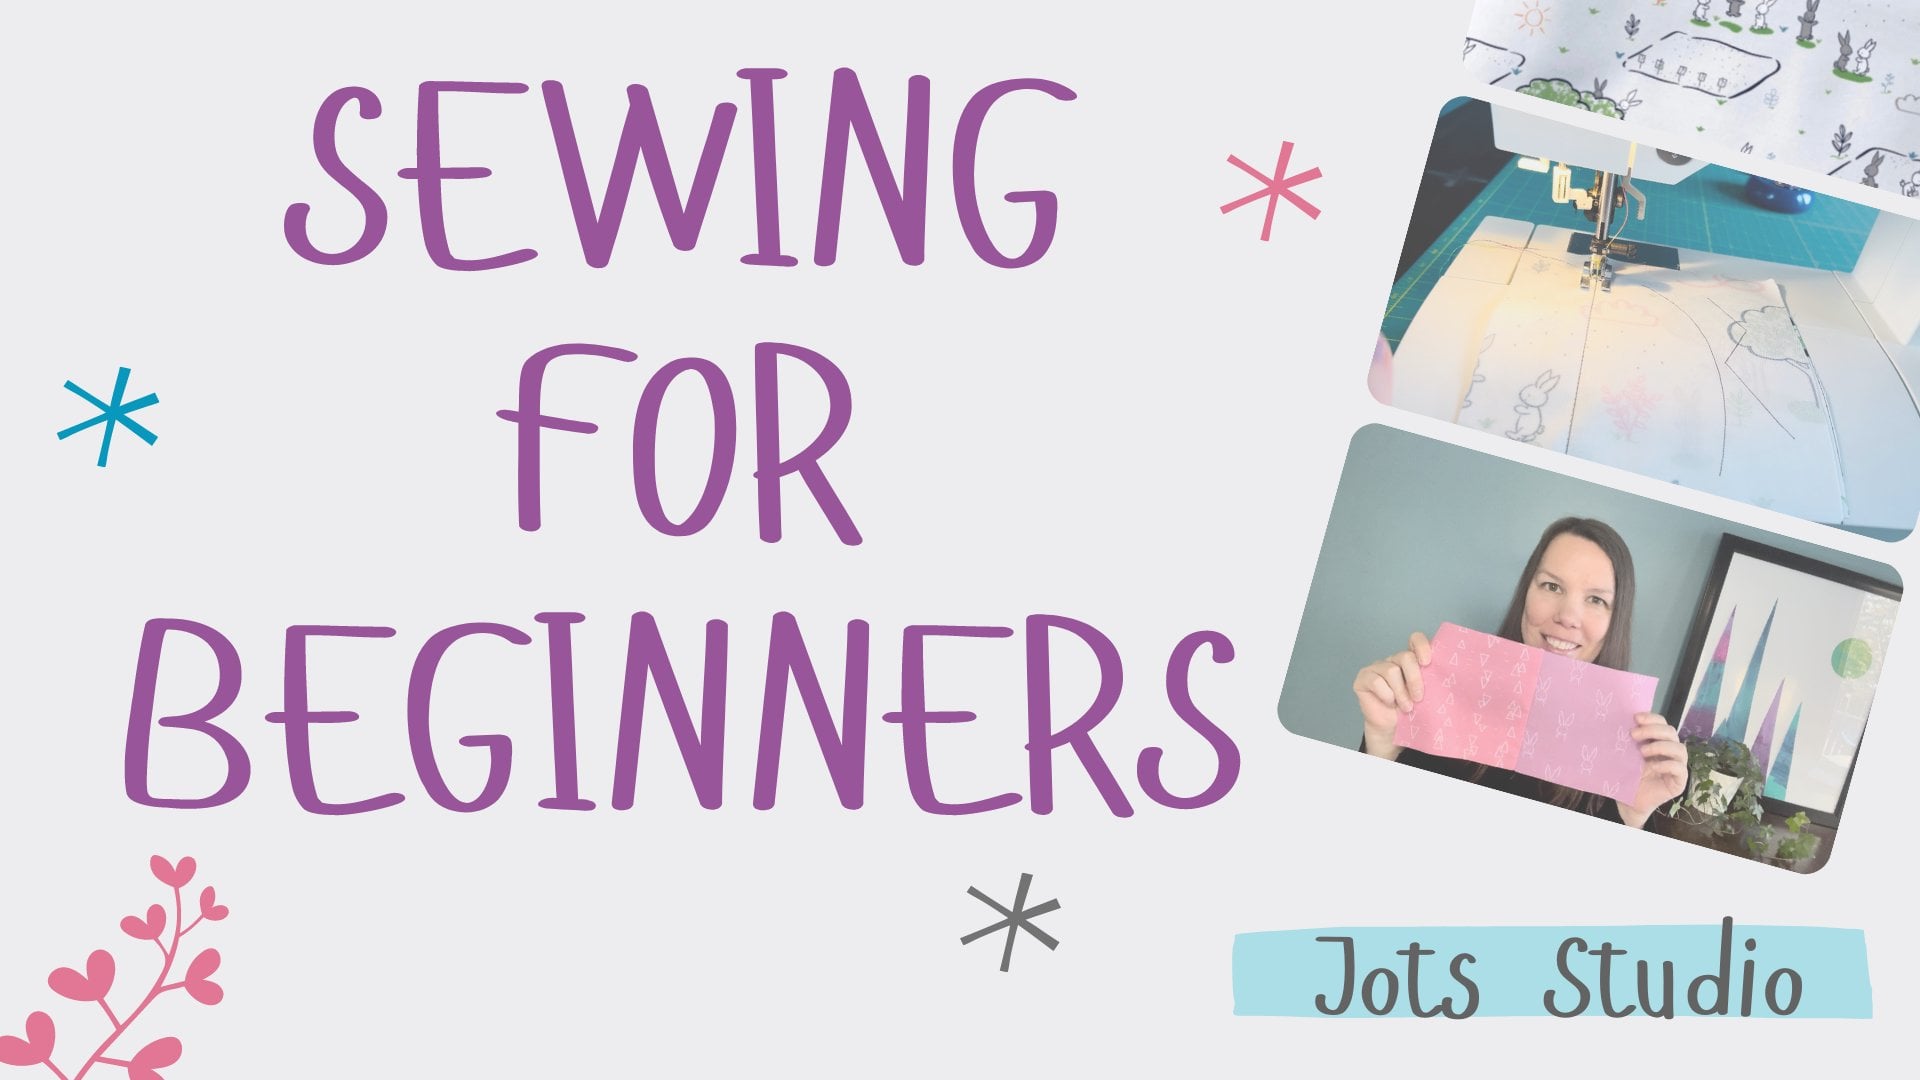
1. Dog Bandana Intro: Hi there. This is Roo
one of our models. She was a big inspiration
for creating this class. And I'm Jo Simpson
from Jots Studio. Come join us and
we'll go over how to sew these darling
pet bandanas. This class is for
a beginner level. If you need help with winding bobbins or setting
up your machine. See my sewing for beginners, the foundations for sewing
class here on Skillshare. I'll guide you
through finding out your dog's bandana size
based on their collar. There are also general
sizes if it's for a gift. I'll also show you how to make a reverse pattern template in
case you want to make lots, will go step-by-step
over supplies, cutting fabric, and how
to sew the bandana. This is a quick and
easy sewing project. I think we'll have a lot of fun.
2. Class Project: Be sure to upload photos of your bandana in the
project section, I would love to see
what you create and see your cute
little and big pets.
3. Supplies And Materials: You'll need two pieces
of cotton fabric. Eat by six inches
for the extra small, up to 16 by 12 for
the large size. A sewing machine. Coordinating thread,
pen or pencil. Paper or card stock
is nice too. A ruler. Sharp scissors and iron
and ironing board, or a towel, a skewer or
pen, something sharp. Because when we turn
these inside out, we'll put it in and push
the corner point out. And optional is a pet
collar for measuring. But you will need one for the pet to where when
you put the bandana on. But if you're making it
for gifts or a craft fair, then you don't need the collar. And another optional
is stencil sheet. In case you want to
make lots of them. This makes it really
easy to cut them out. In our next lesson,
we'll figure out sizes in the patterns
and sizes lesson.
4. Patterns And Sizes: For making the bandana, you can go with
the general sizes that you see in this chart. Or if you'd prefer to
make a custom bandana, you can measure your dog's
collar minus the clip part. So between here and here. And that measurement will be the top measurement when
making your pattern. So it will be that that part. You'll see how we do
this in the next video. Either way, general
size of your custom, you can't really go wrong
making a dog bandana. Here's what each pattern
size looks like. Here's extra small
for Yorkies, Chihuahua, bugg puppy size. So that's the collar length. This is the edge which
will be the opening. You're going to have
a seam allowance. And the length. Here's the small for bugg, pug, Boston Terrier size. So it's got a bigger
edge which will fit. The bigger size collar. Have the medium for
collies and reteiver size. And the large for Saint Bernard, Bernese Mountain dog sized dogs. In the next lesson, we will cut out our patterns and fabric.
5. Cutting Patterns And Cutting Fabric: Okay, we are going to cut the extra small size for demo, which fits little Roo. So her collar size was seven. So I'm gonna go with that. While I'm here. I'm gonna go down an inch and a half inch and-a-half
mark it on that side as well. Then seven. So that's 3.5. To get to my middle, I
should just put 1.5. What I'm gonna do six
inch is going down. So at seven inches
across, so it 3.5. I'm putting my middle point. I'm going to go down six inches. My color, edge size, my length, and now I'm just
going to match up those edge points with
the bottom point. It was just want
this to be perfect. My bandana. Read extra small so I know
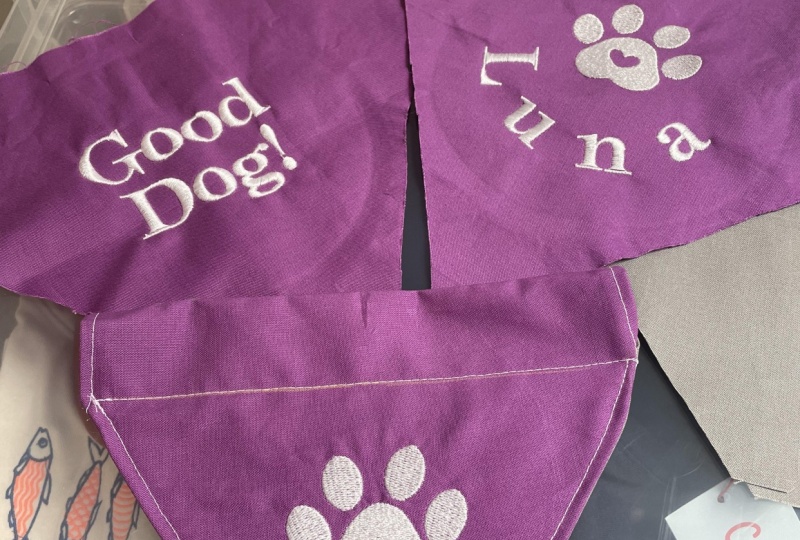
the size I'm using again or if it's your own dog or
the only one for that size, you could put the name on it. I'll show you too. There's the template which I'll go over in the bonus lesson if you want to make
a lot of them, that bonus lesson
will be at the end. Okay. There we go. Now, the way I'm going
to grab my fabric, you can use the wrong
side to trace it. If it's easier to
see the right side, if you're on a dark fabric, you could use a chalk. If it's dark on both sides. If it's lighter, you
can just use a pen. I think I like these double
trees for the point. So I'm just going to
make sure I'm gonna lose three-eighths of an inch
here on the seam allowance. And I'll show you when you
have the the reverse template, it's kinda easier to see. Okay, I like that tree that
looks fairly lined up. Grab my pen and just trace around two points there. Since it's reversible.
That's one sign. Now, it choose another
fabric for the other side. Like these bubbles,
they pop, but I really liked
the little lady bugs. So I think we're gonna
go with the lady bug. And this one is a little short, so I'm just gonna put the
extra into the seam allowance. Okay, so there's my bottom. That looks good. I do waste fabric
because I really like to fussy cut and
get it perfect, Perfect part of the fabric. Other side. Of course, you could use your
rotary cutter like this. It would be pretty quick. Okay, we have our two pieces, those are going to
look great together. So next we are going to
sew the bandana together.
6. Sewing The Bandana: Okay, So I have my two fabrics. I'm just going to place
them right sides together. It's so small. I'm not going to worry
about pinning it. Let's make sure it's straight. What I'm gonna do is
three-eighths of an inch. I'm just going to
keep it on that line. I'm not going to worry
about back stitching because this is going to
go into the side seam. Trimming the threads. If you want, you could press finger, press it down. Yeah, So you just do
that kinda pull it and then just press Okay. Now the side seam. So this one I guess that's all. I want to be in
half and half an inch. I'm just going to check my ruler and see if
I'm close, very close. I'm just going to press up slow. Here we go. So again here I don't need to backstitch. And on the other side as well. Thanks. I'm just gonna
make it all looks good. Okay. This is looking good. Okay. So now what I'm gonna do the back and have one
everything else here. You could pin it if
it's not staying, on this side
so you can see better. Right? You just put
one pin across there. Now we're going to
sew the bottom of the triangle sides together
with a three-eighths inch. I'm going to backstitch well, because this is gonna
be the hole where I turn it right side out. I'm gonna go a
couple of stitches. Usually. You can see
the needle down setting and then when you stop,
the needle stays down. And that makes a pivot on
the corner much easier. I'm just going to backstitch. Before recording
this right side now, we just want to clip some
of the bulk of this point. That sits, sits a little nicer. Now we can turn this
right side out. Yeah, I just kind of pulling
the fabric from the inside out and just keep
pushing this edge down. The bigger ones are a little
easier for this part. Reminds me of the 80s, making scrunchies. That's looking good. So this is where I can use the skewer. You
can kinda smooth. seams. Poke around until you find the fabric
of that corner. Well, that looks really
good. It's going to go on the other hole and
just smooth this out. We'll take it to the iron, press it so it's nice and flat and then we'll come
back to the machine. Okay, that's nice and pressed. Now we are going
to do an eighth of an inch top stitch
around the whole bottom. I guess I should show the bottom two sides of the triangle. I'm going to backstitch
so it doesn't come undone. I'm going to trim these threads. Nice and close. That's looking great
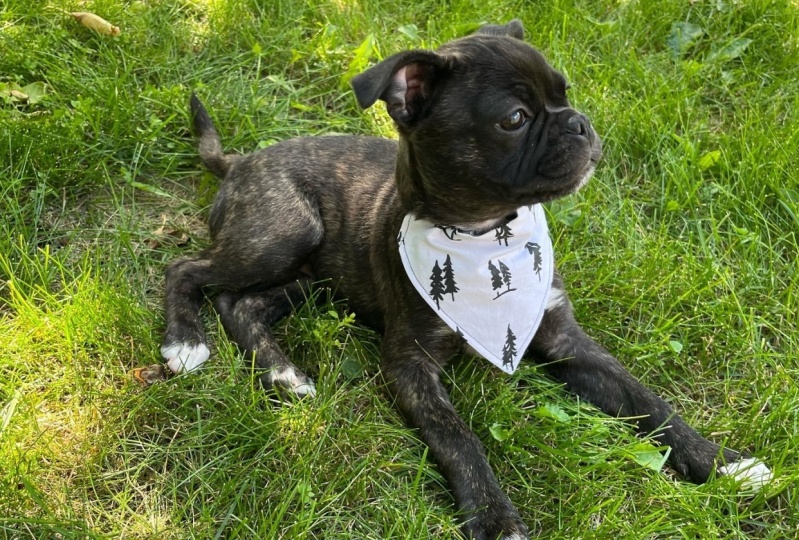
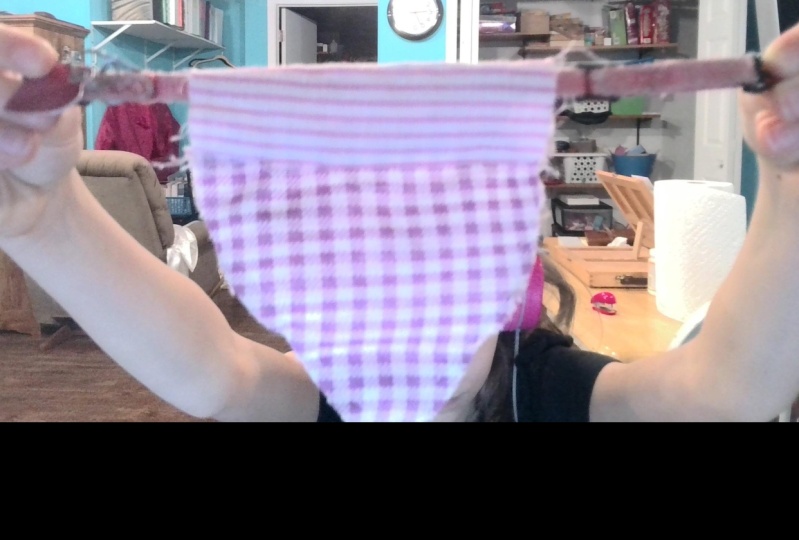
on both sides. The color through. There we go. All ready to go.
7. Thank You: How did your bandana turn out? Great. I hope. Thank you so
much for being with us today. And don't forget to get
a photo of your pet looking fabulous with
their new bandana. You can find us on
Instagram @jotsstudio and jotstudio.com
Until next time.
8. Bonus: Bandana Template: Okay it's time to make a template. So I have my stencil
acetate, have my template. And I've left an inch around the sides to make
it nice and strong. I'm going to trace it. I'm going to have
my bottom point. So I'm just going to
go an inch lower. An inch on the side of that edge or the size
of stencil I make. Then any thing I
want to put on this, so I'm gonna do
extra small size. Cut this out. We've got a inch here to
keep it nice and strong. Middle . Now, this is great if you're making these
for craft fairs or a bunch of friends or a
doggie birthday party. . It's just nice to have
a stencil. You can fussy cut
on your fabric, which is where you just move it around until
you like the spot. So now we can see
this isn't really, I don't really have
fabric handy to. Now. Say I want one of these
to be featured, right? I can just line it up like that. That's really all you
wanna do with this one. Probably. If you wanted stripes, it would wind it up nicely too.
 Jo Simpson, Fabric Designer & Sewing Teacher