Transcripts
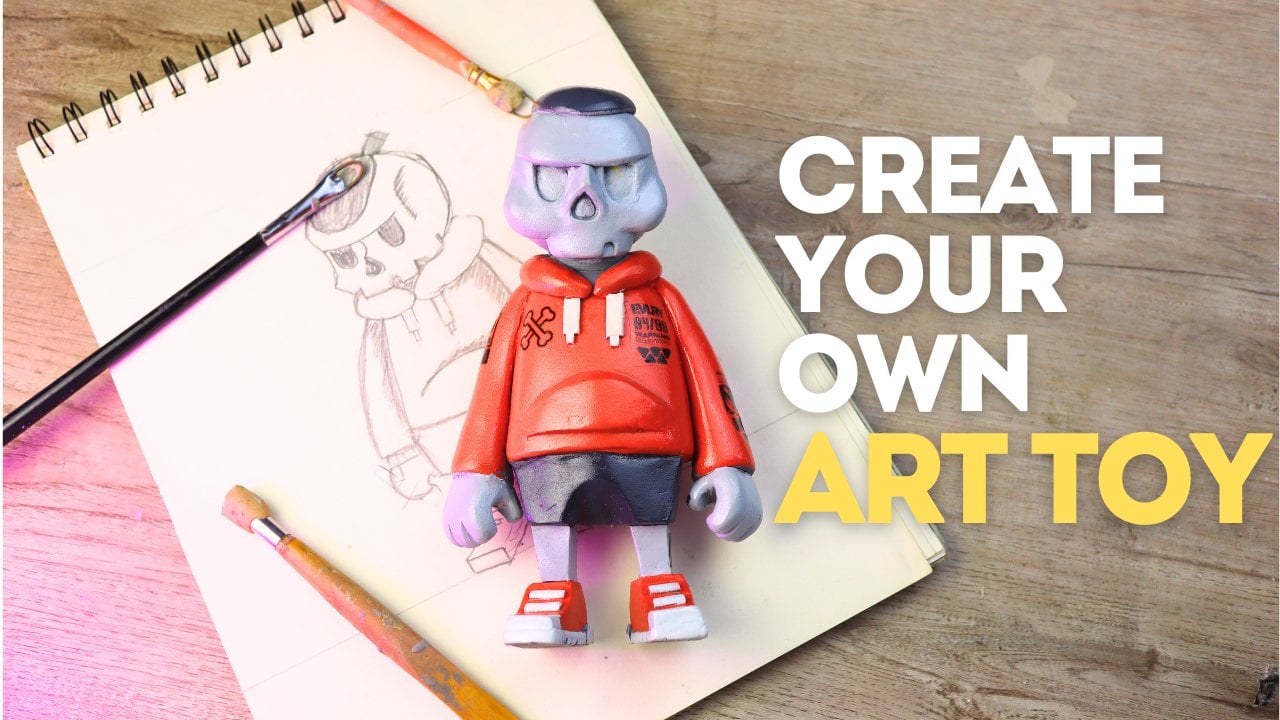
1. Introduction: Hi, everyone. My name is Chris. I'm an artist here
in Philippines, and I want to teach
people how to sculpt because I think the world
needs more creations. If you ask any sculptor what you should sculpt or
how to practice, almost all of them will tell
you to sculpt the skull. So that's exactly what we're
going to do in this series. But we're not just making
a skull for display. Nowadays, people look for
both aesthetics and function, so we'll take it a
step further and turn our skull into a pen
or tools holder. This way, it's not
just a cool sculpture, but also something
you can actually use. If this sounds cool to you, come join me in this class.
2. Materials: Following are the materials
we will use for this project. Our main material is
super scalpi clay. Super sculpiFirm is a
tough gray polymer clay, perfect for detailed sculpting. It stays workable until baked, great for pros and
hobbyists who want precision and durability
in their sculptures. Next, we'll use a tin can and aluminum foil
for the armature. Since we're baking the clay, we need materials that
won't burn or melt. These are perfect for the job. For painting, we'll
use aerosol cans, one for primer and another
for the gold color. We'll also use water
based acrylic paints for added details and effects. That's it for the materials. You can grab all of these in a single trip to your
local art store. I'll also drop a link in the description if you
prefer to order online. In the next video, we'll go over the tools we'll be
using for this project.
3. Tools: Here are the tools we'll
be using for this project. I have this sculpting pack. This pack comes with all
sorts of useful tools, Baltylus, spatulas, and even
fancy rubber tip tools. We won't need all of
them for this project, but I still recommend this
set for anyone starting out. You never know what you'll
need for future projects. These tools last forever, staying in great
condition for years. In addition to the
sculpting pack, we'll also use a rig tool. This is simply a
loop guitar string attached to a paintbrush handle. It's super easy to make and incredibly useful for
refining surfaces. We'll also be using
an additional wooden spatula and
a wooden roller. The tool pack includes
alternatives for both, but I've had these
for a long time, and I'm more
comfortable using them. So there my go to choice. And, of course, we'll need some paint brushes for painting. That's all for the
tools. Now, let's get cracking on that
skull, shall we?
4. Building the armature: Building the
armature. Okay, let's get working with our skull. The goal of this step is to
block out the main shape. We'll do this by wrapping our
tin can with aluminum foil. Let's first drizzle some
glue over the surface of the can to secure the
aluminum foil in place. I'll start by taking about
a foot long piece of foil. Pre crumple the aluminum foil so it's easier to shape when
wrapping it around the can. We use a tin can
and aluminum foil because we need to bake
the clay to harden it, and we can't use anything
that easily burns or melts. Plus, the can and foil help distribute heat
evenly during baking. Shape the foil so
that it becomes thicker towards the middle. Keep adding layers of foil until it's about a centimeter
thick around the can. We'll also make the front and back slightly thicker
than the sides. This blocking process helps us establish the main shape
without using too much clay, allowing us to save material. There you go. As you can see, the front and back are
about a centimeter thicker. Next, we'll indent a hole to
prepare for the eye sockets. We can do that using
the ball stylus tool from the tool set I mentioned in the
materials discussion. I hope you guys didn't
press the foil too much, so there's still enough
space for the indentation. Mine is a bit tough, but I can still make it work
with a little force. One of the most
striking features of a skull is its
oversized eye sockets. Without the soft tissues
like muscles and fat, the bony structure
underneath reveals just how much space our
eyes actually take up. There you go, guys. The
blocking process is complete. We'll start working with
Clay in the next video.
5. Clay Blocking: Clay blocking. In this part, we're going to start wrapping
our armature with clay. Simply press large lumps
of clay onto the armature. We're aiming for about
half a centimeter of thickness all around. You can slap sheets of clay
directly onto the armature, but I like to smooch the clay
first before applying it. I feel like it makes it more
compressed and compact, which helps avoid air pockets. If you're new to sculpting, polymer clay is one of the
best materials to start with. It's soft, easy to shape, and doesn't dry out
while you work. So you can take your time
perfecting the details. Unlike air dry clay,
there's no rush. You can keep tweaking your sculpture until
you're happy with it. Another huge plus polymer clay
hardens in a regular oven, so you don't need
any fancy equipment. Once baked, it becomes
super durable. Whether you're just
starting out or looking to improve
your sculpting skills, polymer clay is a fun, forgiving and beginner friendly way to bring your ideas to life. Keep patching it with
different sizes and shapes of clay until the
whole armature is covered. Skulls are hands down one of the coolest
things to sculpt. They've got all these
awesome curves, sharp edges, and deep hollows that make them
super fun to shape. Plus, you don't have to worry about making
them look too perfect. After all, every skull has
its own unique character. Another reason they're great. You can go in so
many directions. Want a realistic human
skull, go for it. Feeling spooky, make
it eerie and cracked. Want to add some fantasy vibes, throw in some horns or
exaggerated features. Skulls are like the ultimate
sculpting playground. After the entire
thing is covered, we'll focus on leveling the thickness and filling
in any deep areas. Now, we will blend all
the patches of clay together to create a
smooth, even surface. Press the clay in a
rolling motion using a round tool for smooth
and effective blending. I'll switch to a spatula tool
to spread and smooth out the clay. Let's be real. Sculpting is a bit of a workout. You're squishing, pressing,
carving, and smoothing, and by the end of it, your hands might feel like they
just ran a marathon. Maybe not that intense,
but you get the idea. But that's what
makes it awesome. Every bit of effort
goes into bringing your creation to life
and the best part. You see the progress with every
little detail you refine. It's labor, sure, but it's the kind that leaves you
feeling proud, not exhausted. So let's keep going and
make something epic. Now, I'll move on to a flat tip brake tool
and start raking in different directions to remove the raised areas and even
out the surface further. Using the bowl
stylus once again, I'll refine the eye sockets
and smooth out the details. After more raking, I now have
a smooth and even surface. That's it for this part, guys. I'll see you in the next one.
6. Establishing Main Shape: Establishing the main shape. Welcome back. In this part, we'll be establishing the
main shapes of our skull. I've had a lot of
success starting with the forehead
when sculpting faces. So let's try it on this one. Let's prepare a sheet of clay and fold it over to
increase the thickness. Now place it on the
forehead and trim it to match the proper
shape and size. Using the same technique
from the earlier video, press the clay in a
rolling motion to blend the added clay seamlessly. Looking at our reference, the eyes are much
larger and have a shape similar to
aviator sunglasses, so we need to expand
them a bit more. Before shaping it, we need to draw an outline to
use as a guide. Then use the bowl stylus to push and
expand the eye socket, following the
outline as a guide. There you go. It looks
a lot better now. After that, we'll start
building the snout. To do this, prepare an elliptical cylinder shape from a separate lump of clay. Prepare it in proportion
to the size of your skull to make sure
it fits naturally. Then cut it sideways
across the narrow side. Place it horizontally centered just below the eye sockets, then blend it into
the main shape. Continue refining it using the tools and techniques
we've already learned, smoothing out the edges and shaping it to match
the skull structure. At this point, you'll probably
start to realize that sculpting is just a cycle
of three simple steps, blocking, blending
and smoothing. And that's pretty much
all there is to it. Master these three
techniques and you'll be able to create all
kinds of awesome stuff. That's it for this part, guys. Next, we'll move on to sculpting the skulls nostrils. Stay tuned.
7. Working on the nostrils: Working on the nostrils. Let's get cranking right away. Prepare a cone shaped
piece of clay, making sure it's in proportion
to the size of your skull. Then cut it at a slight
angle just like this. And also, flatten the side that will be merged
with the skull. Place it at the center, then blend and smooth it into place. Use your fingers as much as possible for a smooth blending. Only switch to tools for areas that are too
narrow or hard to reach. Two. Two. Now it's time to dig
in the nostrils. Once again, we'll start by drawing the
outline as a guide. We'll draw an upside
down hard shape. Make a deep cut
along the outline, then carefully carve
out the clay inside. Then use a smaller
boll stylus to push the clay inward and
deepen the nostrils. Push only the sides, leaving a partition
in the center. This will form the vomer bone which separates the nostrils. There you go, guys, with
the nostrils in place, it's really starting
to look like a skull. That's it for this part.
See you in the next one. Mm.
8. Working on the Cheek Bone: Working on the cheek bone. Now it's time to add
the cheek bones, also known as the
zygomatic bones. Let's build up the structure and give our skull
more definition. To do that, follow along with me and prepare the
following shapes. The first shape is going to be a long strip of clay
with tapered ends, one end slightly
longer than the other. Then we need two smaller strips of clay both the same size. And also a small round piece. When your pieces are ready, place each one as follows. The biggest piece will go under the eye socket with
the shorter end starting at the side
of the nose and the longer end curving around
the side of the skull. The two smaller strips
go vertically under the longer one and on the
sides of the eye socket. The round piece will
be placed on top of the long strip to add
mass to the cheek bone. Now it's time to blend
all the shapes together. I'm also going to add
another small strip that connects the cheek
bone down to the jaw. We'll prepare the same shapes and repeat the process
on the other side. Sculpting is all about patience. Sometimes things
don't go as planned. You might smooh a
detail, carve too deep, or just not like how something turns out, and
that's totally fine. The great thing about clay is that you can
always start over. Mistakes aren't setbacks. They're just part
of the process. Every time you redo something, you're sharpening your skills. So if something isn't
working, don't stress. Just squish it up and try again. On the next part, we'll
focus on the tempo. It's going to be interesting, so stay tuned. See you there.
9. Working on the Tempo: Working on the tempo. In this part, we'll
refine the shape of our skull by adding
details to the tempo area. Let's bring in more
definition and structure. First, we'll add a snake shaped piece
of clay just like this. Then, of course, we'll
blend and smooth it. The fun part about
sculpting a skull is that it's super forgiving
when it comes to mistakes. Skulls are naturally imperfect. They have all sorts of
inconsistent crevices, cracks, and unusual shapes. So even if something isn't
perfectly symmetrical, it just adds to the realism.
You really can't go wrong. 50 Follow along and make a cut along the side of the eye extending through
the side of the cheekbone. The goal is to make this
area slightly deeper, cut at a slant and carefully
carve away the excess clay. And then smooth it out to soften the sharp edges and create
a more natural transition. If the steps aren't
clear, don't worry. I'll go through the process
again on the other side. That's it. For this part, guys. Next up, we'll tackle
the jaw and teeth. This is where things get really fun. See you in the next one.
10. Working on the Teeth: Working on the teeth. Now
it's time to add the teeth. I'll take advantage of
the concave shape of my wooden spatula tool to
press in shape the teeth. This makes it super easy
to get that natural curve. First, I'll mark the
position of each tooth. Okay. Then I'll define the curvature of each tooth, making sure to carve
out the natural grooves and separations between them. Next, I'll soften
the sharp edges made by the spatula tool. Using another concave
tool from the toolset, I'll carve lines on the top jaw between each tooth to
define them further. I'll soften the shapes
again with the rake tool. Sculpting isn't just
about shaping clay. It's also about telling a story. It doesn't have to
be a whole novel. Take this guy, for example, he's been dead for a while, exposed to the elements, so I don't want him to have
a perfect Hollywood smile. Instead, I'll knock out a few teeth to establish
the narrative. There you go, guys. Our skull is really coming to life now. Well, figuratively
speaking, in the next part, we'll add even more
details to make it look even cooler. Stay tuned.
11. Adding Details: Adding details. Let's
add some details. First, we'll give him
a slight glare by adding clay to the outer
tip of his eye sockets. This small tweak will give him a bit more attitude
and personality. Using any pointed tool will
add some cracks to the skull. Like I said, this dude has
been dead for a while, so a few cracks will make him look even more worn
and weathered. I suggest looking
up some references online to see where skulls
usually have cracks. This will give you a better idea of where to position yours. Cracks are part of
the skulls story, so it's up to you to
decide where to add them. Skulls have these wiggly
lines called sutures. Simply draw them with
your pointed tool to achieve that
natural organic look. All the cracks are in place. Up next, I'll show you how to add some texture. Stay tuned.
12. Texturing: Adding texture.
For the texturing, we'll stamp the
clay using stones. First, we'll use one with inconsistent bulges to create rough, natural
looking indentations. Then we'll switch to a finer grain stone to
add subtle texture. Wrap the skull with plastic wrap before stamping to soften
the imprint slightly. Then start randomly pressing the stone all over the skull, creating natural looking imperfections and
surface texture. Take a look at the result. Now we'll switch to
a finer grain stone. But this time, be more
targeted with our stamping. Focus on areas where
natural wear and tear would occur
like the forehead, cheek bones, and around
the eye sockets. To next, we'll brush the entire
skull with lighter fluid. This will dissolve the
surface of the clay slightly, softening everything
and blending all the details together. That's it for this part, guys. Our sculpture is
finally complete. In the next part, we'll move
on to baking the clay and bringing our skull to its
final form. Stay tuned.
13. Baking: Baking the clay. Here I have
just a regular toaster oven. I usually cover
my sculpture with aluminum foil to avoid direct
heat from the heating rods. I want the heat to circulate inside and bake the clay evenly. I'll bake it at 180 degrees
Celsius for 10 minutes. After letting it cool down, our skull is now fully
cured and hard as a stone. Now it's ready for painting.
See you in the next one.
14. Painting: Painting. Before we start painting, we'll
need to prime it. This will help the
paint stick better and give us a nice even
surface to work with. Spray it from about a foot away in a smooth sweeping
motion like this. This will help avoid buildup
and ensure an even coat. Keep spraying until the entire
skull is evenly covered. Make sure to rotate it as you
go to get all the angles. Make sure you're in a
well ventilated area when using aerosol spray. Even better, wear a
respirator for extra safety. Now we'll apply a
base coat using black water based acrylic paint. And. Next, we'll spray it
with gold aerosol. We base coated it with black
because black enhances the depth and makes the
gold pop more vibrantly. Look how cool that is. The gold really brings out all
the details we sculpted. Those cracks and
textures pop so nicely. Next, we'll add some fake patina to give our skull an
aged weathered look. This will make it feel
like an ancient artifact rather than a freshly
painted piece. To create the patina effect, we'll mix blue and
green acrylic paint until we get that perfect
oxidized copper look. Adjust the ratio
depending on how vibrant or muted you
want the patina to be. Dilute the paint with water
to make it more running. This will help it flow into the cracks and
details naturally, mimicking real patina buildup. Brush the entire skull
with the mixture. Use a tissue paper to gently
dab off most of the paint. Take a look at the result. Now, we'll dry brush
it with copper to highlight the details and
enhance the metallic look. Dry brushing is a
painting technique where you use a small
amount of paint on a dry brush to lightly graze the surface of your
sculpture to execute it, load your brush with paint, and wipe off most of it on a tissue paper until only
a faint amount remains. Focus on the raised areas to
make the details stand out, giving the sculpture more
depth and dimension. Et everything dry
overnight to ensure the paint sets properly and
achieves the best finish.
15. Final Shots: Final shots. And
there you have it. Our skull sculpture is complete. From building the armature to adding the final
touches of paint, you've brought this piece to
life with your own hands. Sculpting is all about
patience, creativity, and a little bit of
experimentation, so don't be afraid to make
mistakes and try new things. I hope you had as much fun as I did throughout
this process. Keep practicing, keep
pushing your skills. And most importantly,
keep creating. Whether this is your first
sculpture or one of many, every project brings you one step closer to
mastering the craft. Thanks for joining me, and
I'll see you in the next one. Happy sculpting. Let me
show you the final shots.
 Cristopher Dino