Transcripts
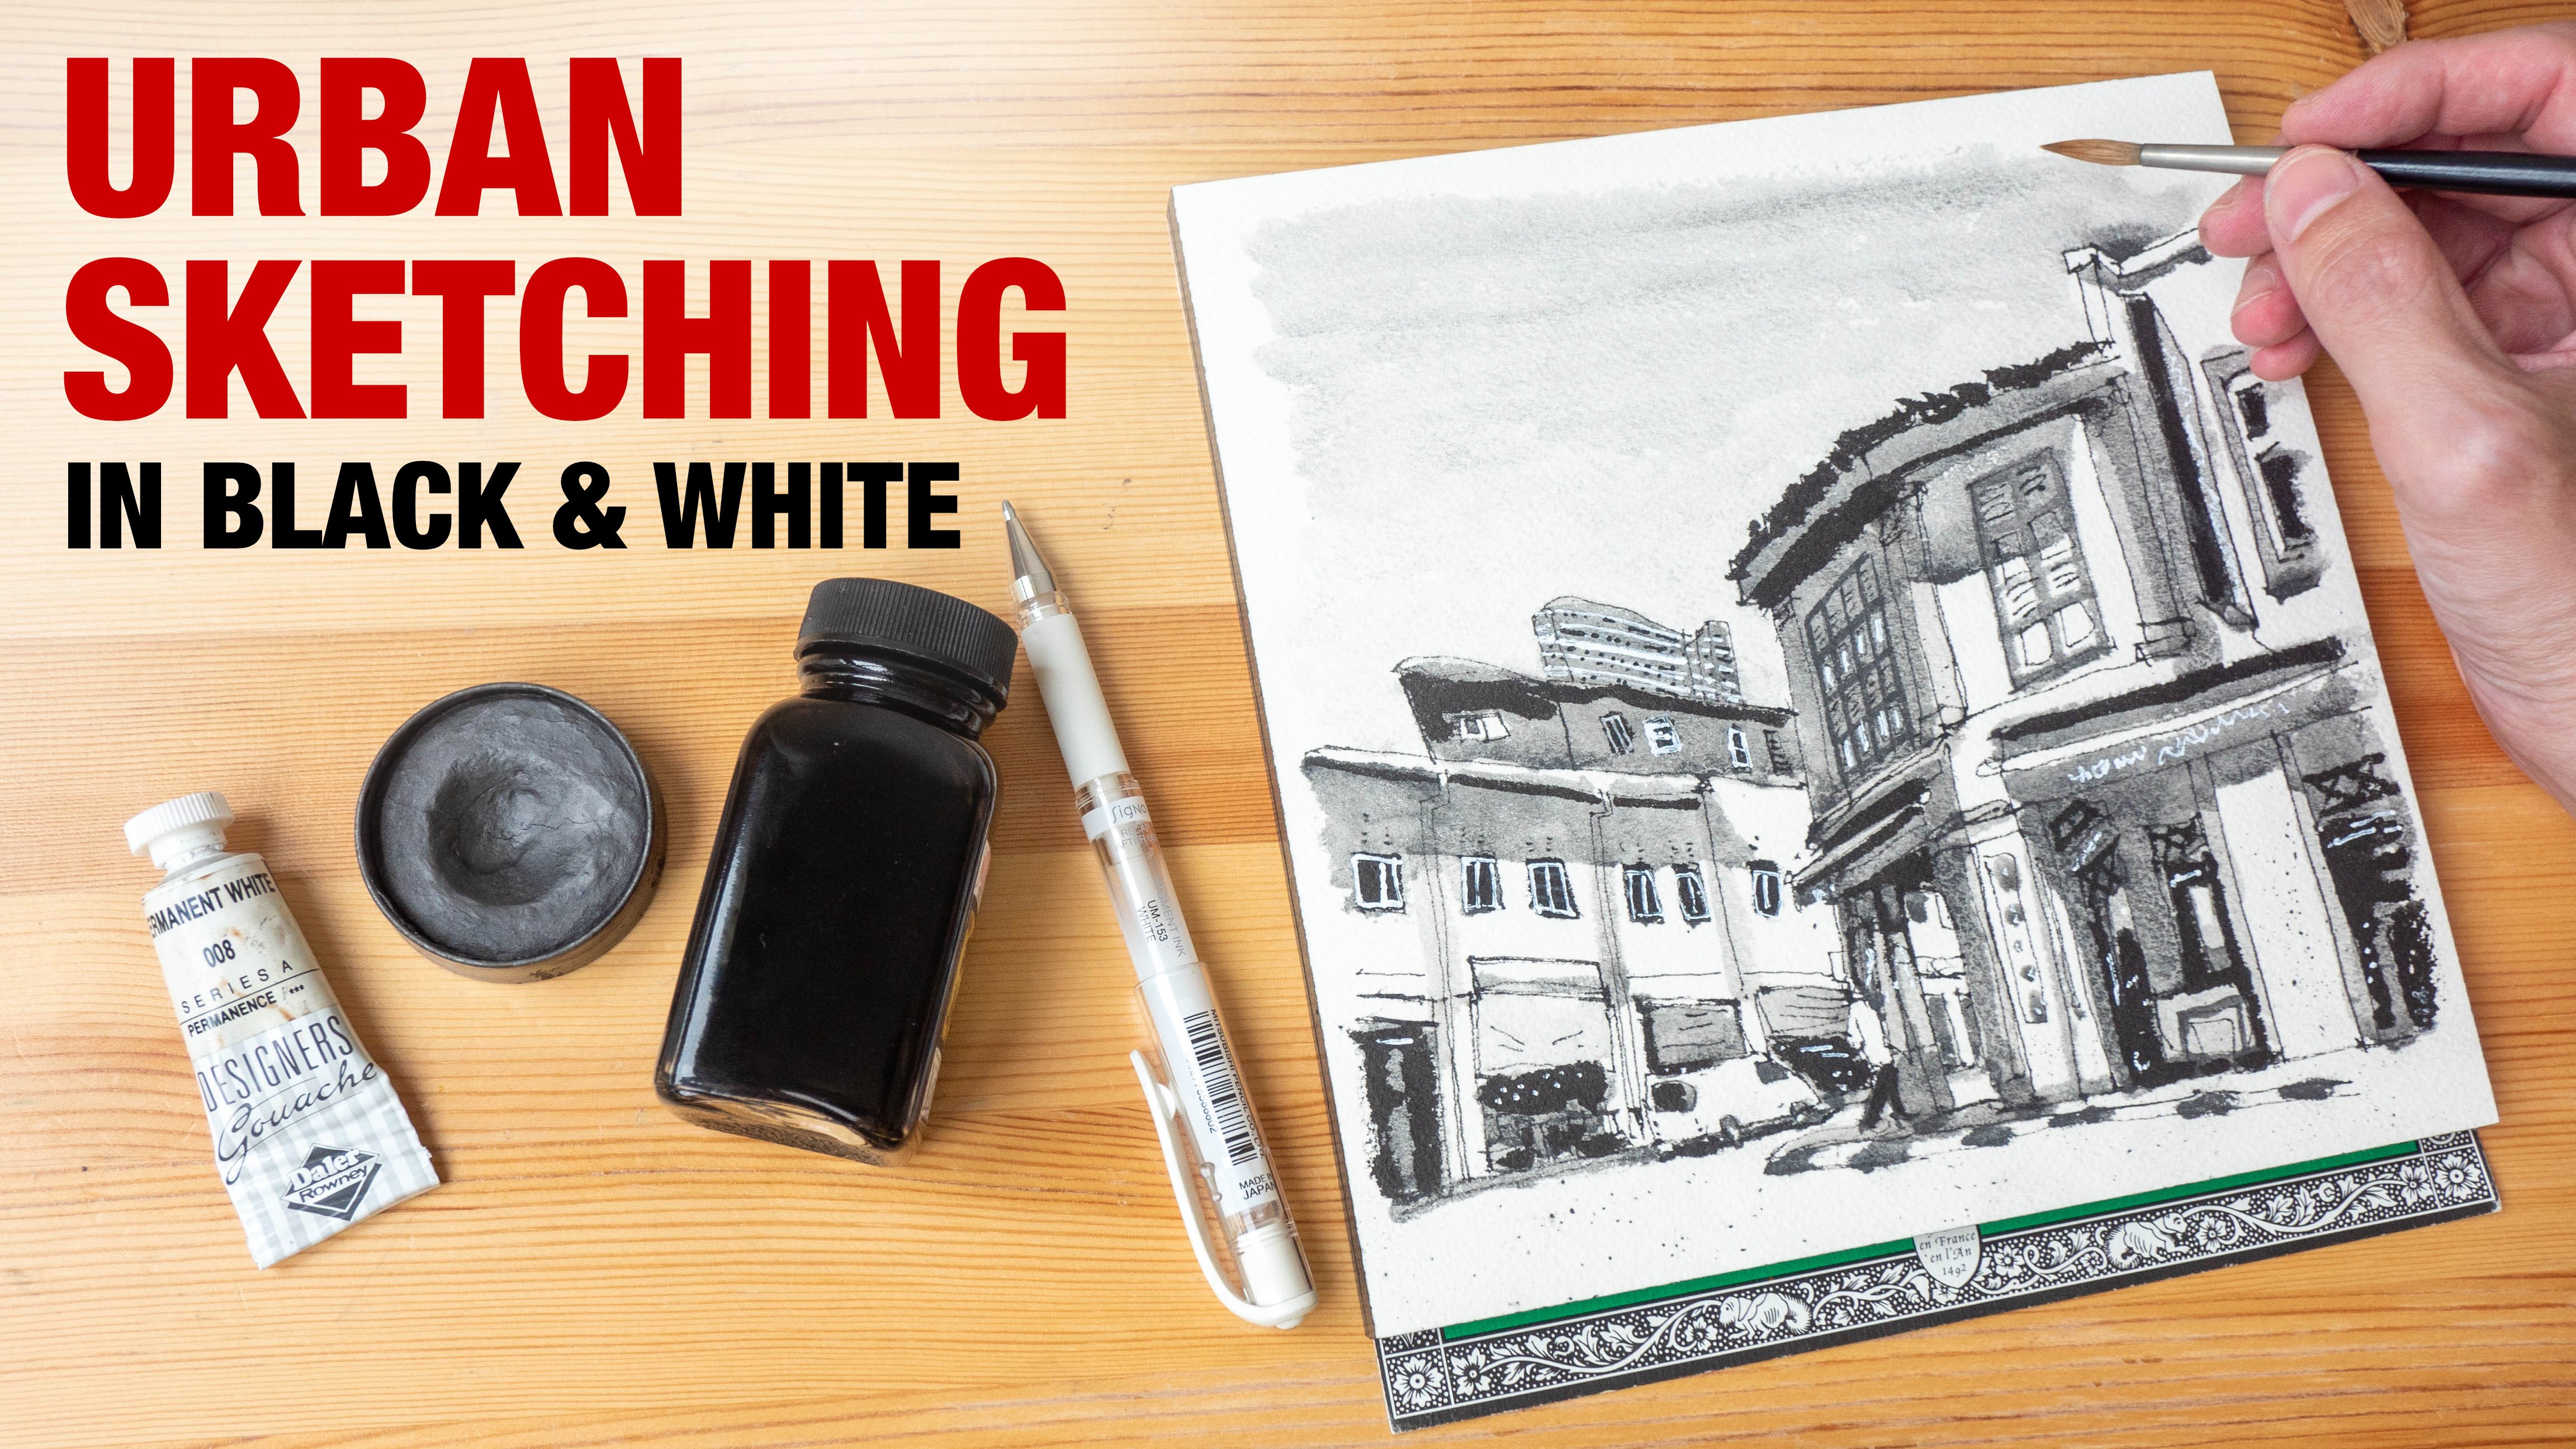
1. Intro: Hello, my name is Till, and I'm an artist and graphic designer. I have been creating pen, ink, and watercolor
sketches since 2009. In this class, I want
to show you how to use a scanner to scan your art. Do some basic edits to make
your art look better and also fix some mistakes that may appear during the
scanning process. Now, this class
is for beginners. To follow along, you
will need a scanner. If you don't have a scanner, there is actually a lesson where I talk about the features you should look for before
you buy our scanner. The software I'm using in
this clause is Photoshop. By the way, this
class is actually the extended version
of a shorter video, I have in my sketchbook and costs where I also
talked about scanning. In that shorter lesson, I was using the software
Affinity Photo, which is a graphic design
software that you can purchase with a
one-time payment. Now Photoshop is a
monthly subscription app where you have to pay monthly, so you are just doing the
occasional scans and add dates. It may not be worth
it to buy Photoshop, so do checkout Affinity
Photo as well. If you are using Affinity photo, you can actually just go
watch that shorter lesson. The content in this
course or this class is going to be quite
similar to that lesson where I was using Affinity Photo because most of their
functions and the features of all is graphic
design software that's used to edit scans. They are quite similar.
2. Scanners: Let's talk about scanners first, there are two types of
technology used by scanners. The first is CCD
charge-coupled device and the second is CIS
contact image sensor. There are pros and cons to
each type of technology. The advantages of CCD would
be higher scanning speed, better signal-to-noise ratio, better color accuracy, and higher depth of field. The advantages of CIS scanners, such as the ones that I have
here would be lower cost. They are more compact, and they still produce pretty good scanning
image quality. To me, the main difference
between CCD versus CIS is the depth of view the
scanner can capture. As the name of contact
image sensors suggests, you need to have the
artwork or whatever you're scanning in contact
with the glass surface, when you're scanning to
produce the best quality. However, that may not be
possible all the time. Here's a spiral-bound
sketchbook that I have. If I scan this page
on this CIS scanner, this area here where the
paper is near the binding, these paper surface will
not be in contact with the scanning surface
and the scan will appear to be blur
around this area, which is what we do
not want because we want this image to be sharp. If you look at the left side of this scan that I have here, you can see that area there is blurry and this is of
course, unacceptable. If you use spiral
ball sketchbooks, this is definitely something
you need to know in advance. If you do use wire
ball sketchbooks, I recommend you don't create your art so near to
the wire binding. Some sketchbooks may not
open completely flat and those sketchbooks will have
issues with CIS scanners. For example, if you are
to scan this sketchbook, you can see the area here is actually not in contact
with the surface. This huge area here, if there is any art that's
drawn across the pages, they will appear to
be blur in the scan. If you work with watercolor, you will know that
watercolor paper can buckle. When scanning
watercolor artworks, make sure to press down on the cover of the scanner
to make sure that the whole piece of paper is in contact with the
scanning surface. Otherwise, the scan may have certain areas which are blur. CIS scanners can produce very high-quality scans as well, and those are the ones
that I would recommend to beginners because of
their affordability. You can usually find a good CIS scanner for
under 100 to $250. These scanners are very compact, so they don't really take up much space in your
room or on your table. If you want a better
image quality, then maybe consider
CCD scanners. But those are going to be
more expensive and bulky. I have been using
CIS scanners for several years and I'm quite satisfied with the
image quality. Sometimes the image
quality between CIS versus CCD is not that noticeable unless you have two scans side-by-side
to compare. The keywords to look
out for when buying a scanner, are photo scanner. Do not buy documents
scanners because these are not meant
to scan artworks. If you take a look
at this design here, you can see that you
won't be able to fit a sketchbook through
this scanner. Also sometimes if you require scanning multiple pages or multiple artworks
to stitch together, this is not going
to do a good job. The optical resolution
here is 600, which is actually alright. However, I would highly recommend you get
a scanner that can scan at least 1,200
dpi and above, in terms of the
optical resolution. I have no experience with
three-in-one scanners. Those scanners that can
print, scan and copy, so I can't say too much about their scan or the print quality. Take, for example,
this scanner which has a scan resolution up to 2400
dpi, which is fantastic. However, the resolution that the scanner
can scan may not translate to the
quality of the scan. If you do want to
buy such scanners, I highly recommend you check out online reviews written
by artists themselves. A scanner where the lid
or the cover can be opened can be used
to scan sketchbooks, and it's also easier to clean the scanning surface
of such scanners. For scanners where you
feed the paper in, you cannot open the scanner to clean the parts of that scans because that part can
get dirty quite easily. For example, if you are scanning pencil artworks and some of the graphite actually
came off the paper surface, which is very common,
in this case, you won't be able to clean
the inside of the scanner. Some good scanners for scanning
artworks that I recommend would be the Canon LiDE
or the Canon LiDE series, which is the one
that I have here, or the Epson V series. Most scanners are made
to scan A4-sized paper. [NOISE] Here I have an
A4-sized paper pad. A4 size is 29.7 by 21 centimeters
or 11.7 by 8.3 inches. If you need to scan paper
sizes that are larger, [NOISE] such as this, 9 by
12-inch paper pad here. This is not going to fit, so you will have to
scan this two times. I probably won't
recommend you buy a larger scanner unless you
need to scan large pieces of artworks very
regularly because A3 size scanners
are several times more expensive compared
to A4 size scanners. In the next lesson,
we are going to scan our art so it's time to take out your sketchbook or your art.
3. Before you scan: Welcome back. In this lesson, I want to show you the
things you need to do in order to get a good scan. This is the sketch that
I'm going to scan. It's a pen, ink, and watercolor
sketch drawn across two pages in this
A5 size sketchbook. The horizontal width
here is actually longer compared to the
horizontal width of the scanner, which means I need
to scan this in two passes and stitch the
two scans together later on. Sometimes I would include the color swatches that
I use for my sketch. You can choose to
include this in your scan or you can
choose to leave this out. The first thing
to do is to clean the scanning surface, otherwise, the dust may be captured
in the scan as well. You can also use tape
to remove the dust. Your scanner may have some
markings on the frame or the edge to tell you
where to place the paper. There's an arrow here, which means I should place my
paper towards this corner. Because this sketch
was drawn and painted across two pages, the scans will need to
have a good amount of overlap so that I can stitch
them together easily. With this sketch, I have to scan the first time like this, and the second time like this. The first time I will
be scanning this, and the second time I
will be scanning this, so the overlap is actually
this huge area here. I can certainly
scan the sketchbook like this and like this, but the overlap will
be quite small. It will be this small area, compared to if I use the
horizontal width of the scanner, I can get the overlap
to be this big. When you are scanning
multiple pages so that you can
stitch them later on, it's very important to make sure to align the edge
of the paper or the sketchbook to the
edge of the scanner here, make sure there's no gap there. Usually, I will
push my sketchbook all the way to the edge there, and then press it down so that the paper is in contact
with the glass surface. After you scan the first
page with the second pass, you should also push
the edge of the paper to the edge of the scanner. If you scan the second
pass like this, you will have to rotate
the scan later on in your software to match
the first angle, and it's very difficult to get the angles to align perfectly. If you do it right
at the first time during the scanning process, you don't have to
do the rotation with your software later on. But anyway, there are some scanners with
removable covers or lids to allow you to scan
sketchbooks more easily. This sketchbook has a cover that can bend all the way to
the back, which is great. But if you have a sketchbook where you cannot bend the cover, then this scanner will not be able to scan
that sketchbook.
4. Settings: Let's take a look at the
settings to use for scanning. Make sure you have your scanning software
installed and open. By the way, the app
that I'm using here is Image Capture on Mac OS. Let's take a look at the
settings at the right side here. Regardless of the scanning
software you use, you should have access
to these settings. Let's choose to
scan a color image. Do not scan black and white, do not scan text documents. Scan a color image. For resolution, I
highly recommend you choose at least 300 DPI. Nowadays I scan at 600 DPI, which is dots per inch. Resolution is the amount of detail the
scanner can capture. The higher the resolution, the more detail
your scan will be. However, the file size
will also be larger. Here you can choose to
scan a custom size or a custom area on your scanner. Since this is an A4 scanner, I shall just choose to
scan the whole A4 size. You don't have to bother
about orientation, because we can change
the orientation or rotate the scan using our
graphic design software later. This is where I
will save my scan, and this is the file name. For the file format there are actually several options here. The file format
that will give you the best image quality is TIFF. Other file formats will compress the image and will affect
the image quality. We'll choose TIFF. Here I will uncheck Combine
into a single document, because when scanning we want
the scans to be separate. This is quite
useful when you are scanning text
document, for example, you want to scan multiple pages to combine
into a single PDF. You can do so by checking
this checkbox here. For image correction, we want to choose None, because we want to do our own image correction using the graphic
design software. We should always use manual
settings for scanning. Sometimes depending on the
type of document you scan, the settings may be locked. Just use manual settings
or user custom settings. Now that we have our settings
selected, let's scan. Make sure to flush the edge
off the paper to the edge of the scanner and
press down lightly so that the paper
is fully in contact with the scanning
surface and scan. [NOISE] Don't press
down too hard, otherwise the glass
may actually come into contact with this movable part and prevent it from moving. Just press down gently. [NOISE] If you are
scanning a piece of paper, you can just close the cover to press down the paper
rather than use your hands. This is the second pass. Again, make sure you push the edge of the paper to
the edge of the scanner. There is this small area here where the scan will not work, so I have to push my sketchbook slightly away from
the edge here. Make sure to press down
the whole sketchbook, especially near the edge
of the scanner. [NOISE]
5. Stitching multiple scans: Let's take a look
at the scans that I have imported into Photoshop. First thing we need to do
is to rotate the image. But before we do that, let's
reset our workspace so that we are all working
with the same workspace. Go into the Photoshop manual, window, workspace, and click on "Essentials". If you are already using
the essentials workspace, click on "Reset Essentials". This is to make sure
that it's easier for you to find out where I'm clicking. Let's rotate this scan. Let's go into the manual again. Image, image rotation, and this needs to be rotated
90 degrees counterclockwise. That's for the scan that I have. You may have to rotate it
clockwise or counterclockwise depending on how
your scan turns out. For the other scan, the second scan,
I need to rotate these counterclockwise as well. Now if you scan a lot, you can actually set
keyboard shortcuts to this rotation functions. I actually I have
one set here to arbitrary which I'm going to show you what
it does later on. It's actually very useful. This one has to be rotated
counterclockwise as well. Next thing to do is to paste the second scan
over to this first scan. We need to enlarge
this Canvas first. Let's go into the manual, image, Canvas size
and click on it. Shown here are the
exact dimensions in terms of pixels for
this particular scan. I want to increase the
width to 200 percent. Let me just change the
units here to percent. I'm going to click
the anchor point here so that Canvas size will
increase to the right side. You can tell by where the Canvas were increased
by the arrows here. I'm going to click
"Relative" here, that's a checkbox
here, relative. Let's click "100 percent". Now you can see the Canvas
has double the size in width. Go back to your other scan. Hit the shortcut control A or command A or you can
go into the menu and select all and copy which is control C or command C.
That's the keyboard shortcut. Go into your other
scan and paste, which is control V or command V. Now that we have
the scan here, it's just going to
appear like this. I'll just push it
down. You can use your arrow keys to nudge
it down pixel by pixel. Photoshop actually has snapping, which will snap the file
to the edge of the Canvas. If snapping is not turned on, you can go into view and snap. Now it snaps together
at the bottom. Next thing to do is to zoom in. To move around the Canvas, you can press the space bar and just move with your mouse. You will see the hand
cursor moving around. To zoom in, just
press space bar and control or space bar and command and use your mouse to zoom in. Or you can click your mouse
to zoom in step-by-step. Here, as you can see, the scan on the
right side is blur. I need to delete the blur area, remove the blur area. To remove the blur area, just go into your toolbar
on the left side. Click on the rectangular
marquee tool and just select this blurred area on the
right side and delete. Now when we zoom in, we can see both scans are sharp. Now all we need to do is
to align both the scans. I'm going to use this
area here for alignment. You see this black area here. I'm just going to use
my arrow key to push the top scan down. Makes sure that
you have selected the correct layer
where your scan is on. If you select the bottom scan, pushing the arrow key will
push the bottom scan. I want to use the
scan at the top, so select the top layer, and just push it on top
of the second scan. Make sure they align properly. This seems like
good enough for me. Zoom out, which is control 0 or command
0 to take a look. You have to zoom in and zoom out occasionally just to check your image to see whether you have done the correct alignment. This looks good enough for me. Next, let's crop the scan to
remove the unwanted parts. To crop the scan, we can click on the
crop tool button, which is on the toolbar
on the left side or you can press the keyboard
shortcut C. I'm just going to press the
keyboard shortcut C and move the crop, resize the crop to the
image that you want. Make sure you don't crop away
the things that you want. You can zoom in while you're
still in the crop tool just to check and see if you
have cropped correctly. This looks good enough for me. Let me just press "Enter"
or you can click on the little check mark
at the top there. Let's zoom out again
to take a look. This scan looks pretty nice. Next, let's save the file
in case things happen. I'm going to save as
a Photoshop file. You can save it as
a TIFF as well. TIFF files can save
the layers as well. I usually save it as
a Photoshop file. Always be saving your files
just in case things happen.
6. Basic edits: Next, we will look at the details that we
have with the scan. You can see the
watercolor paper texture captured really nicely. There's a lot of detail. This looks great. However, if you want to print your art at
a printer shop, you may want to remove
all this texture because you will
probably want to use the texture of the
physical paper rather than this digital
texture of the scan. Also, you can see there is
this slide blemish here, which could be due to my
scanner being dirty or maybe it's just a blemish on
the paper on my sketch book. You can actually remove
that if you want to. First, let's maybe just
remove the paper texture and enhance the colors and
the contrast of this sketch. The thing I look out for
when editing the scans is to match the colors that I see on the display to the colors
that I see on my sketch book. There are actually many ways to remove that paper texture, let me just show you one way. Go into the menu. Under Layer, look for
New Adjustment Layer. Here there are many options. You can use levels or you can use curves to remove
the paper texture. I'm going to use levels. Now in Photoshop,
there are many ways to do the same thing. You can also remove the
paper texture by just using the eraser tool to
erase the texture, but using levels or curves to adjust the image
is a bit easier. Let's click "Okay" here
and a new adjustment layer will appear at the layers
palette on the right side. Let's look at the properties
palette, which is above. You can see this curve here, this is basically the
color data of the scan. Under the curve, there are three control points which
you can move around. I'm going to move the
left control point, which is black, and this will adjust the
midtones to the shadows, to the darker areas. Basically, you will make
those areas darker. If you push it all the
way to the right side, you can see it's going to make the darker
areas even darker. I'm going to push it
to the point where the curve starts to
go up very sharply. For the paper texture,
which is white, we need to use the control
point on the right side to control or to adjust the highlighted areas,
the lighter colors. Just push it to the
left side until you no longer see the paper texture. You can also use the
control point in the middle to increase
the contrast. There will be some
compromise because if you push the control point
to remove the paper texture, it's also going to
affect the clouds, which are very light
in terms of value. So just push the
control point to the extent where the paper
texture can no longer be seen. But you also don't want
to remove the clouds, so let me just push it
to this extent here. I can still see
some paper texture, and this is where
you have to go in manually to remove the texture. What you can do is
create a new layer, go to the layers palette
at the bottom right side, click on the new layer button. Now you have a new layer
and choose a brush. You can hit the
keyboard shortcut B or you can go into the manual, look for window, look
for the brush pallet, and look for the soft
round brush and use that to basically add white or paint white over
the paper texture. This is going to take some time, so I'm just going to erase
all the texture here. Let me show you
another way to remove the paper texture and bring back the details for the clouds. Go back to your levels, adjustment layer, just click on the levels adjustment layer. Click on the little circular
icon there to co-op the graph and push your control
point to the left side. Let me just zoom in
closer for you to see. Push your control point all the way until you don't
see the paper texture. This is certainly easier, but now the clouds
are washed out. What you can do to bring back the clouds would be to click on the white icon of box there just beside the levels adjustment
layer and use a brush again or you can choose a brush here
and paint back the clouds. This is the original scan. You are painting back
the original scan. Now if nothing is happening, make sure you choose
the correct color, make sure you are
painting with black. You have to do this
for the clouds. If you cannot see
the clouds properly, you may have to dial down the adjust curves so that you can see the
clouds properly. Just choose whichever
method is easier for you or you can just skip this whole step of erasing
the paper texture because sometimes it can
be quite tedious to bring back all these details. I'm just going to
use a combination of the two methods to erase
the paper texture. This is the left corner
of the sketchbook. You can see the rounded
corners of the sketchbook. Let's just paint white over the area and continue
to work on your sketch. There may be some
blemishes on your sketch. For example, this area here. You can choose to
erase it or you can clone some other area
and paste over the area. I'm just going to
leave it as it is. Here you can see
some issues as well. The scan here is blur because the paper is not in contact
with the scanning surface. But I'm going to leave this
as it is because when you zoom away to look at
the scanner from a far, the blur is actually
not that obvious. I think it's all right. This is a sketch book so you
can see the binding here, which I will leave
it there so that people can tell that
this sketch was actually made on a sketchbook. I'm just going to erase
the paper texture. Actually, I'm just painting white over the paper texture. I'm not erasing
the paper texture because this was done
on a separate layer. If I want to bring
back the texture, I can just easily click on the layer on the right site to remove all the white
paint that I have.
7. Enlarging the canvas: This scan looks tight. There's not a lot of
whitespace around the sketch. Now I want to maybe add some whitespace on
the foresights. Go into image, canvas size, and
uncheck relative. This will call up the actual
dimensions of the scan. We are looking at 7,475
pixels by 3,385 pixels. I want to add maybe more pixels, but I'm not exactly sure how
much pixels I want to add. Maybe let's just add 1,000
pixels to the dimension. Instead of 7,475, we have 8,475. For the next one, we have
1,000 added to it as well. Make sure the anchor
point is right in the center so
that a space can be added on all the
foresights, and click okay. Now you have a
much larger image. Notice the background
is checkered, this means the background
is transparent. All you have to do is
to create a new layer. Go to the layers palette, click on the new layer button. A new layer will appear. You may want to
rename the layer, so let's call it white. Drag the white layer to the
bottom and go to the menu, look for edit, fill. This dialog box will appear. It will ask you what color
do you want to fill with. Just choose the
foreground color, which you can see
here it's white. Click okay, and now you
have more whitespace. If it's too much space, just use the crop tool
to resize the crop, to crop it again. Let's give this sketch
a bit more whitespace, and press Enter, and save.
8. Save for web: Now that you have
completed your edit, you may want to share
your art online. To do that, you have
to export your file, your scan into a web format. It can be JPEG or PNG. Let me show you how to do
it. Go into your menu, File, look for Export. There are some shortcuts here, such as Quick Export as PNG
but this will not give you the option to select the
dimensions of the file, the image quality
or compression. That's not what we want. What we want is to go
into File, Export, choose either Export
As or Save for Web. Now these two functions have similar settings
that you can change. You can just choose either
one that you would like. It's going to take a while
to load up the file. This image that you
are looking at is the actual file that
is going to be saved. On the right side you can
see the file format is PNG. There are three file formats. You can choose PNG, JPG and GIF. Each file format has
its own pros and cons. For PNG, you get the
best image quality. However, the file size is huge. For JPG, the image will be compressed so the
file size is smaller, but the image quality
will suffer slightly. Whether or not you can
see the image degrade in quality will depend on how much compression
you choose to apply. The last file format is GIF, which is good for saving
artworks with flat colors. With watercolor art or with
any artwork that has shades, that has a lot of colors, go with either PNG or JPG. Most of the time
it's JPG because you want the file to be
of a manageable size. Right under the file format on the top-right side,
there is Quality. You can choose either Very Poor, all the way up to Great. I'm just going to choose Good. Pay attention to their file
size on the left side here. Right now it says
three megabytes. If you choose very
poor image quality, you will see the file size
update here to one megabyte, but the image
quality will suffer. Now this is a zoomed out view so you can't really see
the image quality suffer. Let me just go back to good. I'm going to change the
image size to maybe 1,000 pixels and height will
adjust accordingly. These preview that
you are looking at right now at 100 percent is the actual size of the
actual exported file. The file size is 104
kilobytes which is good. If you want to see
whether or not you can see the JPG compression, you can zoom in all
the way to see. You can choose between
the different quality of JPG compression just
to see the difference. Right now I have
very poor quality. You can see the
compression is very mushy. This is obviously
what we do not want. Just go through the different
image quality option and choose the one that looks best for you and also look
at the file size, of course. Good is actually pretty good. I think that's pretty much it. For the color space, you'll probably want to
click this checkbox, convert to sRGB because
most of the monitors, they are out there are
using the sRGB color space. Once you're done with
all the settings, just click Export
and save your file.
9. Common issues: Painting back the details: In this lesson, I
want to show you how to solve some common issues that may arise due to
scanning and edits. This is the image, the scan that we edited earlier. We tried to remove the
paper texture and clouds, here you can see they
don't look that great. If I remove the adjustments, the edits, you can see that each of the cloud is actually sharp. But after the adjustment
is not that clear. Here I may want to use a hard brush instead
of the soft brush to bring back the details
of the clouds. You have to paint quite
close to the edge there. Now you can create this
sharper edge which looks more like
your original art. Again, if you want
to have to perfect edit it's going to
take some time. For example, see here I did not erase that paper
texture properly. When I zoom out, I won't
be able to see that. But when I zoom in, I can see I did
not do a good job. It really depends on how
good a job you want to do. Maybe let me just
erase this part because I just don't like
how those blemishes look. If you're not that particular, then you don't have to do
all this additional edits. Now the clouds, it looks better. Take a look at the
edge at the top here versus the edge at
the bottom here.
10. Common issues: Alignment: The next issue has got to do
with stitching the images. More specifically, getting
the images to align perfectly so that you
can stitch them easily. These are the two scans
that I showed you earlier. Let's rotate them again counterclockwise and this one
as well, counterclockwise. Now for this particular
scan there is an issue. If 111you look at the top of the page you can see that it's not perfectly horizontal
whereas with this scan here, let's zoom in, if you look at the top
of the page you can see that it's almost horizontal. But for this, the
top of the page, there is an angle there. If we just copy this
and stitch it here, the alignment is
going to be off. To rotate this page or this
scan, it's not difficult. Just use the ruler tool, which is hidden under the eyedropper tool here at
the toolbar on the left. If you cannot see
the ruler tool, you may have to press and hold the eyedropper to
select a ruler tool. The shortcut to selecting
that is to press "Shift I" to cycle through
the different tools. Just pick the ruler. Zoom into your scan. Use the ruler to draw a line
along the edge of the pitch. If you look at the top here it will actually
show some angle. The number is actually too small for me to see, doesn't
really matter. Next, go to image. Image rotation,
choose arbitrary and this dialog box will appear
and angle that you see here is the angle that the
ruler has measured. I'm going to choose
counterclockwise and press "Ok". Now it's going to rotate
the image to make sure that the top of the page
is perfectly horizontal. This is the corrected image. Let's just push this using the arrow key to the right side. Again, you can see there
is misalignment issues. Yeah, misalignment issues again, so you will have to change the rotation
again just so that this vertical alignment
here is perfect. You can adjust the
image rotation several times using the ruler. Rotate again measure, rotate again measure,
rotate again. It's very tedious, which is why much earlier in the lesson, I told you to flush the sketchbook to the
edge of the scanner. If you have done that properly, you don't have to rotate or do this correction
to the rotation. It's going to save
you a lot of time. In this case, if I
have a scan that is obviously at the wrong
angle I will redo my scan, I will scan again instead of adjusting the angle
using the software because it's just much
faster to re-scan again.
11. Adjustments with curves: Using levels to
adjust your scan may not be the best tool
in certain situations. Let me show you another tool. At the Layers palette
on the right side, I'm going to turn off
the levels adjustment. This is the original scan you
are looking at right now. For this next adjustment, I want to use the curves. Let's go into the Menu, Layer, New Adjustment Layer Curves. Hit "Okay". You will see this
graph which looks like it's similar in shape
to the levels graph, it is the same graph except here it's presented
with different tools. Same thing you have the slider, the black and white
slider at the bottom, which you can use to push the
highlights and the shadows. In addition to that, there is this curve
where you can add control points to
adjust the image. I want you to just experiment
with pushing the curve around while adding
additional control points to control what are the
areas that you want it to be lighter and which are the areas you want to be darker because we
have this curve, you can actually do some it
really fine adjustments. Let's see if I can remove the paper texture while
retaining the clouds. It looks like in this case, the adjustments is not very different from the
levels adjustment. I may still have to go in to erase the paper
texture manually or remove the paper texture completely and add the
details back to the clouds. In some situations, depending on your scanned or levels
will work better. In some situations,
curves will work better.
12. Copyright: The last issue has got
to do with copyright, so if you save your
image for web, let me just save
it for web again. This, by the way, is the
save for web dialog box, which looks different
compared to the Export As dialog box, but same thing here we can
choose the dimensions, the file format, the
compression level. Here, let's choose
the dimension. If you export your file as
a high-resolution file, people may actually download
your file and reproduce it, they can print it and
sell it to make money. This is piracy, obviously,
copyright infringement. You may not want to save your file as a
high-resolution file. Personally, for me I don't save my files beyond
1,000 pixels wide. To help me nail
down those pirates, sometimes I would actually sign my name or hide my name in my sketch somewhere so
that in the event that I do need to
confront the pirate, I can tell them that
this is my image because my signature is
somewhere in the sketch, and that's the proof that
I created this image. But there's really
no way for you to prevent piracy other than to say if you fall below
certain dimensions.
13. Bye: That's how I scan
it and edit my art. Some artworks will require
more time and effort to edit to make them look
good. But that's the thing. If you want your
art to look good, you have to spend
the time and effort to make it look good. Sometimes I'm lazy. Sometimes I would just
use a camera to take a photo of my art and
share them online. But I find that scanning
the art is more useful. For example, if I see some related topics
or if I need to share the art that
I have created, it would be easier for me to share the scan
that I have created before rather than share a photo of my art with my hand
in the photograph. It's just easier to
share at a scan. That's how our scan
can be useful. Also, if you need to print
your work in the future, you don't have to re-scan again or scan it the first time, because you have done
so at the point of time after you have finished
or completed your art. That's it for this course. I hope it's helpful. Do check out my other
courses on Skillshare. See you in the next course. Bye.
 Teoh Yi Chie, Sketcher, watercolour lover