Transcripts
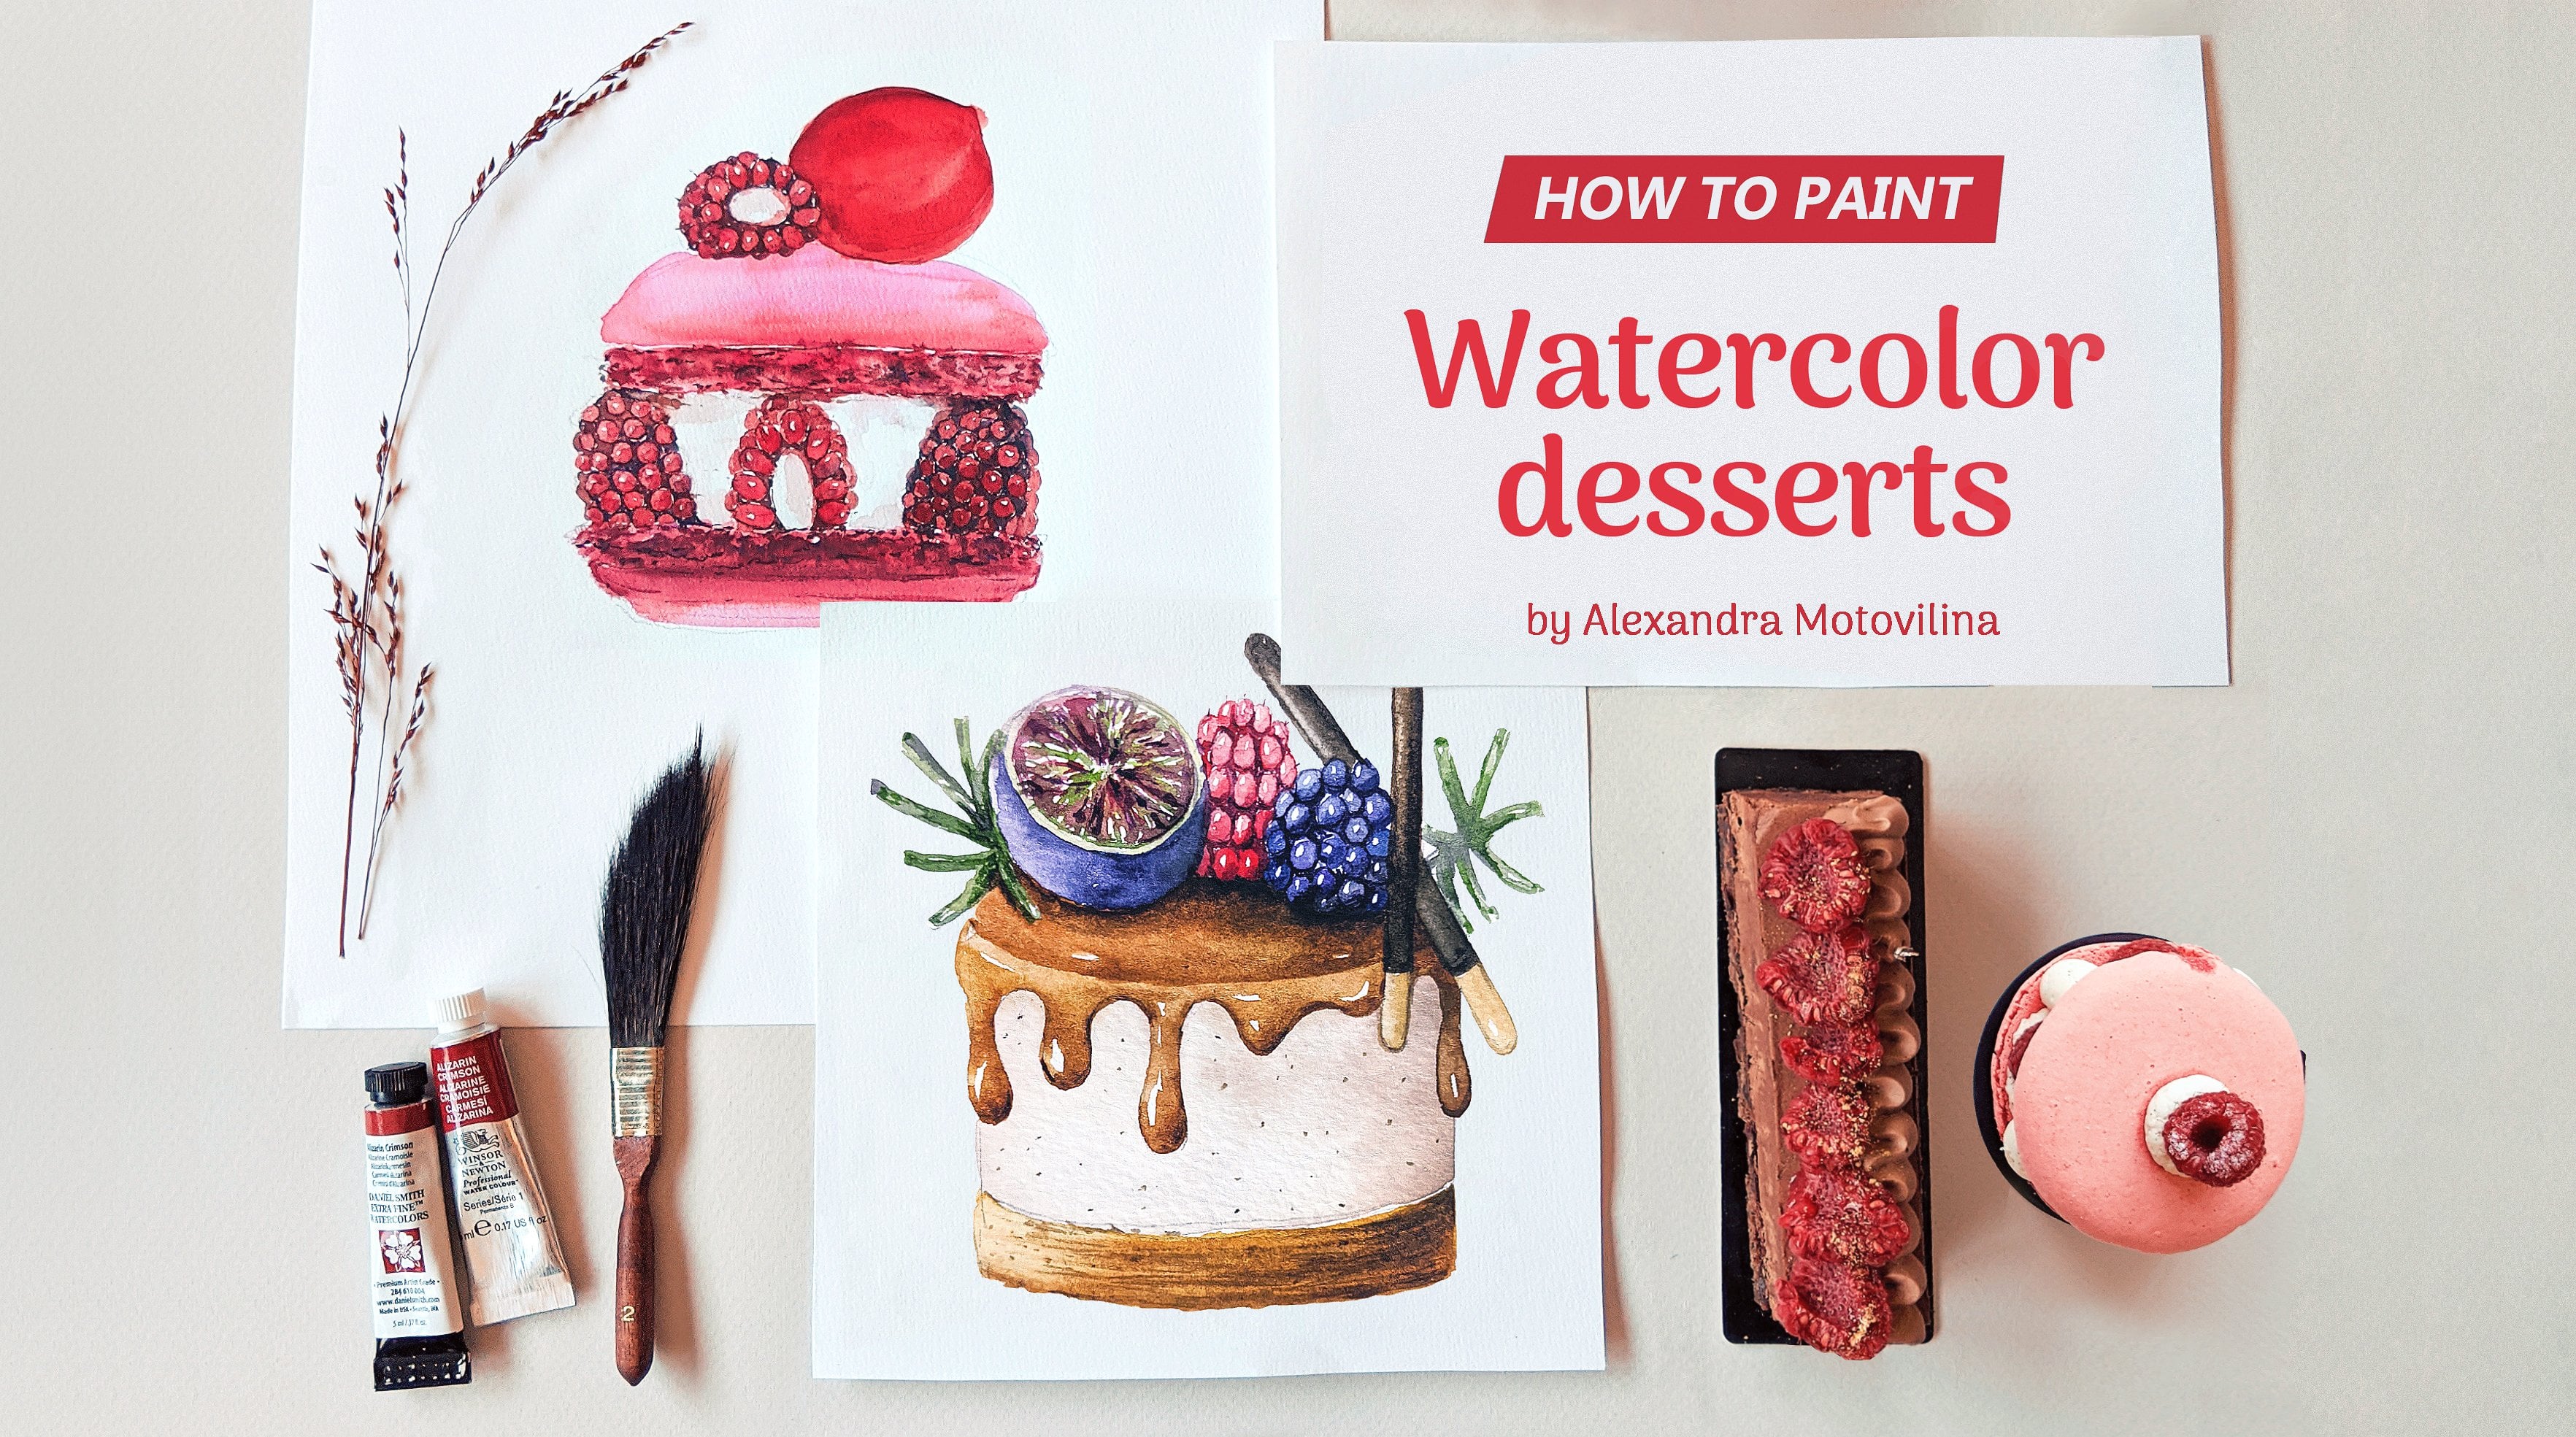
1. Intro : Hello and welcome to my Skillshare class. My name is Alexandra and I would take our artists. I adore painted food illustrations and especially deserts, because for me they are like little piece of art. I also illustrated very sparse. Forget about unforgettable, sweet experienced in France. With my explanations, you will be able to understand tips and tricks about watercolor technique. And later, you will be able to apply this knowledge to other kinds of watercolor illustrations. So today I propose you to be in this famous and iconic Paris bus tree, Santa Norway from luxury. Especially with this, with illustrations which we will paint today, you can create birthday watercolor, postcard photo friend, or make a beautiful poster for the kitchen. Today's technique, it also suitable to pay in cupcakes, Miranda, and different cream shapes. So now I will show you the list of materials which we will need for today was prepared the pencil sketch. And finally, let's get started.
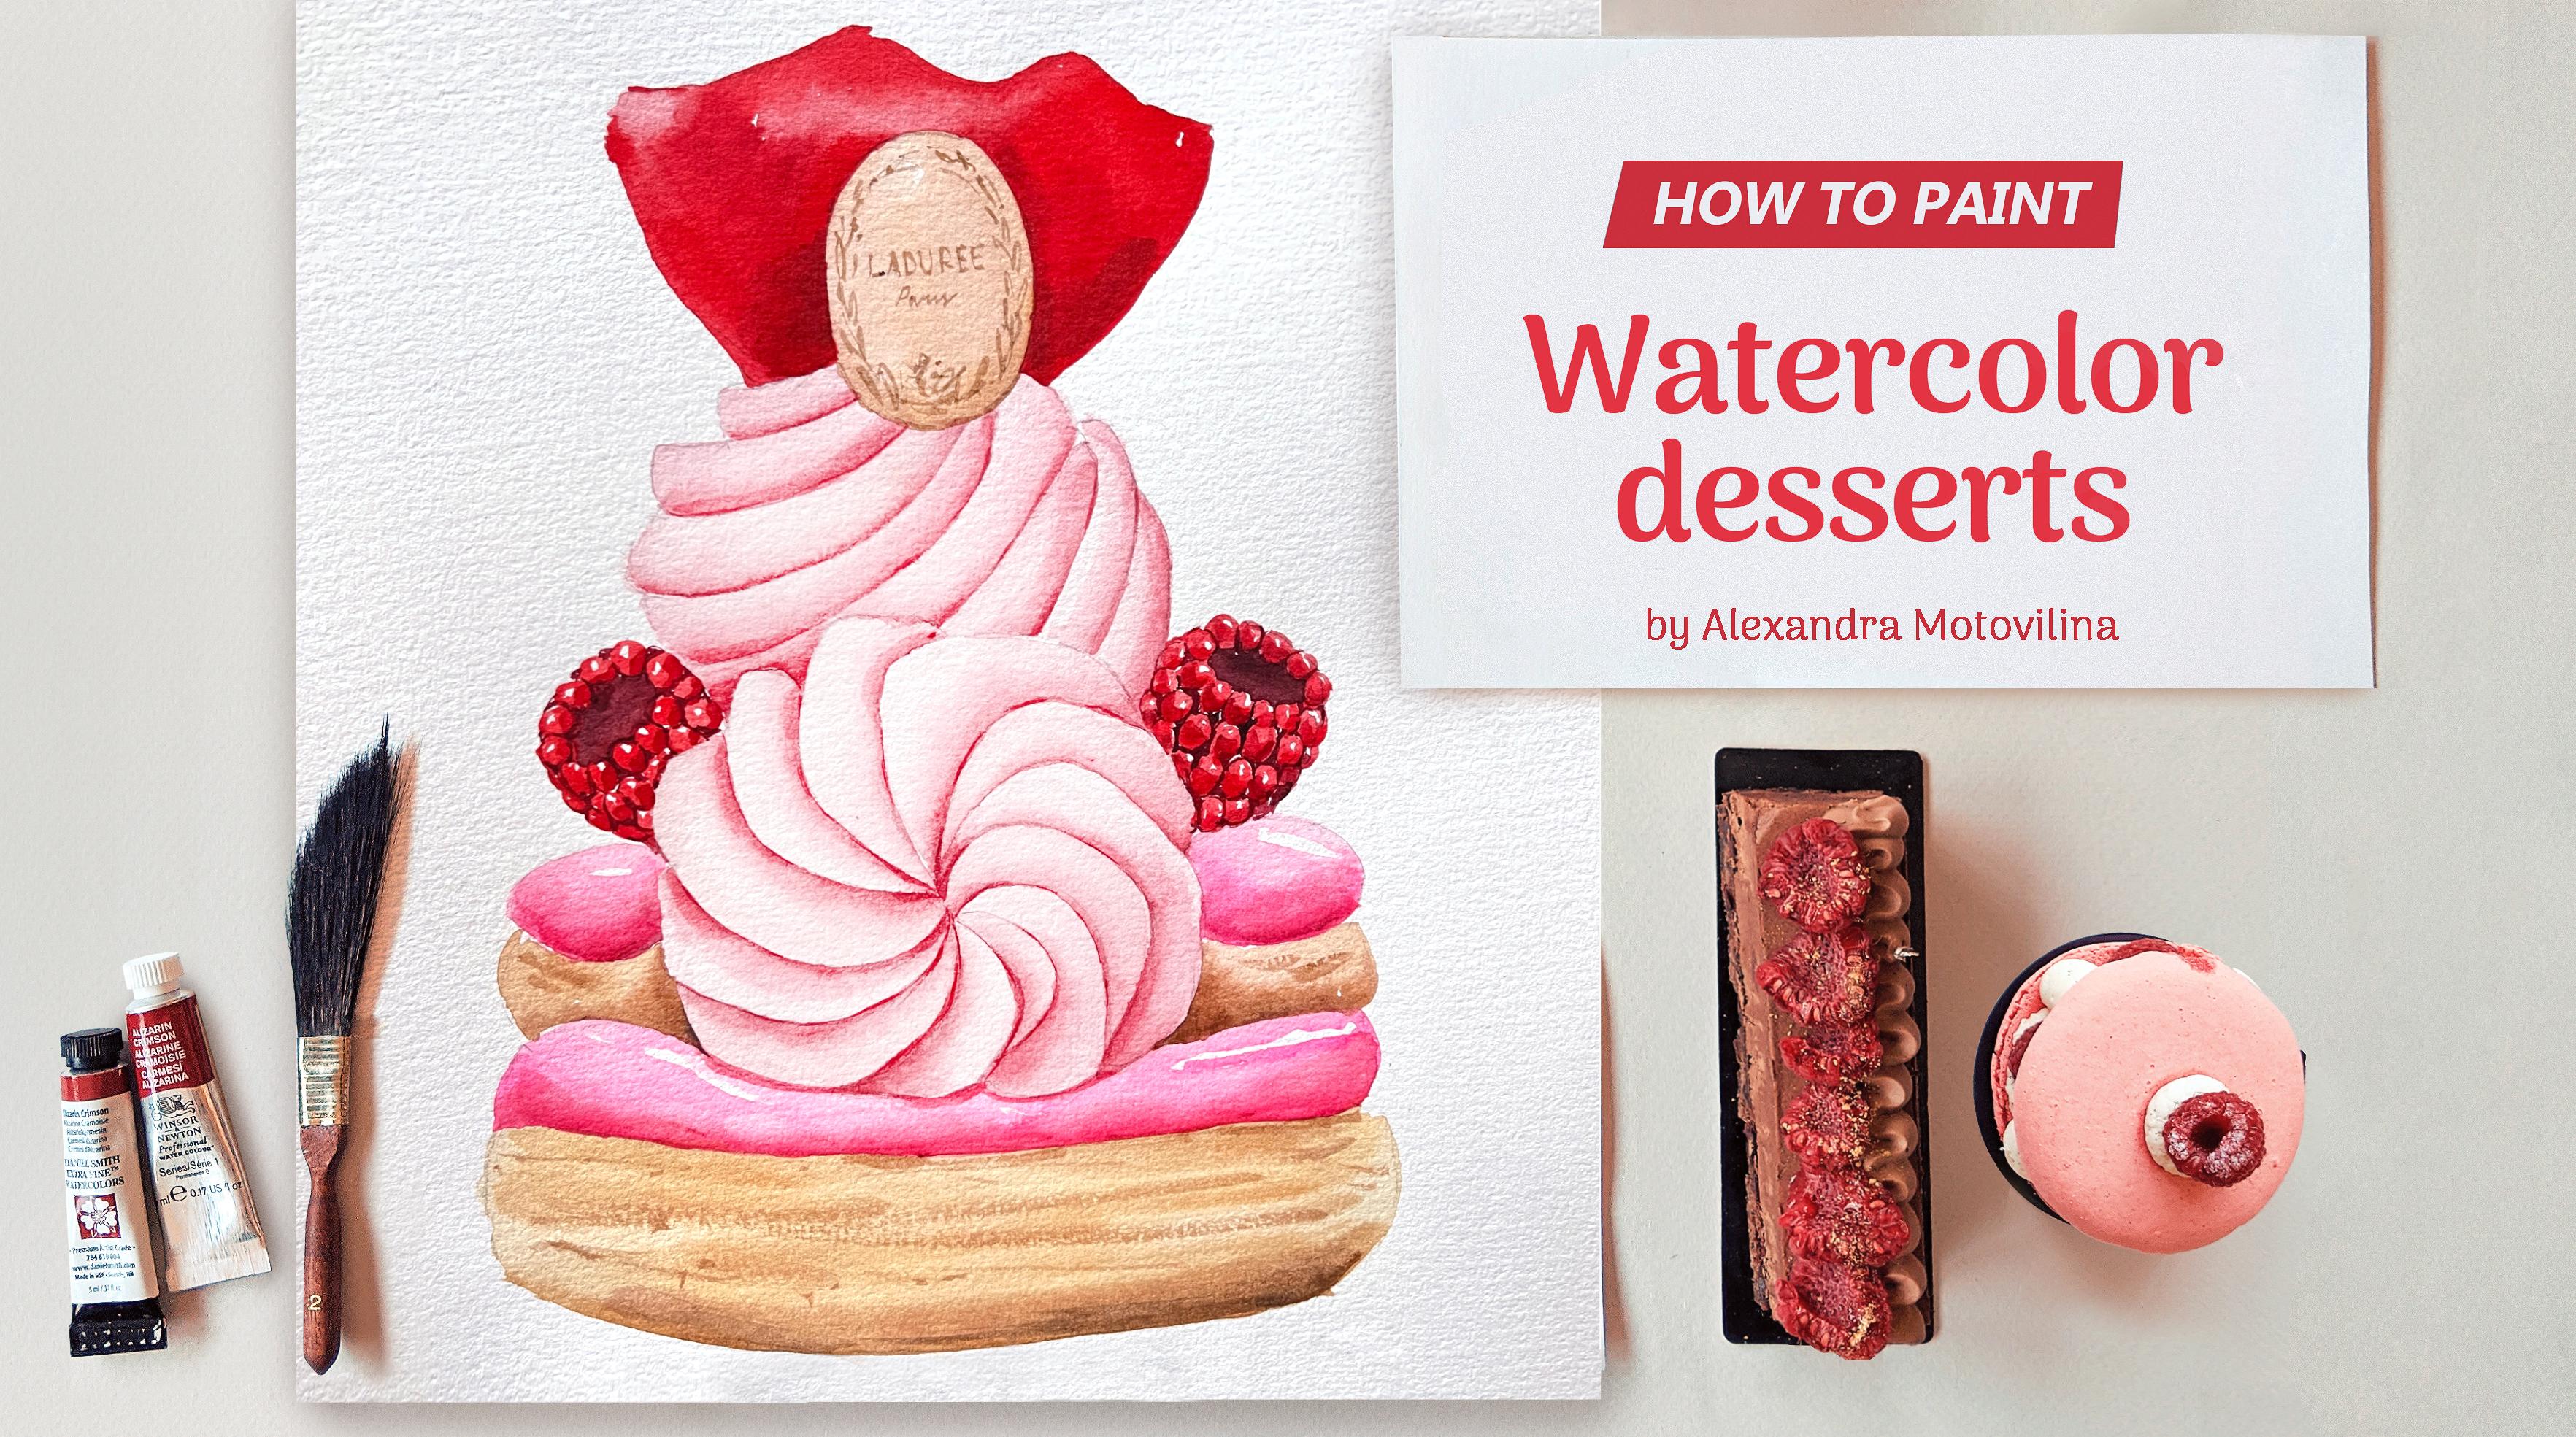
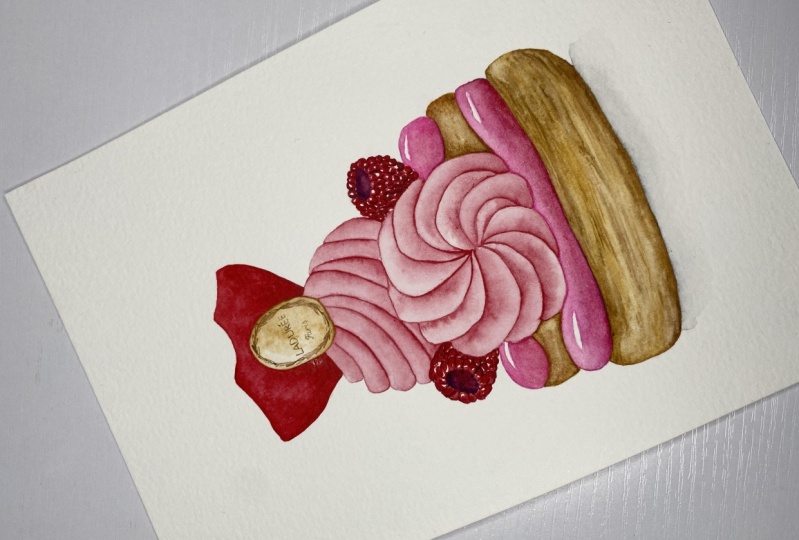
2. Class project : So today I propose you to pay in this famous and iconic Paris bass three Santa no-hair from luxury house. And I adore this gorgeous and beautiful look. It has this big cream shape and rose petal and also different kinds of textures, such a door, raspberry. And yeah, so it has different kind of texture, so you will definitely discover something new. Do this technique is also suitable to paint cupcakes in Iran and different cream shapes. So now I will show you the list of materials which we will need for today. Let's prepare the pencil sketch and finally, let's get started.
3. Structure of the cream shape: First, I'm going to show you how it degrade the scrim shape of this iconic Santana High. So I just bring you this photo from the Internet to simply trace the lines and show you the structure. Because it maybe seems to be difficult. But I will show you how it's organized and how to create this form. Basically the main form is the circle. And for example, if we wanted to show this shape, we should first imagine some kind of circle. Normally, we have this part here and this part on the top. So this is centered. And we start to draw petals and we banned them. And sometimes we even can create some sort of angle. So it's some kind of flower actually. So just look at the reference. And we see here is a big bank battle. So let's do it. And it starts to turn this way. And here we are bended even more, a bit more. So we have some kind of this guy and we just can make, you know, bended again. What we do next. Actually, it will happen with watercolor. But normally each shapes has a shadow on the site. So for example, this one here, we also have a shadow. Here, also a shadow. So it's repetitive. And each form we will have this slide. So we will try to show a volume with watercolor. So this part will be lighter and this part will be darker and there will be a normal white. Okay. And for the top shape, so the same thing but on front. So I will create some kind of triangle. So is just to give you a structure later, we will just use a pencil. And we also start to create the form. But just look here, we have the shapes like this, like this. So we start right away. Even concrete, this guy and this form. Here we have a logo, but yeah, you can imagine that this line go like this. So k, one and again and again and again. Here we can grab this angle down. Okay? And also we can imagine that we have a shadow. So here we have a light spot. Again, shadow, right spot. So here, okay, shadow here. Okay. We will discover it later. And yes, here you can add a logo or maybe some kind of berry, like raspberry or self finales. So finally, it's time to prepare your pencil sketch.
4. Pencil Sketch: So I make a mark-ups. Let's start with the dl wire. So it's some kind of the overall shape. And then I end the second layer, which is a shape with a pink doping. So this one, and I started to draw the first shape or the green. Here we have two. It'll parse tree on French, it calls lip tissue. And I am also add into raspberries. And the second part, the front of the cream shape. So we should add little oval here and a logo. And we also add a rose petal. So kind of this forum. Then I put a point on the middle and I started to create my pedal shapes. So you can use previous video to understand the structure. And I'll see you for the reference. Don't forget to bend the lines and create the angles. And these one here, I put the point on the dope and just some lines to finish it. Basically, this is it. I also use a special arrays are for artists to take off some pencil. It saves you from the Doherty and don't disturb your paper. You can do even like that. So it just makes your sketch in people either. So now it's time for the watercolor.
5. Dough: So let's start with the dough. For the door. I will use yellow ocher and one of my dark brown. And you also can add just a bit of violet or natural gene to darker brown. So I will prepare our colors here on the ballot in advance. Don't afraid to add water to make you mix liquid. So first liar shouldn't be led and transparent. And I will mix here the darker brown. Okay? I will use big brush. I should cover all shape at once. So I tried to cover all shape at once. And maybe with a little brush, it will be quite difficult. And your paper could already start to dry, but you still need a wet paper in order to create a nice natural gradient. Now, I take only your own without water and just add some strokes to create more interesting look of my dough. I also add a line on the bottom. And now it's time for the dark color. So as I said, I have sienna and so I look at my reference to see the dark strokes. So definitely the one at the bottom and also a beach on the top. And I'll say you've got a bit of dark lines and a bit more thin strokes. So I prefer at jazz to beat more ducks sheet because I want to show the real volume and a unified colors with the soft shape of my brush. And then when this layer will be tried, I can add a bit more texture.
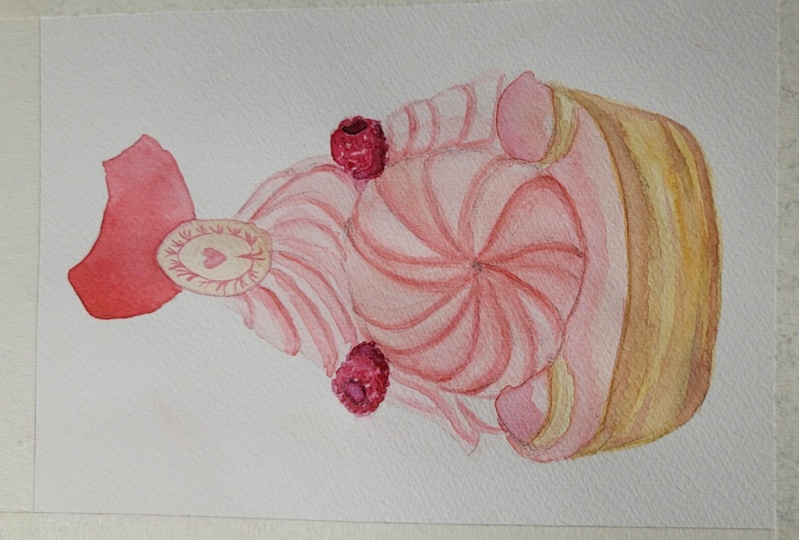
6. First Cream Shape: So now let's do the cream. You can use a read if you haven't. Pink also lets clear the ballot. So I use alerts and crimson for my being. And maybe a bit of red just so it's orbit. And what I will do, I will cover it with watercolor, each shape of the cream, one after one. So this one and this one. So every time you should skip one part. So you will see. So make your mix liquid again, transparent and really clear. Because our current layer is very light. Because when you will add a shadow, it shouldn't, it shouldn't be so dark. So that's why our first layer should be very transparent. So I will start with this one, or maybe with this because it will be simpler for me to see where I will place my shadow. And of course, you can use your reference. So I carefully cover all shape. So as I said, this one I skip and I continue with this one. Don't need to add only the water. It will help make your shape even lighter. And now, as I said, we should show the shadows. So I take the dark color and with the sharp end of my brush, start carefully call up the side. As our paper is wet, the colors start to spread and create a natural gradient. So if your paper is already dry, just to wet it with clear water. The same process with this one. So here I can remove the frontier between colors. I'm using the dry brush. I want to make it even lighter. Color on my brush. Takeoff the water. And they start to white paper in one direction. Because I want to have the difference between this and this one. And now I will add more dark color with the sharp end of my brush. Actually, this is very meditative process. Just be careful and underbrush. And now it's time for the rest of the cream shapes. Exactly the same process. We start to lighten transparent color, and then we'll add shadow progressively. Basically this is it. Yes, sir. So hi. Okay. Okay. So hi. Once your users, That's it.
7. Second Cream Shape: For the second group, I will do the exact same process. I will speed up the video, but you already know how to do. It. Suggests color and the shadow. So hello. So this week, please. Hi. So what does it mean?
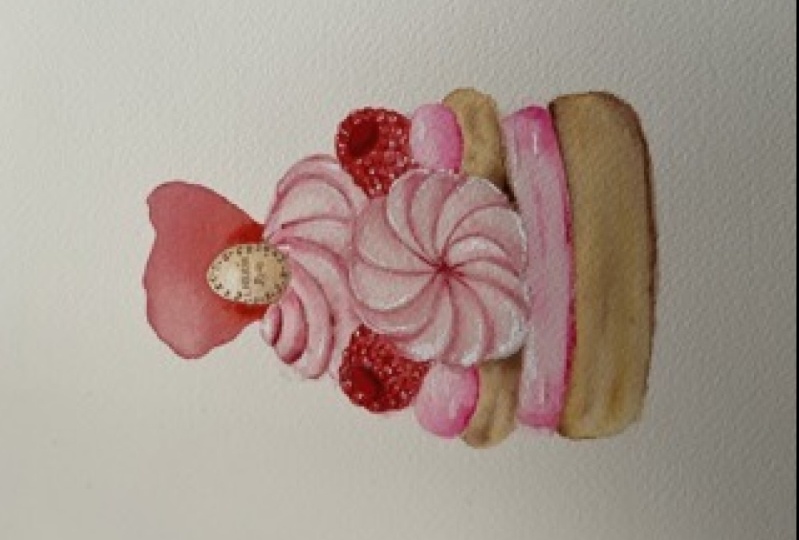
8. Raspberry and Pink Topping: I forgot to draw the guidelines for my berry, so I will do it right now. Just few circles to create a structure. And the rest you will do with the watercolor. So for the color, I will use, a red raspberry should be Dancer. So I create a color mix more saturated then for the cream, but still liquid. So how I will pay in the raspberry? I feel this local space and I leave little glare of light. I feel all circles and leave some space between them. Actually, on my cheesecake lesson, you will find more detail video about how to paint raspberry. Well, my circles are still wet. I can add darker color to the bottom of each bowl. So I showed the shadow and volume. And now until I went to my Raspberry little bit dry, I can finish it the door layer. So let's paint the pink doping. I have a beautiful opera pink, so I will use it. You can make your doping any color actually. So as always, I prepare a color mix in advance. I start with this little ones. As we can see on the photo. They have the same topic. I fill all space for the form. So you form shouldn't be so regular, tried to make it natural. Also, don't forget about the dark color. To show the volume. And the same process for the big one. I just emphasize the shadow. So I'm adding more dark pink with the sharp end of my brush. No satisfy with the frontier can always remove it by unifying the color with a clean and dry brush.
9. Rose Petal: So I've prepared dramatic start to feel the shape and then use water to spread that color. I like to use this technique to show that the battle is still transparent. And the darker color to the bottom. I noticed that my little dark shadow below. You can add more shadow to the bottom of the door. I'll also add some strokes with a dry brush to create a texture.
10. Finishing Raspberry : So I would like to finish the buried. So for this, the dark color isn't being violet or some dark brown color. Carefully fill the space between the circles, but try not to beat so irregular. And finally, yellow ocher and just color the shape to show the shadows as always. Hi.
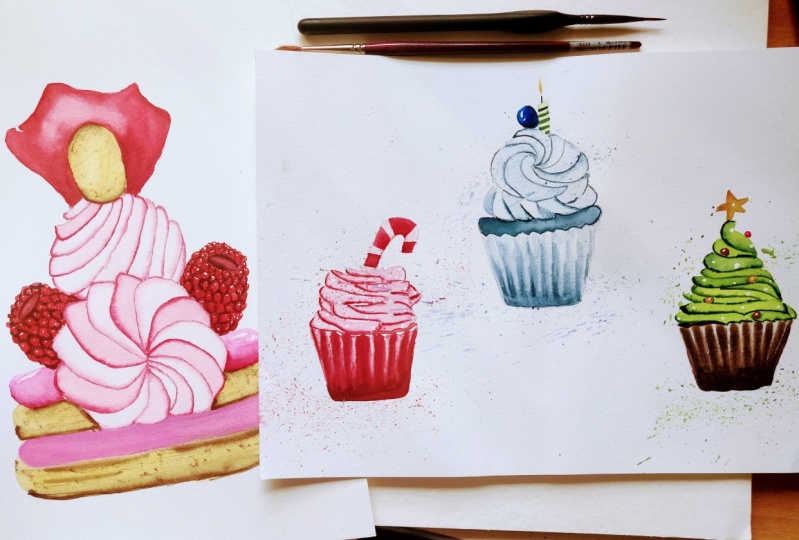
11. Bonus Lesson - Macaroons: So for the bonus lesson, I would like it to show how it's also French pass through. It's also very famous and it's actually fast and simple. So let's do it. So I will start with this first one. We should prepare a color mix light enough. O shape with the color and leave some white particles, which will be our shadows. A darker color. Now for the skirt of the macaron, I will use the sharp end of my brush. And I will do this kind of movements. So I will use darker color. Suggests see, I tried to do it not regularly, NIF whitespace. Then I add darker color, also irregularly. But I still live whites particles. So with this method, we can create some kind of crunchy texture. Repeat the same process for the border shape, but just add more shadows to the bottom. Hello, Mr. So so it's pretty Now.
12. Final Thoughts: So, thank you so much for joining this class. I really hope you learned something new today about watercolor technique and you will definitely continue to paint. Please share your creations. I will be so happy to see what your painted. You can follow me here on Skillshare and on my Instagram to see my future works and future honors for the next lessons. So thank you so much again and see you next time. Bye.
 Alexandra Motovilina, Watercolor artist